Maddog Manufacturing 2018 Production

Show off your completed work! One or two pictures and a brief explanation. Let others have a quick look at your finished masterpieces!
User avatar
Duke Maddog
Elite Member
Posts: 7669
Joined: Tue Jun 03, 2014 11:22 am
Location: Rowland Heights, CA

Re: Maddog Manufacturing 2018 Production

Post by Duke Maddog »

Okay, here is another small update for this week. I managed to get this work done over the past three days.... in between meds-induced naps.

I'll start with my aircraft. For something different, I started my Israeli F-16I Sufa since I've been wanting that in my collection for awhile.

Of course, I started with the cockpit. It was fairly un-detailed, but I'll have decal instrument panels and pilots inside so....
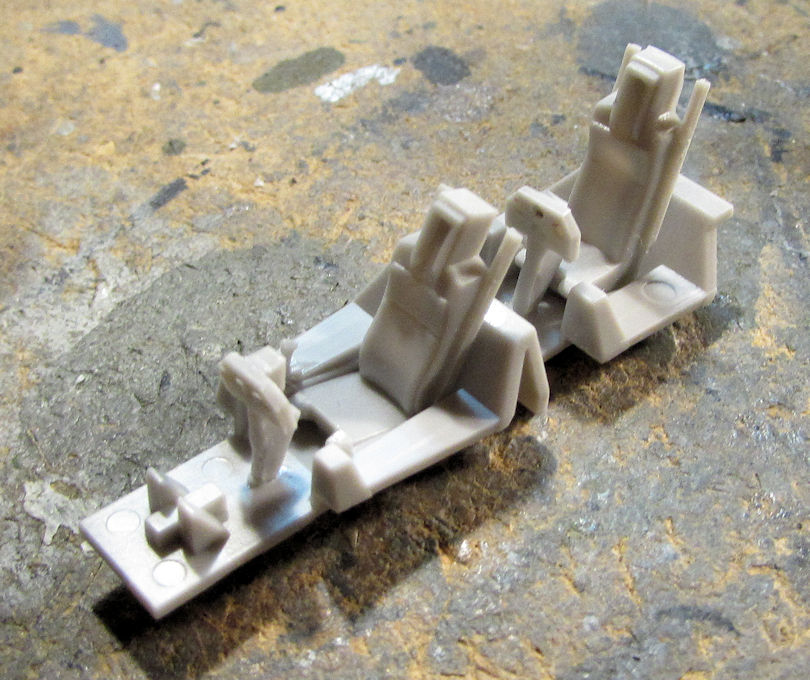
Image

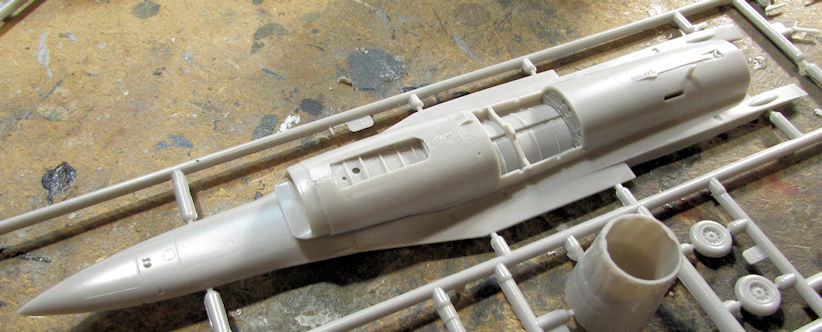
Next I assembled the air intake:

Image

Once that was dry, I installed it on the lower fuselage:
Image

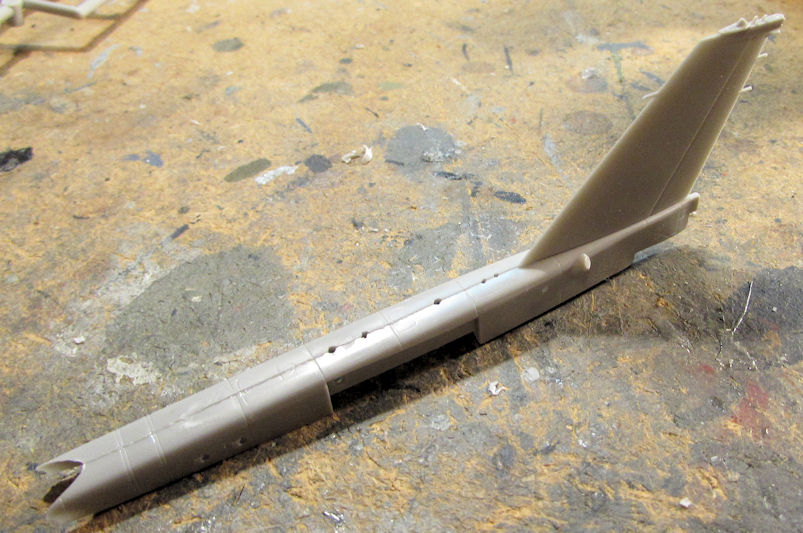
While looking for more sub-assemblies to do, I found the dorsal hump and built that. There are still a few detail parts to add to this though before it is done:
Image

Here it is dry-fit to the upper fuselage for now:

Image

That was as far as I went on that. Next I went to the commission build to get more done on it.

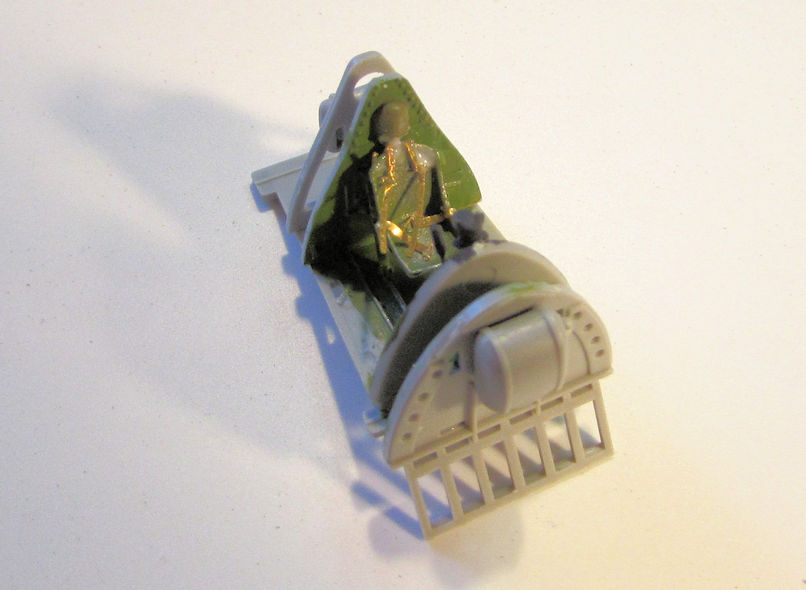
Starting out, I added the photo etch seat belts to the seat, starting with the lap belts first; then the shoulder belts:
Image

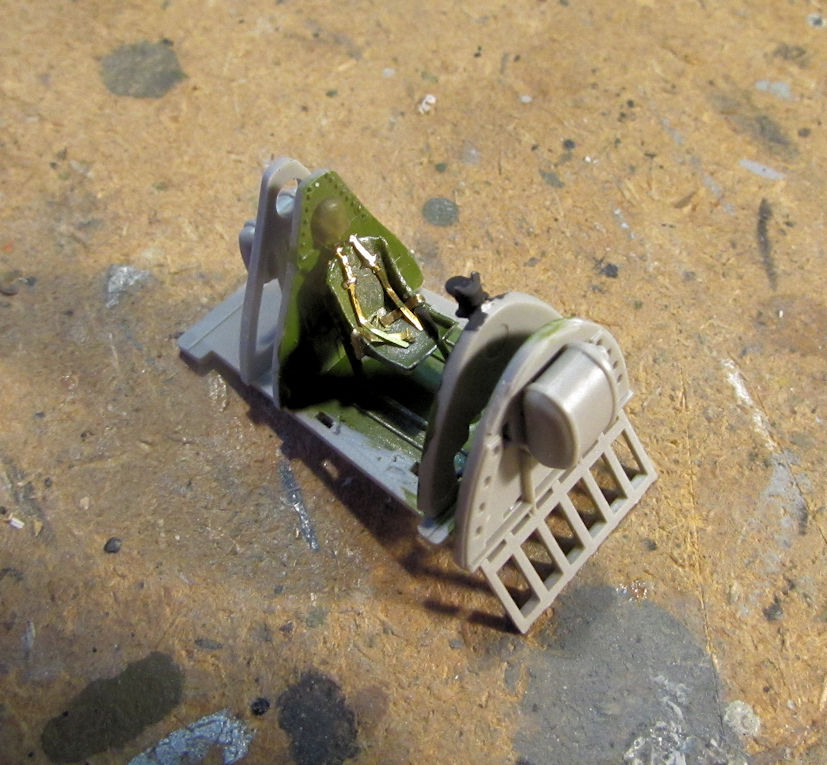
You can see the shoulder belts are all over the place. I glued the top of them to the seat with Gator Grip Glue and waited till they dried. Once everything was dry, I took a semi-rounded rod and pressed them into the seat:
Image

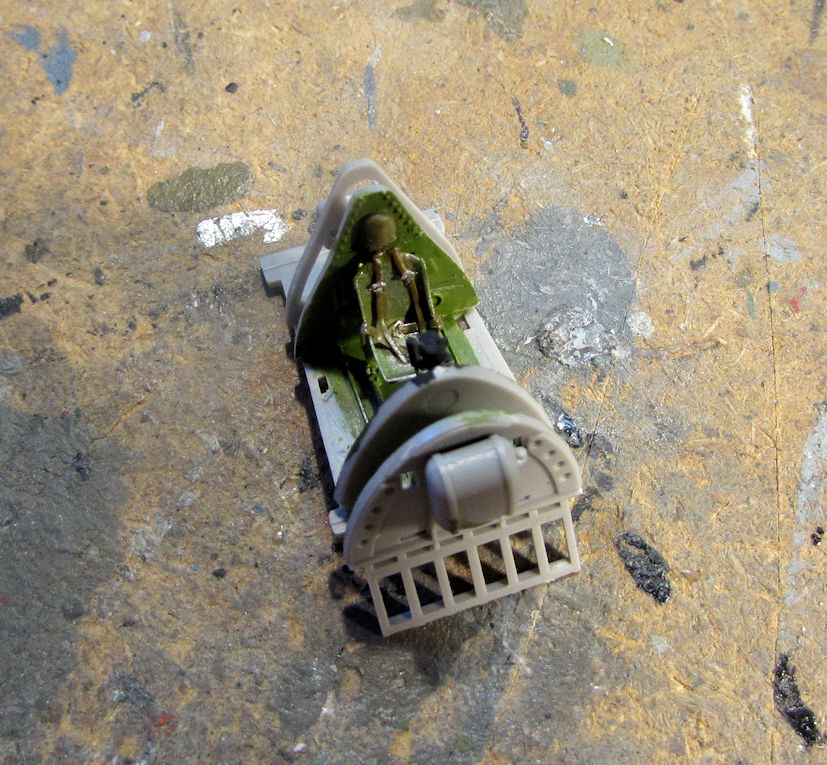
They aren't laying the best, but in this scale, it's tough to see anyway. Once these dried further, I painted them up:
Image

Once that was done, I finished the cockpit assembly...
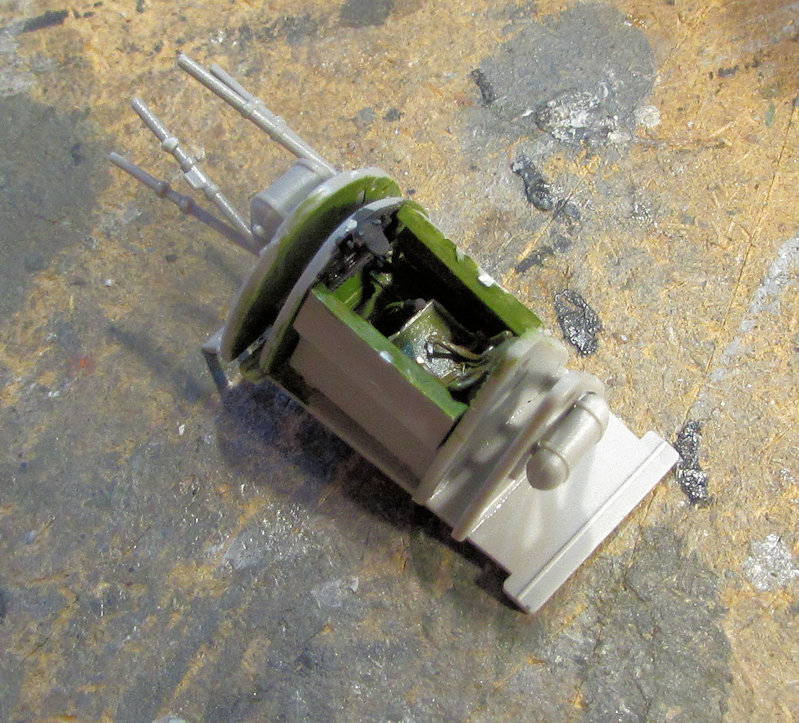
Image

...and then installed it inside the fuselage:
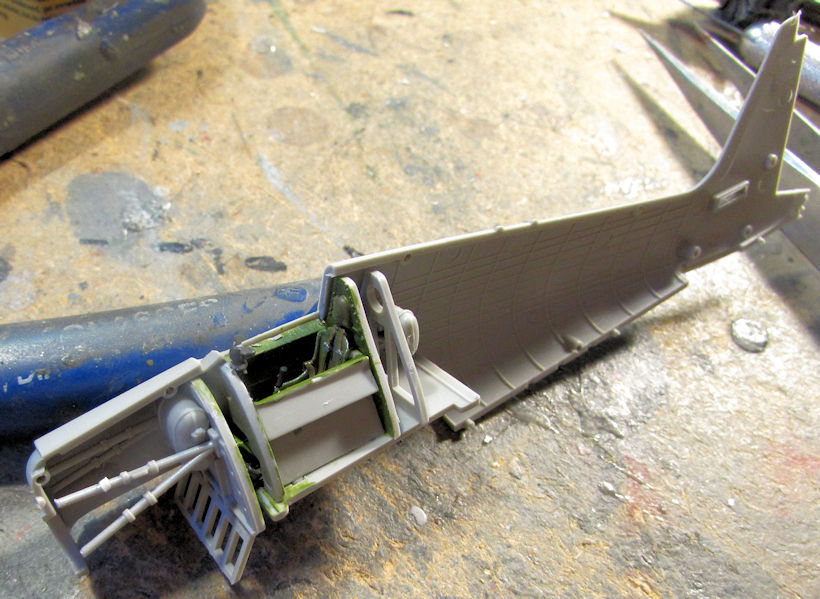
Image

Finally, I assembled the tail wheel, added it to the fuselage half and closed everything up. Then I cemented the center wing section to the underside of this model and added the horizontal stabilizers. I also dry-fit the engine to the front to see how it fit:
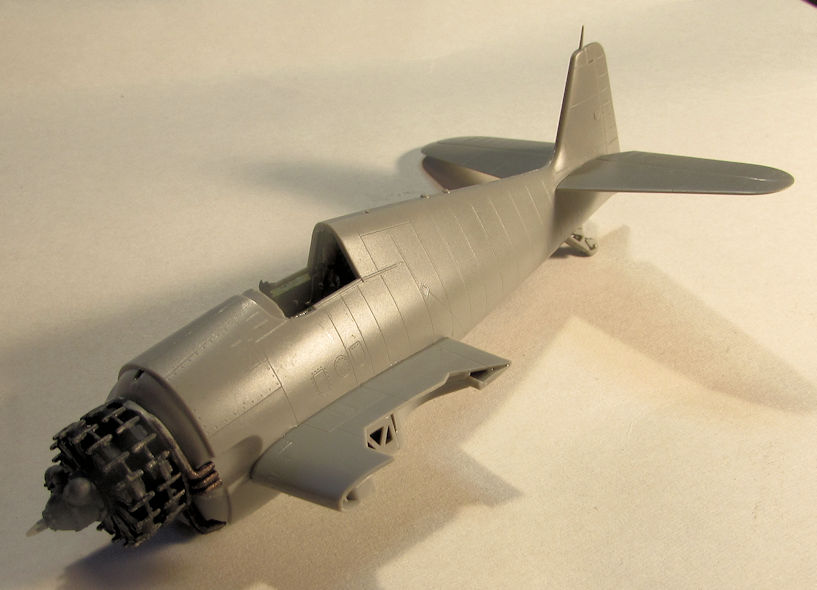
Image

Just for fun, I dry fit the wings and the cowl to this to see how it was coming along, as well as check the fit of all these parts:
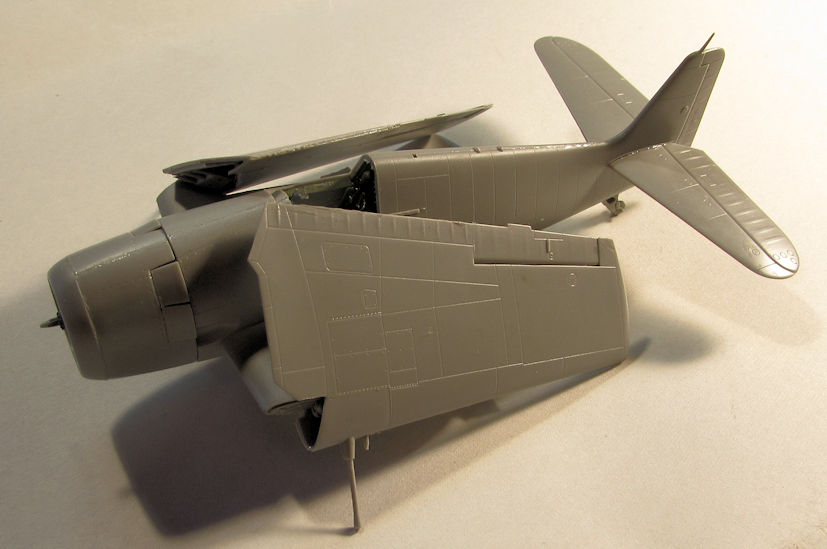
Image

Looking over the model later; I decided to take my acrylic putty and fill in the small gaps on the ends of the wings that I couldn't glue shut, even with clamps:
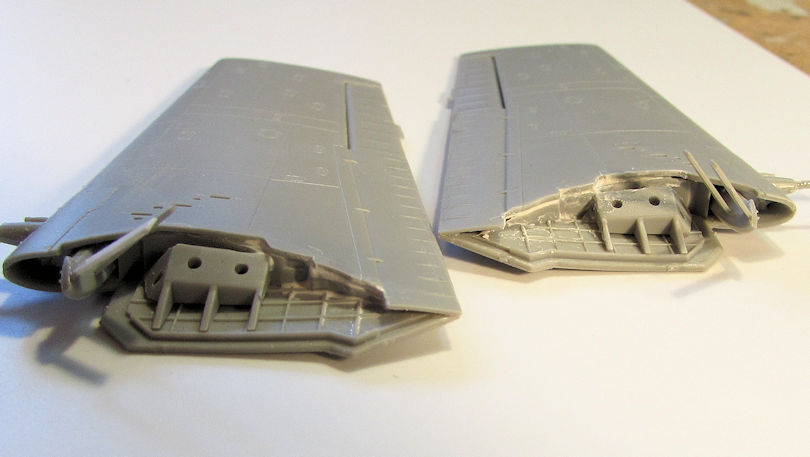
Image

I also had a few very minor seams on the center wing section to fill:
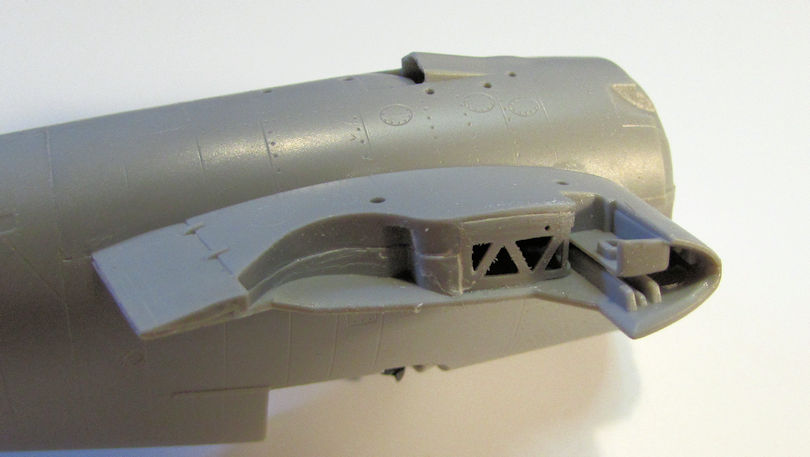
Image

Image

Furthermore, while looking over the sprues, I encountered these parts and for the life of me I could not figure out how they fit on the model:
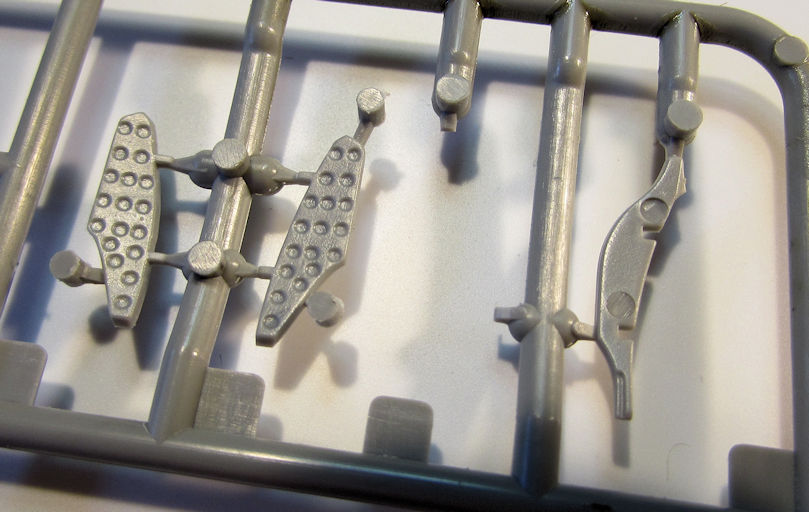
Image

The instruction sheet was as clear as mud about the placement; if it was to be believed, the part on the right was supposed to be glued on one end with a very fragile join to the center wing section and the other end was supposed to swing in the wind as there was nothing to connect it to. I tried as much as I could to figure it out, even looking at reference pics but could not come up with a solution. Therefore, these parts were not added to the model. As they are in the underside, they wouldn't be well seen anyway. I don't know what else to do about it. Finally I moved on and assembled the center drop tank:

Image

Now this model is ready to mask and paint.


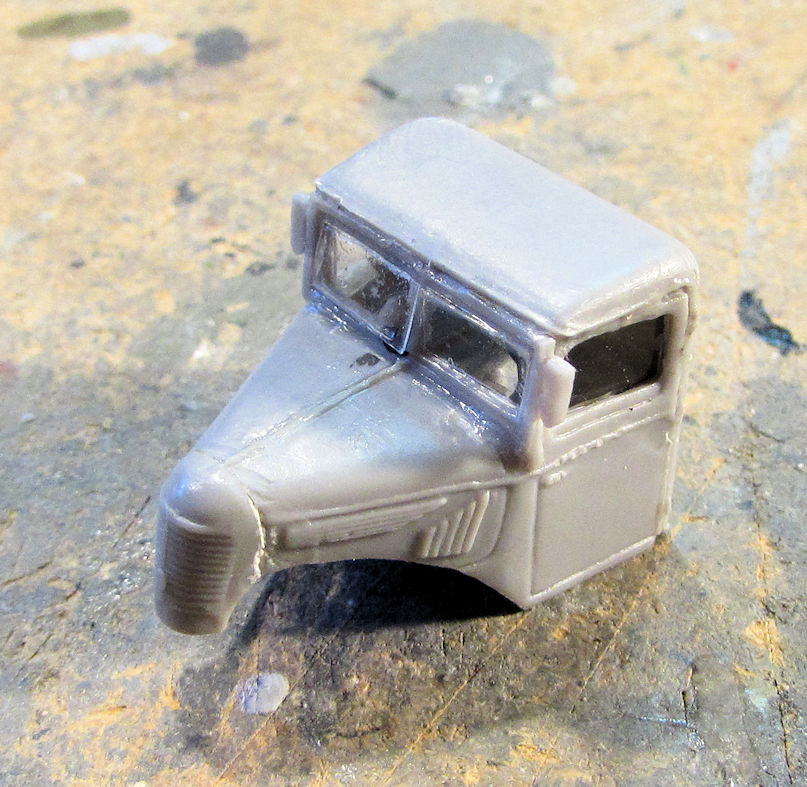
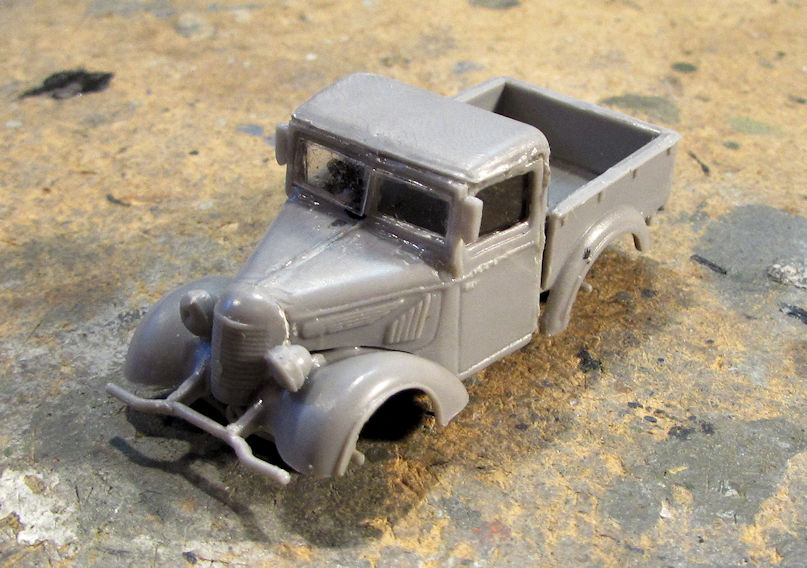
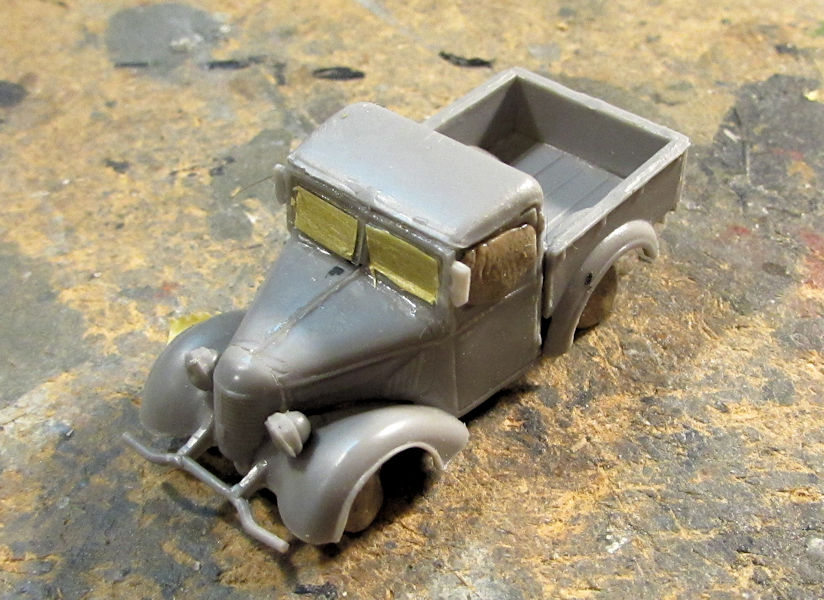
Moving on to my armor, I added the glazing to the windows on the Japanese pickup truck:
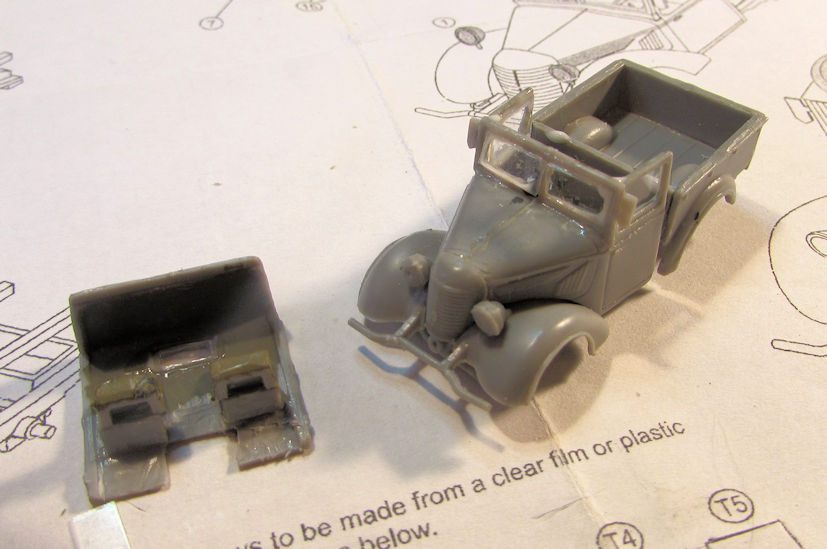
Image

Now I can fight this beast to get it together.

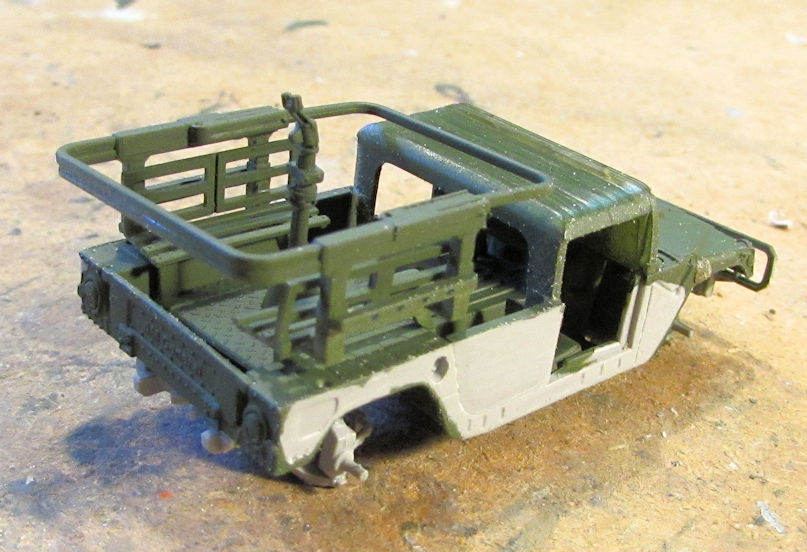
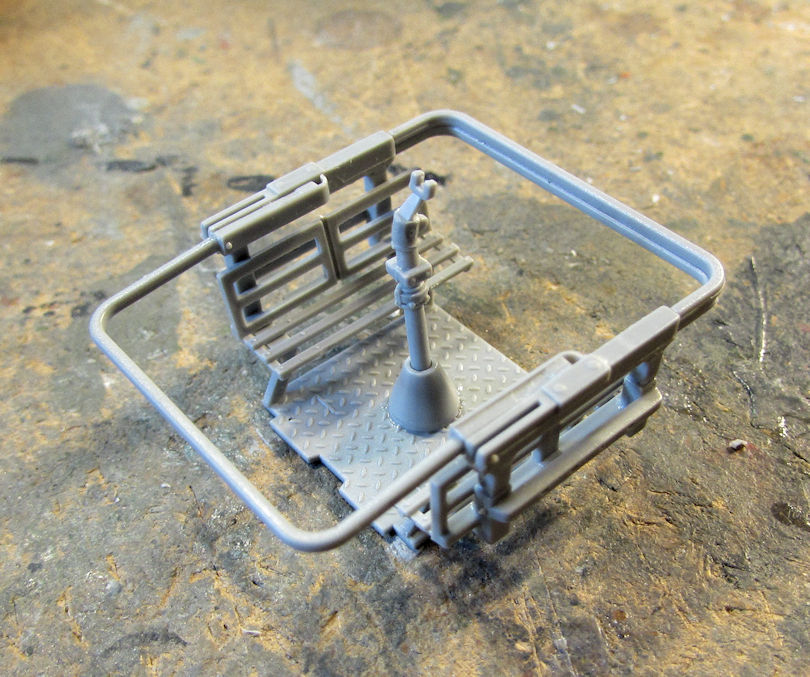
Next, I started the interior of the Humvee gun truck. I assembled the "basket" that goes in the bed:
Image

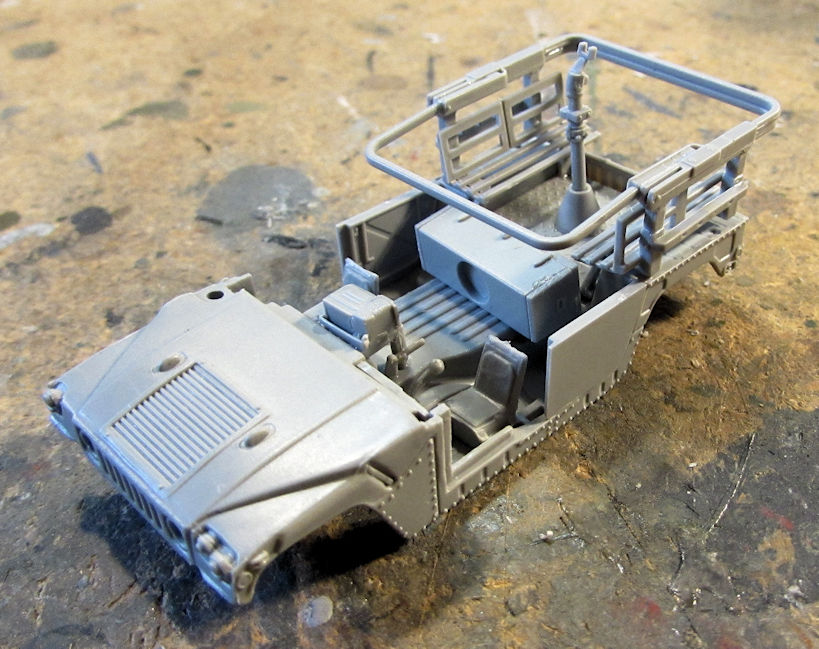
It fits well inside, as seen here where it is dry fit in place. The box in front of it fell over when I shifted this to shoot the pic:
Image

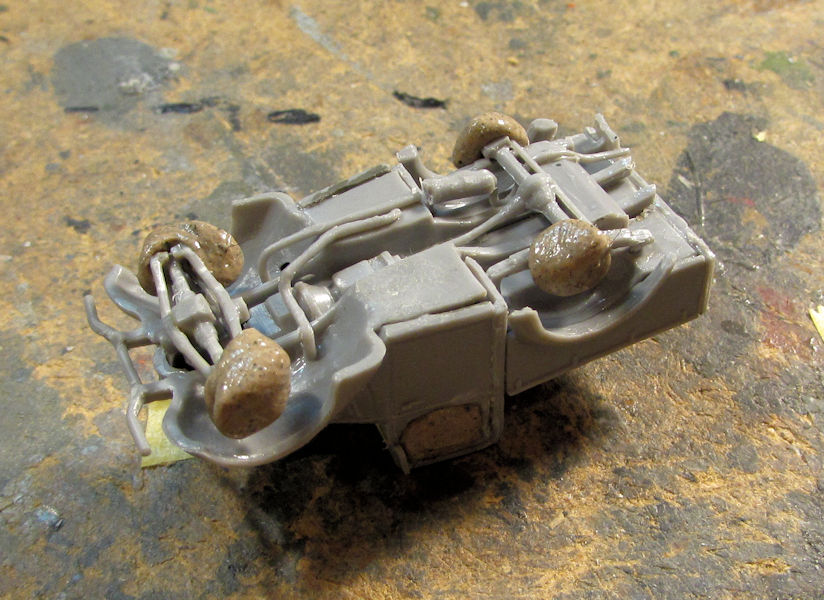
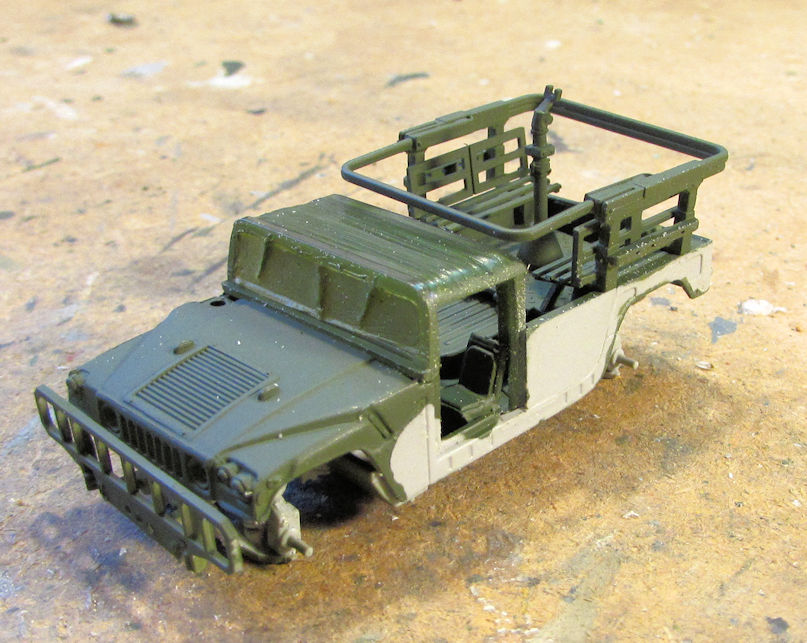
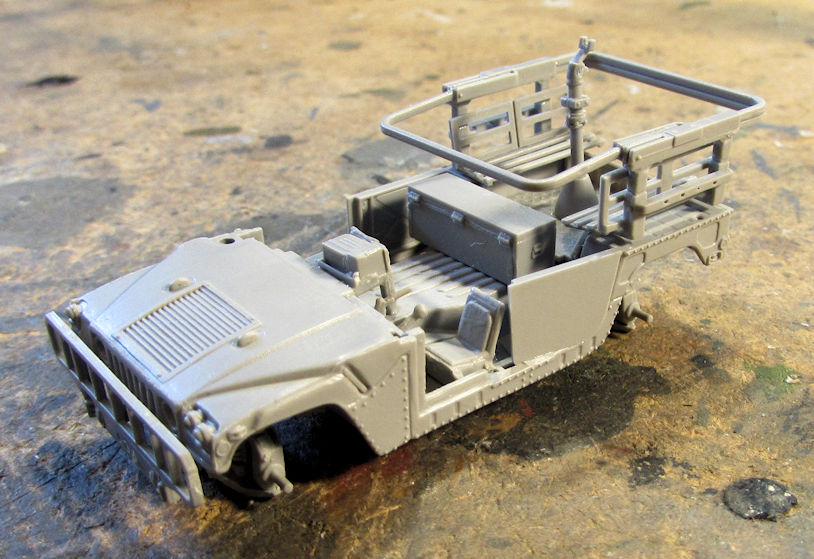
Next I added the extra parts to the suspension and chassis. I then dry-fit the whole thing together to see how it fit:
Image

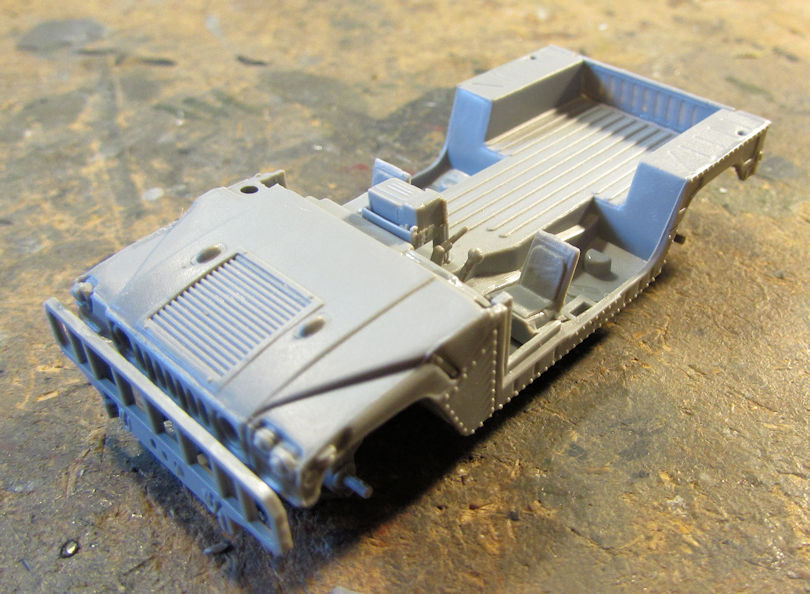
I added the same parts to the chassis of the troop carrying Humvee as well:
Image

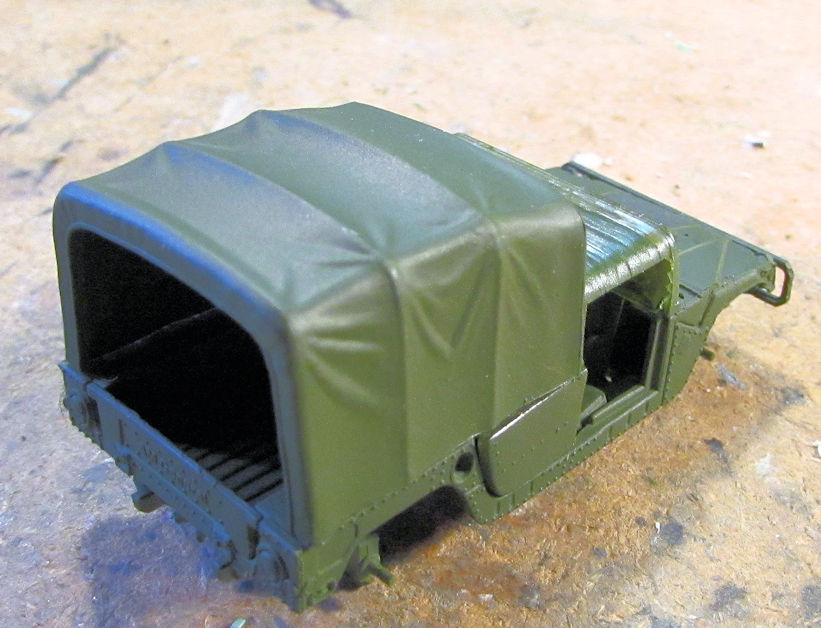
Now I have to find the 'tilt' for this so I can finish it.

Here are both of these Humvees almost ready for paint:
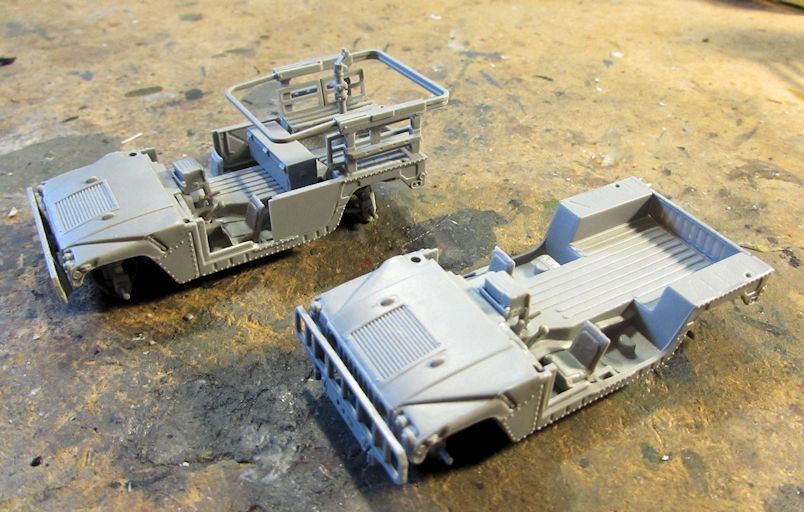
Image

After this, I decided to start another model for a Group Build on the Missing Lynx forums. This is the PST ZIS-5 fire truck. I started with the simplified suspension:
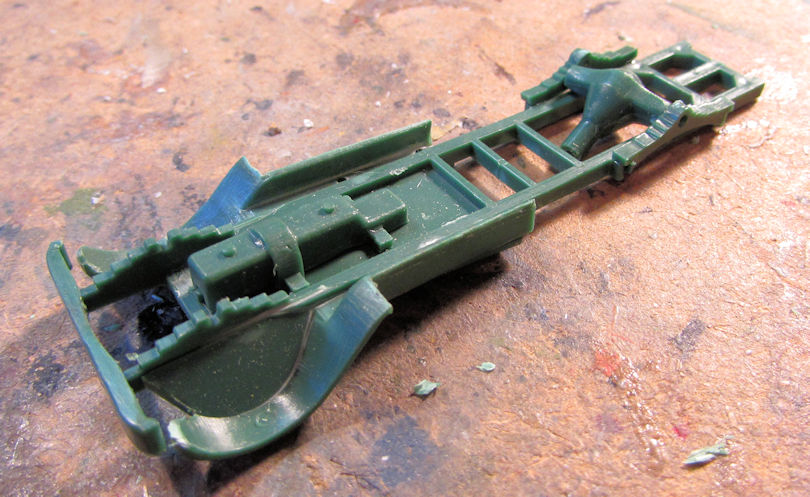
Image

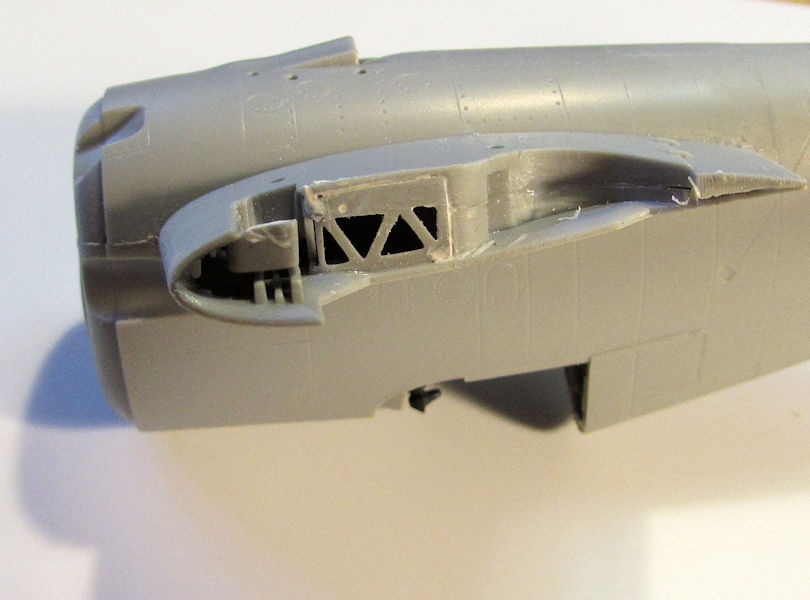
From there I moved on to assemble the cab, leaving the roof off so I can add the windows later and paint the interior:
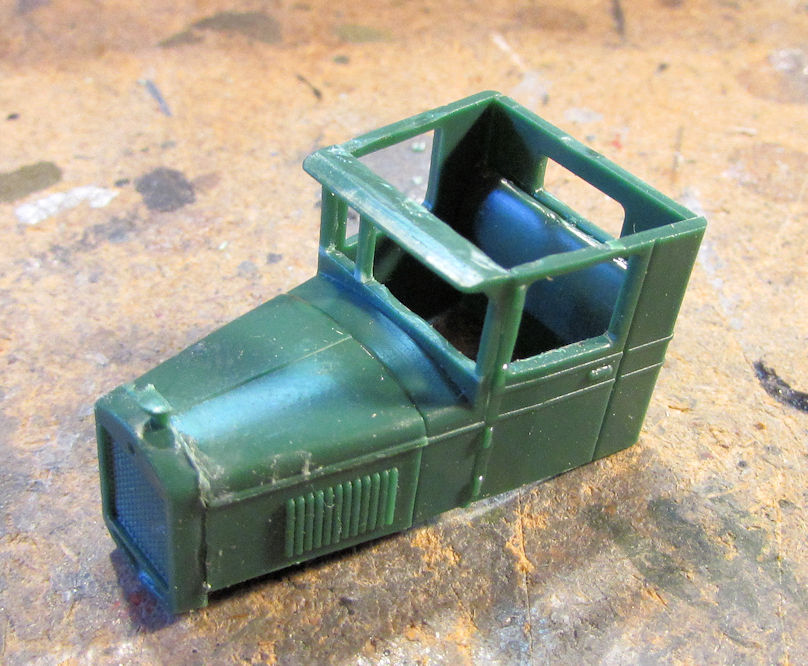
Image

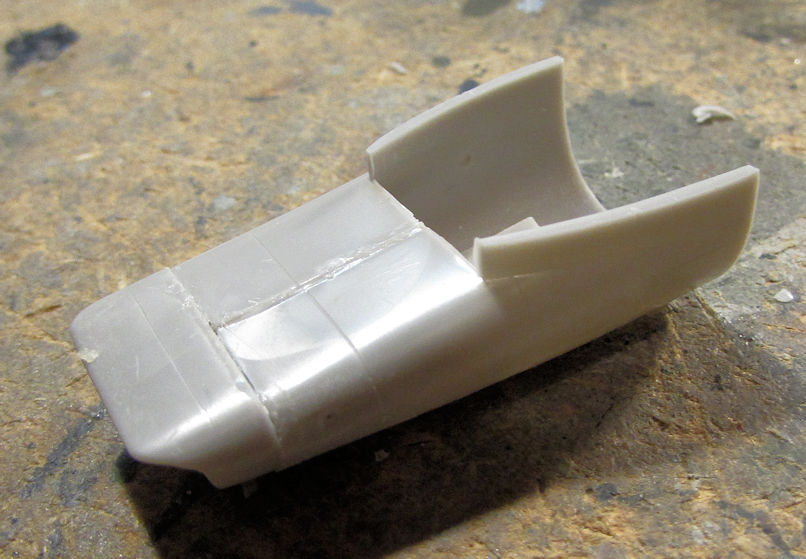
I set that aside to dry and assembled the water tank next:
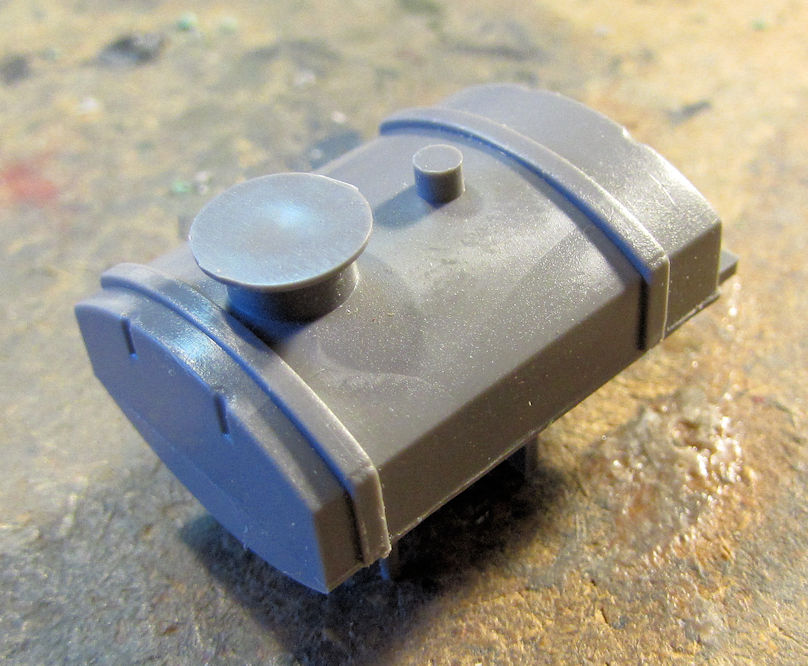
Image

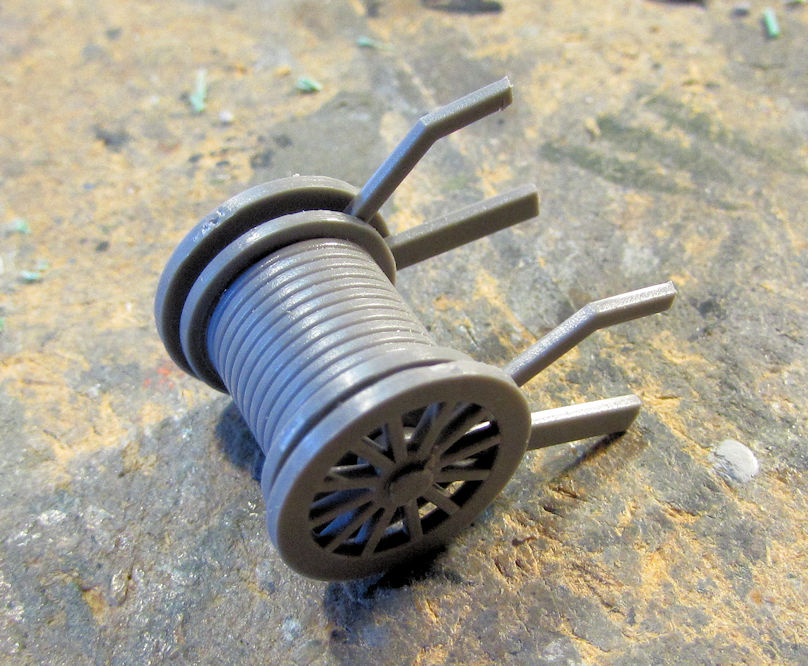
Then I built the hose reel:

Image

Later I'll put all these together and get this painted.


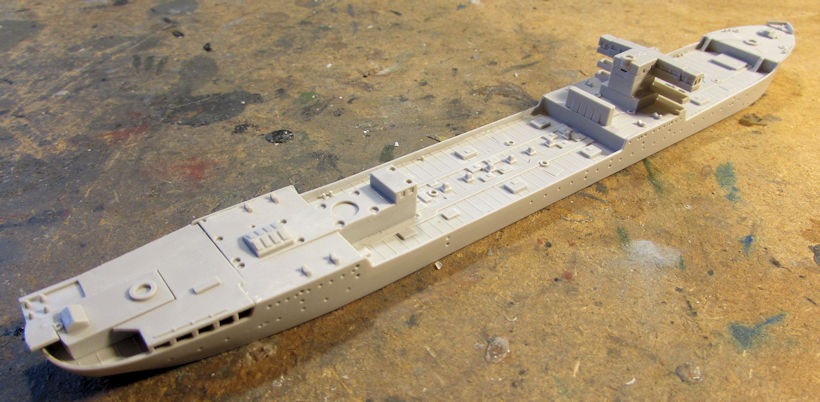
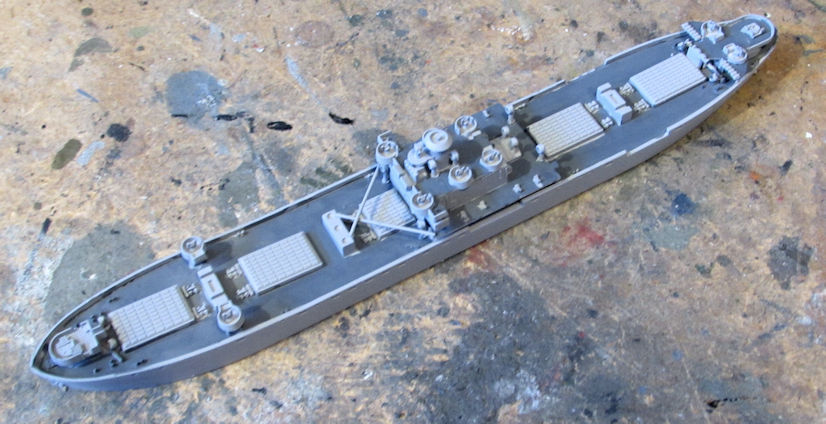
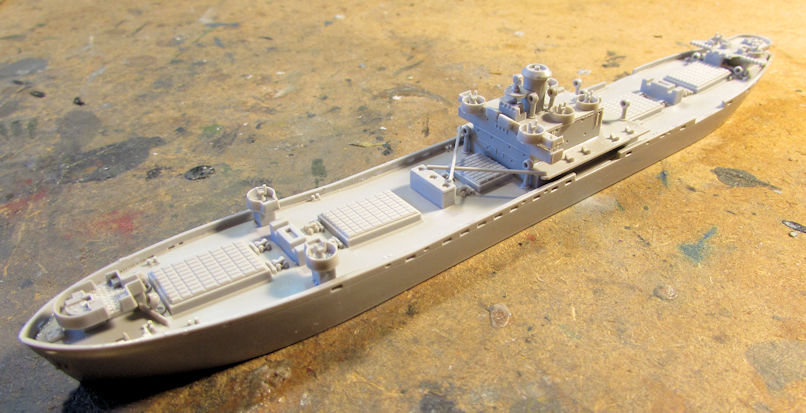
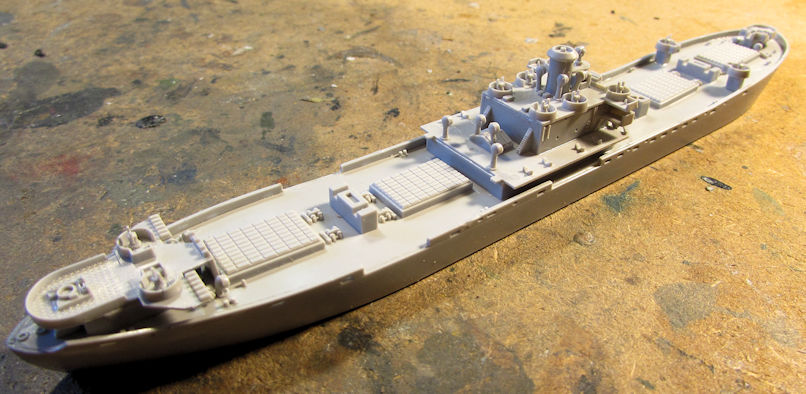
Speaking of getting something ready for paint, I went back to my shipyards and finished adding all the superstructure and some additional bits and bobs to my Liberty ship to get it ready for paint. Here it is sans gantries and cranes; I'll add them later when there's less danger of breaking them off:
Image

Image

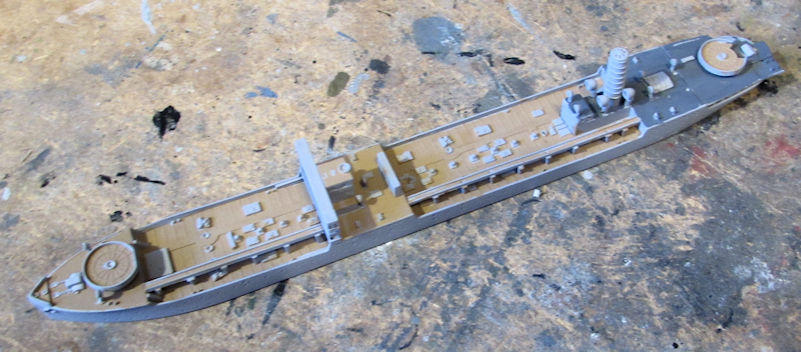
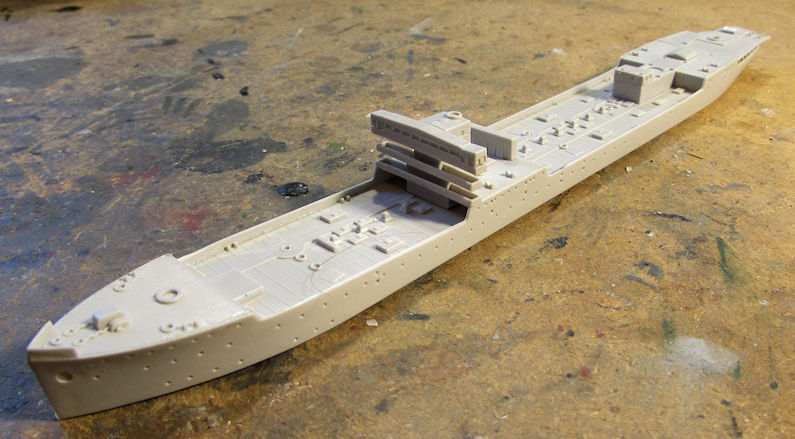
Furthermore, I also added the superstructure to my Japanese Fleet Oiler:
Image

Image

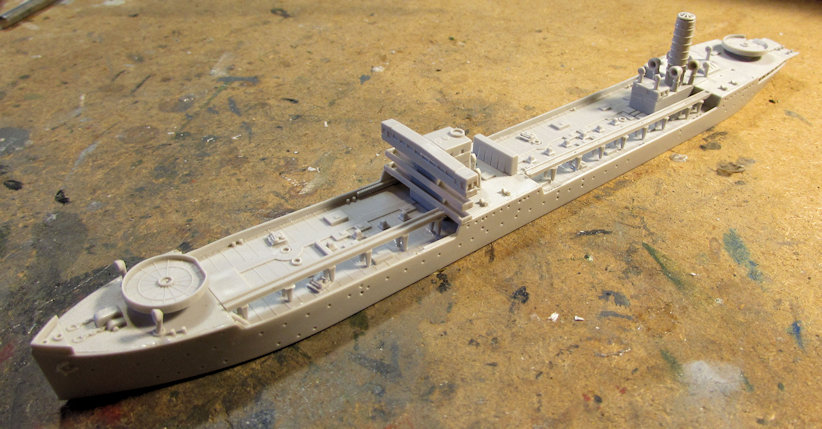
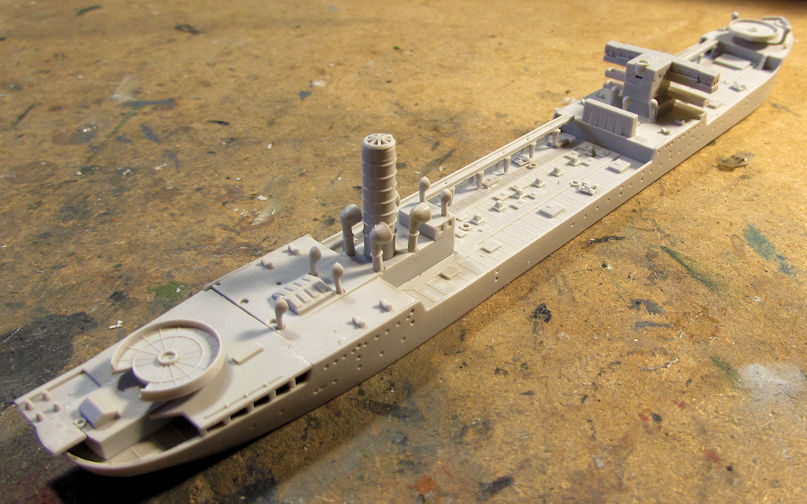
I then moved on and added some additional deck pieces and the stack to complete this ship some more and have it ready for paint:
Image

Image


Well, that completes my small update for the past few days. Hopefully I'll get more done soon. Thanks all for looking in, comments are welcome.

The Duke
Virtuoso of Miniatures

"Do you know what the chain of command is? It's the chain I get and beat you with 'till you understand who's in ruttin' command!"
-Jayne Cobb, Firefly Episode 2 "The Train Job"

We are modelers - the same in spirit, in hunger to insanely buy newly released kits, hustlers in hiding our stash from our better halves and experts in using garbage as replacements for after-market parts.
User avatar
Medicman71
Elite Member
Posts: 11299
Joined: Mon Apr 07, 2014 9:32 am
Location: Houston, Tx

Re: Maddog Manufacturing 2018 Production

Post by Medicman71 »

:wow: Man, you're a building machine! Very nice!

Mike

Sponsored by Boeing, Lockheed Martin, Northrop Grumman, Saab, BAE, and Dassault
User avatar
mustang1989
Moderator
Posts: 5035
Joined: Tue Mar 18, 2014 8:35 pm

Re: Maddog Manufacturing 2018 Production

Post by mustang1989 »

The only thing I see missing is a conveyor belt and a rubber "A-OK" stamp for the mass production line. Dude you are killin' it here in this thread.
User avatar
BlackSheep214
Elite Member
Posts: 13417
Joined: Sun Apr 06, 2014 8:47 pm

Re: Maddog Manufacturing 2018 Production

Post by BlackSheep214 »

It's good to see you building again. Looking good all :shoutout: :shoutout: :shoutout: of them.
“Who controls the skies, controls the fate of this Earth”

Author unknown- 352nd Fighter Group, Blue-Nosed Bastards of Bodney

“Send one plane it’s a sortie; send two planes it’s a flight; send four planes it’s a test of airpower. - Richard Kohn
User avatar
Duke Maddog
Elite Member
Posts: 7669
Joined: Tue Jun 03, 2014 11:22 am
Location: Rowland Heights, CA

Re: Maddog Manufacturing 2018 Production

Post by Duke Maddog »

Thank you ever so much for the awesome replies guys! When there's so little that I can do, this hobby has been a fantastic distraction. Thank you all for your terrific comments; they are what keep me motivated to continue on.
The Duke
Virtuoso of Miniatures

"Do you know what the chain of command is? It's the chain I get and beat you with 'till you understand who's in ruttin' command!"
-Jayne Cobb, Firefly Episode 2 "The Train Job"

We are modelers - the same in spirit, in hunger to insanely buy newly released kits, hustlers in hiding our stash from our better halves and experts in using garbage as replacements for after-market parts.
User avatar
Stuart
Elite Member
Posts: 11907
Joined: Sun Apr 06, 2014 1:06 pm
Location: North Wales

Re: Maddog Manufacturing 2018 Production

Post by Stuart »

Great update Mark and I'm glad the hobby is helping!
Stuart Templeton 'I may not be good but I'm slow...'
User avatar
tempestjohnny
Elite Member
Posts: 3804
Joined: Sat Oct 15, 2016 4:51 am
Location: Naples. FL

Re: Maddog Manufacturing 2018 Production

Post by tempestjohnny »

portman wrote:Great update Mark and I'm glad the hobby is helping!
Couldn't have said it better myself
User avatar
Duke Maddog
Elite Member
Posts: 7669
Joined: Tue Jun 03, 2014 11:22 am
Location: Rowland Heights, CA

Re: Maddog Manufacturing 2018 Production

Post by Duke Maddog »

Thanks guys! At least I'm able to do something to keep myself from going stark raving mad.... :headbang: :bag:
The Duke
Virtuoso of Miniatures

"Do you know what the chain of command is? It's the chain I get and beat you with 'till you understand who's in ruttin' command!"
-Jayne Cobb, Firefly Episode 2 "The Train Job"

We are modelers - the same in spirit, in hunger to insanely buy newly released kits, hustlers in hiding our stash from our better halves and experts in using garbage as replacements for after-market parts.
User avatar
speedgraflex
Moderator
Posts: 11358
Joined: Fri Feb 10, 2017 11:08 pm
Contact:

Re: Maddog Manufacturing 2018 Production

Post by speedgraflex »

Mark! Great progress! I am following along and learning from your work. I noted the center doors on the Hellcat in the dedicated work in progress build... Cheers!
Make more models!
User avatar
Duke Maddog
Elite Member
Posts: 7669
Joined: Tue Jun 03, 2014 11:22 am
Location: Rowland Heights, CA

Re: Maddog Manufacturing 2018 Production

Post by Duke Maddog »

Once again, here is a small update showing what I was able to get done over this past weekend. I tried this time to get further along on a couple models I'd been neglecting or having trouble with. I also started another ship since I seem to be all fired up to increase my naval forces some more. Building ships has become quite appealing to me lately.


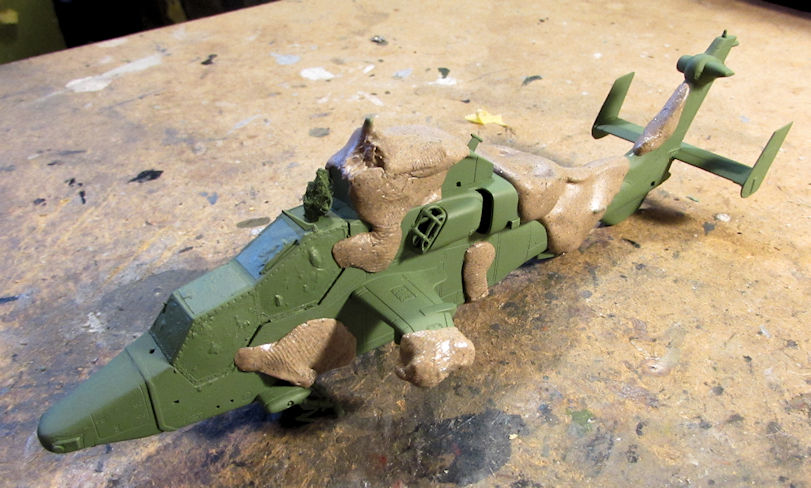
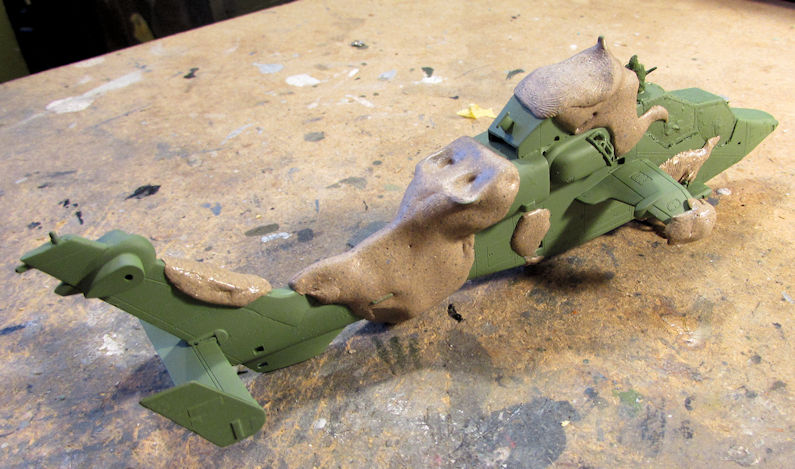
I'll start with the one aircraft I worked on. This is the Australian HAP Tigre I'd started some time ago. I had base coated this in the green color and then started to mask it. I finally finished the masking on this helicopter:

Image

Image

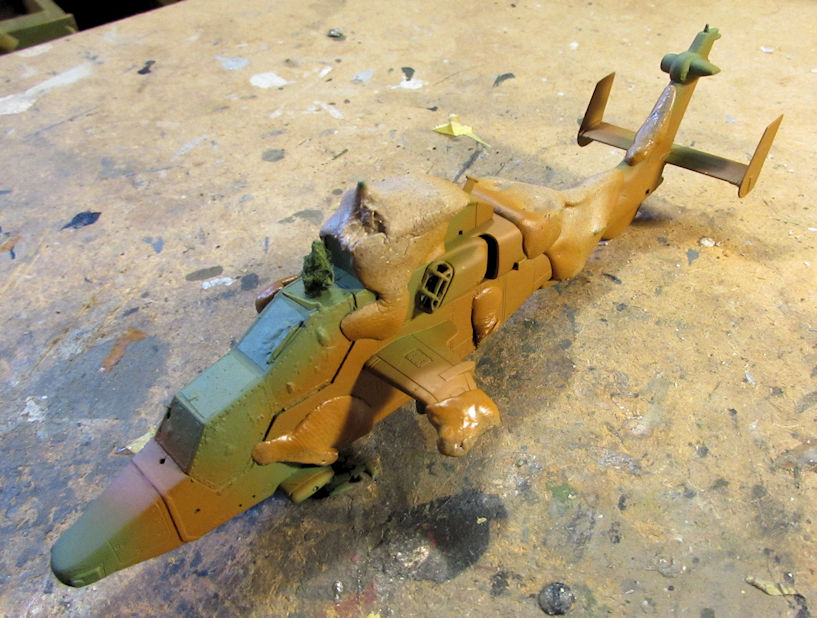
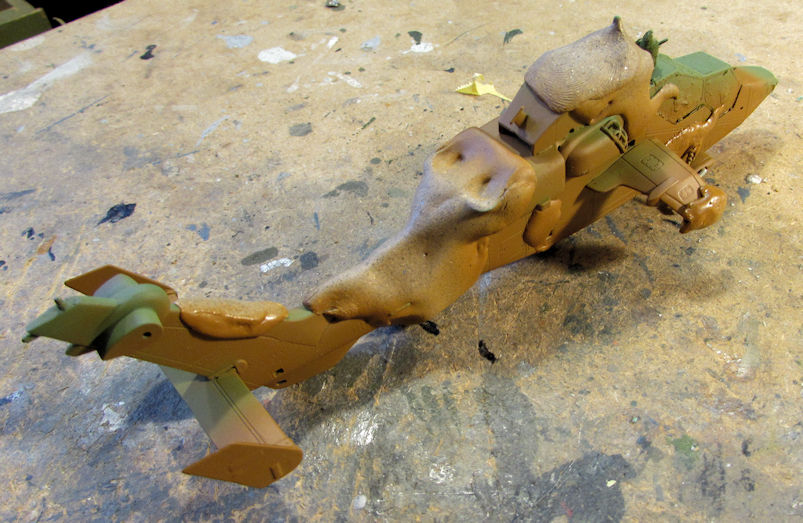
Next I shot the second color on this:

Image

Image

There's a third color I need to add so I'll have to continue to mask the brown before I shoot the light black. Hopefully I'll be able to do that tomorrow. Then I'll be able to clearcoat this for decals.


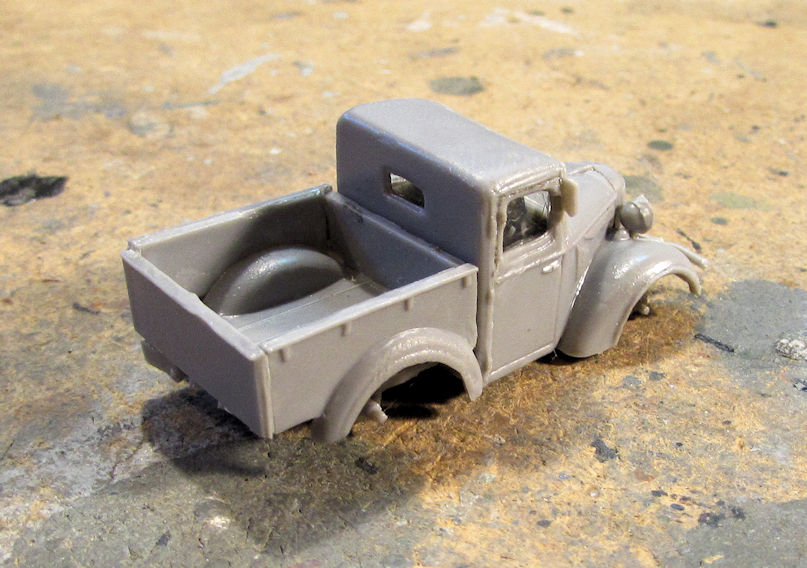
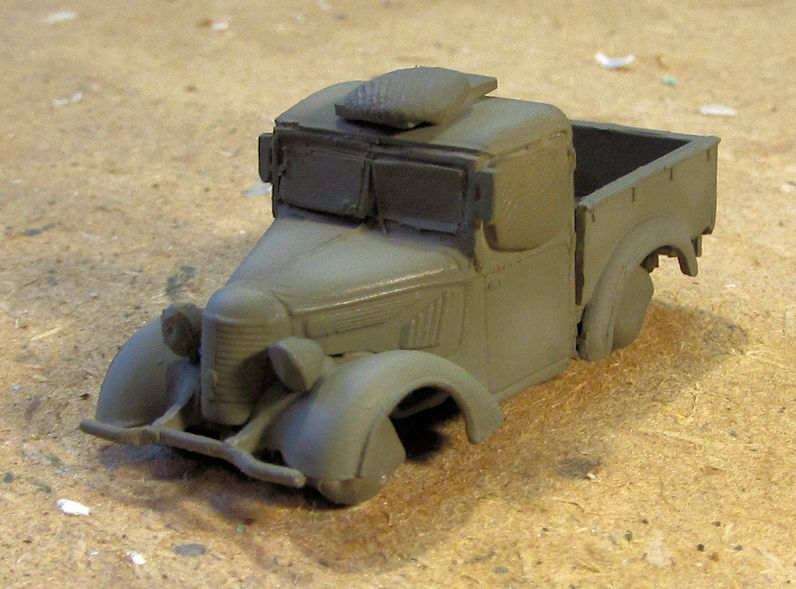
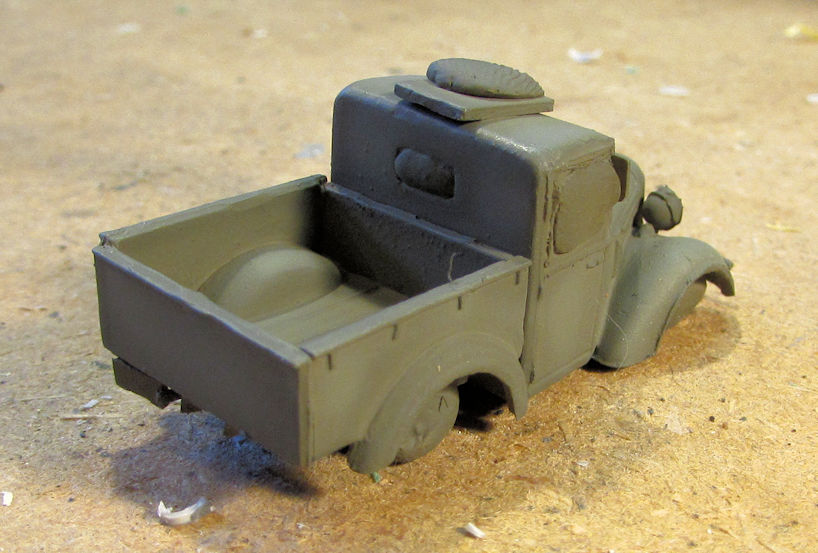
Moving on to my armor this time, I finally managed to win the fight with the cab of the Kurogane pickup. This thing is together now:

Image

I then glued it into place on the chassis:

Image

Image

Once that was dry to my satisfaction, I masked off the windows in preparation for paint:

Image

I then masked off the wheel posts on the underside so the wheels would glue better:

Image

Finally, this has paint! I even tried to modulate the color a bit with some faded olive drab after I shot the basecoat. It is not all that visible in these pics, so you'll have to take my word for it:

Image

Image

The glob of Silly Putty on the roof panel is to cover the spot where the spare tire goes. I want it to be able to glue as well.

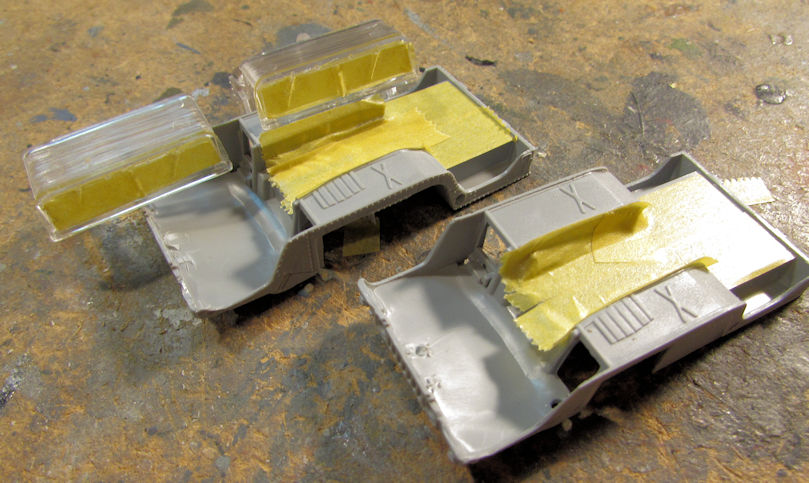
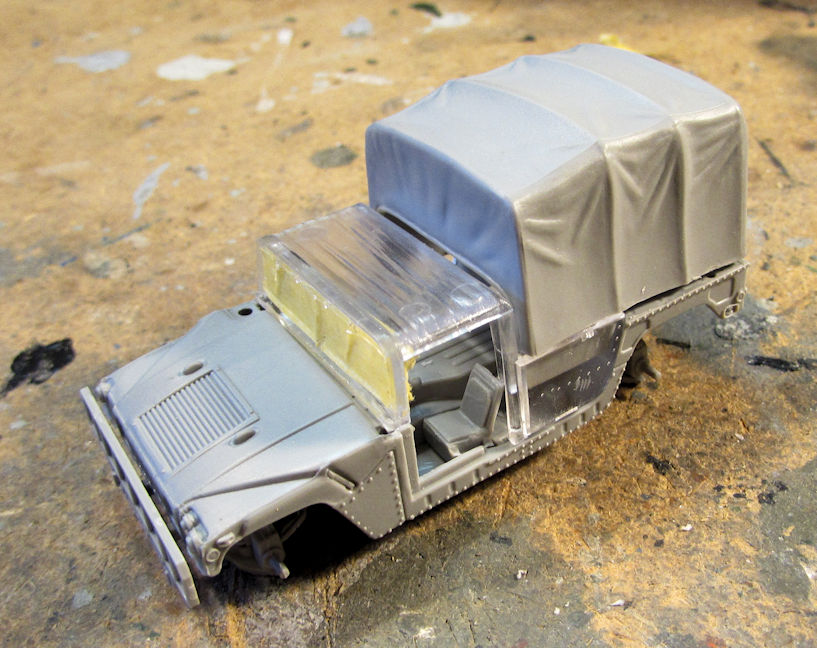
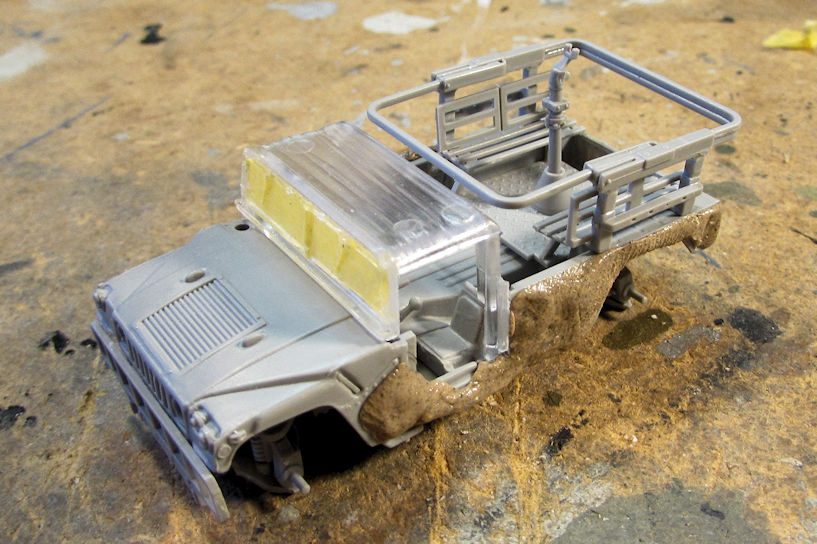
Moving on from that, I worked on my two Humvees since I wanted to do something easy after all that fight with the Japanese pickup. To start, I masked off the areas that I didn't want paint on:

Image

I had to mask off the inside of the cabs as well to keep the windows clear. After that I dry-fit the cabs onto their respective chassis to see how things fit:

Image

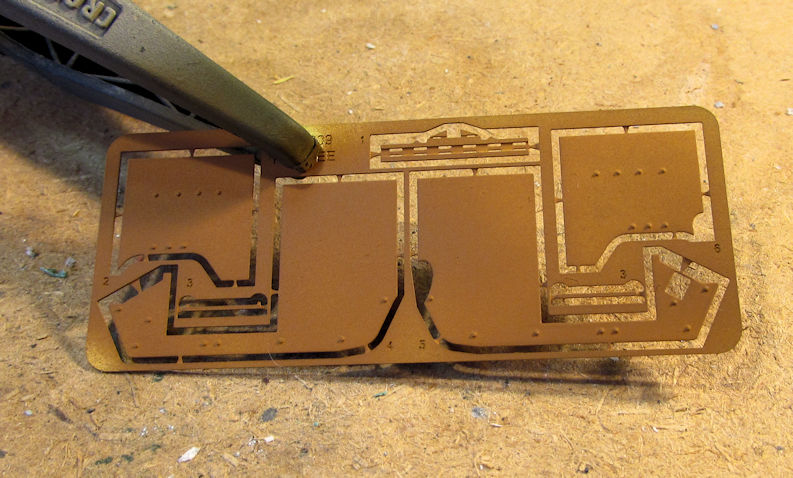
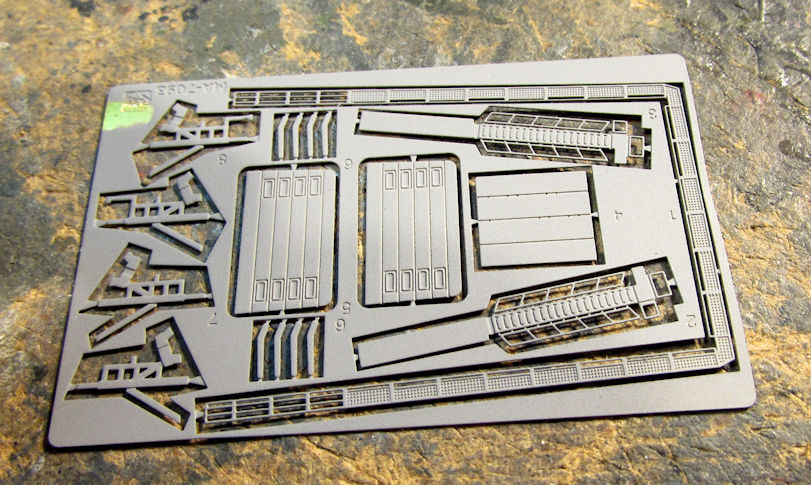
You can see that I masked off the sides of this one with the Silly Putty. That is where the photo-etch armor pieces will go, so I wanted to make sure they would glue well:

Image

Speaking of armor plate; I sprayed them in the rusty brown color I'm seeing in the box art pics:

Image

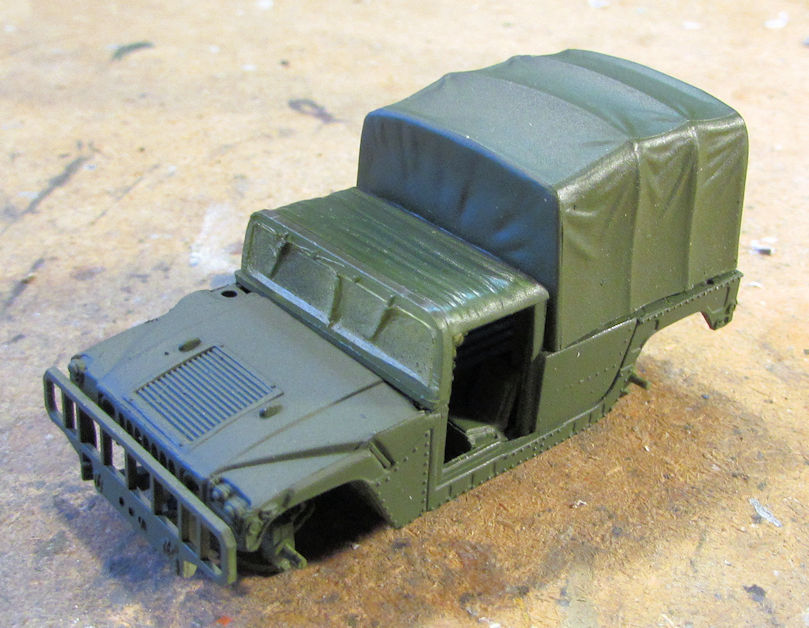
Now these two Humvees have basecoats:

Image

Image

Image

Image

You can see I haven't shot paint on the top side of the cabs. I had these taped upside down to shoot the paint so they wouldn't get blown away by the airbrush. I should have no problem shooting more paint later. The troop carrier with the tilt will be painted a three-tone NATO pattern while the gun truck will be only in green.


Moving on to my shipyards, I started out by shooting the photo-etch parts for the HMS Daring destroyer:

Image

There's only a few of those parts I'll use.

Next, I painted the hull and deck of the USS Bootes Liberty ship after adding most of the little greeblies it needs:

Image

Later I did the same with the Japanese fleet oiler:

Image

Both of these ships have been clearcoated for decals.


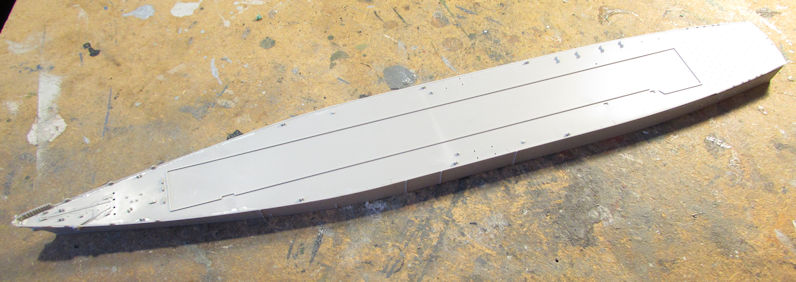
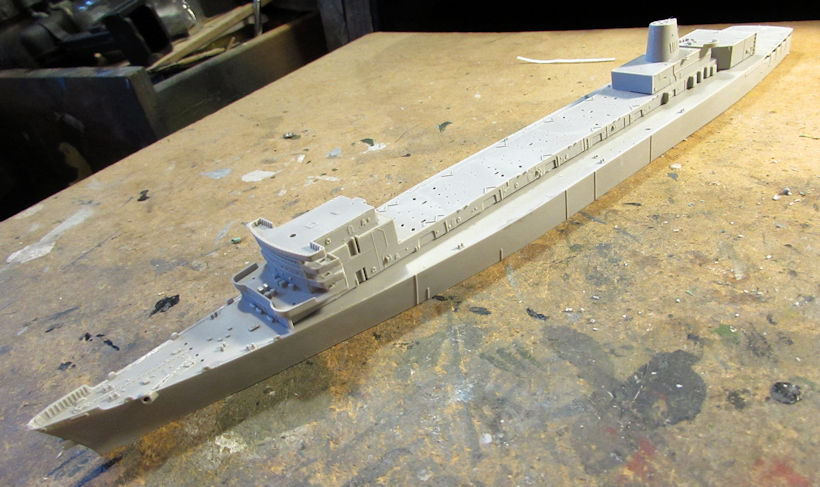
Finally, my shipyards laid down the keel of yet another ship. This is one I'd been wanting to build for awhile, so I pulled it out and started it. This is the USS Sacramento an AOE unrep ship. I started of course, by adding the deck to the main hull:

Image

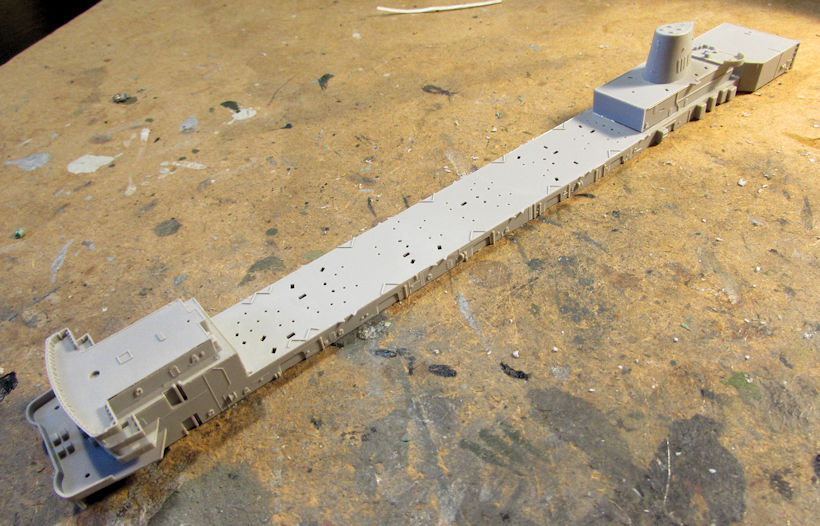
Next I built the main superstructure which stretches almost the entire length of the ship:

Image

There's a disturbing number of holes on the top of that superstructure....

Here's how it looks all dry-fit together:

Image

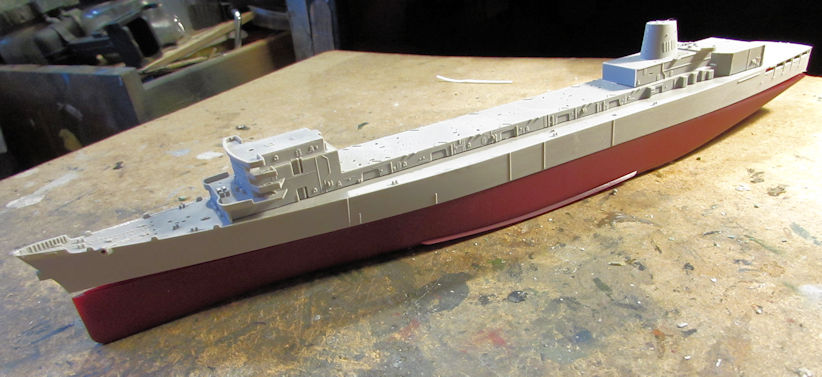
I also test fit the lower hull to see if I wanted to make this a full-hulled version. I was surprised at the deep draft of this ship:

Image


That's all I have for this weekend. I'll see what else I can get done this coming week. Until then, comments are welcome, thanks for looking in.
The Duke
Virtuoso of Miniatures

"Do you know what the chain of command is? It's the chain I get and beat you with 'till you understand who's in ruttin' command!"
-Jayne Cobb, Firefly Episode 2 "The Train Job"

We are modelers - the same in spirit, in hunger to insanely buy newly released kits, hustlers in hiding our stash from our better halves and experts in using garbage as replacements for after-market parts.
Post Reply

Return to “Member's Gallery”