Maddog Manufacturing 2018 Production

Show off your completed work! One or two pictures and a brief explanation. Let others have a quick look at your finished masterpieces!
User avatar
Duke Maddog
Elite Member
Posts: 7669
Joined: Tue Jun 03, 2014 11:22 am
Location: Rowland Heights, CA

Re: Maddog Manufacturing 2018 Production

Post by Duke Maddog »

speedgraflex wrote:Mark! Great progress! I am following along and learning from your work. I noted the center doors on the Hellcat in the dedicated work in progress build... Cheers!

Thanks Bruce. You must have posted while I was still formulating my latest progress post before this one.
The Duke
Virtuoso of Miniatures

"Do you know what the chain of command is? It's the chain I get and beat you with 'till you understand who's in ruttin' command!"
-Jayne Cobb, Firefly Episode 2 "The Train Job"

We are modelers - the same in spirit, in hunger to insanely buy newly released kits, hustlers in hiding our stash from our better halves and experts in using garbage as replacements for after-market parts.
User avatar
speedgraflex
Moderator
Posts: 11358
Joined: Fri Feb 10, 2017 11:08 pm
Contact:

Re: Maddog Manufacturing 2018 Production

Post by speedgraflex »

Image
Image


SKETCH SKIN LOWER WING WITH RED HIGHLIGHTER FOR POSITION

Image
Make more models!
User avatar
Duke Maddog
Elite Member
Posts: 7669
Joined: Tue Jun 03, 2014 11:22 am
Location: Rowland Heights, CA

Re: Maddog Manufacturing 2018 Production

Post by Duke Maddog »

Bruce, this should be in the dedicated Thread, not here. Still, this is good information, thanks for posting this. However, the part in question is not the highlighted part with all the little circles in it; it is the clear/white portion between your red highlighted part and the wheel gear door. That is the part that has no attachment points on the model to glue to. See the dedicated thread where I reference the banana-shaped part that has no place to be glued. Thanks again for the great info Bruce.
The Duke
Virtuoso of Miniatures

"Do you know what the chain of command is? It's the chain I get and beat you with 'till you understand who's in ruttin' command!"
-Jayne Cobb, Firefly Episode 2 "The Train Job"

We are modelers - the same in spirit, in hunger to insanely buy newly released kits, hustlers in hiding our stash from our better halves and experts in using garbage as replacements for after-market parts.
User avatar
Duke Maddog
Elite Member
Posts: 7669
Joined: Tue Jun 03, 2014 11:22 am
Location: Rowland Heights, CA

Re: Maddog Manufacturing 2018 Production

Post by Duke Maddog »

Okay, I had some time to spare for a couple days so I spent a lot of time in my Hobby Room trying to get several models moved forward. Now that my camera battery is dead, I'll go ahead and upload what I have so far this weekend. I'll start with some of my aircraft first.

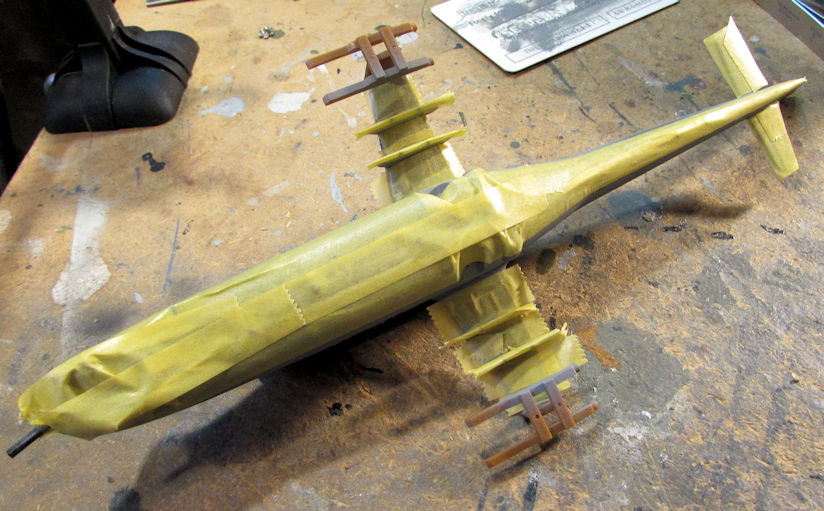
I had shot a grey underside on my Nigerian Hind, and then masked it off in preparation for the upper camouflage pattern:

Image

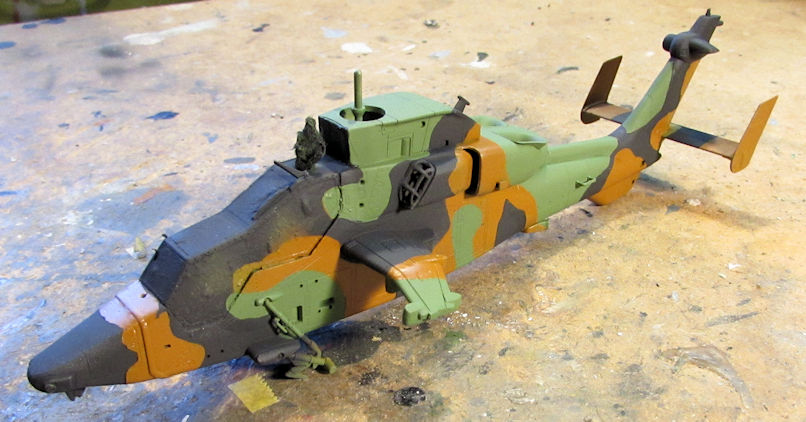
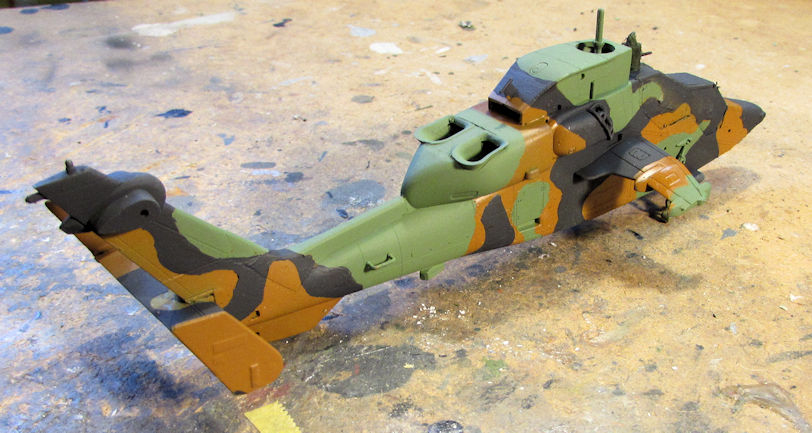
Speaking of upper camouflage patterns, I shot the final color on the Australian Tigre and then removed all the Silly Putty:

Image

Image

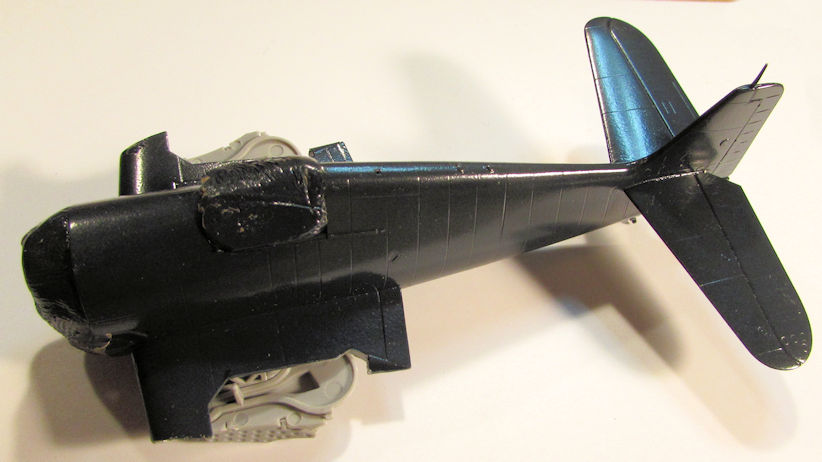
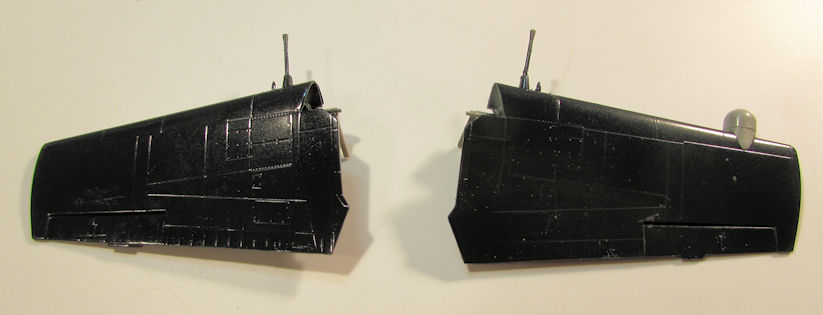
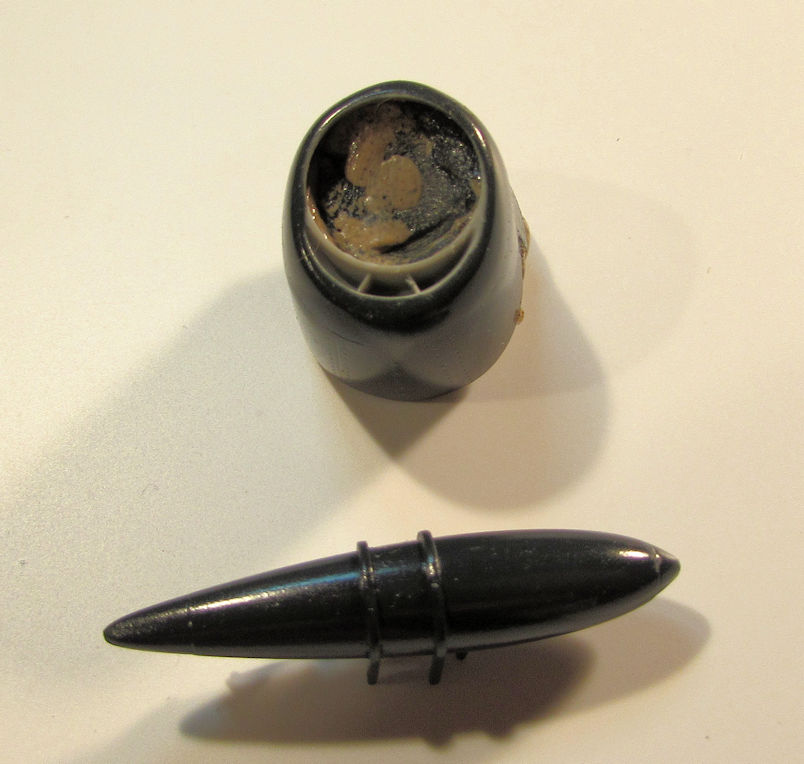
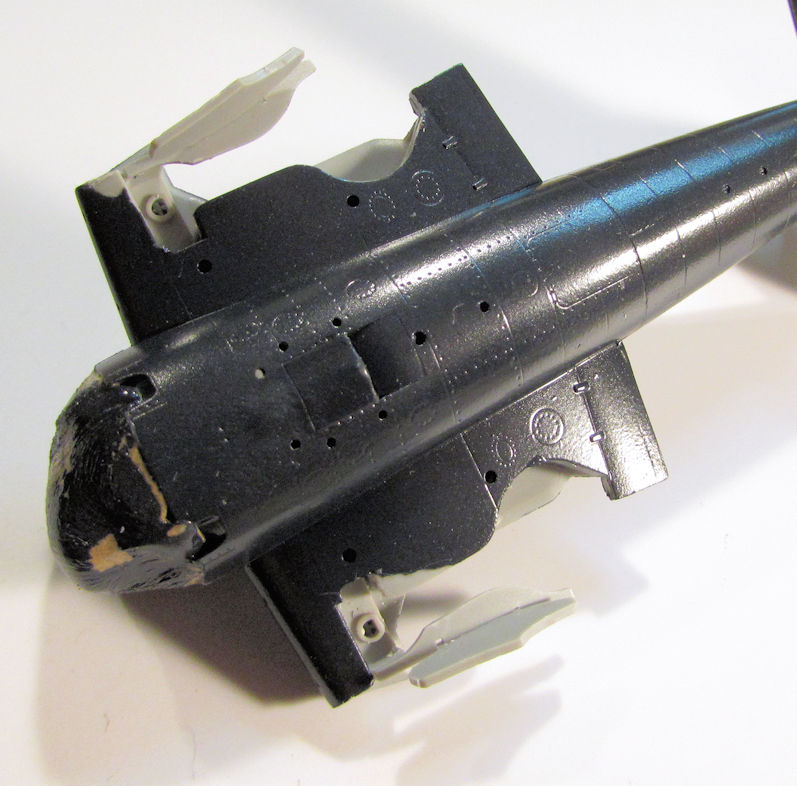
Moving on, I had finally shot paint on the F-6F Hellcat I'm building on commission. I had shot the whole thing in dark navy blue.

Fuselage:

Image

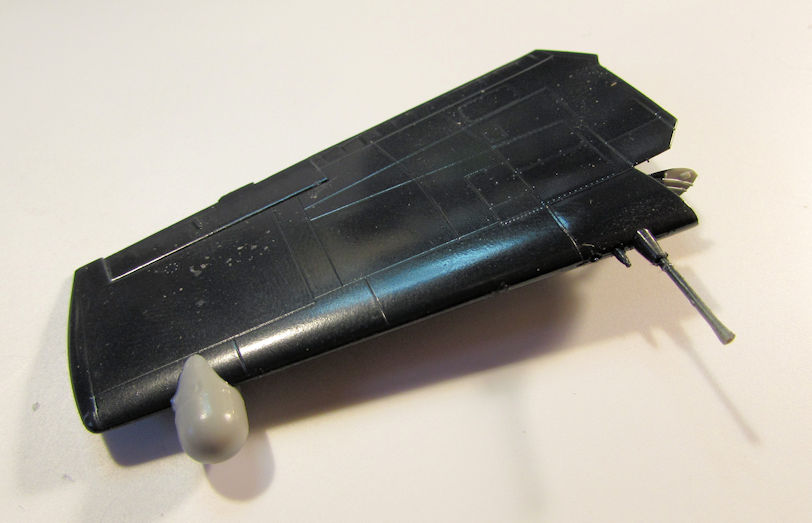
Wings:

Image

Afterward as you can see, I added the night fighting radar to the one wing since I'd forgotten to do it before painting.

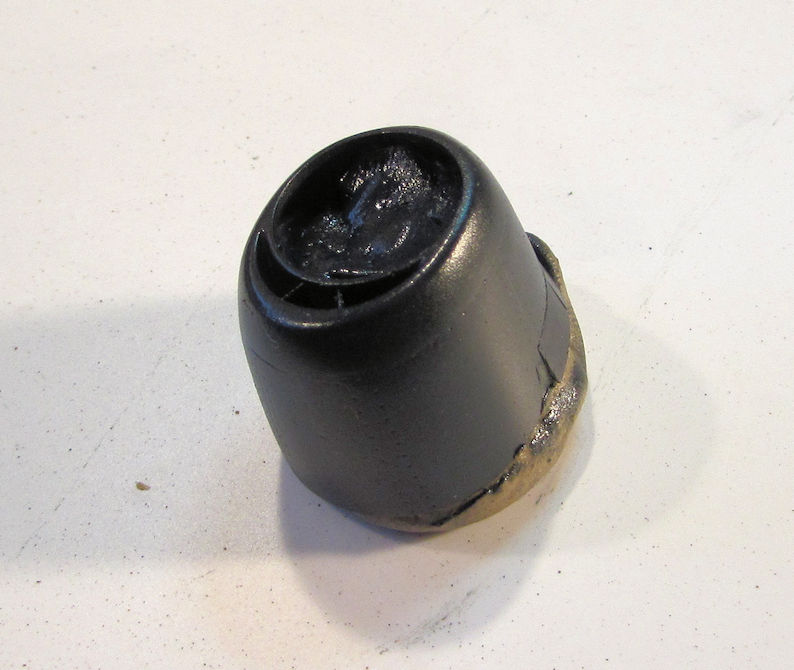
Cowl and drop tank:

Image

Cowl needs touchup, that'll happen...

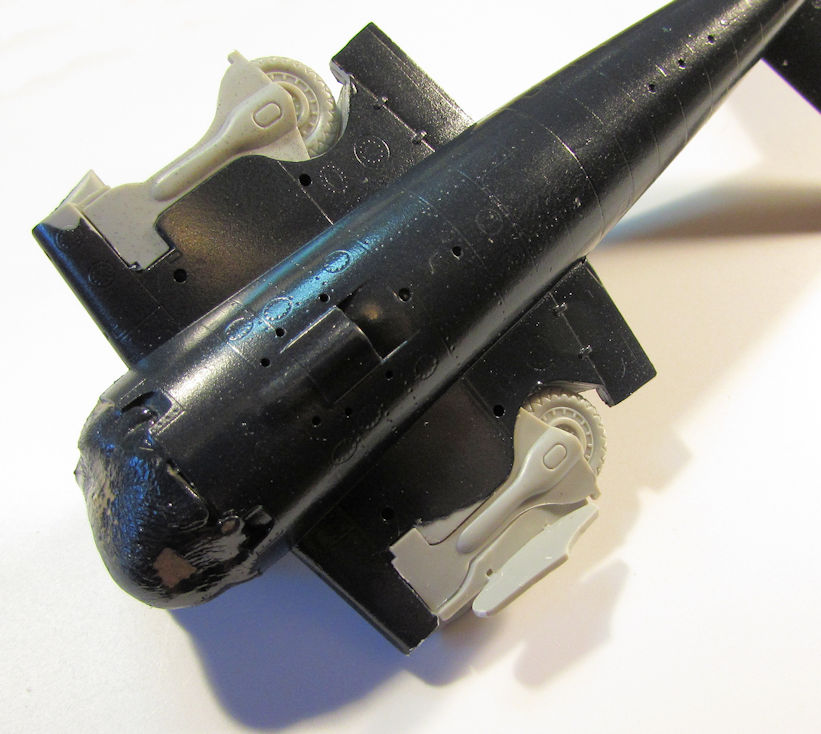
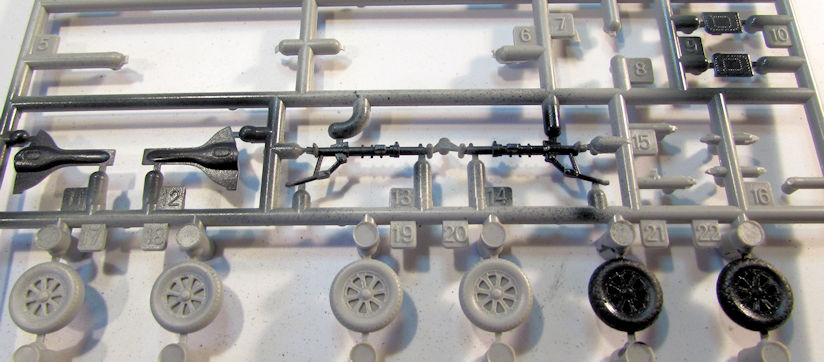
Next, I decided to attempt to glue in those parts B-7 through -10 that I couldn't figure out before. A pretty good idea struck me as to how I could get them to glue properly. After gluing the two parts together, I took the retracted landing gear parts and snapped them into place. Then I carefully glued the parts B-7 through -10 in place; lining them up with the 'retracted' landing gear:

Image

Later, when I snapped off the retracted gear parts, the two sections stayed in place where they are supposed to go:

Image

Here's another shot of the wing that got the radar pod:

Image

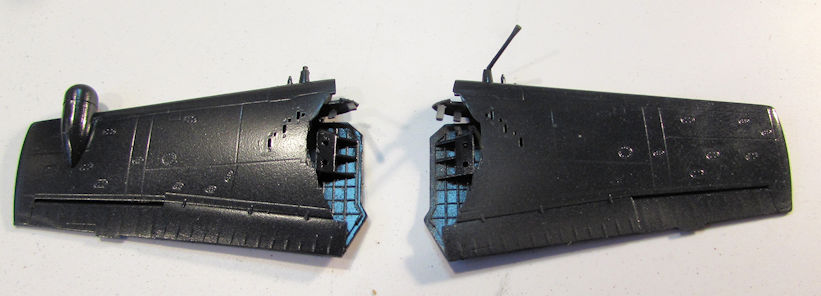
After getting more information about the interior section of the wing fold being dark blue like the rest of the plane; I shot a new coat of blue on the bare sections, as well as touched up other places. Here's the cowl:

Image

Here's the wings:

Image

As you can see, whoever mentioned the long gun barrels being prone to breakage cursed me! Gonna have to replace these as I lost the one completely.

The wheels, struts and landing gear doors were next:

Image

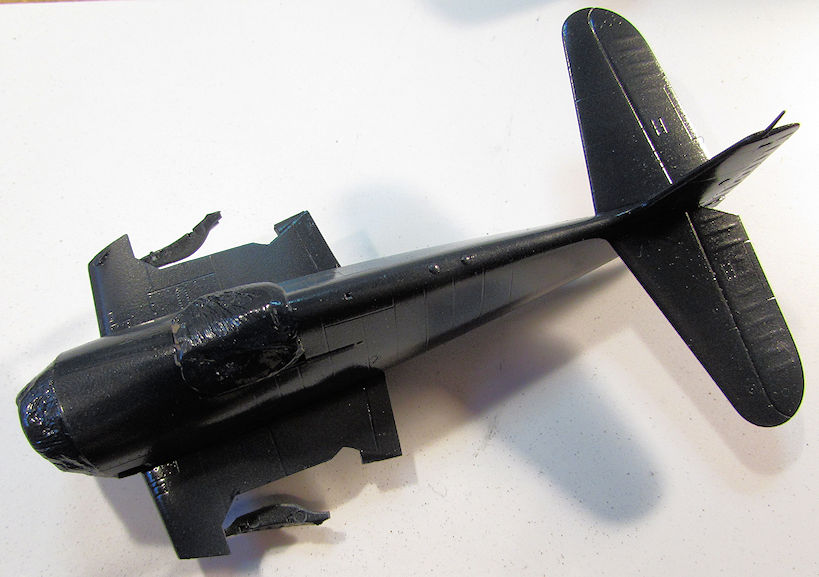
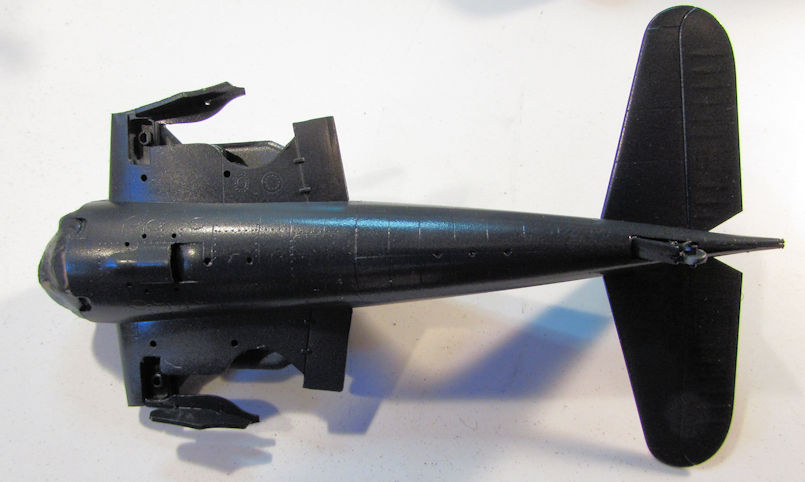
And finally, the fuselage top and bottom:

Image

Image

Some of that paint got a little dull so I'll have to go over it again. Then hopefully I'll be able to apply the decals.


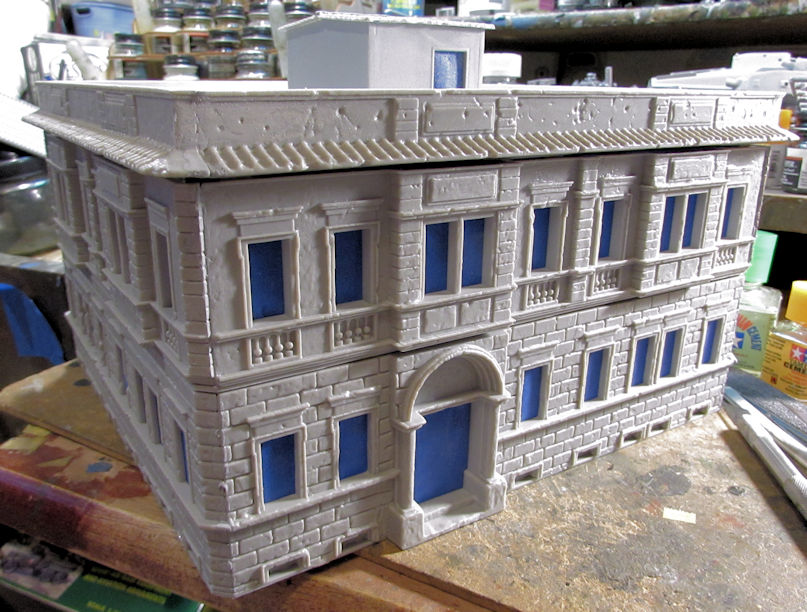
Moving on from there, I decided to do something simple and almost mindless. I had two buildings waiting for paint so it was time to get that done. First I masked the windows (and the hole in the roof) from inside on both the train station and the Berlin House:

Image

Image

Yeah, in that second pic, you can see the Federal Disaster Area that is my workbench right now.

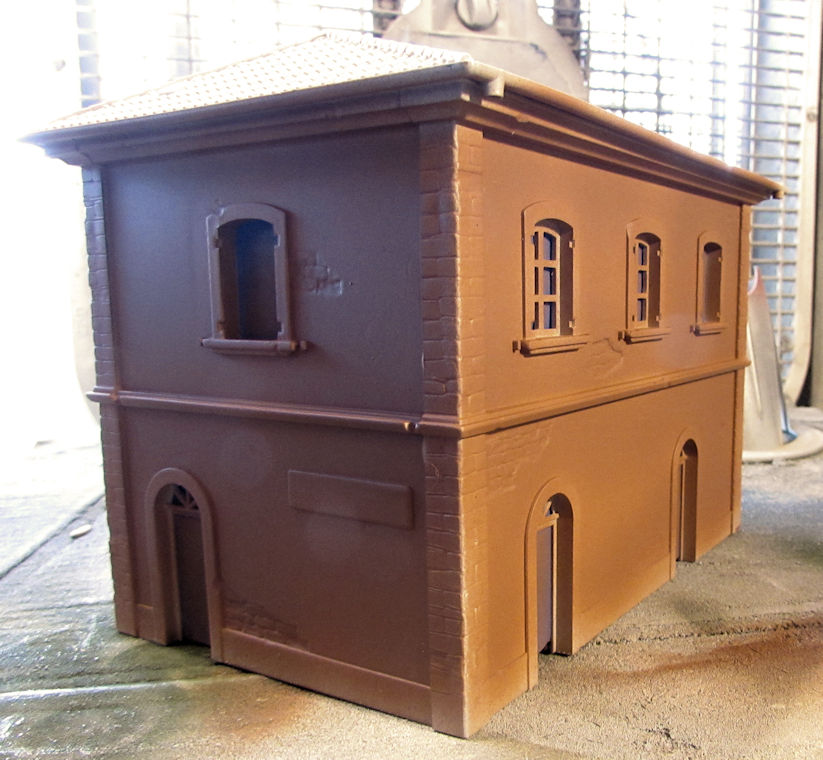
Next I shot the basecoat on the train station:

Image

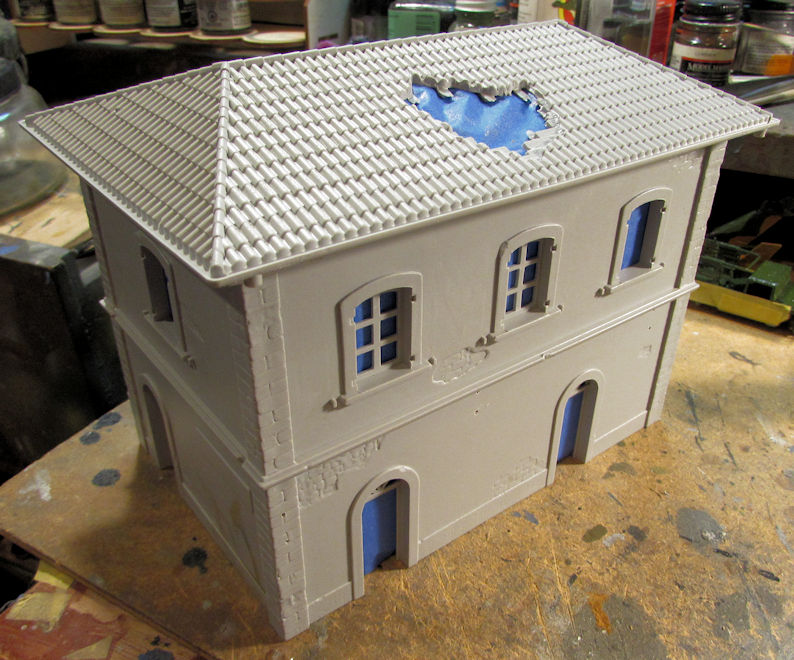
I used the same color for the upper story of the Berlin House as well:

Image

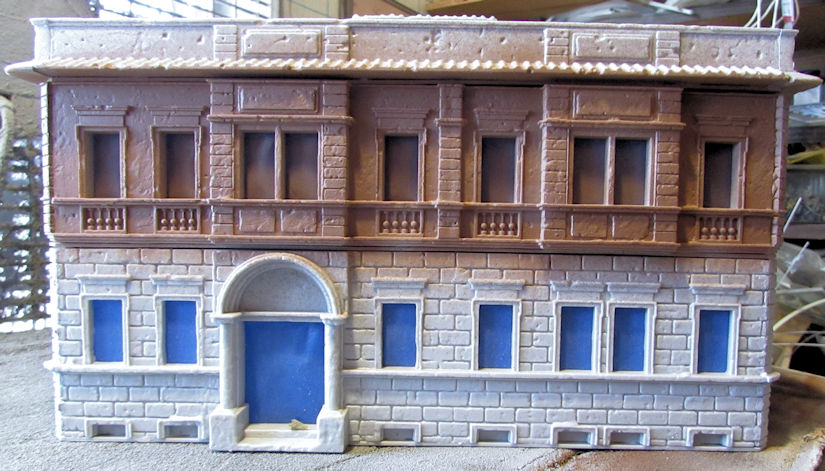
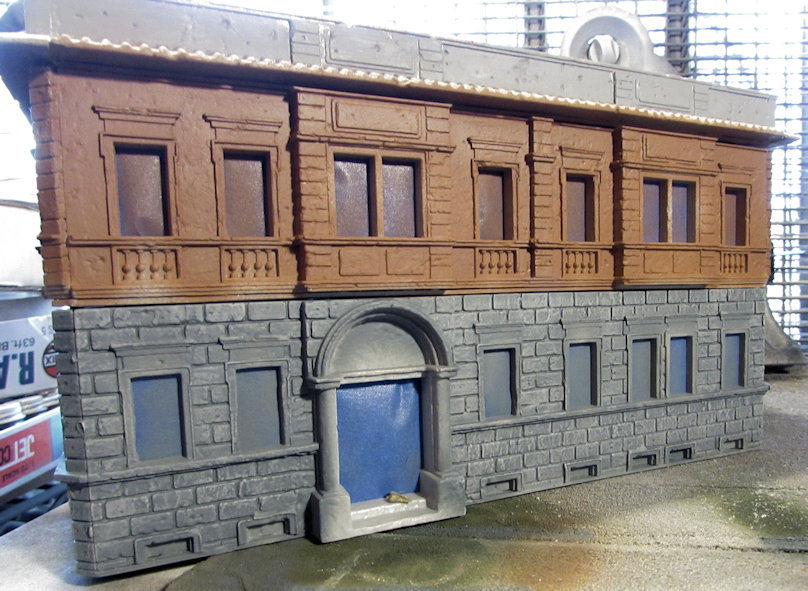
I then used an RAF Ocean Grey for the bottom story as a base coat:

Image

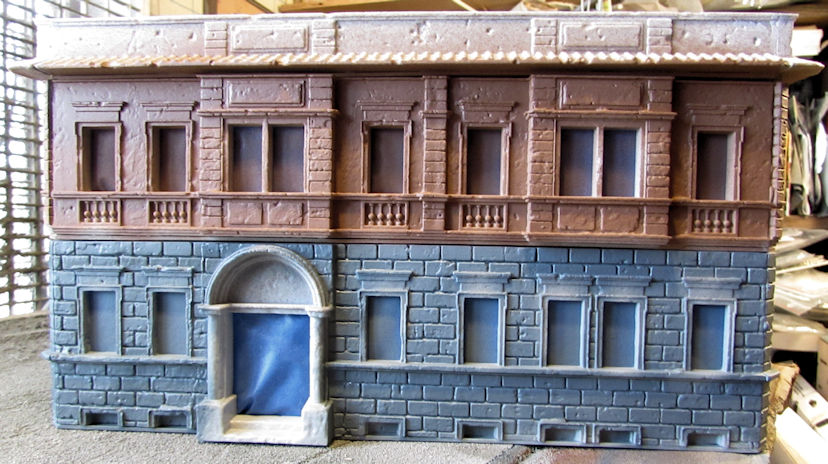
Later I used a medium grey to dry-brush the bricks on the lower story, as well as paint the top section around the roof:

Image

This is looking quite nice already if I do say so myself. Now where is that church I also have.....

Okay, that's all I have for this short update. Thanks all for looking in, comments are welcome.
The Duke
Virtuoso of Miniatures

"Do you know what the chain of command is? It's the chain I get and beat you with 'till you understand who's in ruttin' command!"
-Jayne Cobb, Firefly Episode 2 "The Train Job"

We are modelers - the same in spirit, in hunger to insanely buy newly released kits, hustlers in hiding our stash from our better halves and experts in using garbage as replacements for after-market parts.
User avatar
BlackSheep214
Elite Member
Posts: 13418
Joined: Sun Apr 06, 2014 8:47 pm

Re: Maddog Manufacturing 2018 Production

Post by BlackSheep214 »

Loving the progress on the builds especially the Hellcat. Glad to see you got the piece figured out and glued. Look into getting metal gun barrels for the Hellcat. Master Model has the best products for gun barrels. Check it out.
“Who controls the skies, controls the fate of this Earth”

Author unknown- 352nd Fighter Group, Blue-Nosed Bastards of Bodney

“Send one plane it’s a sortie; send two planes it’s a flight; send four planes it’s a test of airpower. - Richard Kohn
User avatar
KSaarni
Elite Member
Posts: 5621
Joined: Sun Apr 06, 2014 7:13 am
Location: Gent, Belgium
Contact:

Re: Maddog Manufacturing 2018 Production

Post by KSaarni »

Maddoc Manufacturing never lets down!

Again something more or a less totally new, buildings!

So dramatic transformation with the buildings after you added a layer of paint! Looking truly realistic!

I would have, if I may say so, painted also the cornerstones on the 2nd floor in same grey as the 1st floor, maybe also the stones next and between the windows..

But more of these extremely unusual subjects please!

- Kari
---
On the bench:

MiniArt 1:48 - Junkers F13 Float Plane


https://www.facebook.com/GrundAsk-Scale ... 721218708/
User avatar
Duke Maddog
Elite Member
Posts: 7669
Joined: Tue Jun 03, 2014 11:22 am
Location: Rowland Heights, CA

Re: Maddog Manufacturing 2018 Production

Post by Duke Maddog »

Thanks for the great replies!

Blacksheep, Bruce has a set of guns for the Hellcat coming to me. They should be here in the first week of October. Thanks for the compliments!

Kari, thanks! I like the idea of painting the cornerstones on the Berlin House the same color as the first floor stones. I'll do that. I was planning on doing a lighter grey on the stones around the windows though. The wood frame parts will be painted a very off-white too. Thanks again for the tips. As for more of these unique subjects; I do hope to find the Italeri church that I have and get started on it soon too.

Stay tuned guys, more to come.
The Duke
Virtuoso of Miniatures

"Do you know what the chain of command is? It's the chain I get and beat you with 'till you understand who's in ruttin' command!"
-Jayne Cobb, Firefly Episode 2 "The Train Job"

We are modelers - the same in spirit, in hunger to insanely buy newly released kits, hustlers in hiding our stash from our better halves and experts in using garbage as replacements for after-market parts.
User avatar
Duke Maddog
Elite Member
Posts: 7669
Joined: Tue Jun 03, 2014 11:22 am
Location: Rowland Heights, CA

Re: Maddog Manufacturing 2018 Production

Post by Duke Maddog »

Here's another large update showing all the work I got done in my Hobby Room since Monday. This is a long one so I'll be breaking this update into two posts. My aircraft will be in the first one, then my armor/vehicles and ships will be in the second one.


Without further ado, let's start our tour of the hanger....

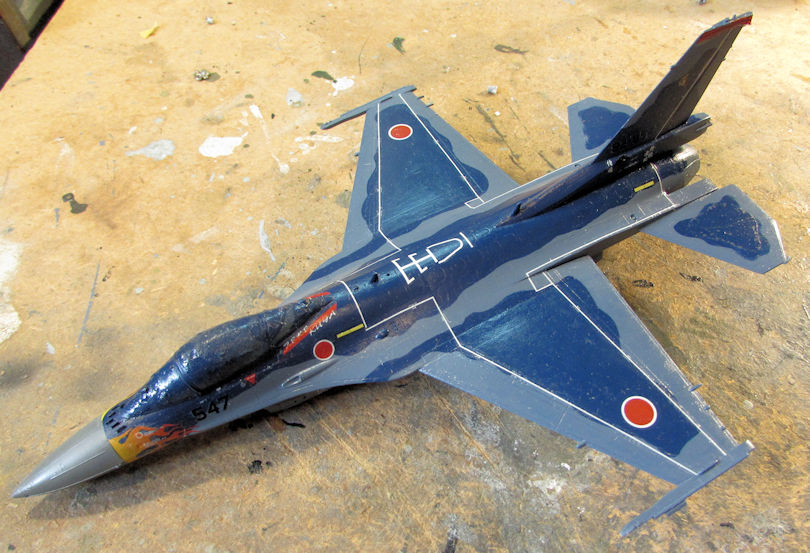
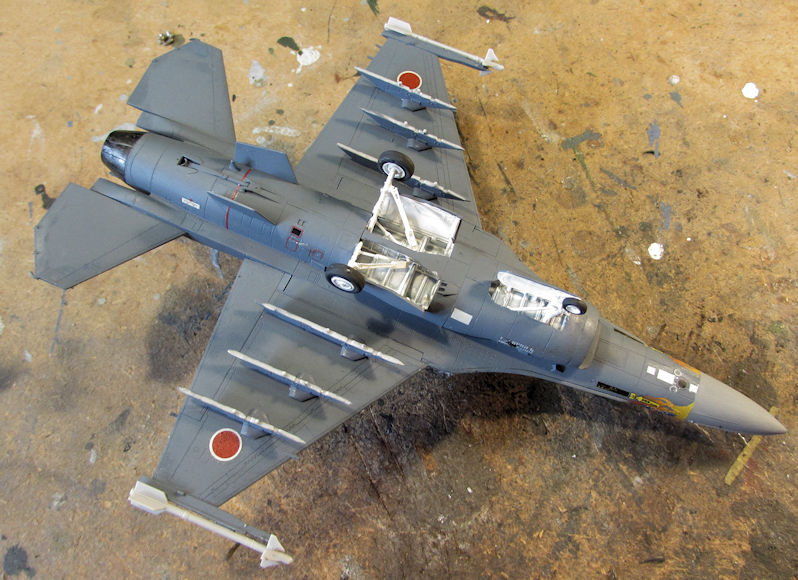
I started with the Japanese F-2A since it was so close to being done. I applied all the decals to this first:

Image

After they dried, I shot a dullcoat to seal them, once I finished adding Solvaset to them to remove the silvering. I seem to have a lot of problems with silvering lately for some odd reason; despite my use of clear glosscoats....

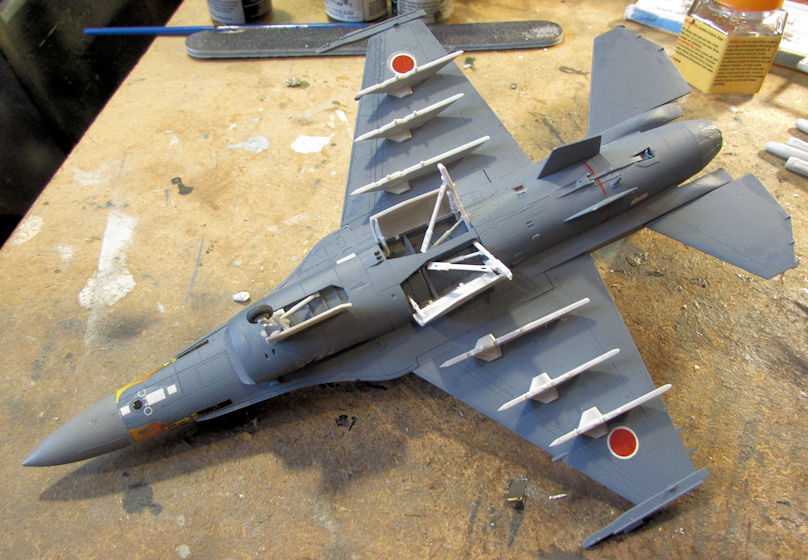
After that, I added the landing gear and gear doors, along with the wing pylons:

Image

Later, I painted the interior of the wheel wells white, along with the landing gear. I also painted the exterior of the doors and the pylons in Intermediate Blue to match the underside:

Image

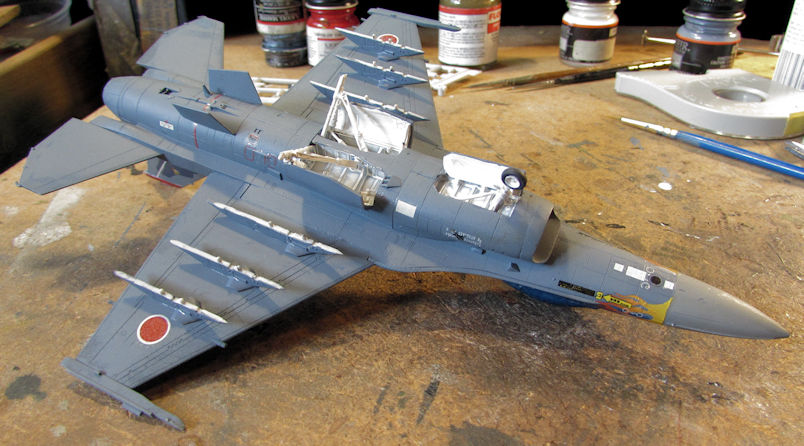
Finally, I added the main wheels to the landing gear and added the missiles to the wingtips. Later I might add more ordinance to the underside of this aircraft but for now, I'm happy to leave it as is:

Image


That's one down.....


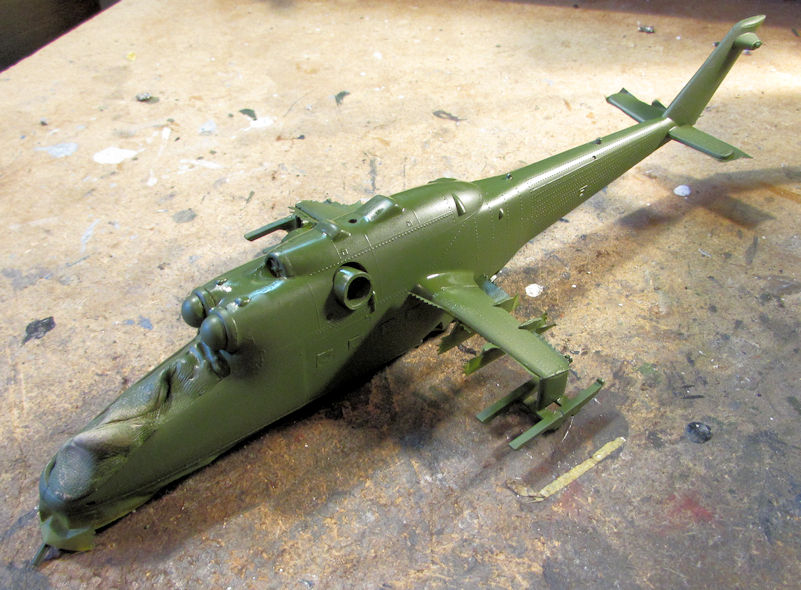
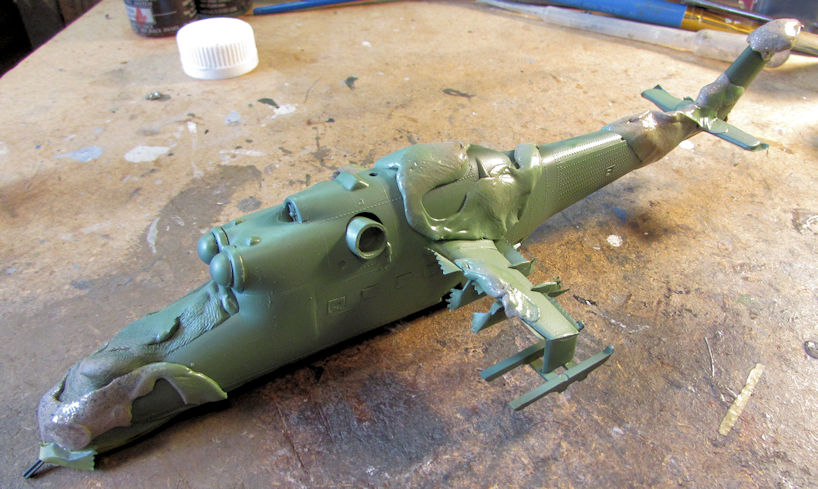
Next, I pulled out my Nigerian Mi-24 Hind that I've been attempting to pull off the shelf of shame. Previously, this helicopter was shot with grey on the underside and then the windows and underside were masked to get this ready for paint. So, out came the airbrush and the first base color was painted on:

Image

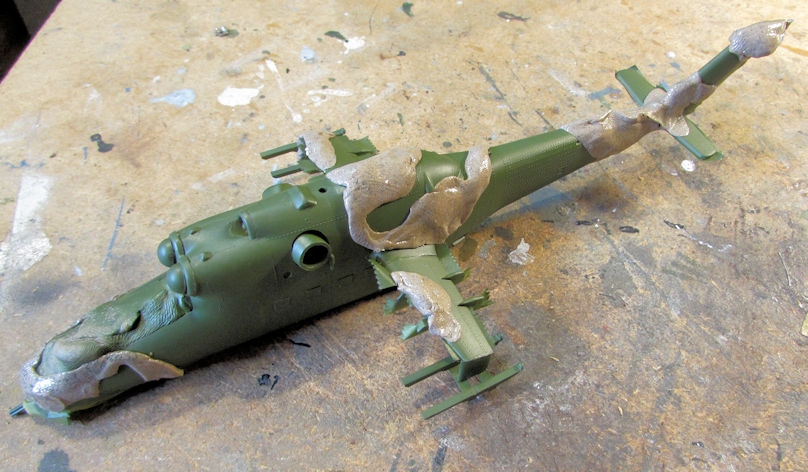
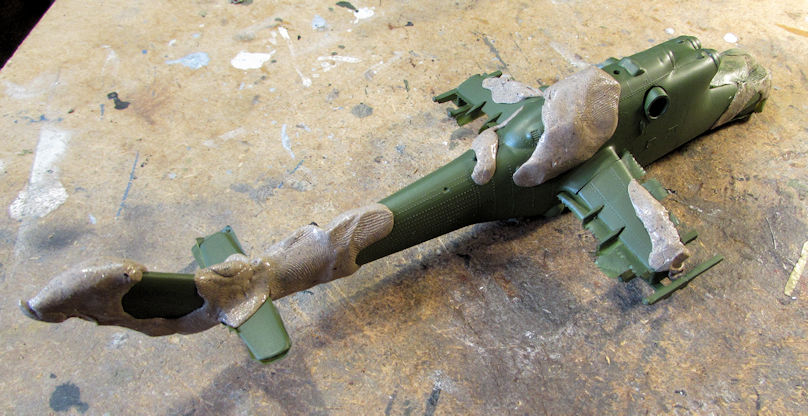
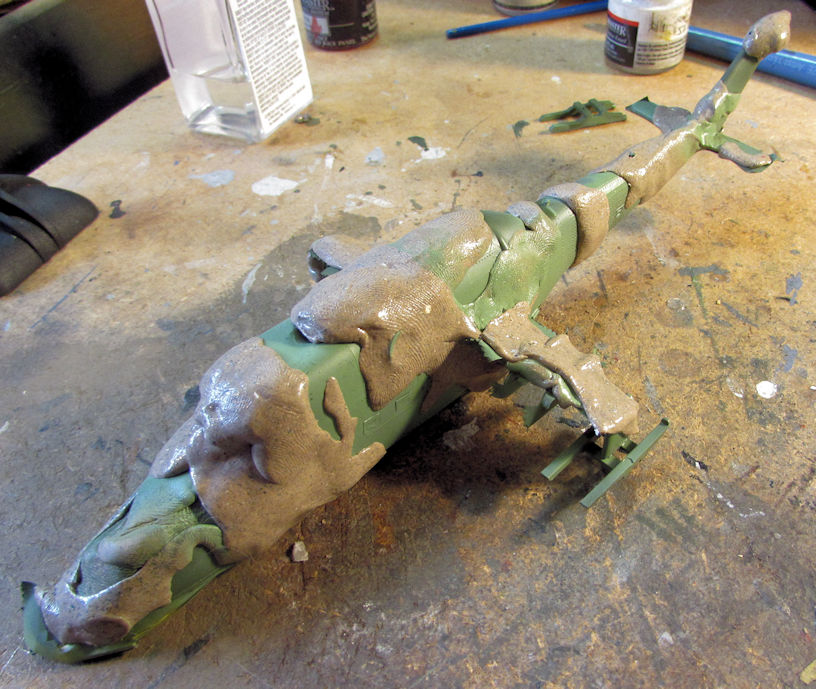
Once that dried, I applied the first layer of Silly Putty to cover the medium green and get this ready for the second color:

Image

Image

After that, I shot the pale green on this:

Image

It's kinda hard to see the difference here in this light, but I assure you it is a different color.

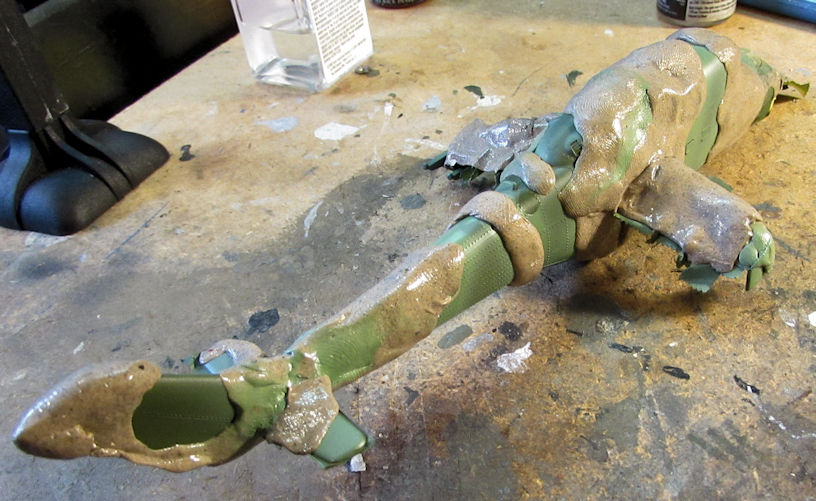
Next I extended the Silly Putty mask to cover the pale green:

Image

Image

The next color was Sand that was sprayed on:

Image

Image

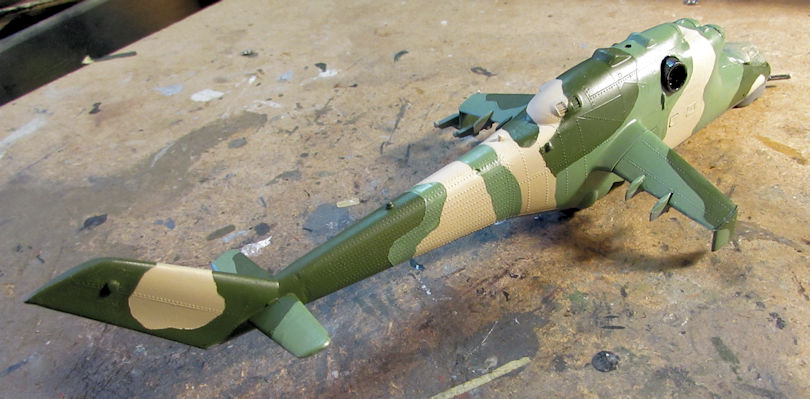
Now all three colors were finished. after it all dried, it was time to remove all that masking...

Here's the final result:

Image

Image

Pretty impressive scheme if I do say so myself. I like these unique camouflage patterns.

Okay, that completes my aircraft update, now it's time to check out the motor pool and shipyards in the next post.

Part I complete, on to Part II...
The Duke
Virtuoso of Miniatures

"Do you know what the chain of command is? It's the chain I get and beat you with 'till you understand who's in ruttin' command!"
-Jayne Cobb, Firefly Episode 2 "The Train Job"

We are modelers - the same in spirit, in hunger to insanely buy newly released kits, hustlers in hiding our stash from our better halves and experts in using garbage as replacements for after-market parts.
User avatar
Duke Maddog
Elite Member
Posts: 7669
Joined: Tue Jun 03, 2014 11:22 am
Location: Rowland Heights, CA

Re: Maddog Manufacturing 2018 Production

Post by Duke Maddog »

Now for Part II.

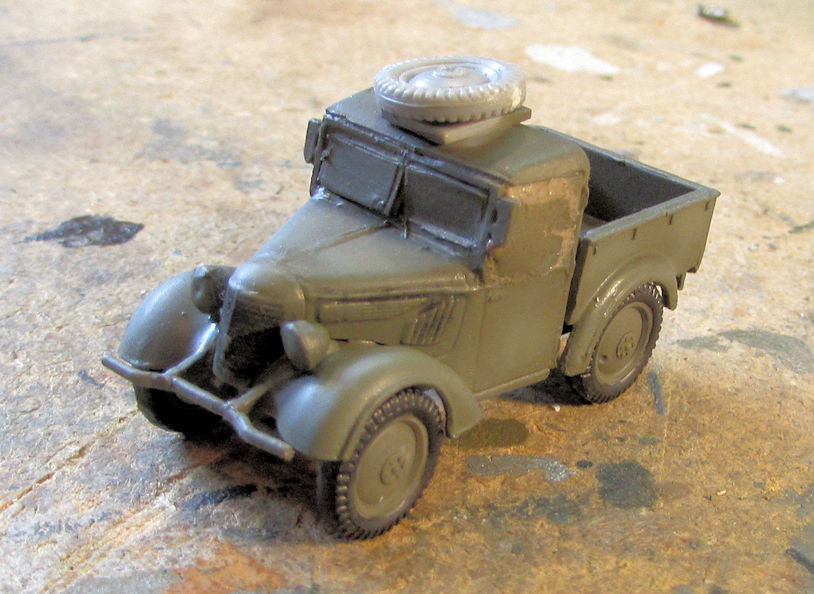
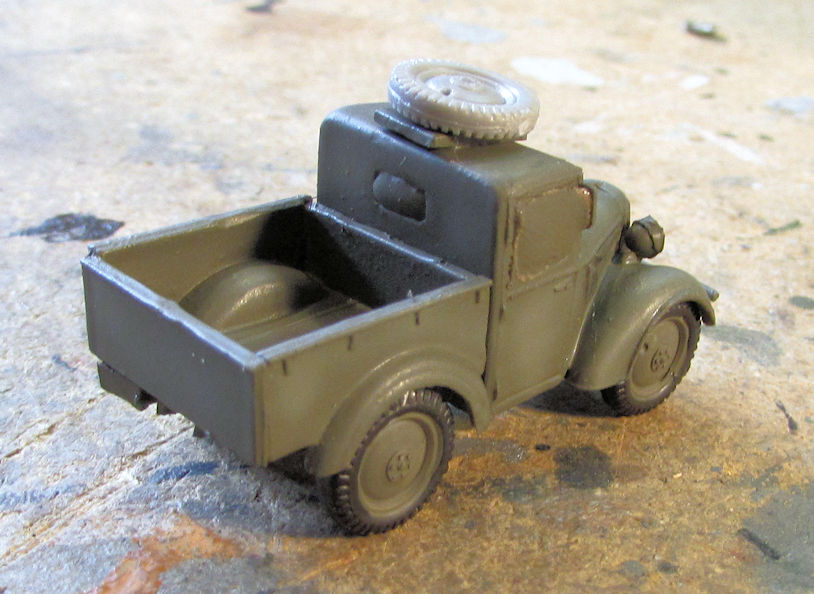
Let's now take a tour of the motor pool to see the latest progress I got done on my vehicles I've been working on. I'll start with the little Japanese Kurogane pickup truck. The fight with this little beastie is almost over. I got the wheels all installed on it and now it is ready for touch up painting and weathering:
Image

Image


And that's another one down....

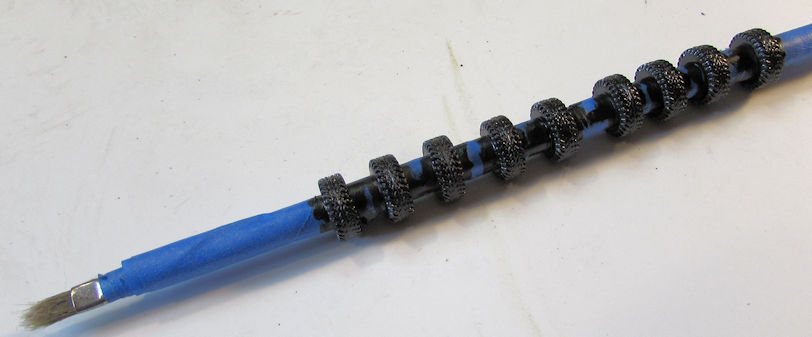
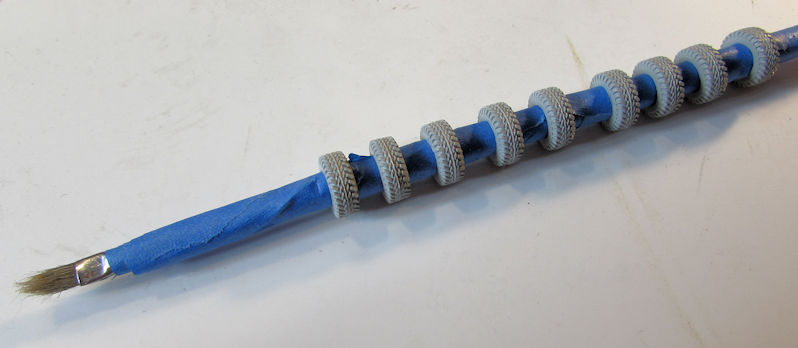
Next I started work on the two Humvees. To start with, I pulled the wheels out of the bag to paint. I wondered how I was going to do this since they were packed all loose in a baggie. Finally, I hit upon an idea: I taped a large paint brush handle to make it thick enough to hold these tires and then slipped them on:
Image

Painting was a snap after that:

Image

Later I wondered why I painted them in the first place but you'll see why later on...

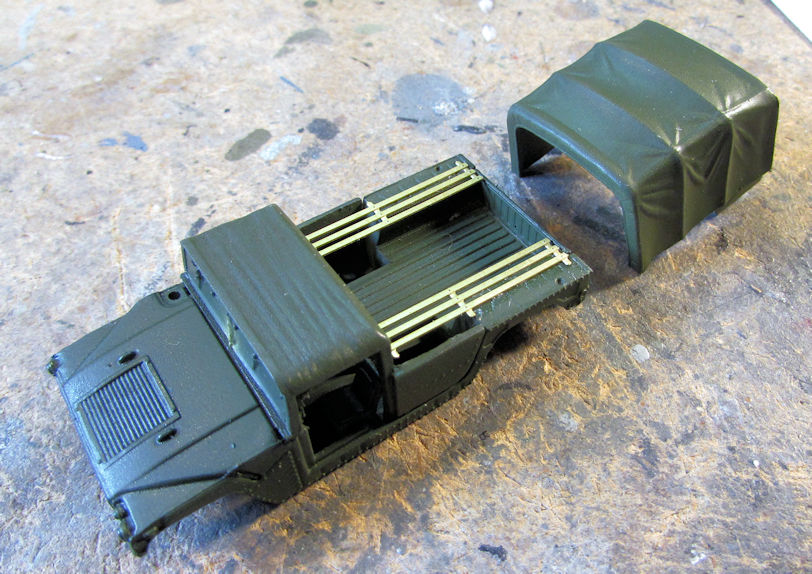
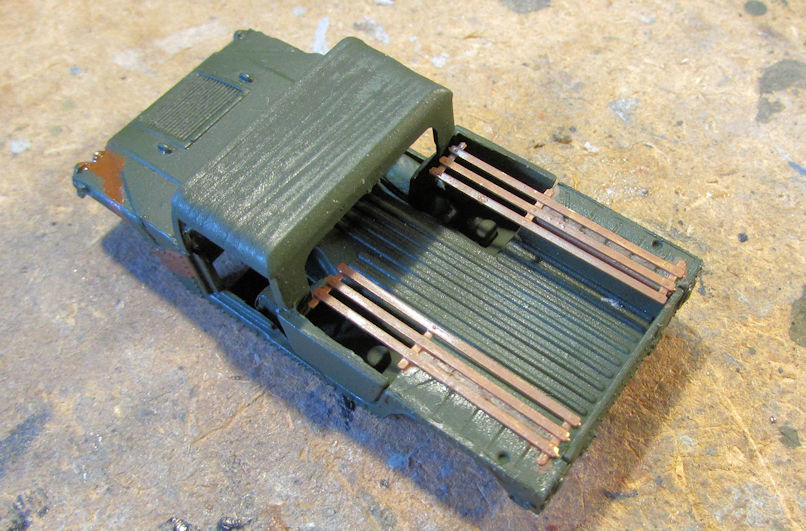
While I waited for them to dry, I added the photo-etch to the two Humvees, starting with the bench grid on the troop carrier:
Image

Then I added the armor plate to the gun truck:
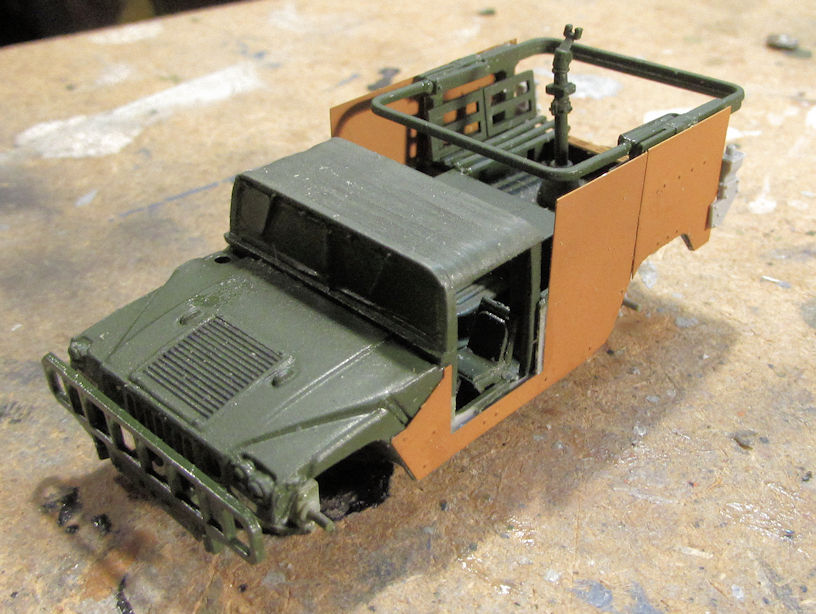
Image

I then painted the bench grid in the troop carrier before adding the canvas tilt:
Image

Finally, the wheels were dry enough so I could install them on the hubs. The problem was that the ridge used to hold the tires on the hubs was far too big to get the tires around them. They were too big to push on through the tires. So, I had to sand down all eight of the interior ridges to make these tires fit over them. The sanded one is to the right:
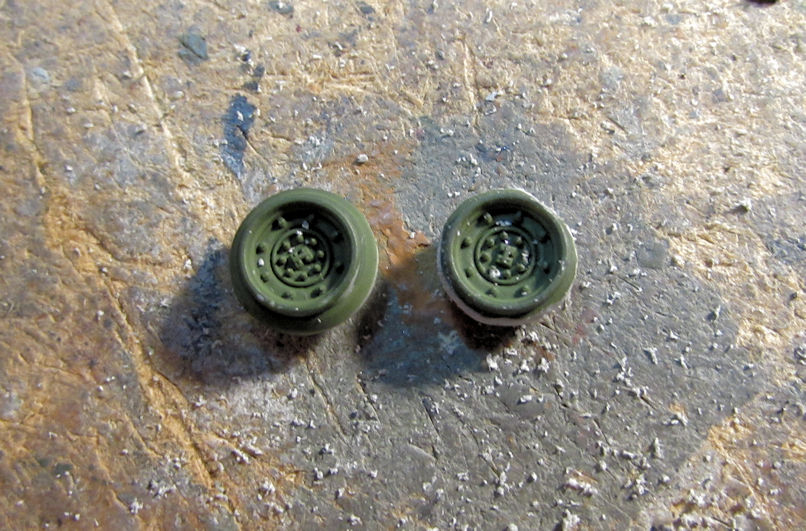
Image

Now you can see what I was talking about.

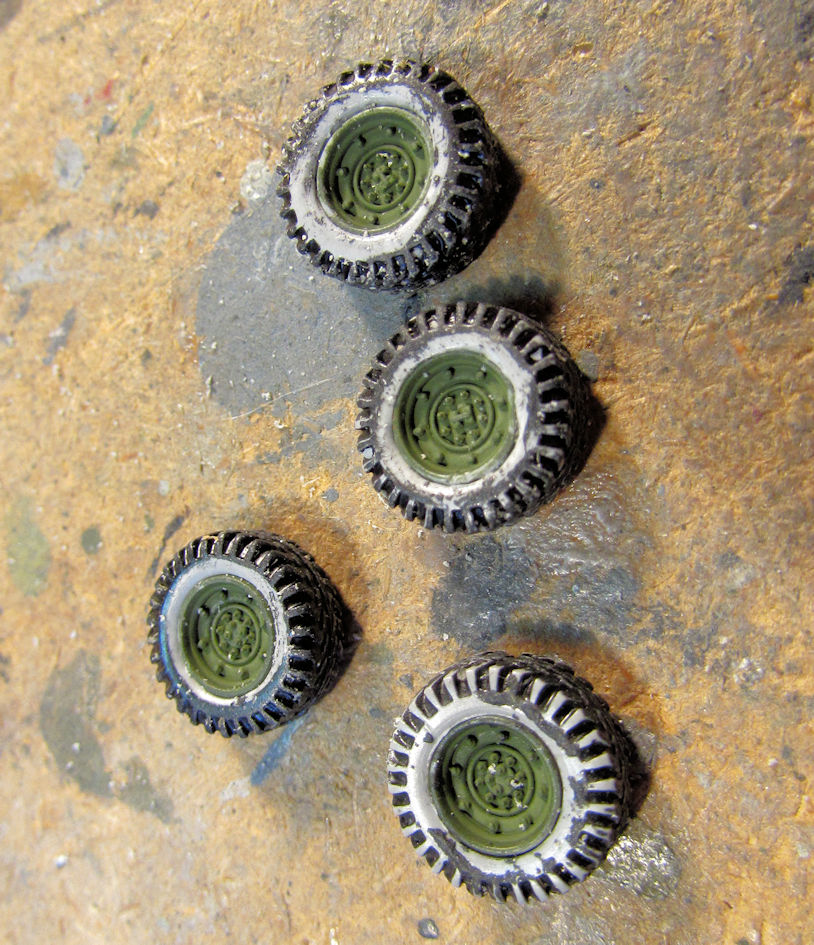
Finally, I added all the tires to the hubs. Here is the first four that I did. You can see what I meant about painting them first; everything scraped off during the installation on the hubs:
Image

I'm glad that was done. Man that hurt my fingers!

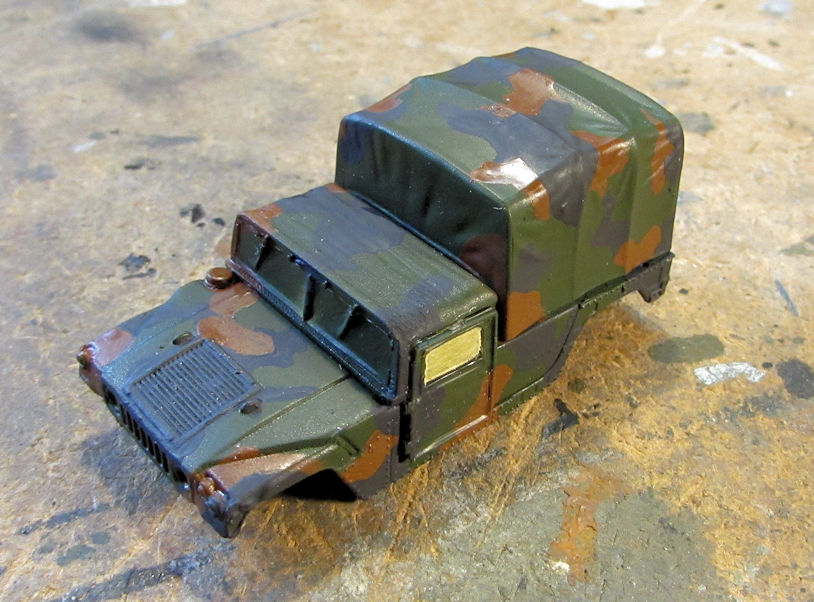
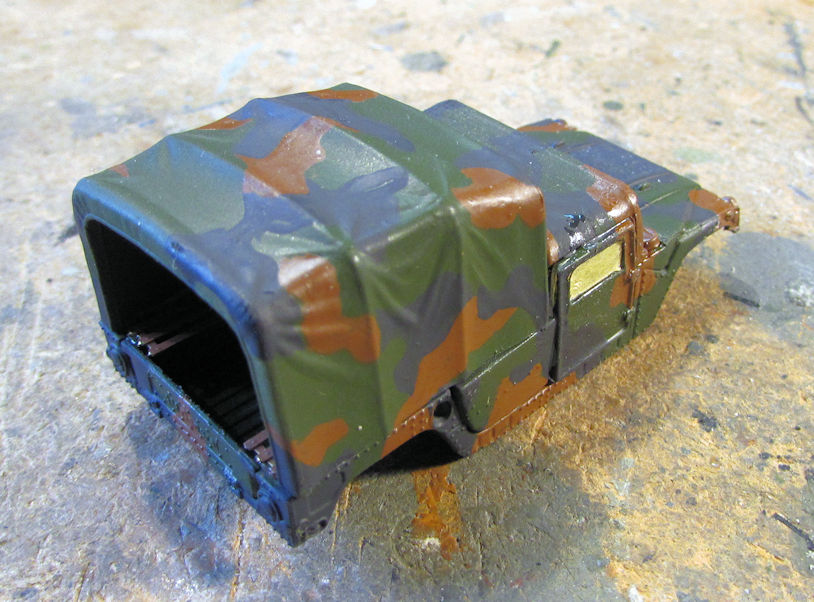
Moving on; I added the cabin doors to the front and then painted the camouflage pattern on the troop carrier:
Image

Image

Yeah, that door does look like it's protruding quite far. I tried everything to get it to flush in, but to no avail.

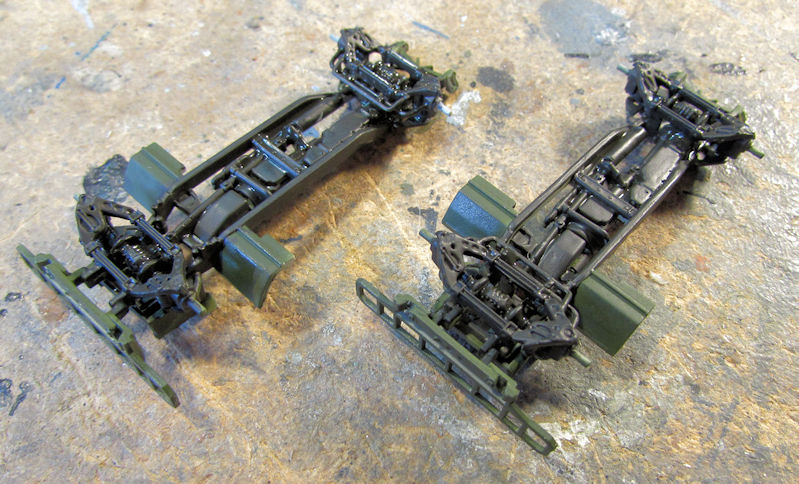
I then painted the undersides of the two Humvees:
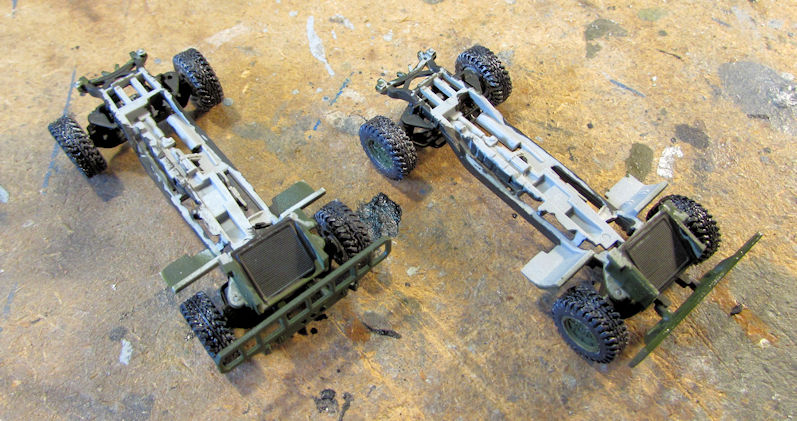
Image

...and then installed the wheels:

Image

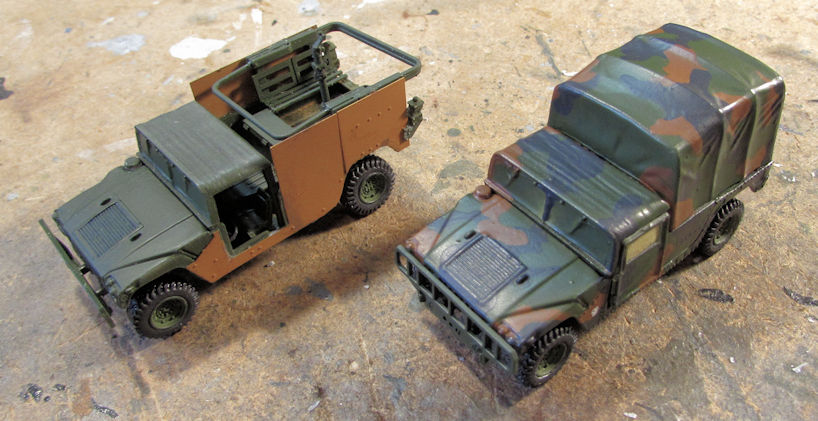
Finally, here they are after decals and dullcoats. Now these two are ready for final weathering:
Image


That's two more down.....


Another truck I started some time ago finally got some more assembly done. My Russian ZIS-5 Fire truck which was in sub-assemblies finally got put together... mostly:
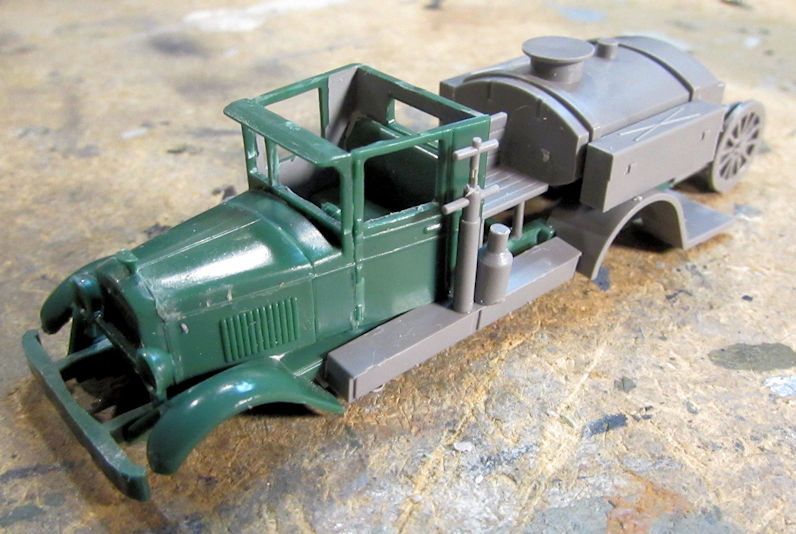
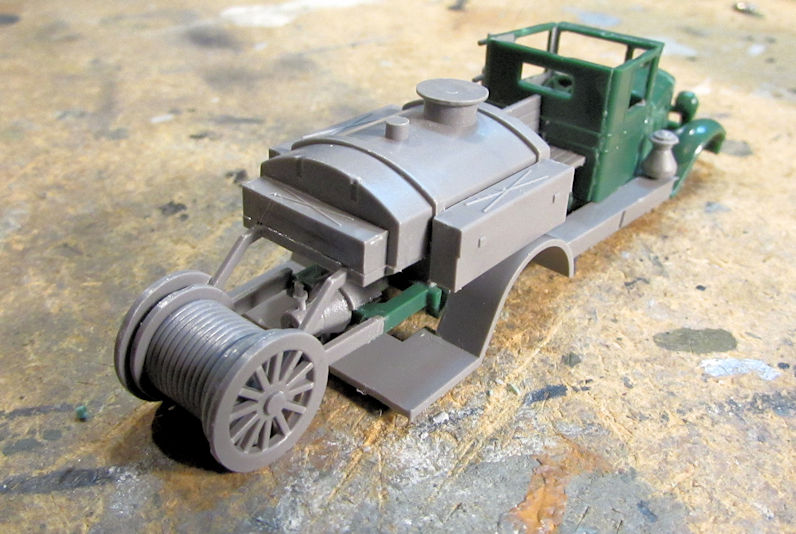
Image

Image

Later on I added the windows to the cab and then closed up the roof. I also added the ladder framework above the tank:
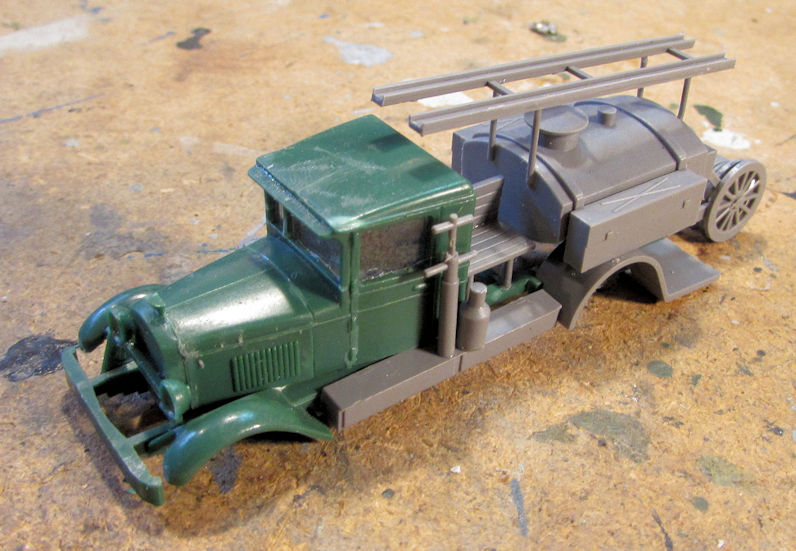
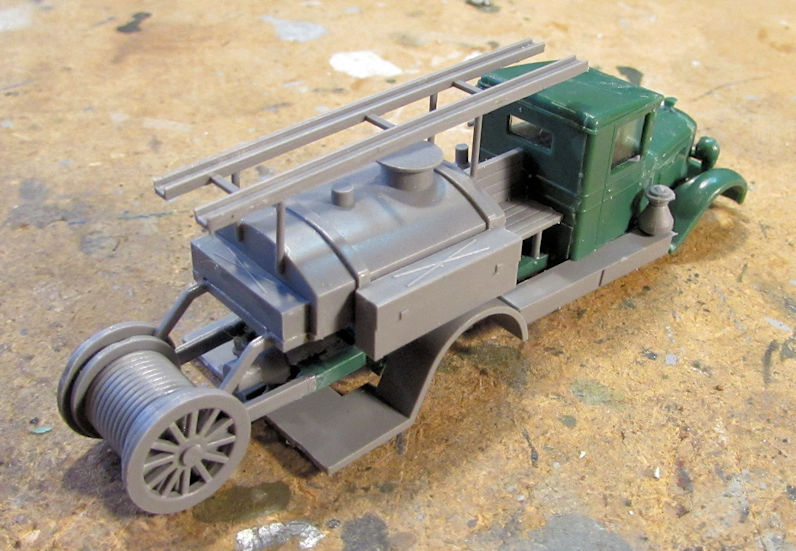
Image

Image

Once that was dry, I masked the windows with Silly Putty to prepare this for paint:
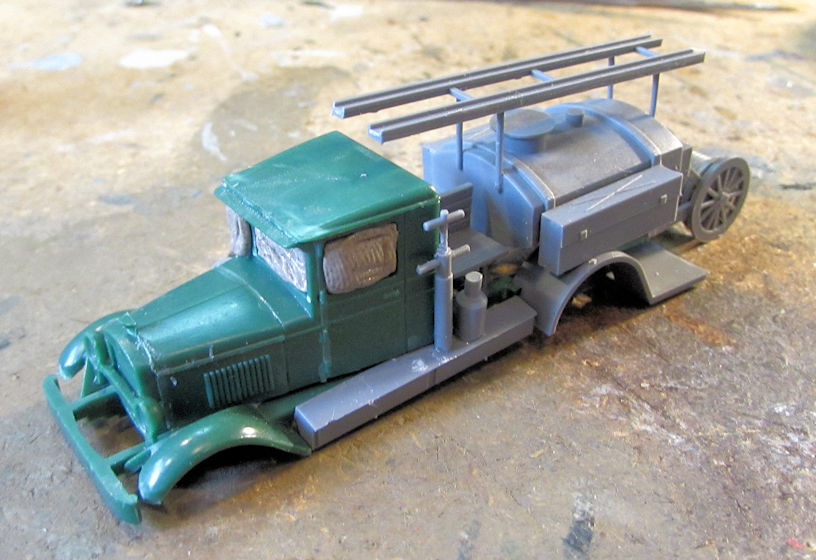
Image

First was a white primer coat. It is still wet in this picture:
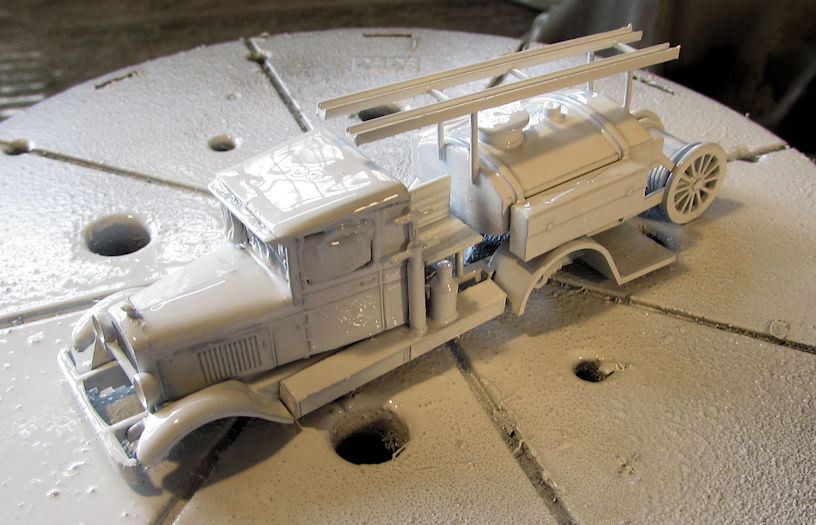
Image

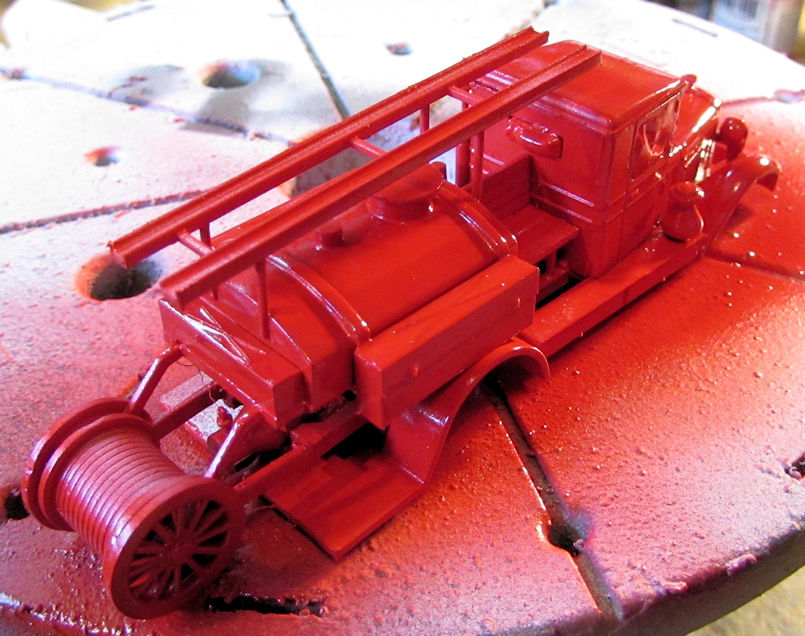
Once the primer dried though, I shot the red over it:
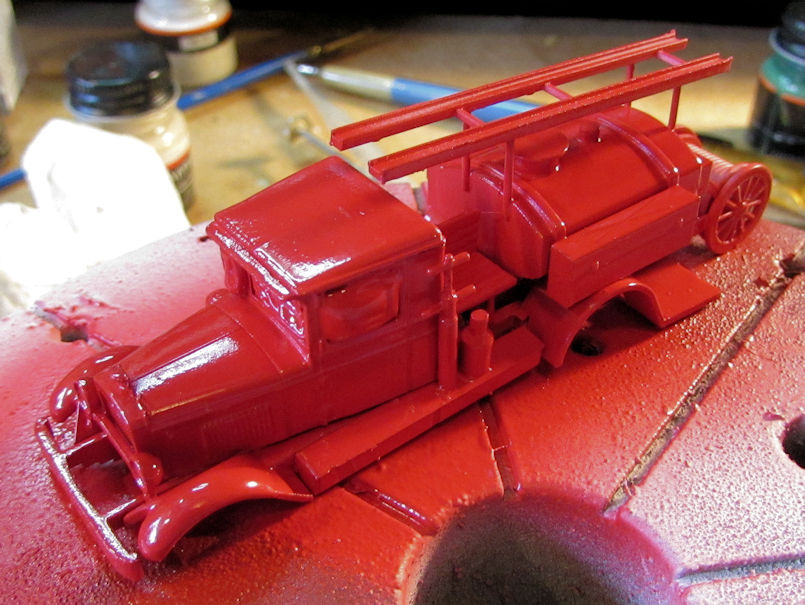
Image

Image

That's as far as I got so far on this. I have it drying now.


Finally, I decided to build another truck for the WWI campaign here on the Alliance. I didn't get too far yet, but I have the main cab done so far...
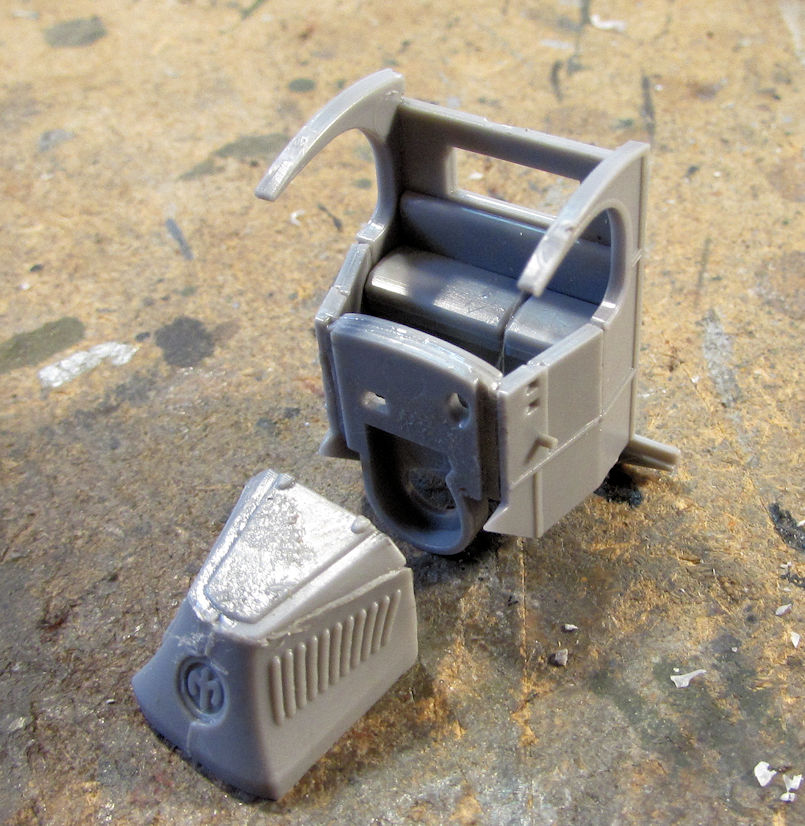
Image

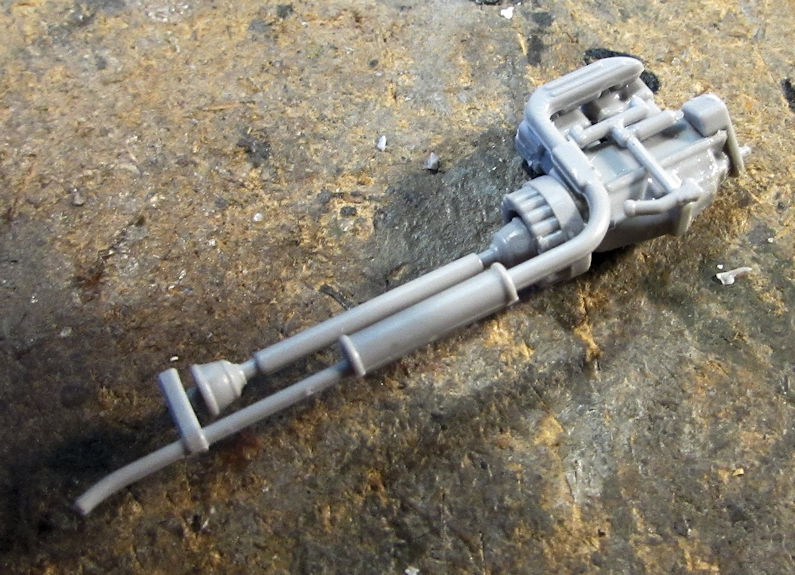
...and the engine all assembled:

Image

Once I get the chassis done, this will fly.


Let's move on to my shipyards now....

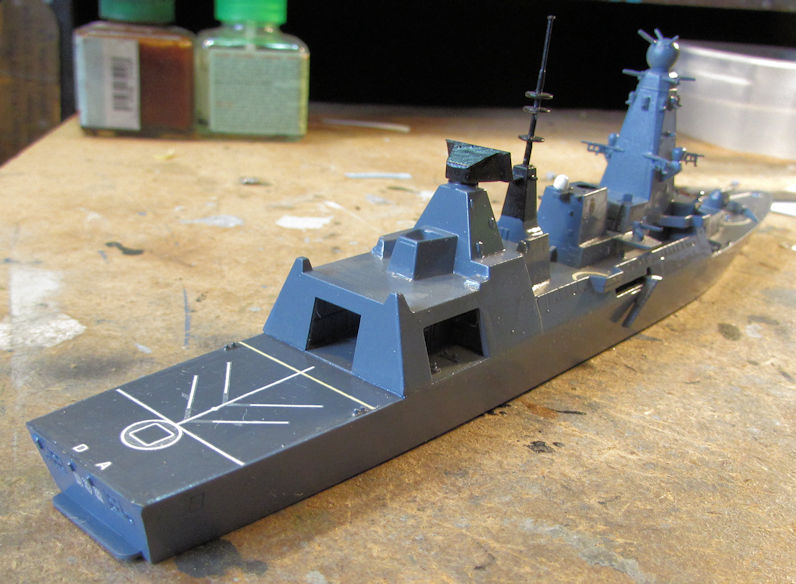
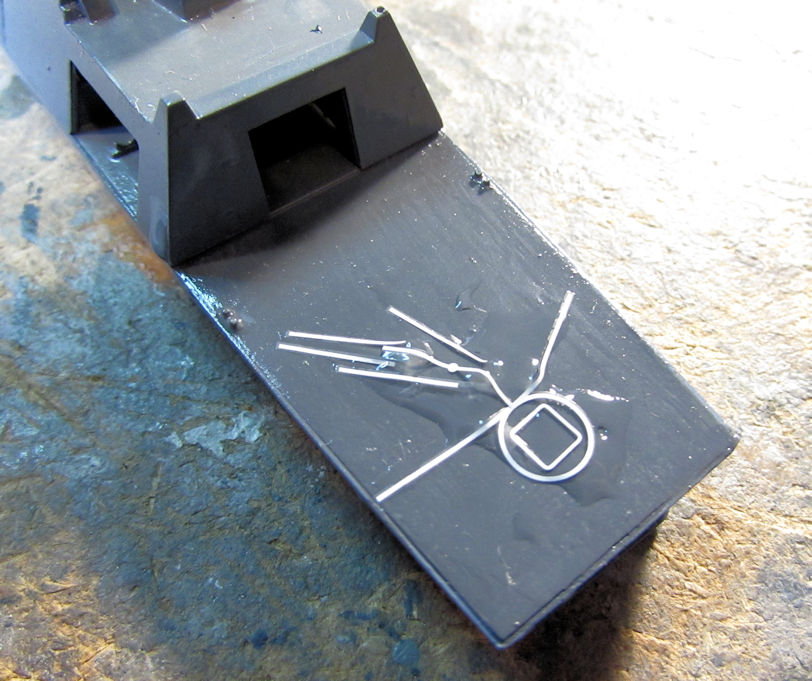
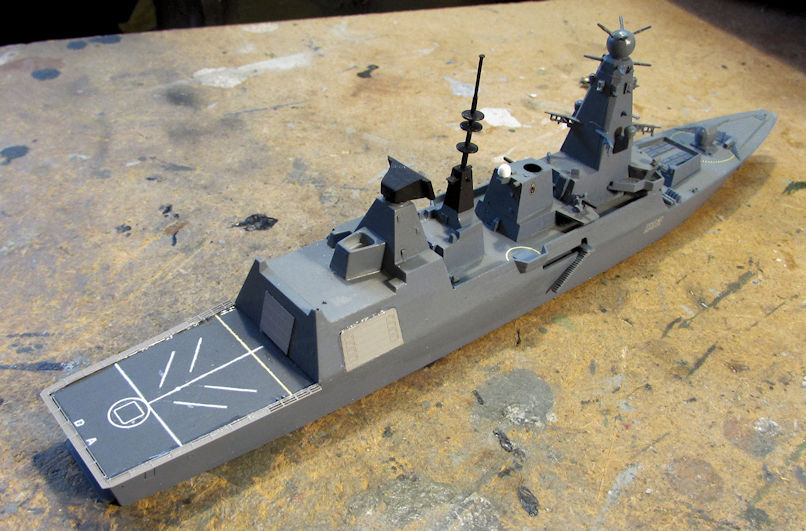
The HMS Daring destroyer was almost complete. It was time to do the decals on this model. The way Dragon did the helicopter deck decal was totally screwed up! I had to cut all around every strip on this decal. Putting it on the deck was almost impossible, as you can see here:
Image

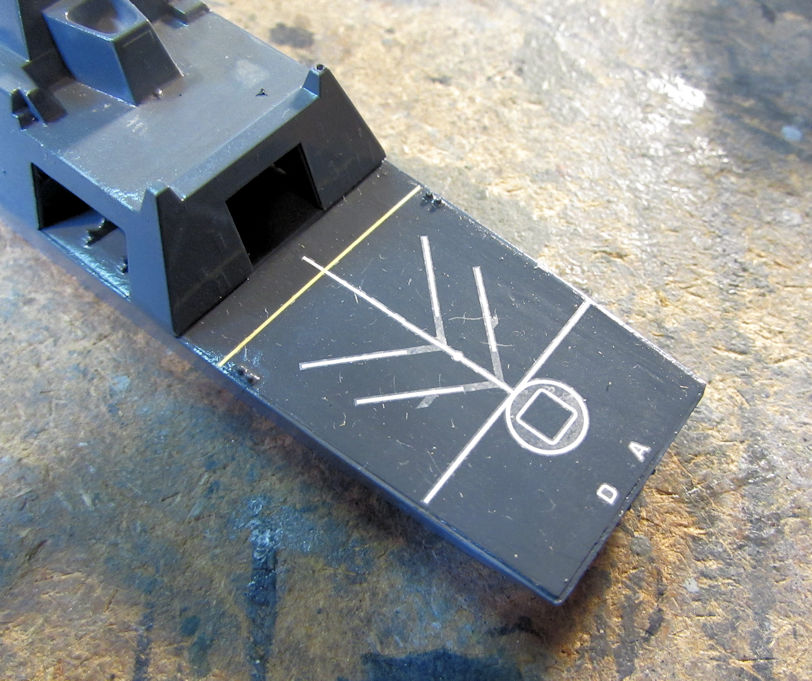
Finally, I managed to get this all laid flat the way it is supposed to look. It wasn't easy but surprisingly, I didn't even break this:
Image

I later doused this with Solvaset to eliminate that silvering. I'm still having so much trouble with silvering....

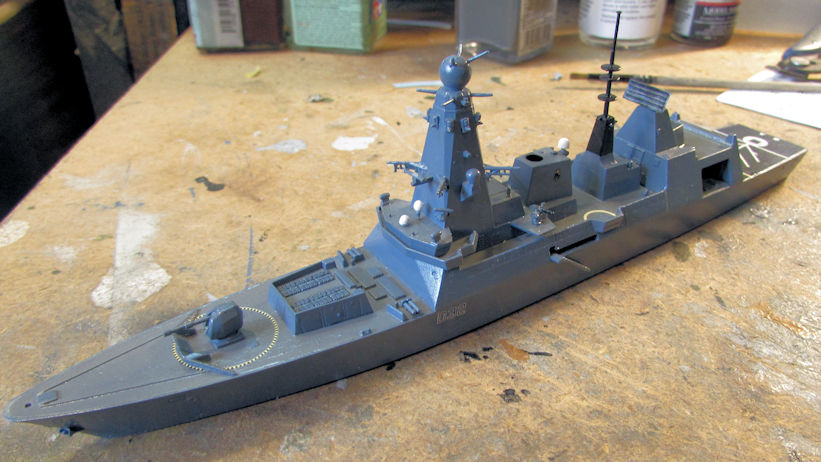
All the rest of the decals went on fine, especially after more Solvaset:
Image

Image

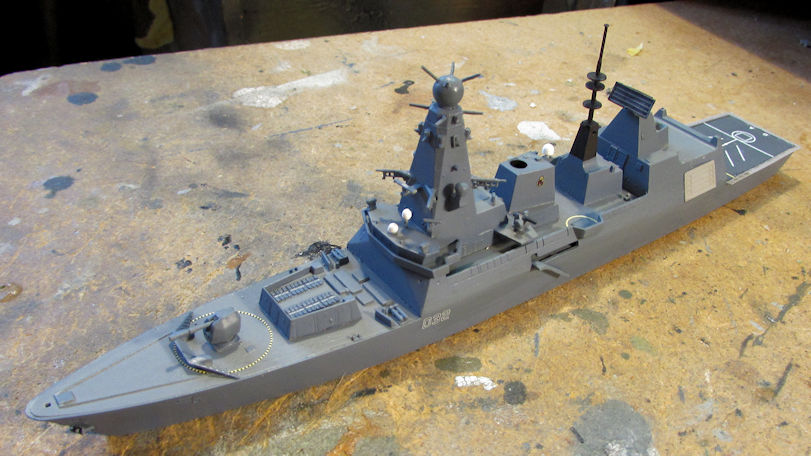
Finally, I added the last of the photo-etch parts; the hanger door, boat deck doors and the safety net around the helicopter deck:
Image

Image

And another one down.......

After that, I wanted something simple....

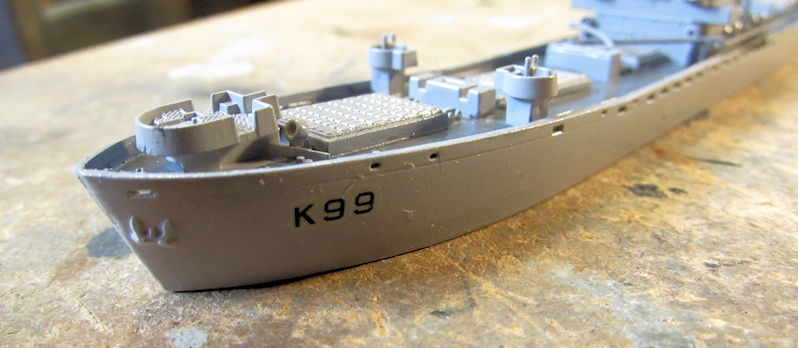
I pulled out my USS Bootes Liberty Ship and added the decals to the bow; all two of them:
Image

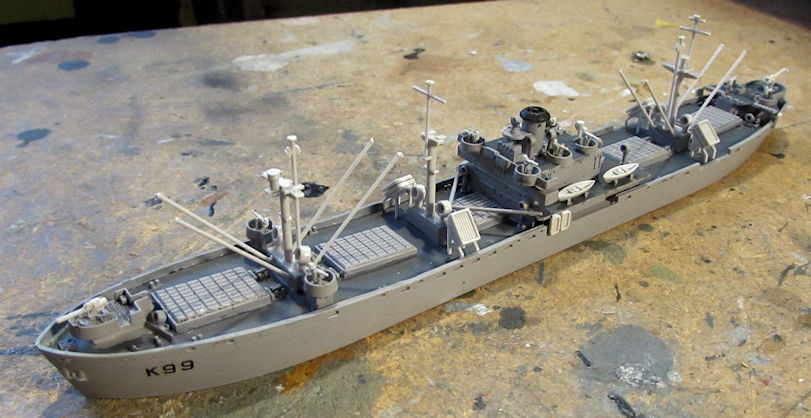
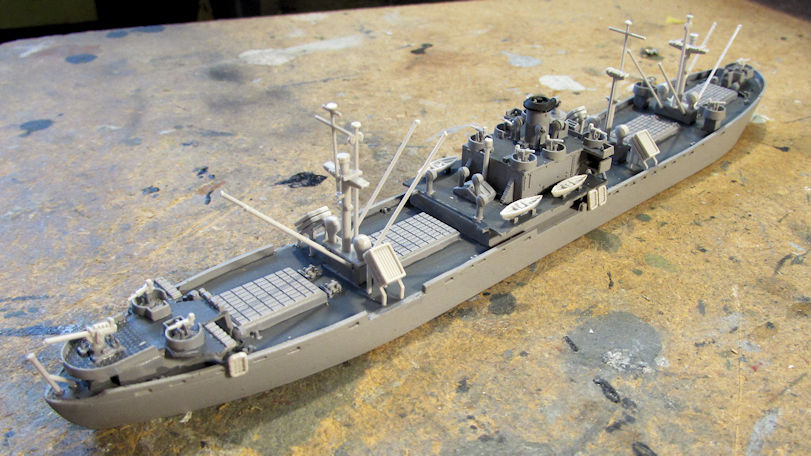
After that was dry, I dullcoated this and then installed all the final greeblies and masts on this ship to finish it off:
Image

Image

All that was left was to finish detail painting that and it was done.

Another one down....

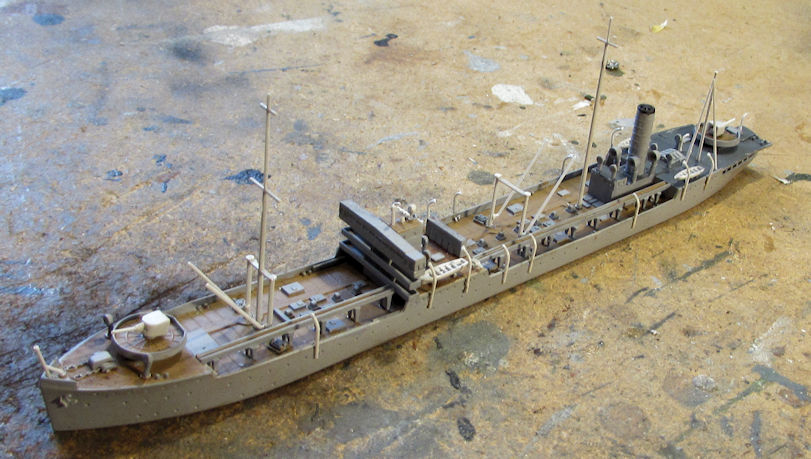
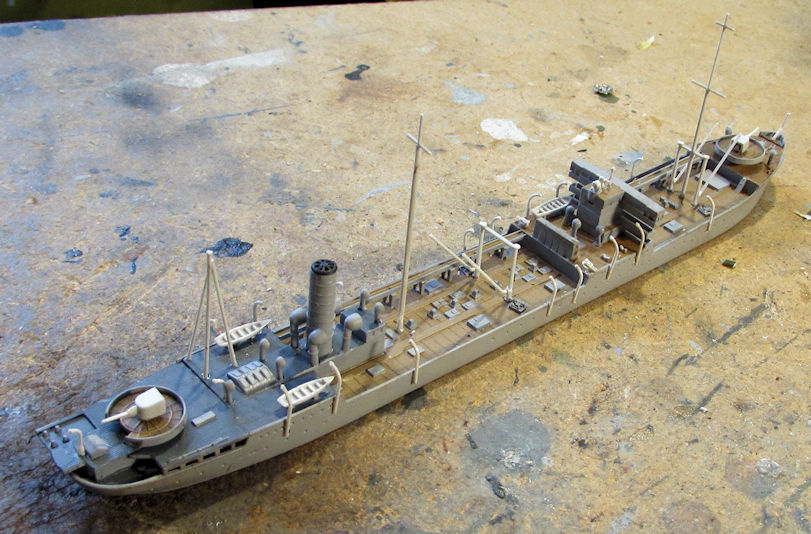
Since I was able to finish the Bootes so quickly, I also pulled out the Japanese Fleet Oiler and got the decks all painted up:
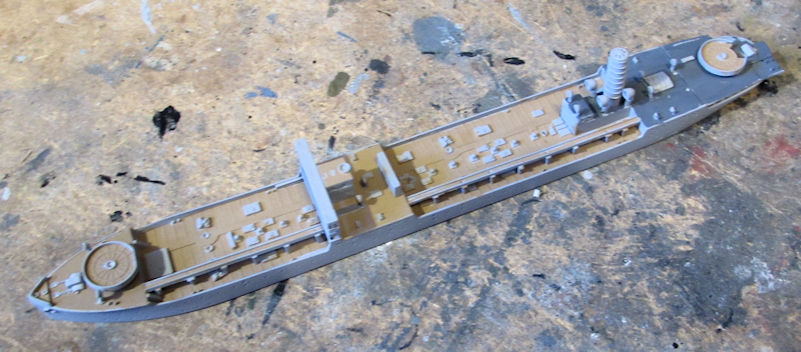
Image

After that was dry, added all the last greeblies and masts as well. I was going to apply decals, but the decal sheet they included in the kit was for a Japanese destroyer. So, no markings on this beastie:
Image

Image

All that's left here is detail painting also.


....and a final one down......


Okay, that completes this long and tedious update. My apologies for the length; I'll try to slow down if it helps.


Thanks all for looking in, comments are welcome. Feel free to check out the armor, aircraft and ships Forums to see the finished models.

The Duke
Virtuoso of Miniatures

"Do you know what the chain of command is? It's the chain I get and beat you with 'till you understand who's in ruttin' command!"
-Jayne Cobb, Firefly Episode 2 "The Train Job"

We are modelers - the same in spirit, in hunger to insanely buy newly released kits, hustlers in hiding our stash from our better halves and experts in using garbage as replacements for after-market parts.
User avatar
Stikpusher
Moderator
Posts: 21189
Joined: Sat Apr 05, 2014 8:37 pm
Location: Ceti Alpha 5

Re: Maddog Manufacturing 2018 Production

Post by Stikpusher »

Mark, those are all coming along great! I’m really liking those ships. Very nice save on the hello deck decals! Great save! And don’t beat yourself up on the fit of those HMMWV soft doors. On the real ones they can fit pretty crappy too, believe you me. I’ve had some that fit perfect, and some that let in plenty of daylight, wind, and rain where there are supposed to be sealed. Those frames and mounts are easily bent, being just a heavy gauge wire frame with the fabric over that.
"Surely I have made my meaning plain? I intend to avenge myself upon you, Admiral. I have deprived your ship of power, and when I swing 'round, I intend to deprive you of your life."

FLSM
Post Reply

Return to “Member's Gallery”