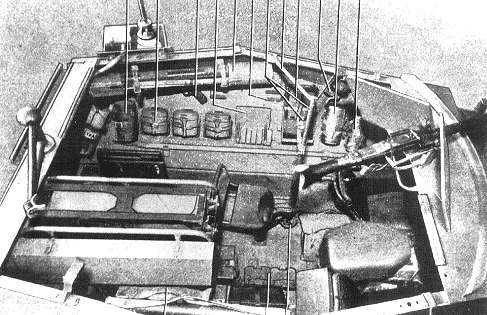
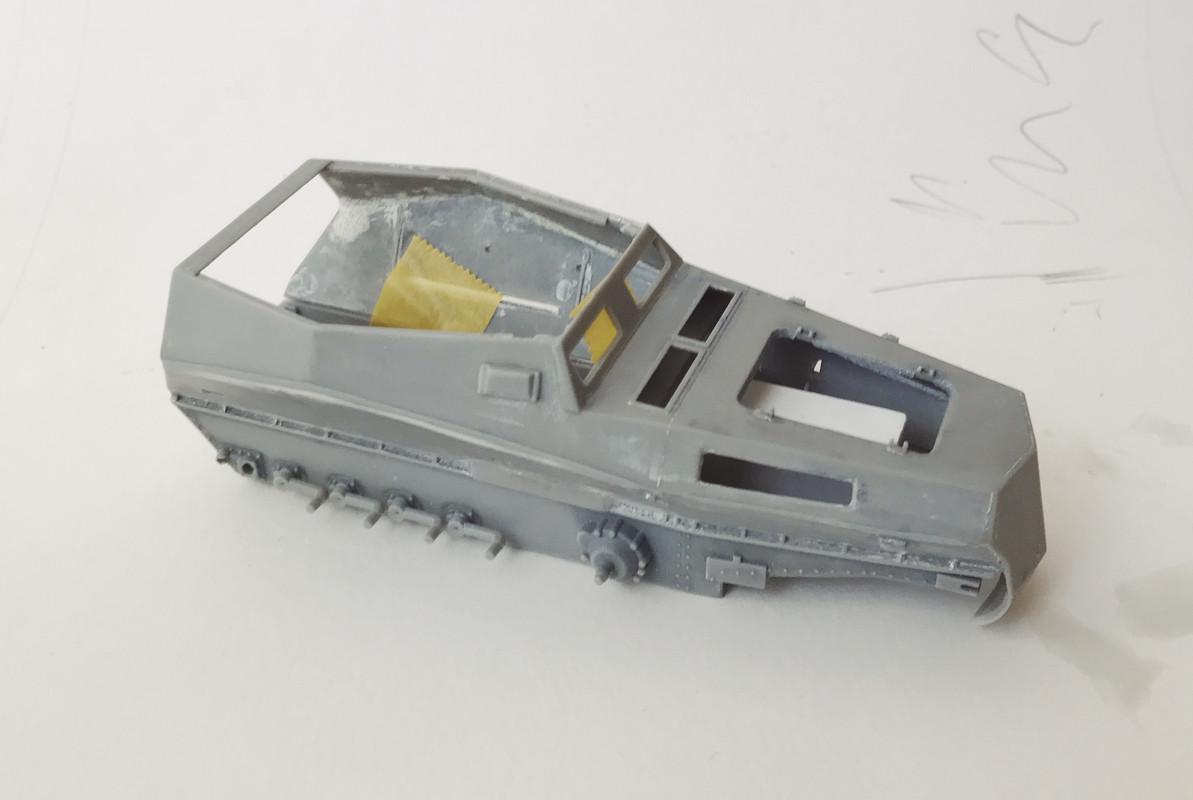
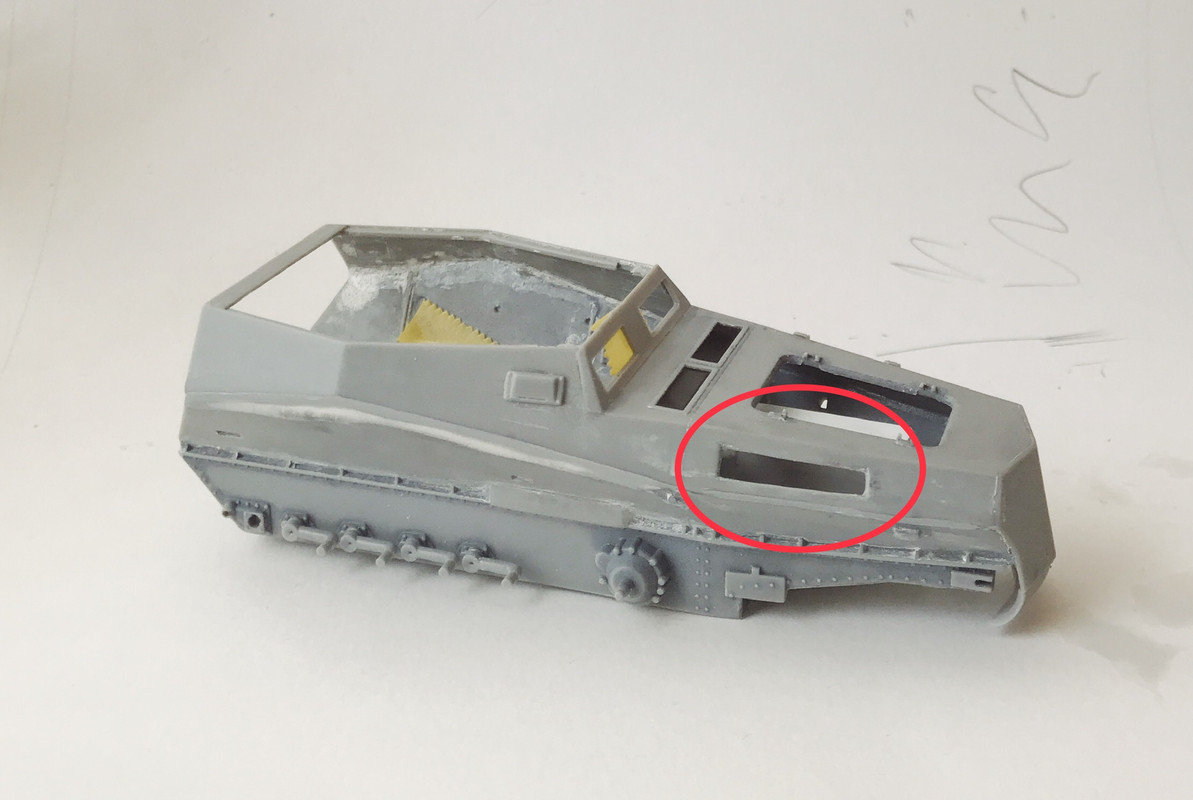
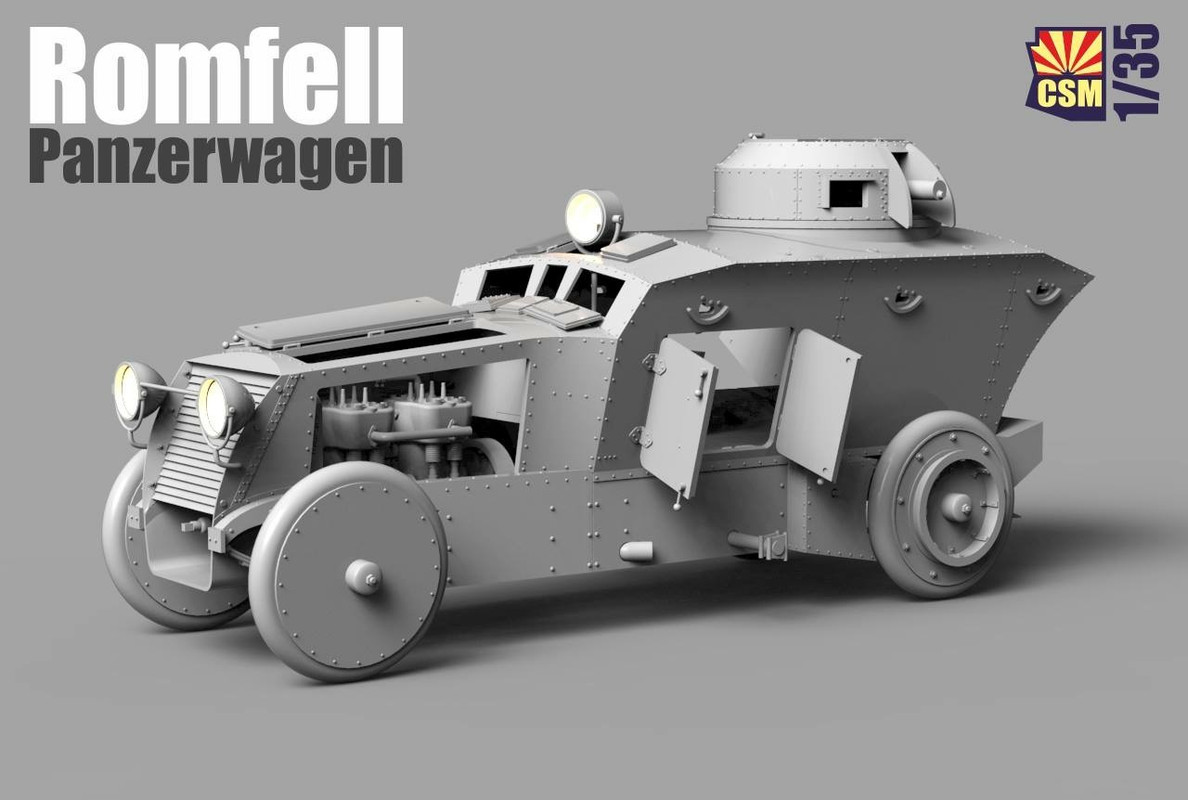
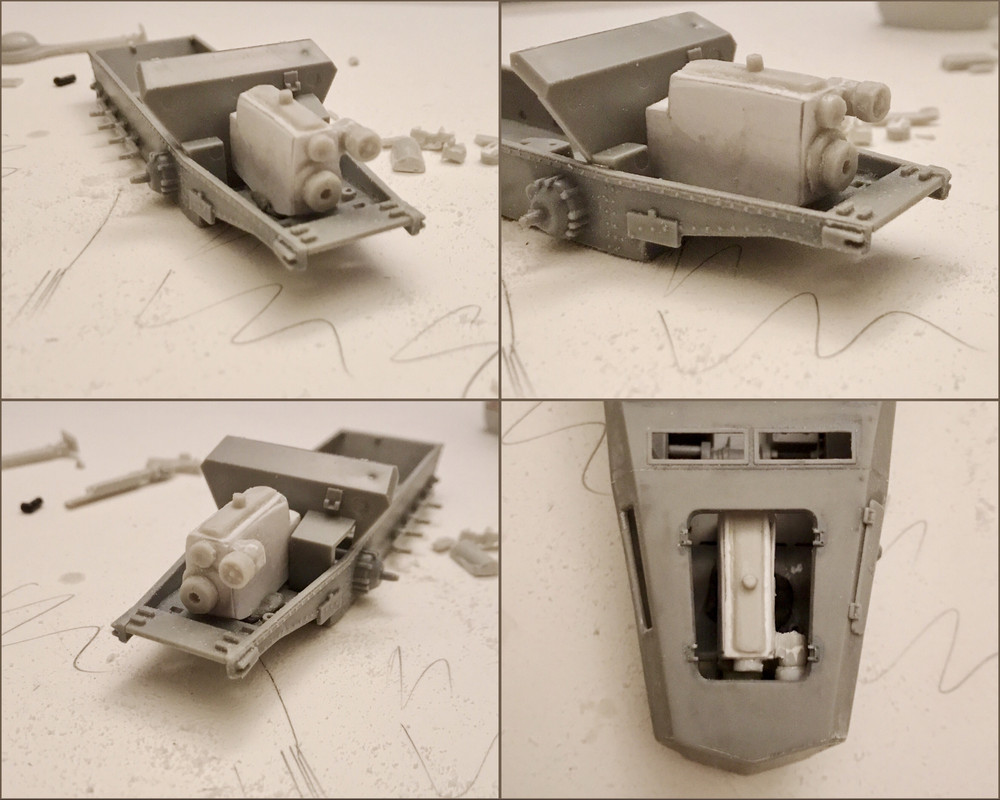
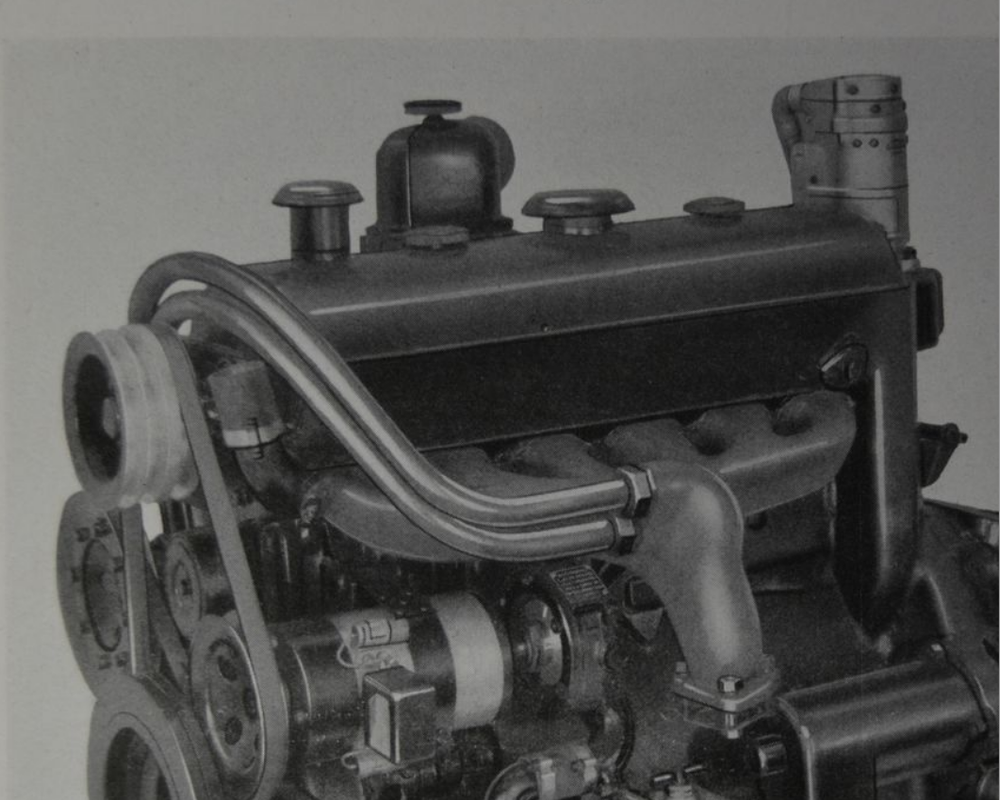
Thank you, Carlos and Ken, sincerely. I had to deal with the design effect of hard versus soft edges. I usually make a paper mock-up first, but this time I sized the plastic sheet to the kneaded eraser mock-up, which meant adjusting down the dimensions after I cut the basic structure of the engine. The hardest part wasn’t the part at the back, although that required interior tabs to lock everything in place; it was fitting the base into the different angles of shielding steel underneath the engine. I will probably add a slightly smaller piece that will act as a support underneath; in order to make the transition between angles stronger and more solid—basically I need to make three engine mounts pretty much the same way as the original! Two left and right in front and one in the back at the firewall itself.
GENERAL NOTES
I have always covered a cutting board with a sheet of Bristol board or any fairly flexible not too overly coated cardboard to avoid what happens when glue spills on the painted surface of a cutting board. I like using a cutting board for cutting only, really. I recently found my old cutting board which I have had for years, and the only marks are the slices from knife cuts. I recently saw a fella post his cutting board with the surface obliterated by a liberal splashing of Tamiya Extra Thin. Take it from me: a free public service announcement—when you glue drop a clean sheet of white Bristol Board on top of your cutting board. Cheers.
More impressive work. I really cannot contribute much to this except to express my profound admiration.
Way to go Bruce!
The Duke
Virtuoso of Miniatures
"Do you know what the chain of command is? It's the chain I get and beat you with 'till you understand who's in ruttin' command!"
-Jayne Cobb, Firefly Episode 2 "The Train Job"
We are modelers - the same in spirit, in hunger to insanely buy newly released kits, hustlers in hiding our stash from our better halves and experts in using garbage as replacements for after-market parts.
It's considerably more than I've done these past few days. I aim to change that today....
The Duke
Virtuoso of Miniatures
"Do you know what the chain of command is? It's the chain I get and beat you with 'till you understand who's in ruttin' command!"
-Jayne Cobb, Firefly Episode 2 "The Train Job"
We are modelers - the same in spirit, in hunger to insanely buy newly released kits, hustlers in hiding our stash from our better halves and experts in using garbage as replacements for after-market parts.
Duke! When it comes to gettin’ models done, you are amazing—so having a few days off for the Holidaya will not affect Maddog Industries; in fact you will want to rest those factories since they usually work continuously to crank out their quotas!
Bench time! Practically by candlelight, which is how I like it. Grind, cut, grind. Grind... cut... grind. I still have the inlet manifolds to build, and I located the small flywheel too close to the manifold on the left (it should be much lower, just underneath the manifold). There are also a couple of "heater tubes" which run from the left manifold and around the engine to the other side. I am not sure if these really are heater tubes; that was just something I read somewhere.
Bruce, that is tremendous progress and impressive work. I third the motion of opening thew side panel s that engine can be seen. After all, you are putting a remarkable amount of detail work into that; it deserves and demands to be seen.
As for the Maddog Manufacturing crews, they've been slacking off enough! And so far on certain models, they've been fumbling around like drunks, screwing things up! No, I need to get them back to a decent work schedule, as well as snap the whip when it comes to certain shelf queens.
Keep it coming Bruce! And when you get that engine completed, be sure to add a few drops of fuel and fire it up to listen to it purr!
The Duke
Virtuoso of Miniatures
"Do you know what the chain of command is? It's the chain I get and beat you with 'till you understand who's in ruttin' command!"
-Jayne Cobb, Firefly Episode 2 "The Train Job"
We are modelers - the same in spirit, in hunger to insanely buy newly released kits, hustlers in hiding our stash from our better halves and experts in using garbage as replacements for after-market parts.
Kari and Mark, first—thank you both sincerely for being supportive, encouraging and positive at all times! I always strive to remember how you both approach modeling (Carlos, John, Torben, Kenny, Marius, Stuart, Mustang Joe, Borg, BlackSheep, Medic, Ernie, Kent in OZ, Thomas, too) because you all make such great choices. Not only are you doing the work, you are doing your work in a way that helps lift everyone up. This is where Lyle might pipe up with, “It’s just a toyyyy...” Hah!
I was wondering how to make the knurled knobs on each side of the center post. I thought I had a sheet of PE from the Moonbus with “engine details” on it (these details are based on old Airfix kits) and I think I found a “close enough” piece which comes from an Airfix wagon, which was then rendered in CAD and reproduced on a sheet of brass.
My plan is to drill pilot holes, add brass posts, then glue those details on top. The rod is not going to protrude very far—just enough to lift the flat piece of PE up to give a three dimensional appearance.
Well—it is a good thing I used three drops of CA to attach side hatch cover, because I will try some debonder to release it! In fact, the whole project is an exercise in CA and debonder. There is a dry time after using debonder when no CA will work; this isn’t a huge issue if you work slowly, but picking and sticking on parts with CA-debonder-CA requires a “pause” before the second CA.
I will add this here—sent to all friends mentioned above!
“When your spirits need a lift, think of the virtues and talents of those around you--one's energy, another's modesty, the generosity of a third, something else in the fourth. Nothing is so inspiring or uplifting as the sight of these splendid qualities in our friends. Keep them always in mind.”