1/32 Hasegawa Fw190D-9 Red One
-
Stikpusher

- Moderator
- Posts: 21388
- Joined: Sat Apr 05, 2014 8:37 pm
- Location: Ceti Alpha 5
Re: 1/32 Hasegawa Fw190D-9 Red One
"Surely I have made my meaning plain? I intend to avenge myself upon you, Admiral. I have deprived your ship of power, and when I swing 'round, I intend to deprive you of your life."
FLSM
FLSM

Re: 1/32 Hasegawa Fw190D-9 Red One
Thanks everyone! I hope everyone had a wonderful Christmas Day!
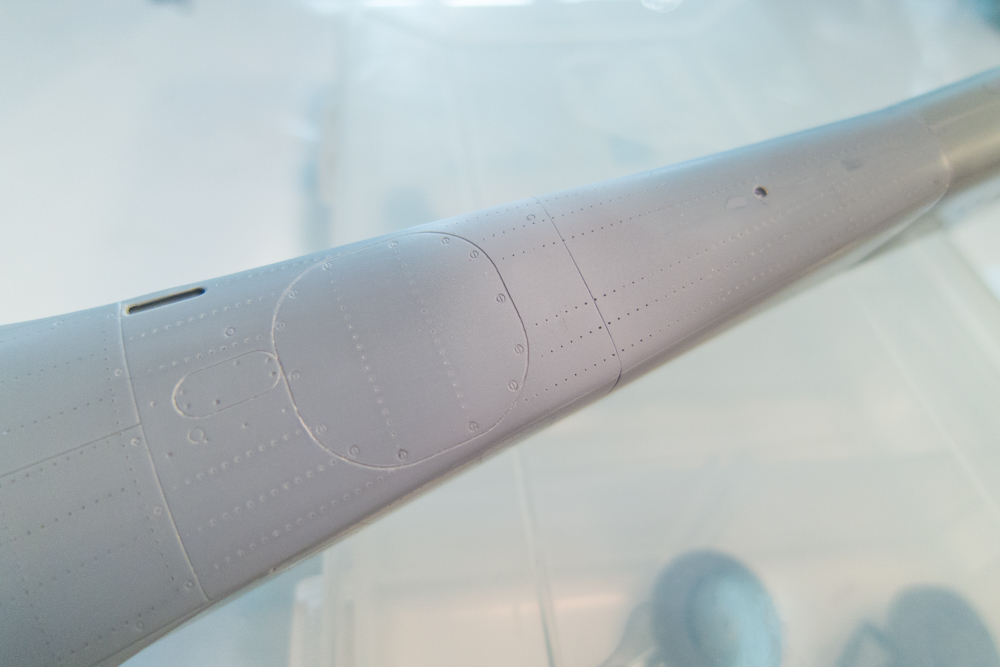
I'm still in the process of cleaning up the seams. The bottom seam has been smoothed out. A new panel line was scribed and the markings for the rivets layed out.

Here's the same area after the riveting and a shot of primer.
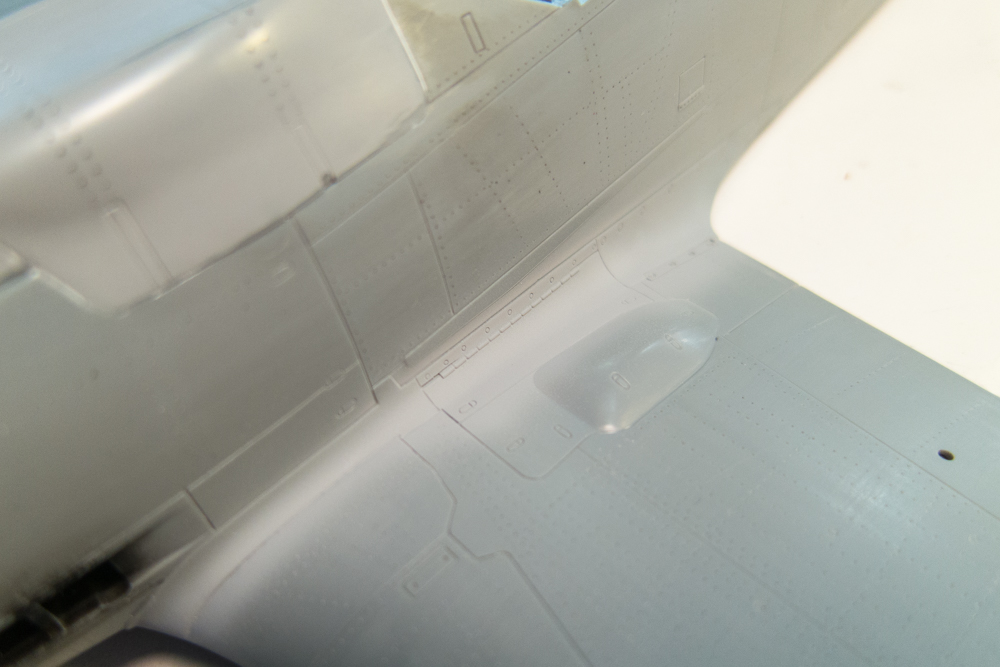
The wing roots have been cleaned up and given a check coat of primer. The port side looks good but there is a ghost of a seam that needs to be taken care of on the starboard root.

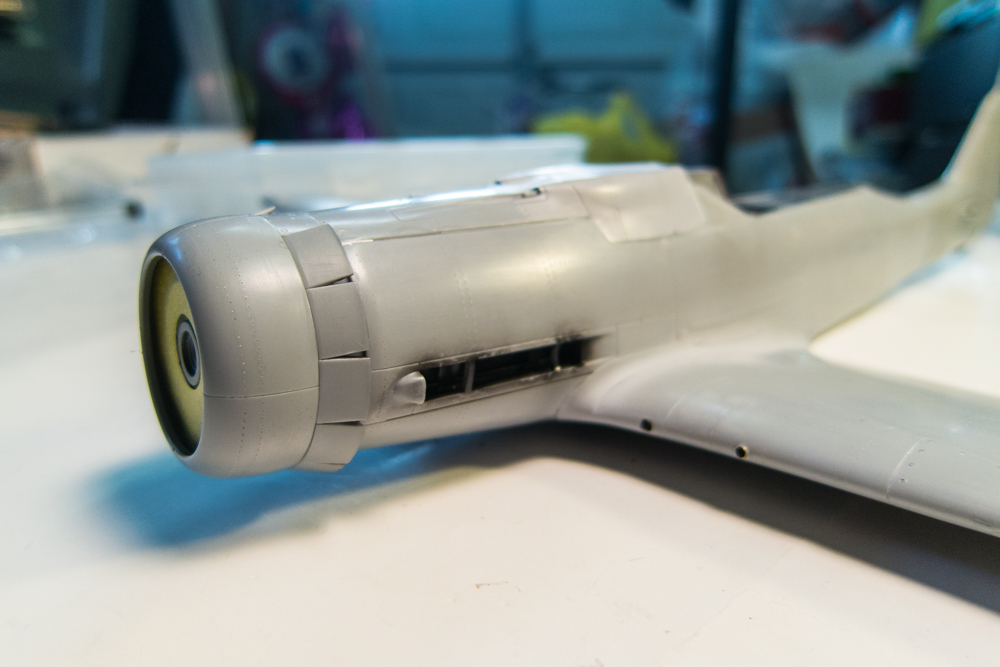
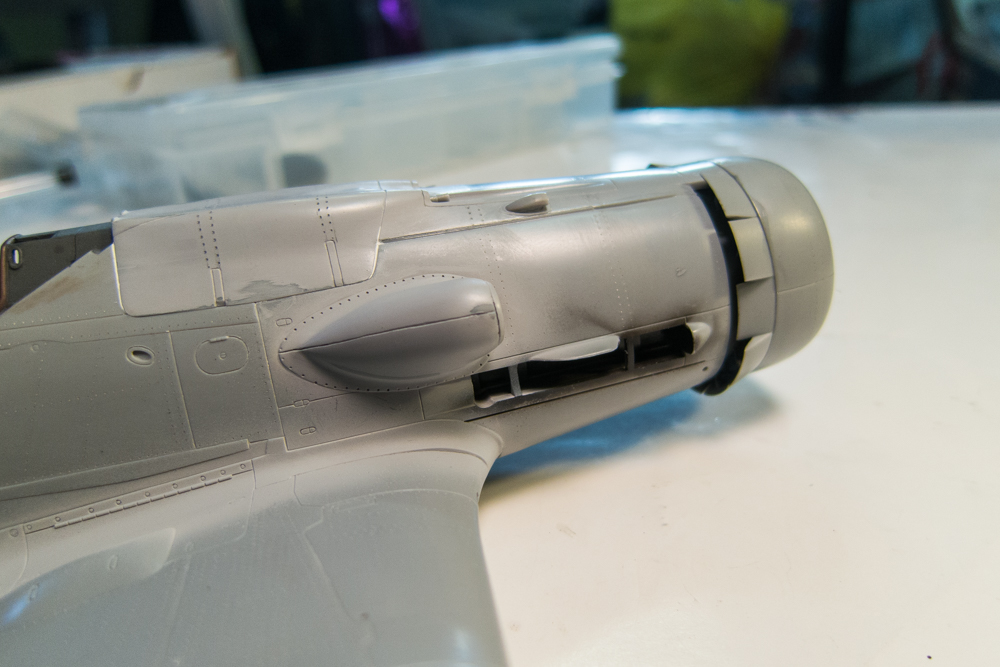
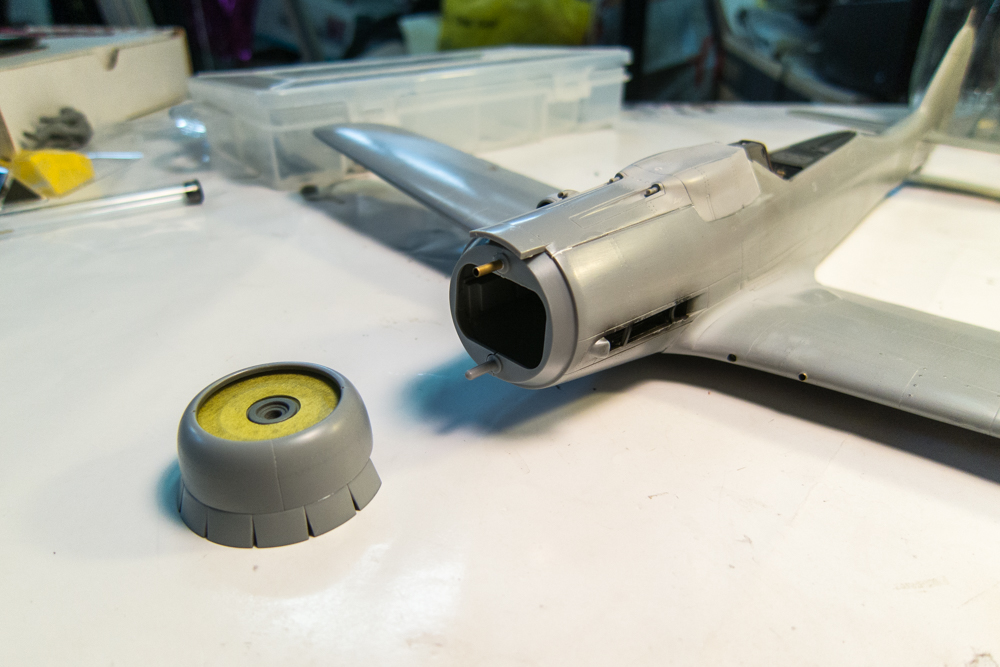
I don't know why but Hasegawa designed the radiator cowl assembly to be detachable via vinyl poly caps. The poly caps put a really tight hold on the two plastic pins on the front of fuselage. So much so that removal is nearly impossible without breaking the pins, as I've done on previous builds and this one as well. I drilled out the insides of the poly caps to make removal easier. Thinking it might be easier to paint the model with the radiator cowl separate, I am going to glue the three components of the cowl assembly (flaps, radiator face and radiator cowling) together but leave it unattached. First, I glue the prop shaft backing from the Henri Daehne propeller into place.

The three components are glued together in place but the assembly is not glued to the fuselage.
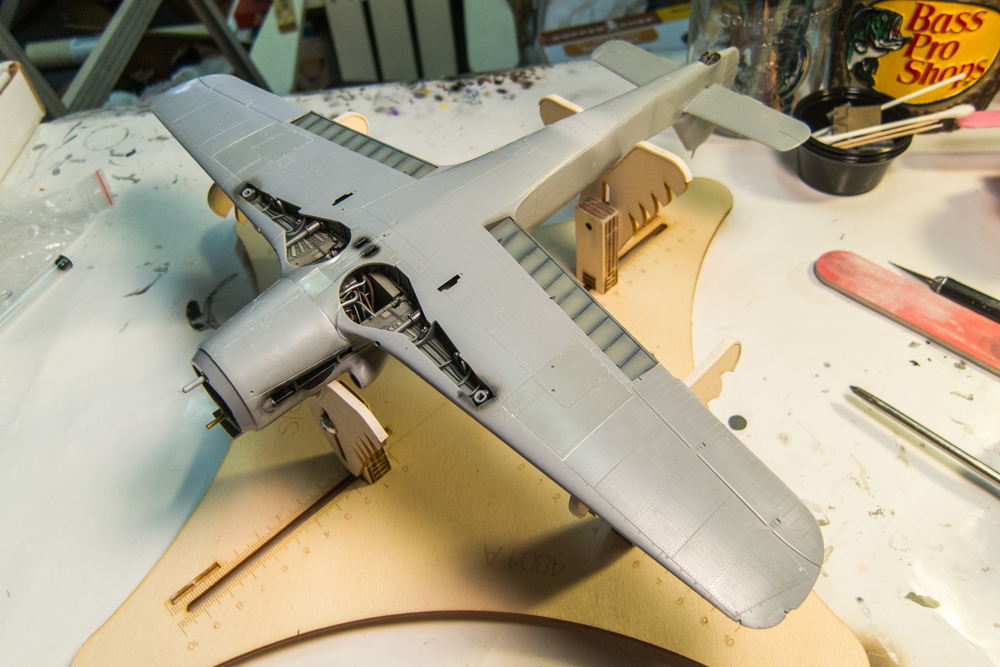
The small panel in the center of the wheel well has been attached. It's a tight fit but a little cleanup will be necessary at the seams.
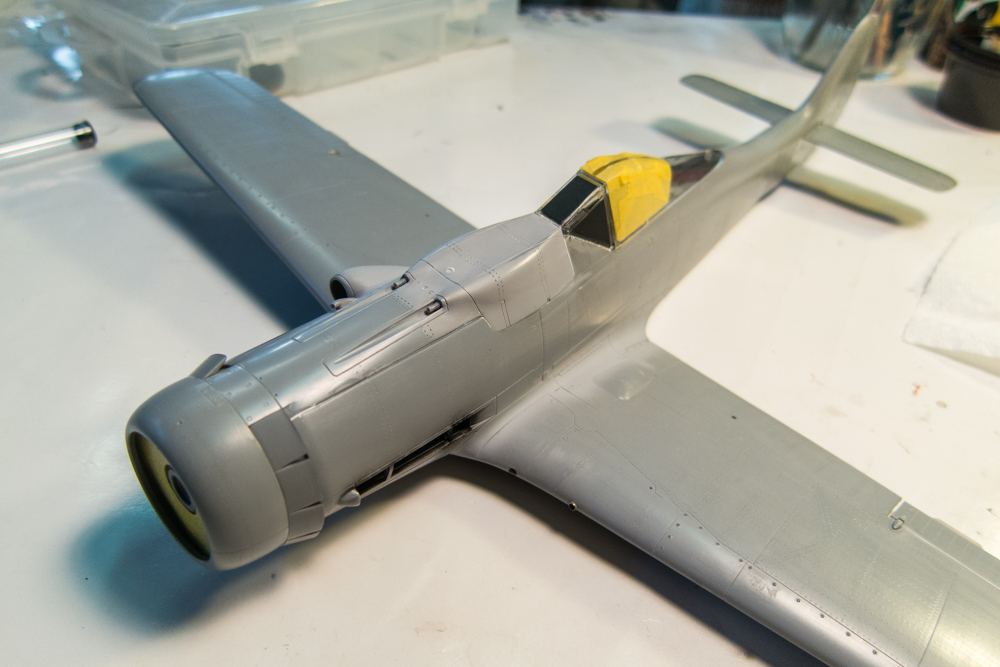
A topside look with the masked clear parts in place.
I'm still in the process of cleaning up the seams. The bottom seam has been smoothed out. A new panel line was scribed and the markings for the rivets layed out.
Here's the same area after the riveting and a shot of primer.
The wing roots have been cleaned up and given a check coat of primer. The port side looks good but there is a ghost of a seam that needs to be taken care of on the starboard root.
I don't know why but Hasegawa designed the radiator cowl assembly to be detachable via vinyl poly caps. The poly caps put a really tight hold on the two plastic pins on the front of fuselage. So much so that removal is nearly impossible without breaking the pins, as I've done on previous builds and this one as well. I drilled out the insides of the poly caps to make removal easier. Thinking it might be easier to paint the model with the radiator cowl separate, I am going to glue the three components of the cowl assembly (flaps, radiator face and radiator cowling) together but leave it unattached. First, I glue the prop shaft backing from the Henri Daehne propeller into place.
The three components are glued together in place but the assembly is not glued to the fuselage.
The small panel in the center of the wheel well has been attached. It's a tight fit but a little cleanup will be necessary at the seams.
A topside look with the masked clear parts in place.
John aka JKim
-----------<><

-----------<><
-
Stikpusher
- Moderator
- Posts: 21388
- Joined: Sat Apr 05, 2014 8:37 pm
- Location: Ceti Alpha 5
Re: 1/32 Hasegawa Fw190D-9 Red One
Starting to take shape in those classic Dora lines now... 
"Surely I have made my meaning plain? I intend to avenge myself upon you, Admiral. I have deprived your ship of power, and when I swing 'round, I intend to deprive you of your life."
FLSM
FLSM
Re: 1/32 Hasegawa Fw190D-9 Red One
Thanks Carlos! Yes, she's beginning to look like a Dora now!
Some small details that I worked on the last couple of days. Two antennae and a pitot tube that will be refined using stretched sprue and brass tubing.


The exhaust tips have been painted.
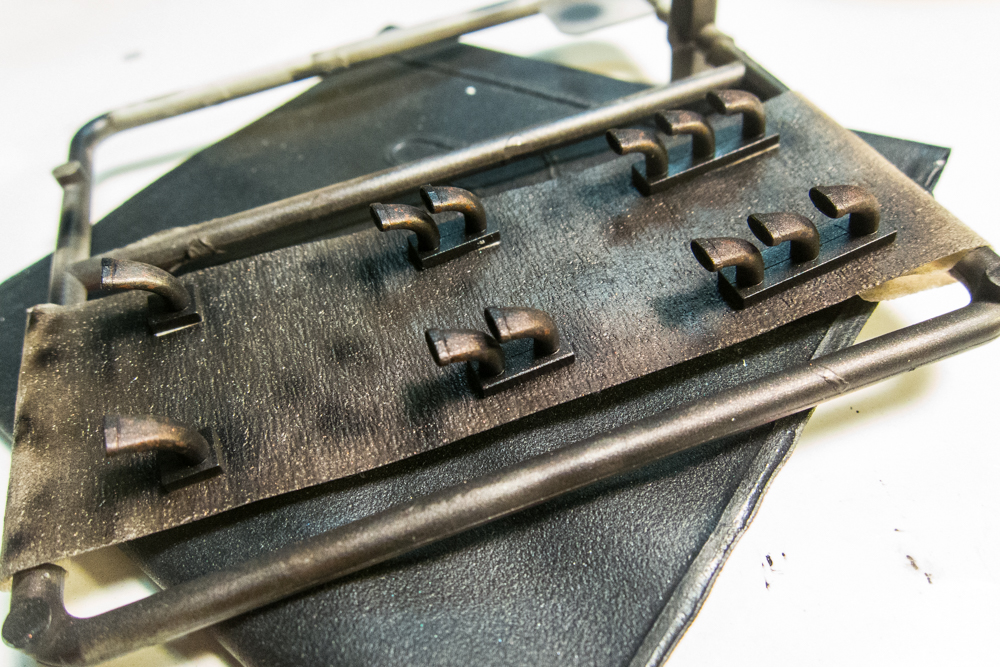
The inner sides of the landing gear covers have been painted and given a wash.

Some small details that I worked on the last couple of days. Two antennae and a pitot tube that will be refined using stretched sprue and brass tubing.
The exhaust tips have been painted.
The inner sides of the landing gear covers have been painted and given a wash.
John aka JKim
-----------<><
-----------<><

Re: 1/32 Hasegawa Fw190D-9 Red One
Nice work! I’m especially fond of those exhaust tips. What’d you paint those bad boys with, inlike the looks of them!
Kenny X
Head Mother Trucker In-Charge @ Kenny X’s Reichs Winzigkleines Flugzeugewerks *and now* Airboat Records, too!
Head Mother Trucker In-Charge @ Kenny X’s Reichs Winzigkleines Flugzeugewerks *and now* Airboat Records, too!
-
BlackSheep214

- Elite Member
- Posts: 13600
- Joined: Sun Apr 06, 2014 8:47 pm
Re: 1/32 Hasegawa Fw190D-9 Red One
Wow.. 
“Who controls the skies, controls the fate of this Earth”
Author unknown- 352nd Fighter Group, Blue-Nosed Bastards of Bodney
“Send one plane it’s a sortie; send two planes it’s a flight; send four planes it’s a test of airpower. - Richard Kohn
Author unknown- 352nd Fighter Group, Blue-Nosed Bastards of Bodney
“Send one plane it’s a sortie; send two planes it’s a flight; send four planes it’s a test of airpower. - Richard Kohn
Re: 1/32 Hasegawa Fw190D-9 Red One
Thanks Kenny! My normal routine for painting exhausts goes like this... base coat of black and then an Alclad metallic color like Dark Aluminum. I then mist Alclad Exhaust Manifold (which is like a metallic brown color) over them. With a highly thinned black, I spray back into the openings and also try to highlight the outside tips of each pipe with the black. I'll use a post-it to separate each exhaust if I have to. After this, I mix a batch of red/brown paint and use a brush to dab this color in very small amounts on the exhausts. Kinda like dry brushing but using a poking motion instead. If the effect is too strong, you can dial it back by misting the Exhaust Manifold lightly over everything. I'll then finish them off with another thin black highlighting of the tips.KennyX wrote:Nice work! I’m especially fond of those exhaust tips. What’d you paint those bad boys with, inlike the looks of them!
John aka JKim
-----------<><
-----------<><
Re: 1/32 Hasegawa Fw190D-9 Red One
Doing little things on the Dora to procrastinate from the start of painting. Like making a set of the landing gear indicators.
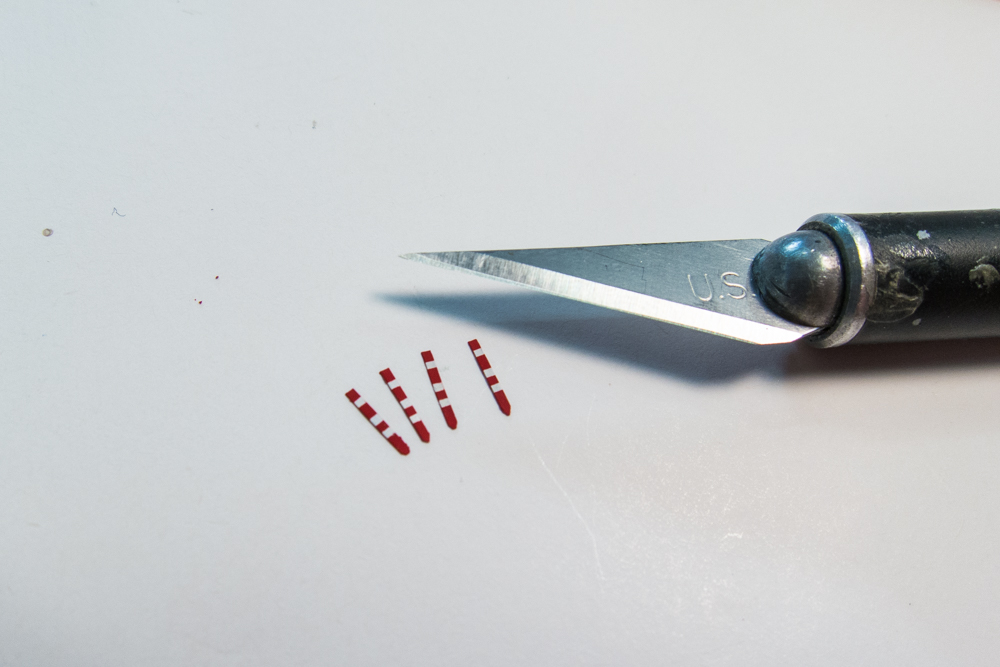
The Revi gun sight has been glued into place with a dab of white glue.
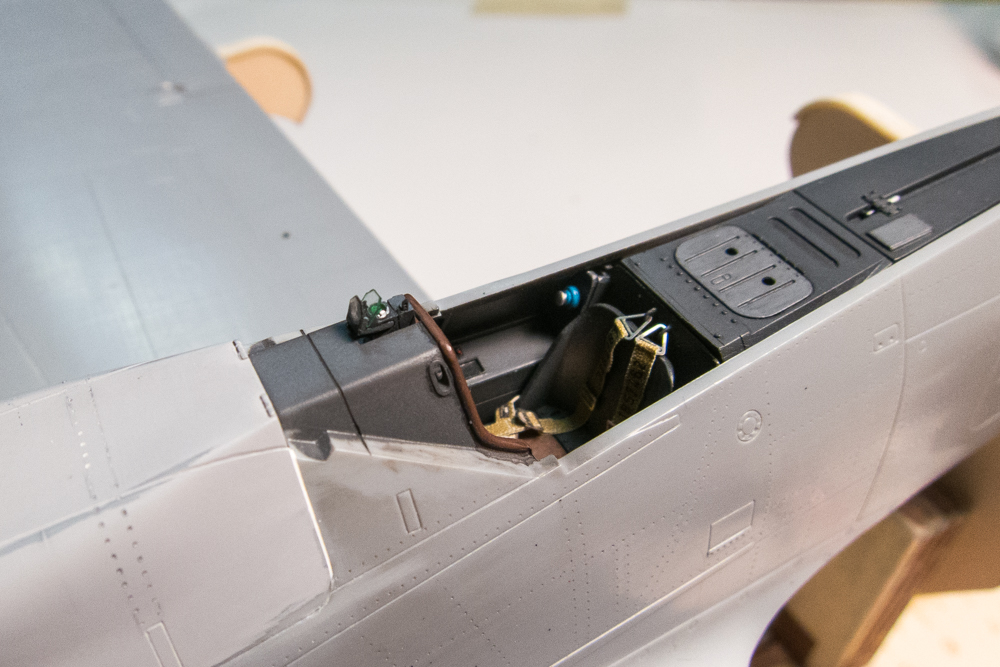

The windscreen is glued on but not the sliding canopy. I haven't decided if I'm going to paint the sliding canopy separately or not.
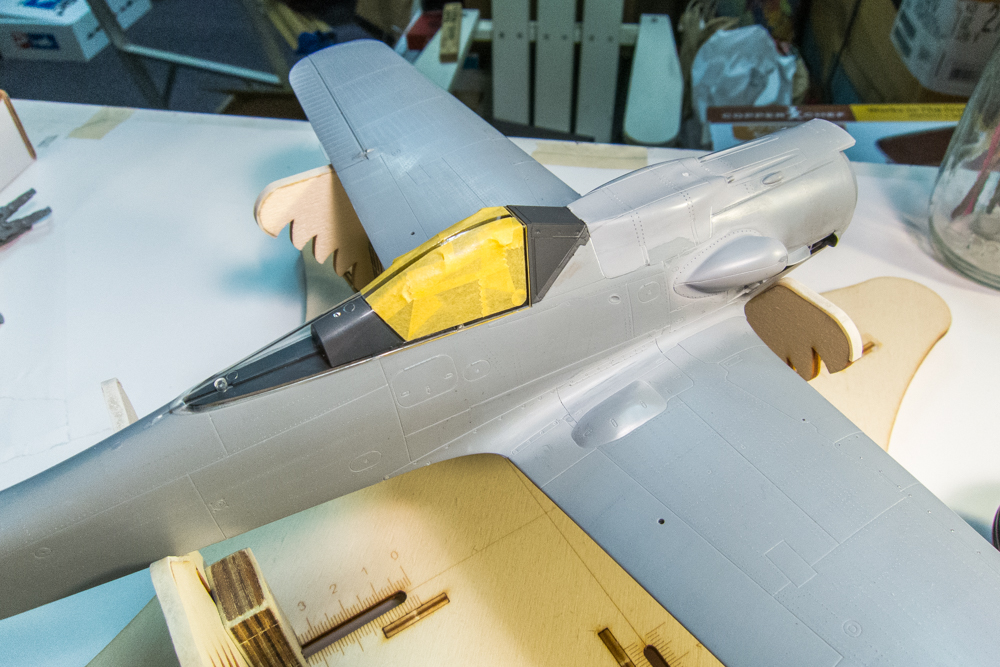
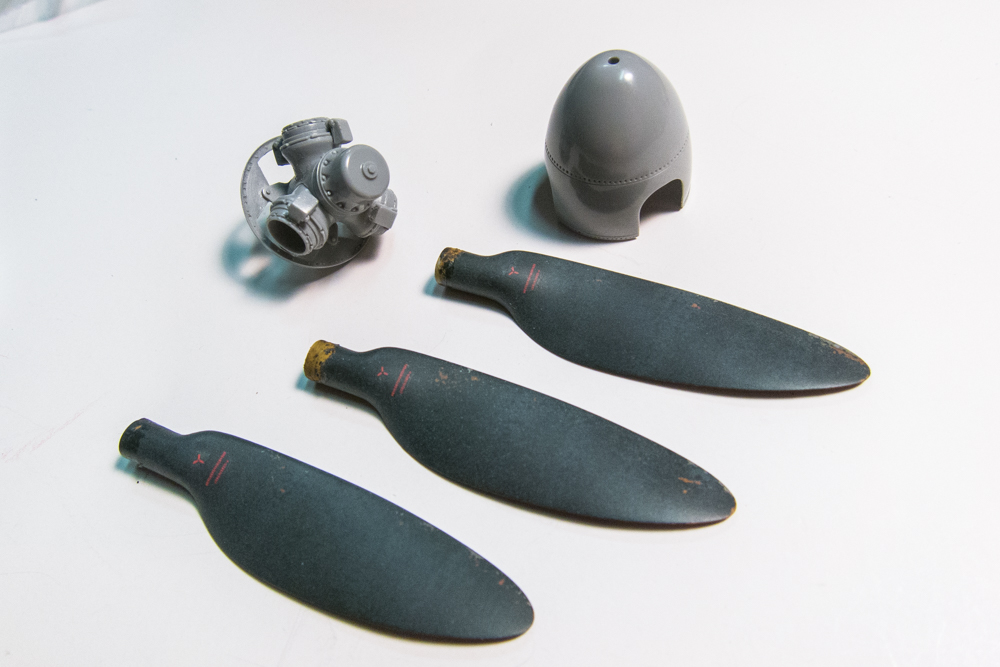
The prop blades have been done so I may as well paint the other components of the HD propeller.
I used the spiral mask from the Montex mask set to get this white spiral on the spinner. The mask worked very well.
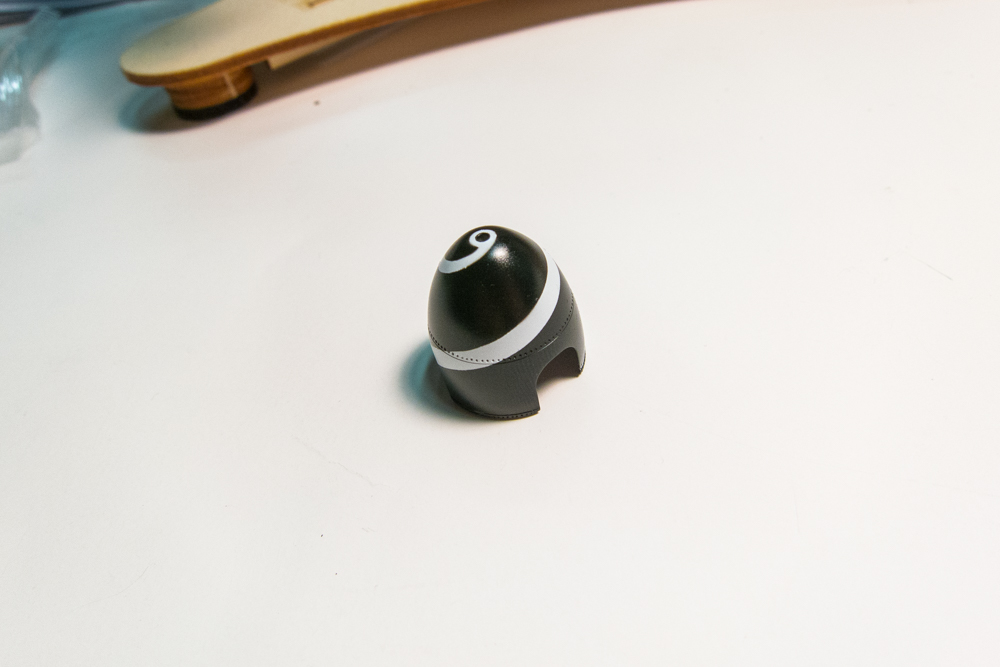
Black was oversprayed on the lower portion of the spinner and then the yellow was masked off and painted. Photos of Red 1 indicate that the black and white spiral was peaking through the yellow and black.

The prop hub and backing plate and painted.

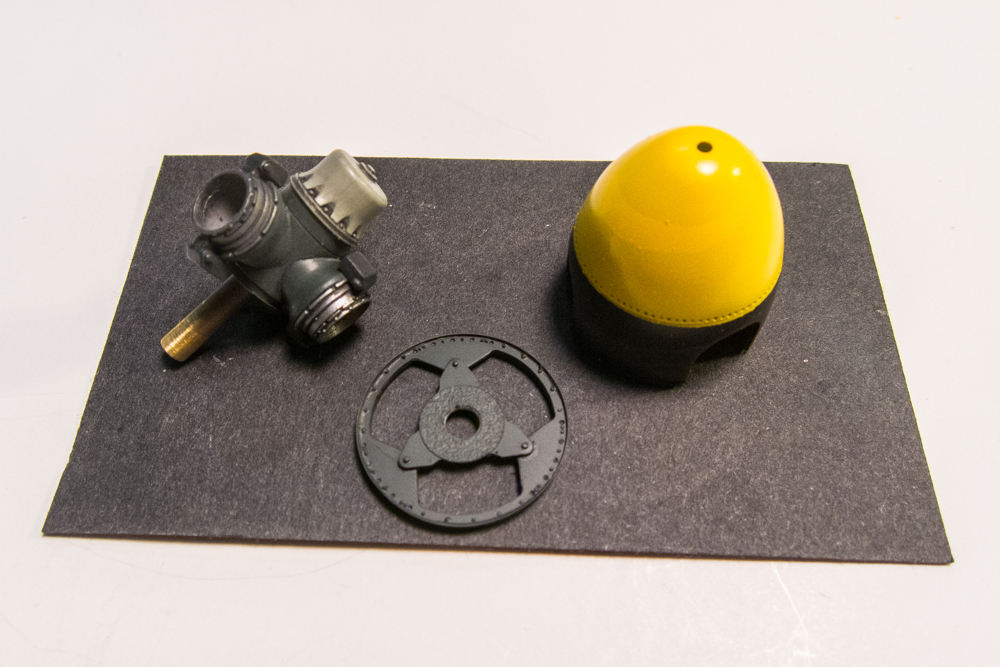
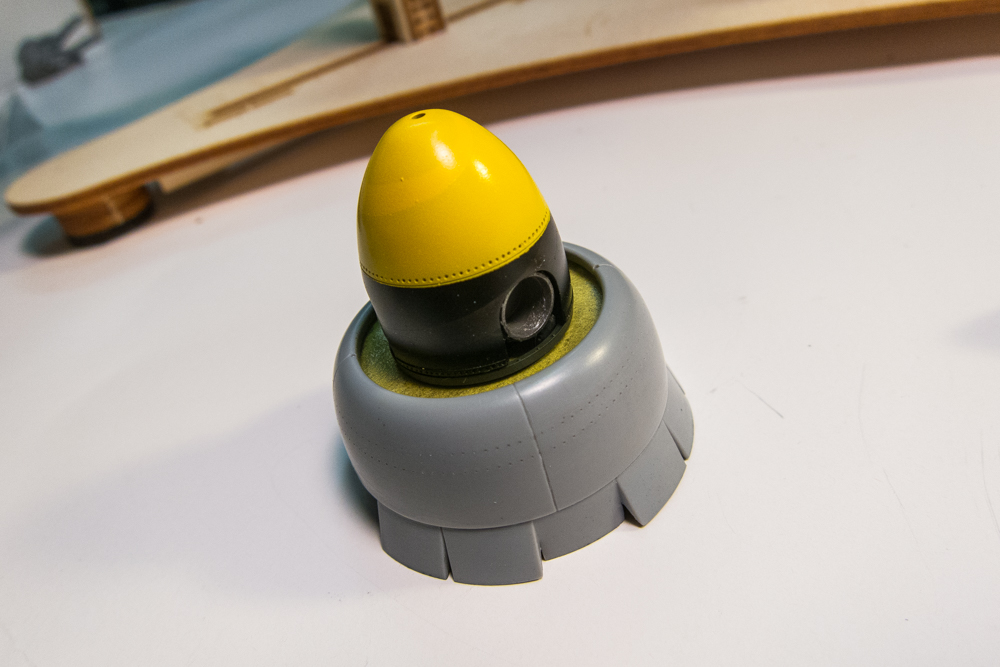
The hub gets hidden completely once the spinner is put into place. Too bad there is no way to make the spinner detachable. I'll do some cleanup on the spinner to get rid of some dust spots. It will also receive some light weathering.
The Revi gun sight has been glued into place with a dab of white glue.
The windscreen is glued on but not the sliding canopy. I haven't decided if I'm going to paint the sliding canopy separately or not.
The prop blades have been done so I may as well paint the other components of the HD propeller.
I used the spiral mask from the Montex mask set to get this white spiral on the spinner. The mask worked very well.
Black was oversprayed on the lower portion of the spinner and then the yellow was masked off and painted. Photos of Red 1 indicate that the black and white spiral was peaking through the yellow and black.
The prop hub and backing plate and painted.
The hub gets hidden completely once the spinner is put into place. Too bad there is no way to make the spinner detachable. I'll do some cleanup on the spinner to get rid of some dust spots. It will also receive some light weathering.
John aka JKim
-----------<><
-----------<><
Re: 1/32 Hasegawa Fw190D-9 Red One
John,jkim wrote:Thanks Kenny! My normal routine for painting exhausts goes like this... base coat of black and then an Alclad metallic color like Dark Aluminum. I then mist Alclad Exhaust Manifold (which is like a metallic brown color) over them. With a highly thinned black, I spray back into the openings and also try to highlight the outside tips of each pipe with the black. I'll use a post-it to separate each exhaust if I have to. After this, I mix a batch of red/brown paint and use a brush to dab this color in very small amounts on the exhausts. Kinda like dry brushing but using a poking motion instead. If the effect is too strong, you can dial it back by misting the Exhaust Manifold lightly over everything. I'll then finish them off with another thin black highlighting of the tips.KennyX wrote:Nice work! I’m especially fond of those exhaust tips. What’d you paint those bad boys with, inlike the looks of them!
Thank you very much! I appreciate it, for me, things like exhaust tips and the like were always kind of an afterthought. And these days I’m trying to move ahead with the mantra: “NOTHING SHOULD EVER BE AN AFTERTHOUGHT.” This has been formulating as I’ve been watching your work here. Doesn’t seem like anything’s an afterthought to you. And I like that. I’m gonna give that a shot with my Emil and Corsair.
Thank you again. And as always, splendid work here. That spinner is great and those blades are gonna look awesome when installed.
Kenny X
Head Mother Trucker In-Charge @ Kenny X’s Reichs Winzigkleines Flugzeugewerks *and now* Airboat Records, too!
Head Mother Trucker In-Charge @ Kenny X’s Reichs Winzigkleines Flugzeugewerks *and now* Airboat Records, too!

Re: 1/32 Hasegawa Fw190D-9 Red One
Your attantion to detail, especially on the spinner in this update, is exceptional. A scheme peaking through an upper layer of paint is so difficult to replicate. It has to be subtle but also noticeable. Little things like this are pushing a great model across the line to a masterpiece.