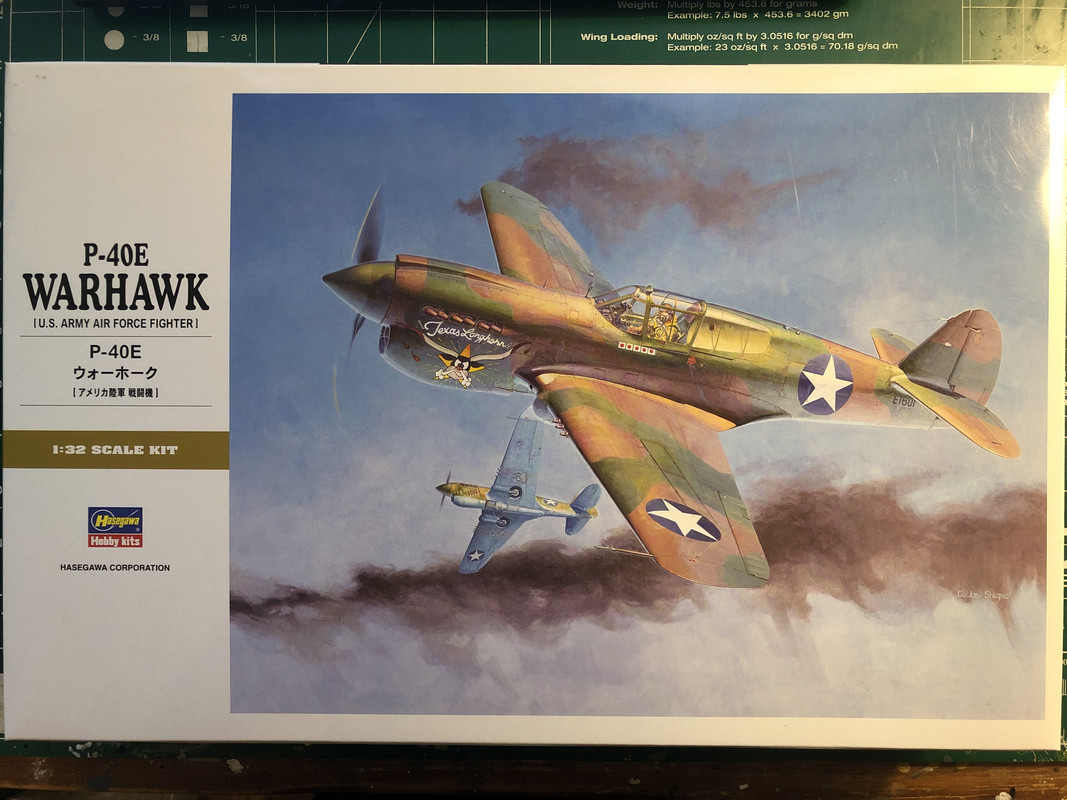
With my 1:48 Emil nearing completion, and and 1:48 Corsair out of the major construction phase and into the heavy weathering phase, I felt it was time to start planning a new aircraft project. I had bought Tamiya’s 1:48 P51 B “Shanghai-La” for this purpose, along with an Eduard PE set for it. That was going to be my next airplane.
This Warhawk project happened by accident. I was letting some oil paints on my Emil dry, and I’d just finished clear coating the Corsair, and I was bored. I got to thinking about the conversation we had about instrument panels a few weeks ago. As many of you know, I’m a pragmatic “Aftermarket IP” type of guy. I got to thinking about that, and asked myself “Why?”
I couldn’t come up with a good reason that didn’t sound like laziness or just-plain being a wuss about it and what’s more, I felt like I really could do it. So I pulled my 1:32 Warhawk kit off the shelf, clipped the IP off the sprue, and proceeded to go to town on it. Here’s the result of that work:
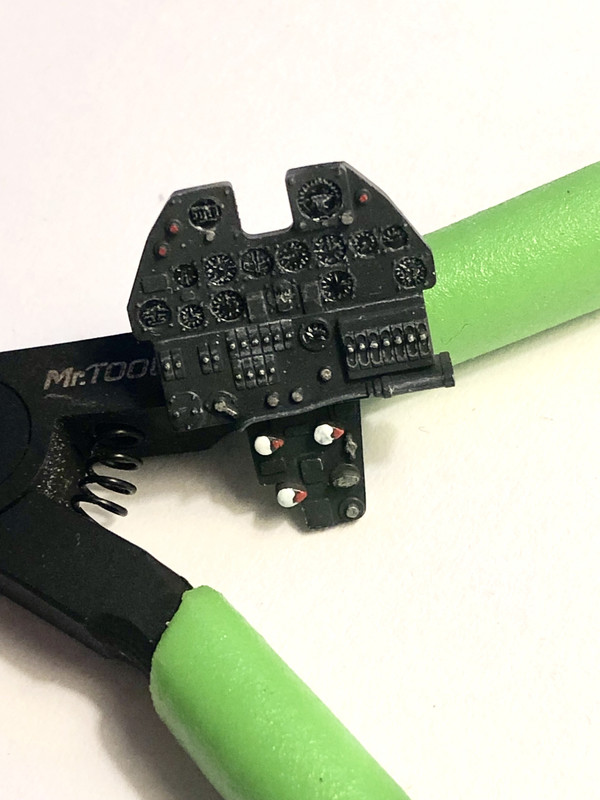
I primed it in Mr. Surfacer 1500 and after that dried -I was excited and probably didn’t wait long enough, it was maybe an hour during which time I looked at photos of the real thing on the internet- I sprayed German Gray on it. I didn’t marble it. I just gave it several light, thin, even coats. After that, I thinned down some NATO Black to the ratio of 4:1 thinner to paint, and lightly misted it with that. Happy with the results after drying, I hand-painted Gloss Black into each individual gauge with a small-diameter brush. That took a while. I let that dry while I went to Michael’s to pick up some Prismacolor pencils (I gave my last set to my niece after I discovered that I like “real” paint chipping bettter than simulated silver pencil chipping). I got back home, and used the white pencil for the details in the gauges, and the gray one for other details. The gauges looked like crap at first but I didn’t start over. Instead, I blasted it with air from my airbrush at 10 PSI to remove any small flakes, and then set about picking out buttons and stuff with enamels. After that, it got a flat coat. The gauge were looking better. After that I hand-painted each gauge with Tamiya Clear to simulate glass. POW! The gauges didn’t look crappy anymore.
“Holy cow that looks alright”, I said. Followed by “Well crap. I guess I have to build the whole airplane now.”
That was it. Happy accident.
I built the 1:48 version already. I liked it. So I’m building it again, just bigger.
Here’s my references.
Cockpit:
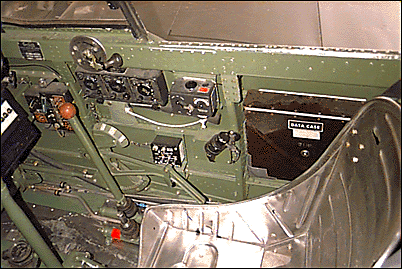
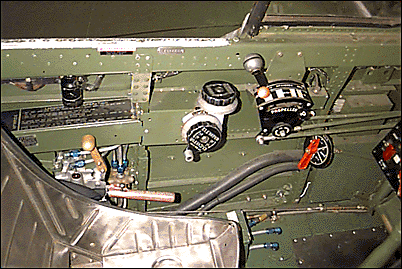
I did some research about the Cockpit color. “Curtiss Cockpit Green”. Interesting.
A fella by the name of Dana Bell over at HyperScale wrote an article about this. He says:
Cool. I can make that happen. Easily.In early 1942, aluminum shortages forced the US to find alternatives to Yellow Green, leading to the famous “Salmon” color (tinting zinc chromate primer with iron-oxide pigment),Curtiss Cockpit Green (tinting zinc chromate primer with gray enamel in an attempt to replicate Yellow Green), and several other variations before the introduction of Interior Green (zinc chromate primer tinted only with black) in mid-1943.
I’m opting for Texas Longhorn, as I’ve already done a Flying Tigers scheme. Here’s the references for that:
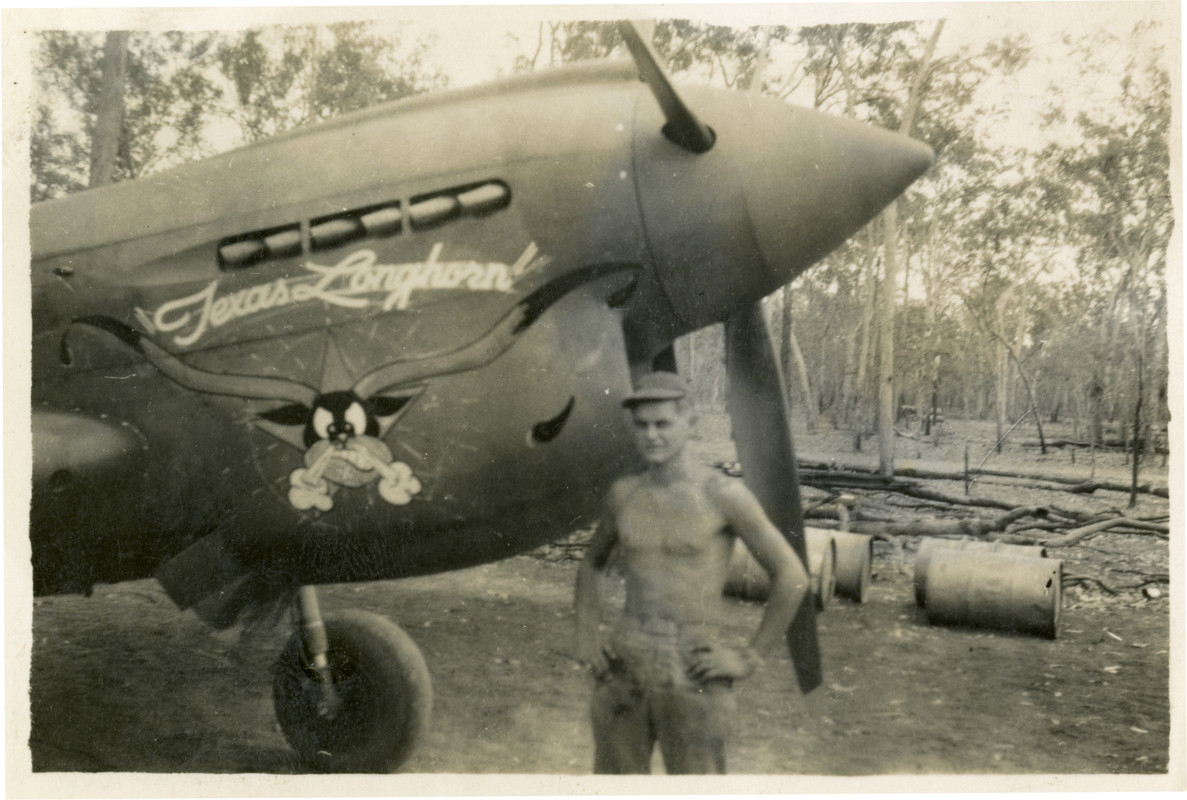
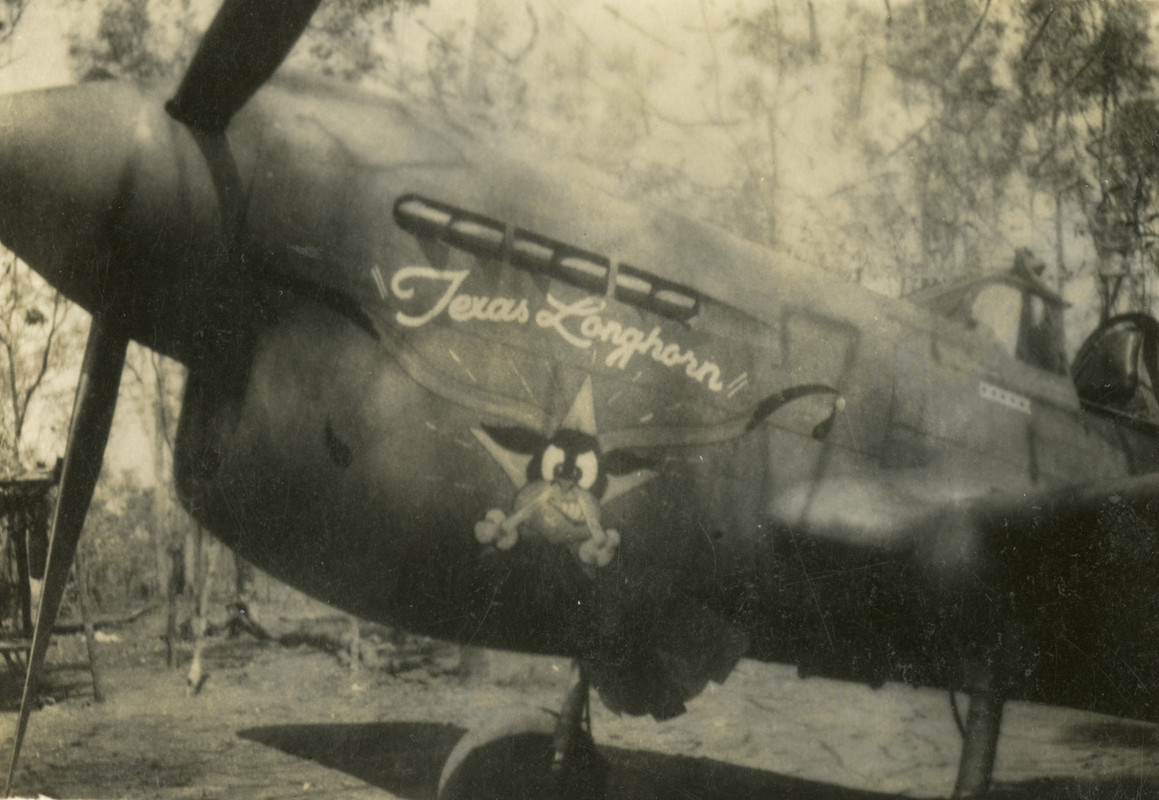
Chipping looks nonexistent on the nose but I’m sure there was plenty at the wing roots, so I’ll be weathering with the two-layer chipping there. Paint looks sun faded. I like that. That I can do and it’ll be fun to do it with camo.
Anyway, this’ll be starting soon! Just gotta get one off my bench first. The Emil or the Corsair. Whichever.



 I don't know how you are in terms of technical accuracy but I've found Thierry Laurent's Tweak Lists at LSP to be a valuable resource for a build. And he happens to have one for your kit...