1/32 Hasegawa Fw190D-9 Red One

Re: 1/32 Hasegawa Fw190D-9 Red One
Oohh... nice find! But I don't think it's relevant. The FuG 16Zy antenna is the Morane whip antenna on the bottom of the Dora.
John aka JKim
-----------<><

-----------<><
-
speedgraflex

- Moderator
- Posts: 11534
- Joined: Fri Feb 10, 2017 11:08 pm
- Contact:
Re: 1/32 Hasegawa Fw190D-9 Red One
Oh, apologies, John. I thought perhaps the Fug 16 (z?) was also hooked into the upper aerial somehow! I also found a fascinating description of radio operations for the Dora series.
Make more models!

Re: 1/32 Hasegawa Fw190D-9 Red One
Those are isolators to separate the antenna from the parts of the wire that work as tension cable. So only the "T" over the fuselage is the actual antenna.jkim wrote:Yeah... those light colored objects hanging on the aerial in your photo. What are they? I replicated them using short sections of brass tubing...
Cheers,
Torben
Torben

Re: 1/32 Hasegawa Fw190D-9 Red One
BlackSheep214 wrote:I got nothing except....

Stuart Templeton 'I may not be good but I'm slow...'

Re: 1/32 Hasegawa Fw190D-9 Red One
You guys just keep getting better and more bettererer. I just get older.
To make each build less crappy than the last one. Or, put another way, "Better than the last one, not as good as the next one!"..
-
Stikpusher

- Moderator
- Posts: 21383
- Joined: Sat Apr 05, 2014 8:37 pm
- Location: Ceti Alpha 5
Re: 1/32 Hasegawa Fw190D-9 Red One
Yes, the isolators, or insulators, keep the antenna from grounding out. They are made from a non conductive material, such as ceramics. The antenna type is a center fed dipole, with the radiating element being the top portion of the T, being fed by the base portion, which connects it to the radio. Any sag in the radiating element reduces signal strength, hence the tensioners to keep the antenna wire as straight a side possible.mostrich wrote:Those are isolators to separate the antenna from the parts of the wire that work as tension cable. So only the "T" over the fuselage is the actual antenna.jkim wrote:Yeah... those light colored objects hanging on the aerial in your photo. What are they? I replicated them using short sections of brass tubing...
-commo class over
"Surely I have made my meaning plain? I intend to avenge myself upon you, Admiral. I have deprived your ship of power, and when I swing 'round, I intend to deprive you of your life."
FLSM
FLSM
Re: 1/32 Hasegawa Fw190D-9 Red One
Excellent! Thank you for that explanation, Torben and Carlos! It totally makes sense. I looked at my Squadron Walkaround reference and it talked about the radio antenna's only entry into the aircraft at the rear fuselage and called those things "resistors".
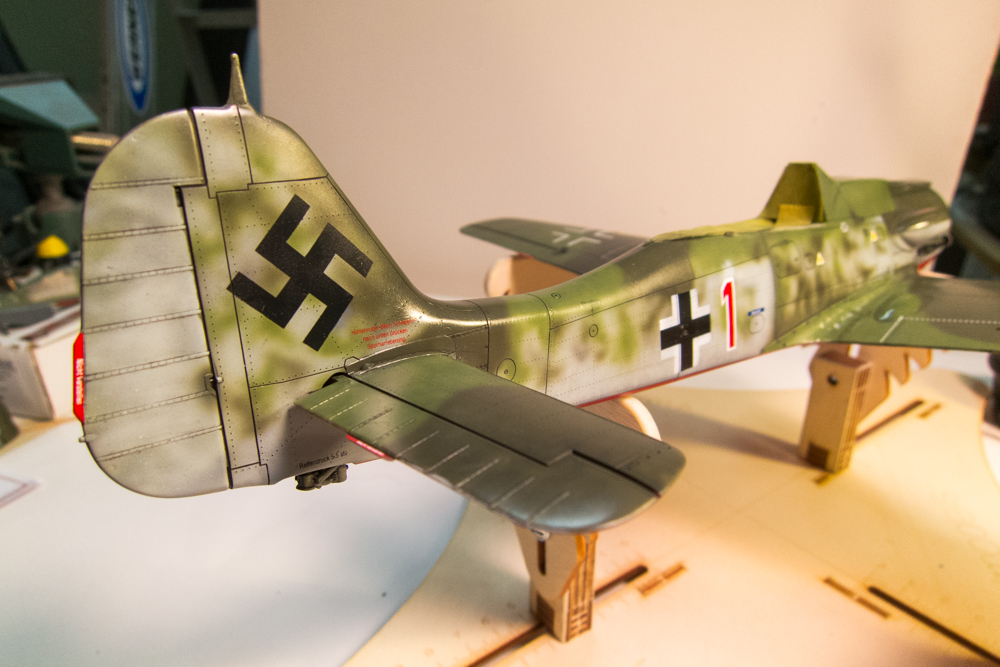
Here is the joint on the horizontal stabilizer. Pressing the stabilizer into place produced a glue blob.
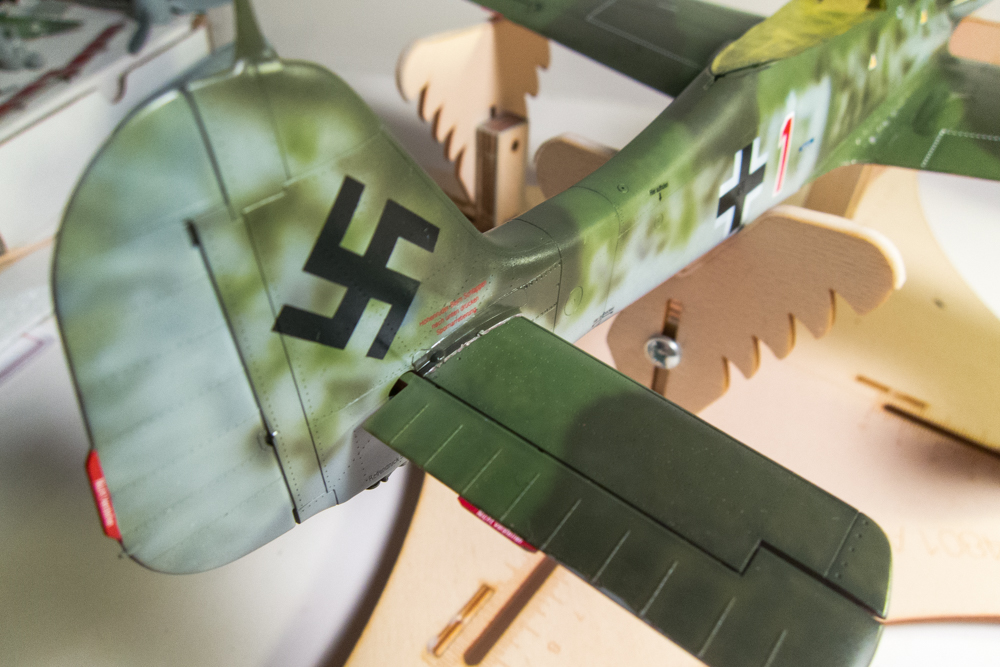
I let the glue blob dry completely and then scraped it away using a scriber. White Milliput was used to make the joint uniform.
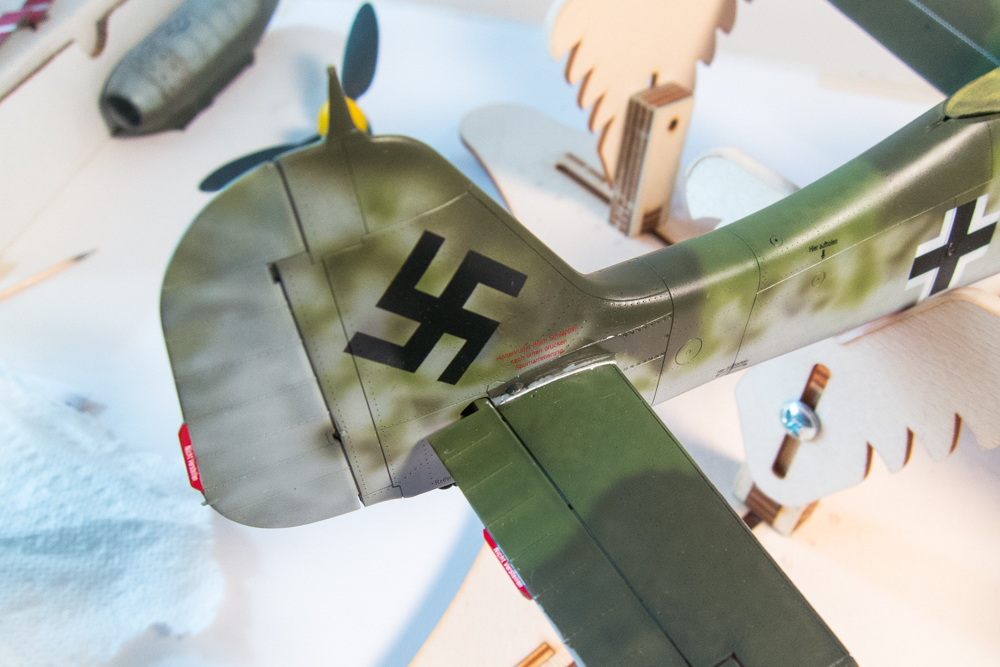
The area was then masked and painted in several steps. Neutral grey, black along the joint, RLM82 Light Green on the stabilizer side and finally RLM83 Dark Green on the fuselage side. Note the little bit of grey plastic showing through on the rear edge of the stabilizer which needs a bit of repair.
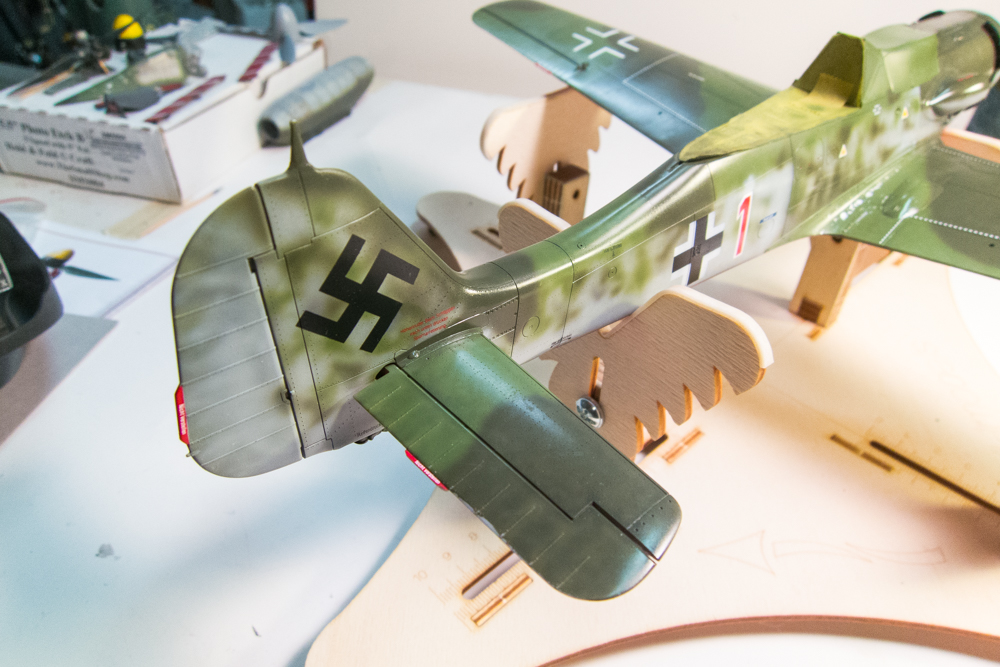
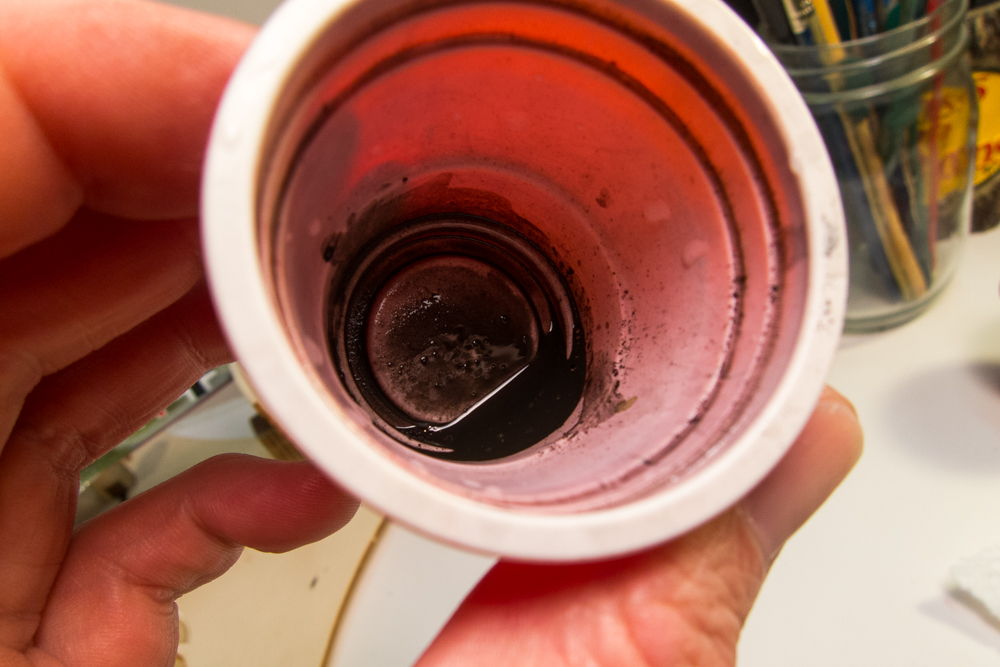
After that repair, the aircraft was sealed with a gloss coat and preparations for the first weathering stage began. I make my washes with pastel chalk and water. I simply scrape chalk dust into a small cup. For this stage, I'll be using a mixture of black and dark brown.
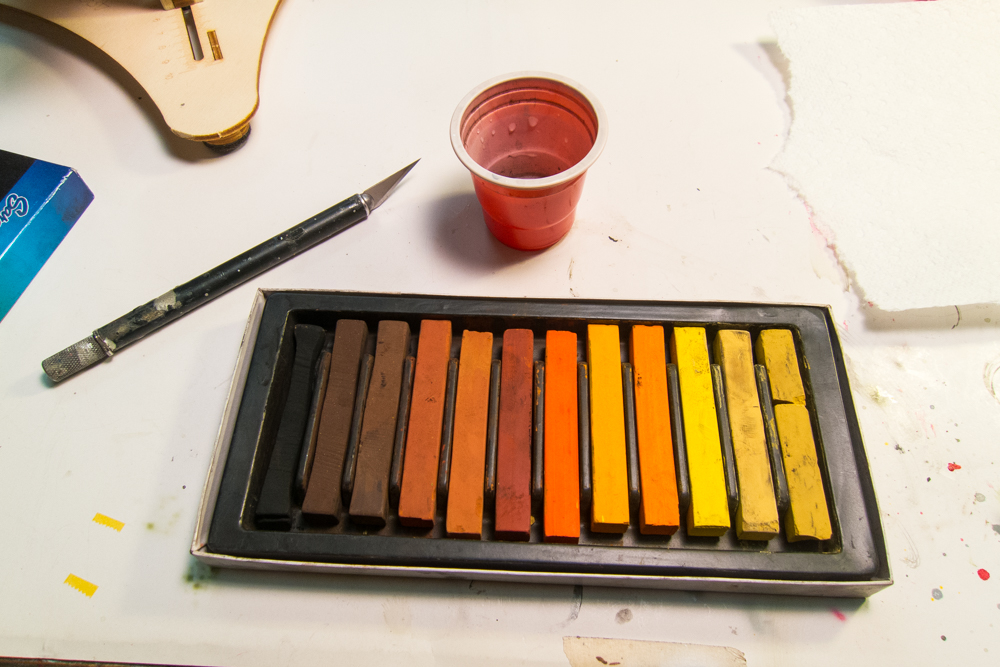
A small amount of water is added along with a drop of dishwashing soap to help the two ingredients mix. This small amount will be enough for the entire aircraft.
The wash is applied over the panel lines and rivets and allowed to dry. I'll usually do both wings first. By the time I finish the second wing, the first wing will be dry and I can start removing the wash.
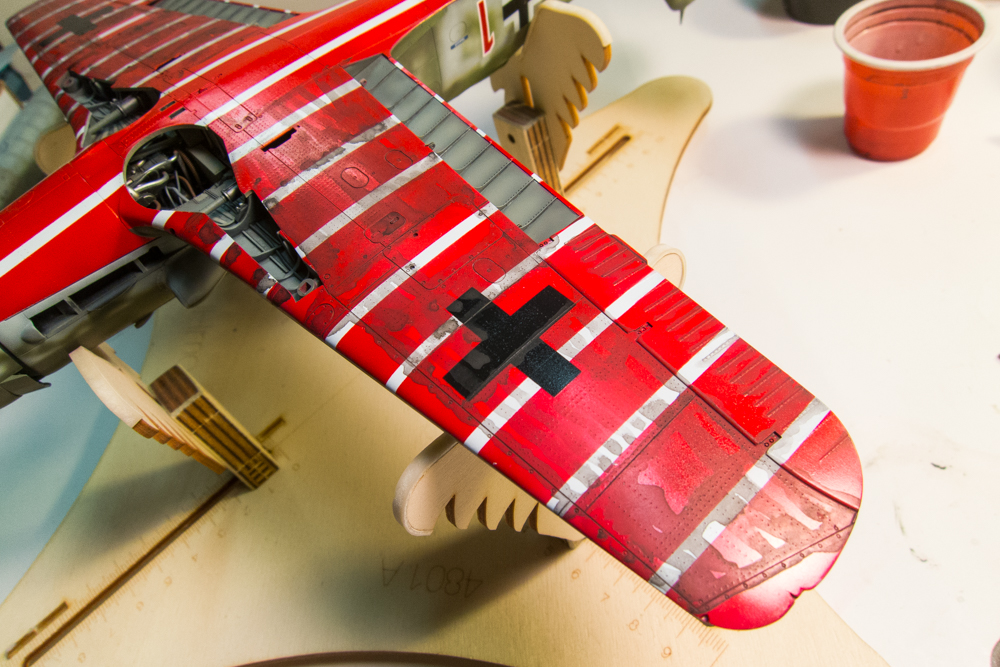
Using a small piece of folded paper towel, moistened with water, the wash is wiped off. New pieces of paper towel are used as they get loaded up with the dark wash.
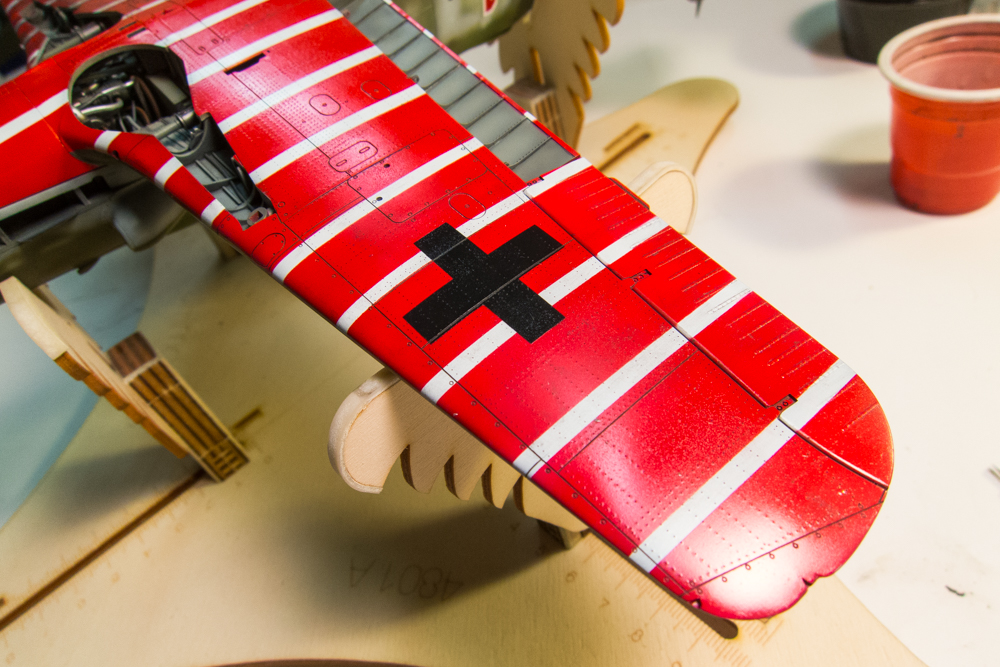
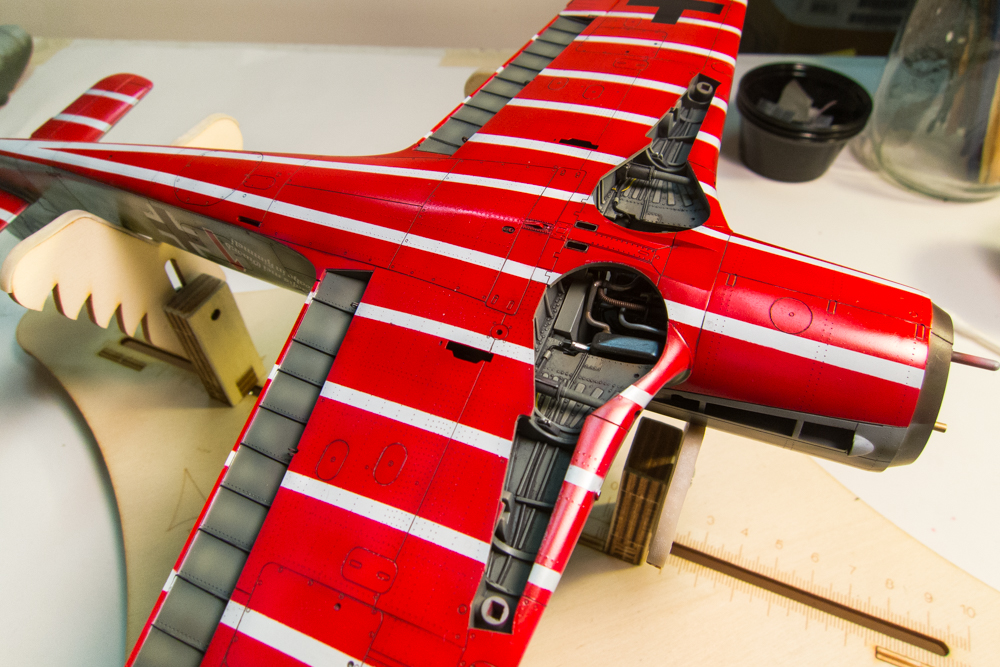
Here is the wing prior to the wash. The effect is a little more prominent in real life as it's difficult to capture photographically due to the high contrast between the red and the white.
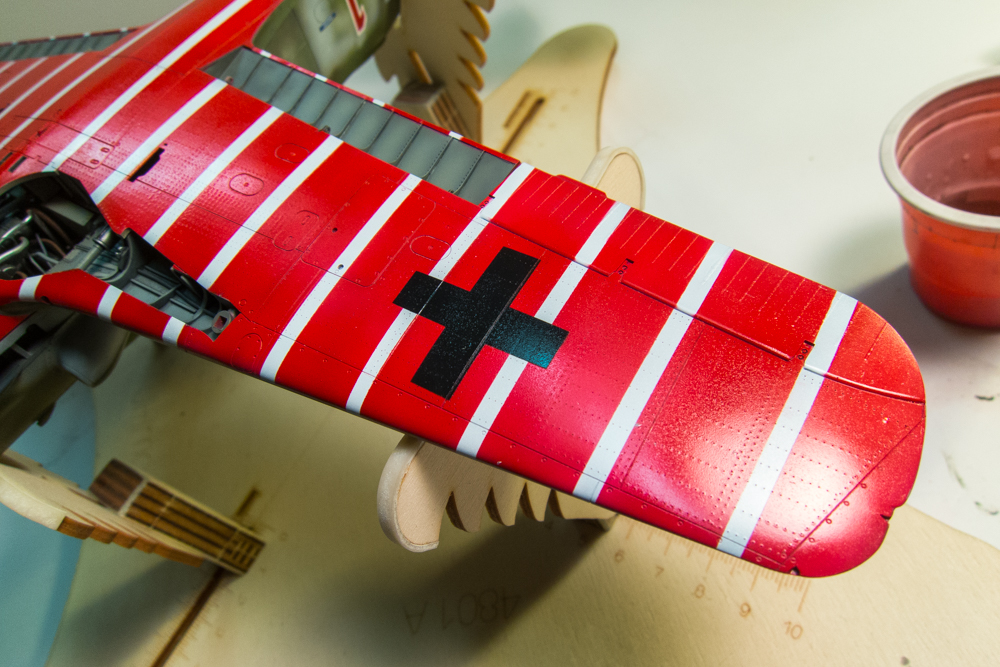
I work my across the bottom in subsections. I like to wipe in the direction of the airflow but occasionally I'll need to wipe in another direction. I'll always go back to that area and make a final wipe in the direction of the airflow... any inadvertent streaks will look better that way.
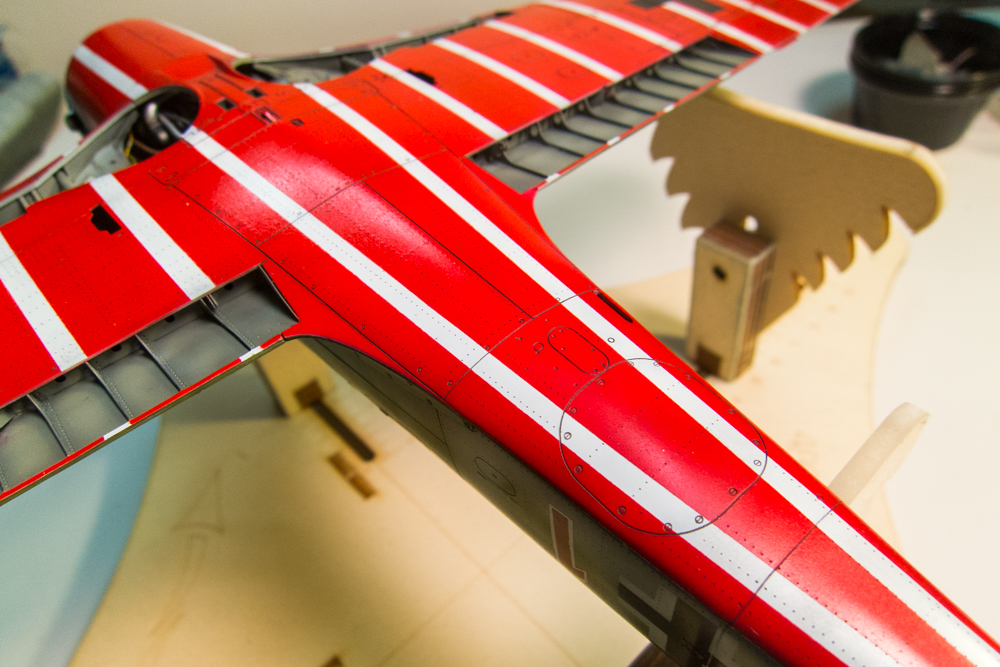
The top is done in the same way.
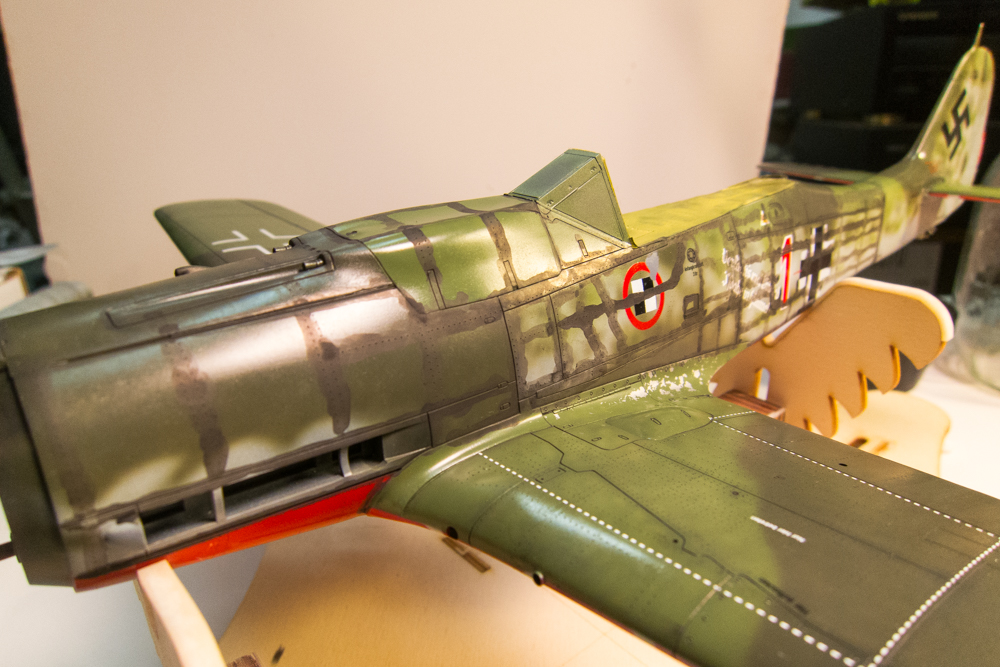

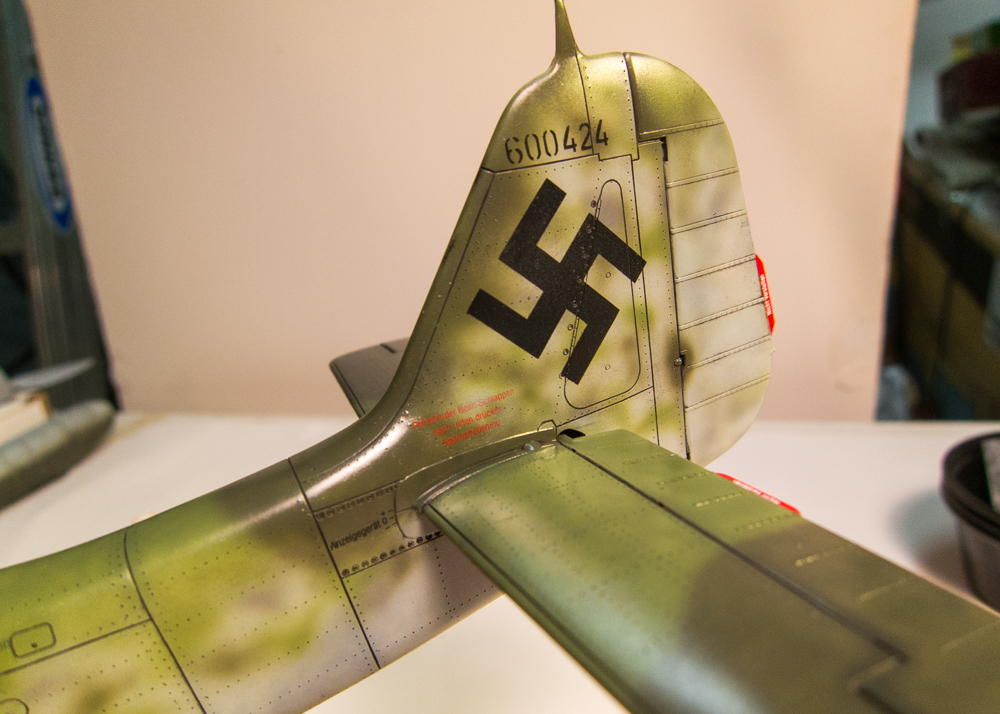
I'm going to let this sit and dry. I'll come back and go over it again with a paper towel just to make sure I didn't miss any areas. I'll then seal the effect with another clear coat in preparation for the next weathering step.
Here is the joint on the horizontal stabilizer. Pressing the stabilizer into place produced a glue blob.
I let the glue blob dry completely and then scraped it away using a scriber. White Milliput was used to make the joint uniform.
The area was then masked and painted in several steps. Neutral grey, black along the joint, RLM82 Light Green on the stabilizer side and finally RLM83 Dark Green on the fuselage side. Note the little bit of grey plastic showing through on the rear edge of the stabilizer which needs a bit of repair.
After that repair, the aircraft was sealed with a gloss coat and preparations for the first weathering stage began. I make my washes with pastel chalk and water. I simply scrape chalk dust into a small cup. For this stage, I'll be using a mixture of black and dark brown.
A small amount of water is added along with a drop of dishwashing soap to help the two ingredients mix. This small amount will be enough for the entire aircraft.
The wash is applied over the panel lines and rivets and allowed to dry. I'll usually do both wings first. By the time I finish the second wing, the first wing will be dry and I can start removing the wash.
Using a small piece of folded paper towel, moistened with water, the wash is wiped off. New pieces of paper towel are used as they get loaded up with the dark wash.
Here is the wing prior to the wash. The effect is a little more prominent in real life as it's difficult to capture photographically due to the high contrast between the red and the white.
I work my across the bottom in subsections. I like to wipe in the direction of the airflow but occasionally I'll need to wipe in another direction. I'll always go back to that area and make a final wipe in the direction of the airflow... any inadvertent streaks will look better that way.
The top is done in the same way.
I'm going to let this sit and dry. I'll come back and go over it again with a paper towel just to make sure I didn't miss any areas. I'll then seal the effect with another clear coat in preparation for the next weathering step.
John aka JKim
-----------<><
-----------<><
Re: 1/32 Hasegawa Fw190D-9 Red One
Well done!
To make each build less crappy than the last one. Or, put another way, "Better than the last one, not as good as the next one!"..
-
Stikpusher
- Moderator
- Posts: 21383
- Joined: Sat Apr 05, 2014 8:37 pm
- Location: Ceti Alpha 5
Re: 1/32 Hasegawa Fw190D-9 Red One
John, the wash looks great. But I fascinated by your actual mixing process. Is it THAT simple? The pigment dust scrapes, water, and a dab of dish soap?
"Surely I have made my meaning plain? I intend to avenge myself upon you, Admiral. I have deprived your ship of power, and when I swing 'round, I intend to deprive you of your life."
FLSM
FLSM
-
mustang1989

- Moderator
- Posts: 5044
- Joined: Tue Mar 18, 2014 8:35 pm
Re: 1/32 Hasegawa Fw190D-9 Red One
Never thought of the pastels mixed with water. I use pastels a lot to tone things down or for light weathering but have never mixed 'em with water. Good stuff John.