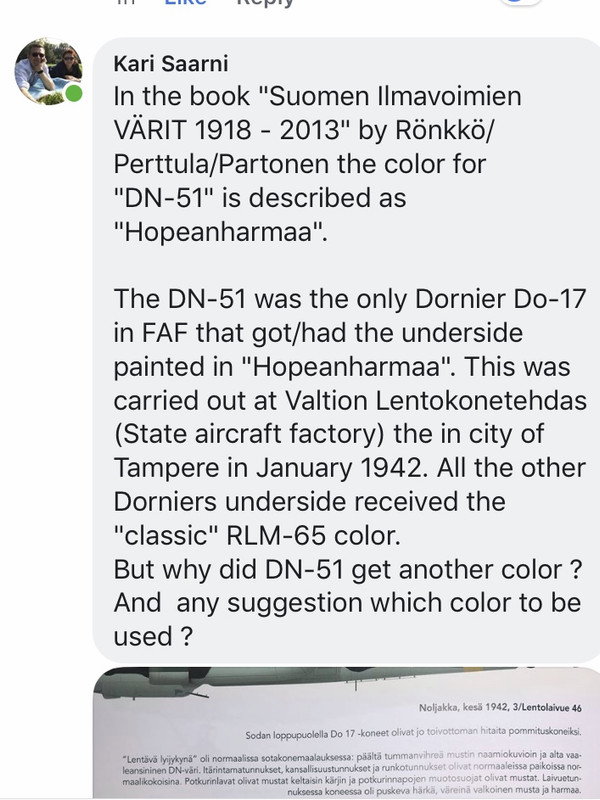
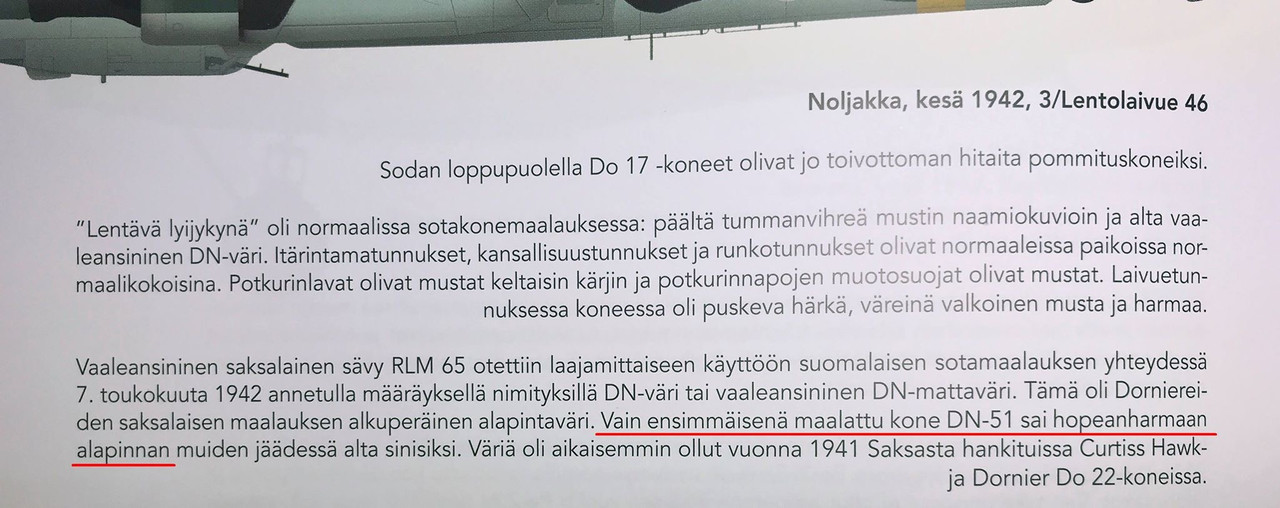
Stikpusher wrote:I found my tin of Humbrol 166. It is quite a bit lighter than what is shown on the Humbrol website and just the slightest tinge of green, similar to what is shown on the color chips that Bruce posted. With scale effect it would likely work well as is straight from the tin.
Many thanks Carlos, that sounds indeed promising !!
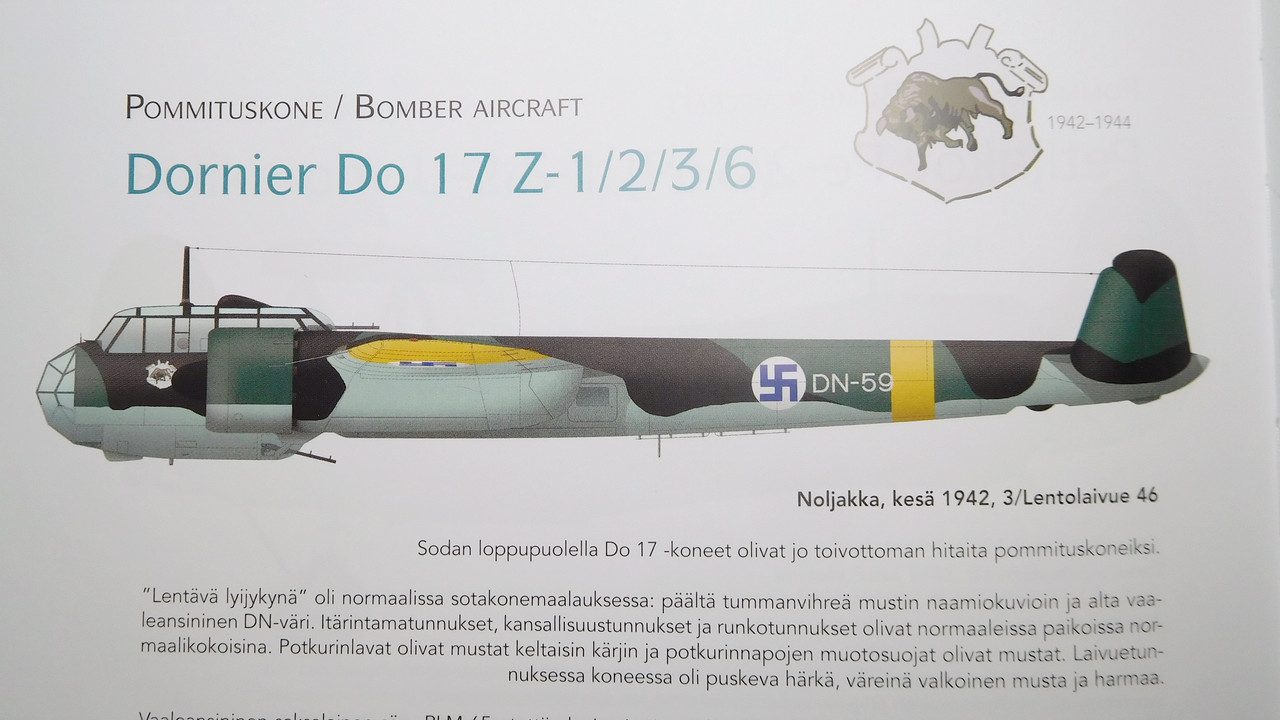
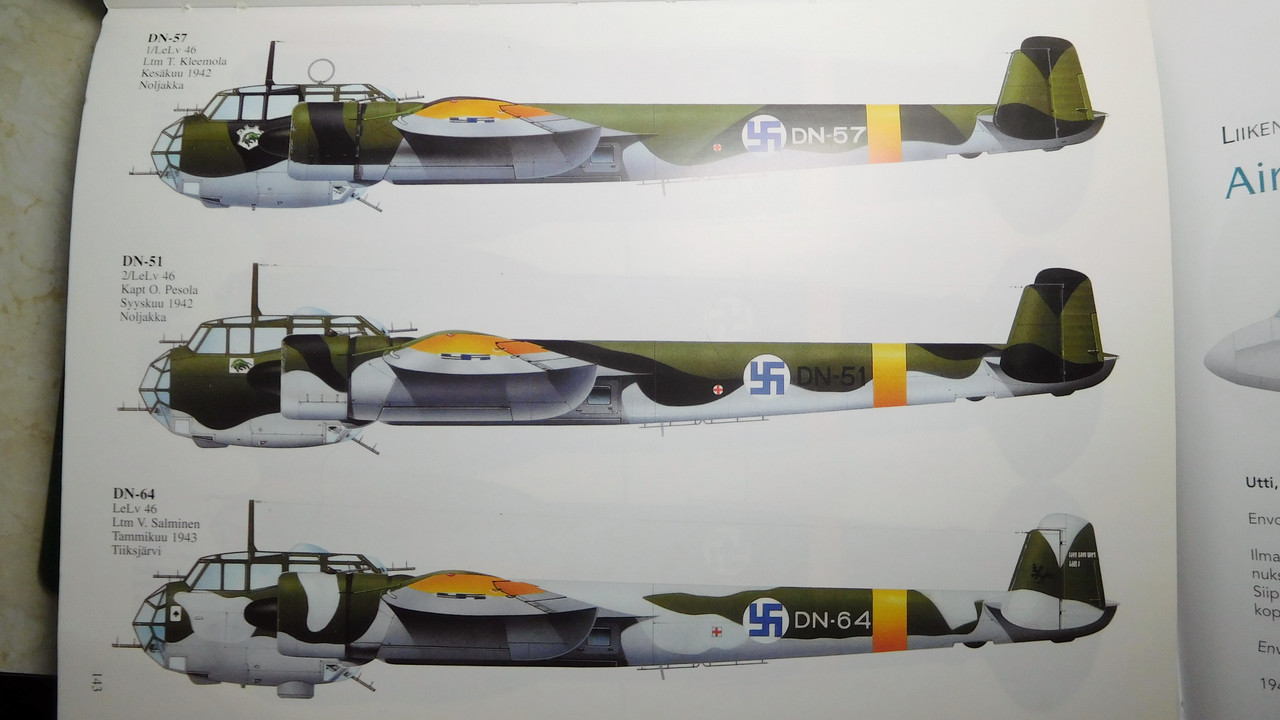
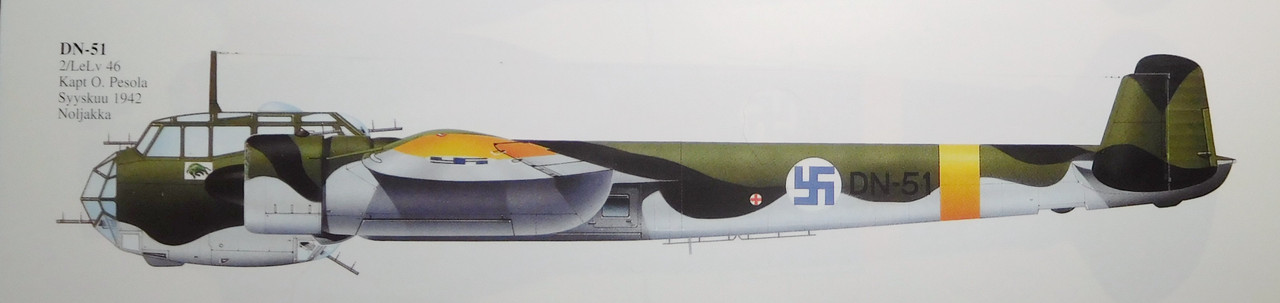
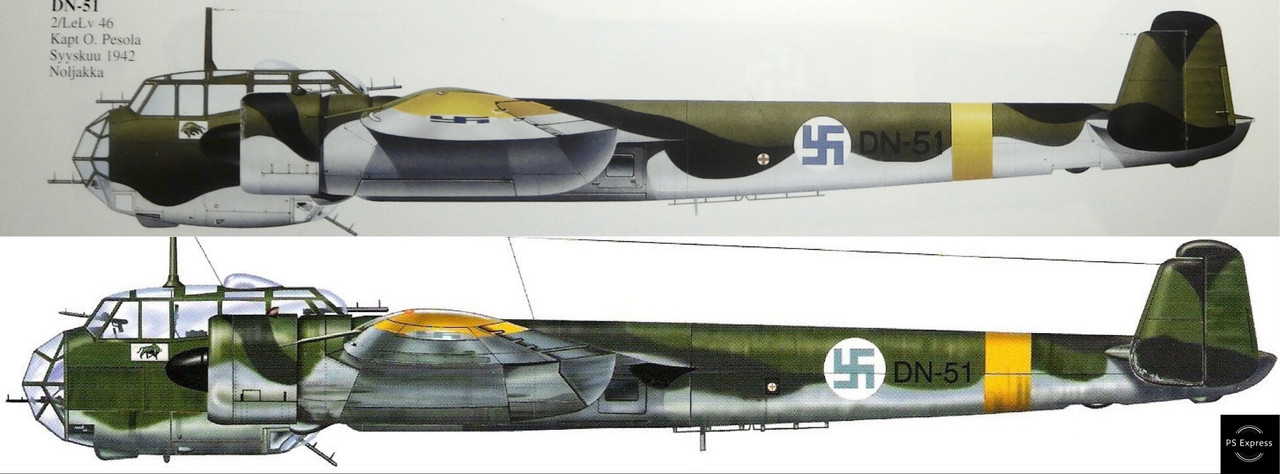
Unfortunately the plane above is the DN-59, but I had another book where I found the DN-51. But the drawings are not so good in my opinion, as I cannot see any difference in the underside colors between the 3 examples..
(DN-64 in winter camo)
"Surely I have made my meaning plain? I intend to avenge myself upon you, Admiral. I have deprived your ship of power, and when I swing 'round, I intend to deprive you of your life."
March as one, Don't look back
Odin's sons... Attack!
Unleash hell! Do not repent! Warfare grants us no lament
Let your weapons slash and tear This is no place for fear
Hold the lines! Move as one! In unity our victory's won
Our shields will form a mighty wall
United we shall never fall
Hi Carlos and Clint, I racked out early last night—not by intention, really! I thought I would lay down for awhile after coming home from work and woke up six hours later. I meant to add a bit o' narrative to the above work being done on the engines and nacelles, but first let me tell you both, sincerely, it was great to be able to wake up and read your replies! Thank you both so much. Being part of a modeling forum made an incredible improvement in how I approach what I do—and thanks to you I have made a lot of changes in how I do what I do. Chief amongst those is in taking a slower pace and letting ideas develop as pieces come together. Beforehand I would try to cram the thinking into the first stage and the doing into the second. I don't do this any more and that is really thanks to being here. Carlos, in particular, thank you, my friend. Clint, I am glad you came over here from FSM. Thank you.
The rain stopped as mysteriously as it began! I love the rain. My grandmother and I would go out on the screened porch of our home and listen to the rain without saying anything. Such a wonderful experience!
Notes for the above posts!
Kari, Thank you for the profiles. I updated the first post of this thread, adding these images of FAF "Bison" Dornier Do 17s. My sincere thanks for everything you do!
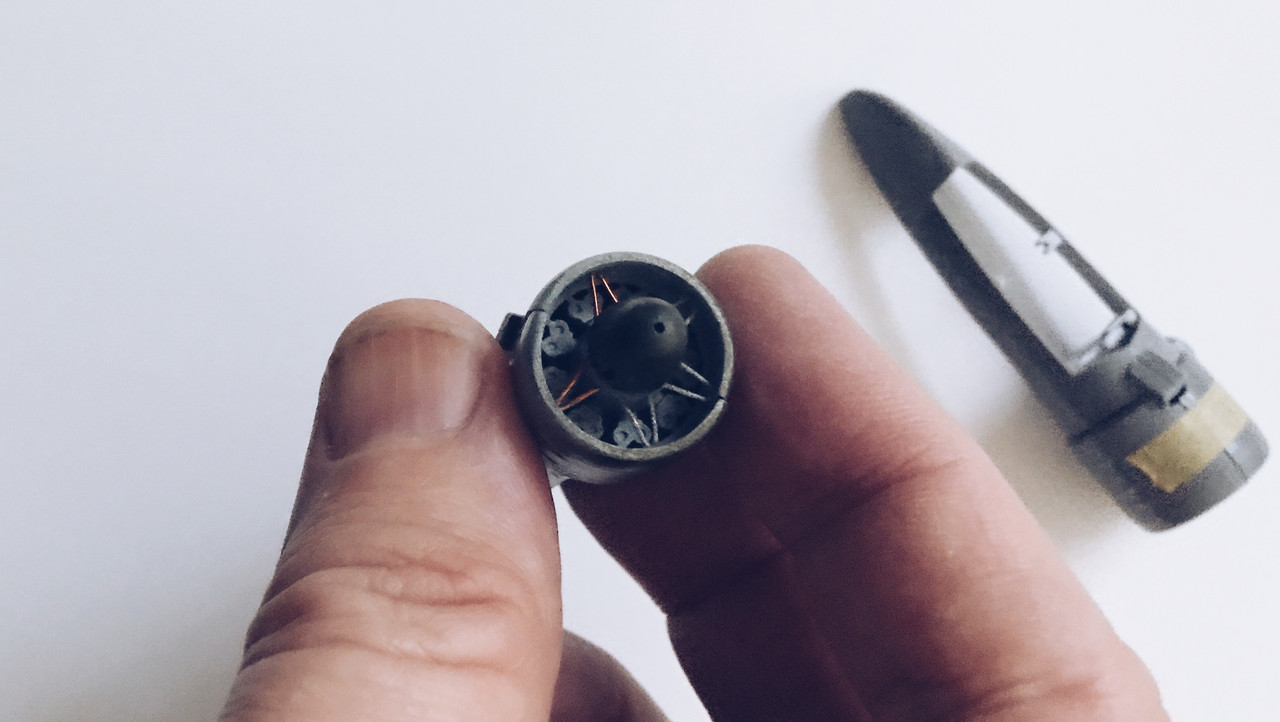
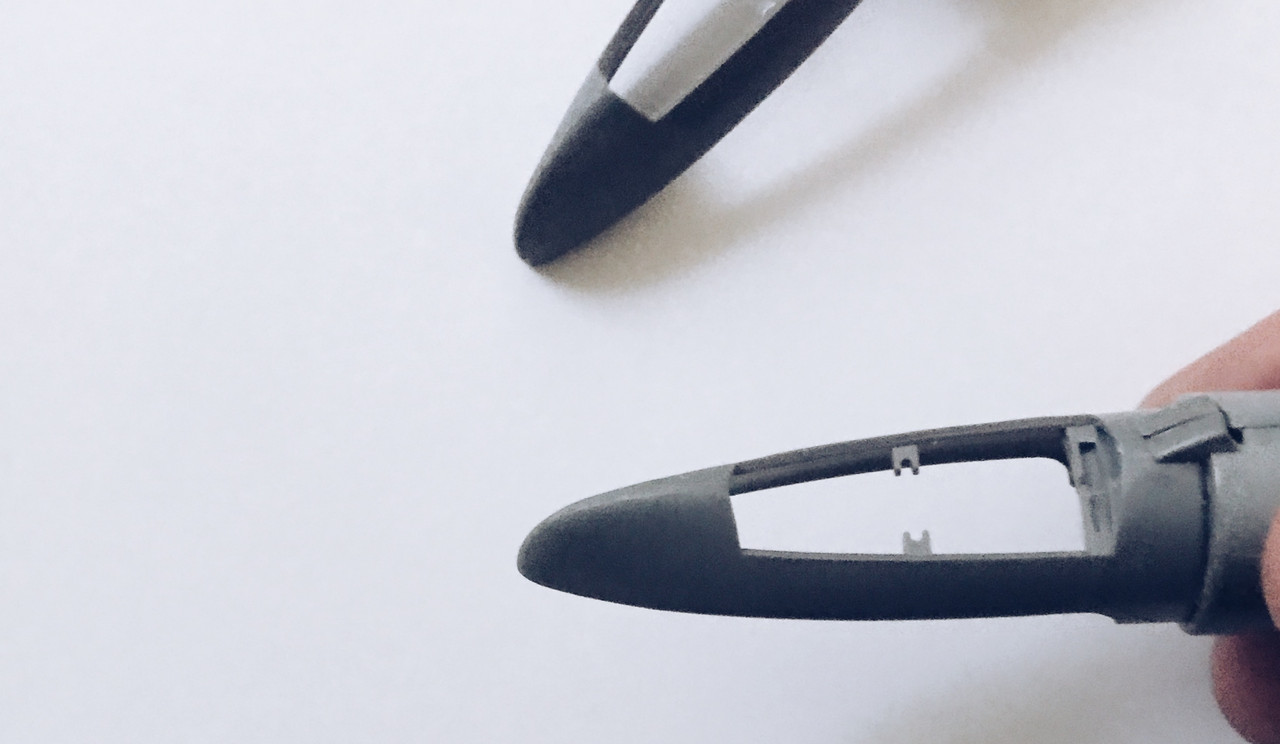
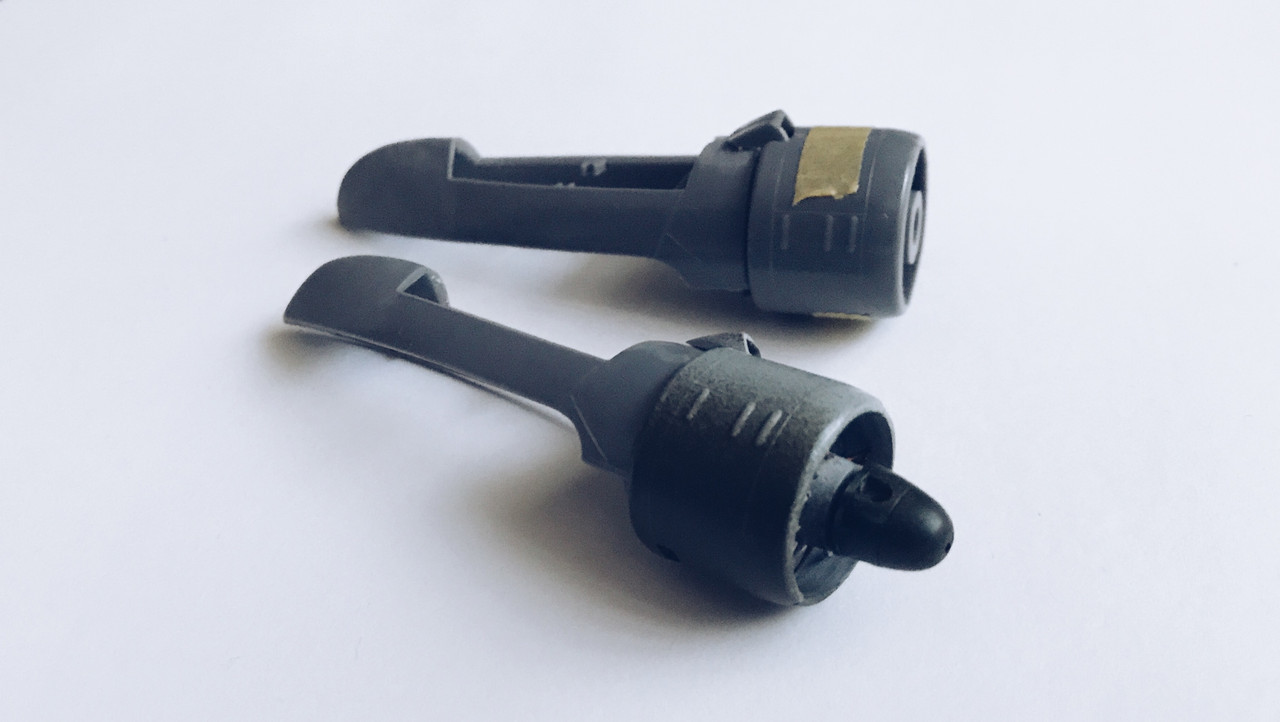
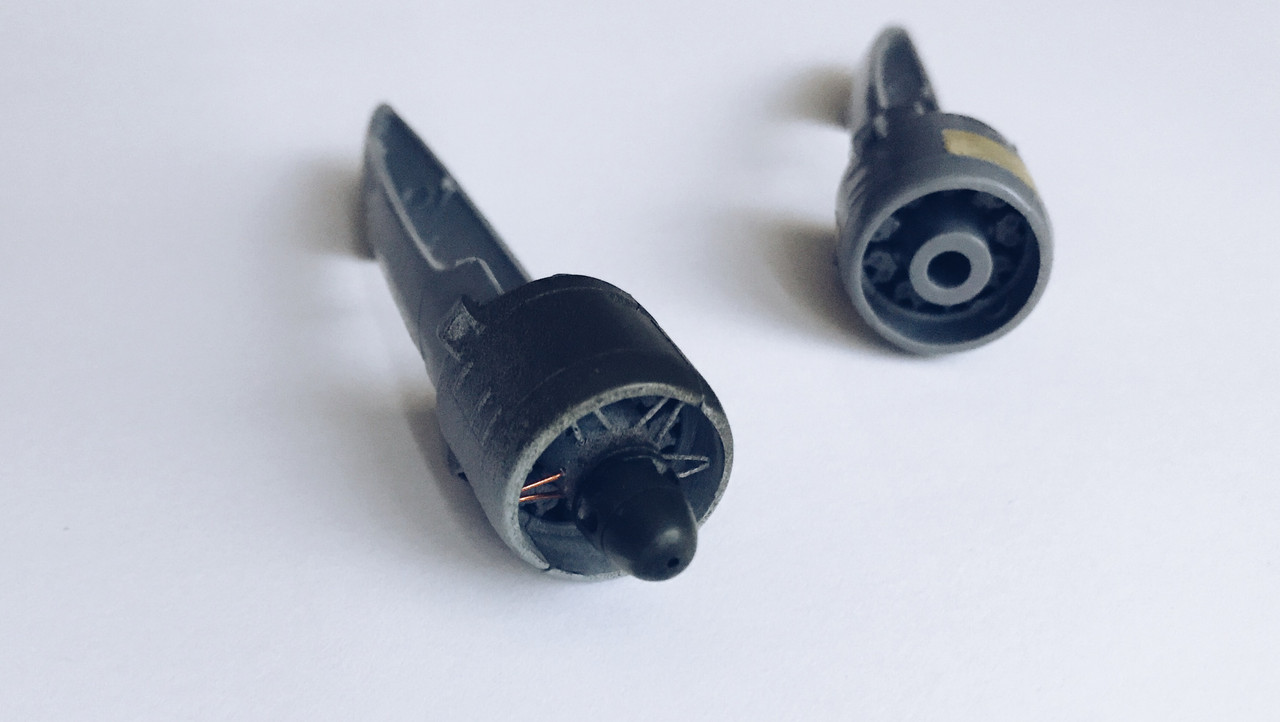
Things that I did above that I should note :
1. Added the two lower braces, which brings the shape to a star overall. I do have a factory diagram of the braces finally which I will add to the thread soon.
2. Removed the left and right raised injection molding pins from the front interior sections of the cowling. There are actually four raised injection molding pins inside the cowlings. I removed the first pair that are visible. To do this, I used my Dad's set of needle files. There must be names for each type, but I do not know the names for the file types. I choose two—one looks like a small "spade" and the other is a round file which is well... very much a needle. Working carefully to avoid gouging the plastic I removed the pins then followed sanding with 600 grit Tamiya sand paper.
3. I built the nacelle sections! I glued kit plastic together for the first time. So, I wanted to do something underneath in case I mucked this up. I also wanted to build out from the engine I am already modifying. Just as a huuuge FYI, the kit plastic and Mr Cement Deluxe were not a match made in heaven... more or less I scrapped the idea of using liquid cement designed for plastic kits. This has already happened on the AMT/ERTL Enterprise anyway, so once the thick Tupperware type of plastic started to resist Mr Cement Deluxe's chemical concoction, I moved straight to CA. I really like the Sprue Brothers branded CA even though it is really thin. I did what I did on the Enterprise nacelles, used a pipette to run a bead on the outside then sanded the bead while the glue was wet. This takes a little or a lot of practice but following the seam edge and grinding the plastic into the glue locked the two halves of each nacelle into place. Then I continued to sand the joins, filling them with sprue dust—the magic pixie dust of all modeling!
I definitely feel that there will be no "popping apart" of these seams which remains my primary concern. I am wondering if anyone has ideas for the attaching wings — the top and bottom seams and the wing-to-fuselage joins may require a similar approach but I would like to try out different ideas. With nacelles, I have an approach that works, but I could use ideas for the wings. Thanks in advance.
... With out seeing the seams the way I tackle them is to lay some Tamiya masking tape on each side of the seam then run some Perfect Plastic Putty into the seam and let it dry for about 15 minutes then come back with some tap water on my finger and smooth out the seam. After that has dried for about a hour I repeat the putty smoothing again if needed. Then remove the tape only minimal sanding is usually needed depending on how nasty the seam was. If you haven't used PPP its really great, Vallejo also makes a similar putty that works as good. If it's really really bad then Milliput.
March as one, Don't look back
Odin's sons... Attack!
Unleash hell! Do not repent! Warfare grants us no lament
Let your weapons slash and tear This is no place for fear
Hold the lines! Move as one! In unity our victory's won
Our shields will form a mighty wall
United we shall never fall

scale effect