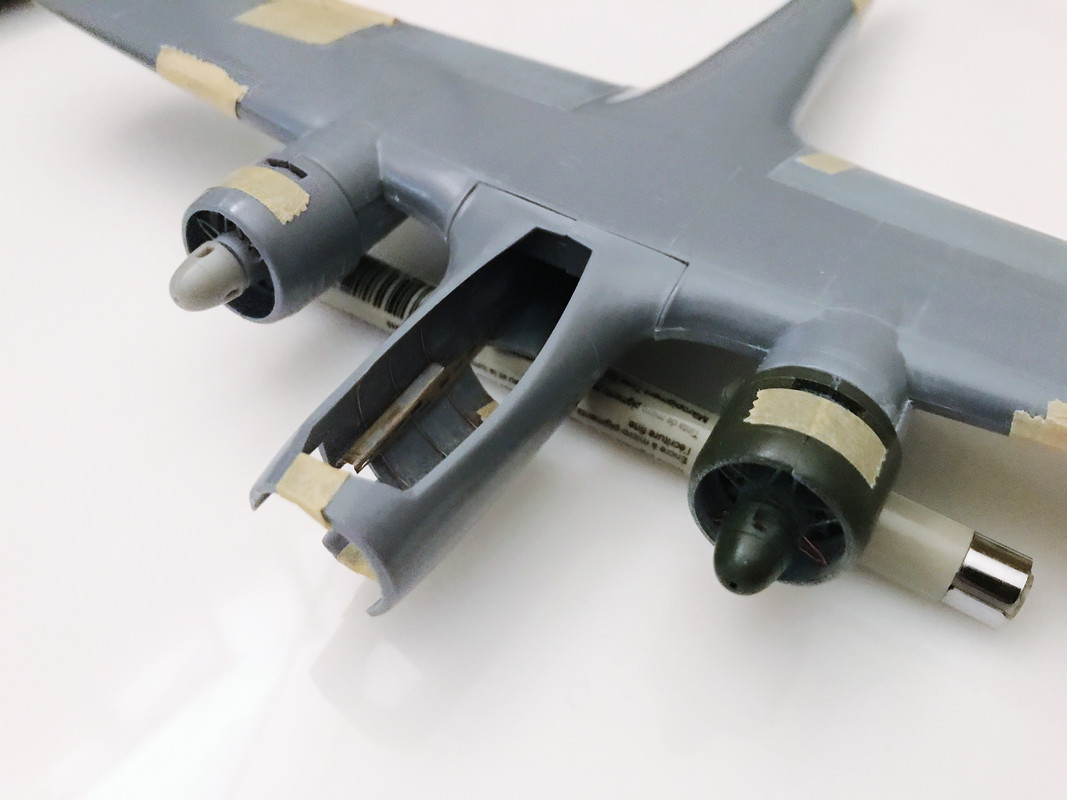
Frog 1/72 Dornier Do 17 Z, DN 51, 2/LeLv 46, Noljakka, 1942.

Post your work in progress of your aircraft builds in here.
User avatar
speedgraflex
Moderator
Posts: 11358
Joined: Fri Feb 10, 2017 11:08 pm
Contact:

Re: Frog 1/72 Dornier Do 17 Z, DN 51, 2/LeLv 46, Noljakka, 1

Post by speedgraflex »

Image
Image
Image

I have a meeting to go to tonight after 9:00 pm, but I do want to get back to do a few things on the second half interior if possible (grind off the injection pins, sand and polish the interior). I ordered the vac canopy. Thanks to all my friends here. I hope everyone had a safe and productive weekend.

Make more models!
User avatar
Floki
Elite Member
Posts: 3548
Joined: Wed Dec 12, 2018 2:23 am
Location: Muncie, Indiana

Re: Frog 1/72 Dornier Do 17 Z, DN 51, 2/LeLv 46, Noljakka, 1

Post by Floki »

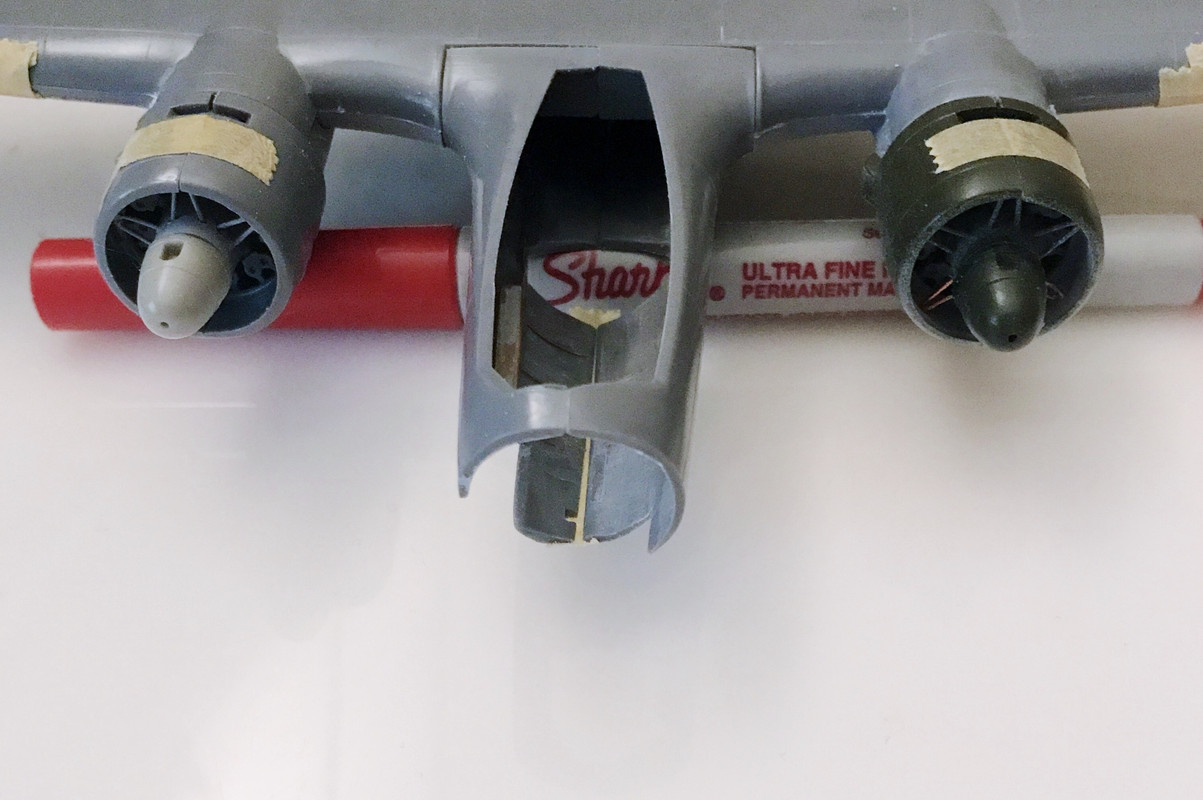
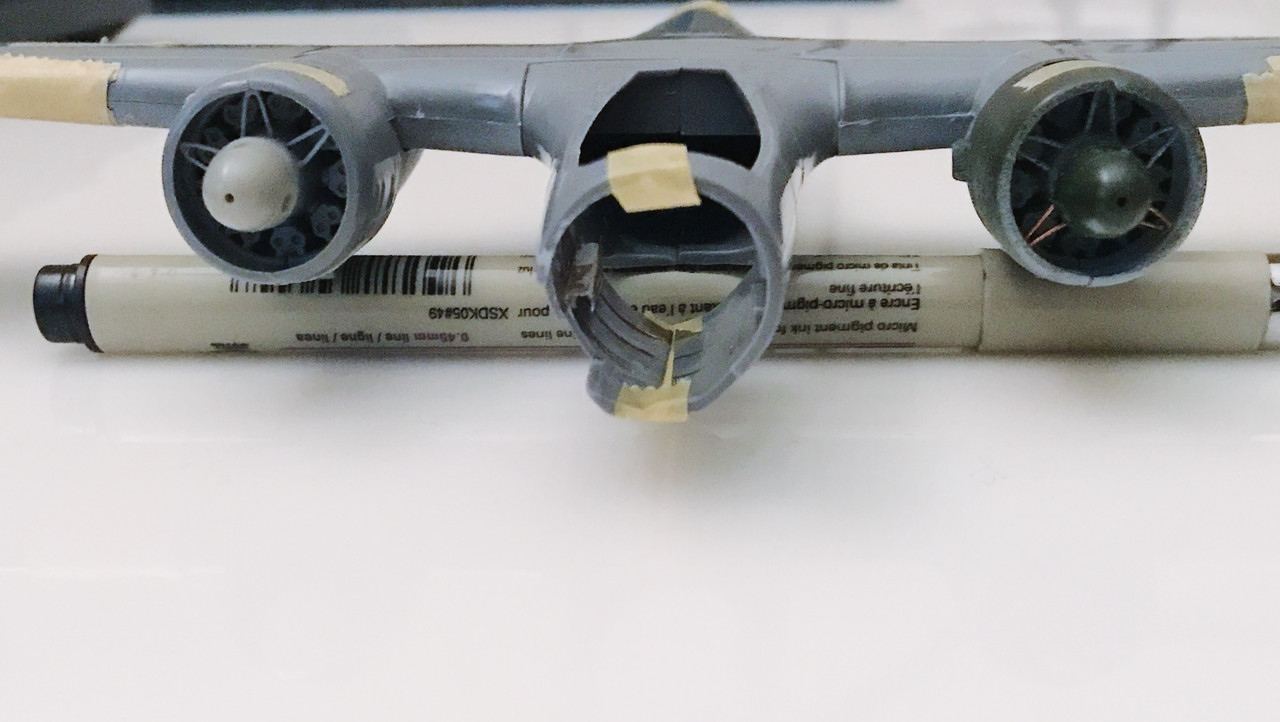
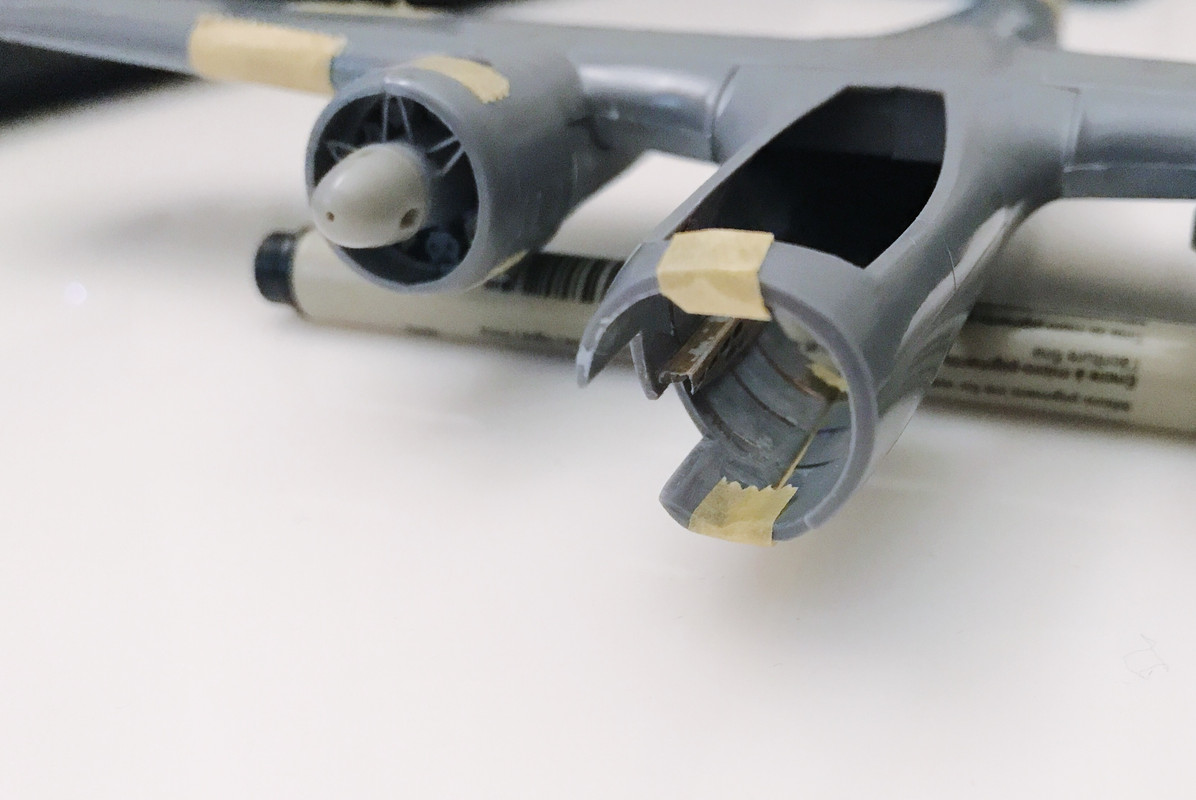
I think the new canopy will be a big improvement over the kit piece. Looking at it nose on is the bottom part of the fuselage going to have a hard time closing or you not have any pressure on it?
March as one, Don't look back
Odin's sons... Attack!
Unleash hell! Do not repent! Warfare grants us no lament
Let your weapons slash and tear This is no place for fear
Hold the lines! Move as one! In unity our victory's won
Our shields will form a mighty wall
United we shall never fall
User avatar
speedgraflex
Moderator
Posts: 11358
Joined: Fri Feb 10, 2017 11:08 pm
Contact:

Re: Frog 1/72 Dornier Do 17 Z, DN 51, 2/LeLv 46, Noljakka, 1

Post by speedgraflex »

Wow, Clint—you totally zeroed in on a problem I have with the bottom seam. I was thinking I could open up the top where the fuselage sits between the wings... or just use JB Weld. If you have any ideas, I can use a fresh perspective on this!
Make more models!
User avatar
Floki
Elite Member
Posts: 3548
Joined: Wed Dec 12, 2018 2:23 am
Location: Muncie, Indiana

Re: Frog 1/72 Dornier Do 17 Z, DN 51, 2/LeLv 46, Noljakka, 1

Post by Floki »

The way I would go about it is first get a nice smooth fitting join at the top where the wings meet the fuselage. That's going to be a eye catcher. Then if that's as much as the bottom seam will go get a could quality masking tape (I use frog fo big stuff like this) put it on the inside and burnish it down tight to the bottom. Lay some Tamiya tape on the outside on both sides of the seam. As big of gap that is I would jump straight to miliput. Smooth it out really good. After it has dried take a brand new #11 blade and gently scrape the extra down to the Tamiya tape on both sides. Remove all masking tape and sand from 700grit to 2000grit I prefer wet sanding for miliput. Looking at how well you did the engines I know you will have no problem at all going after this seam. Again that's just how I would do seams like that feel free to add to, remove and improve on it to best suit you.
March as one, Don't look back
Odin's sons... Attack!
Unleash hell! Do not repent! Warfare grants us no lament
Let your weapons slash and tear This is no place for fear
Hold the lines! Move as one! In unity our victory's won
Our shields will form a mighty wall
United we shall never fall
User avatar
Bolleken
Master Member
Posts: 691
Joined: Wed Feb 22, 2017 3:42 am
Location: Wuppertal - Home of the "Schwebebahn"

Re: Frog 1/72 Dornier Do 17 Z, DN 51, 2/LeLv 46, Noljakka, 1

Post by Bolleken »

Incredible how you fight for your Flying Pencil Bruce. Well done so far and good luck...
User avatar
mustang1989
Moderator
Posts: 5035
Joined: Tue Mar 18, 2014 8:35 pm

Re: Frog 1/72 Dornier Do 17 Z, DN 51, 2/LeLv 46, Noljakka, 1

Post by mustang1989 »

Looks like she's starting to take some shape there Bruce. Looking forward to seeing you mitigate the lower seam obstacle.
User avatar
speedgraflex
Moderator
Posts: 11358
Joined: Fri Feb 10, 2017 11:08 pm
Contact:

Re: Frog 1/72 Dornier Do 17 Z, DN 51, 2/LeLv 46, Noljakka, 1

Post by speedgraflex »

Clint— Thank you for the techniques! Great ideas. I forgot to mention I think steaming the fuselage sides ought to help.

After grinding and sanding the other side’s surface smooth this is what the seam looks like—wide at front, pinched at back. That is about 2,000 grit surface effective smoothing. I think that amount of gloss will work for the interior wall.

Image

Marius—Thank you! Mustang—Thank you!

All of my styrene cardstock has gone walkabout... I guess I moved the sheets to a safe location! I know I will find them I am just not sure when. I will stop by the art store later for a replacement.
Make more models!
User avatar
speedgraflex
Moderator
Posts: 11358
Joined: Fri Feb 10, 2017 11:08 pm
Contact:

Re: Frog 1/72 Dornier Do 17 Z, DN 51, 2/LeLv 46, Noljakka, 1

Post by speedgraflex »

Image
Make more models!
User avatar
Floki
Elite Member
Posts: 3548
Joined: Wed Dec 12, 2018 2:23 am
Location: Muncie, Indiana

Re: Frog 1/72 Dornier Do 17 Z, DN 51, 2/LeLv 46, Noljakka, 1

Post by Floki »

Heck that seam looks very manageable now.
March as one, Don't look back
Odin's sons... Attack!
Unleash hell! Do not repent! Warfare grants us no lament
Let your weapons slash and tear This is no place for fear
Hold the lines! Move as one! In unity our victory's won
Our shields will form a mighty wall
United we shall never fall
User avatar
speedgraflex
Moderator
Posts: 11358
Joined: Fri Feb 10, 2017 11:08 pm
Contact:

Re: Frog 1/72 Dornier Do 17 Z, DN 51, 2/LeLv 46, Noljakka, 1

Post by speedgraflex »

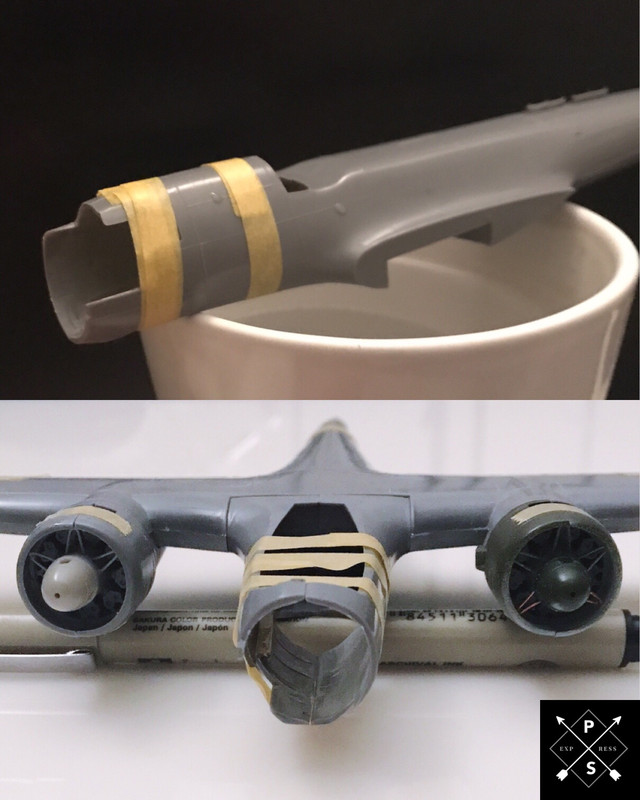
I forgot how effective hot water / steam is to shape plastic. Took some time to get to this point. I am going to let the plastic cool down completely then see if the shape is retained or not. I am using a bit of my wait time to finish the bottom engine braces on the starboard engine. I still have to drill out the exhaust “horns,” but I feel the engines are close to being ready for paint. I still plan to try your suggestions with Milliput on the cockpit seam, Clint. I need to work on the port side next.
Make more models!
Post Reply

Return to “Aircraft Work in Progress”