Trumpeter 1/32 Me262A-1 Yellow 3

Post your work in progress of your aircraft builds in here.
Post Reply
User avatar
jkim
Elite Member
Posts: 4073
Joined: Mon Apr 10, 2017 4:03 pm

Trumpeter 1/32 Me262A-1 Yellow 3

Post by jkim »

This is a project that was started some time ago. There are a few reasons why I didn't post it here but primary was that it was too tedious (for me, anyway) to post builds on more than two sites. Well... I've recently decided to consolidate my modeling to two sites: SPAM and LSP so I thought I'd share the rest of this one with ya'll. I'm about to start the main camo painting and since it is an interesting looking aircraft with some specific weathering that I will be attempting to capture, I thought some of you might find it interesting.

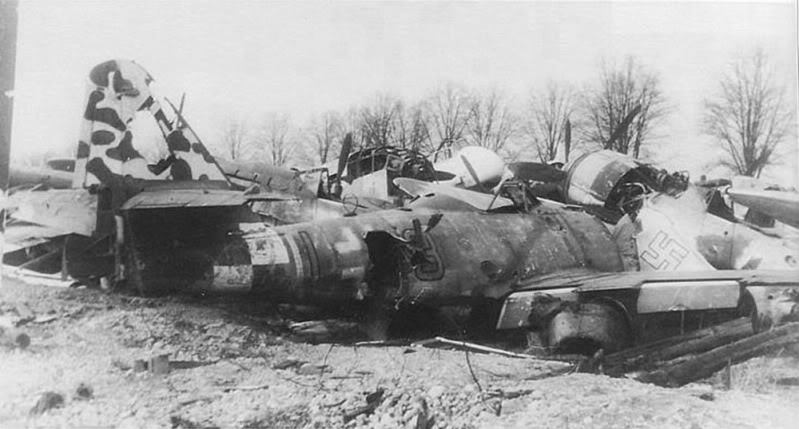
Before I jump into the current status, let me catch you up on this build. The subject of this build is the Me262A-1 "Yellow 3" of III./KG(J)54 depicted in a derelict state in this dramatic photo...
Image

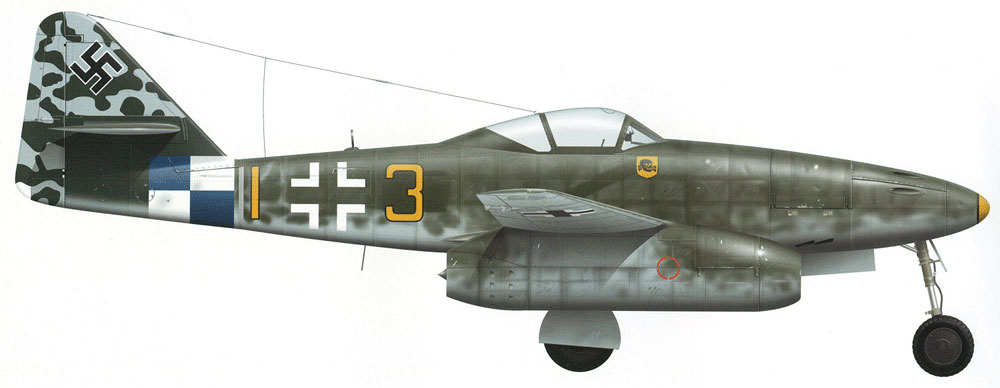
The unusual hard mottle on the tail caught my initial interest. Add the blue and white fuselage checkerboard, yellow numerals and the yellow "death's head" logo and you have a very interesting visual subject.

Here is a nice color profile by Tom Tullis that shows what Yellow 3 might have looked like in combat service.
Image

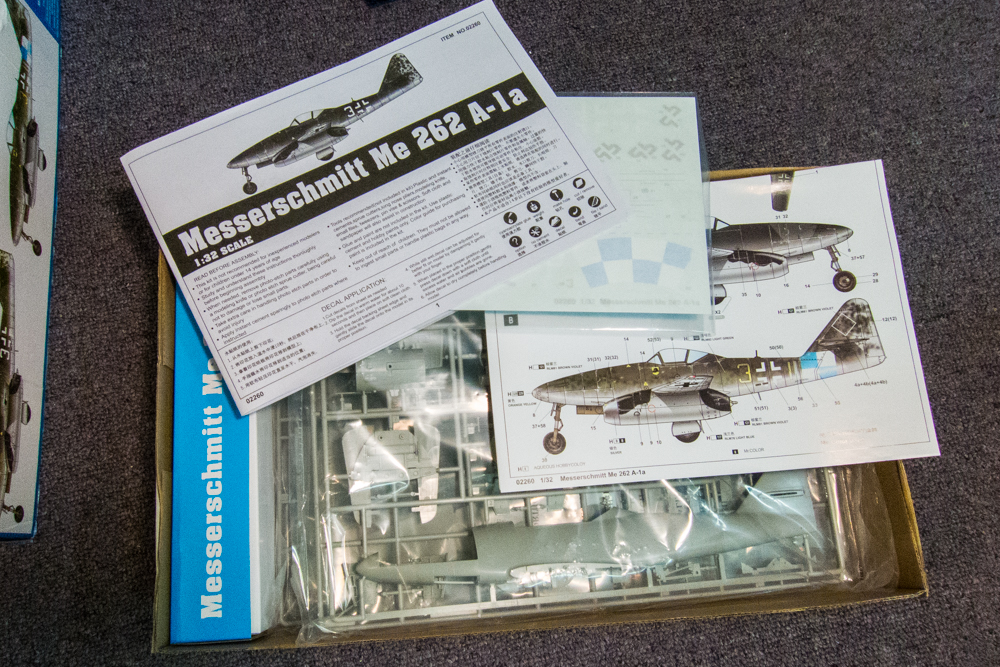
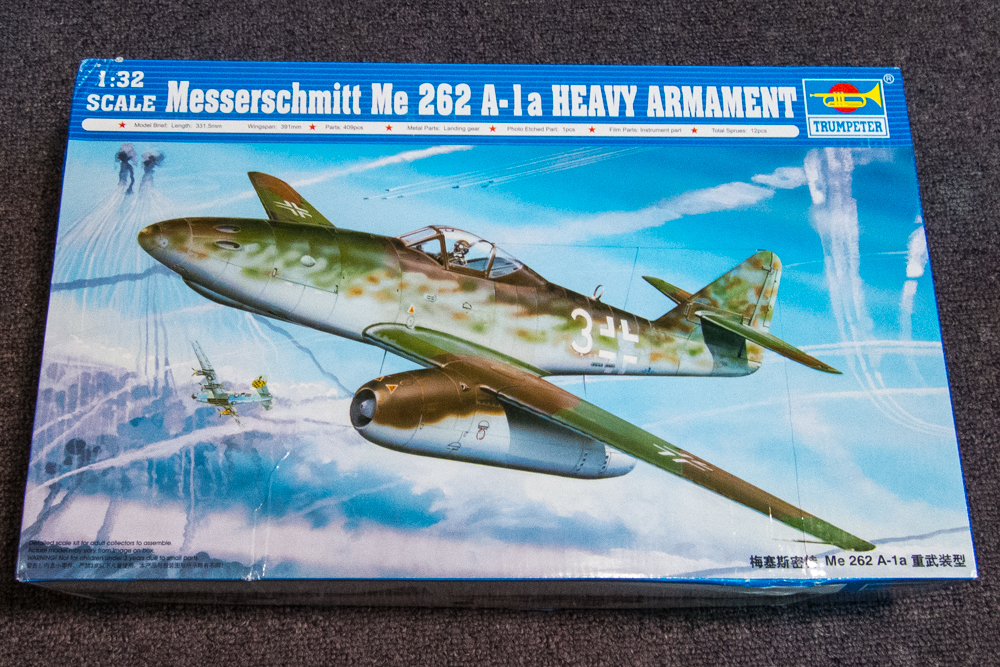
The kit I will be using to model Yellow 3 is the Trumpeter 1/32 Me262A-1a Heavy Armament kit. Yellow 3 is an early production A-1 and some changes will need to be made to the kit parts to reflect this. More on this later.
Image
Image

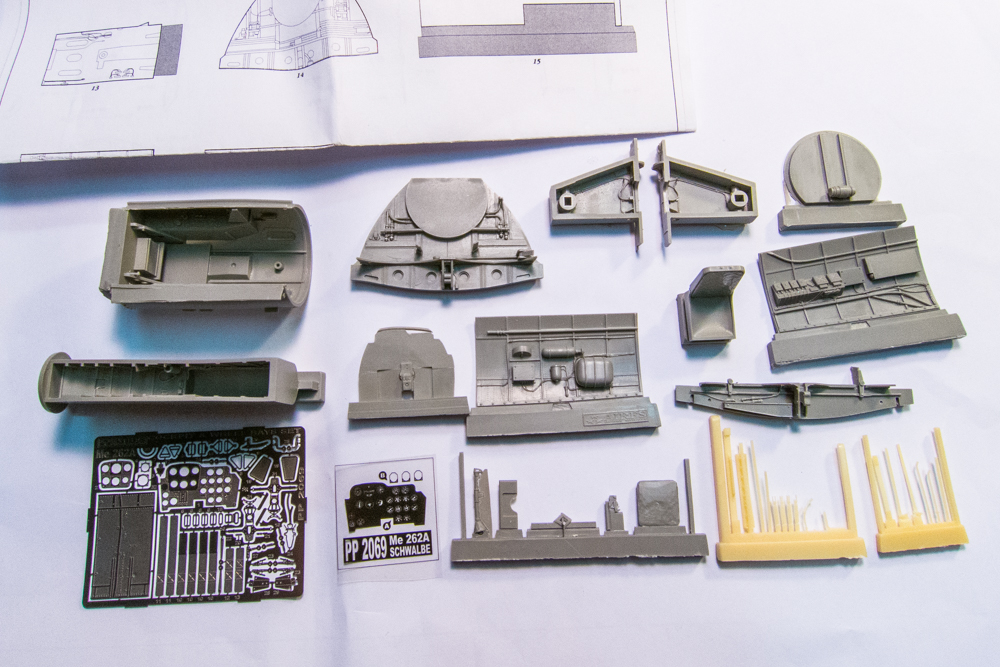
I rarely build out-of-the-box these days and this one is no exception. The aftermarket items I'll be throwing into this build include the Aires resin cockpit and wheel well set...
Image

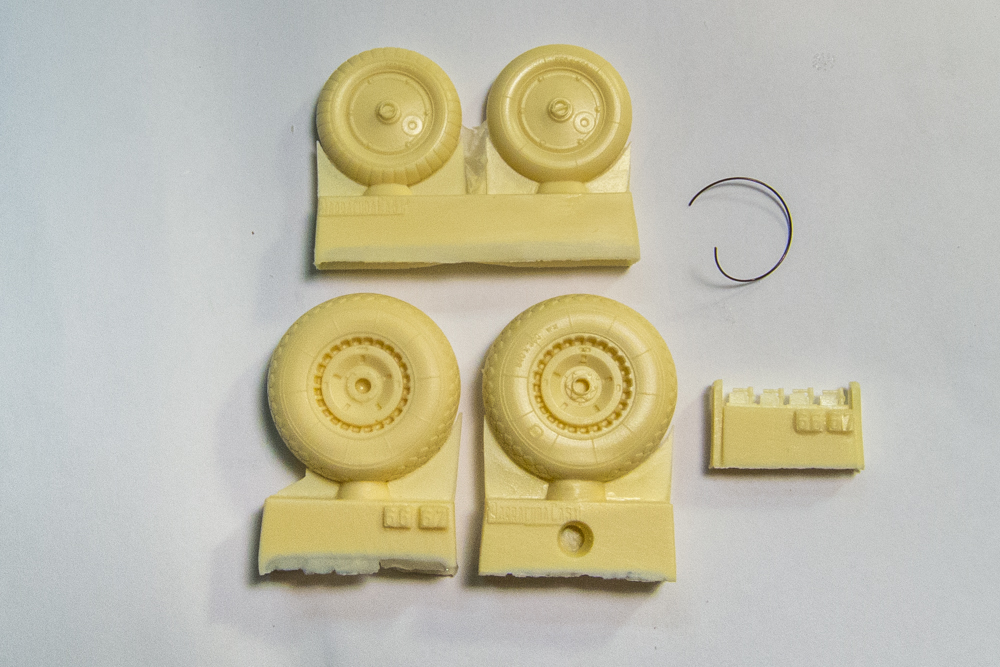
... the Barracuda resin wheel set...
Image

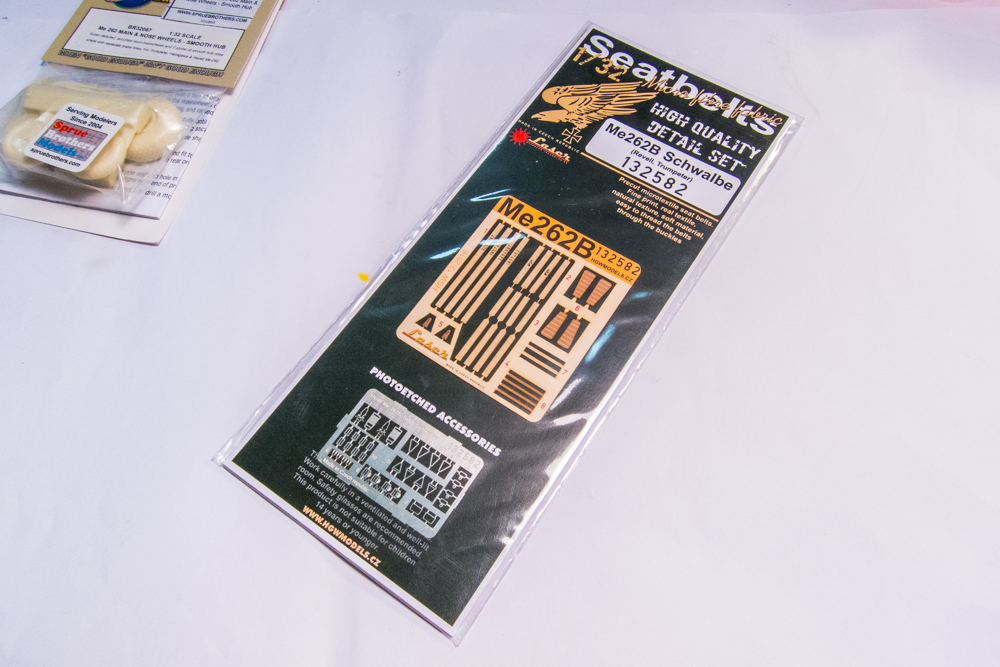
... HGW fabric seat belts...
Image

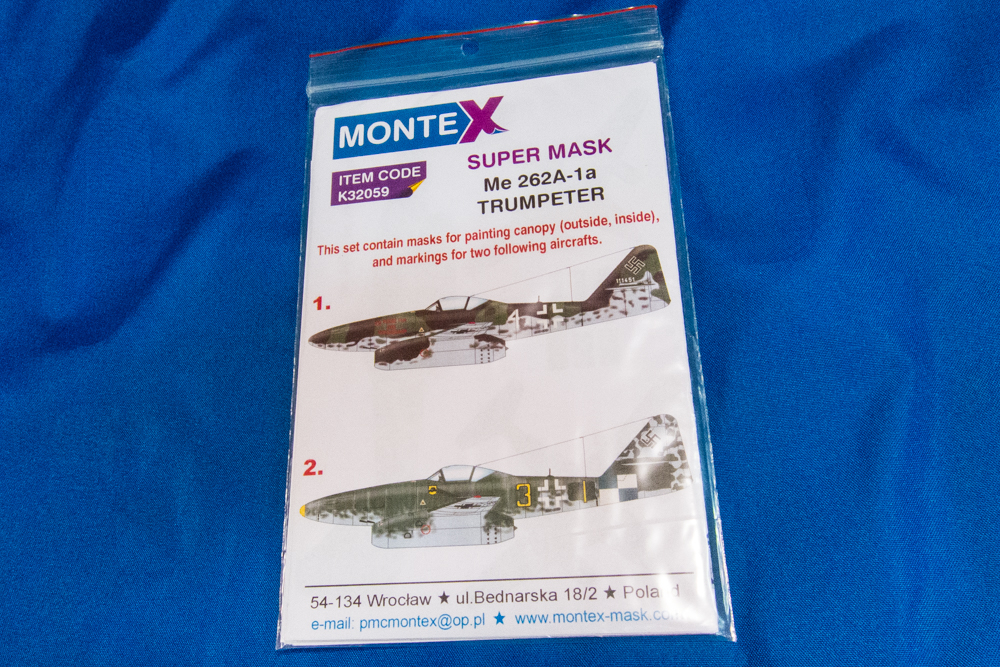
and the Montex mask set. You may have noticed that the Trumpeter kit includes decal markings for Yellow 3 so I have some back-up for the masks, if necessary.
Image

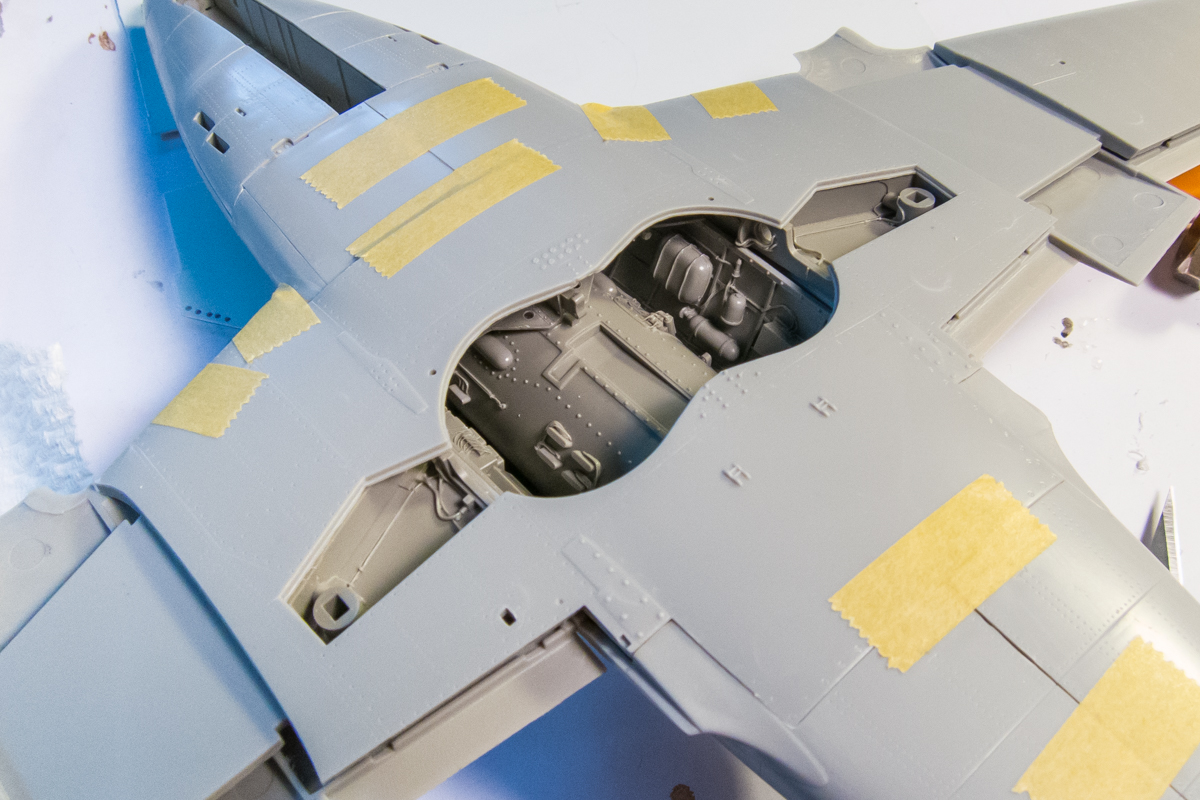
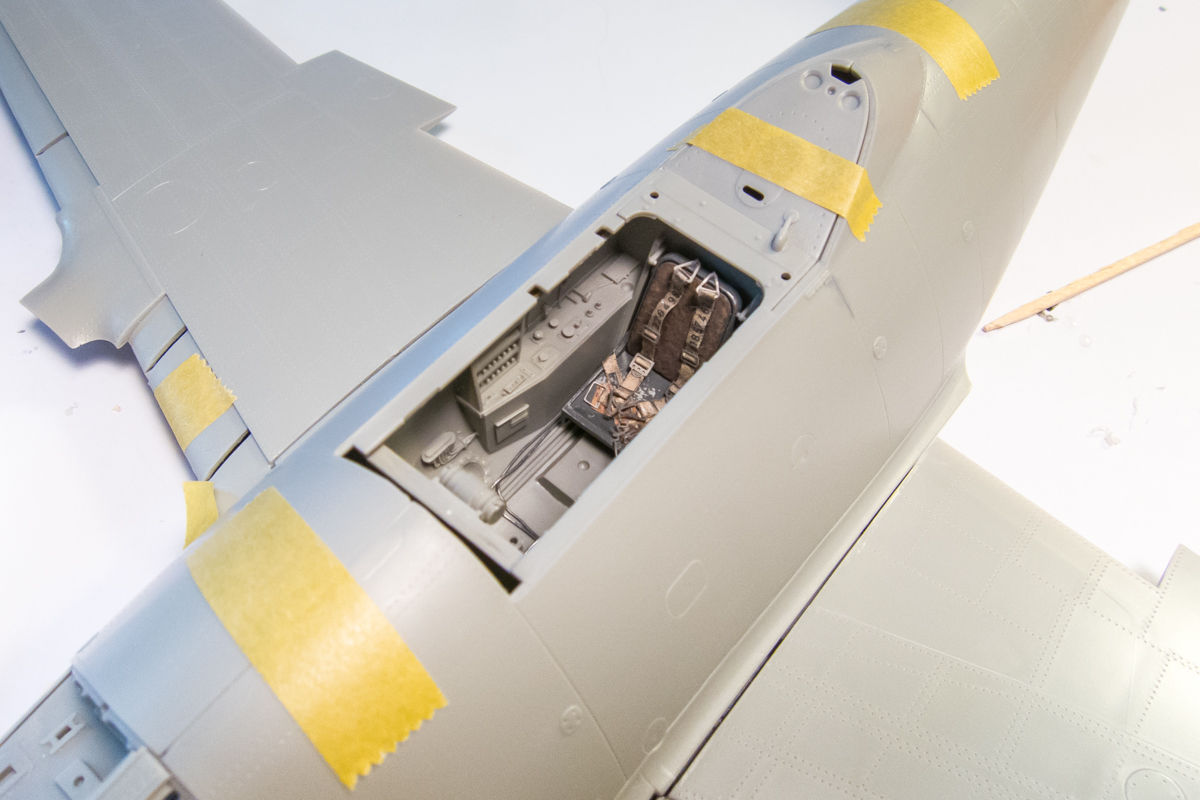
There was a lot of pre-fitting to figure out how best to fit the resin cockpit tub and wheel wells to the model. The Aires parts fit reasonably well but the instructions are ridiculously vague, forcing the modeler to figure stuff out on their own, which takes time and patience.
Image
Image
Image
Image

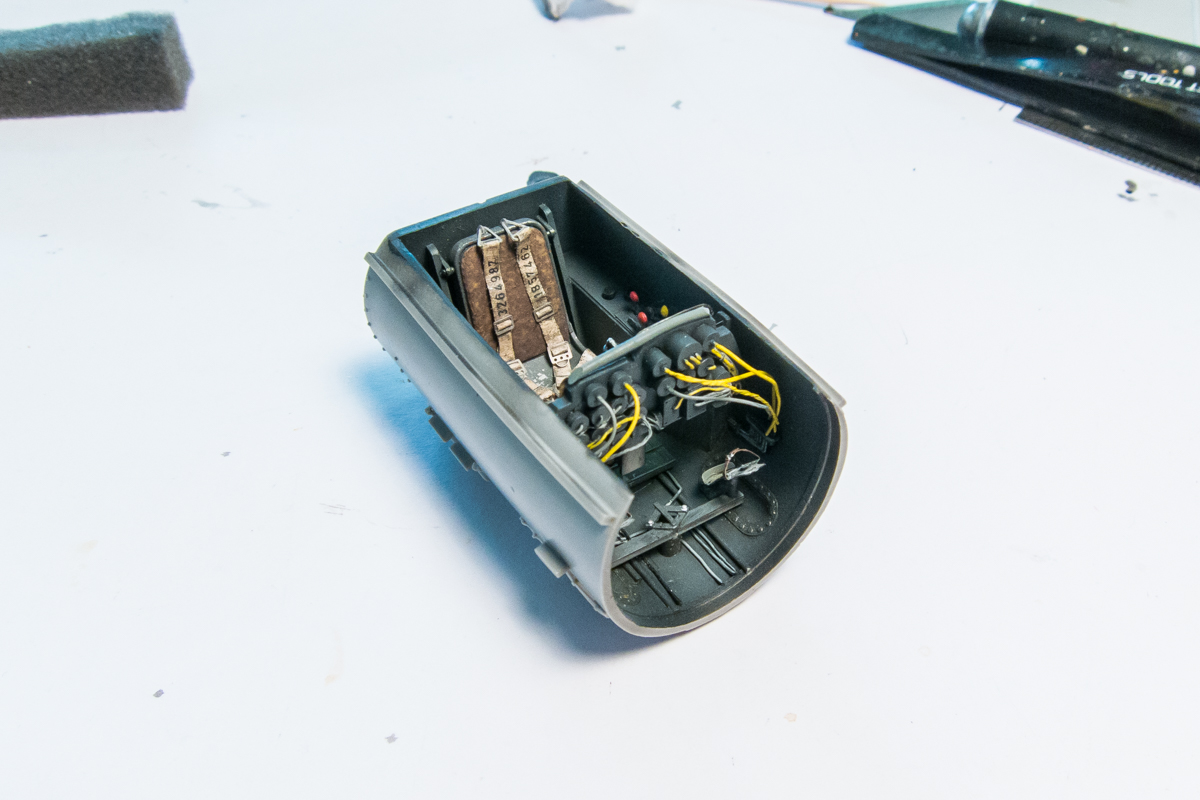
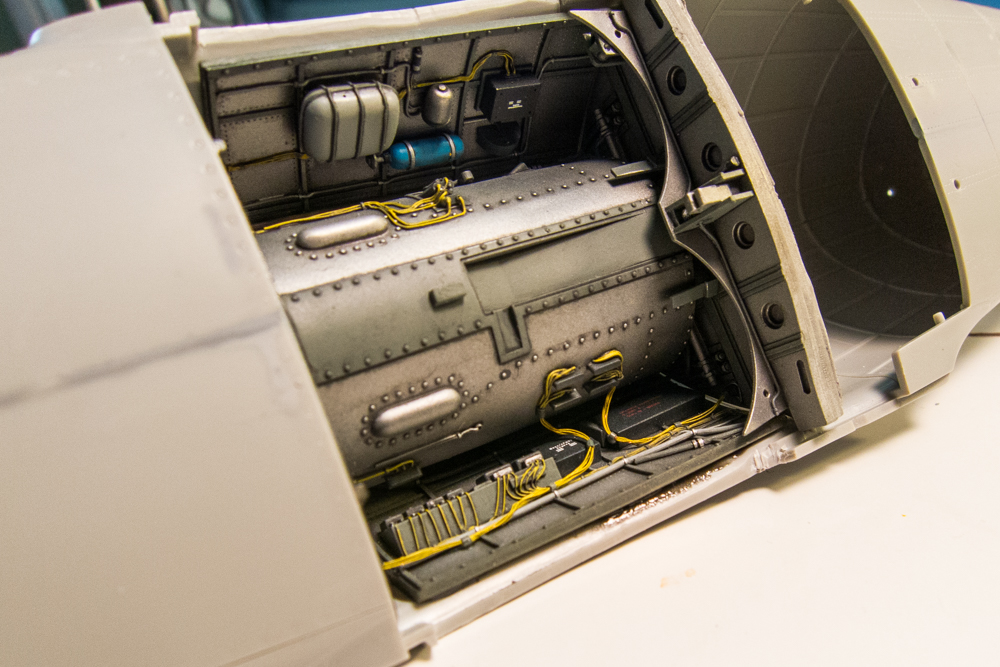
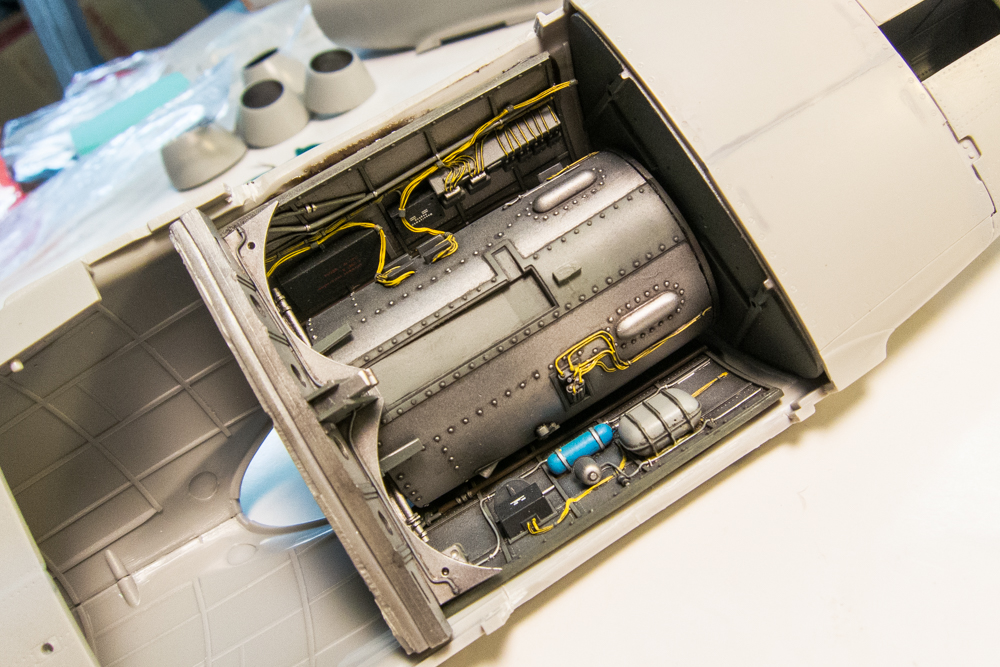
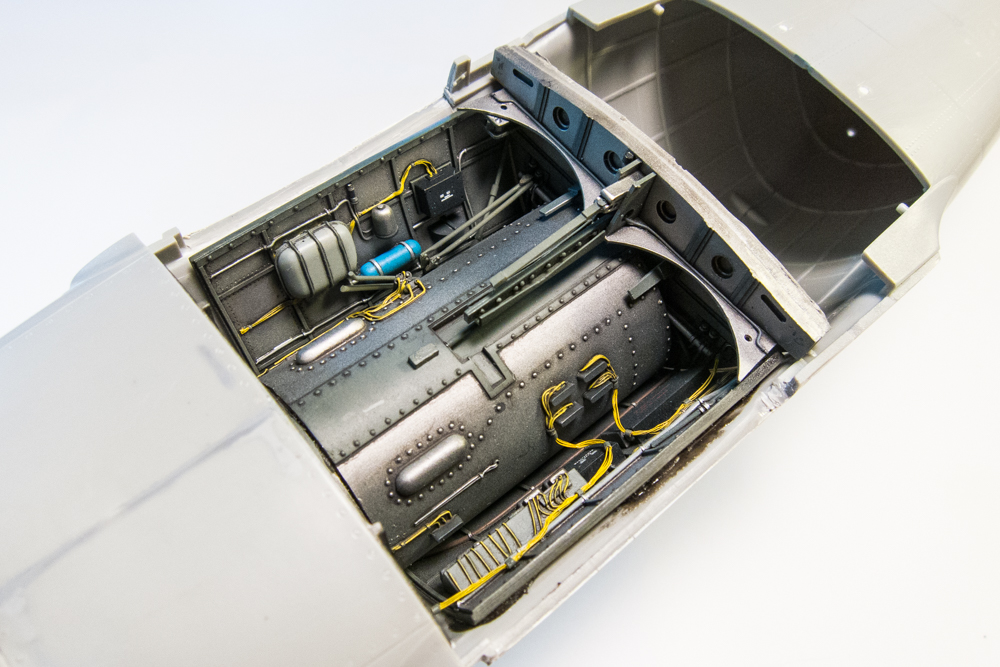
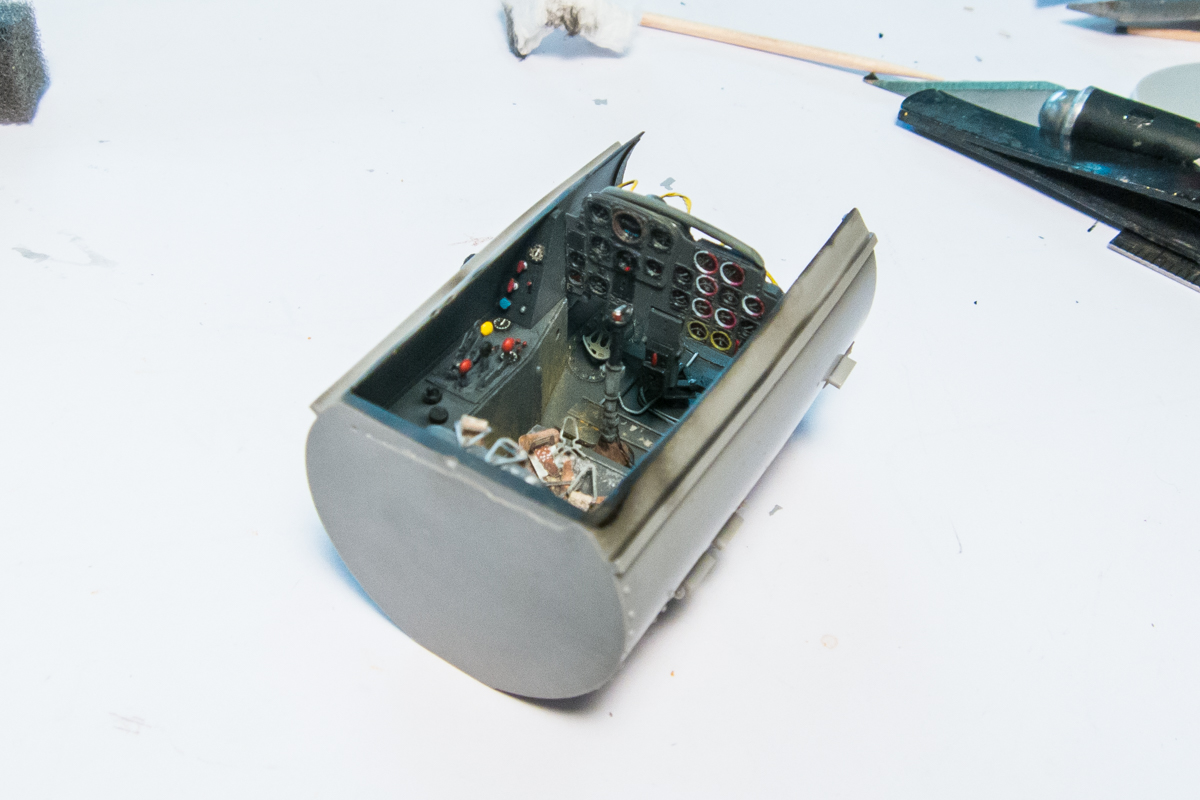
After the fit was sorted out, the cockpit and wheel well components were painted and construction began. The resin set was further enhanced with the addition of wiring, most notably behind the instrument panel and the wiring harnesses inside of the wheel wells.
Image
Image
Image
Image

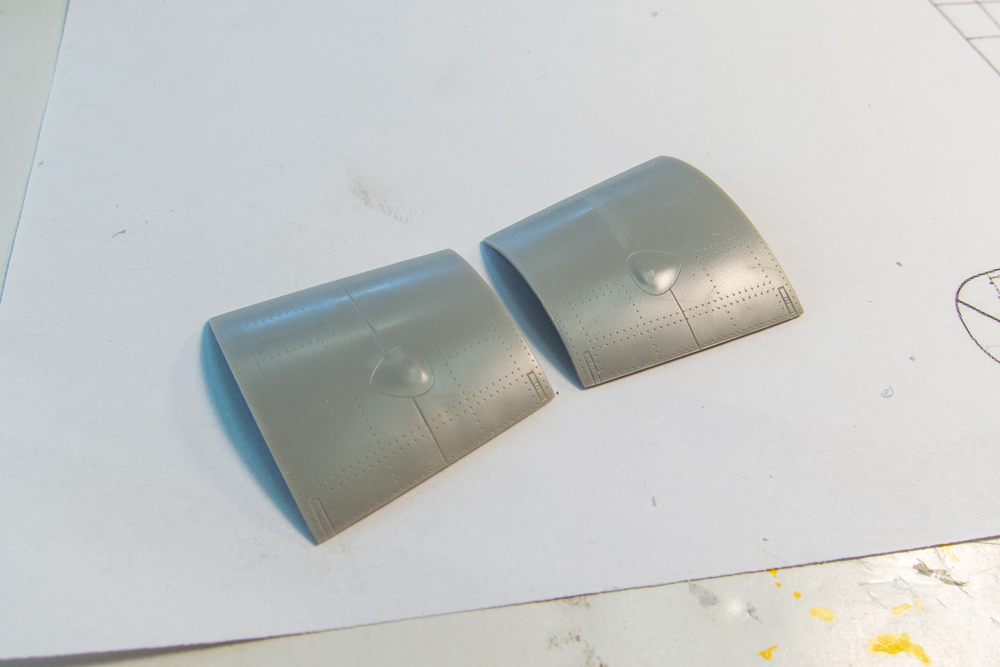
As I mentioned, the early A-1 differed from the the A-1 that kit represents so some changes were necessary. These include removal of bumps on the gun cowling covers.
Image
Image

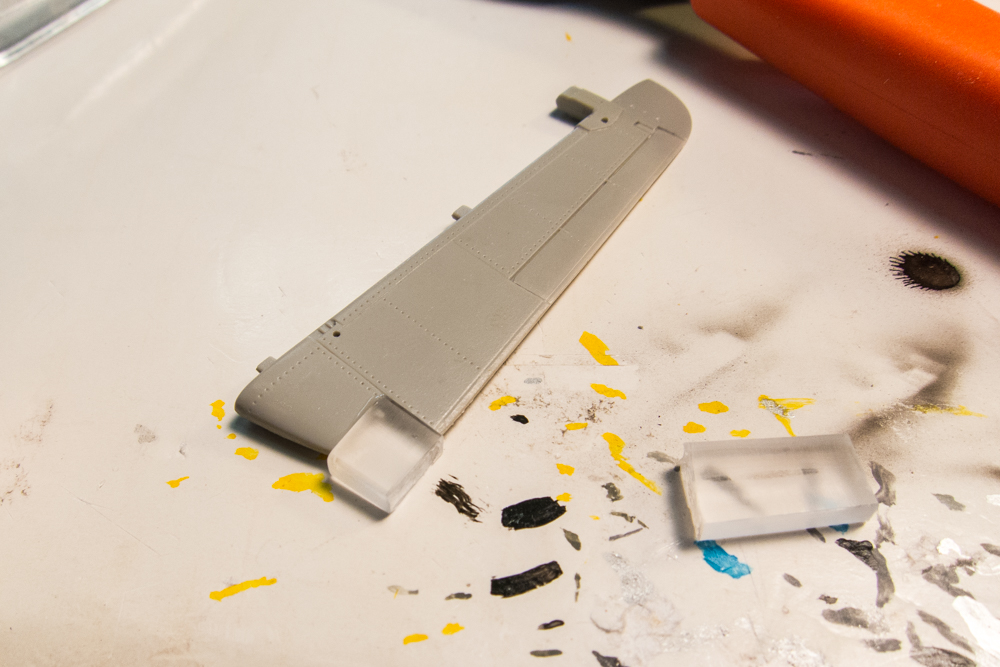
The bulb light on the rudder was replaced with a clear light enclosure fabricated from a piece of clear toothbrush cemented into place with UV-activated epoxy glue.
Image
Image

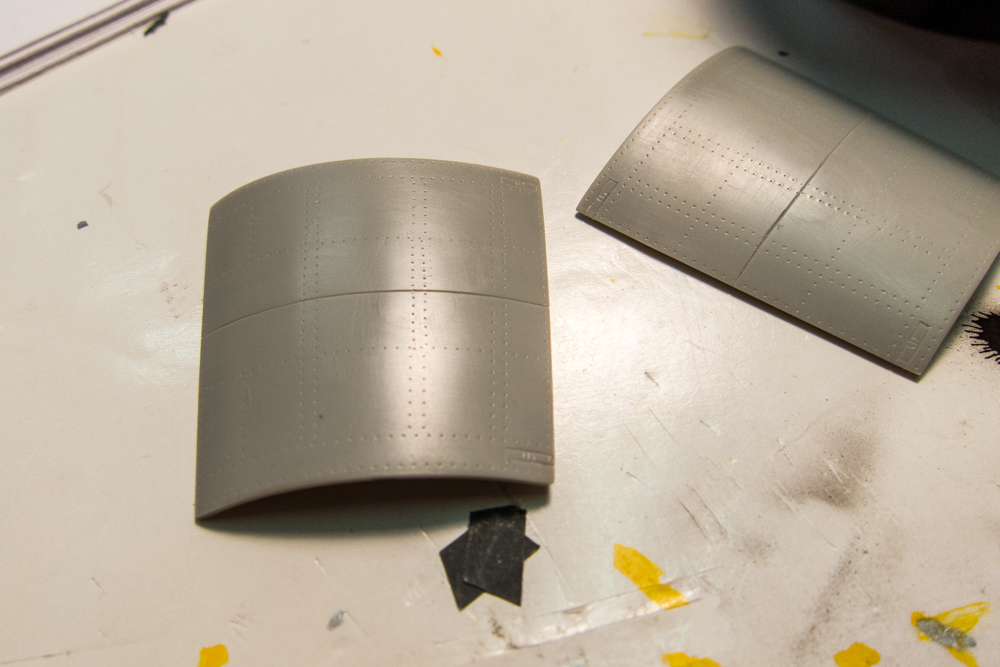
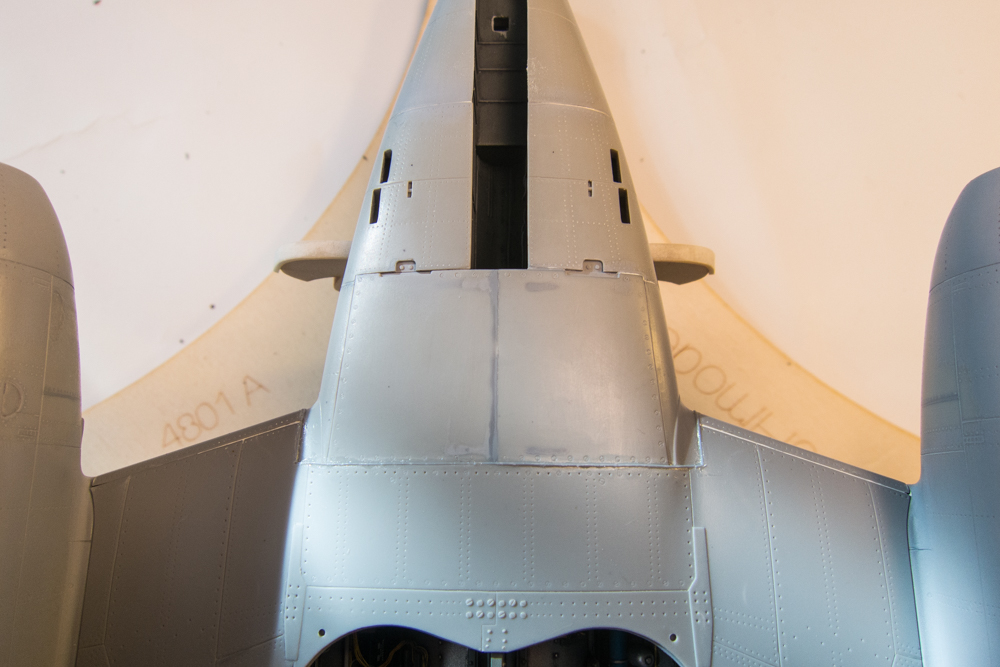
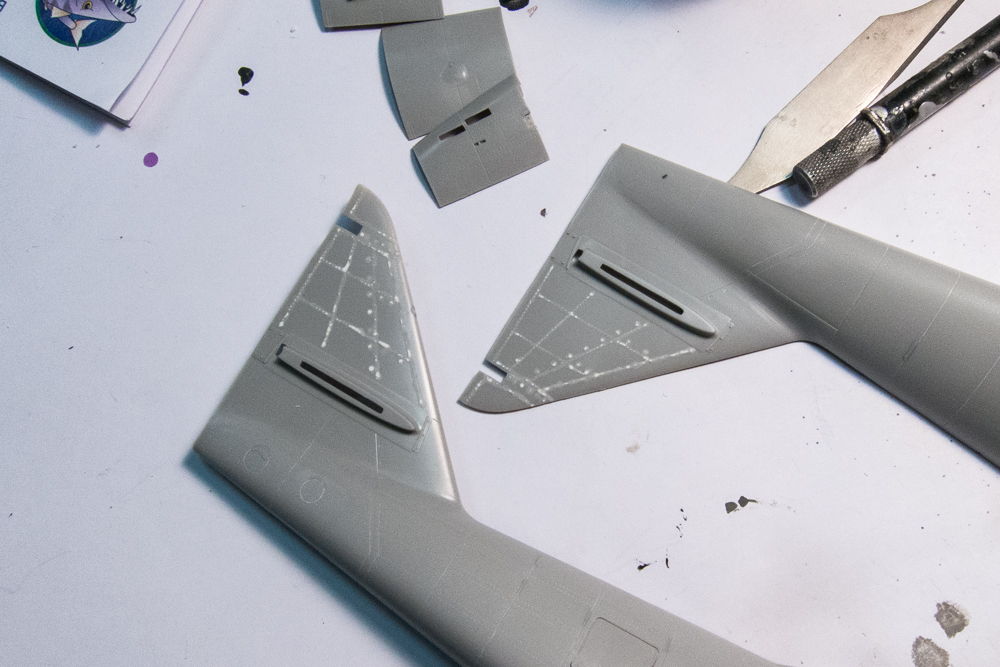
The 262's with the hard mottled tail patterns had tails fabricated out of wood so the panel lines and rivets need to be removed.
Image
Image
John aka JKim
-----------<><
Image
User avatar
speedgraflex
Moderator
Posts: 11358
Joined: Fri Feb 10, 2017 11:08 pm
Contact:

Re: Trumpeter 1/32 Me262A-1 Yellow 3

Post by speedgraflex »

John, I am so stoked to see this project here, I stopped reading midway through your opening paragraph to be the first to write thank you so much for bringing this work here. This is a truly heroic build, and much like a conductor you have corralled, contained and let loose a kaleidoscopic structural symphony of resin, plastic and paint. Only superlatives truly apply here. There was real work, hard and ingenious work that led to this moment. There is something definitive in the construction of a 1/32 Me 262; and yours is a masterful execution of techniques and technologies up to this point. So yes, it’s time for me to stop sputtering and take a seat as the lights darken and the next act begins...
Make more models!
User avatar
jkim
Elite Member
Posts: 4073
Joined: Mon Apr 10, 2017 4:03 pm

Re: Trumpeter 1/32 Me262A-1 Yellow 3

Post by jkim »

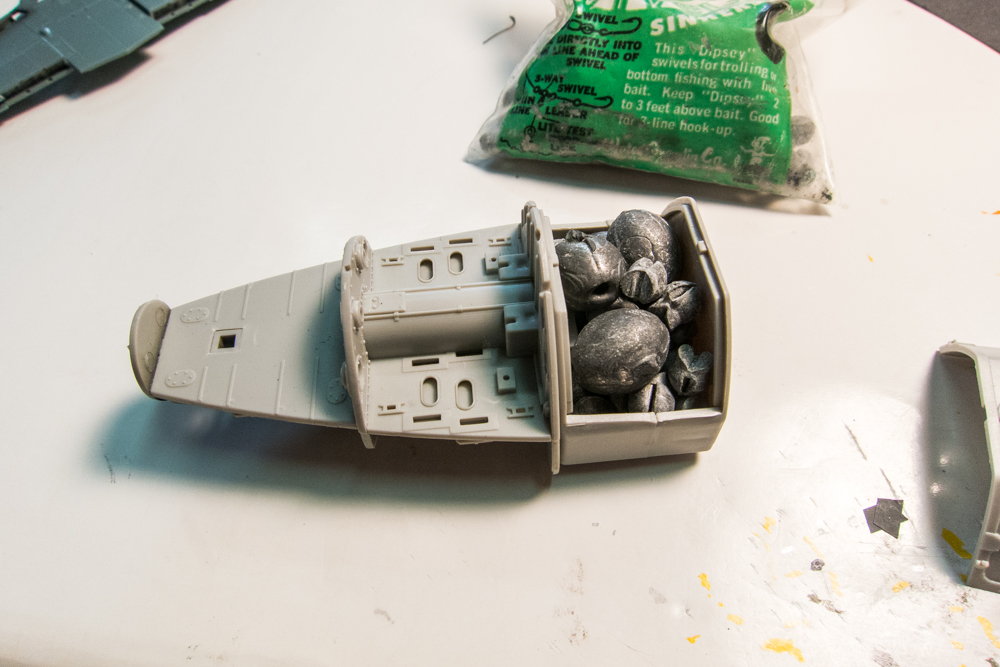
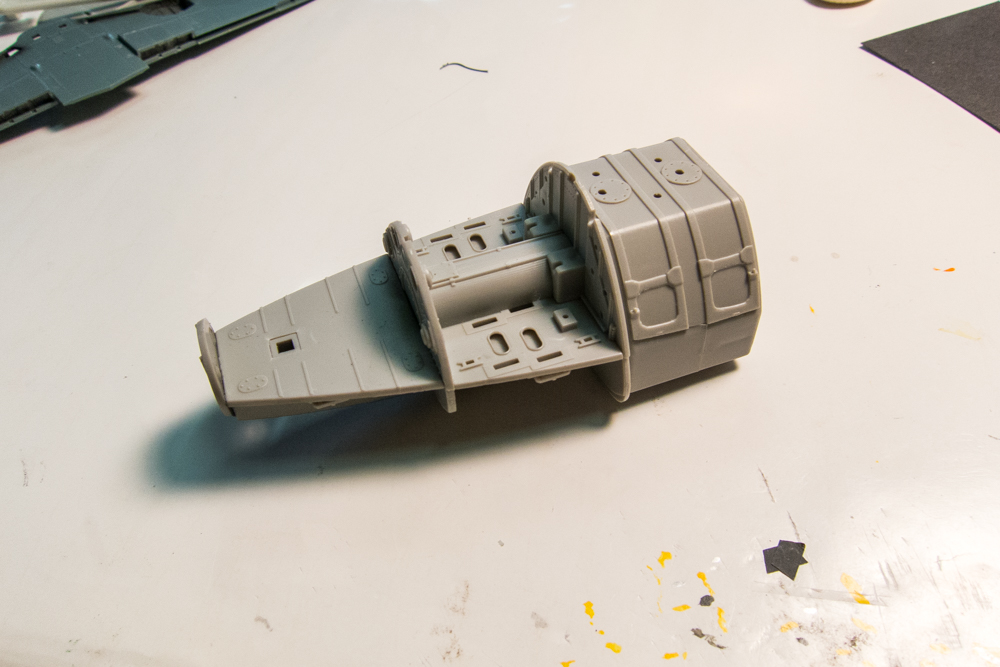
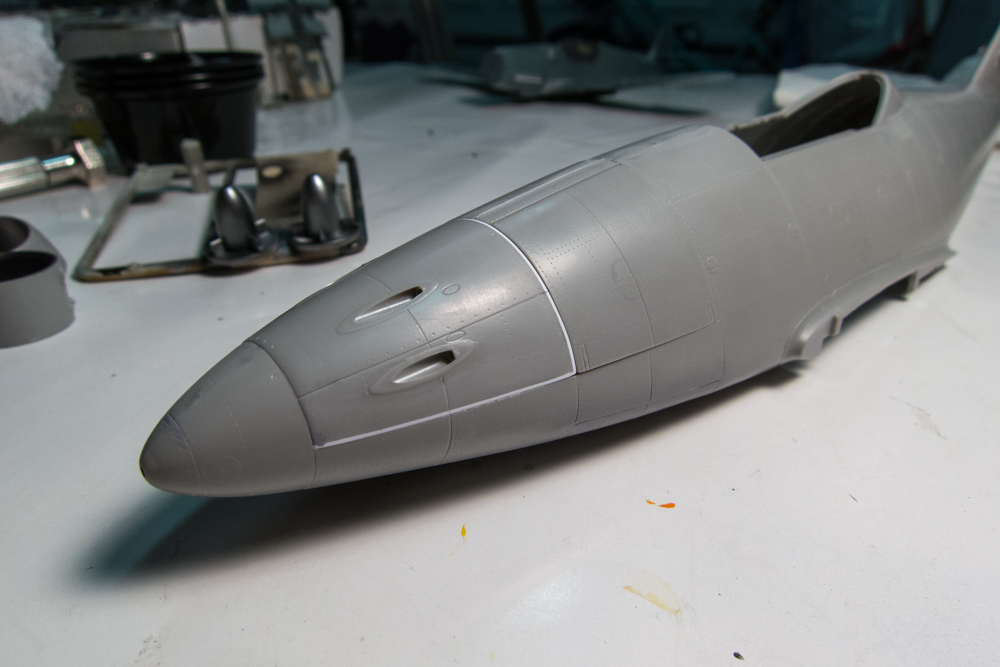
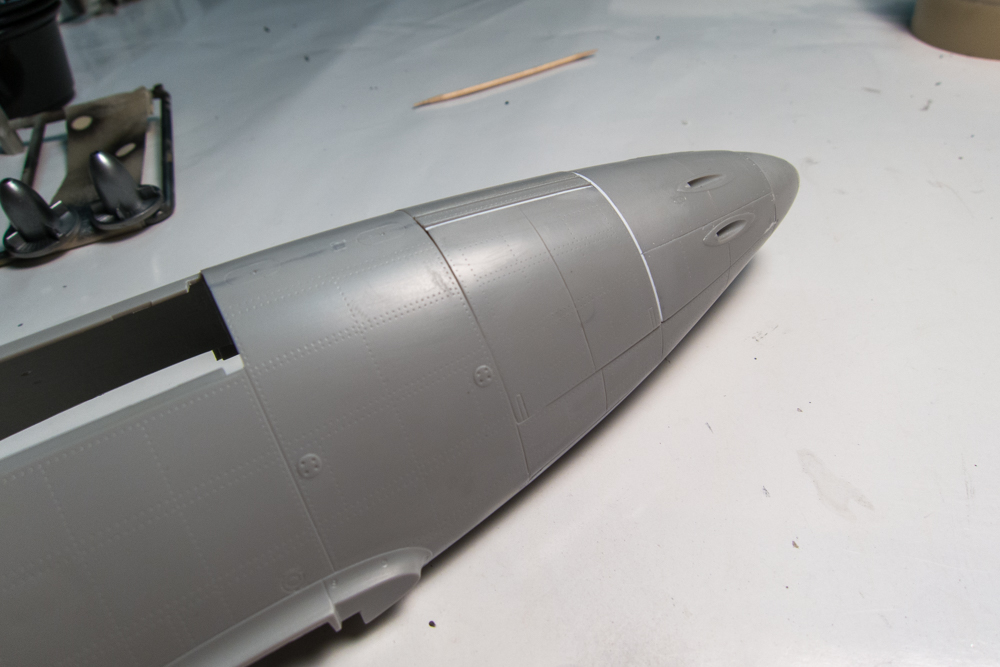
The Trumpeter kit supplies some internal details that I have chosen not to show including two Jumo jet engines, the nose cannons and even the large fuel tanks housed in the fuselage that you would never see unless you hacked a hole into the fuselage. One of the fuel tanks was conveniently used to store enough lead weight to ensure that the finished model would sit on its tricycle landing gear.
Image
Image

Modeling a buttoned-up version of the 262 was more difficult than one would expect due to the iffy fit of all of the panels. Lots of dry-fitting, shims and puttying were needed to close everything up, especially around the nose.
Image
Image

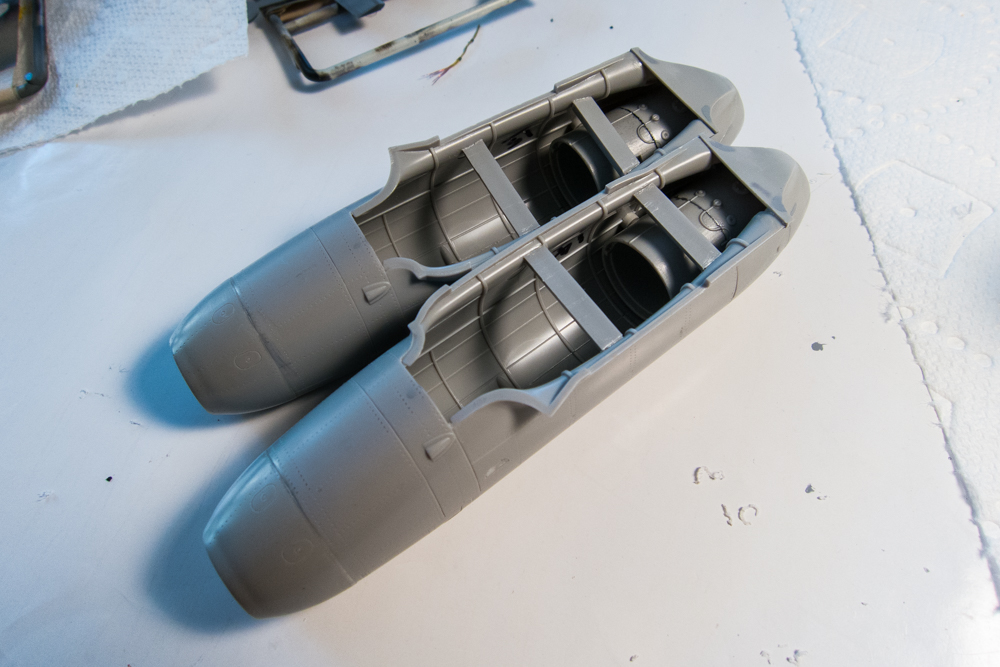
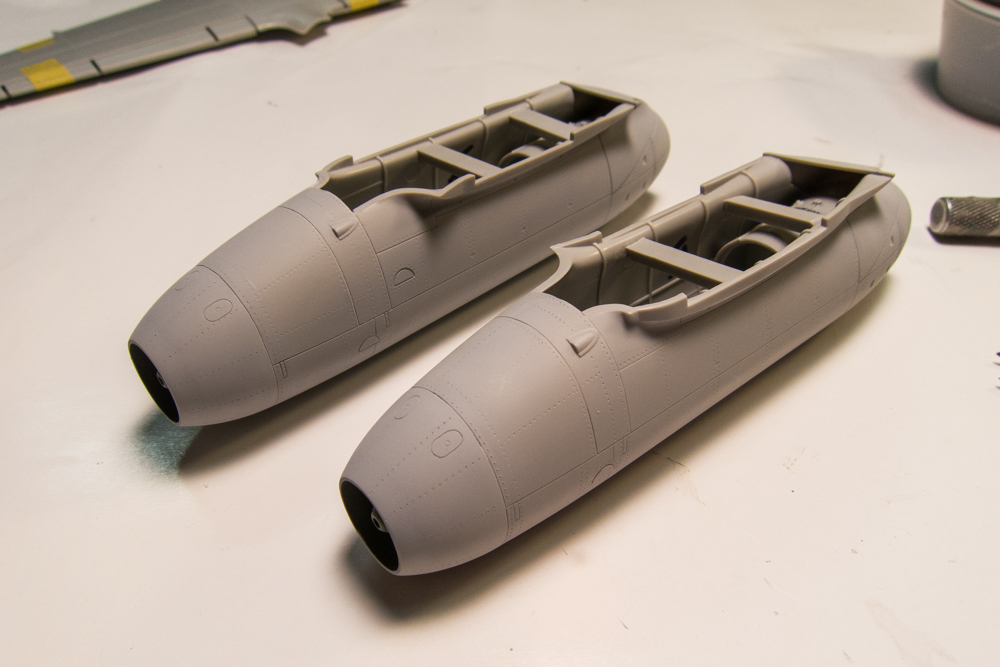
The construction of the engine nacelles were much simplified since only the front and rear ends of the jet engines were used. Trumpeter supplies clear plastic versions of the nacelle sprues for those that like to provide a see-through look. Spreader bars made of sprue were used to improve the fit between the nacelles and wings.
Image
Image

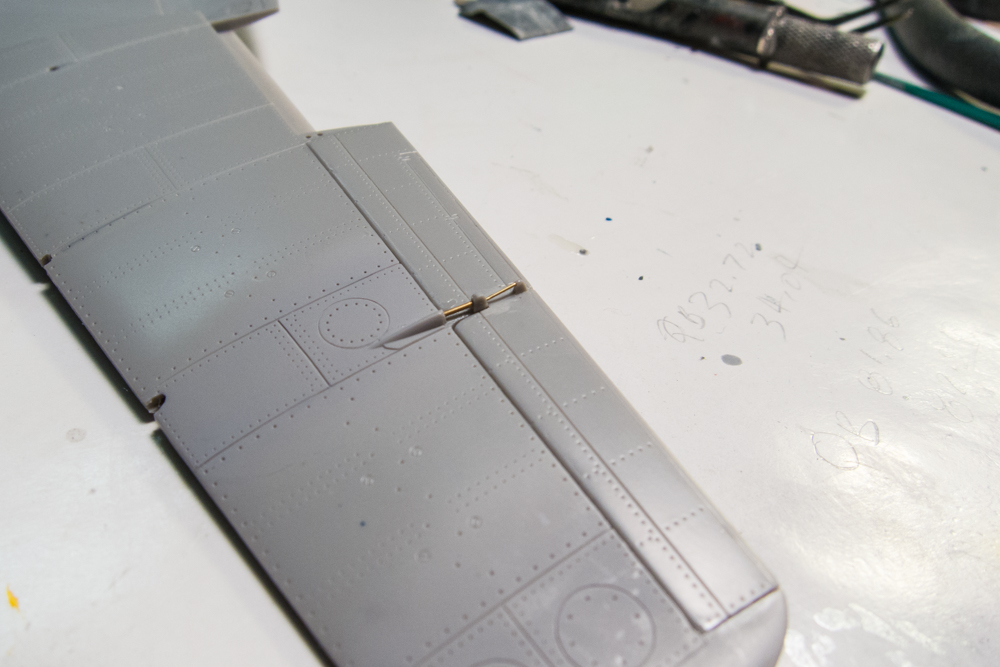
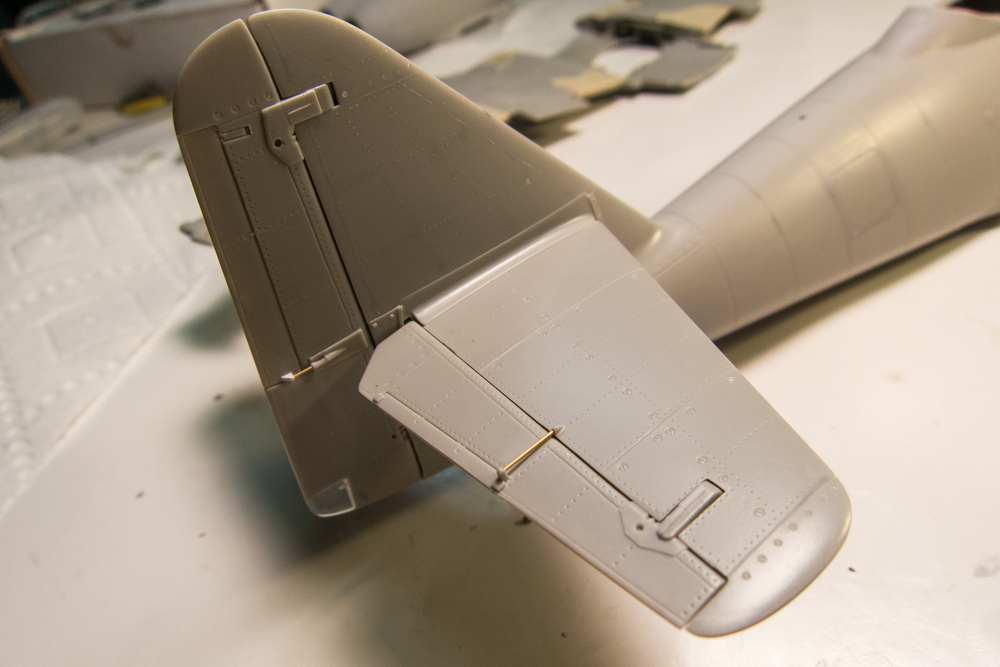
Control surface acutators were modified using brass rod and bits of sheet plastic.
Image
Image
Image
Image

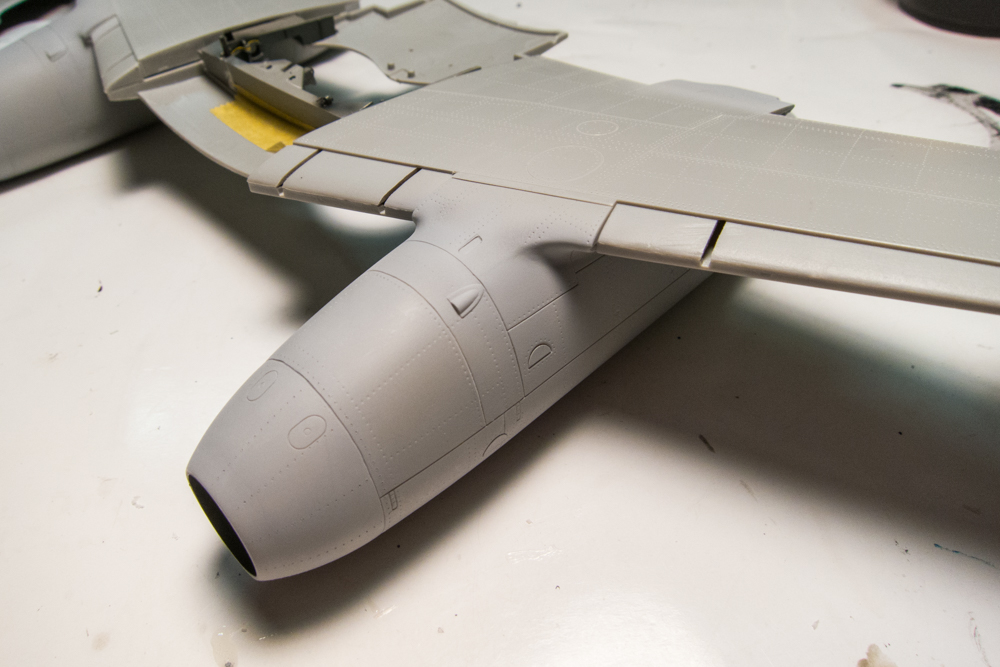
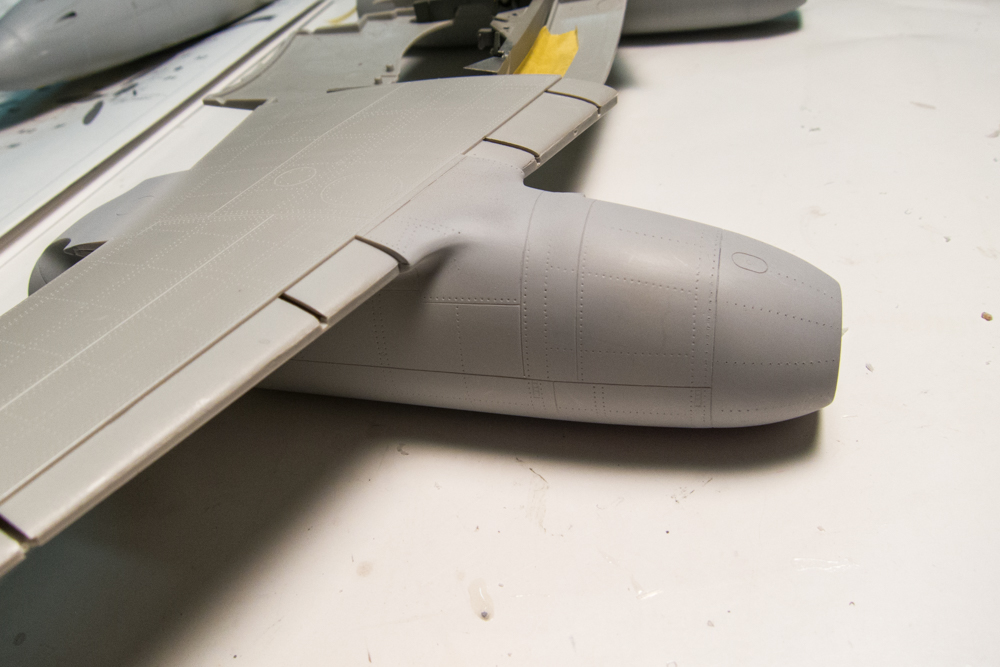
I've spent a lot of time puttying and sanding on this build to ensure clean joints around the major joins. For example, the engine nacelles on the wings...
Image
Image

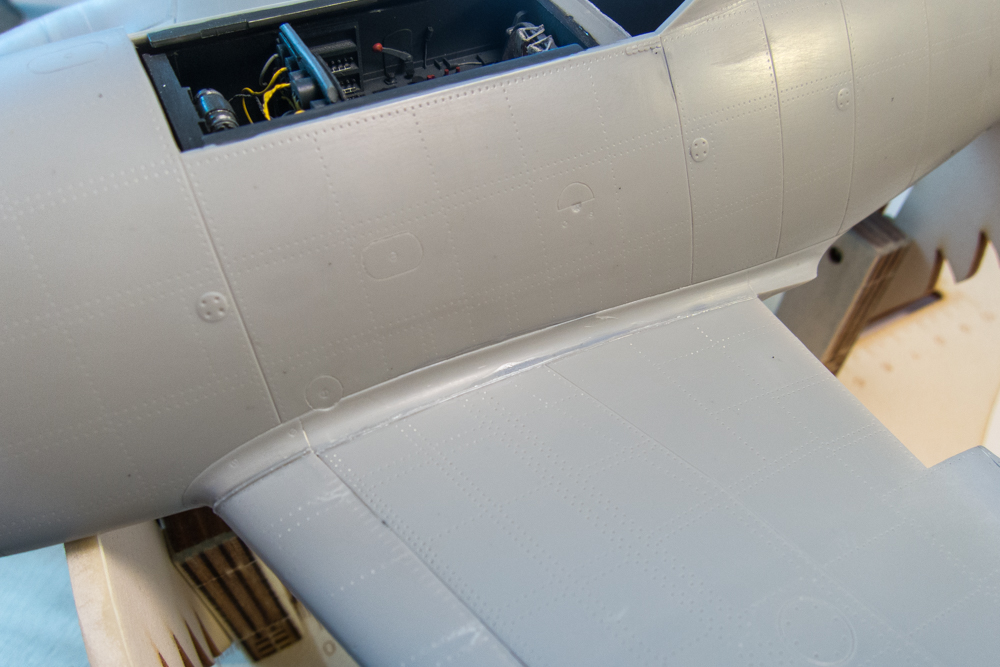
Once the wings were joined to the fuselage, more major messiness had to be cleaned up. For the really large gaps, I resorted to using stretch sprue, softened with Tamiya Extra Thin and pushed down into the gap to help strengthen the joint.
Image
Image
Image
Image

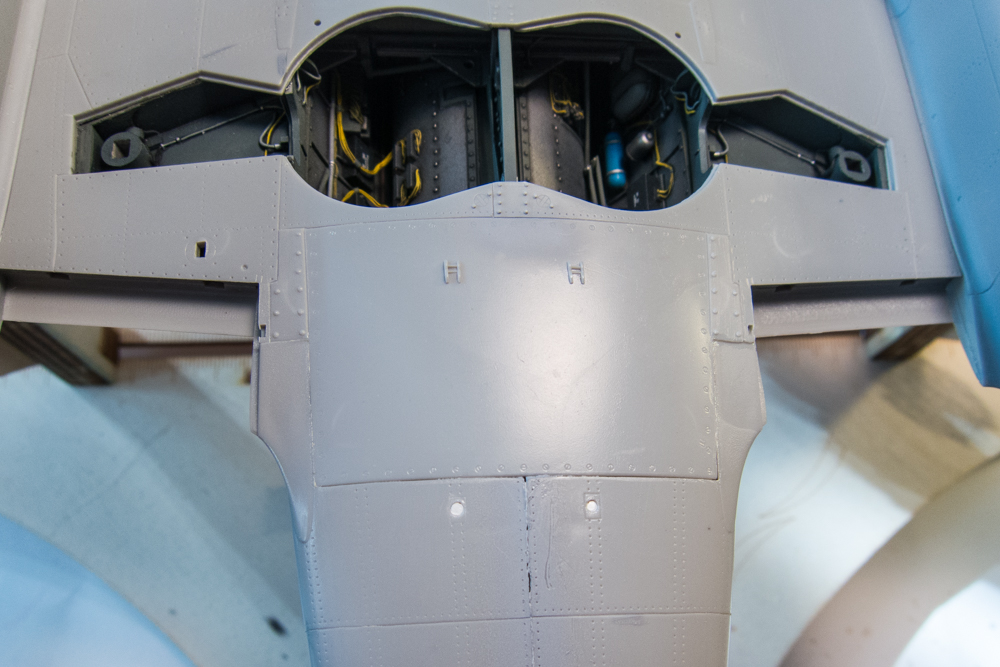
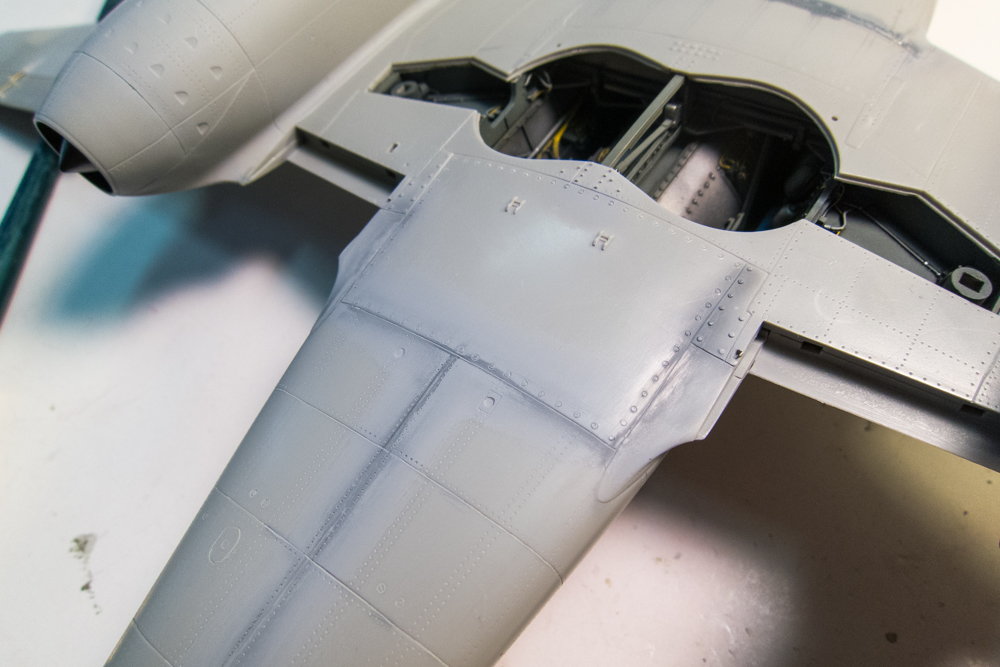
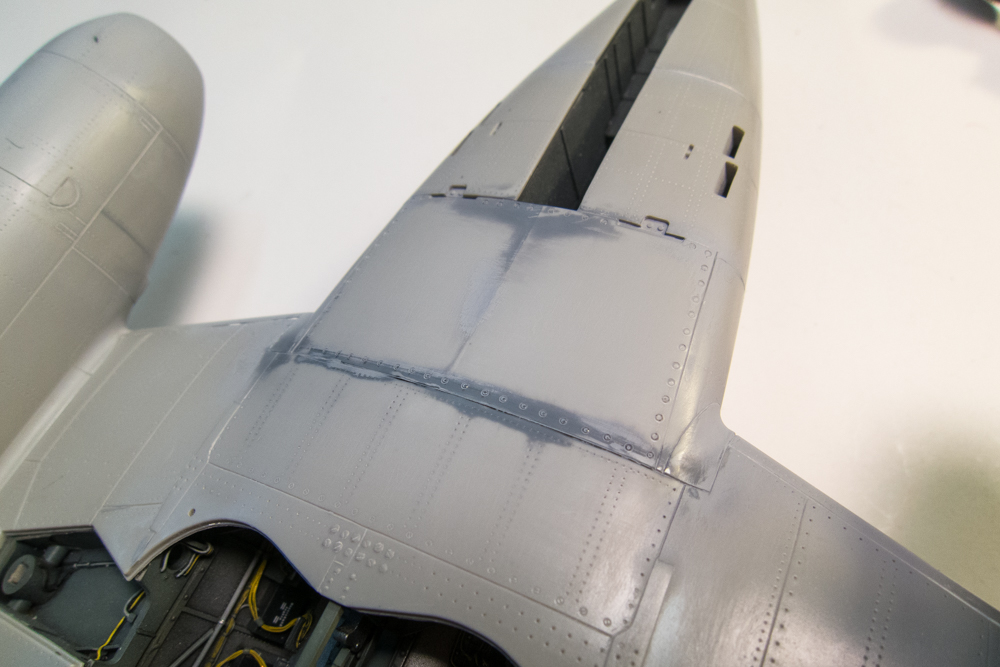
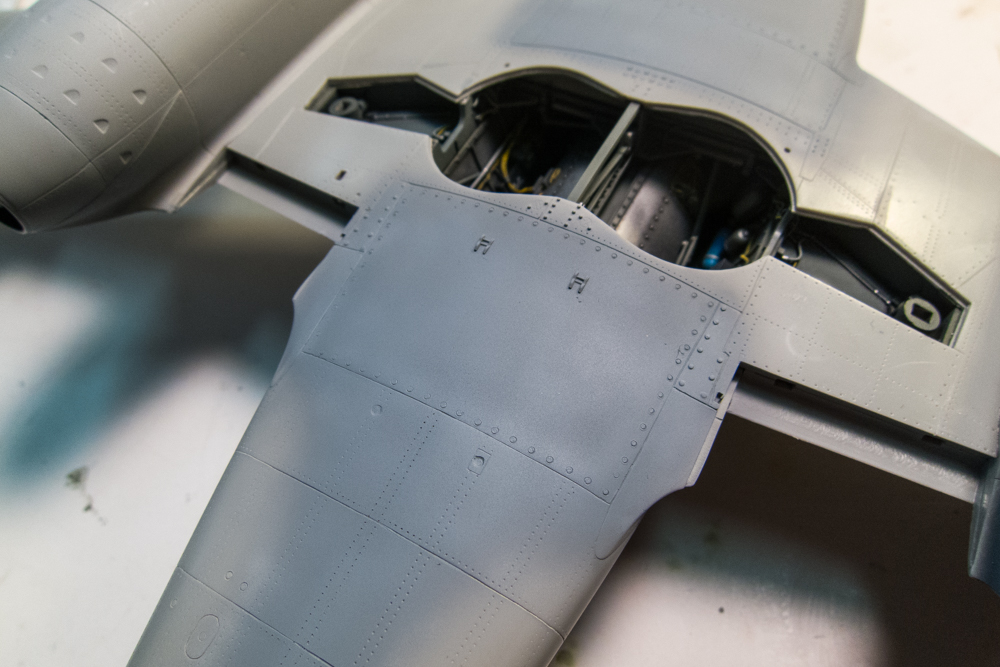
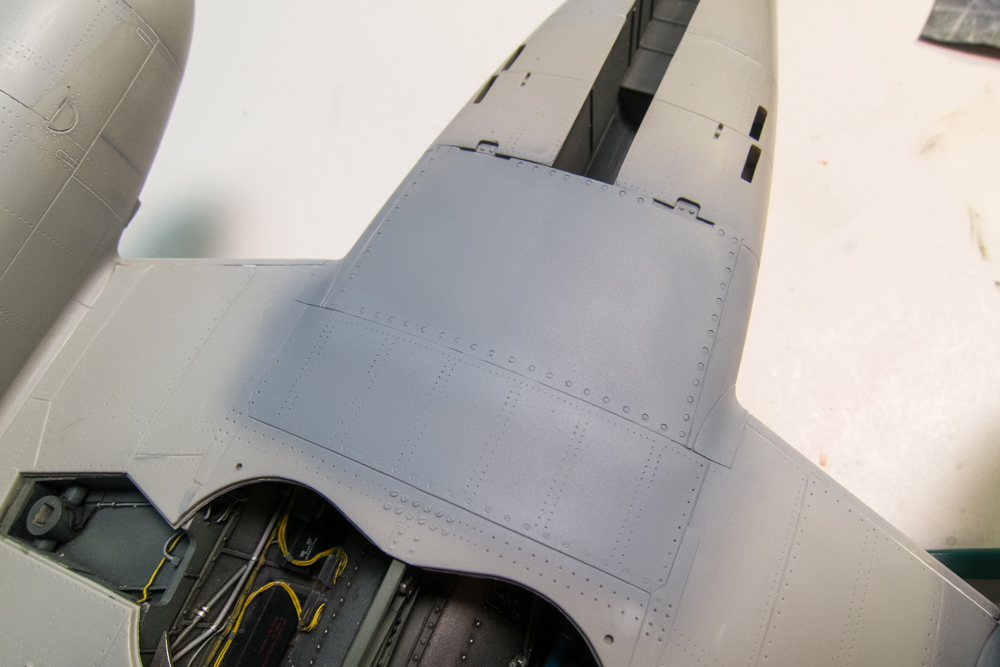
The lateral joints on the bottom were especially tough to handle, especially when trying to re-scribe the panel lines. I tried a new filler: black CA glue for this. It has a bit of rubber in it making it easier to sand than standard CA.
Image
Image
Image
Image

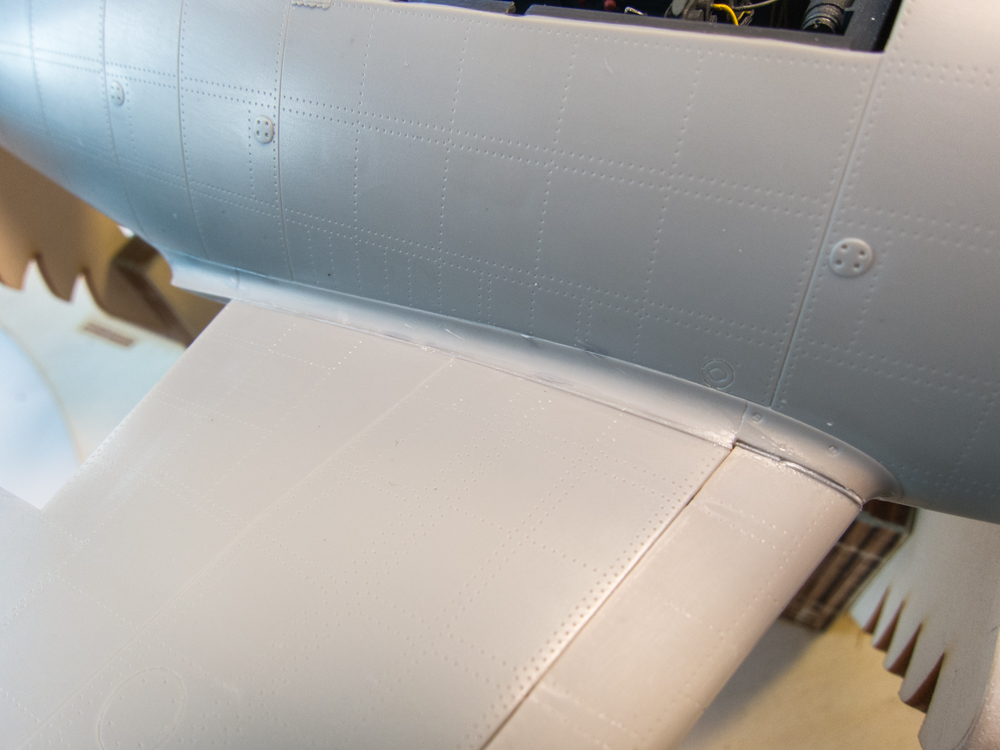
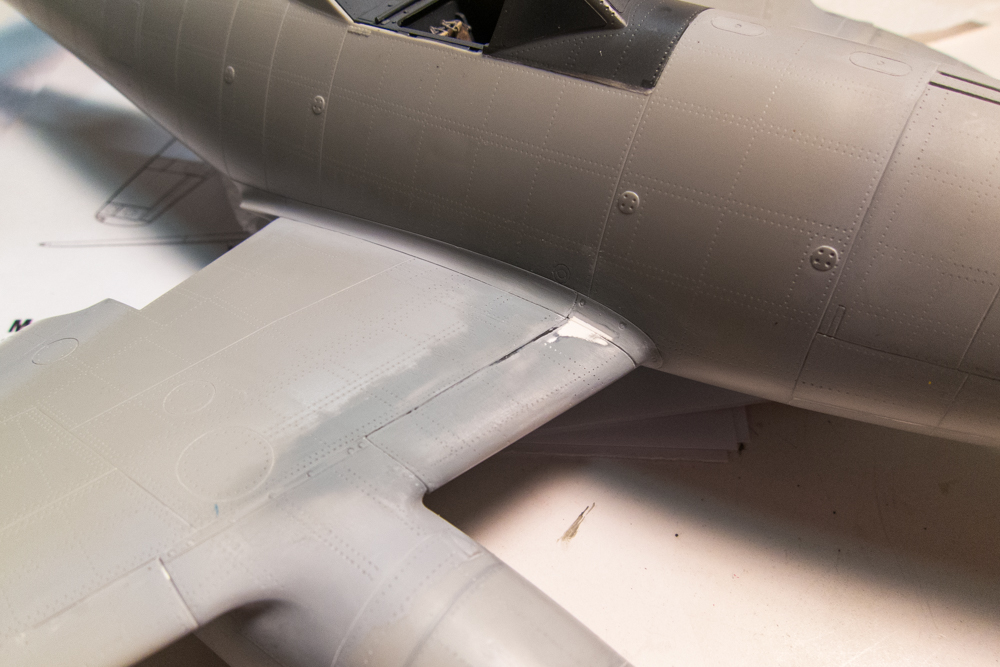
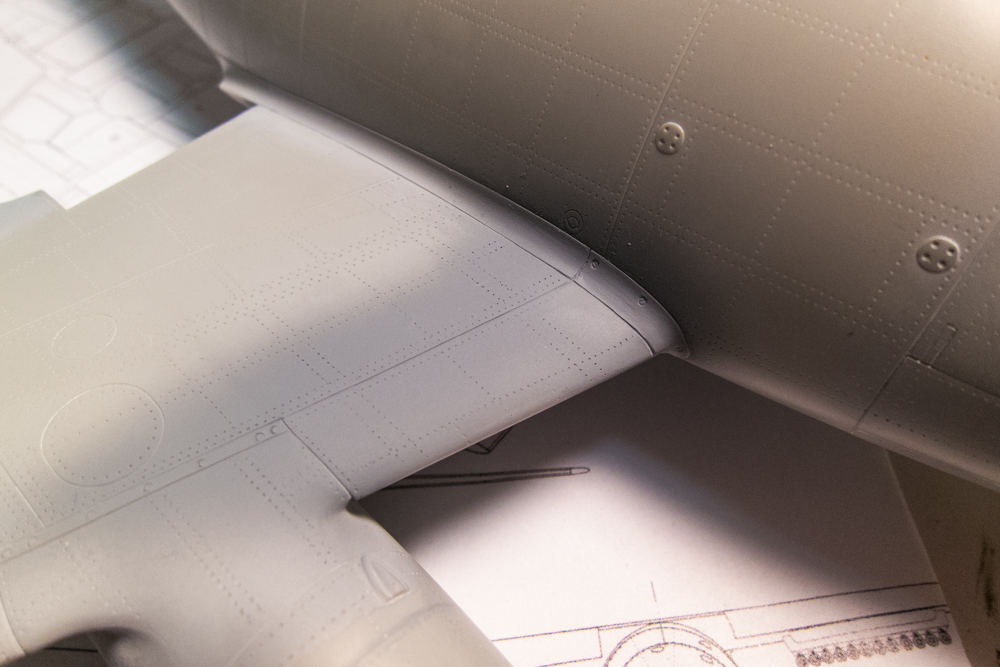
This joint on the starboard wing root was gave me the most trouble. This one had everything wrong: a step to even out, weak glue joint because of the thinness of the leading edge slats and panel lines and rivets to restore. Because the leading edge slats were not secured well with glue, the puttied joint kept cracking. Finally, I gouged out the joint with my scriber to make a large trench and filled it in with the black CA glue.
Image
Image
John aka JKim
-----------<><
Image
User avatar
jkim
Elite Member
Posts: 4073
Joined: Mon Apr 10, 2017 4:03 pm

Re: Trumpeter 1/32 Me262A-1 Yellow 3

Post by jkim »

Thanks Bruce! It'll be an abbreviated show since I'm just summarizing the work that I've completed so far. Anyone interested in the blow-by-blow, you can always hop on over to LSP and find the complete build log there.

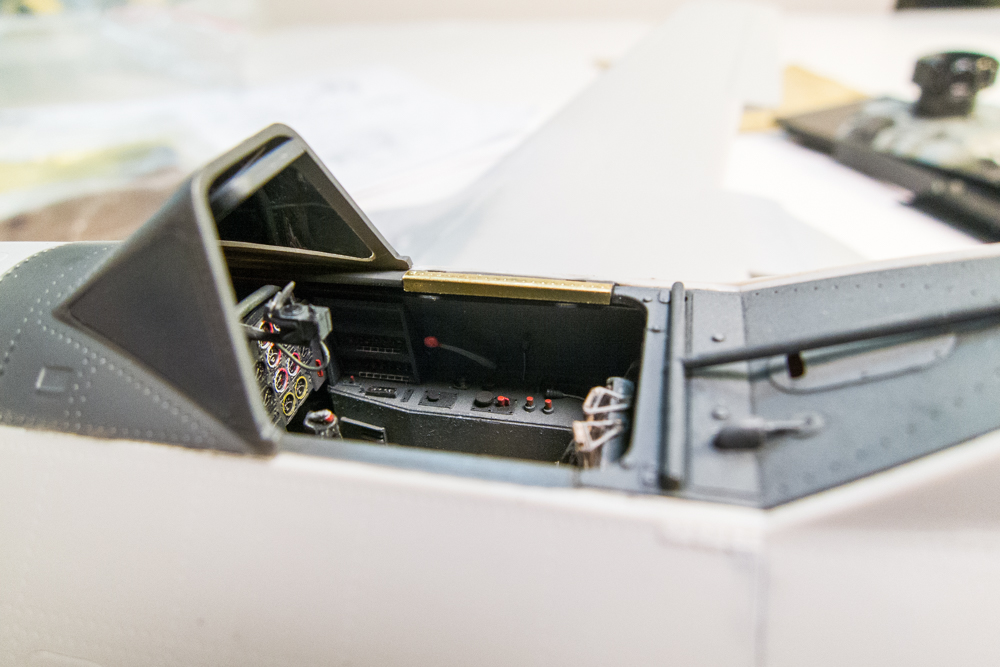
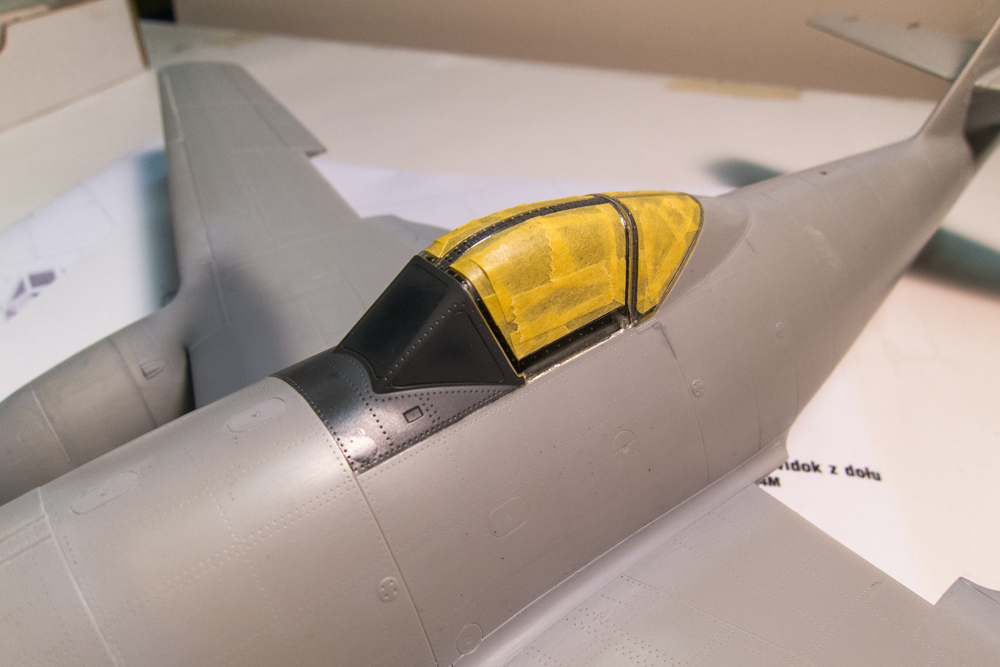
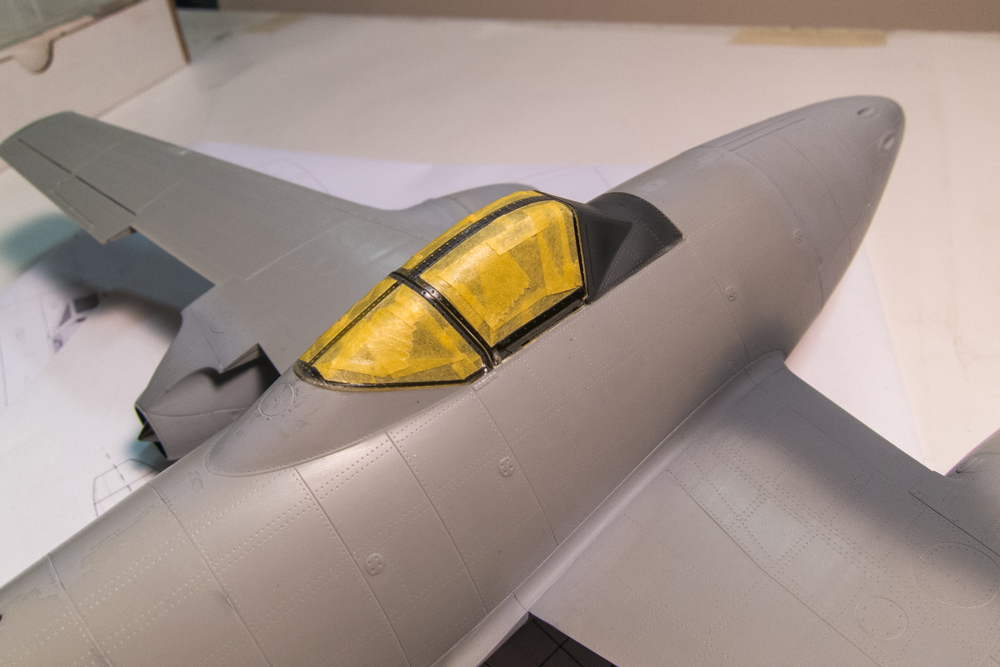
Almost caught up now... with the wing to fuselage joints taken care of, I start preparing for the painting stage. The canopy will be shut so I need to mask the glue the clear parts in. Before the windscreen is glued on, I've installed the gun sight. The notches for the open canopy are covered using a piece of brass sheet.
Image

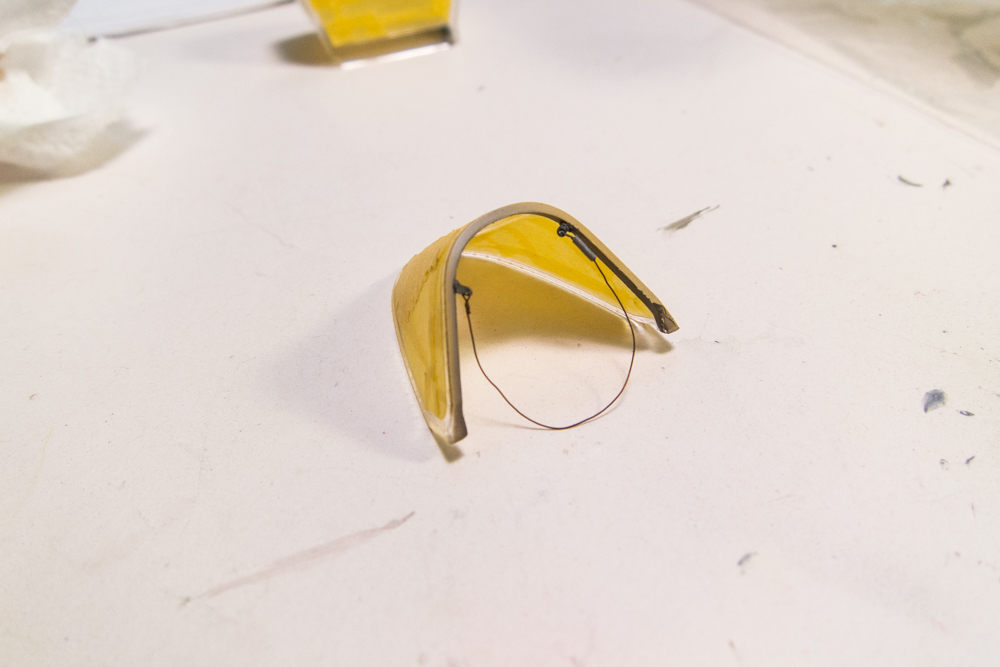
I've replicated the canopy restraining wire and spring using thin electrical wire.
Image

The canopy pieces are then glued into place. I used Tamiya Extra Thin.
Image
Image

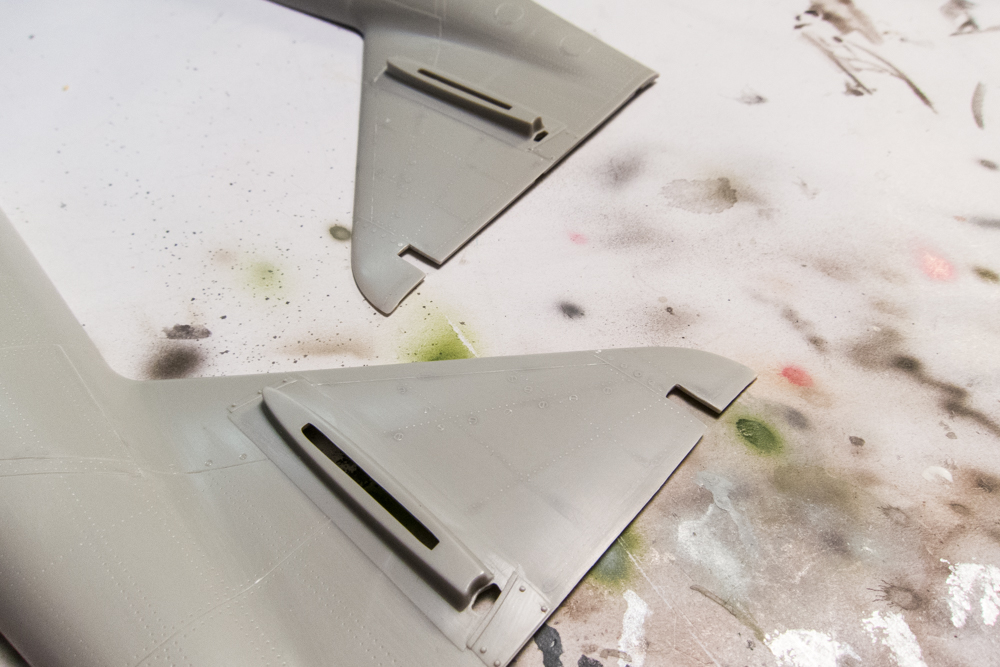
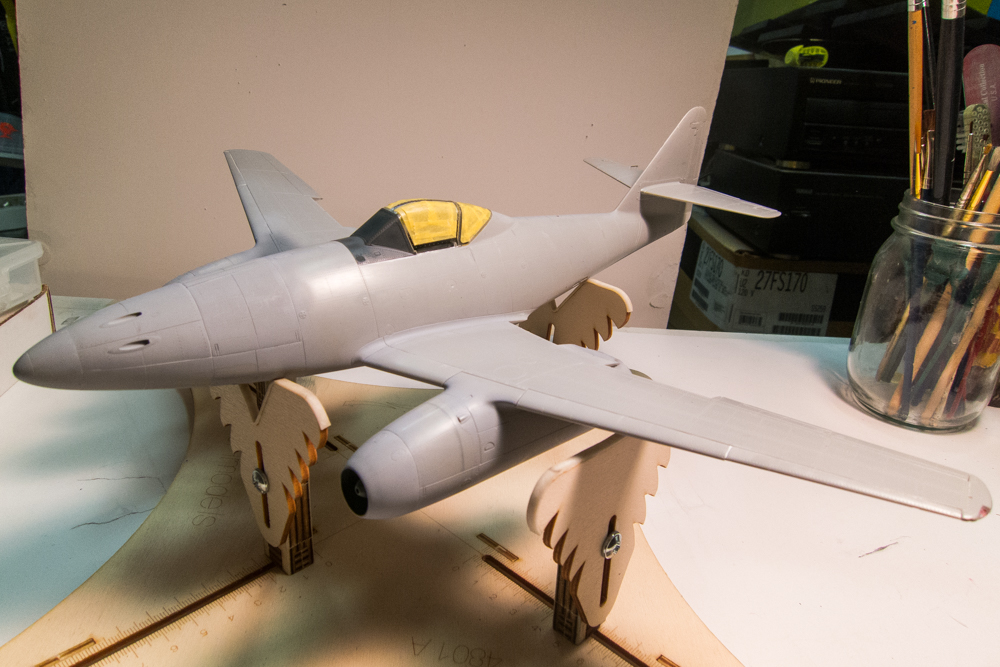
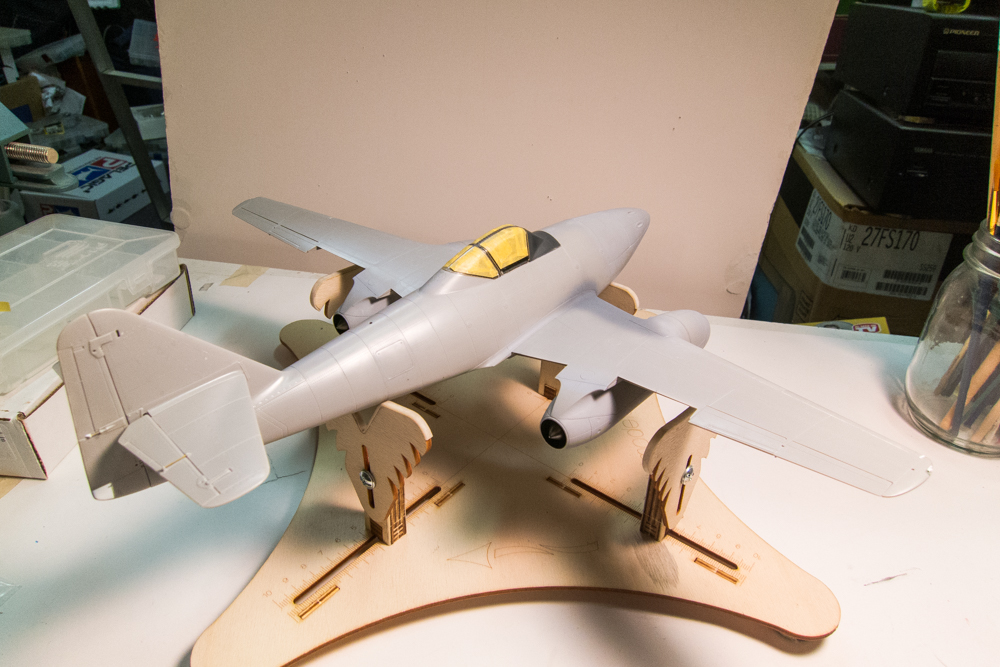
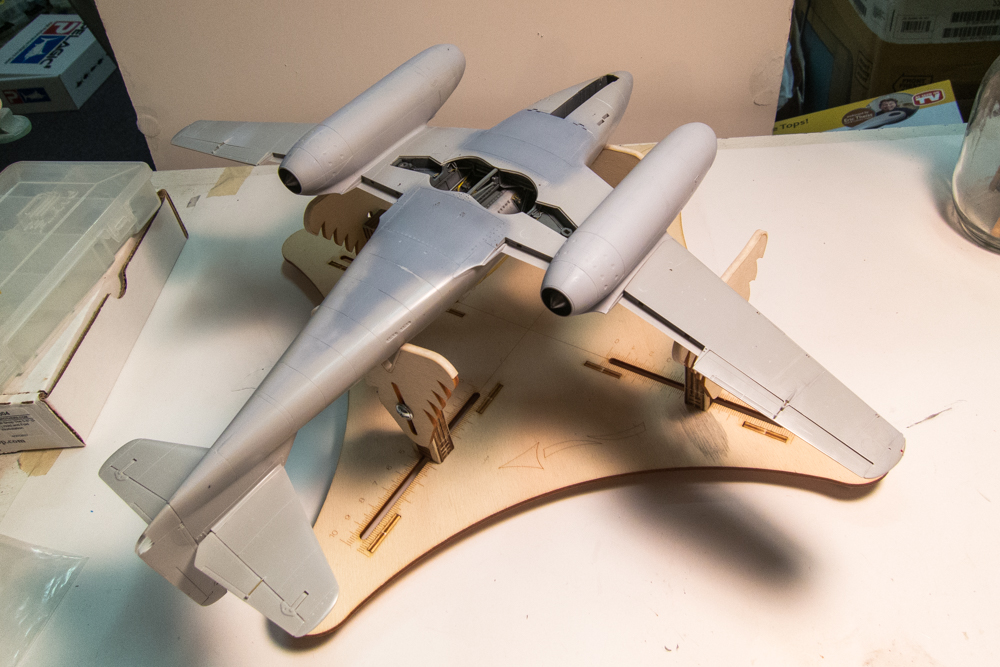
The 262 is now ready for paint. The tail stabilizers have not been glued. The fit on these is excellent so I'm going to leave them detachable to make painting of the tail mottle easier.
Image
Image
Image
John aka JKim
-----------<><
Image
User avatar
Floki
Elite Member
Posts: 3548
Joined: Wed Dec 12, 2018 2:23 am
Location: Muncie, Indiana

Re: Trumpeter 1/32 Me262A-1 Yellow 3

Post by Floki »

Can't wait to see more. I really like how you replaced the control surface rods with wire I'll have to remember that. Thank you.
March as one, Don't look back
Odin's sons... Attack!
Unleash hell! Do not repent! Warfare grants us no lament
Let your weapons slash and tear This is no place for fear
Hold the lines! Move as one! In unity our victory's won
Our shields will form a mighty wall
United we shall never fall
User avatar
jkim
Elite Member
Posts: 4073
Joined: Mon Apr 10, 2017 4:03 pm

Re: Trumpeter 1/32 Me262A-1 Yellow 3

Post by jkim »

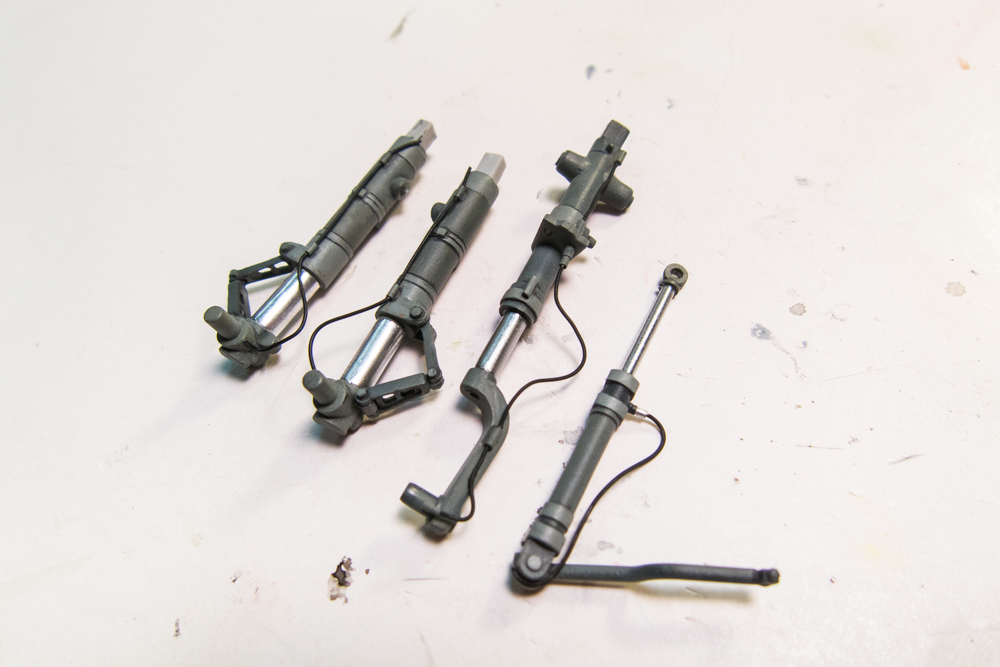
I forgot to show the landing gear parts, which have been painted. Brake lines made of lead wire and held in placed with small pieces of brass tubing have been added. FYI.. the main landing gear legs have been shortened by a few millimeters to improve the "sit" of the aircraft per a suggestion over at LSP.
Image
Image

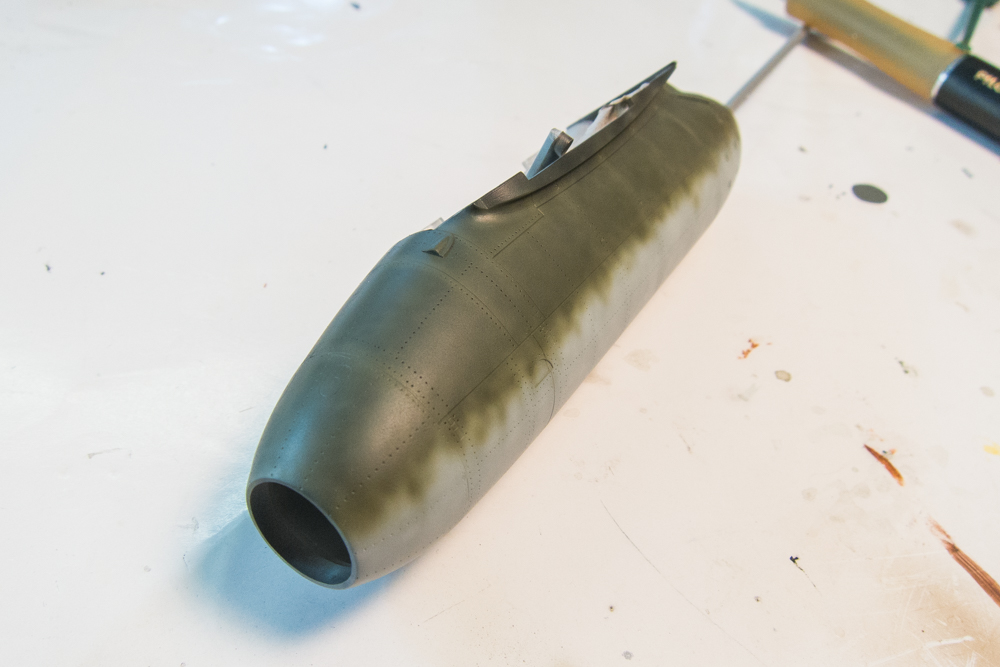
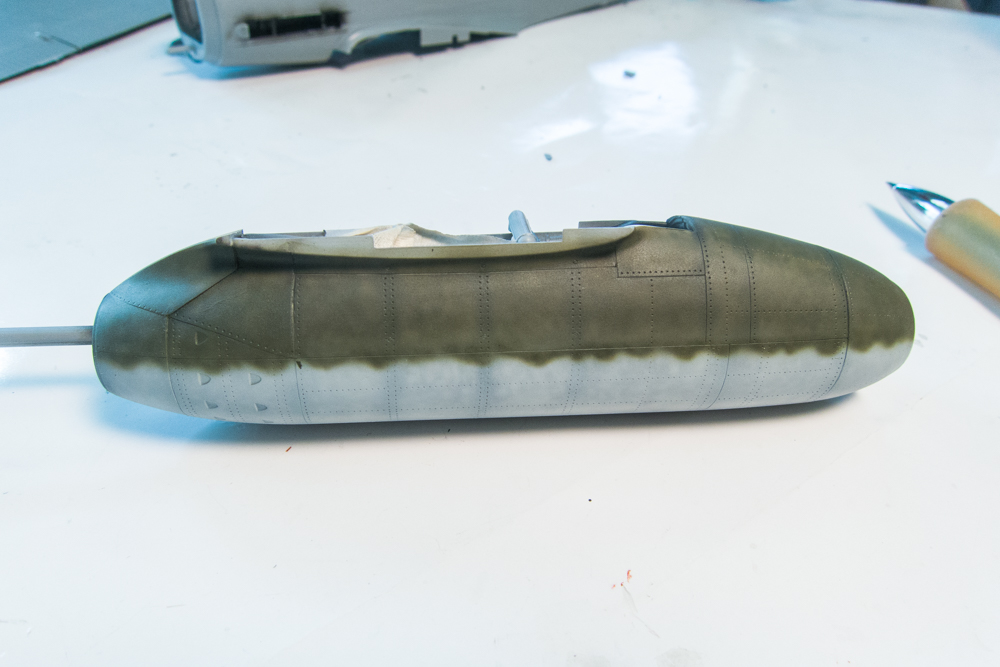
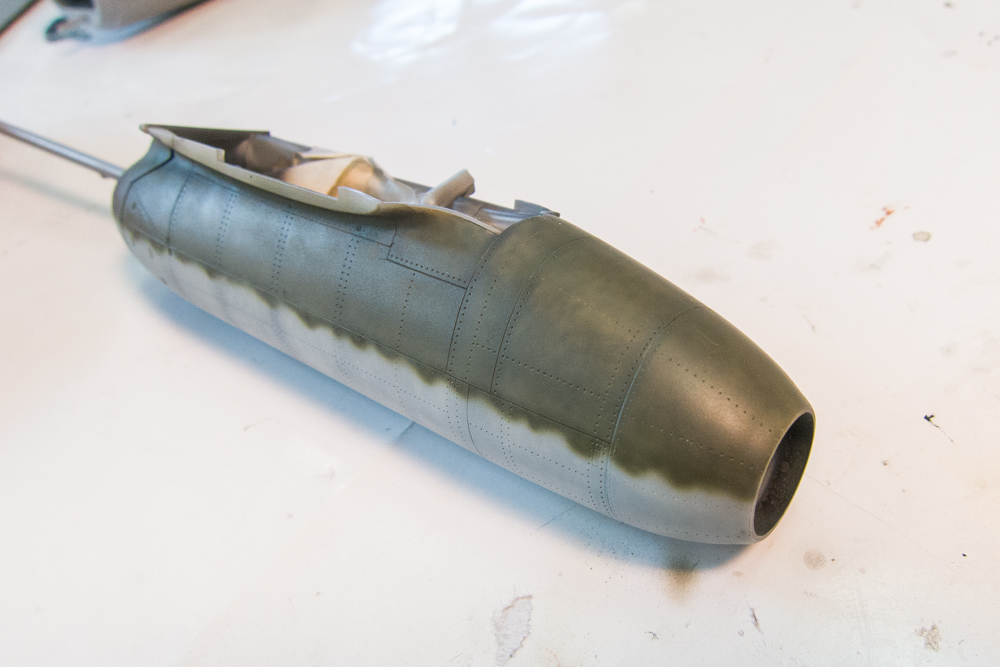
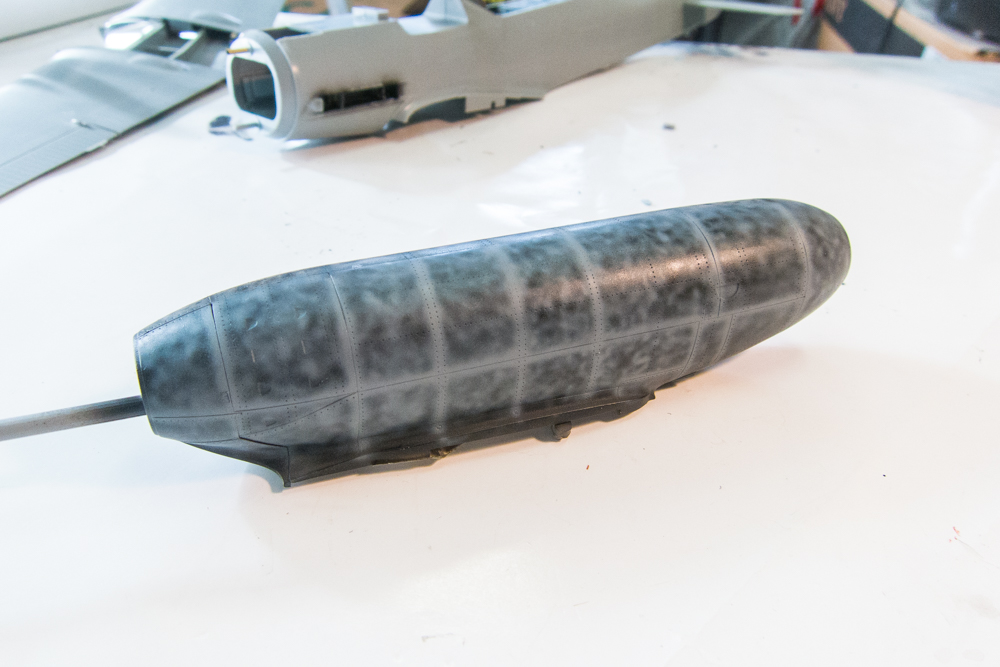
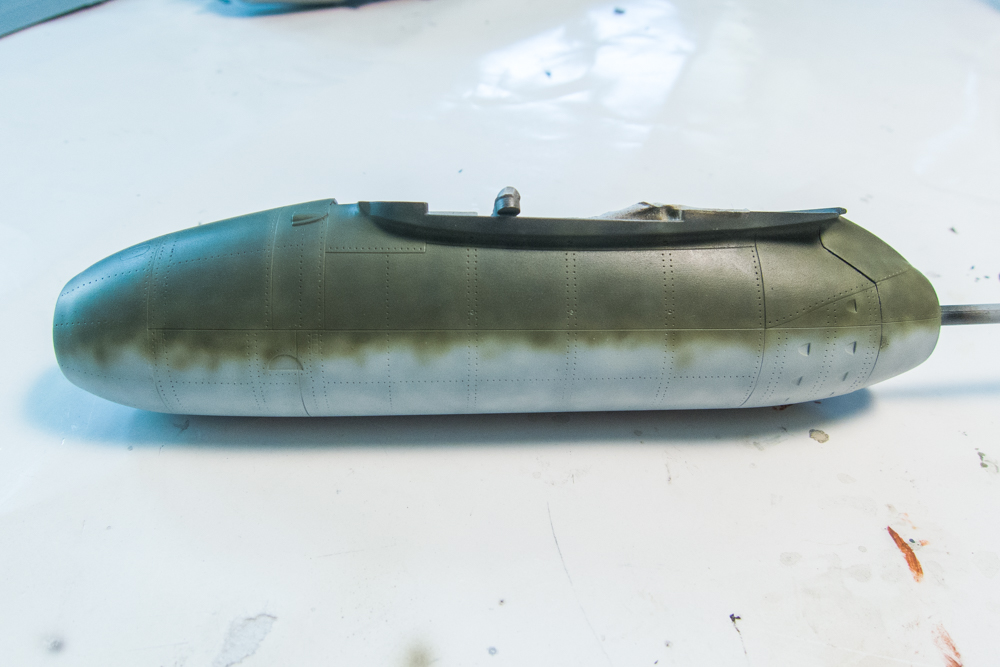
Yellow 3 was observed to be heavily weathered with the paint being worn down and the underlying primer along joints being visible. Wondering how best to replicate this condition, I did a test on a spare engine nacelle to compare black basing with my normal mottle pre-shading.

On one side... black basing using neutral grey.
Image

On the other side... black mottle pre-shading.
Image

RLM 76 Light Blue and RLM 83 Dark Green over the black base.
Image
Image

Same colors over the black mottle.
Image
Image

More similarities than differences. But based on what I am trying to achieve, I've decided to black base this 262.
John aka JKim
-----------<><
Image
User avatar
KSaarni
Elite Member
Posts: 5621
Joined: Sun Apr 06, 2014 7:13 am
Location: Gent, Belgium
Contact:

Re: Trumpeter 1/32 Me262A-1 Yellow 3

Post by KSaarni »

Great to see this bird more in detail, we have seen a number of appetizers, but now finally the real stuff!

Beautiful work with stunnig pictures !

Love the brake lines (among many other parts as well)

- Kari
---
On the bench:

MiniArt 1:48 - Junkers F13 Float Plane


https://www.facebook.com/GrundAsk-Scale ... 721218708/
User avatar
jkim
Elite Member
Posts: 4073
Joined: Mon Apr 10, 2017 4:03 pm

Re: Trumpeter 1/32 Me262A-1 Yellow 3

Post by jkim »

Another retro view of the wheel wells. This is after I added the control rods. Because of the vagueness of the Aires instructions, I put off on putting these little pieces in for months.
Image
Image

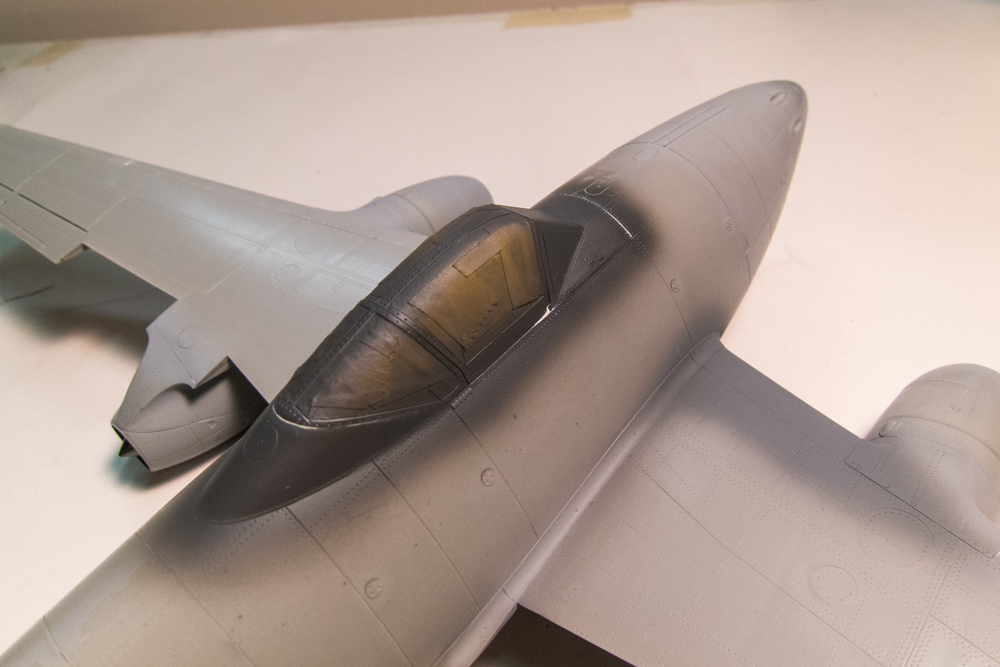
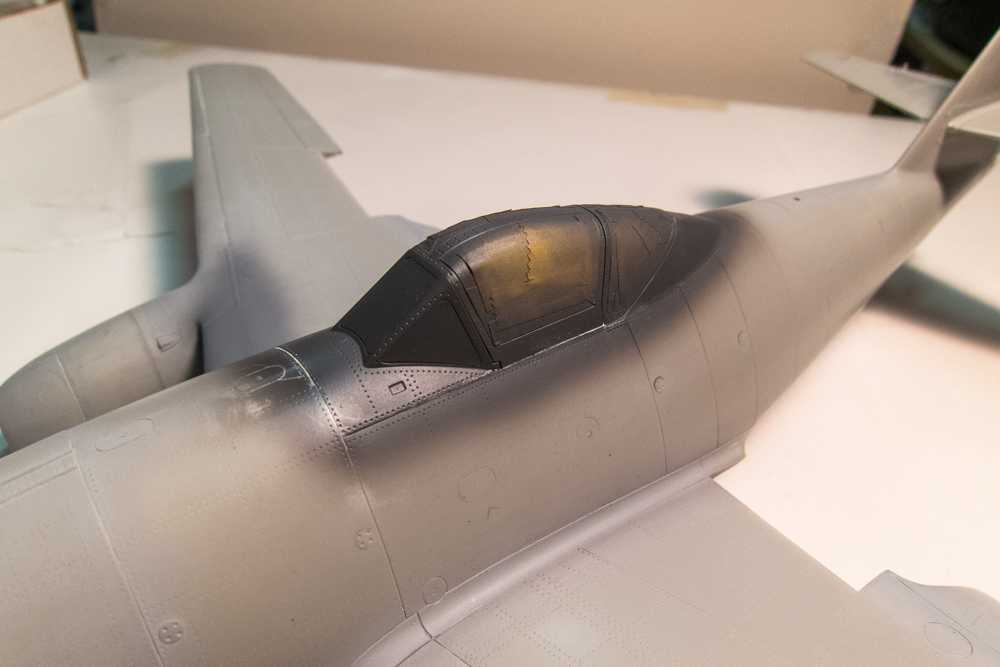
Before the black base coat is applied, I needed to spray the canopy area with RLM 66 Dark Grey. That revealed some gaps needed cleaning up before moving on.
Image
Image
John aka JKim
-----------<><
Image
User avatar
jkim
Elite Member
Posts: 4073
Joined: Mon Apr 10, 2017 4:03 pm

Re: Trumpeter 1/32 Me262A-1 Yellow 3

Post by jkim »

That last photo was from a few weeks ago. Before I went on my trip to Kazakhstan and Kyrgyzstan, from which I returned a week ago. This week has been spent at work trying to adjust back to this time zone. In my free time, I have been processing and posting a portion of the 3,500 photos that I took over the two-week trip. Almost done now... last album will posted on my FB by tomorrow. If any of you are interested at checking out my photos, you can contact me on FB at johnt.kim and I'd be happy to add you as a friend.

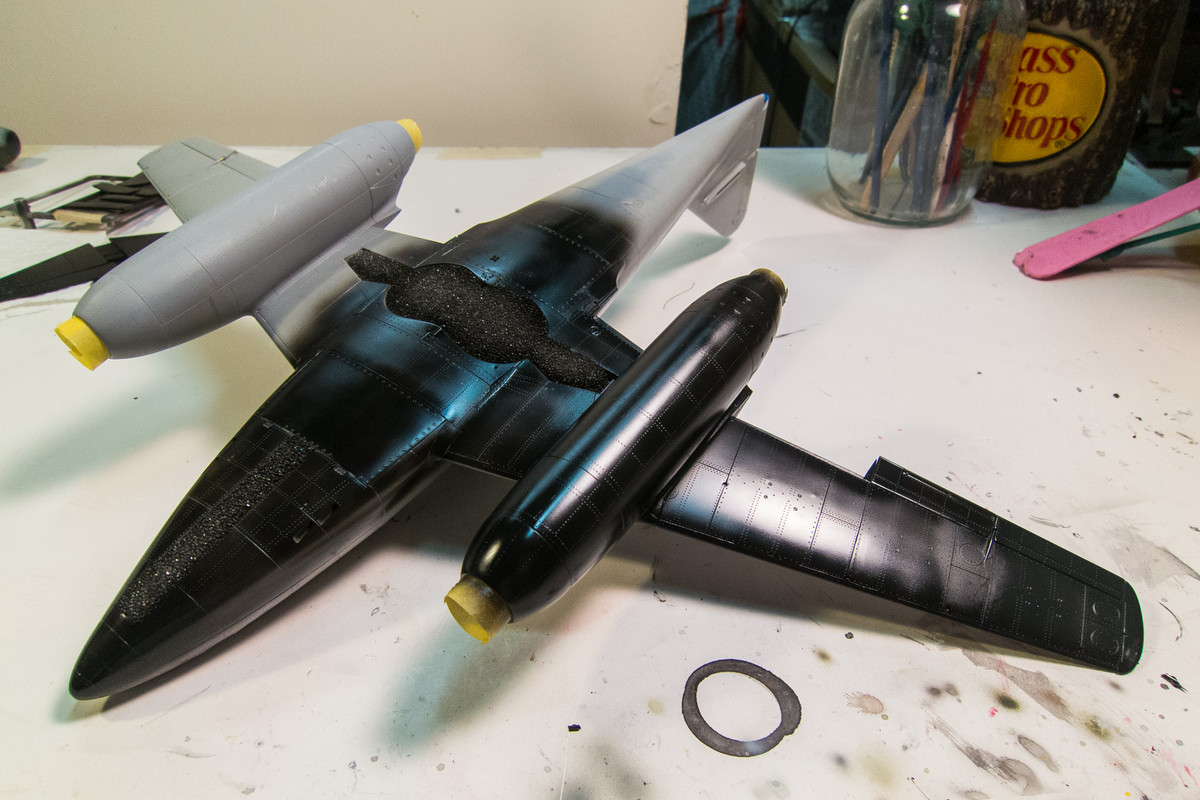
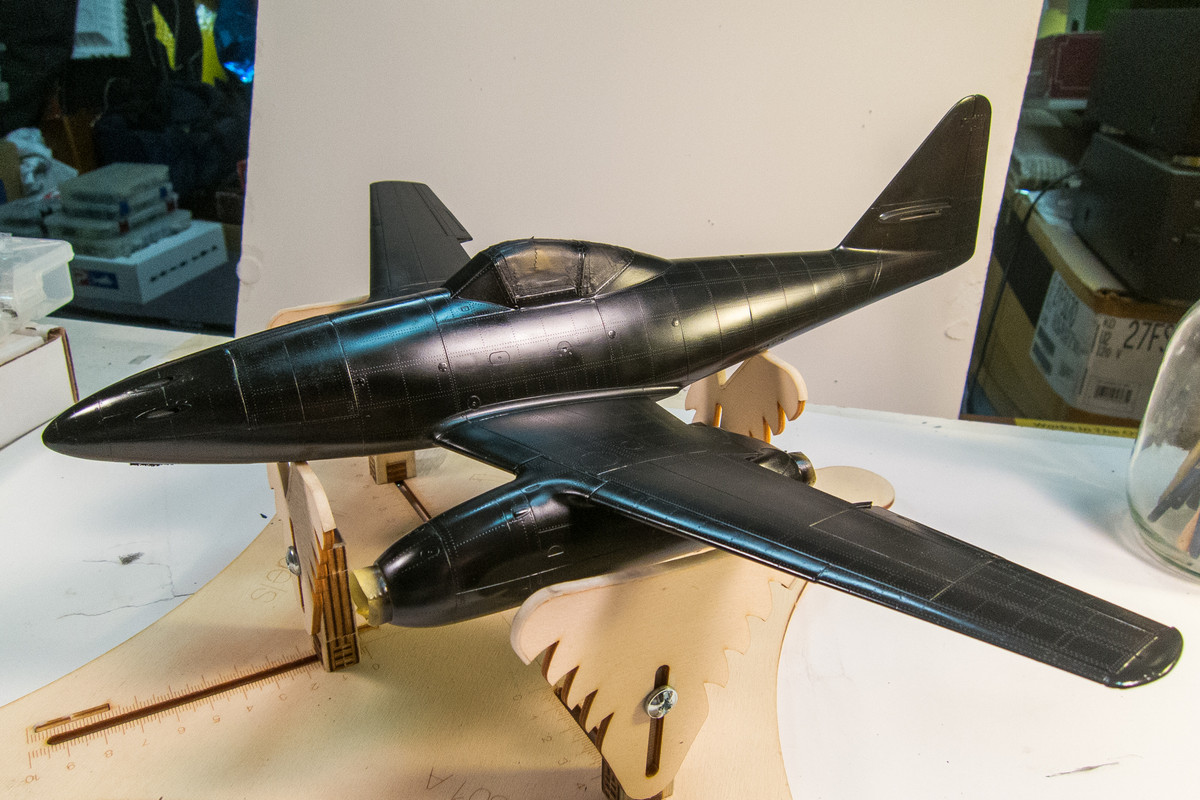
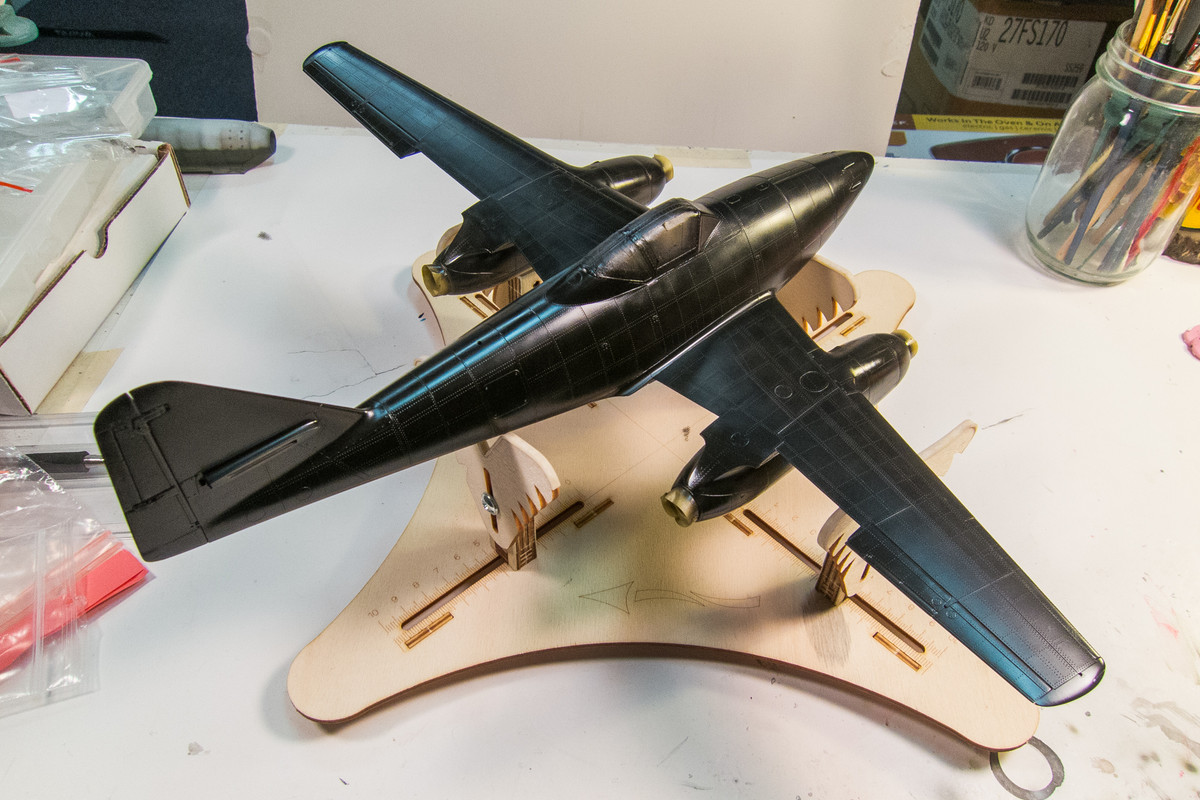
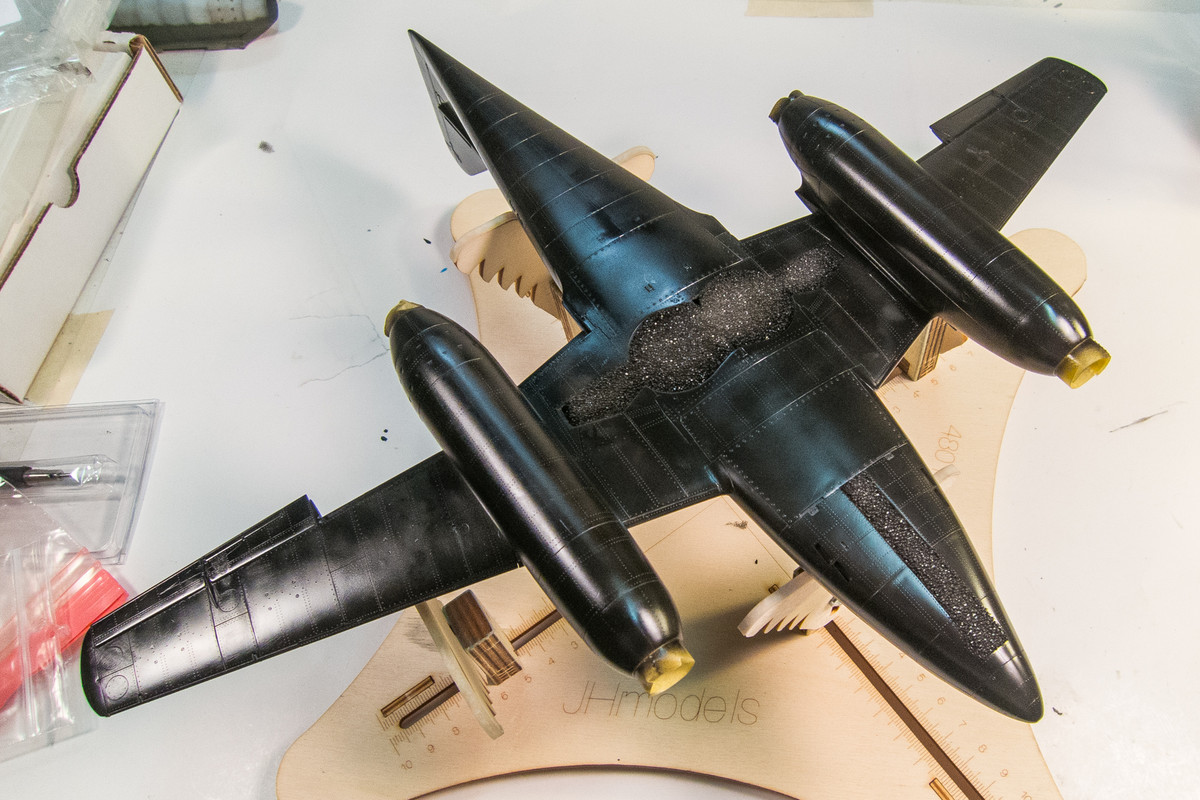
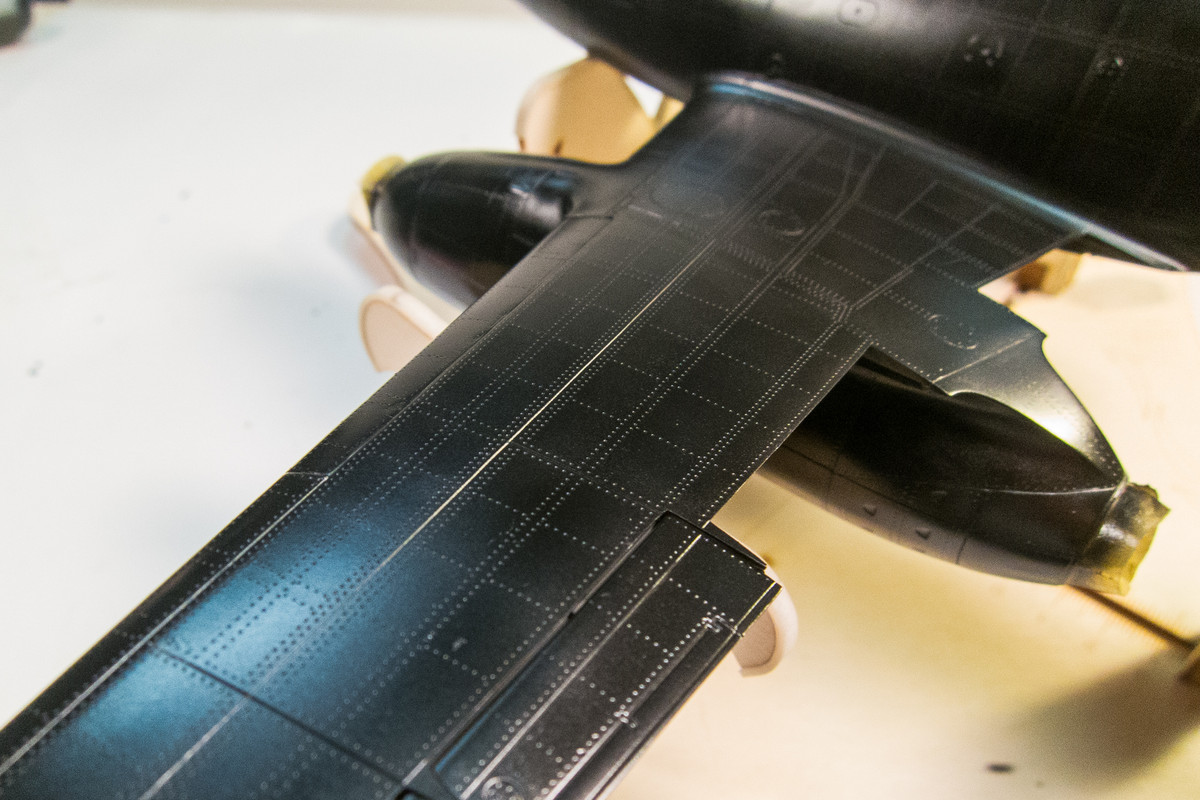
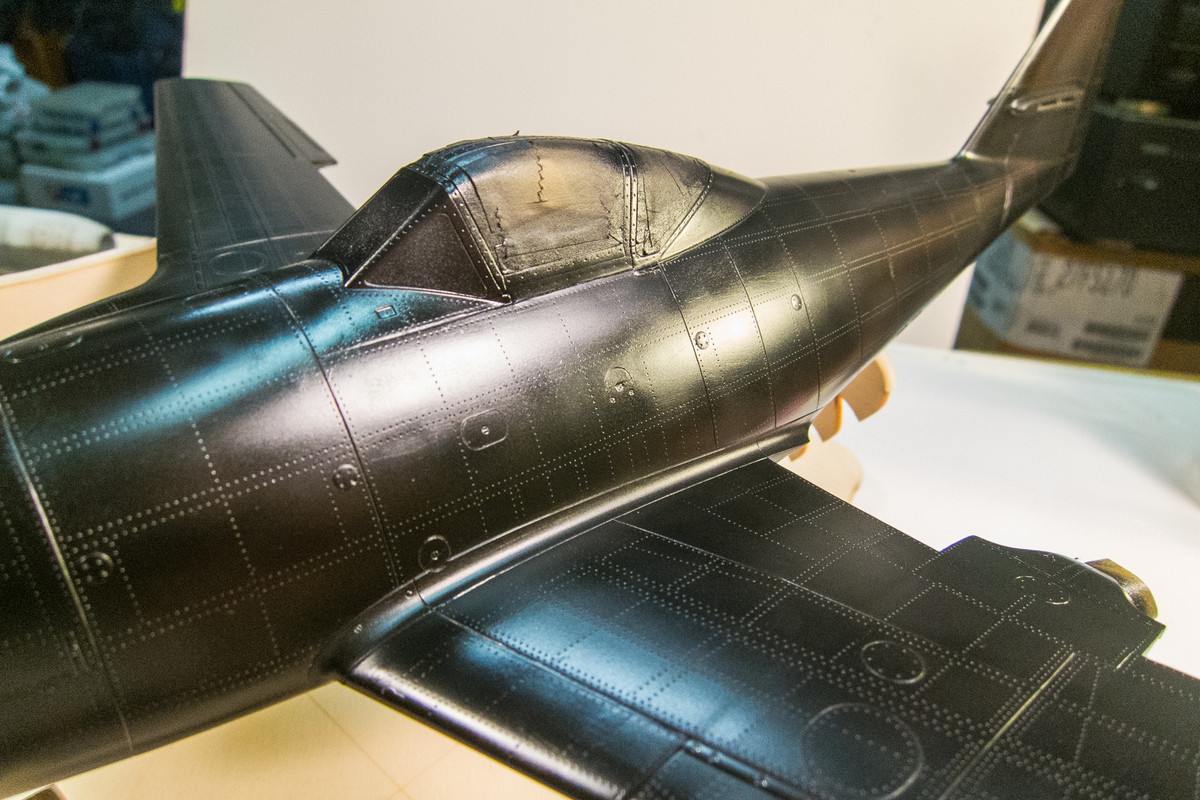
I didn't work today so I was able to spend some time in the modeling room. Instead of photographing Red 1, I elected to push on with this 262 build and start with the painting. This first step is very simple... just paint it black! I used Mr Hobby Lacquer paint thinned with a mixture of Tamiya Lacquer thinner and Mr Leveling Thinner. The first session was interrupted by dinner.
Image

I resumed the black base after dinner. No need for a total gloss coat since I won't be metalizing this bird overall, just at wing roots.
Image
Image
Image
Image
Image

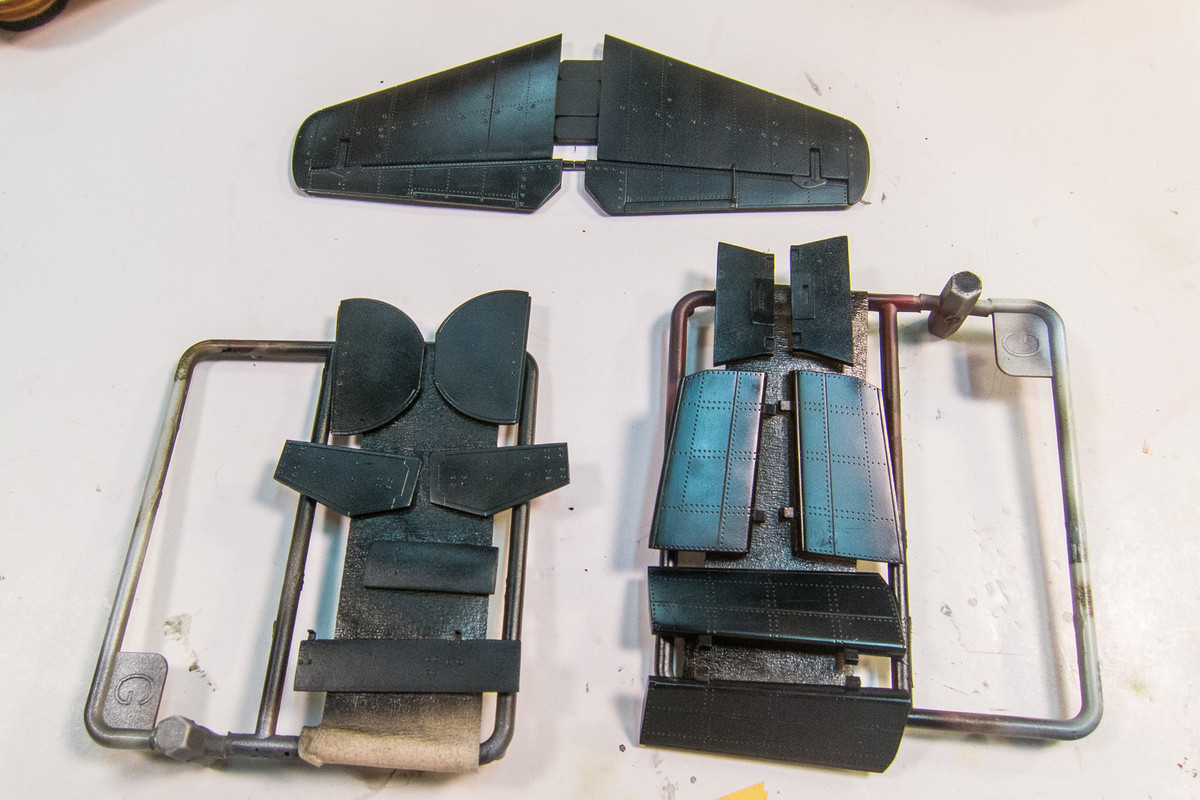
The black base revealed a few minor seam imperfections that I'll work on after the paint cures. That will probably delay the continuation of painting on the body for at least a day or two. I've also painted the wing control surfaces and landing gear covers so I can proceed with those.
Image

I was hoping to have received my Badger Sotar to help make the black base effect more fine but I have no idea when it will arrive. I'll have to make do with the tools that I have on hand. May have to bust out the old school Paasche V. You are now caught up with this build! Let me know if you have any questions of what has already transpired and I'd be happy to share.
John aka JKim
-----------<><
Image
User avatar
mostrich
Admin
Posts: 3105
Joined: Sun Apr 06, 2014 2:13 pm
Location: Hamburg, Germany
Contact:

Re: Trumpeter 1/32 Me262A-1 Yellow 3

Post by mostrich »

John, thank you so much for sharing this! I'm a big fan of the Schwalbe and also a sucker for everything that was flown by KG54. So many interesting subjects, schemes, and operations. I'm really excited by just thinking about what you'll to her with your airbrush and your gifted hands.

Of course, popcorn it is.
:popcorn:
Cheers,
Torben
Post Reply

Return to “Aircraft Work in Progress”