
Interesting! The brush painted layers are of course thicker than those who were sprayed on. So your micro meshing couldn't affect them as much. Maybe working with a bit thicker paint or a second layer would let them look more pronounced at the end of the process.
Nice excrement experiment!
Trumpeter 1/32 Me262A-1 Yellow 3
Re: Trumpeter 1/32 Me262A-1 Yellow 3
Cheers,
Torben
Torben

Re: Trumpeter 1/32 Me262A-1 Yellow 3
So I went and plowed ahead with the putty markings. I know that many of you recommended brush painting, either my normal acrylics or oils. In the interest of time and familiarity, I sprayed them with my Paasche V, which has a smaller needle/nozzle than my Iwata and I'm able to get a finer spray pattern. Brush painting with acrylics was a viable option too but the Micromesh will catch anything that is raised, including brush strokes, which I thought might give an unintended result.
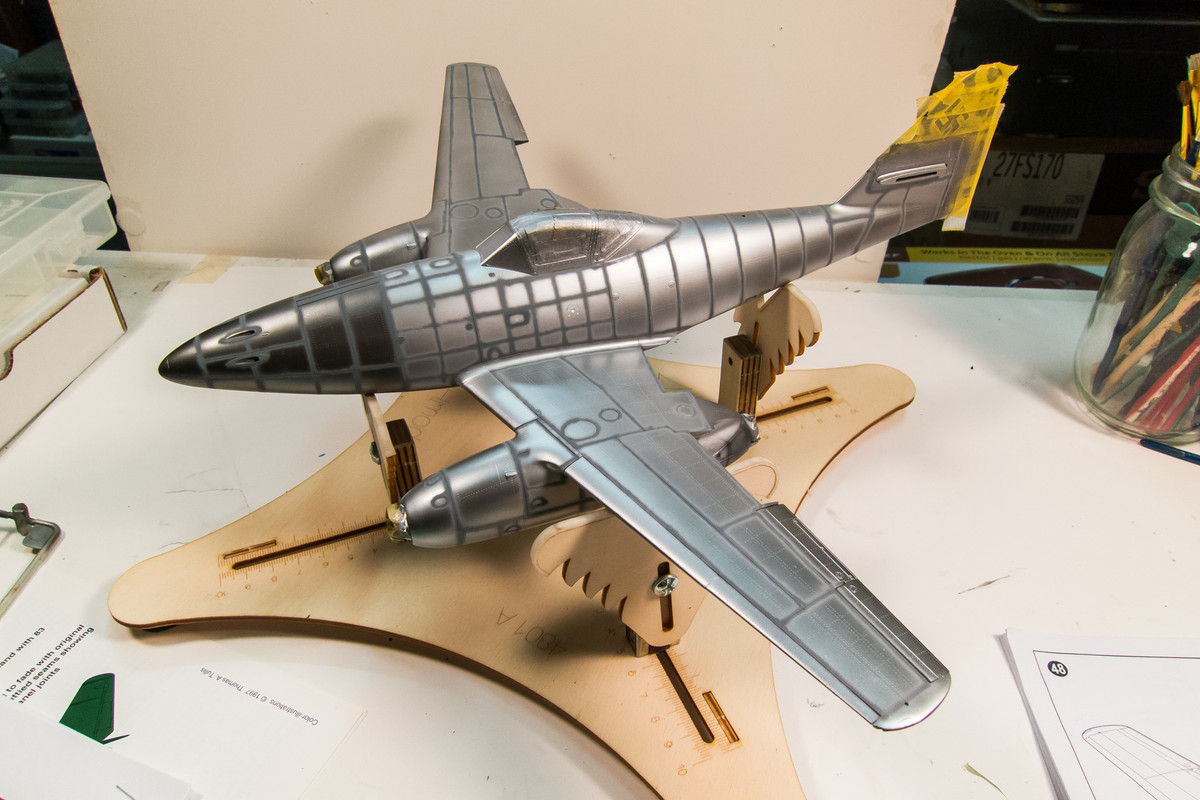
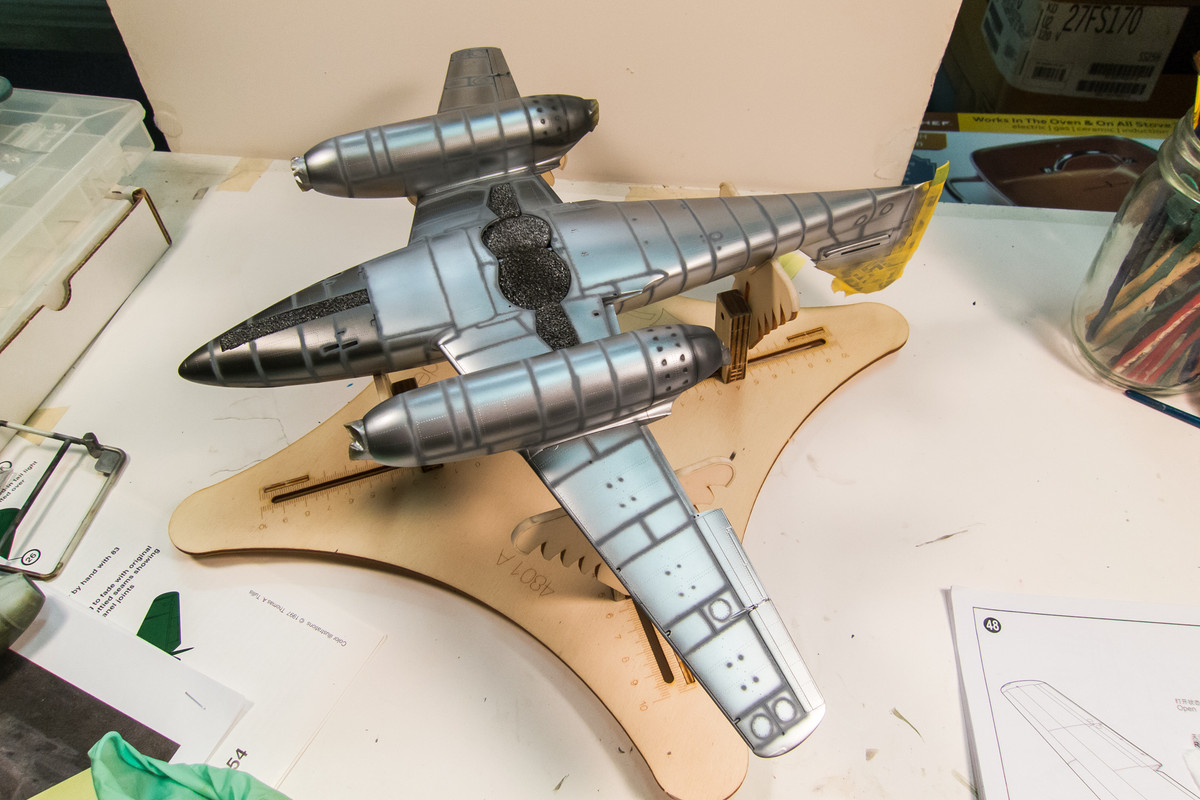
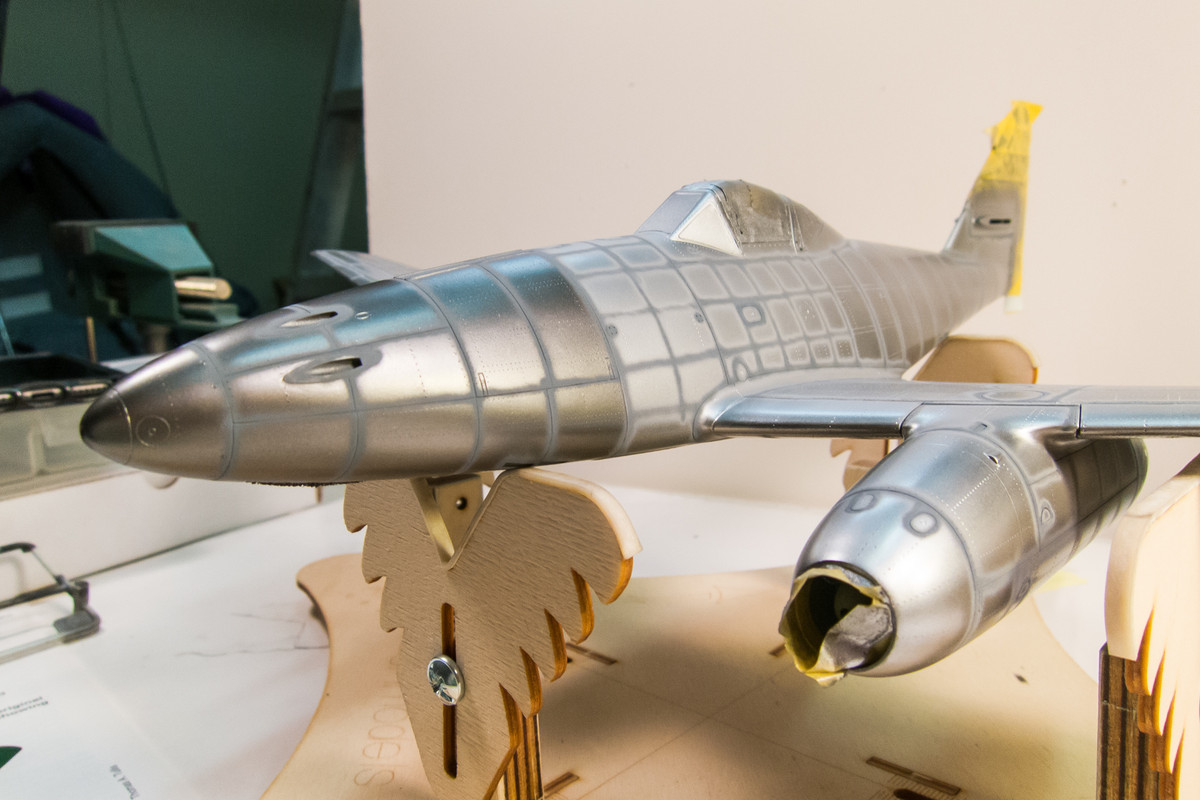
The wing roots were sprayed with hairspray. I'll let that dry thoroughly before I put the RLM 83 Dark Green over it. But I can start on the RLM 76 bottom at any time. I may have to re-do the tail stabilizers that I painted earlier as they may not match the rest of the camo now that I have changed from a dark to light base.
The wing roots were sprayed with hairspray. I'll let that dry thoroughly before I put the RLM 83 Dark Green over it. But I can start on the RLM 76 bottom at any time. I may have to re-do the tail stabilizers that I painted earlier as they may not match the rest of the camo now that I have changed from a dark to light base.
John aka JKim
-----------<><

-----------<><
-
speedgraflex

- Moderator
- Posts: 11535
- Joined: Fri Feb 10, 2017 11:08 pm
- Contact:
Re: Trumpeter 1/32 Me262A-1 Yellow 3
That is... incredible control with the airbrush—the circles! Wow! It is mainly seeing the forms now that you have completed them that is exciting visually, but those circles, though, lol! What skill. Your synergy with your Paschke is obvious! Fantastic. The effects are effective! Keep going, John!

Make more models!
Re: Trumpeter 1/32 Me262A-1 Yellow 3
Thanks Bruce! I was actually hoping the Sotar would come and I wouldn't have to use the Paasche. It's a cup feed brush and a pain to clean. Gravity feed is SO much more convenient. But I have no idea when the Badger promotion is going to come through so I reluctantly put the old Paasche V into action.
Tomorrow is a holiday for me so I should be able to get the RLM 76 and 83 on shortly.
Tomorrow is a holiday for me so I should be able to get the RLM 76 and 83 on shortly.
John aka JKim
-----------<><
-----------<><

Re: Trumpeter 1/32 Me262A-1 Yellow 3
I am also waiting for my Krome... Have heard that some Kroms and Sotars have already arrived to Europe...
- Kari
- Kari
---
On the bench:
Eduard 1:48 - Fokker D.VII OAW
https://www.facebook.com/GrundAsk-Scale ... 721218708/
On the bench:
Eduard 1:48 - Fokker D.VII OAW
https://www.facebook.com/GrundAsk-Scale ... 721218708/

Re: Trumpeter 1/32 Me262A-1 Yellow 3
That is amazing airbrush work. Wow. 
To make each build less crappy than the last one. Or, put another way, "Better than the last one, not as good as the next one!"..
Re: Trumpeter 1/32 Me262A-1 Yellow 3
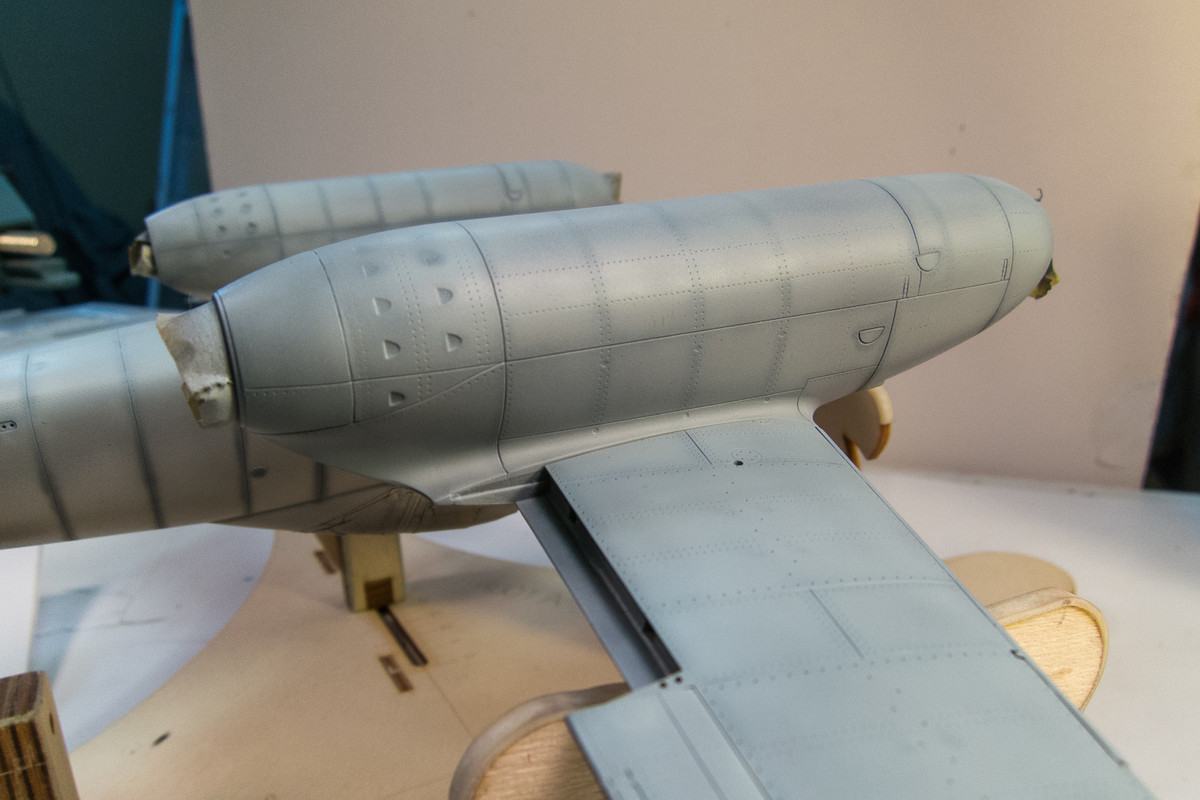
Camo painting starts at last! First up is the RLM 76 Light Blue bottom. A highly thinned Tamiya mixture is used to make sure that the putty lines are not completely covered up. Not much tonal variation in this coat as it lacks any of my customary pre-shading but we can add visual interest to the bottoms in other ways.
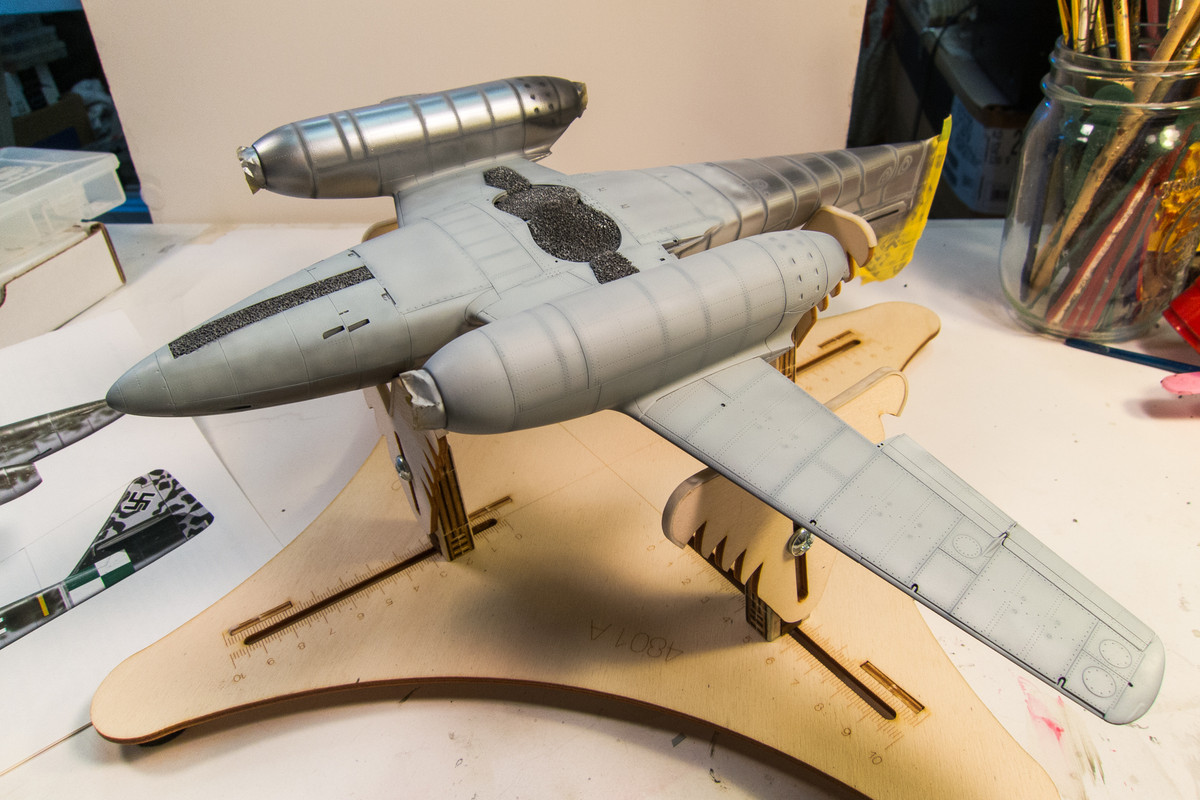

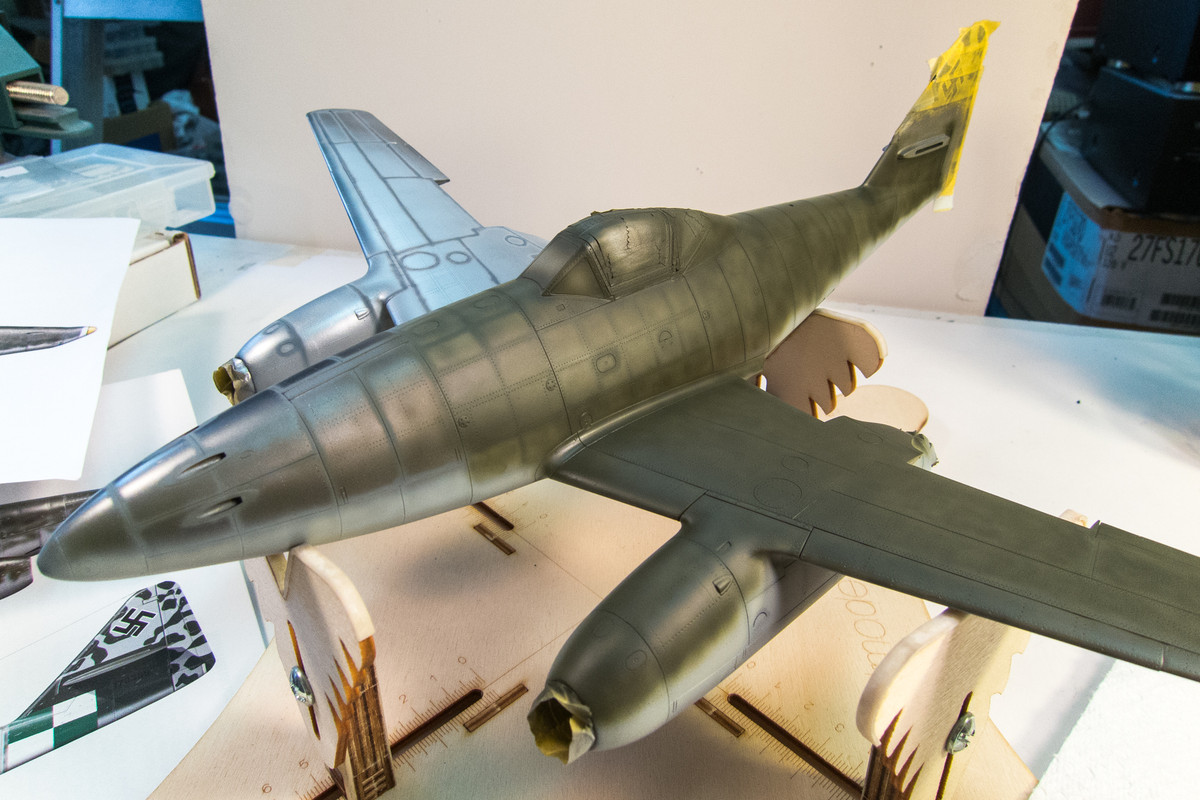
After the Light Blue is completed, I apply the RLM 83 Dark Green on the upper surfaces. This is a Mr Hobby Aqueous color. Due to the contrast between the Dark Green and the silver, I can achieve a bit of tonal variation in this coat.
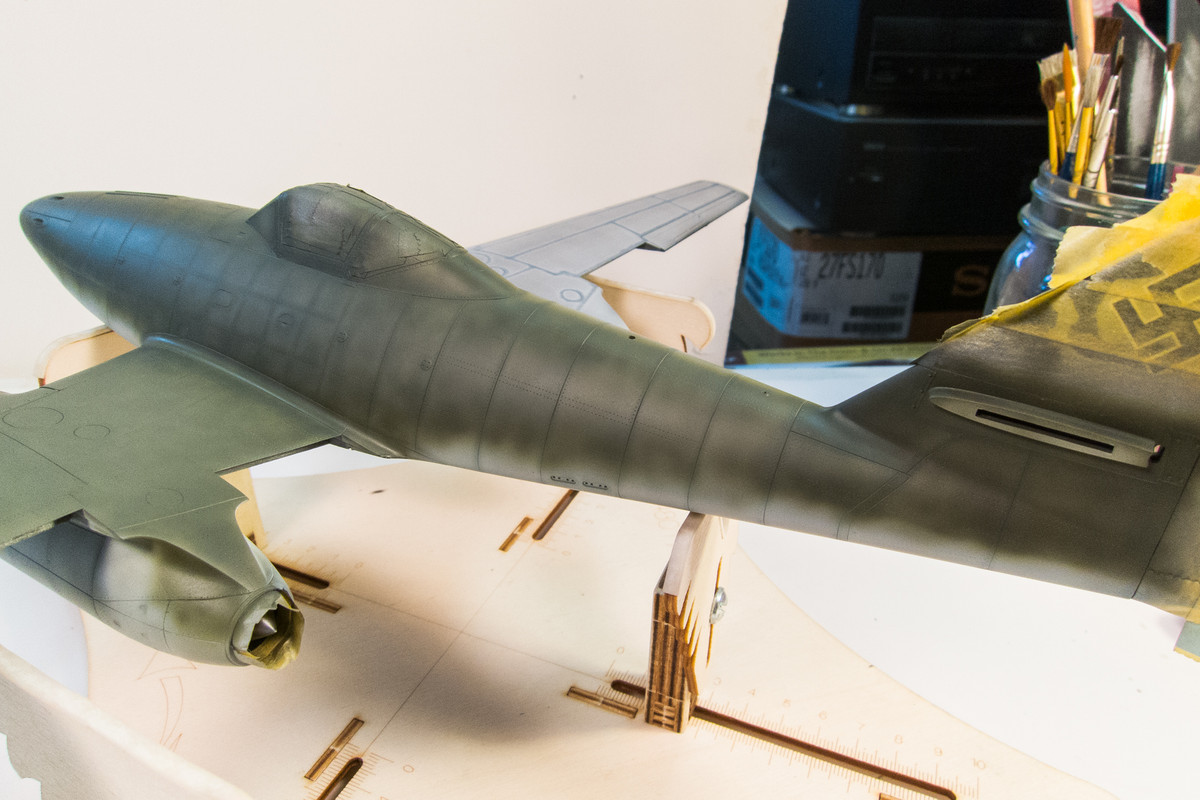
It takes patience to build up the layers of thin paint... almost have to go panel by panel.
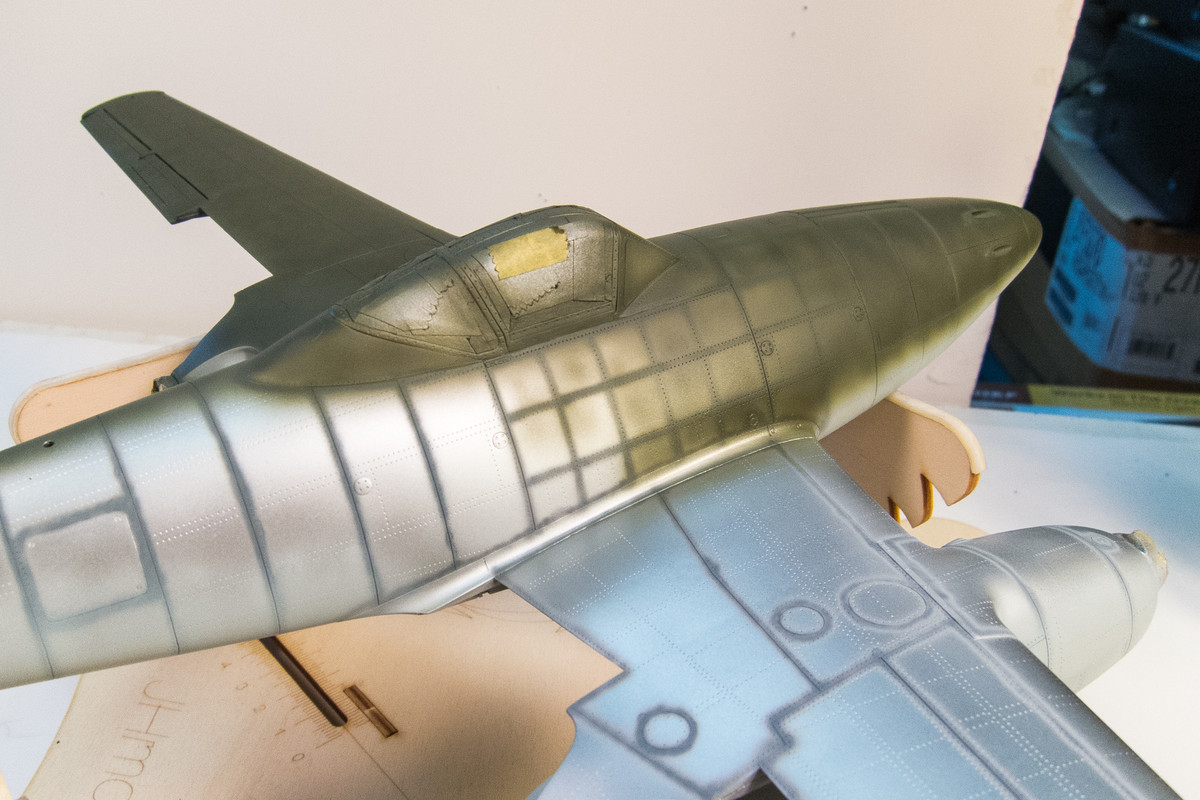
Eventually we cover the entire aircraft with RLM 76 on the bottom and RLM 83 on the top.
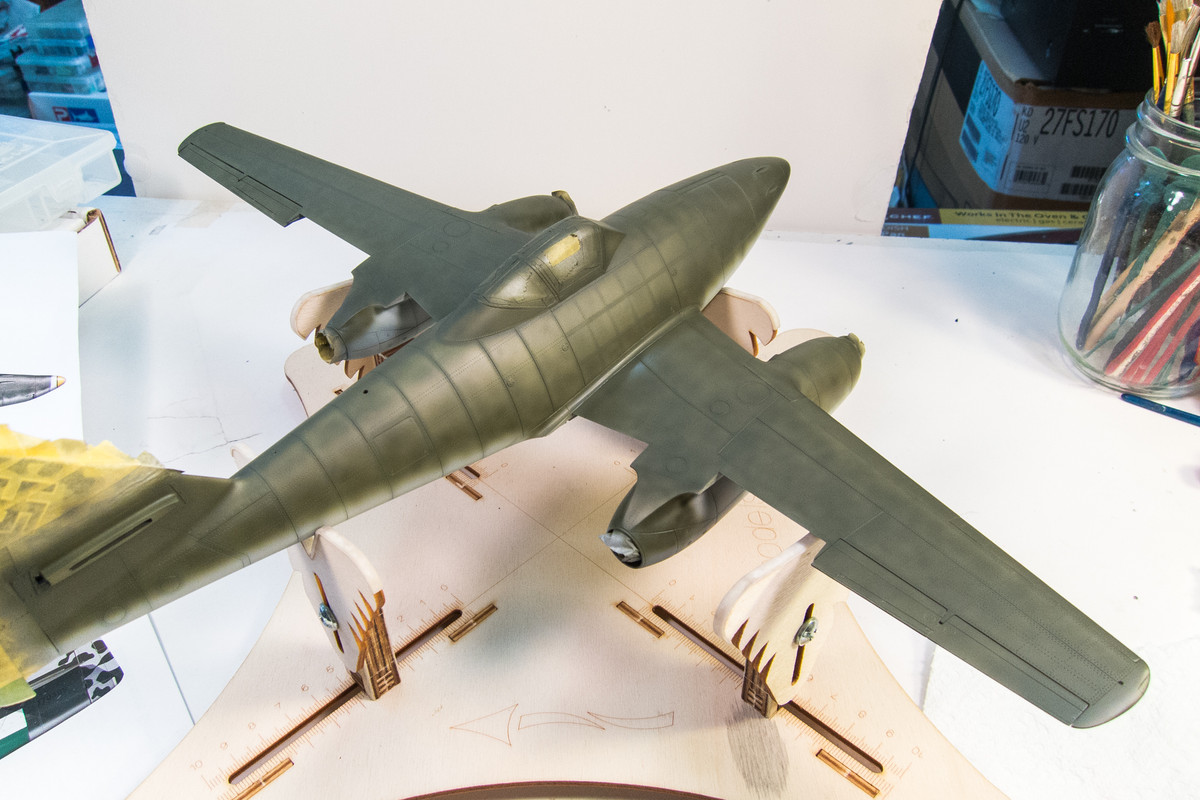
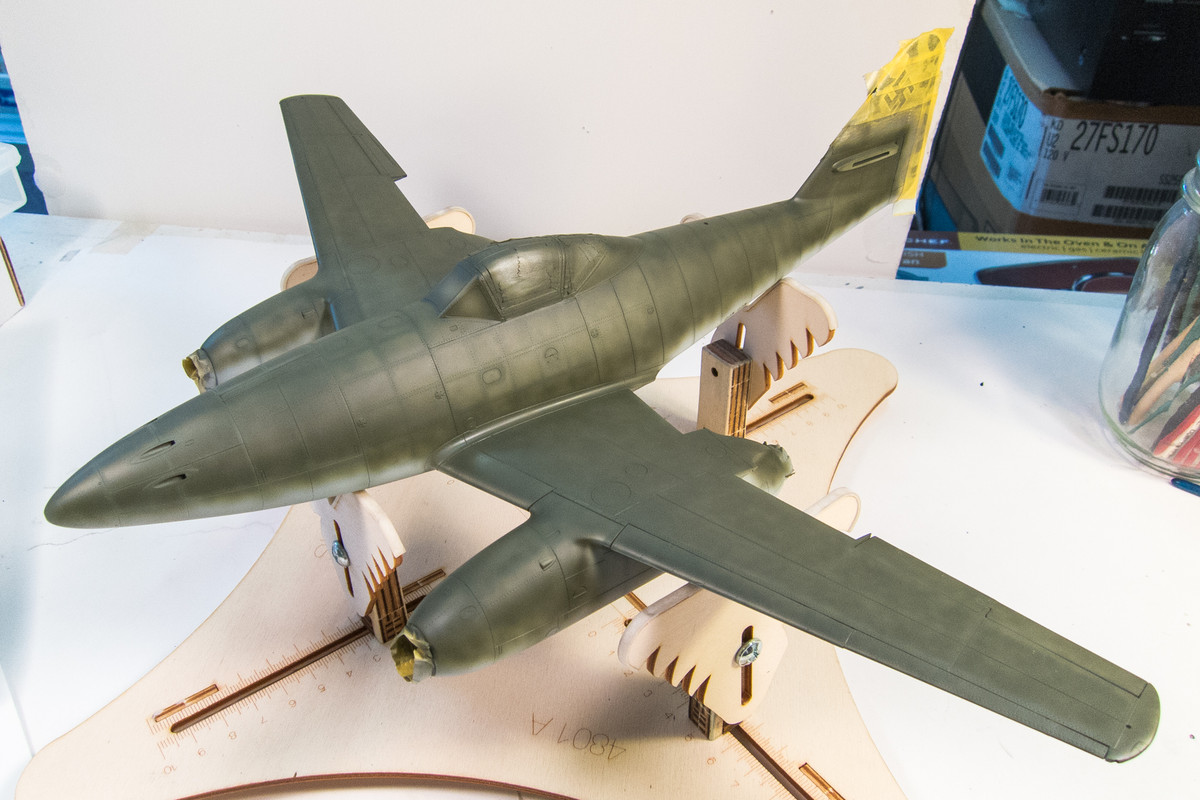
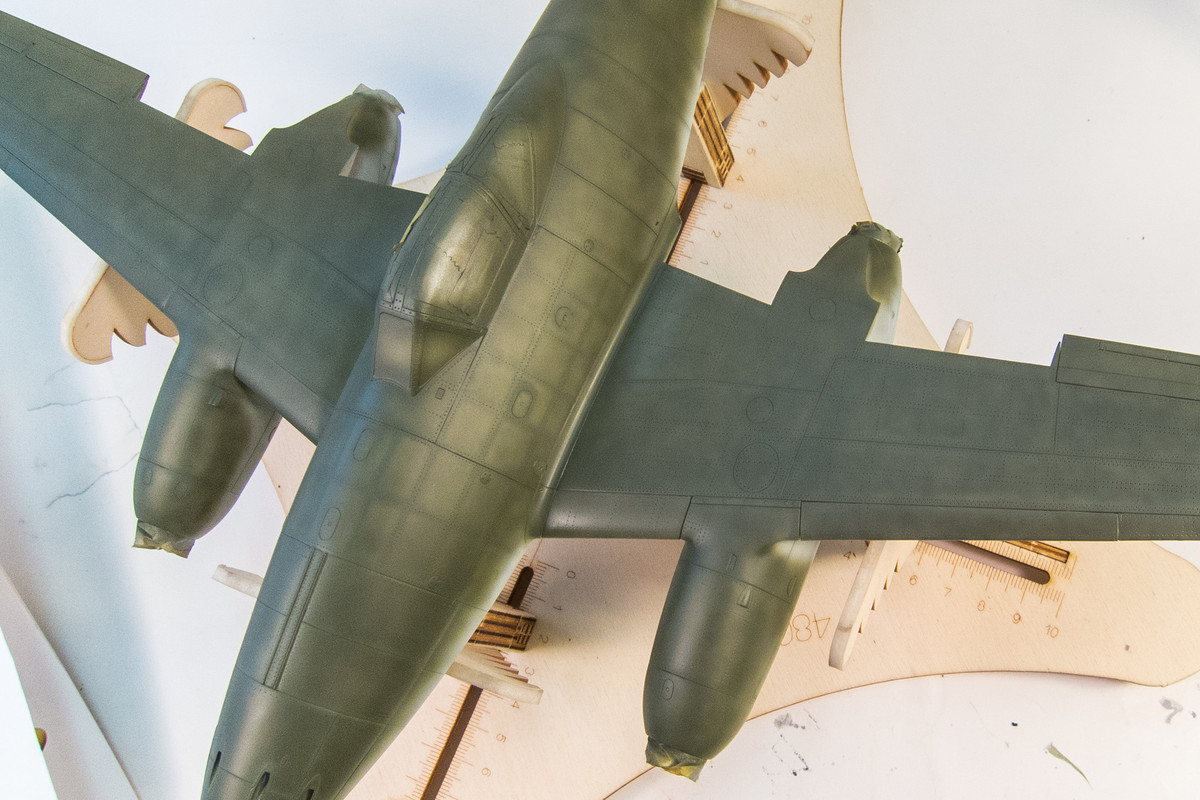
I'll let this dry before I paint chip the wing root area and impart some wear onto the RLM 83/76 finish.
After the Light Blue is completed, I apply the RLM 83 Dark Green on the upper surfaces. This is a Mr Hobby Aqueous color. Due to the contrast between the Dark Green and the silver, I can achieve a bit of tonal variation in this coat.
It takes patience to build up the layers of thin paint... almost have to go panel by panel.
Eventually we cover the entire aircraft with RLM 76 on the bottom and RLM 83 on the top.
I'll let this dry before I paint chip the wing root area and impart some wear onto the RLM 83/76 finish.
John aka JKim
-----------<><
-----------<><
-
speedgraflex
- Moderator
- Posts: 11535
- Joined: Fri Feb 10, 2017 11:08 pm
- Contact:
Re: Trumpeter 1/32 Me262A-1 Yellow 3
John! Wow! Bravo! Amazing! Did you rivet the outer canopy frames, too? If so, another incredible layer of detailing revealed by a stellar air brush session. I just... somehow seeing this work come together it really hits how important a physical model is to understand the design of an aircraft. Trumpeter’s team really found the right proportions, too. However, you managed to close up the cowling and truly finesse the closed nacelles. These are two areas Trumpeter’s design favors popped open to reveal the interior model building. I personally find seeing the shape in its closed, ready for action set up to be invigorating and aesthetically more effective. I know it was a real challenge to pull these effects off, John, and I admire your tenacity in so doing. Your smooth foundational approach pays off with these wonderful camouflage effects. Look forward to the Micromesh massage you’re giving the cured surfaces next!
Make more models!
Re: Trumpeter 1/32 Me262A-1 Yellow 3
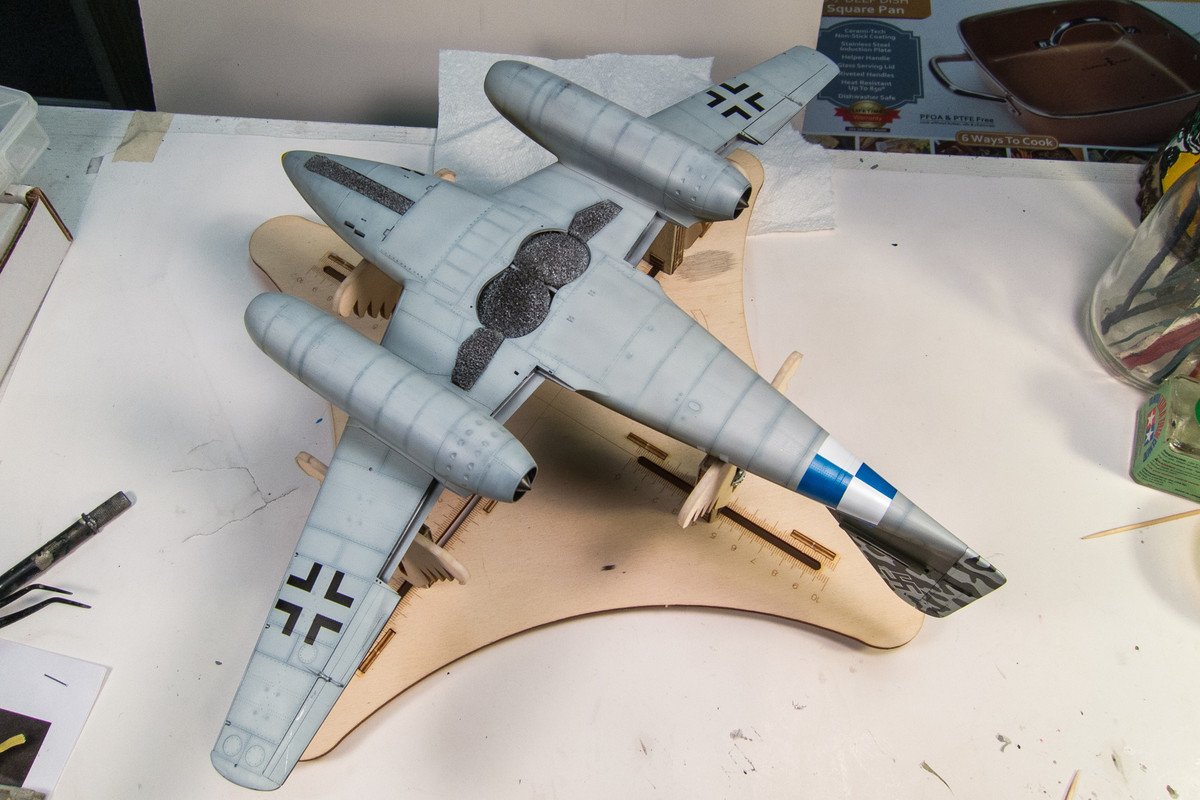
Thanks Bruce! After painting, I put some paint chips at the wing root and scrubbed the airframe using Micromesh. Some darker green was used to portray the painted out markings when Yellow 3 was re-assigned from bomber to fighter duties.
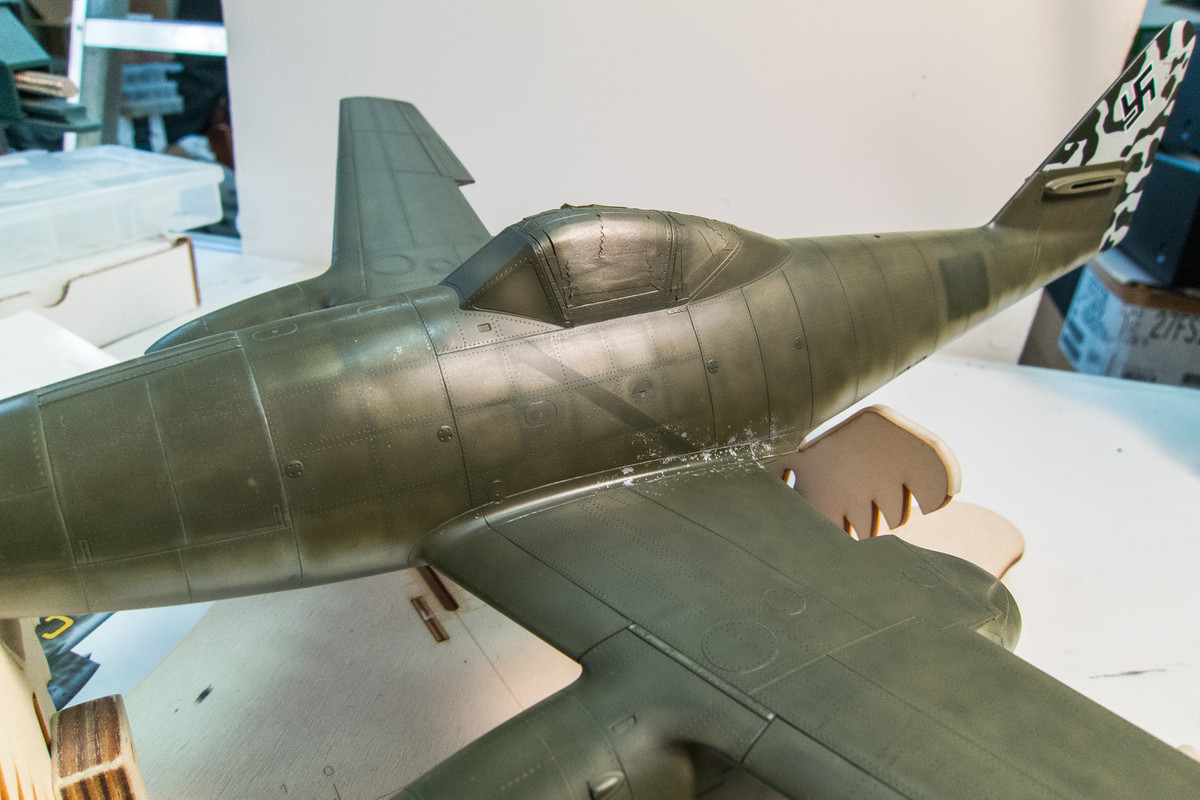
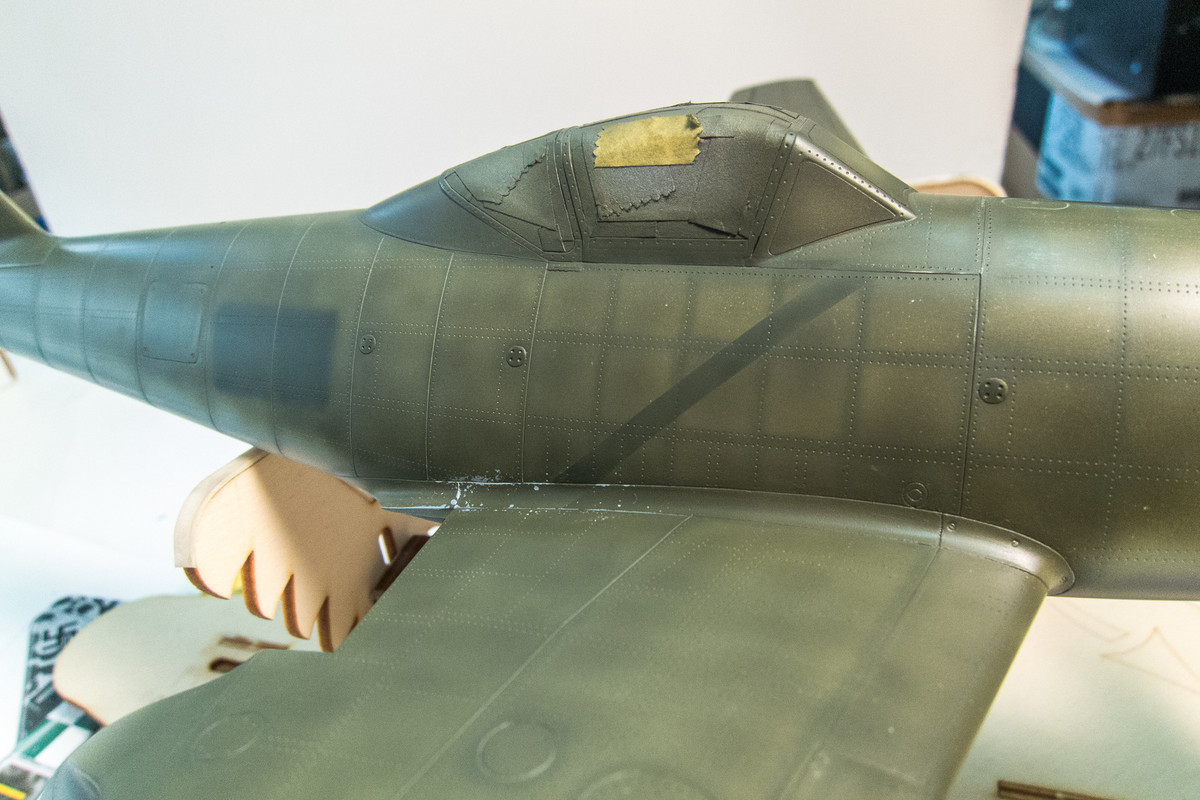
The tail checkerboard was painted using a combination of the Montex masks and manual taping.
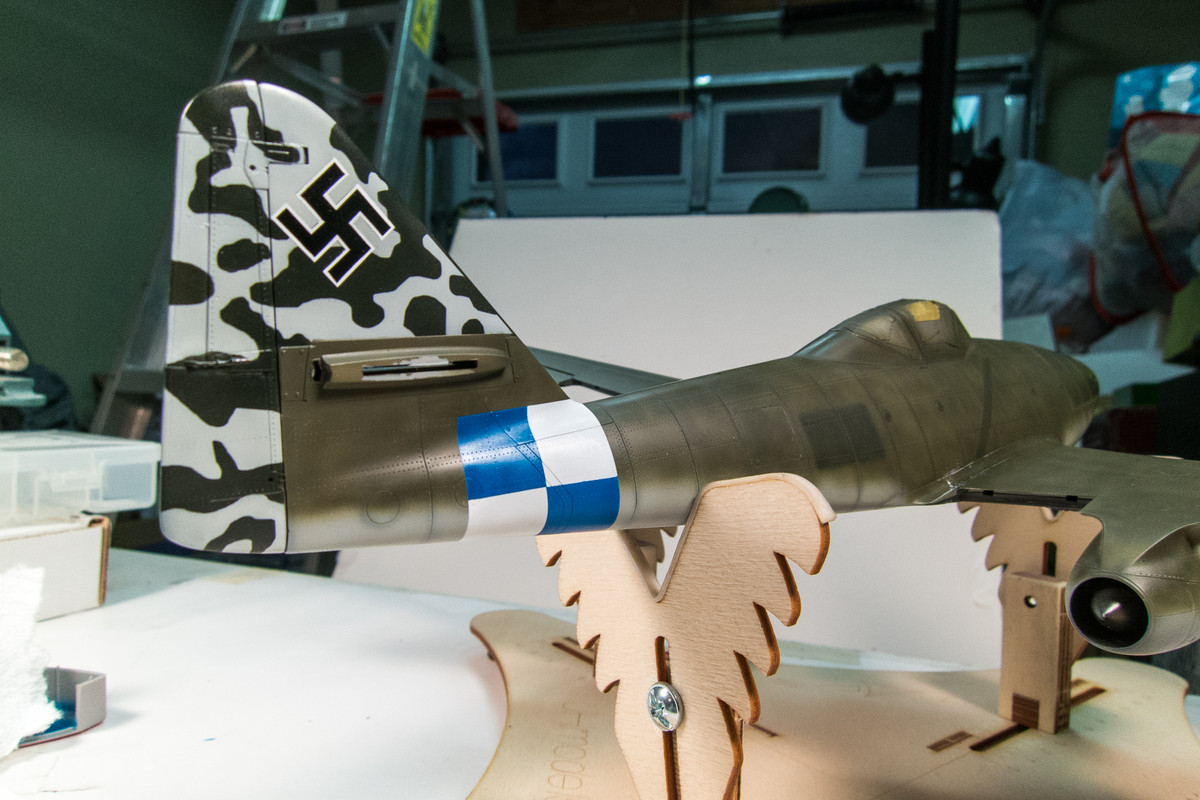
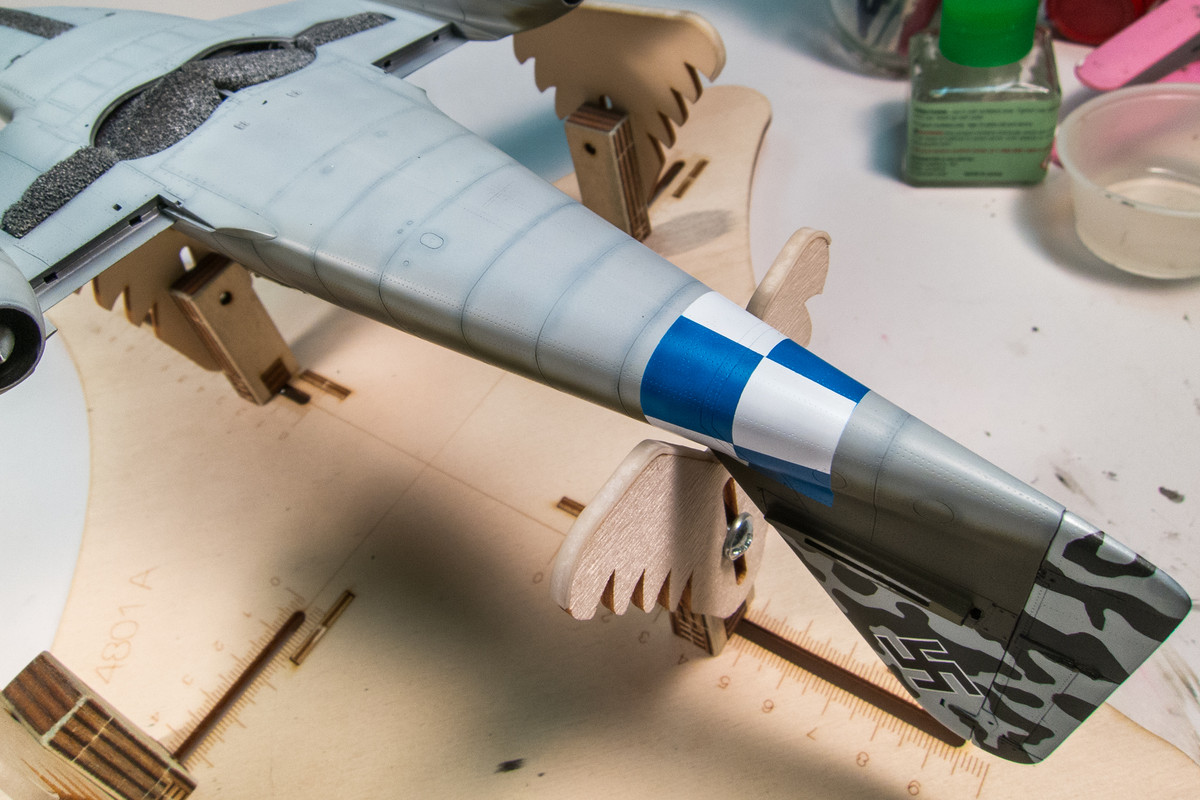
The white crosses on the wings and fuselage and the tail swastikas were sprayed using Montex masks.

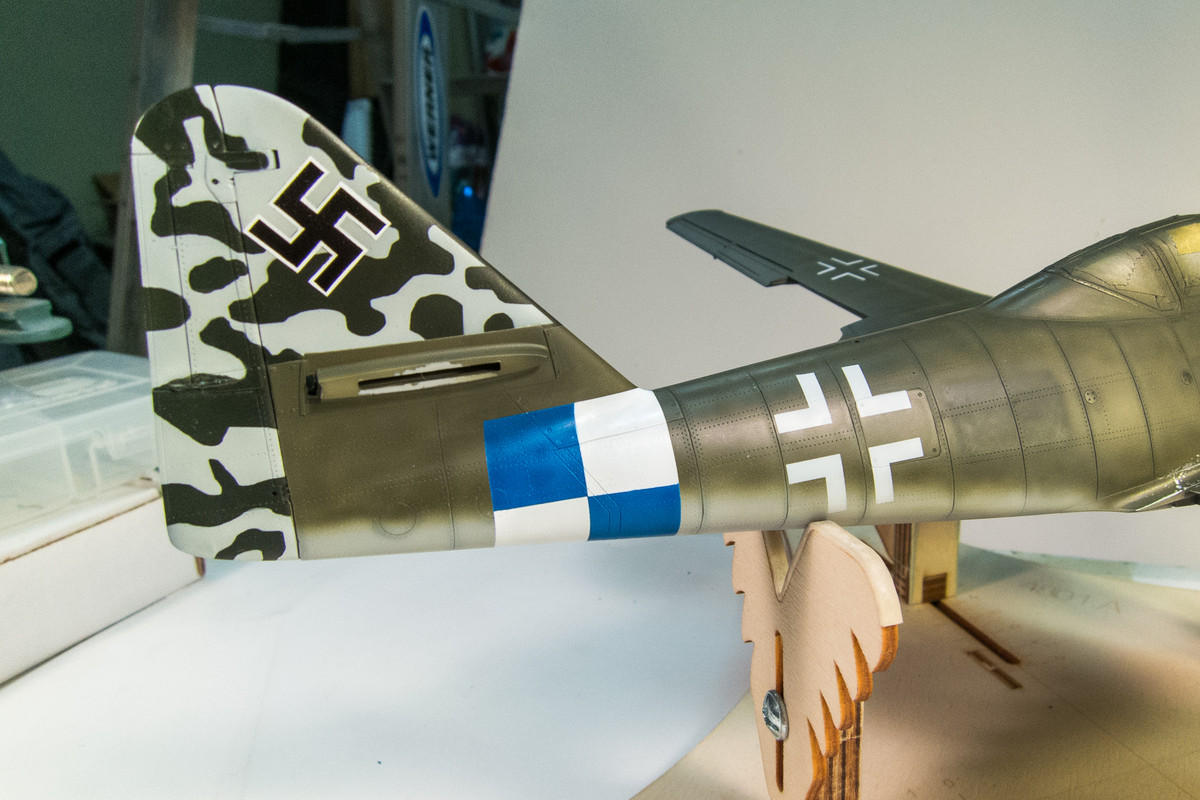

The Micromesh scrubbing was an iterative process. If I removed too much, I sprayed a bit more camo back on. The blacked-bomber code locations were adjusted to better match the final positions of the fuselage crosses.
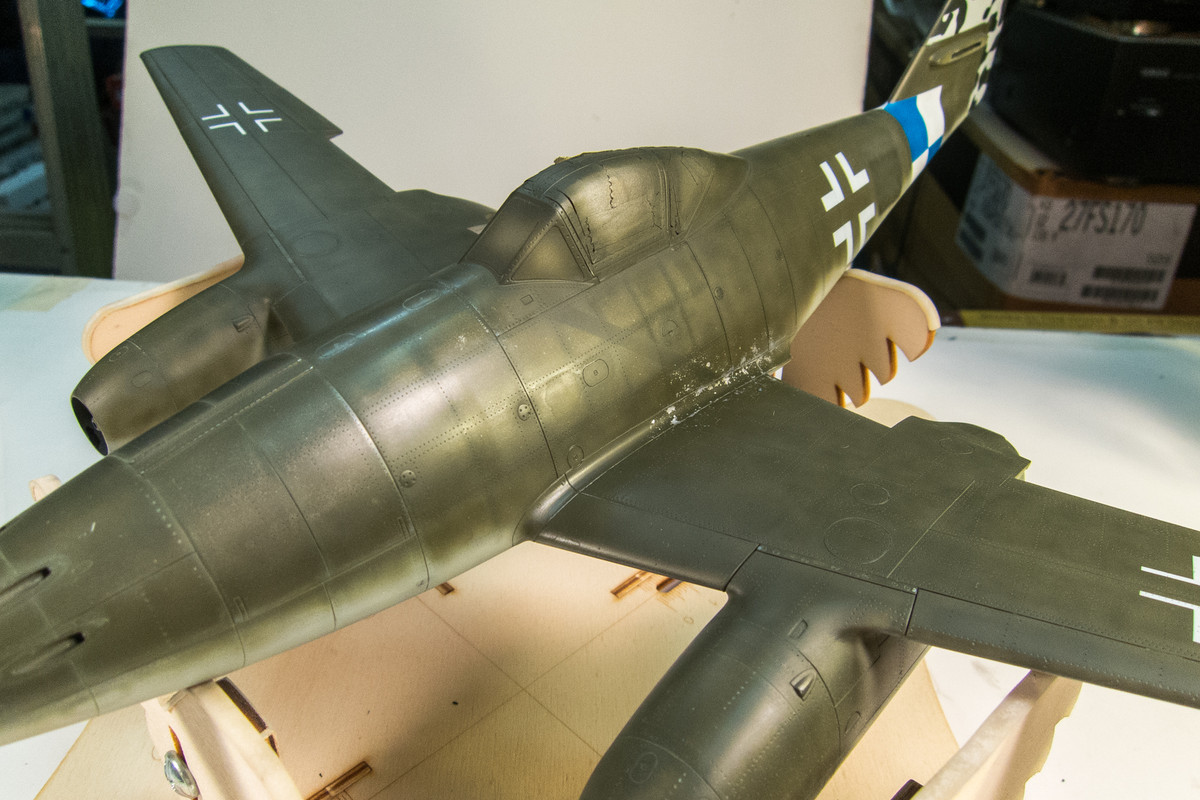
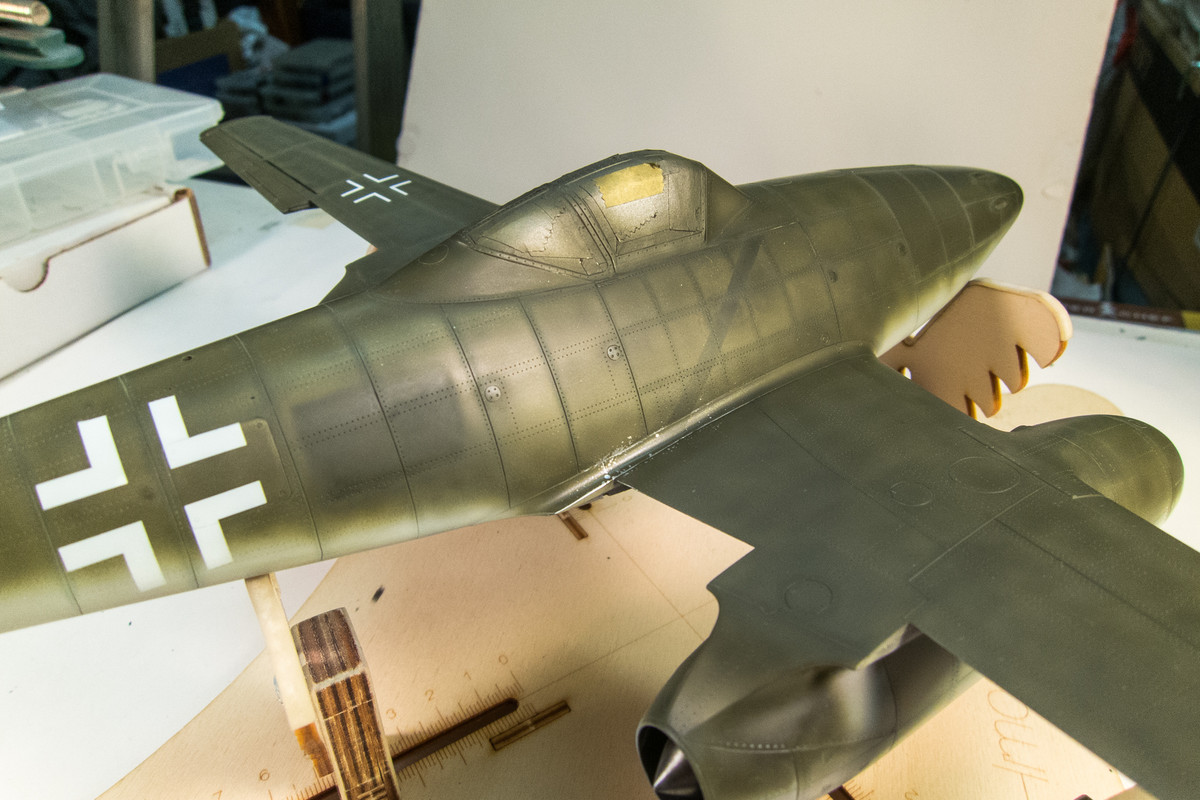
The yellow "3" and the nose tip were painted next. The 3's took a while to complete due to the fiddly nature of the black border masks and some paint lifting.
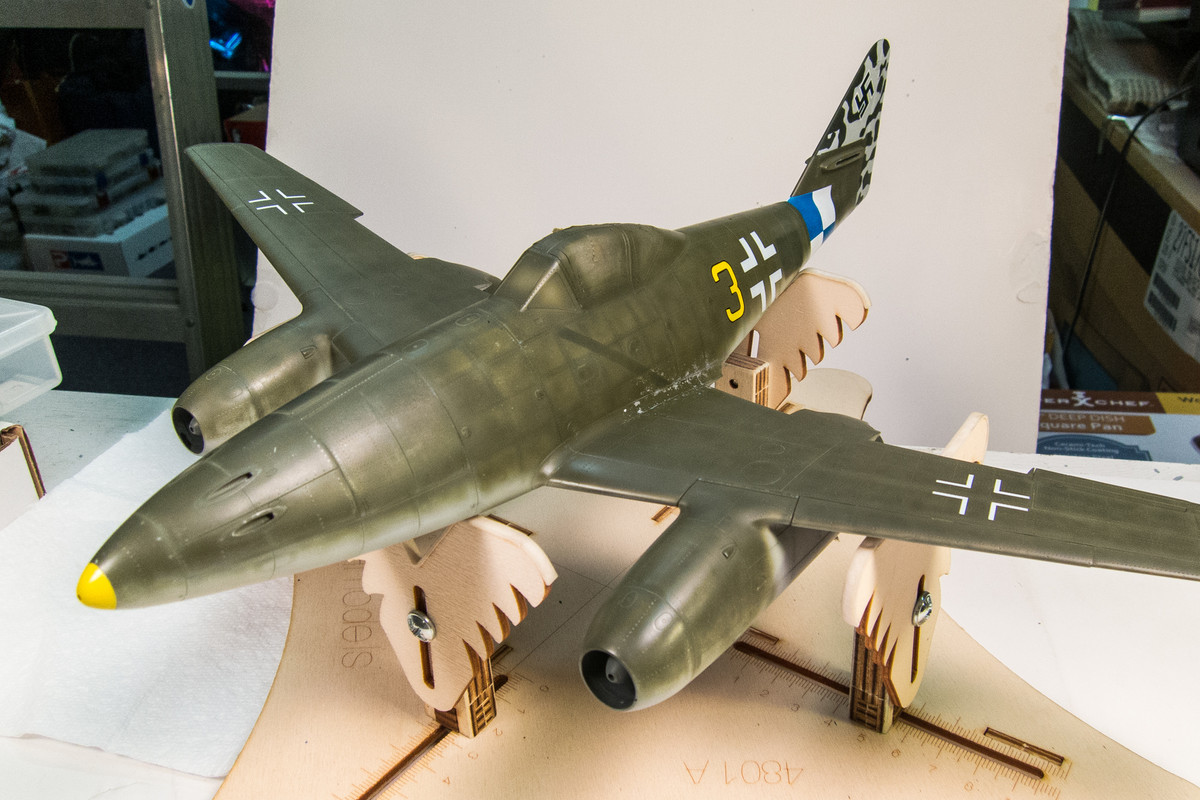

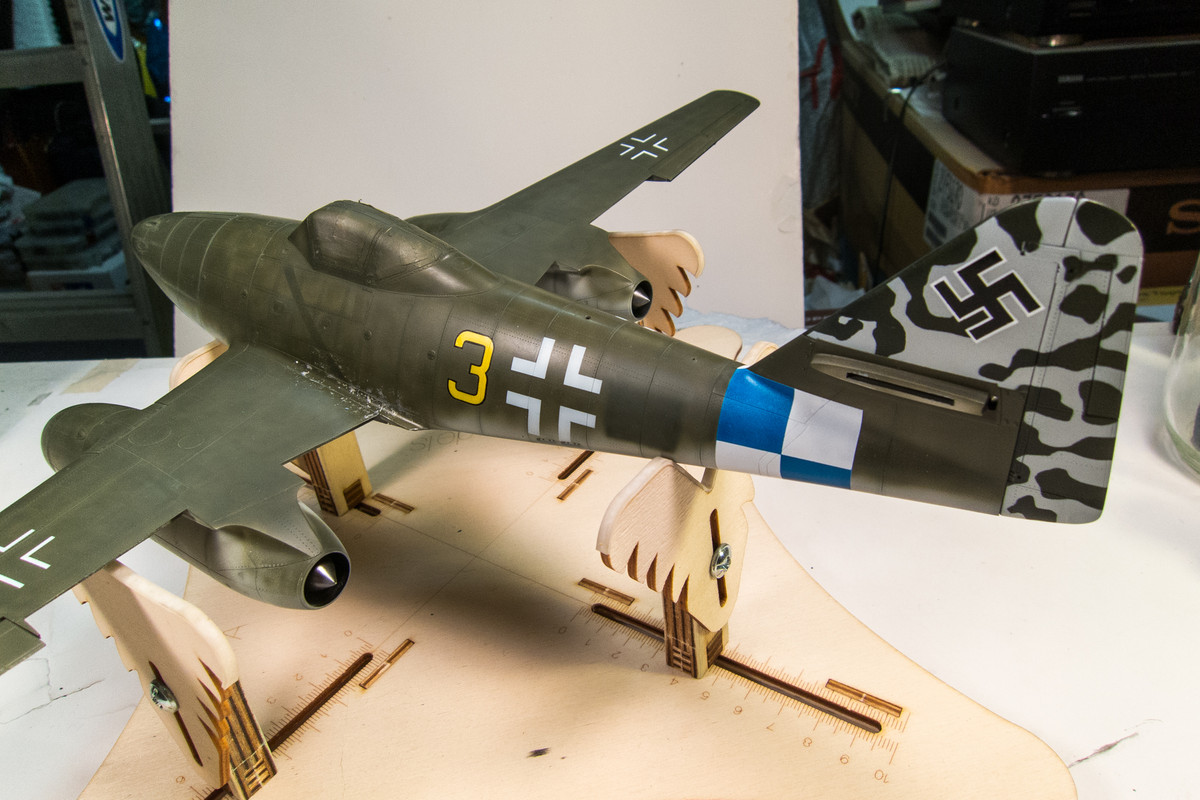
The bottom is relatively clean but will get weathered soon. But I'll have to complete the markings and decals first.
The tail checkerboard was painted using a combination of the Montex masks and manual taping.
The white crosses on the wings and fuselage and the tail swastikas were sprayed using Montex masks.
The Micromesh scrubbing was an iterative process. If I removed too much, I sprayed a bit more camo back on. The blacked-bomber code locations were adjusted to better match the final positions of the fuselage crosses.
The yellow "3" and the nose tip were painted next. The 3's took a while to complete due to the fiddly nature of the black border masks and some paint lifting.
The bottom is relatively clean but will get weathered soon. But I'll have to complete the markings and decals first.
John aka JKim
-----------<><
-----------<><

Re: Trumpeter 1/32 Me262A-1 Yellow 3
Outstanding job with the airbrush. It looks great!
March as one, Don't look back
Odin's sons... Attack!
Unleash hell! Do not repent! Warfare grants us no lament
Let your weapons slash and tear This is no place for fear
Hold the lines! Move as one! In unity our victory's won
Our shields will form a mighty wall
United we shall never fall
Odin's sons... Attack!
Unleash hell! Do not repent! Warfare grants us no lament
Let your weapons slash and tear This is no place for fear
Hold the lines! Move as one! In unity our victory's won
Our shields will form a mighty wall
United we shall never fall