1/32 Tamiya F4U-1a Corsair - Boyington 17740

Post your work in progress of your aircraft builds in here.
User avatar
jkim
Elite Member
Posts: 4073
Joined: Mon Apr 10, 2017 4:03 pm

Re: 1/32 Tamiya F4U-1a Corsair - Boyington 17740

Post by jkim »

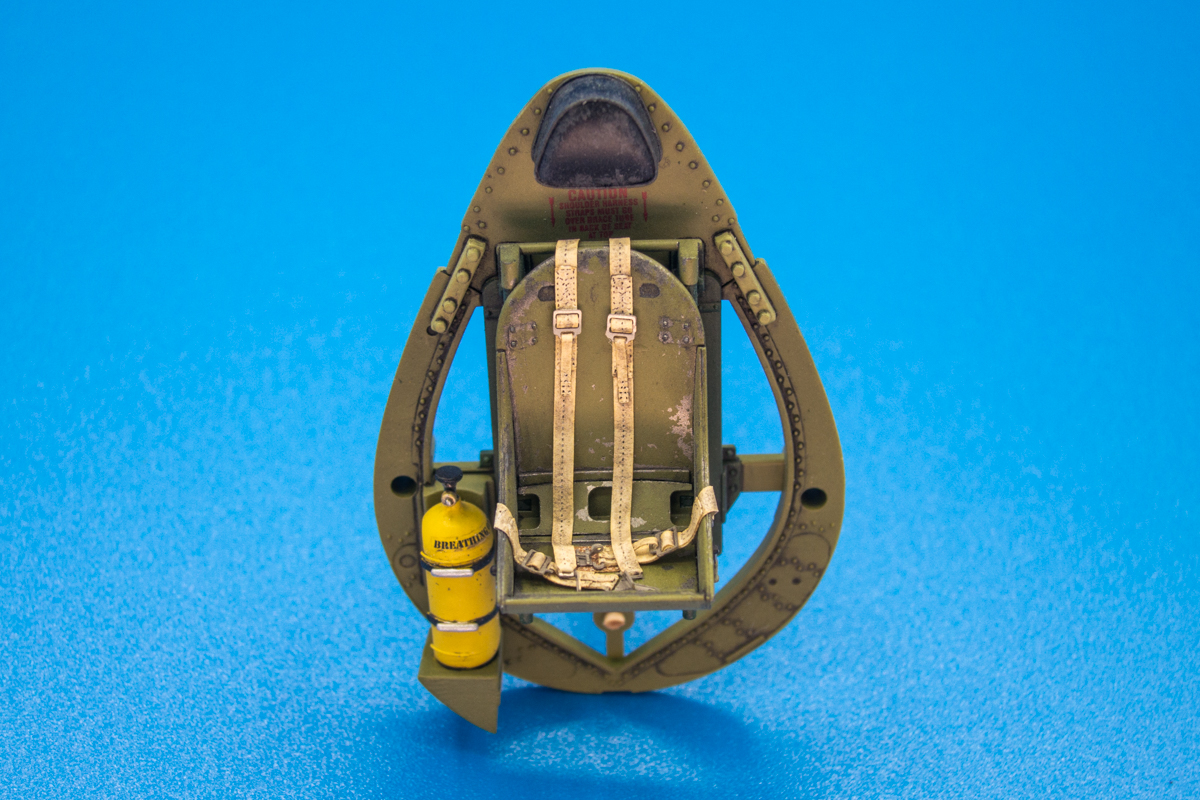
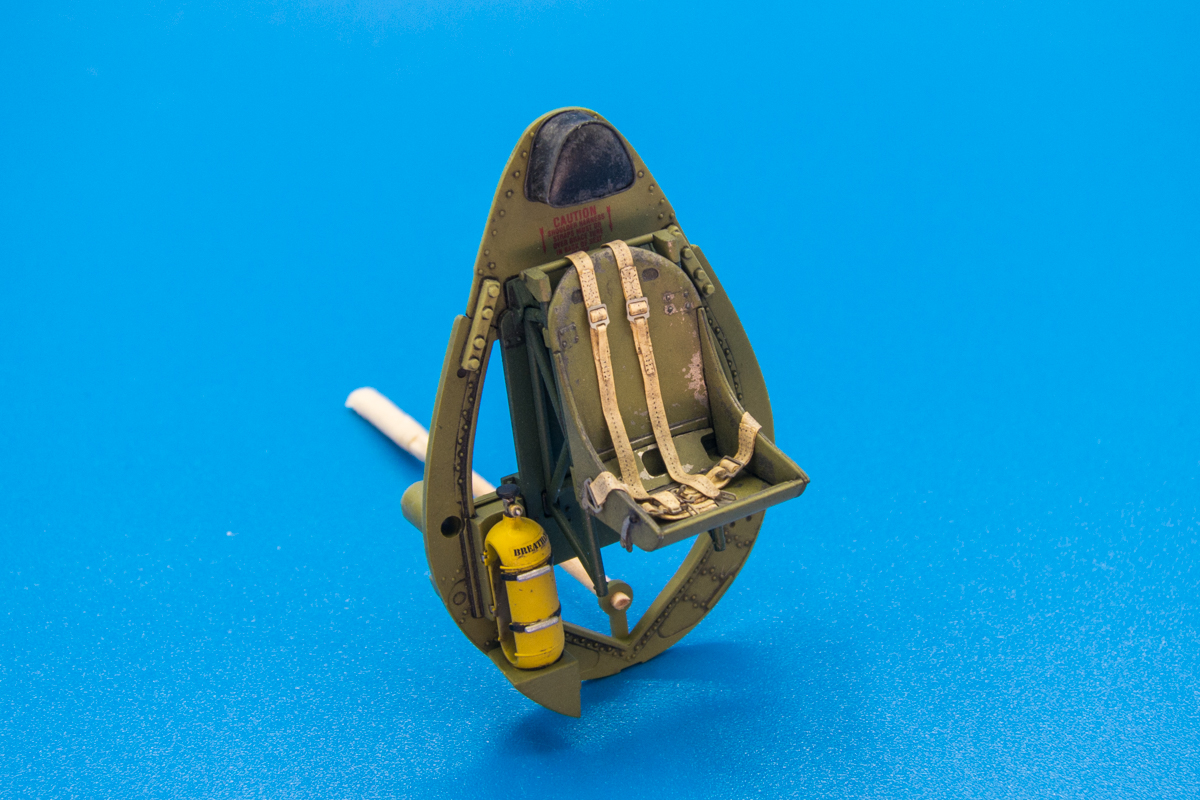
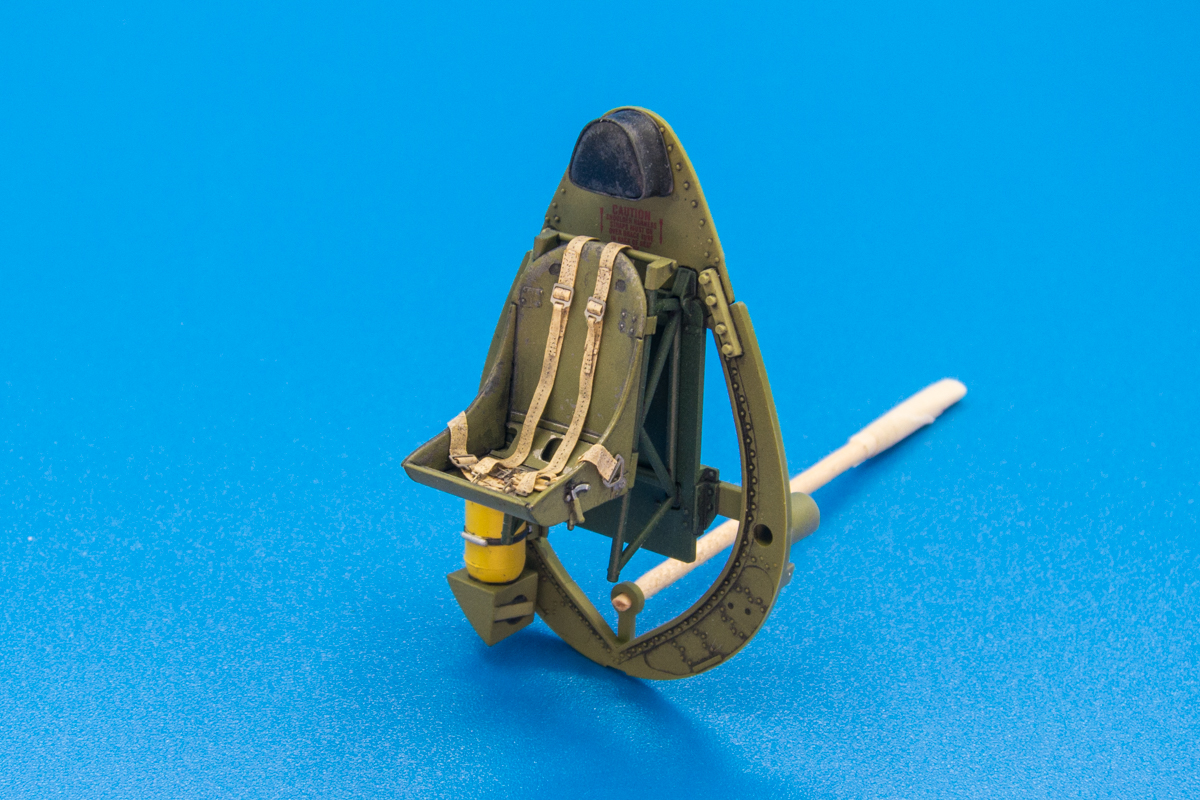
The seat belts have been glued into place. I gave the seat a light gloss coat and then a dark brown wash to dirty the harnesses up and yes, the stitching did get highlighted as advertised.
Image
Image
Image

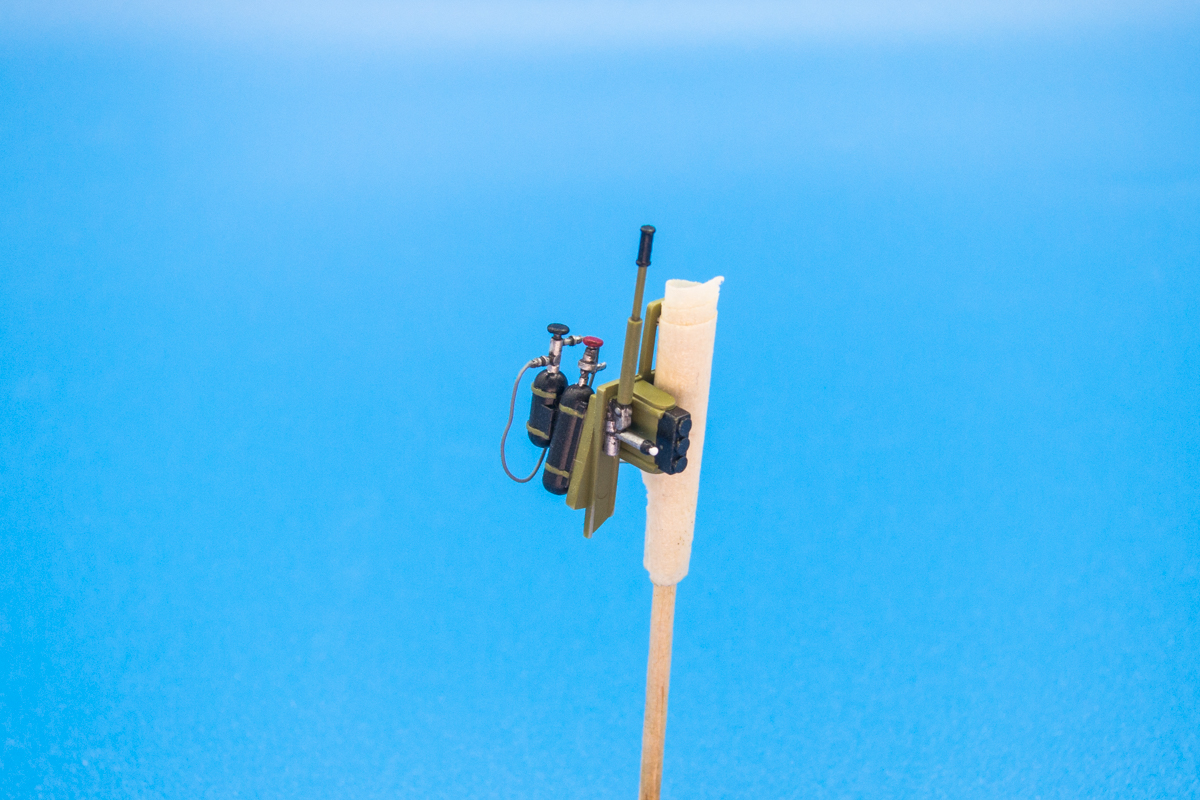
One of the sub-assemblies that have been painted. They are hydraulic bottles of some sort.
Image
John aka JKim
-----------<><
Image
User avatar
Stikpusher
Moderator
Posts: 21183
Joined: Sat Apr 05, 2014 8:37 pm
Location: Ceti Alpha 5

Re: 1/32 Tamiya F4U-1a Corsair - Boyington 17740

Post by Stikpusher »

That is some beautiful work John. Once again, everything looks just right.
"Surely I have made my meaning plain? I intend to avenge myself upon you, Admiral. I have deprived your ship of power, and when I swing 'round, I intend to deprive you of your life."

FLSM
User avatar
Floki
Elite Member
Posts: 3548
Joined: Wed Dec 12, 2018 2:23 am
Location: Muncie, Indiana

Re: 1/32 Tamiya F4U-1a Corsair - Boyington 17740

Post by Floki »

Beautiful work, them belts just look so good and everything has just the right amount of weathering.
March as one, Don't look back
Odin's sons... Attack!
Unleash hell! Do not repent! Warfare grants us no lament
Let your weapons slash and tear This is no place for fear
Hold the lines! Move as one! In unity our victory's won
Our shields will form a mighty wall
United we shall never fall
User avatar
speedgraflex
Moderator
Posts: 11358
Joined: Fri Feb 10, 2017 11:08 pm
Contact:

Re: 1/32 Tamiya F4U-1a Corsair - Boyington 17740

Post by speedgraflex »

There is a lot of reflected sheen off the blue backing at the top of the last image you presented. Are you able to adjust lighting with some diffusion, John? With such clean imagery that technical issue just pops out at me, and I do mean the imagery is so clean and quite sharp and beautiful! Your care and attention to detail is obvious and masterful!
Make more models!
User avatar
jkim
Elite Member
Posts: 4073
Joined: Mon Apr 10, 2017 4:03 pm

Re: 1/32 Tamiya F4U-1a Corsair - Boyington 17740

Post by jkim »

Thanks guys! I appreciate the check-in!
speedgraflex wrote:There is a lot of reflected sheen off the blue backing at the top of the last image you presented. Are you able to adjust lighting with some diffusion, John? With such clean imagery that technical issue just pops out at me, and I do mean the imagery is so clean and quite sharp and beautiful! Your care and attention to detail is obvious and masterful!

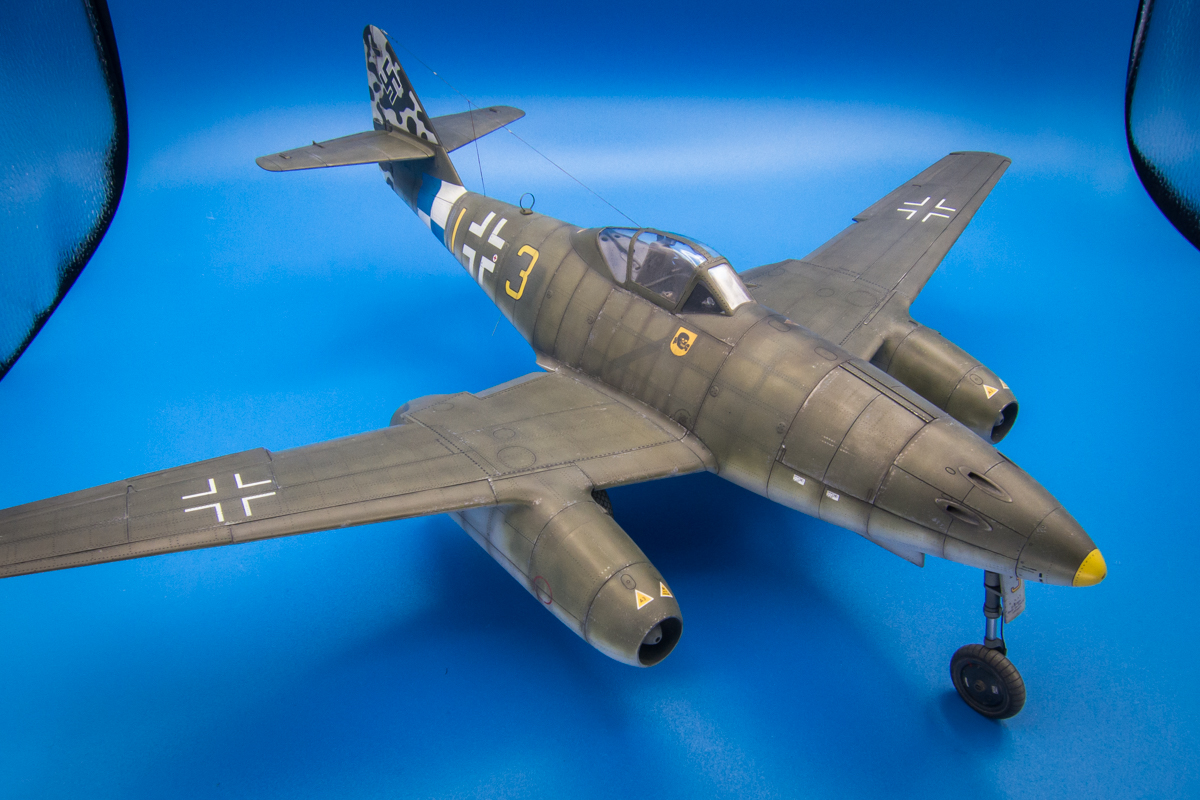
That sheen is caused by the reflection of the background material, which is some sort of plastic sheeting. Depending on camera position, the glare is usually at the bend in the sheeting as it goes from horizontal to vertical.
Image

So... depending on where the subject is at, whether sitting on the background material or elevated above it, and where the camera is at, some pictures may have that glare in the background. If you see the grain of the background material in the photos, most likely you won't see the glare because of the downward perspective.

The LED bulbs on this lightbox does not allow dimming unfortunately. And I don't have the diffuser cloth mounted at the moment so maybe that would cause more glare than normal.
John aka JKim
-----------<><
Image
User avatar
speedgraflex
Moderator
Posts: 11358
Joined: Fri Feb 10, 2017 11:08 pm
Contact:

Re: 1/32 Tamiya F4U-1a Corsair - Boyington 17740

Post by speedgraflex »

I have a suggestion! Try two or three sheets of 9 x 12 tracing paper folded or not, cover all the lights and see what happens!! You could also buy Rosco’s diffusion paper but I would start with tracing paper first from an office supply or art store. This should reduce some of the glare. You might have to double or triple up on the key light which is causing that hot spot.

The color rendition you are getting is amazing! I just think that smear of brightness needs to be minimized... otherwise... wow.
Make more models!
User avatar
jkim
Elite Member
Posts: 4073
Joined: Mon Apr 10, 2017 4:03 pm

Re: 1/32 Tamiya F4U-1a Corsair - Boyington 17740

Post by jkim »

Thanks for suggestions, Bruce. I'll see what I can do! I could also shorten the background sheet a little bit to increase the radius of the bend... that might reduce the glare spot as well.
John aka JKim
-----------<><
Image
User avatar
speedgraflex
Moderator
Posts: 11358
Joined: Fri Feb 10, 2017 11:08 pm
Contact:

Re: 1/32 Tamiya F4U-1a Corsair - Boyington 17740

Post by speedgraflex »

No worries. I thought I had some diffusion in my kit but that was a fantasy. Bits of that are used up quickly on a shoot. If there is a way to angle the light or lights that might work. All the best!
Make more models!
User avatar
KennyX
Elite Member
Posts: 2631
Joined: Sun Dec 24, 2017 11:19 am

Re: 1/32 Tamiya F4U-1a Corsair - Boyington 17740

Post by KennyX »

Image

That bulkhead and seat are glorious.

Also- I read through what you published about there being a Dark Green and Cockpit Green combination inside the cockpit. You’re executing that very well here. Gives it that extra depth which really pushes it over the cliff for me. Very good work.
Kenny X
Head Mother Trucker In-Charge @ Kenny X’s Reichs Winzigkleines Flugzeugewerks *and now* Airboat Records, too!
User avatar
jkim
Elite Member
Posts: 4073
Joined: Mon Apr 10, 2017 4:03 pm

Re: 1/32 Tamiya F4U-1a Corsair - Boyington 17740

Post by jkim »

Thanks Kenny! I'm taking a very slow and methodical approach to this cockpit. I have a feeling you are going to see things differently when you get to your Birdcage and I look forward to your interpretation of this amazing cockpit.

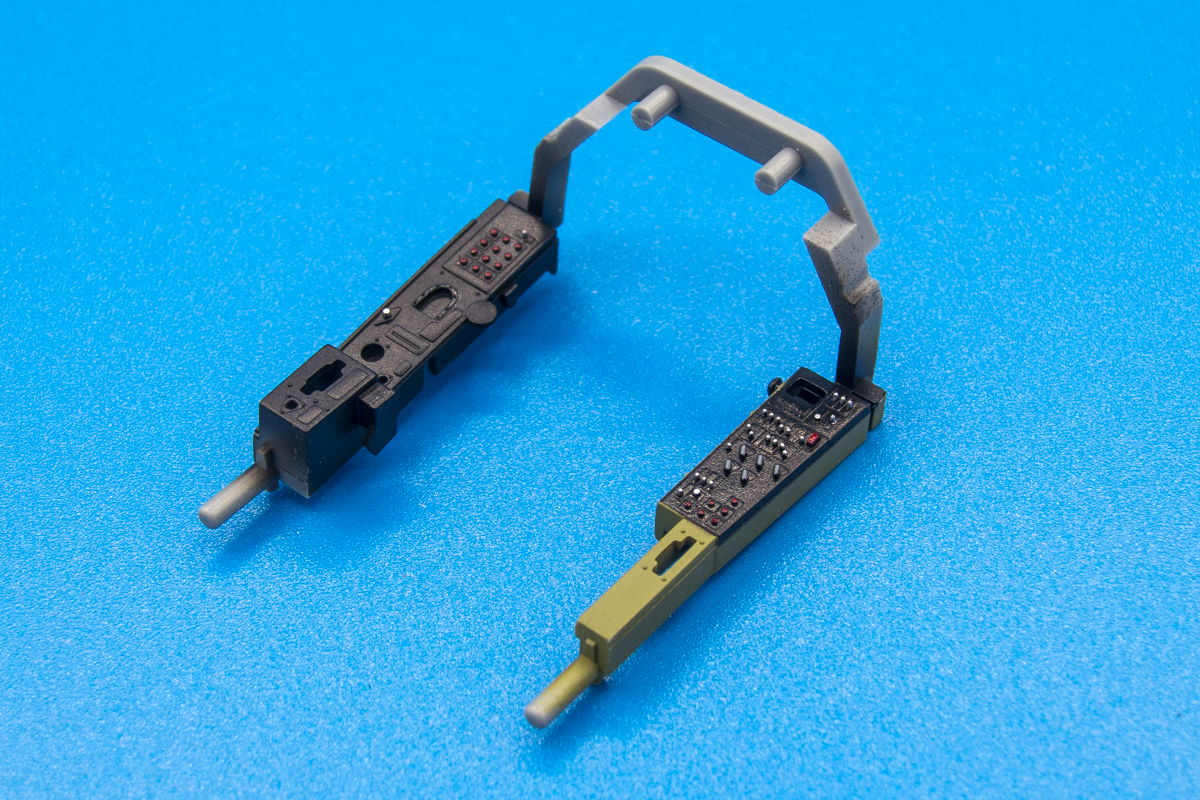
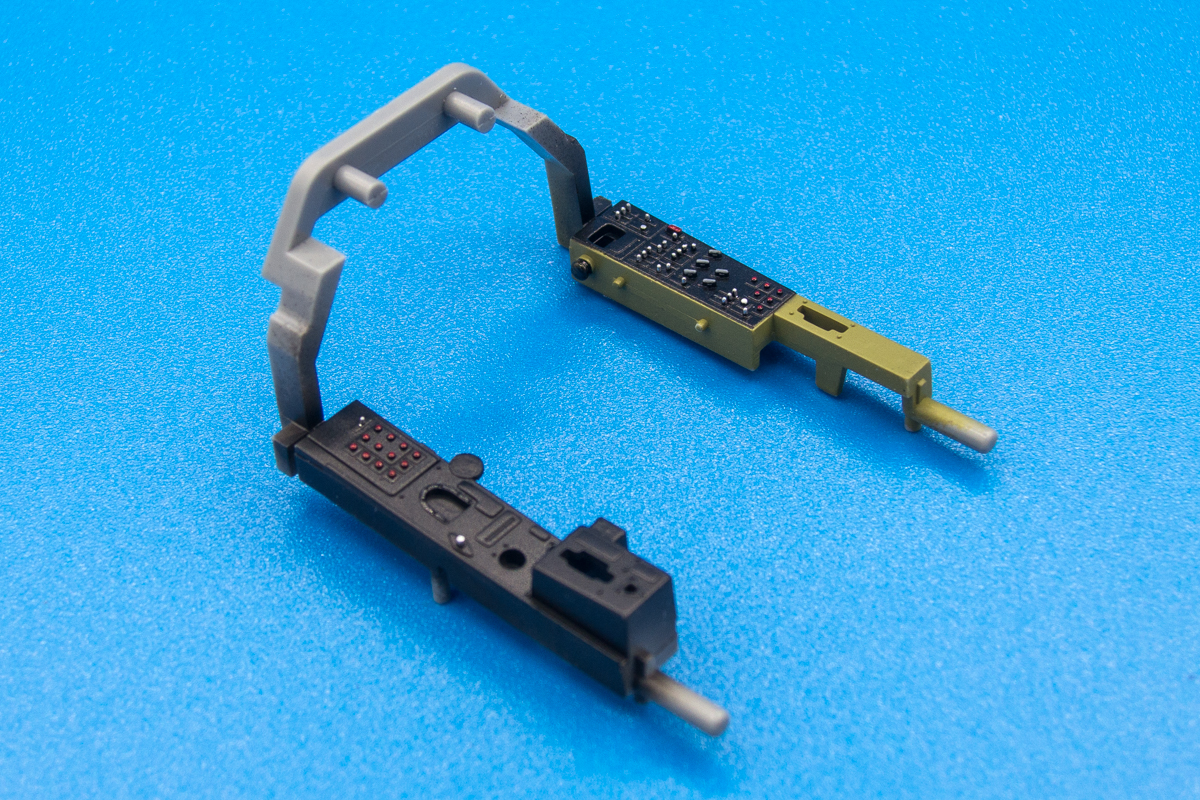
I finally moved forward on the central cockpit piece. This contains the two side panels of the cockpit and I've laid down the base painting. The silver switches are old school enamel so I'm going to let this dry completely overnight, seal it with a gloss coat and then try to apply the Barracuda cockpit stencils. After that I can start adding the other detail bits that attach to this piece.
Image
Image

The tail wheel well needs to be finished before the fuselage can be closed up so I'm starting the work here. Very nice detail out of the box that I will not add to but hopefully I'll be able to highlight the detail with some careful painting and weathering. There are some ejection pin discs that need to be filled.
Image
John aka JKim
-----------<><
Image
Post Reply

Return to “Aircraft Work in Progress”