Thanks fellas! And Lyle- yessir, drops. I can’t afford to waste much of anything in my modeling. Especially paint. So I use glass medicine droppers and small tattoo ink cups for dispensing and mixing paint. Drop by precious drop. Any time I give a formula like Flat Yellow:2, White: 1 it’s always by the drop.
Okay, so back to it, lunch break Hinomaru! Two down, four to go. Let’s take it from the top!
I cut the mask out of wide Tamiya tape using the circular cutter John recommended earlier in the thread. It got the job done easily. First I cut out a square of the Tamiya tape. Then cut out the large circle which encompasses both the white and the red, and from that large circle I cut the mask for the white.
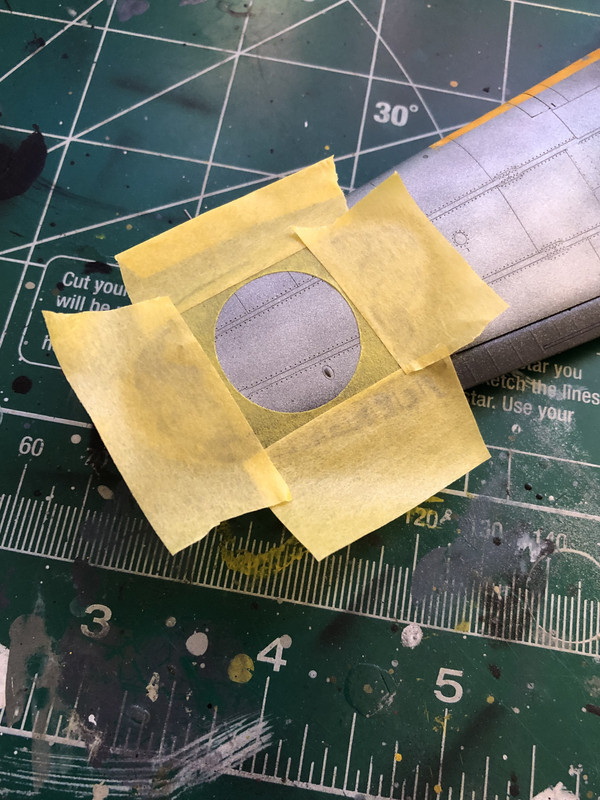
Next I thinned some Deck Tan down, 3:1 thinner to paint and marbled it on the inside of the insignia. I kept the pressure at 10PSI and was very light on the trigger.
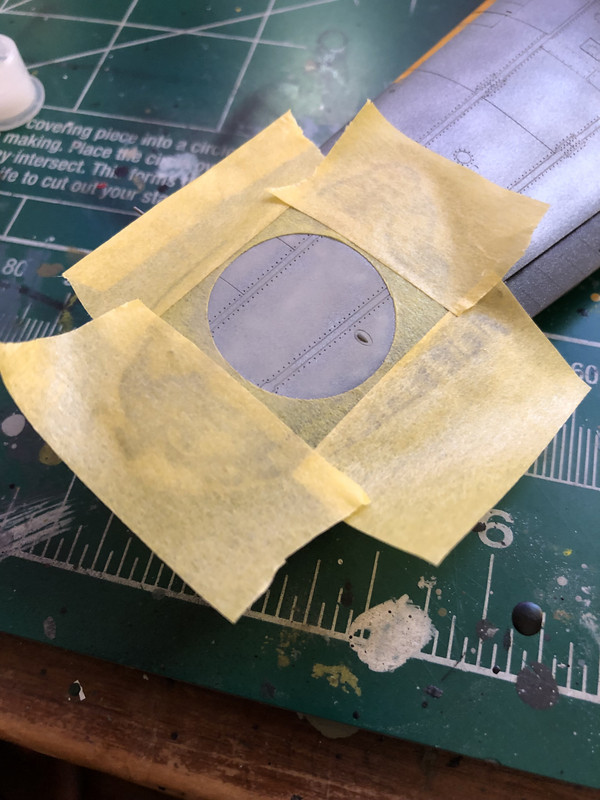
Next I thinned White down 3:1 thinner to paint, and began applying it in the same careful, easy-going, marbled manner, building it up very slowly.
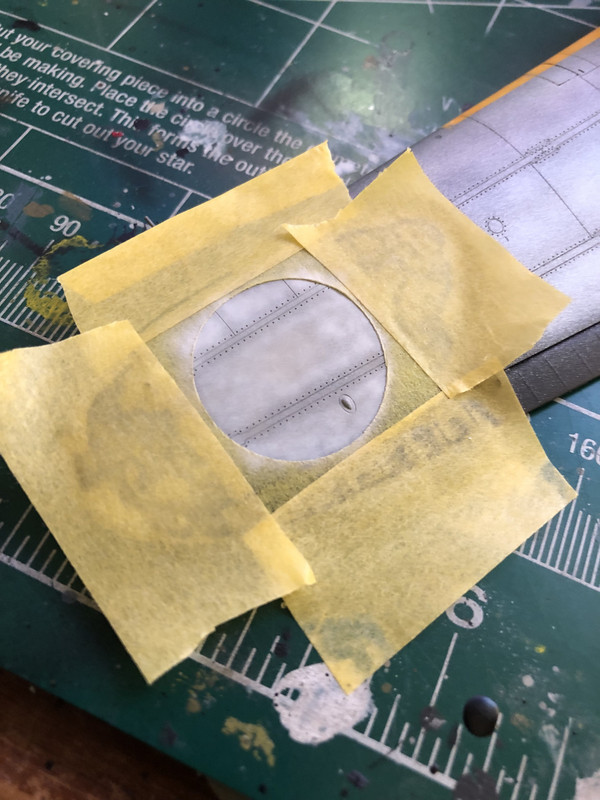
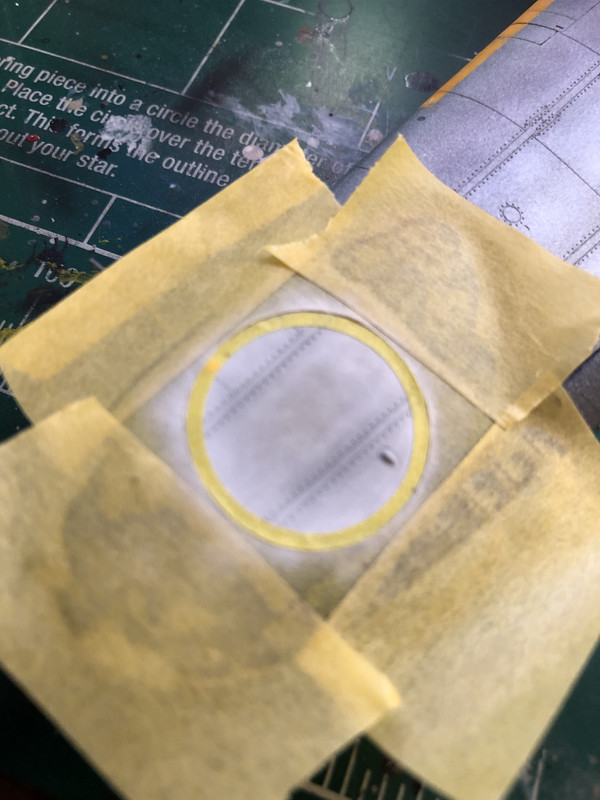
After that, I applied the mask I’d cut and set aside for the white very carefully, and began laying down the red. I began with Hull Red, thinned 3:1 thinner to paint
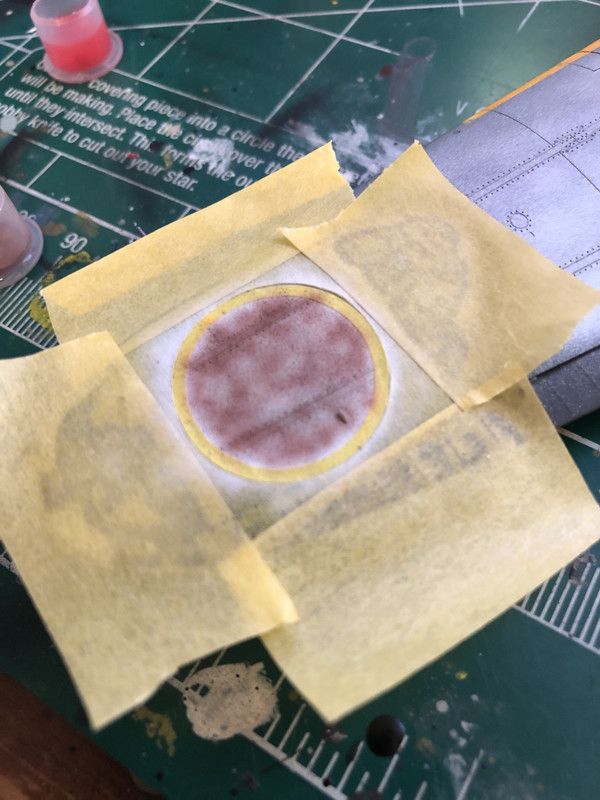
And next came Red, thinned 3:1 thinner to paint, same protocol, thin, marbled coats.
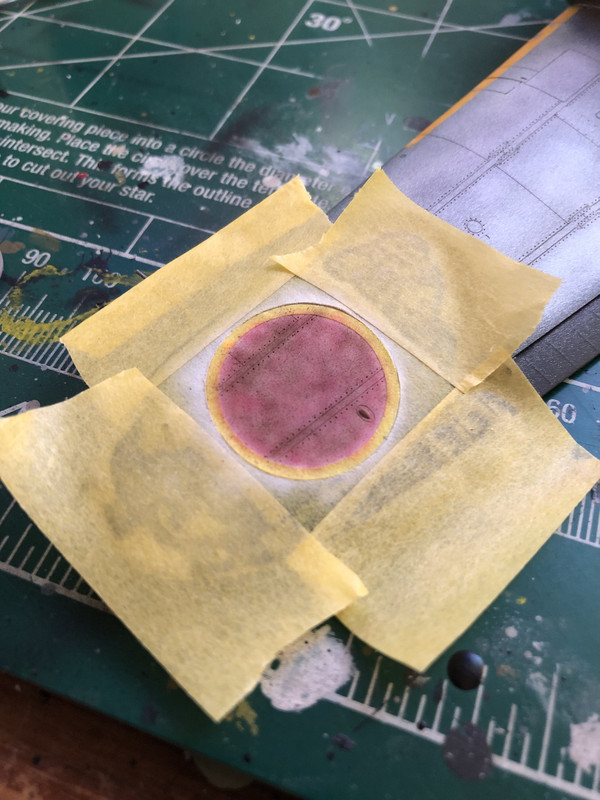
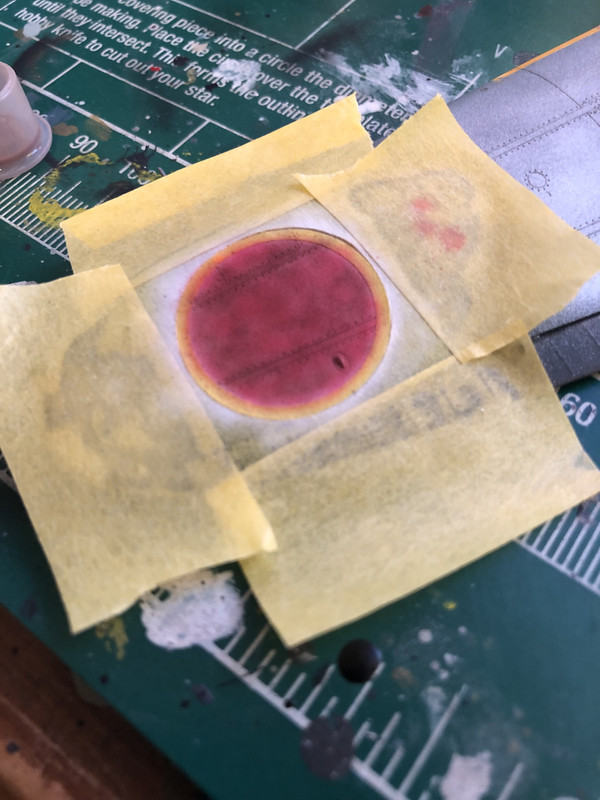
And the results!
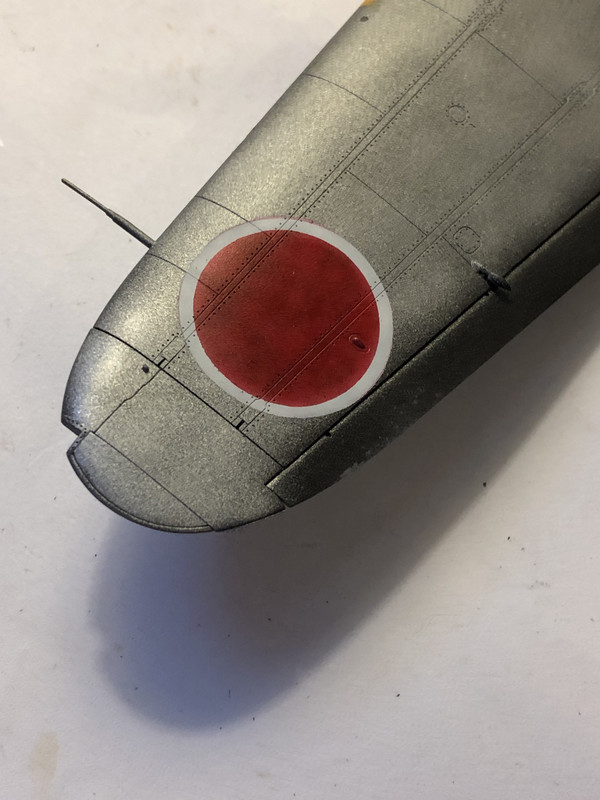
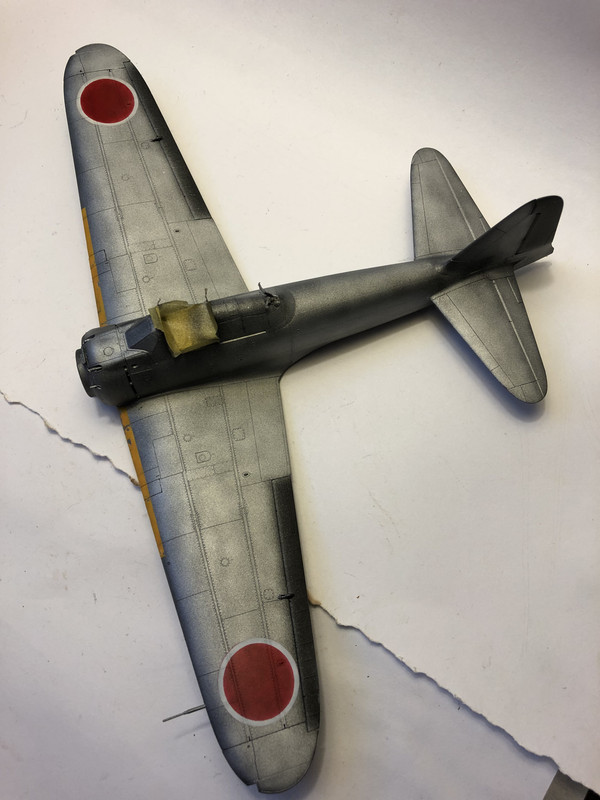
This is the first time I cut masks and painted insignia. I’m very stoked about how these came out. And I don’t foresee the use of decals for insignias like roundels or crosses anymore if I can help it. I really like how they look painted on.
These will be left to dry and cure over the weekend while I work on the other four. Then they’ll cure for a few days. After that comes the Green and Gray green.