1/32 Tamiya Corsair with BRASSIN P&W R-2800 engine

Post your work in progress of your aircraft builds in here.
Post Reply
pg265
Senior Member
Posts: 54
Joined: Thu May 29, 2014 1:47 pm

Re: 1/32 Tamiya Corsair with BRASSIN P&W R-2800 engine

Post by pg265 »

Hi,

Thank You guys!!

Some progress on the Corsair.

Work continues in the central section.
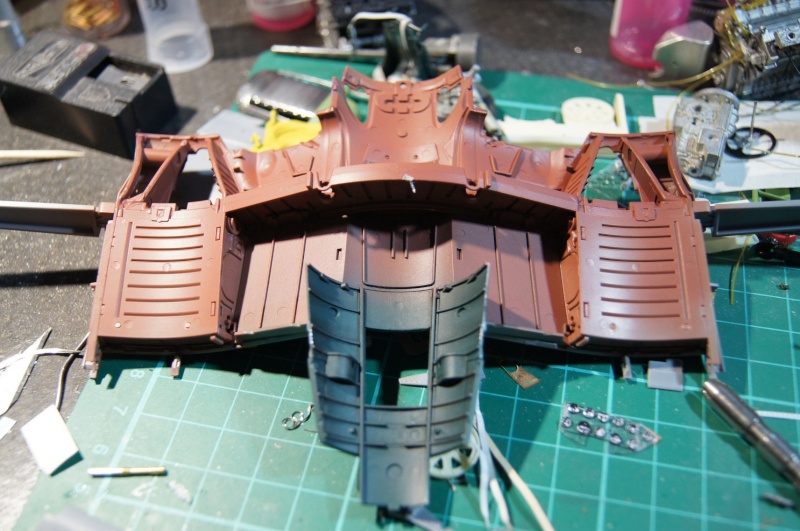
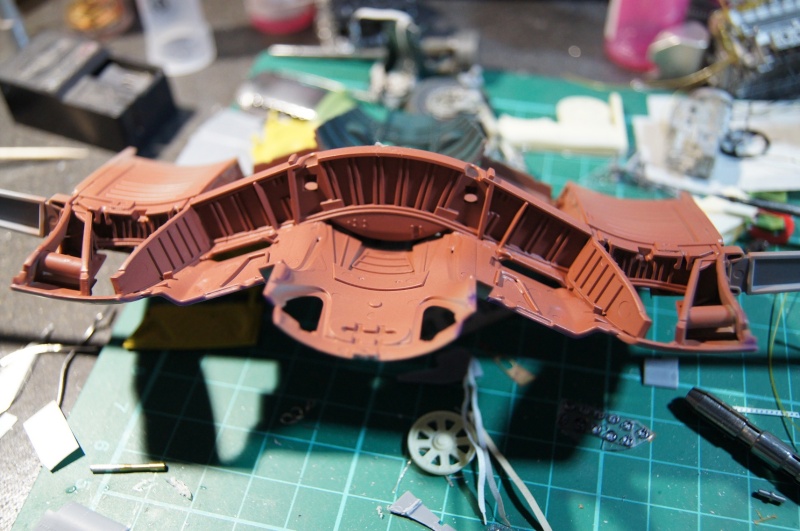
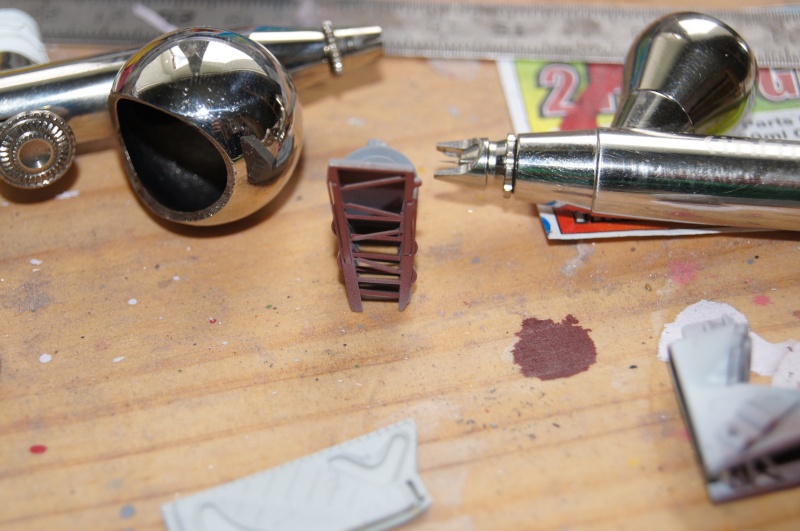
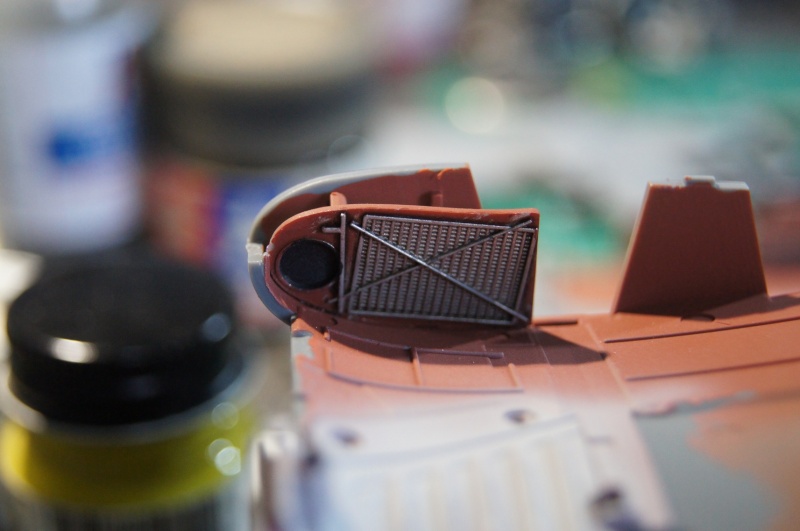
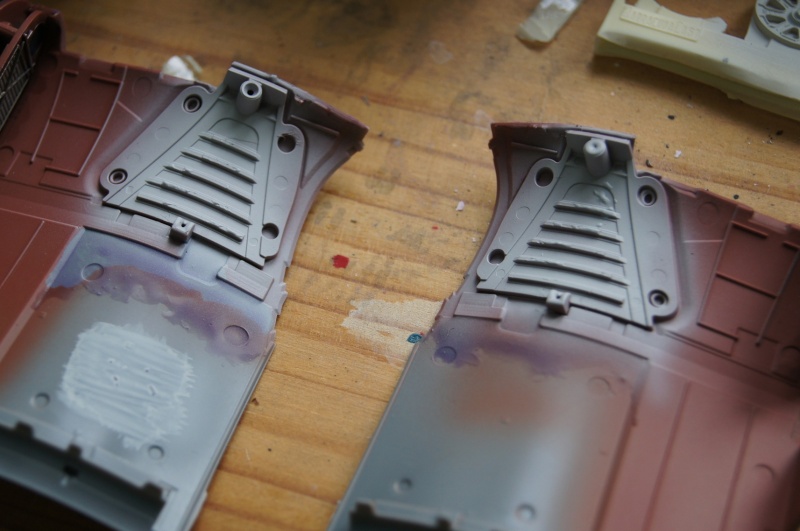
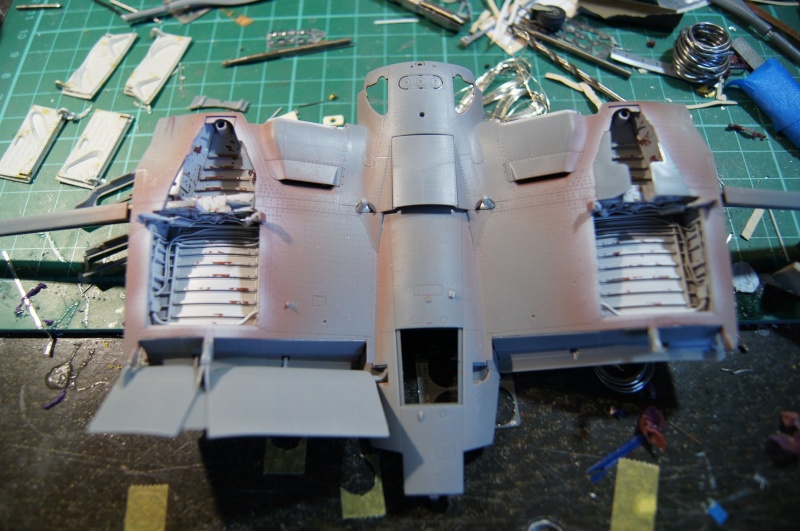
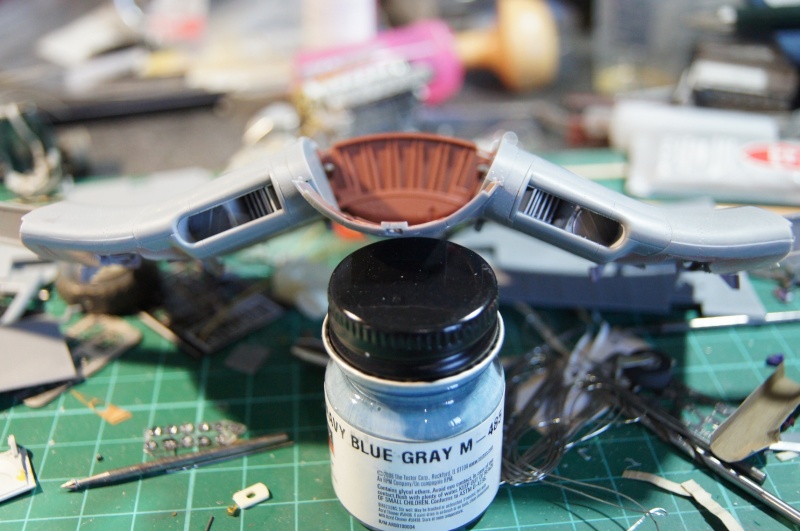
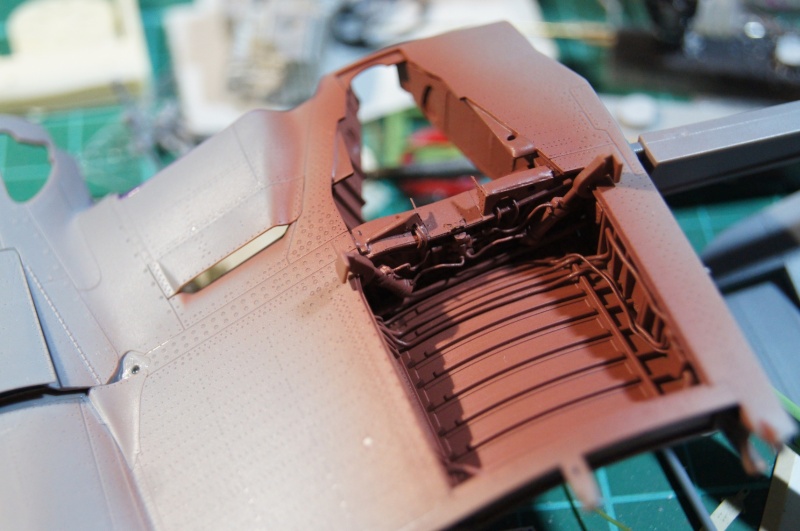
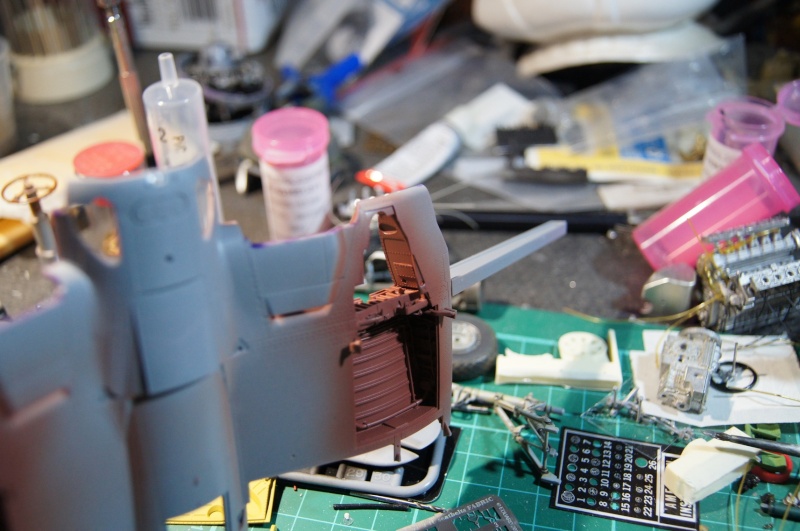
I sprayed a coat of "Salmon" protection in the wheel well:
Image

Image

Image

Image

Image

Image

Light Gray (Gunze):

Image

Image

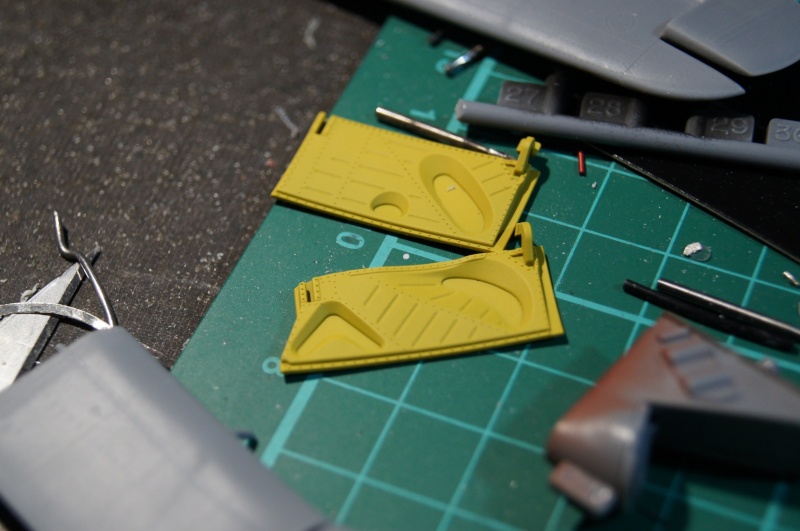
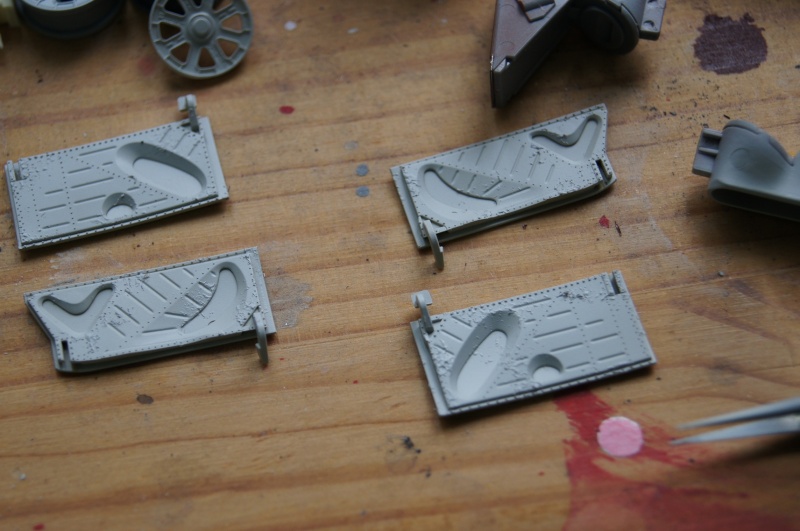
Zinc Chromate on the doors:

Image

Image

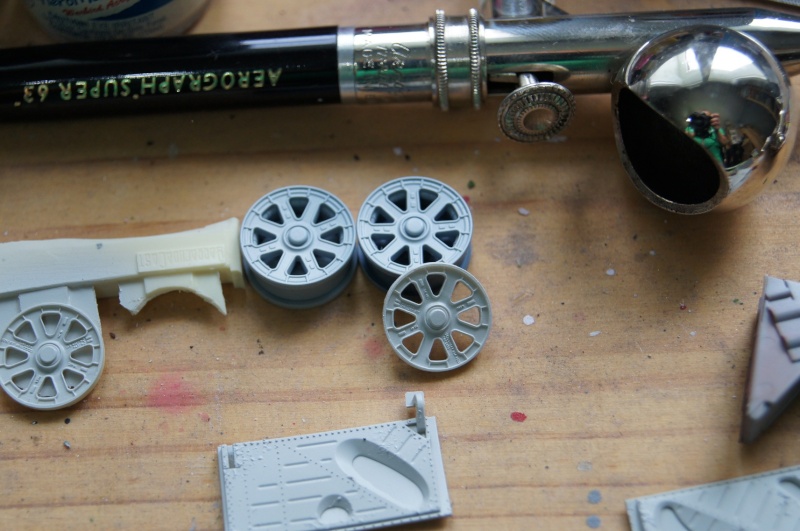
Rims; lovely details on those proposed by Barracuda compared to those (already very thin) from Tamiya:
Image

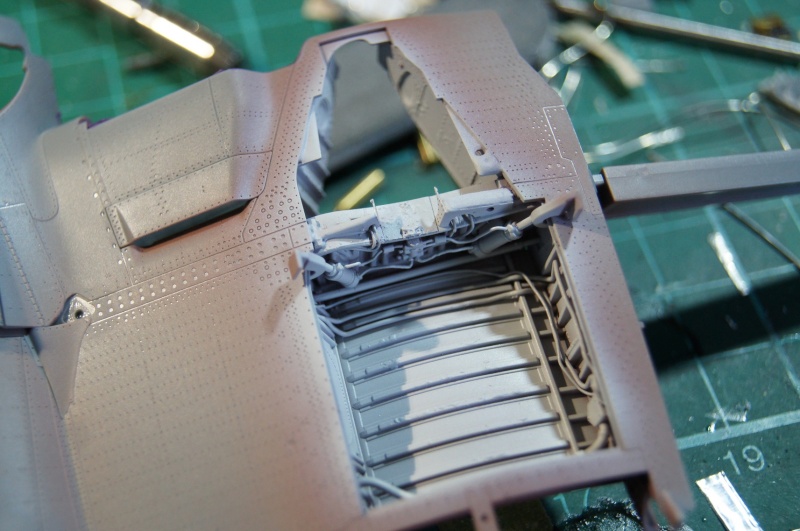
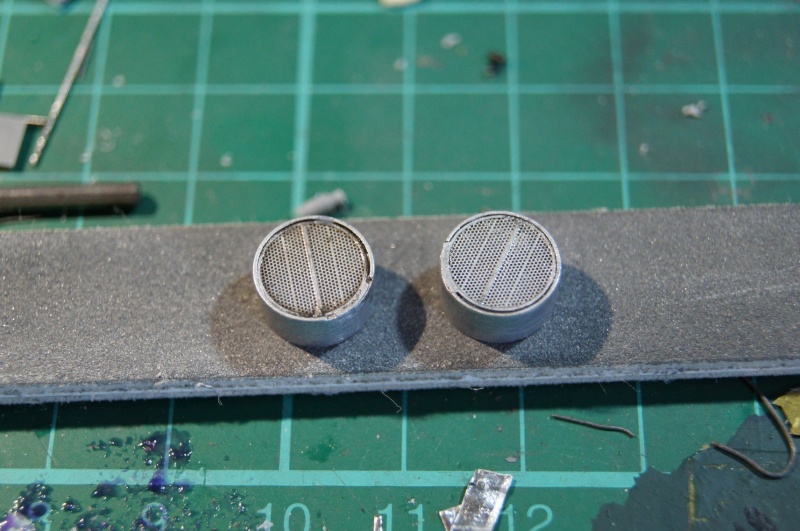
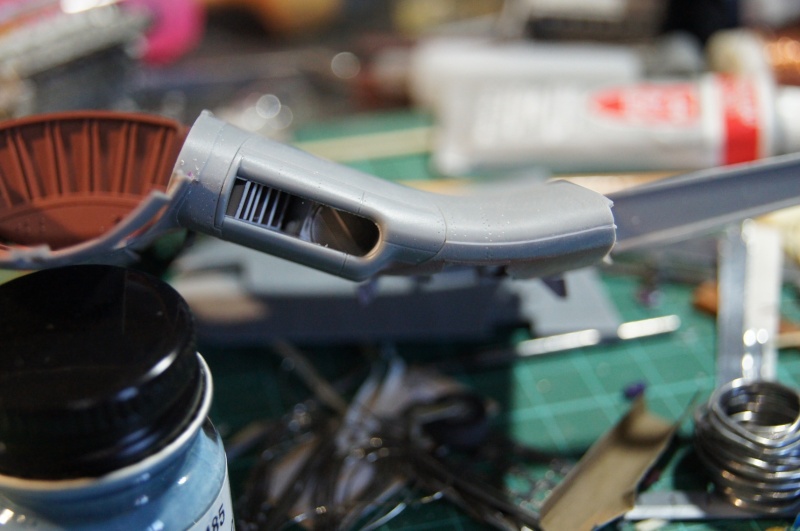
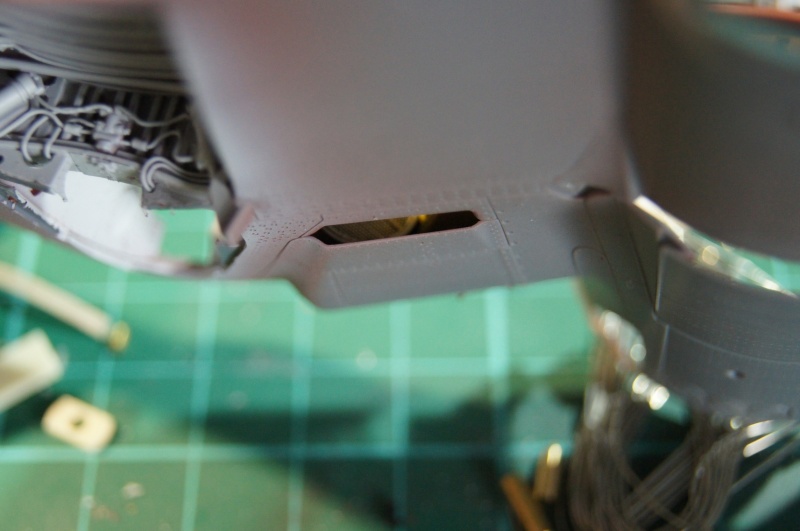
Oil coolers are completed:

Image

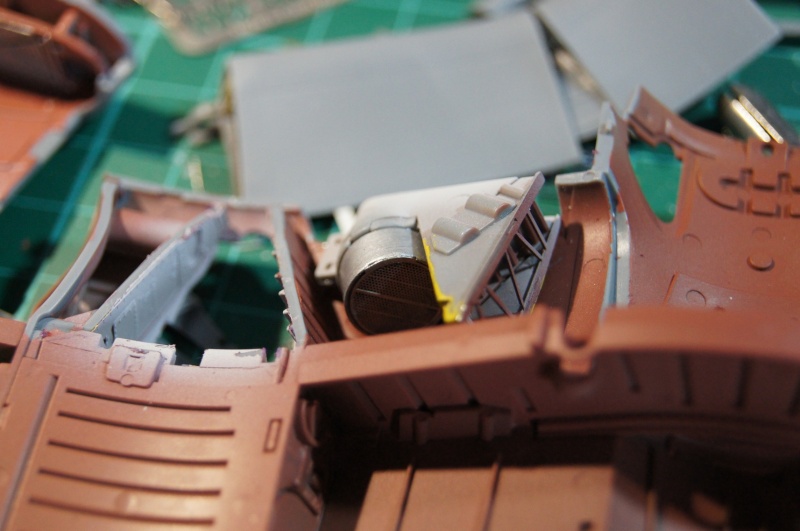
then installed:

Image

Image

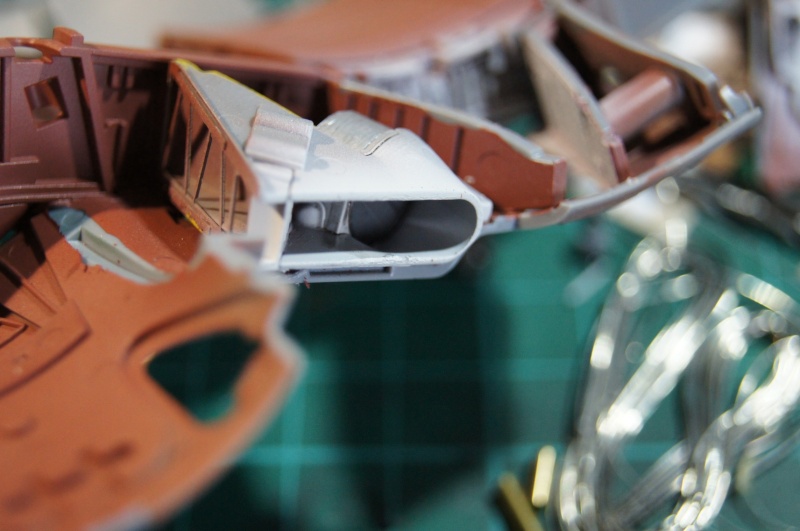
They can be distinguished through the cooling flap whose lip was refined:
Image

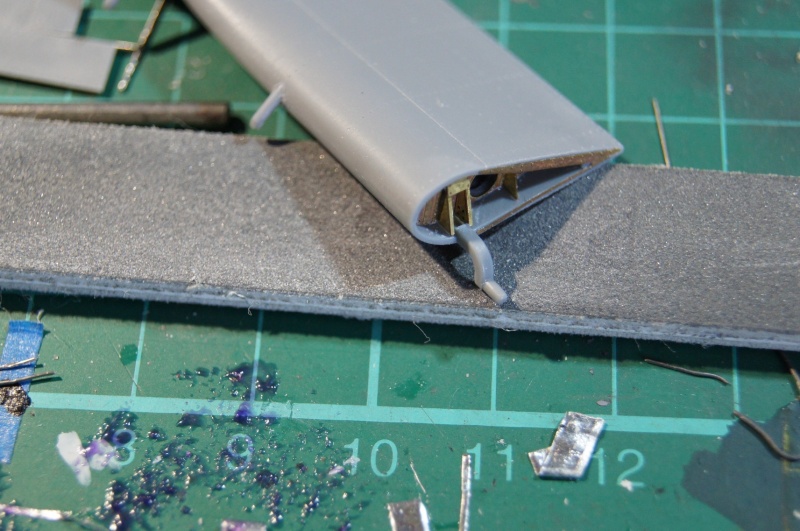
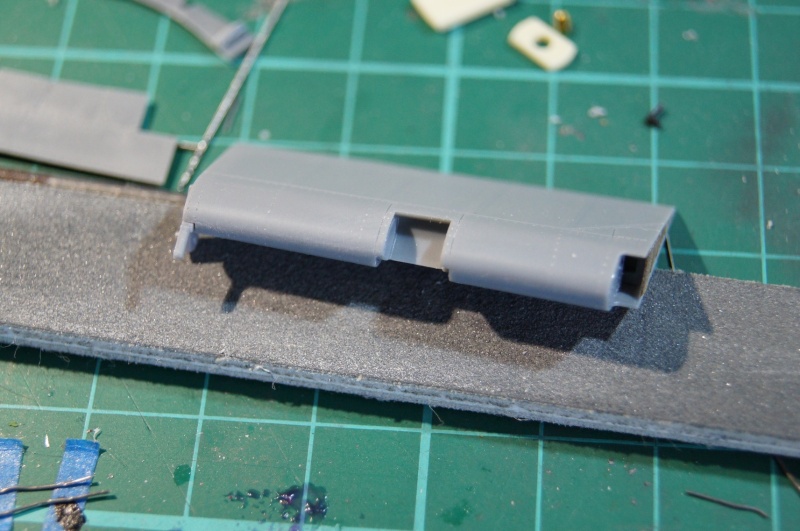
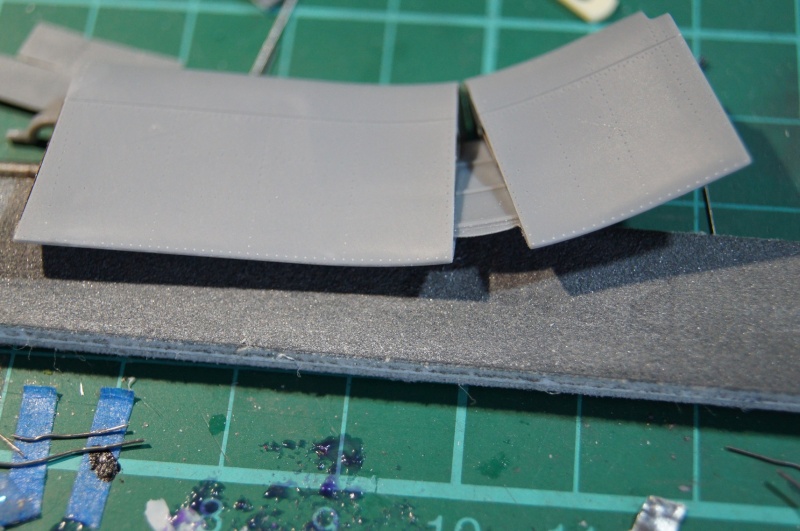
The leading and trailing edges of the fowler are completed and all awaiting paint:
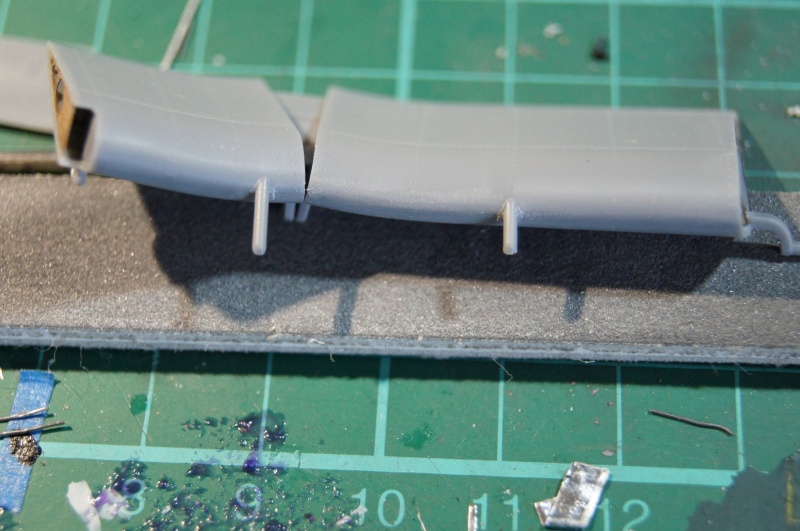
Image

Image

Image

Image

Test fit:

Image

For assembly that suits me, I placed strips of plastic card at the "break" of the lower wing part.
This enables perfect alignment of the radiators intakes and prevents putty after assembly.
Just leave a slight backwardation(?):
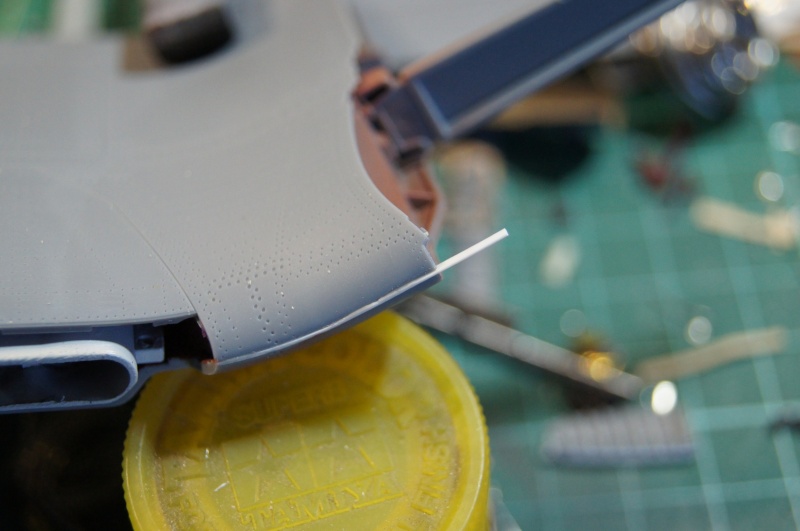
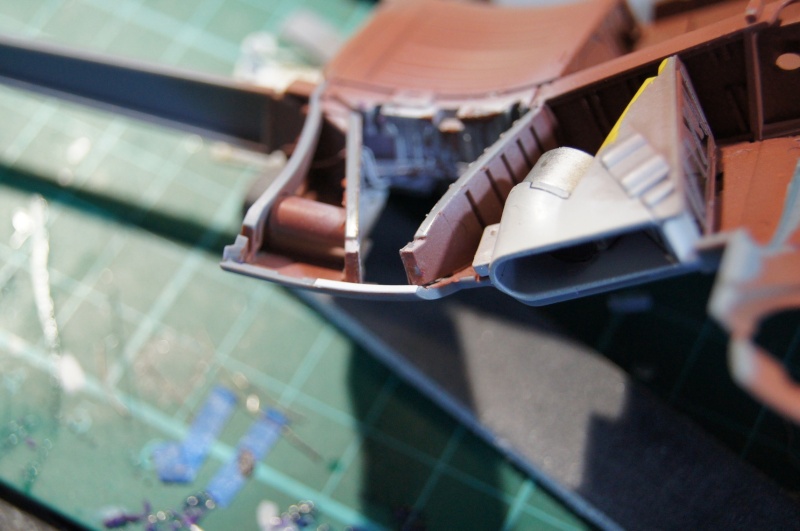
Image

Image

Gluing of the extrados:

Image

Image

Image

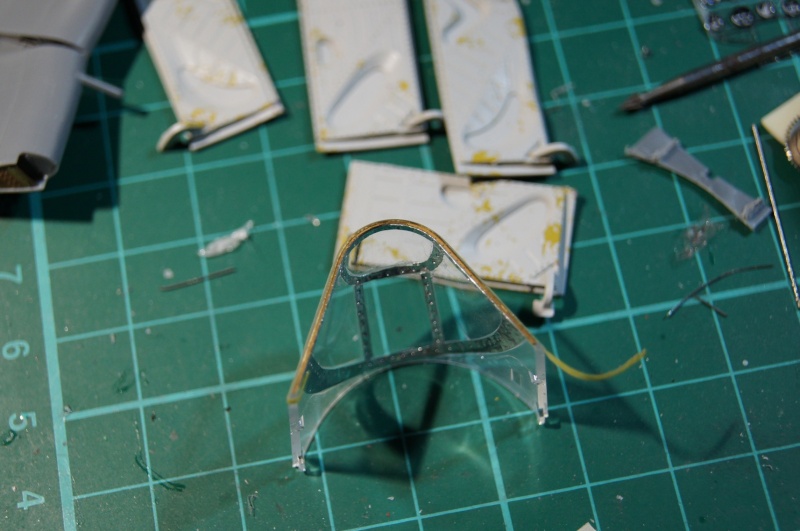
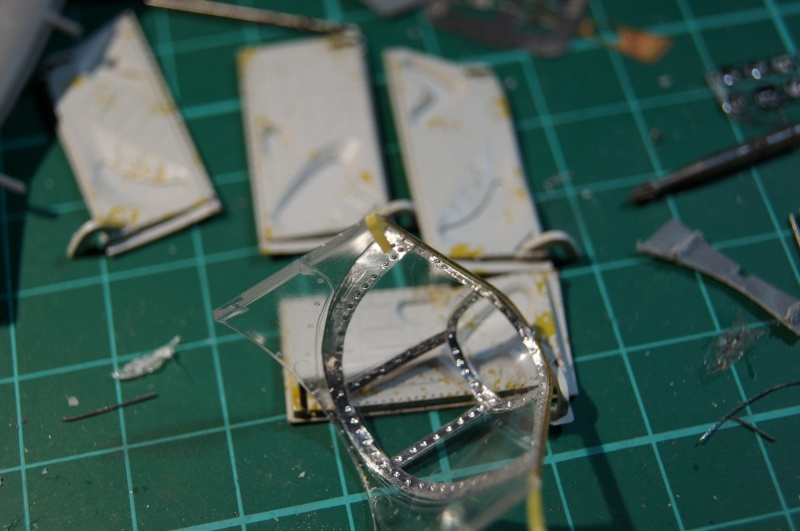
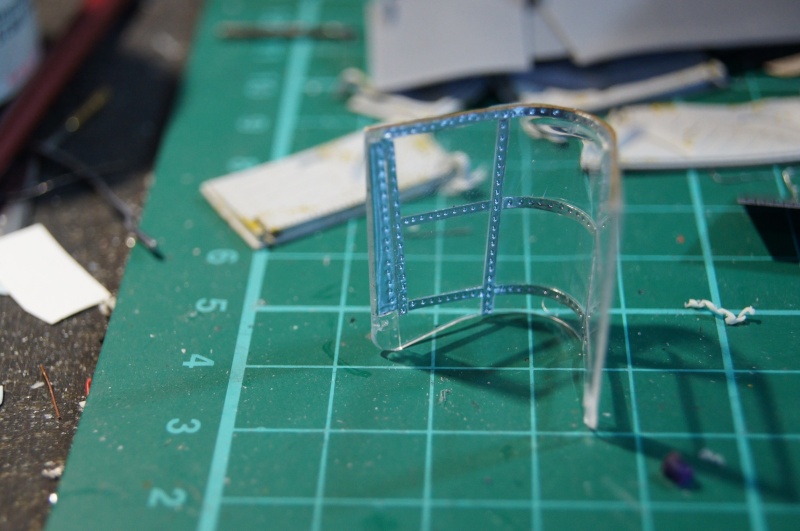
I finally started working on the canopy.
Internal frames are never shown or proposed in photo-etched ... it does not suit me.
I (tried) to systematically achieve this detail which seems to me rather important in a cockpit, the more so when it is on the 32nd.
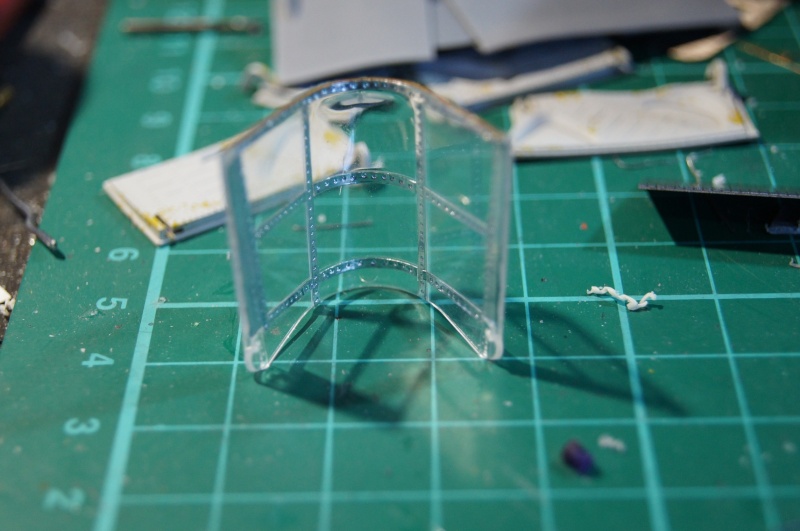
Image

Image

Further details will round, I hope the start of detailing.

Voilà.
Questions and comments are welcome.

Pascal :stirpot:
Image
User avatar
Paul
Addicted Member
Posts: 1069
Joined: Mon Mar 17, 2014 9:09 am
Location: Under your bed, muwahahahaha

Re: 1/32 Tamiya Corsair with BRASSIN P&W R-2800 engine

Post by Paul »

splendid job
Image
pg265
Senior Member
Posts: 54
Joined: Thu May 29, 2014 1:47 pm

Re: 1/32 Tamiya Corsair with BRASSIN P&W R-2800 engine

Post by pg265 »

Hi,

Thanks Paul ;)

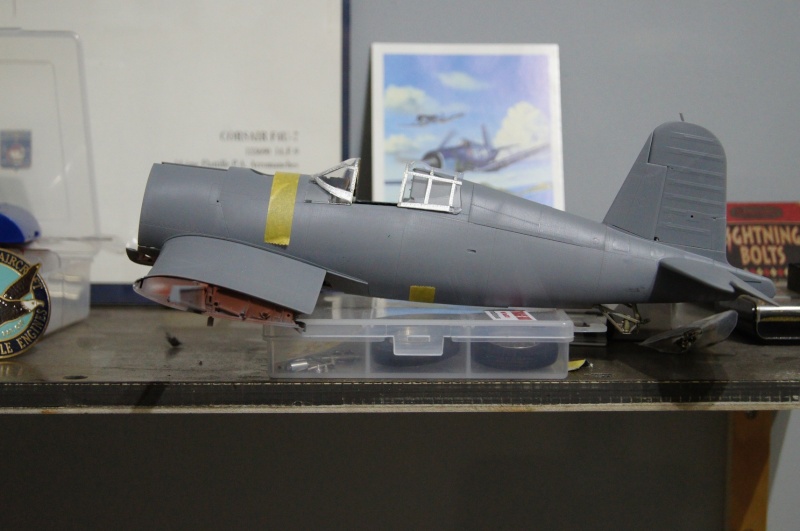
Small progress...
Time to work the same way on the windshield.

Image

Image

Test fitting.

Image

Pascal :stirpot:
Image
User avatar
Adam
Advanced Member
Posts: 189
Joined: Fri May 30, 2014 10:06 am
Location: Plymouth, IN USA

Re: 1/32 Tamiya Corsair with BRASSIN P&W R-2800 engine

Post by Adam »

WOW!!! Great detail.
It's up to you how much money you want to spend and how many new words you want to create "correcting" something.
User avatar
LyleW
Admin
Posts: 15035
Joined: Fri Dec 13, 2013 7:25 am
Location: Mt. Washington KY

Re: 1/32 Tamiya Corsair with BRASSIN P&W R-2800 engine

Post by LyleW »

That is some terrific detailing! What a talent!
To make each build less crappy than the last one. Or, put another way, "Better than the last one, not as good as the next one!"..
lawdog114
Master Member
Posts: 534
Joined: Tue May 20, 2014 11:46 pm
Location: Olmsted Township, Ohio

Re: 1/32 Tamiya Corsair with BRASSIN P&W R-2800 engine

Post by lawdog114 »

Gorgeous...

Joe
Can you fly this plane and land it? Surely you can't be serious? I am serious, and don't call me Shirley
User avatar
BorgR3mc0
Elite Member
Posts: 3311
Joined: Tue Mar 18, 2014 7:16 am
Location: Utereg

Re: 1/32 Tamiya Corsair with BRASSIN P&W R-2800 engine

Post by BorgR3mc0 »

I am suprised by the need for plasticard shims in such a Tamiya über kit. Excellent modelling. :bow:
ImageImageImageImageImage
User avatar
LyleW
Admin
Posts: 15035
Joined: Fri Dec 13, 2013 7:25 am
Location: Mt. Washington KY

Re: 1/32 Tamiya Corsair with BRASSIN P&W R-2800 engine

Post by LyleW »

What material did you use for the canopy/windscreen interior frames?
To make each build less crappy than the last one. Or, put another way, "Better than the last one, not as good as the next one!"..
pg265
Senior Member
Posts: 54
Joined: Thu May 29, 2014 1:47 pm

Re: 1/32 Tamiya Corsair with BRASSIN P&W R-2800 engine

Post by pg265 »

Hi Mates,

Thanks a lot for all your kind comments once again!!

The metal frame of the inside of the canopy is made of self-adhesive aluminum strips.
The two lower main frames are glued in place then cut following the plastic part shape.
They are installed inside the canopy following the external frame, then "riveted" into place using a Beading tool set enhance the effect of volume.
This will also eventually allow to get some effects, representative hopefully operational use I hope.

The windshield internal frames need a master.
A template is made from Kabuki tape placed on the plastic part and the outline of the frame is traced.
After being detached from the part, you obtain a "flat pattern"(unfolded) that can be placed on the aluminum tape to cut it to the right shape.
Take care to materialize the center of the alu part to place it on the center of the plastic part and rub each side.

Sorry for my poor english :oops:
I hope you understand what I'm trying to explain...

Pascal :Shark:
Image
User avatar
LyleW
Admin
Posts: 15035
Joined: Fri Dec 13, 2013 7:25 am
Location: Mt. Washington KY

Re: 1/32 Tamiya Corsair with BRASSIN P&W R-2800 engine

Post by LyleW »

That is quite clear! Yet another tip I would have never thought of. . . using the kabuki tape to make a master.
To make each build less crappy than the last one. Or, put another way, "Better than the last one, not as good as the next one!"..
Post Reply

Return to “Aircraft Work in Progress”