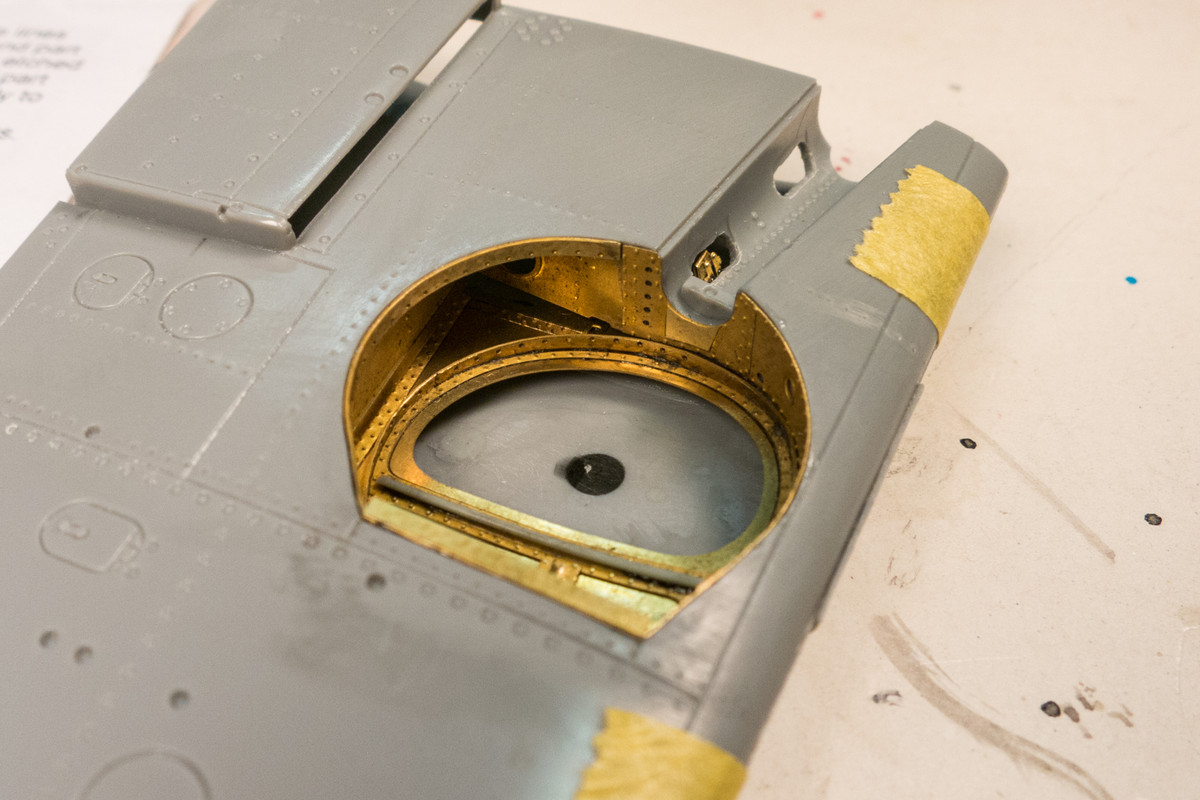
1/32 Hasegawa Bf109K-4 Weisse 8

Post your work in progress of your aircraft builds in here.
User avatar
BlackSheep214
Elite Member
Posts: 13412
Joined: Sun Apr 06, 2014 8:47 pm

Re: 1/32 Hasegawa Bf109K-4 Weisse 8

Post by BlackSheep214 »

:bow: :bow: :bow:
“Who controls the skies, controls the fate of this Earth”

Author unknown- 352nd Fighter Group, Blue-Nosed Bastards of Bodney

“Send one plane it’s a sortie; send two planes it’s a flight; send four planes it’s a test of airpower. - Richard Kohn
User avatar
jkim
Elite Member
Posts: 4073
Joined: Mon Apr 10, 2017 4:03 pm

Re: 1/32 Hasegawa Bf109K-4 Weisse 8

Post by jkim »

Floki wrote:In this scale you would expect the rivets to be molded in, at least on newer kits, I'm not sure of the age of this one. Be watching how your gearbays turn out
You would think so but Hasegawa is one manufacturer that hasn't jumped on the rivet bandwagon yet. This particular run of 109's came in the early 2000's, I believe but even the most recent 1/32 Hasegawa release (A6M5c in 2016) featured no rivets.

A6M5c image courtesy Hyperscale...
Image

I don't mind this approach as I find most manufacturers' depiction of rivets on the heavy side. It's more work but I think the manually-applied rivets gives a better effect.

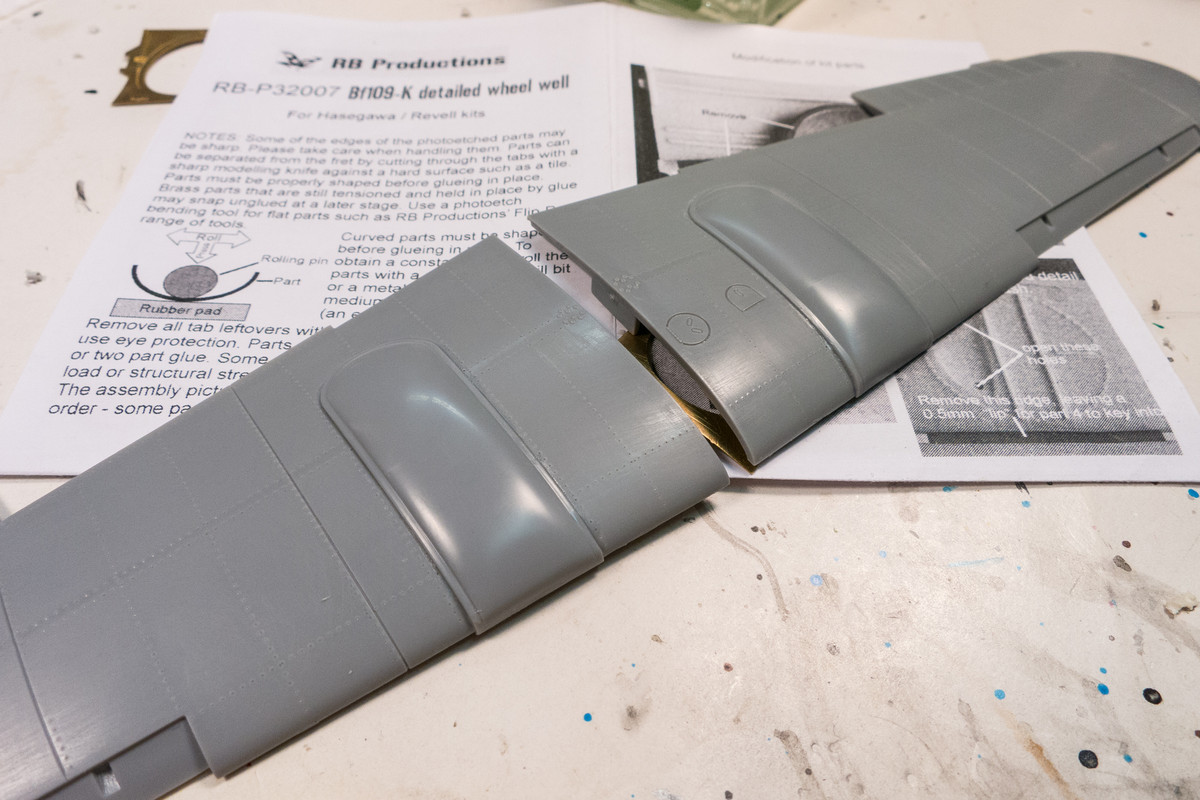
After filling the ejector pin marks on the inside, the wing bulges have been glued into place.
Image

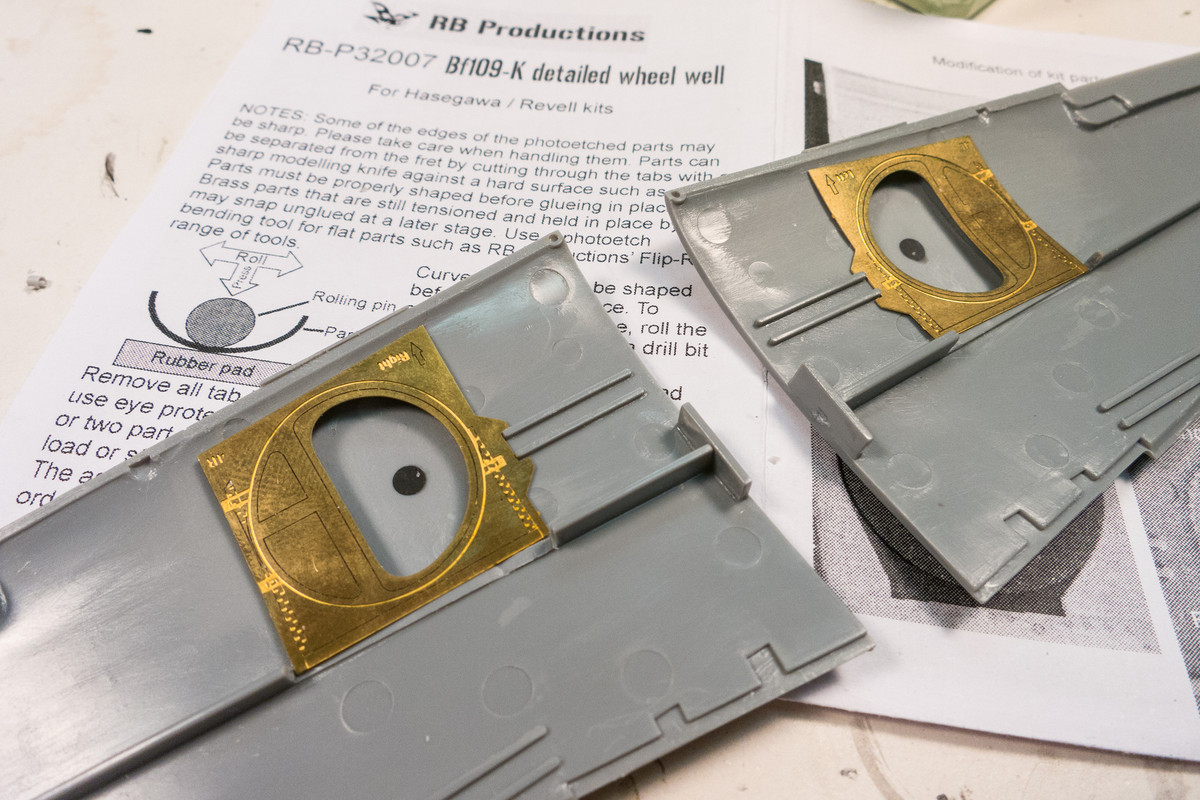
The wheel well roof sheets were just placed for this photo but got glued into place soon after.
Image

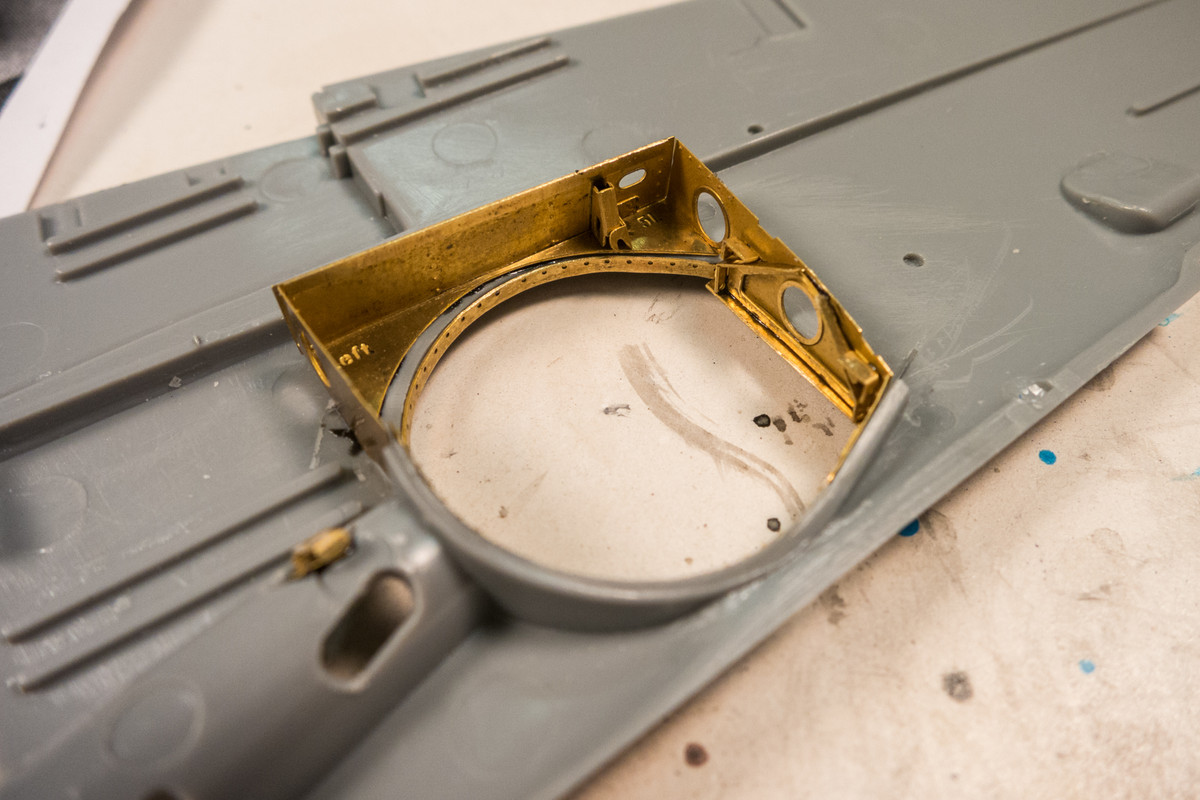
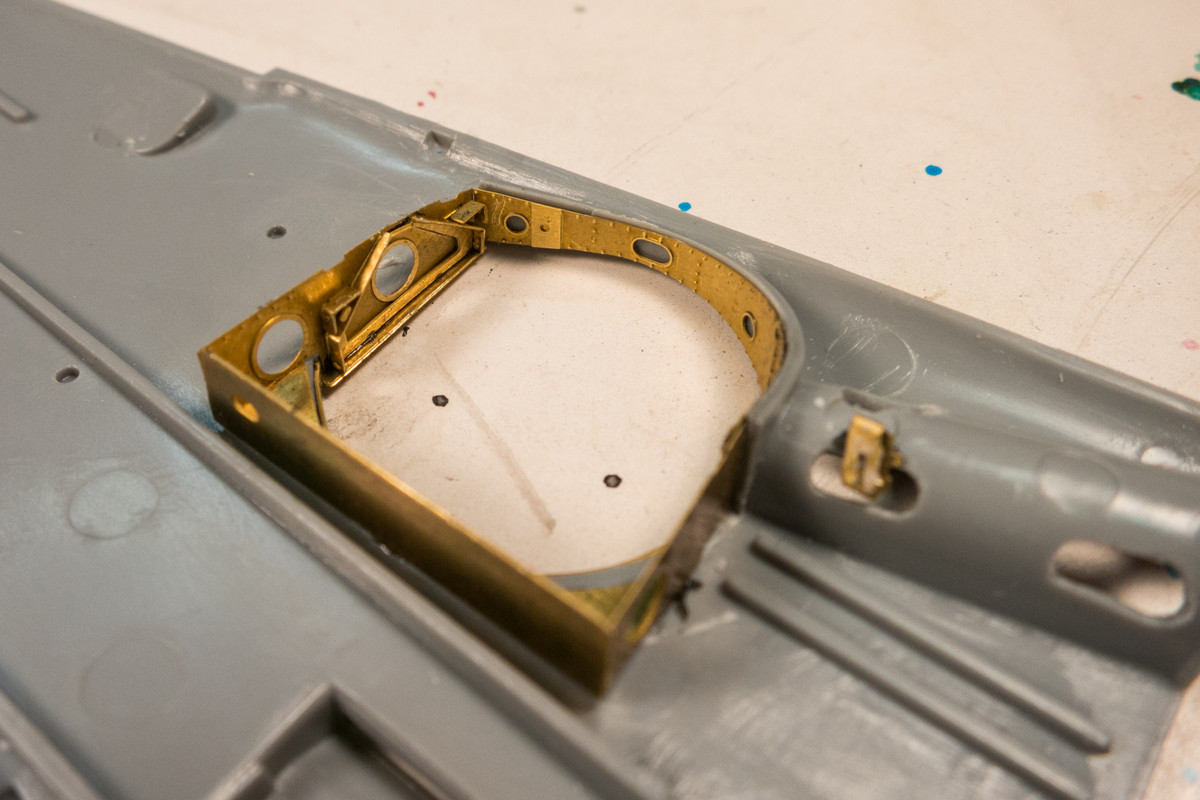
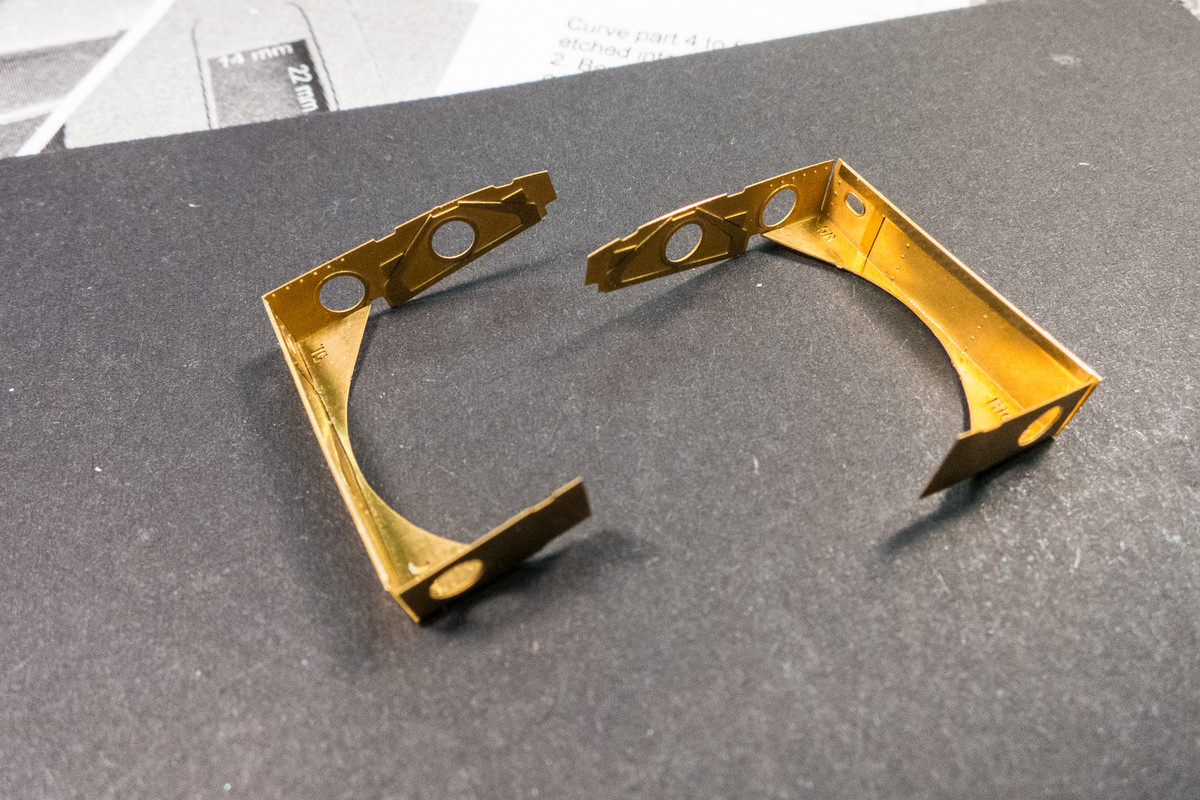
The wheel parts including the roof parts have layers of photoetch to give some 3D depth to the assembly but first I wanted to check the fit of the wheel well walls against the removals that I performed earlier.
Image

These dropped in fairly easily into the wing bottoms, with only some minor adjustments to the removal areas to accommodate the walls.
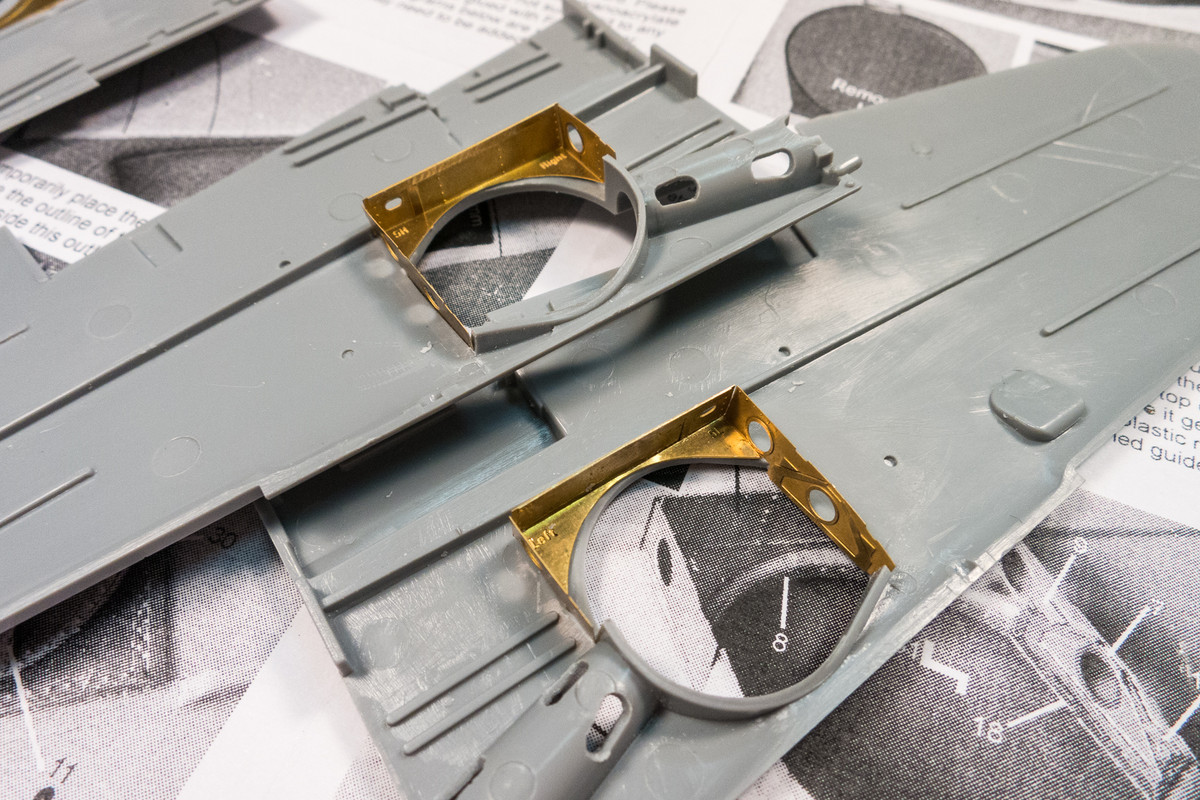
Image

With the wheel well walls simply resting in place without glue, I check the fit.
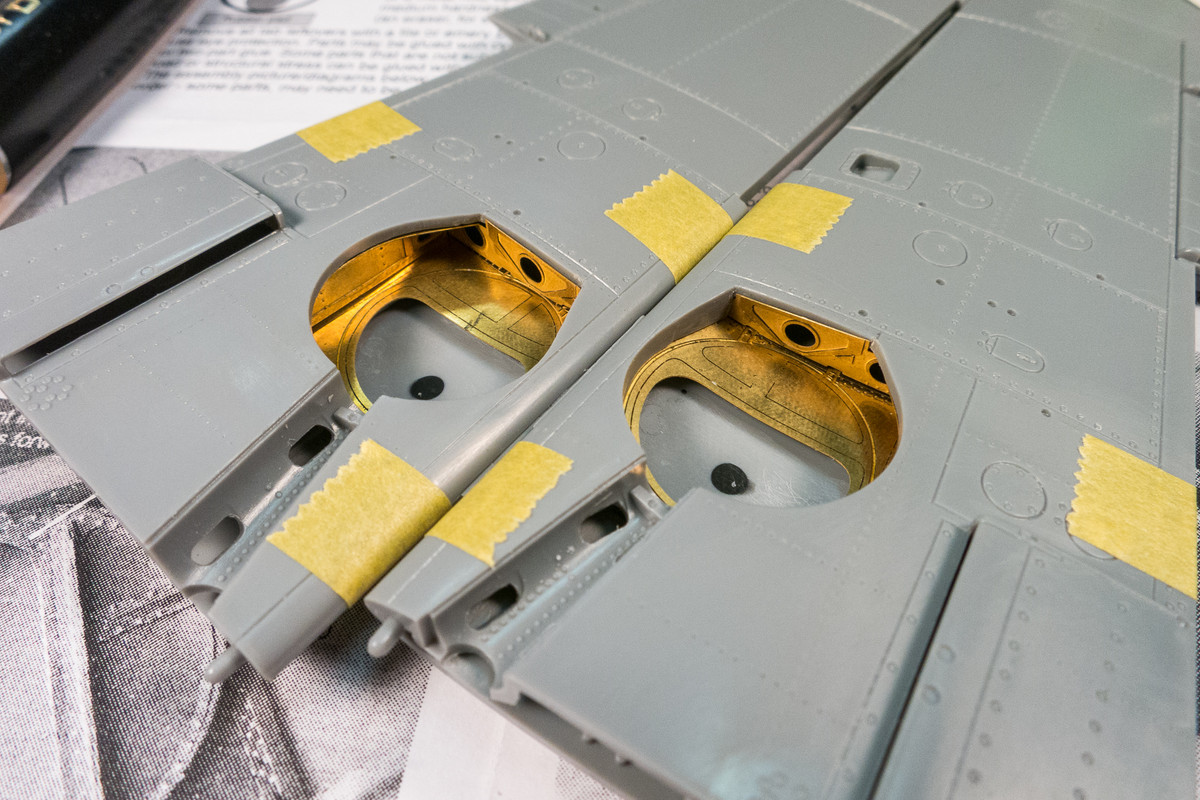
Image
Image

I didn't notice any problems so I can continue adding stacking photoetch to build up the wheel wells.
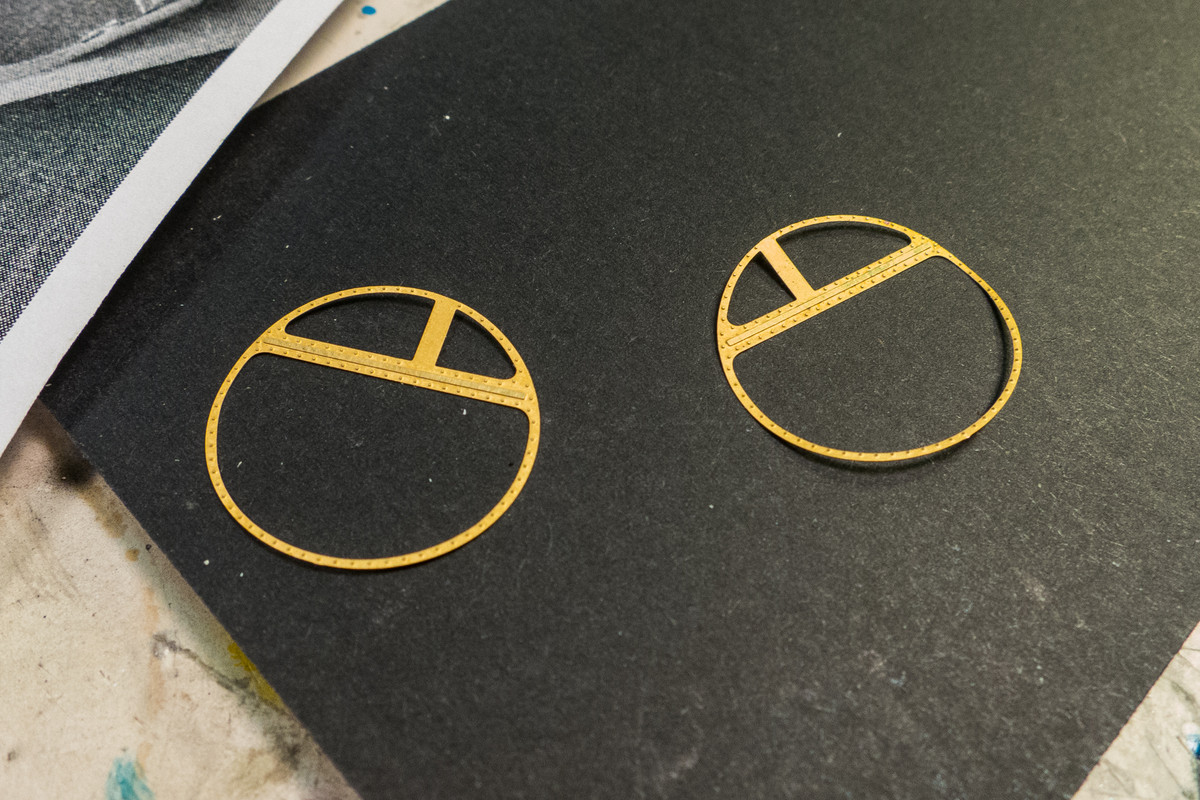
Image
Image

But it's getting late and I have a busy week at work so I'll stop here. Surprised at how much work I did over the last two days... proud of myself! :giggles:
John aka JKim
-----------<><
Image
User avatar
KennyX
Elite Member
Posts: 2631
Joined: Sun Dec 24, 2017 11:19 am

Re: 1/32 Hasegawa Bf109K-4 Weisse 8

Post by KennyX »

Good to have you back, John! And nice work on Weisse 8!
Kenny X
Head Mother Trucker In-Charge @ Kenny X’s Reichs Winzigkleines Flugzeugewerks *and now* Airboat Records, too!
User avatar
jkim
Elite Member
Posts: 4073
Joined: Mon Apr 10, 2017 4:03 pm

Re: 1/32 Hasegawa Bf109K-4 Weisse 8

Post by jkim »

Thanks Kenny! It's good to be back! Really. Hopefully this feeling sticks for a while so I can complete a build or two.

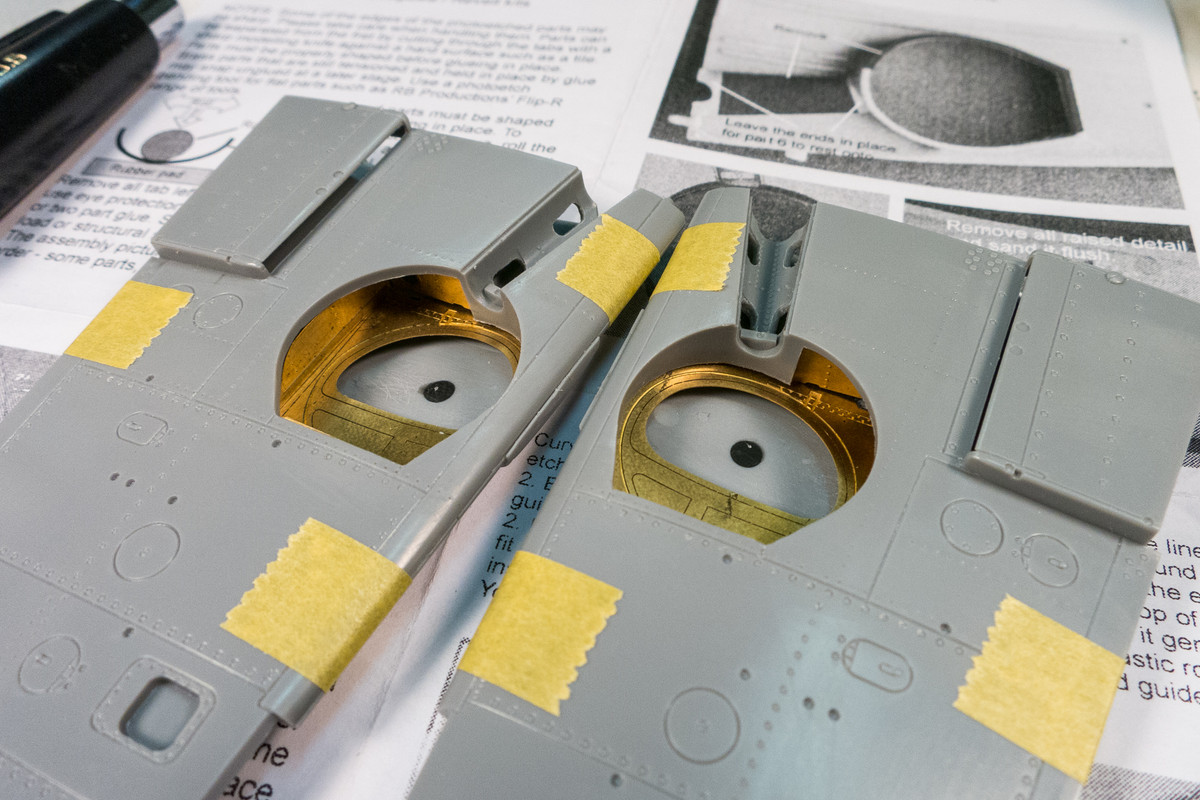
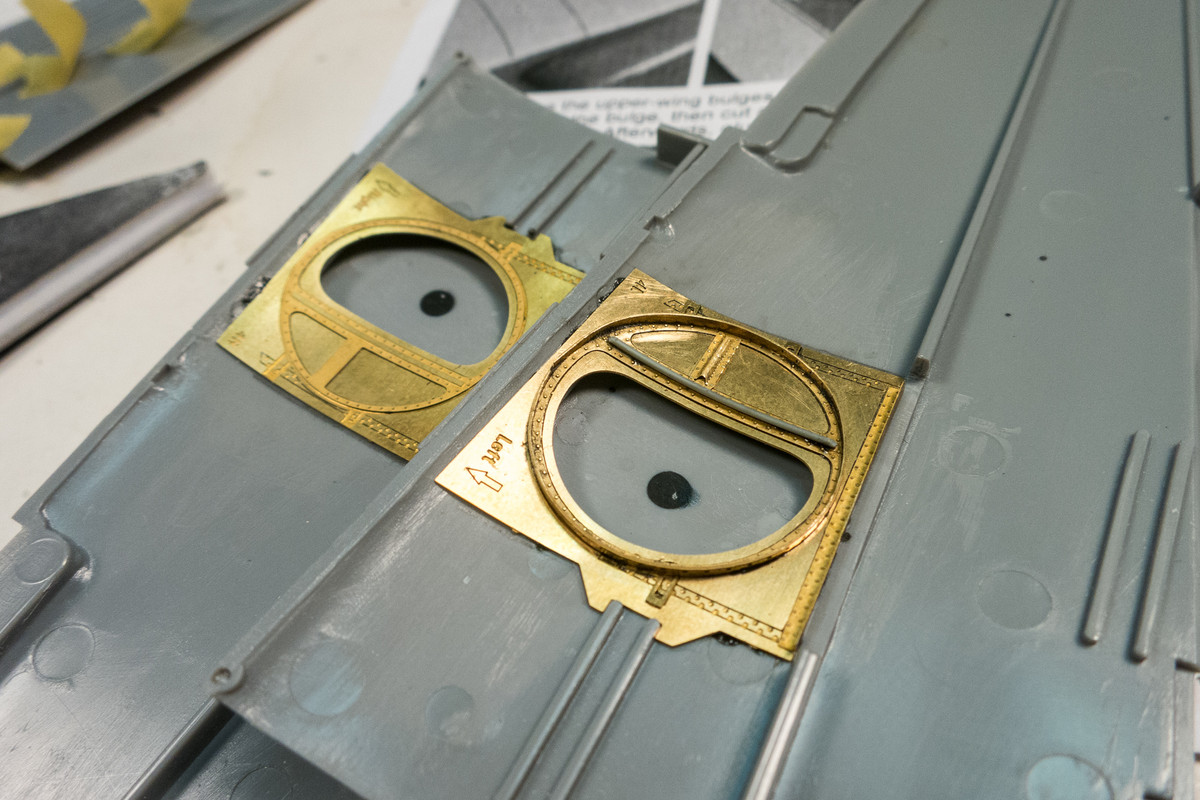
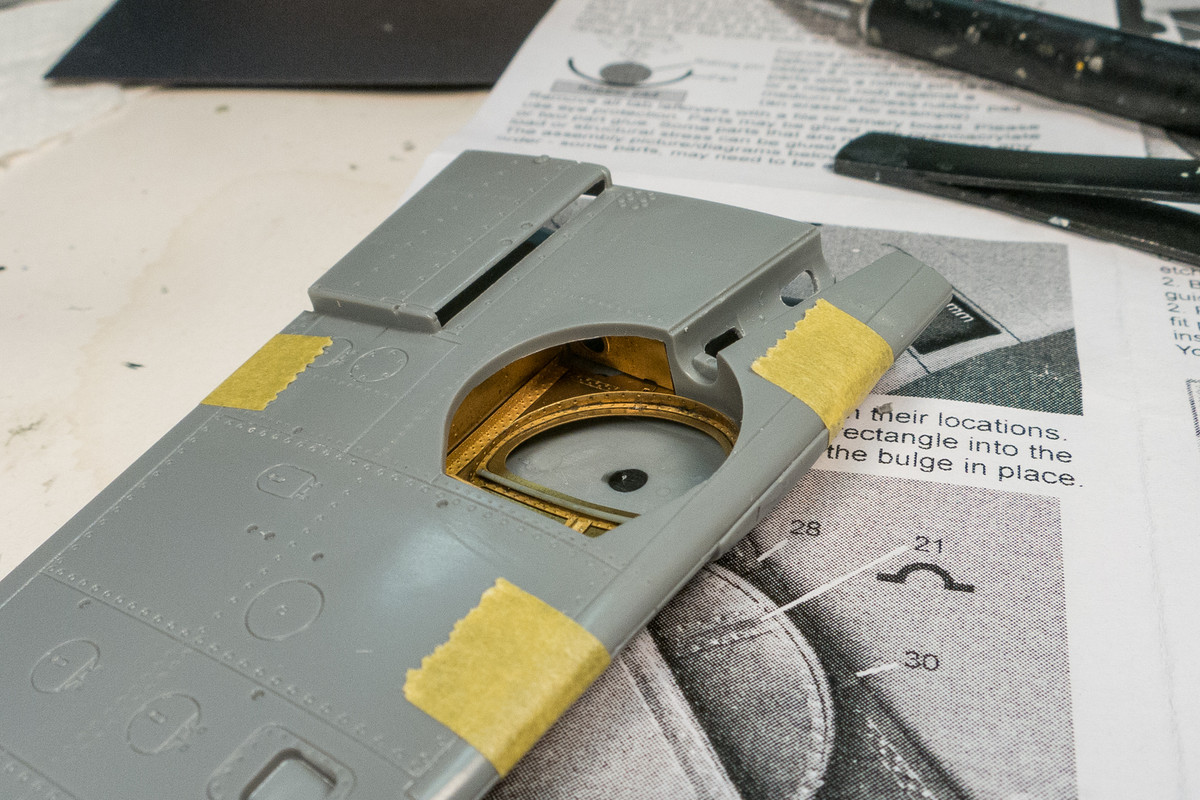
My work schedule is a lot more hectic right now and I don't have as much time after work as I used to. So progress will be spotty during the weekdays, I imagine. Started building up the detail on the roof of the wheel wells. I worked on one side so that I can show the comparison between the two.
Image

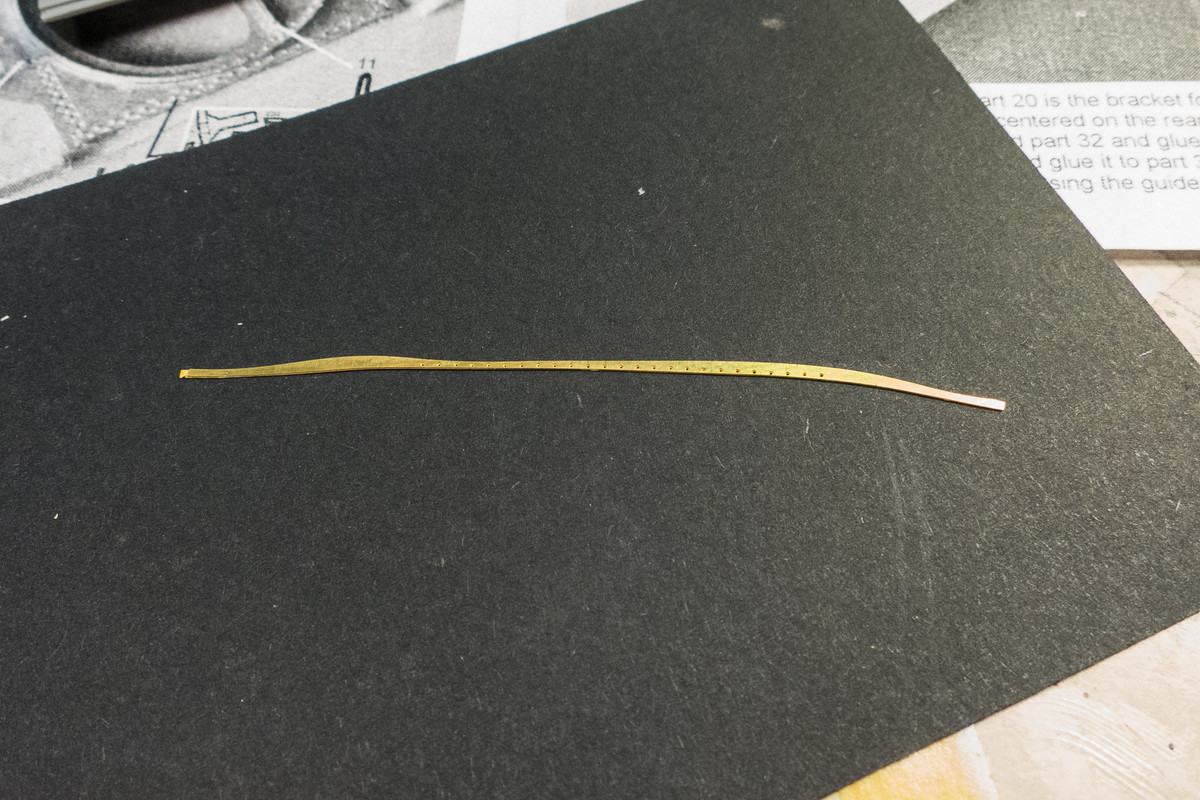
There is much more detail to be added to the wheel well walls, which I will get to soon. But overall, this PE addition is going fairly smoothly. Everything seems to fit just where it is supposed to. I replaced one PE stringer with a piece of stretched sprue because I couldn't get the metal part to bend to the contour of the wheel well roof.
Image
Image
John aka JKim
-----------<><
Image
User avatar
mustang1989
Moderator
Posts: 5035
Joined: Tue Mar 18, 2014 8:35 pm

Re: 1/32 Hasegawa Bf109K-4 Weisse 8

Post by mustang1989 »

Always worth droppin' in to see progress. You make it look too easy John......waaaaaaaaaaaaaay too easy.
User avatar
LyleW
Admin
Posts: 15035
Joined: Fri Dec 13, 2013 7:25 am
Location: Mt. Washington KY

Re: 1/32 Hasegawa Bf109K-4 Weisse 8

Post by LyleW »

John, this is some good looking work! PE frustrates the Bejebbers out of me. You nailed it.
To make each build less crappy than the last one. Or, put another way, "Better than the last one, not as good as the next one!"..
User avatar
Medicman71
Elite Member
Posts: 11299
Joined: Mon Apr 07, 2014 9:32 am
Location: Houston, Tx

Re: 1/32 Hasegawa Bf109K-4 Weisse 8

Post by Medicman71 »

Very nice work with the PE!
Mike

Sponsored by Boeing, Lockheed Martin, Northrop Grumman, Saab, BAE, and Dassault
User avatar
mostrich
Admin
Posts: 3105
Joined: Sun Apr 06, 2014 2:13 pm
Location: Hamburg, Germany
Contact:

Re: 1/32 Hasegawa Bf109K-4 Weisse 8

Post by mostrich »

It's almost like building the real thing. Incredible!
Cheers,
Torben
User avatar
speedgraflex
Moderator
Posts: 11358
Joined: Fri Feb 10, 2017 11:08 pm
Contact:

Re: 1/32 Hasegawa Bf109K-4 Weisse 8

Post by speedgraflex »

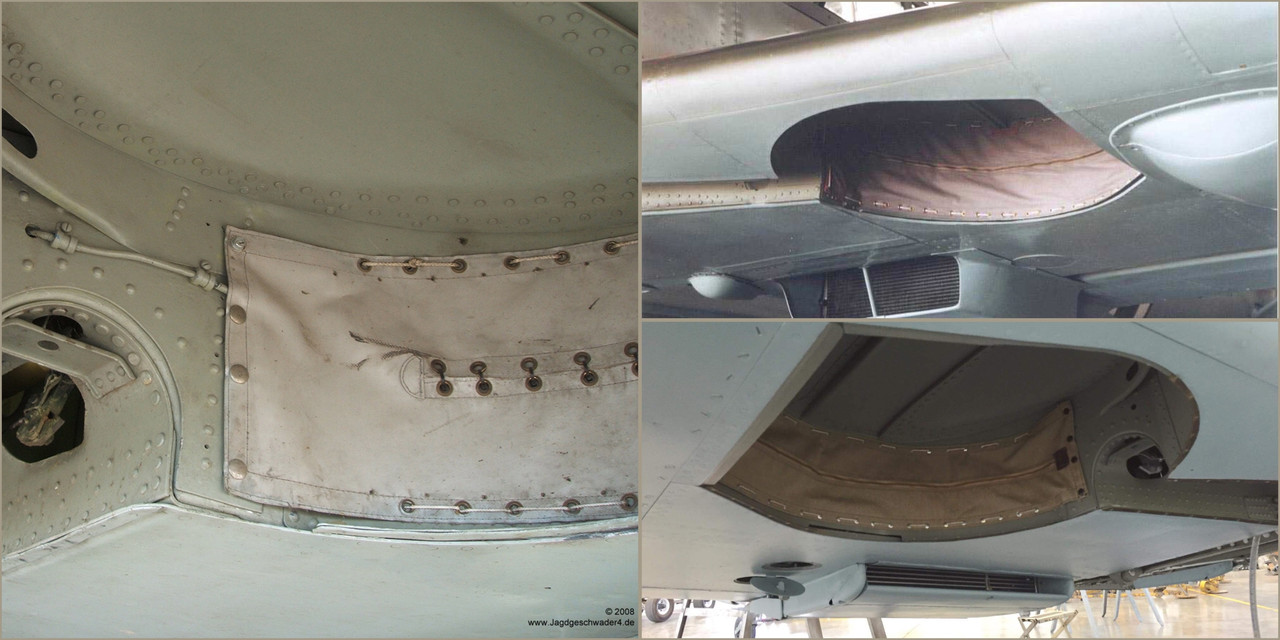
TGIF. Quick question—do all 109s feature leather wheel well covers? When I was researching a G Series these images popped up—and earlier today I remembered that there was a 1/24 109 that I was following that included these, walk around restoration images—

Image

I have to add to the chorus of approvals for your work, John. The handling of the fine PE is top notch—and your removal of inner wing material was done with such superb finesse and control!
Make more models!
User avatar
jkim
Elite Member
Posts: 4073
Joined: Mon Apr 10, 2017 4:03 pm

Re: 1/32 Hasegawa Bf109K-4 Weisse 8

Post by jkim »

Thanks guys! I hope you guys had a wonderful week! To answer Bruce's question about fabric covers one 109's... I'm not sure. I know some had it but the K-series, as far as I know, did not.

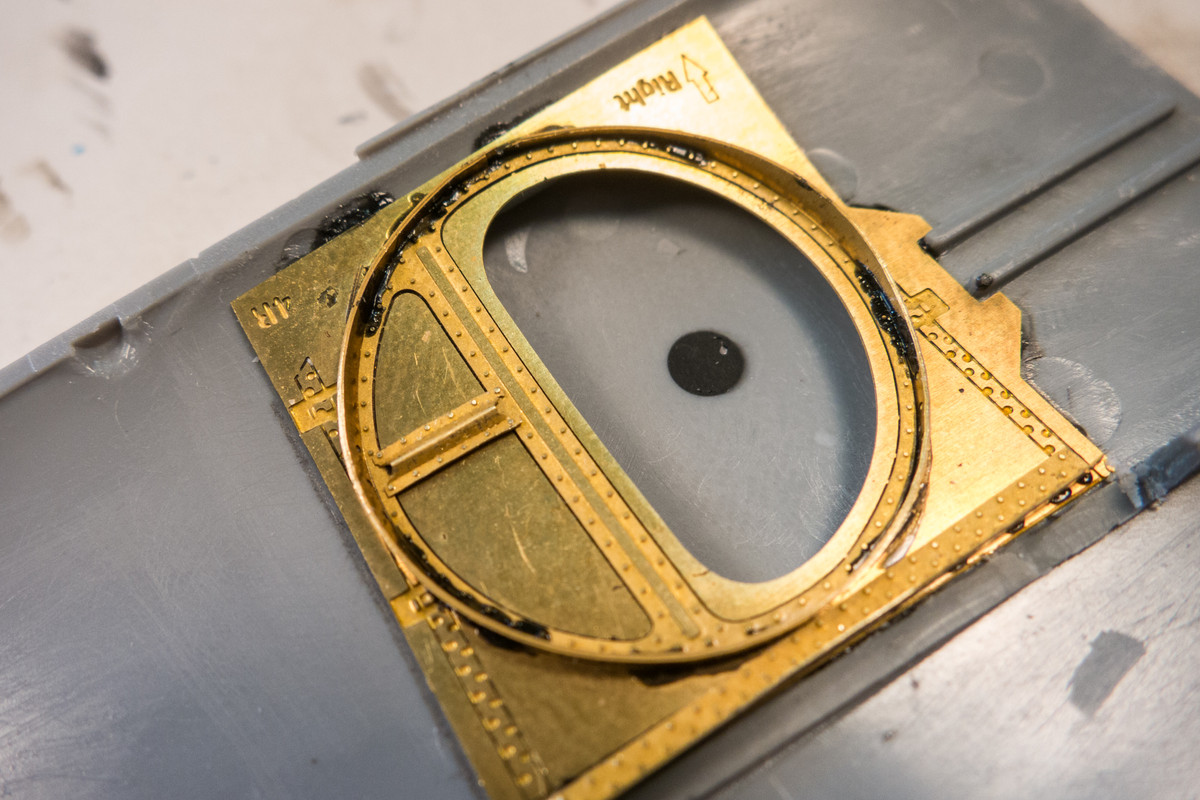
Working with photoetch can be frustrating for me as well. ONE thing that really reduced the stress of working with PE was getting a good debonder (in my case, Great Planes Pro CA Debonder). Now I don't have to worry about the CA glue getting messy.

Take a look at this... I'm building up the right wheel well roof using black CA glue. For the circular ring, there was no way of getting it into place with one glue application so I did it a small section at a time.
Image

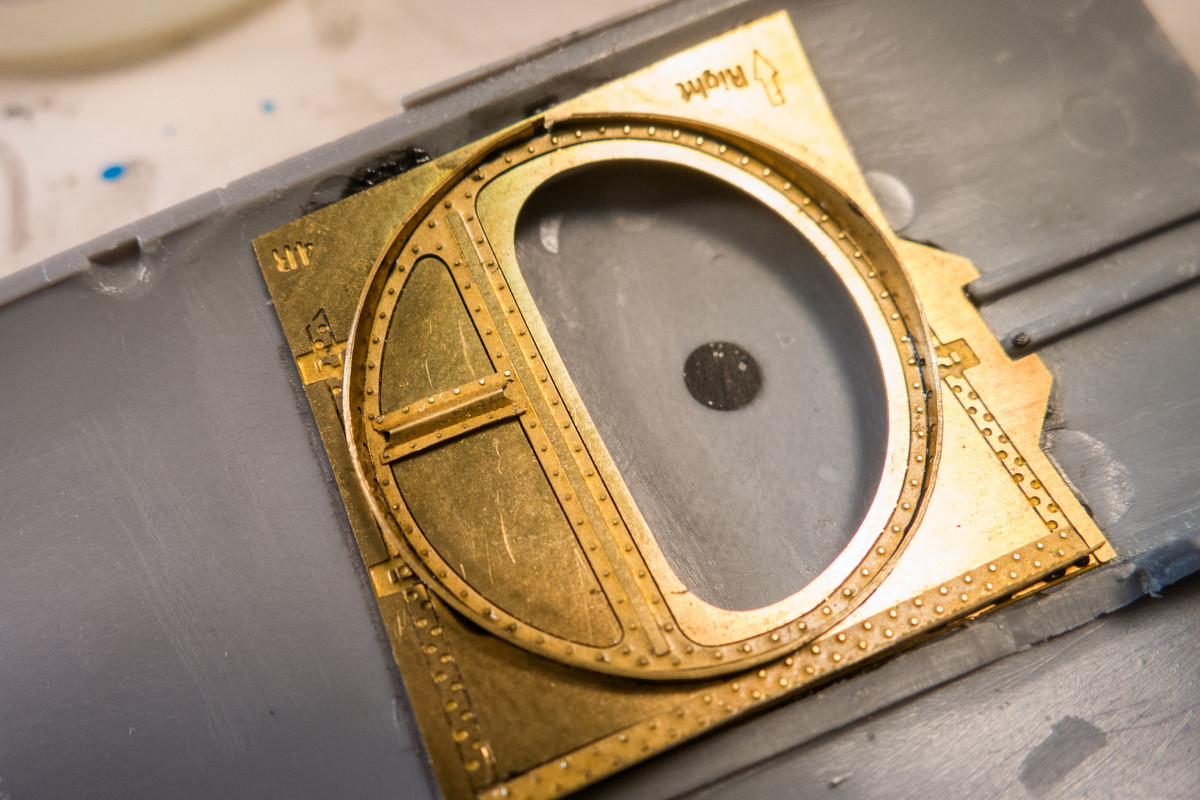
After I was finished gluing, I used the debonder on an old paintbrush with stiff bristles and simply scrubbed off the excess glue. The debonder CAN weaken the glue joint so you have to watch where the excess debonder seeps but otherwise it's really easy to clean up the CA glue. You can even remove the glue and parts completely and start over if necessary.
Image

I spent today building up the detail on the port wheel well walls. There are lots of little parts with intricate bending involved so it is slow going but the fit is good and I encountered no headaches along the way.
Image
Image

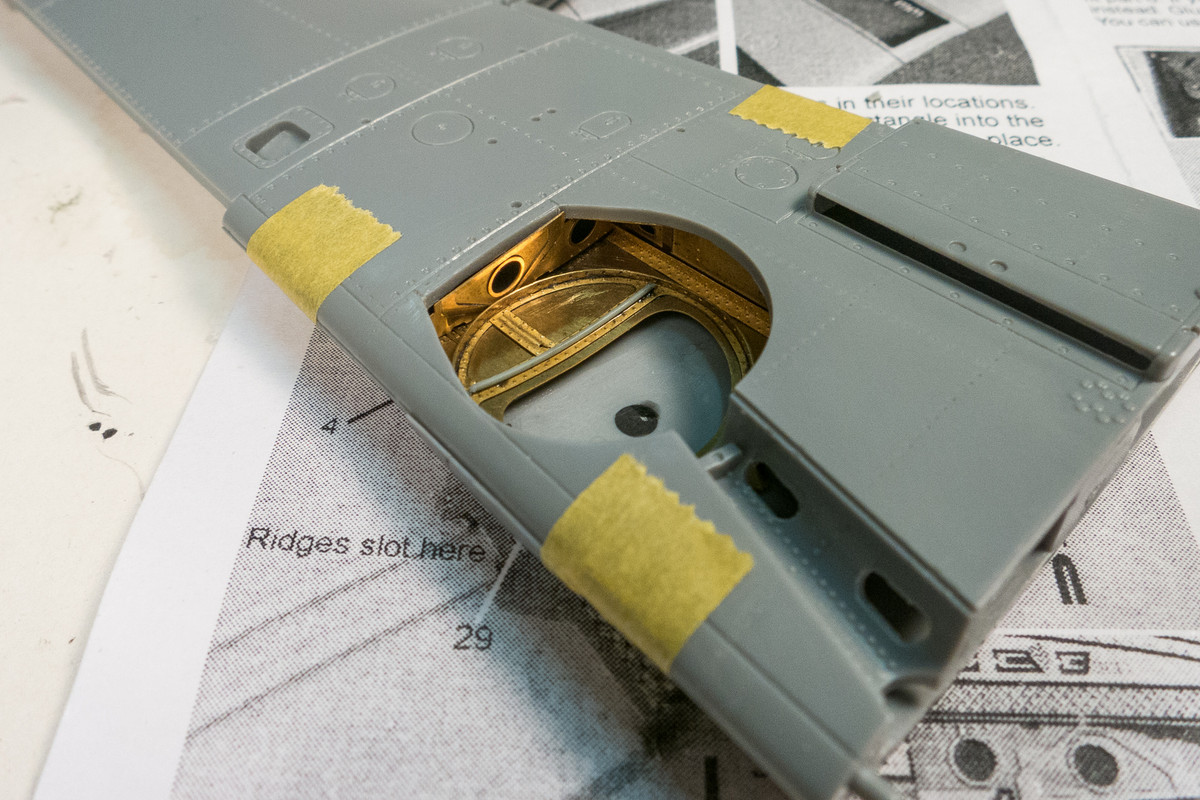
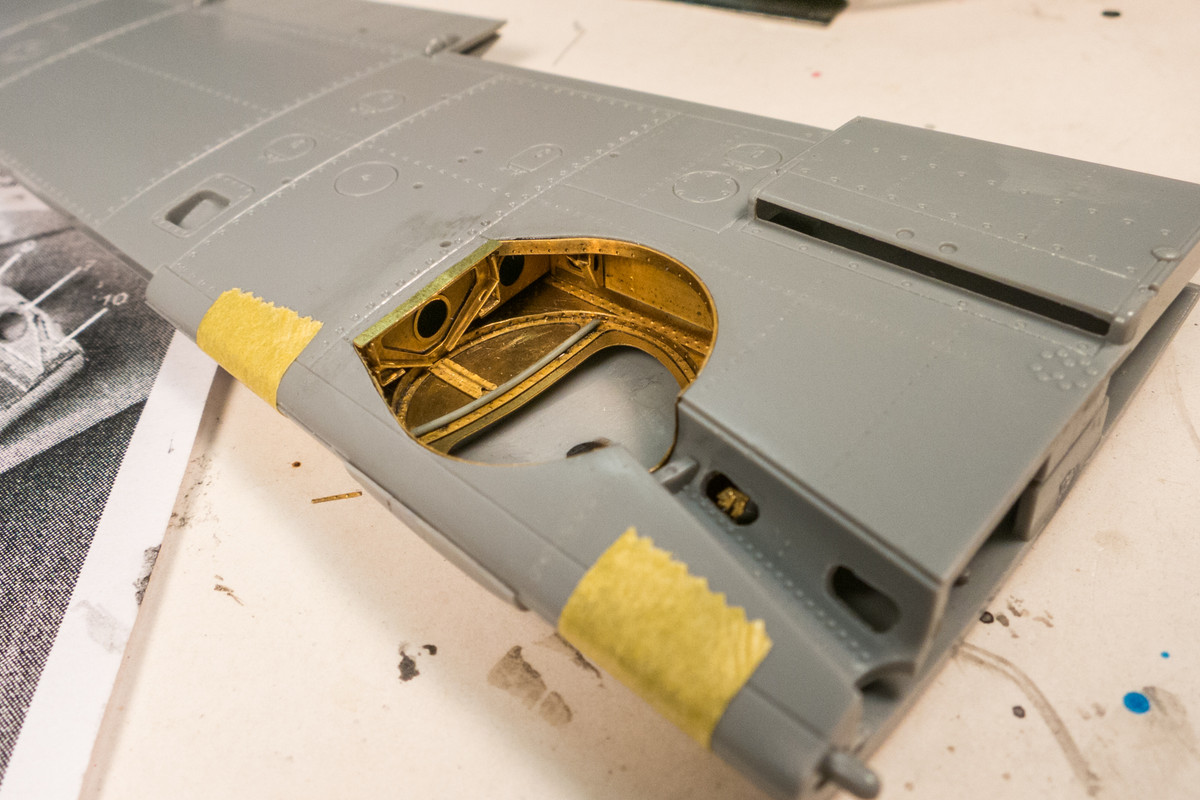
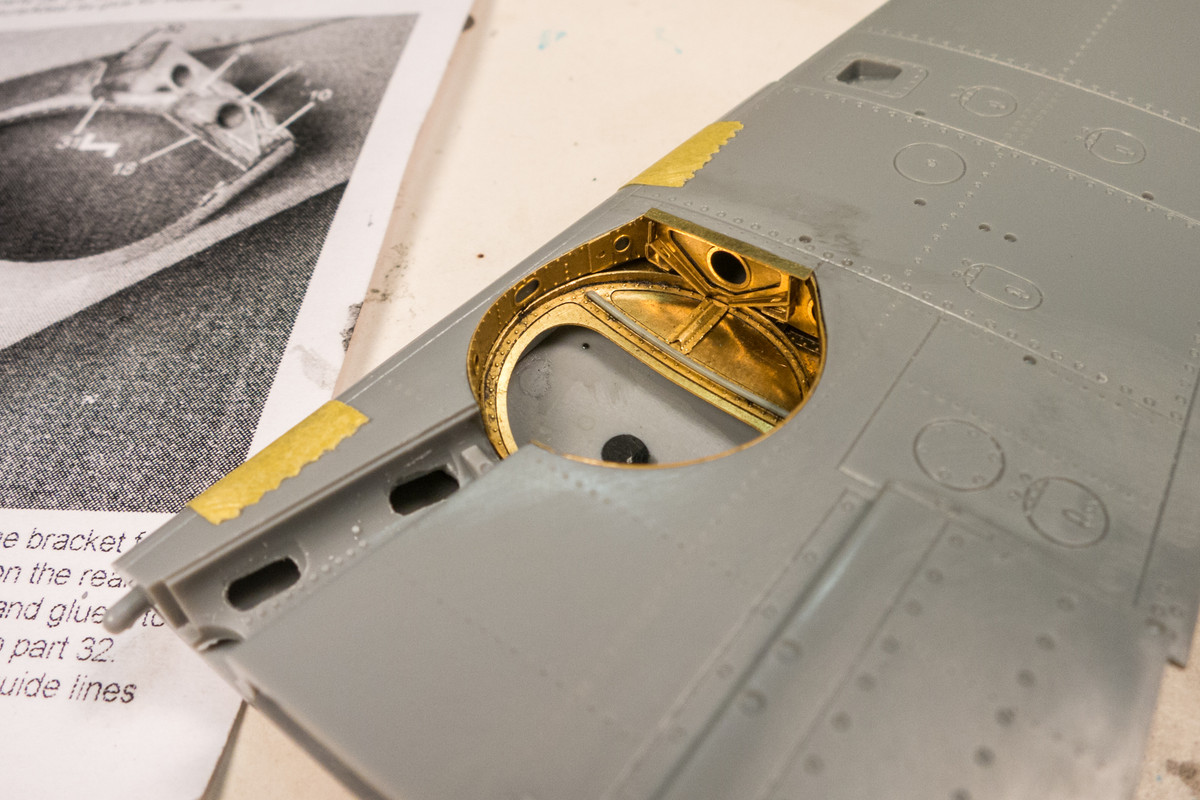
Here's what the wheel wells look like from the outside. Once I finish the other side, I may elect to prime/paint the wheel well area before gluing the wing halves together.
Image
Image
Image
John aka JKim
-----------<><
Image
Post Reply

Return to “Aircraft Work in Progress”