1/32 Hasegawa Bf109K-4 Weisse 8
-
Duke Maddog

- Elite Member
- Posts: 7700
- Joined: Tue Jun 03, 2014 11:22 am
- Location: Rowland Heights, CA
Re: 1/32 Hasegawa Bf109K-4 Weisse 8
Brilliant work with that milliput John. I also use Vallejo's acrylic putty with the same results. Very nice!
The Duke
Virtuoso of Miniatures
"Do you know what the chain of command is? It's the chain I get and beat you with 'till you understand who's in ruttin' command!"
-Jayne Cobb, Firefly Episode 2 "The Train Job"
We are modelers - the same in spirit, in hunger to insanely buy newly released kits, hustlers in hiding our stash from our better halves and experts in using garbage as replacements for after-market parts.
Virtuoso of Miniatures
"Do you know what the chain of command is? It's the chain I get and beat you with 'till you understand who's in ruttin' command!"
-Jayne Cobb, Firefly Episode 2 "The Train Job"
We are modelers - the same in spirit, in hunger to insanely buy newly released kits, hustlers in hiding our stash from our better halves and experts in using garbage as replacements for after-market parts.

Re: 1/32 Hasegawa Bf109K-4 Weisse 8
Thanks for the comments guys! Always appreciate the input!
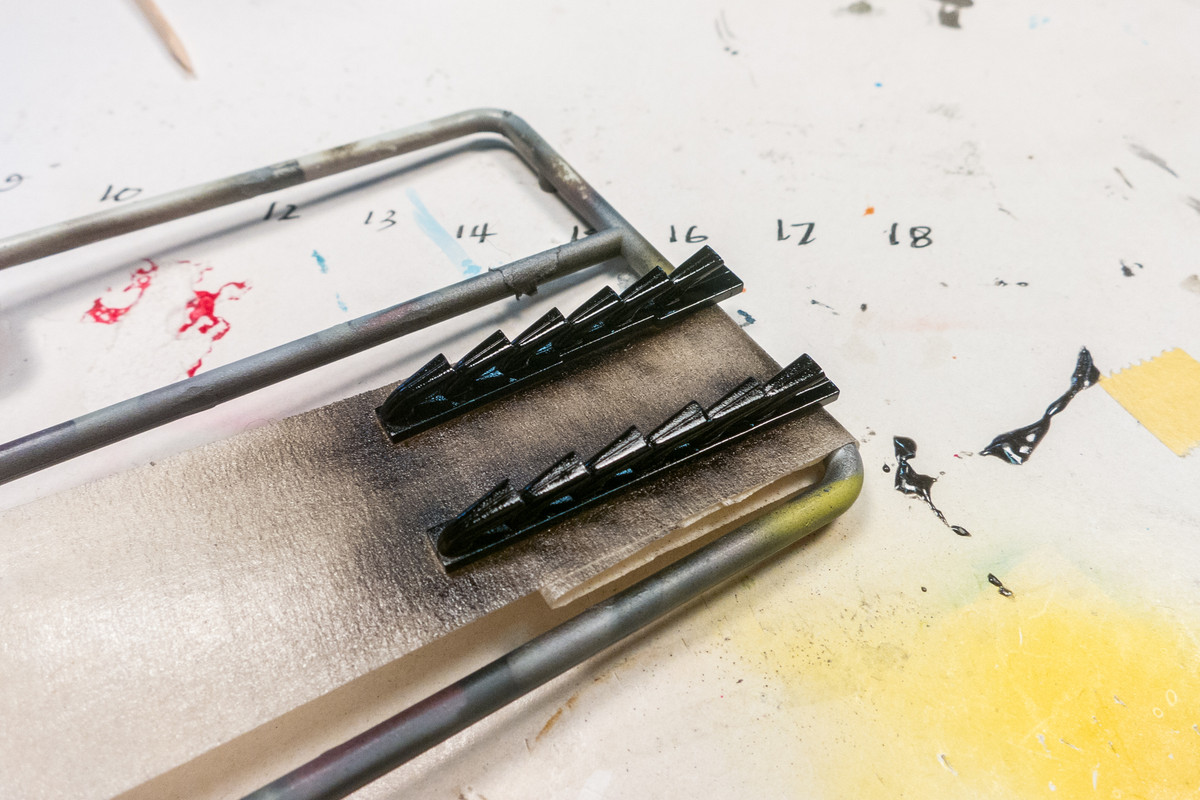
This is how I paint my exhausts. After experimenting with a few paint sequences, I've kind of settled on this routine but will vary it here and there. I put on a base coat of gloss black first.
Over the black, I put on a metallic color. It doesn't really matter since it will get covered up but any darkish metal shade would work. In this case, I've used Alclad Dark Aluminum.
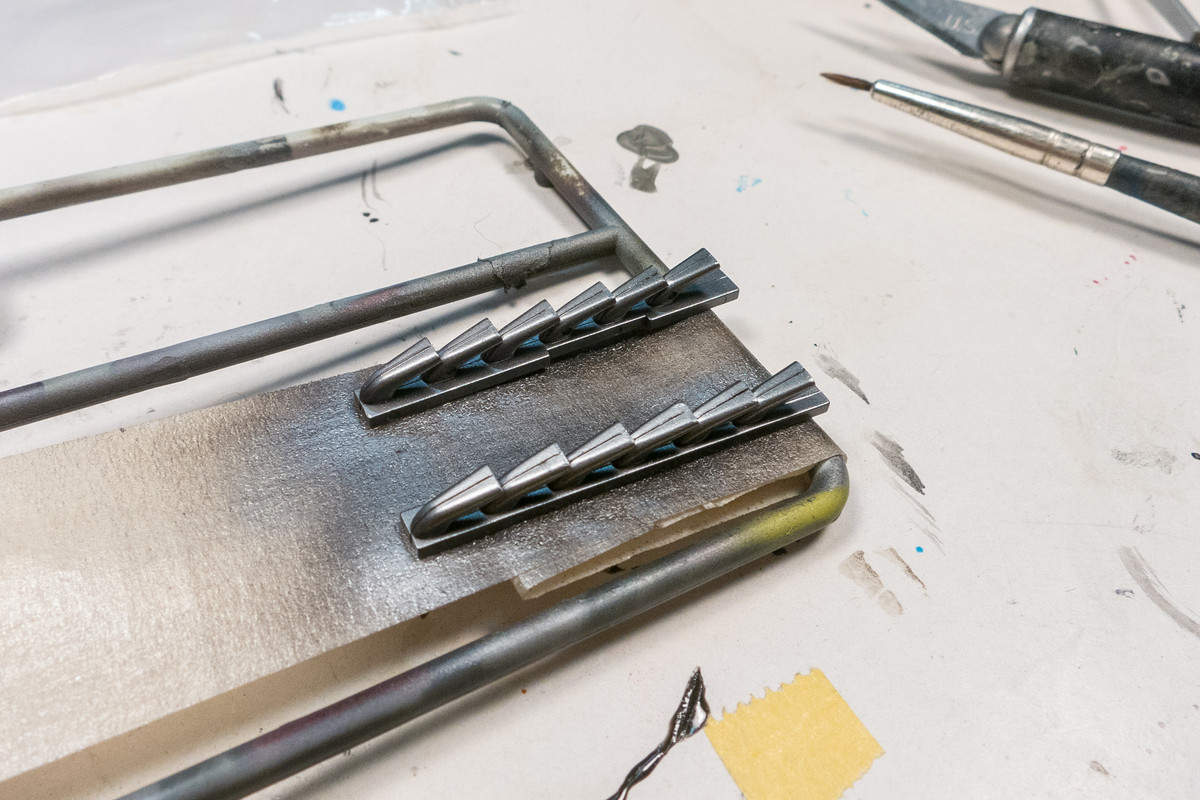
Next I use Alclad Exhaust Manifold in irregular swipes with the airbrush to give the exhausts a brownish tinge.

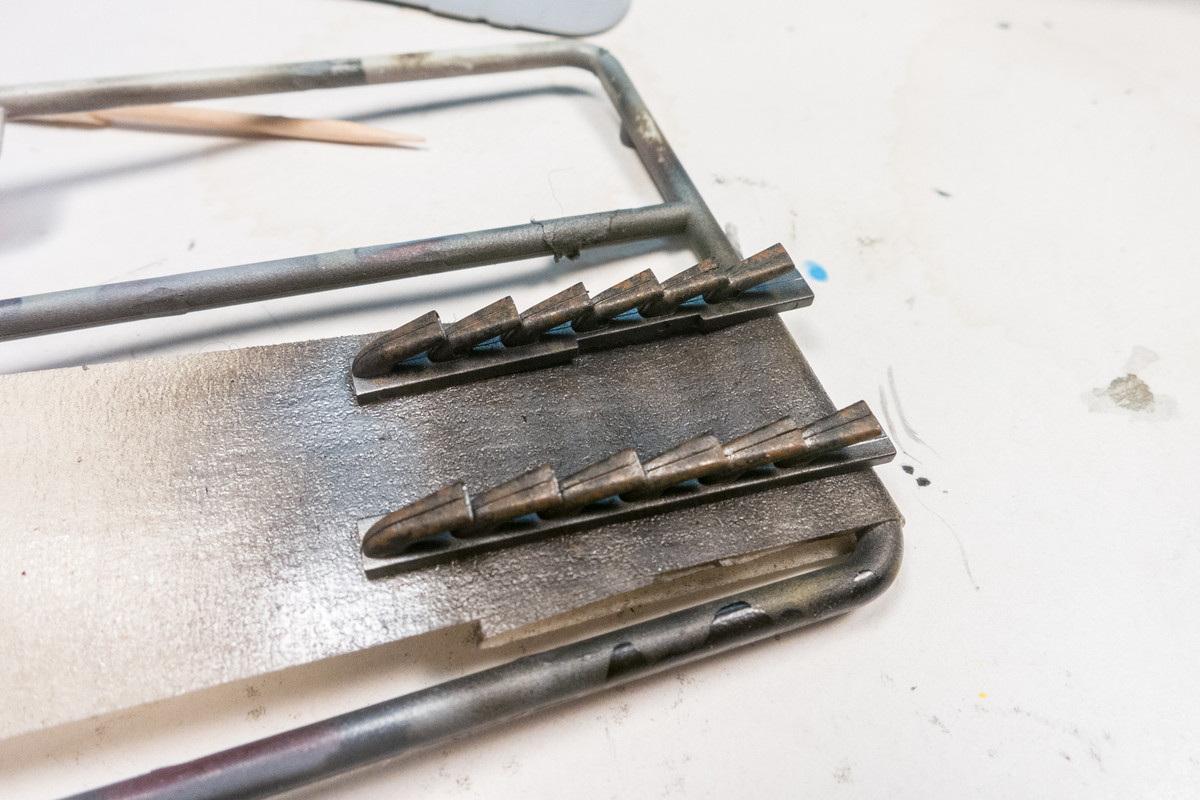
I mix up a small amount of orange/red/brown rust color and dry dab it onto the exhaust in patches. I like how this removes some of the uniformity from the exhausts.
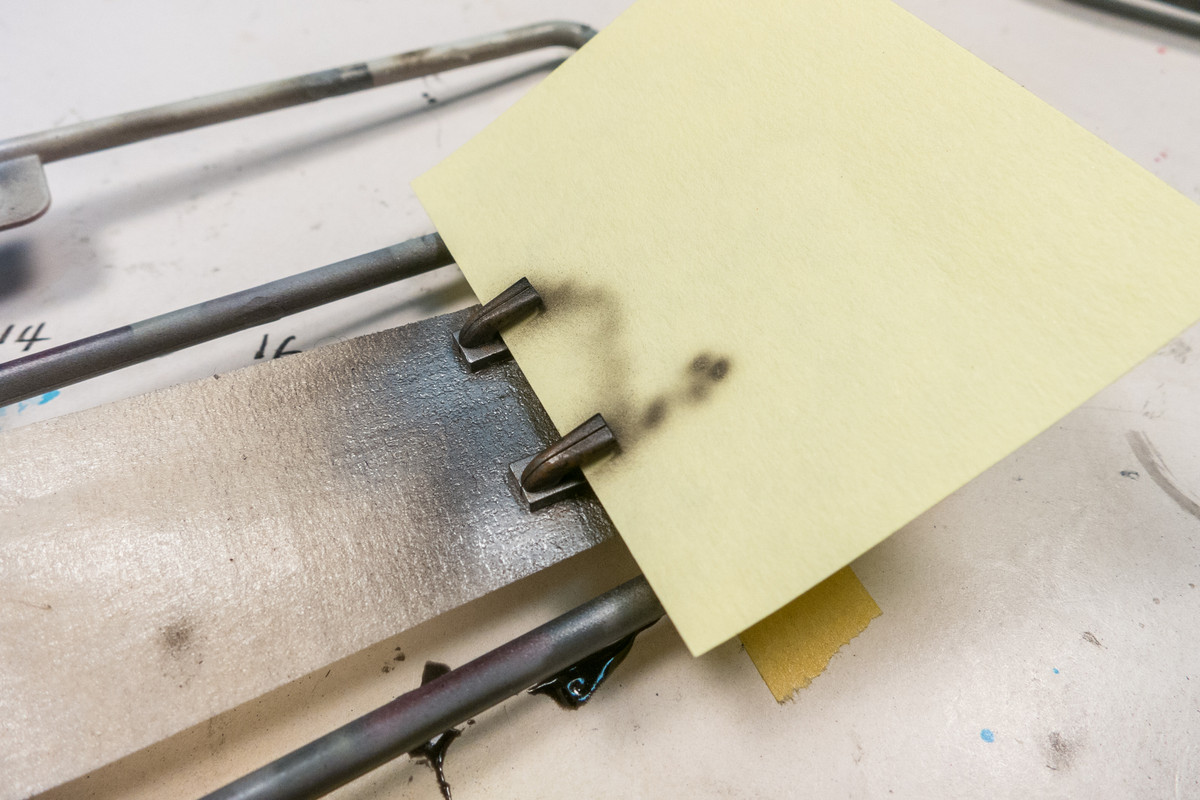
Finally, I use a piece of post-it to isolate each tip and spray a thinned black into the hollowed out openings. This again helps to remove some of the uniformity from the exhaust row and makes each pipe kind of stand out on its own.
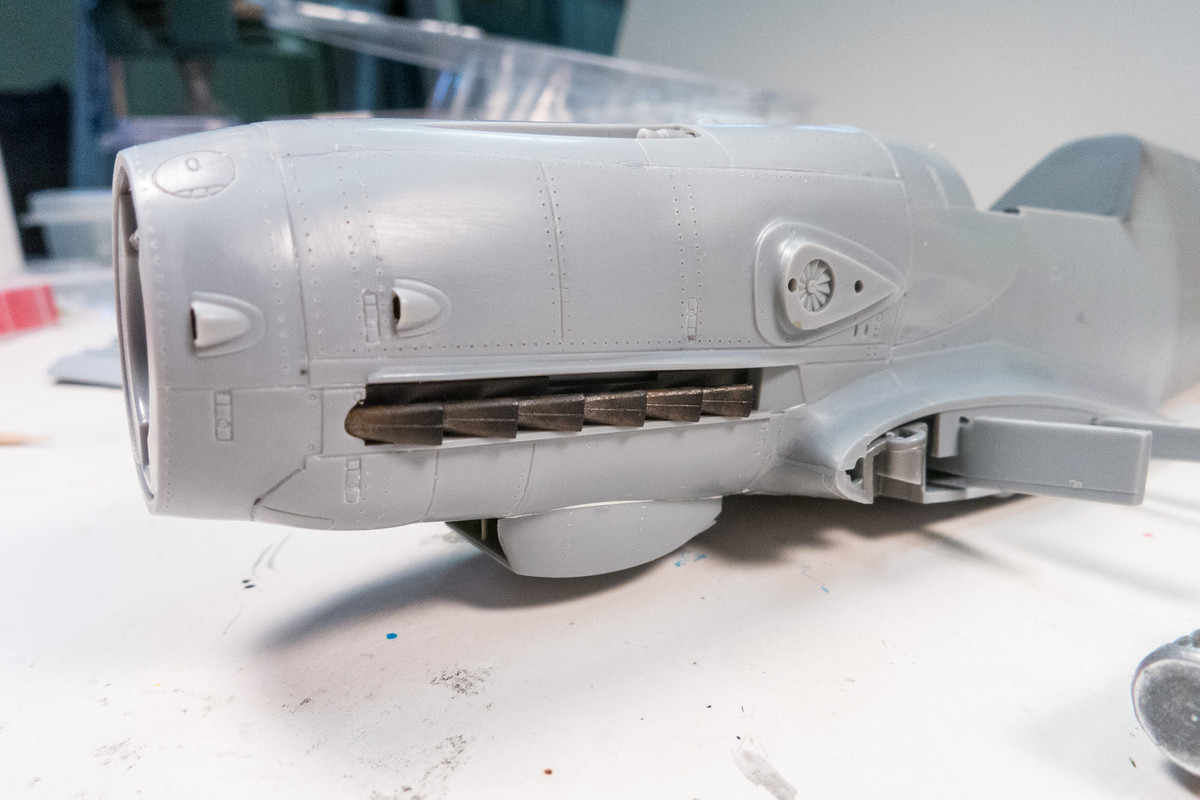
Here's what the painted exhaust stacks look mounted in the fuselage. I can set these aside for now and glue them in at the end of the build.

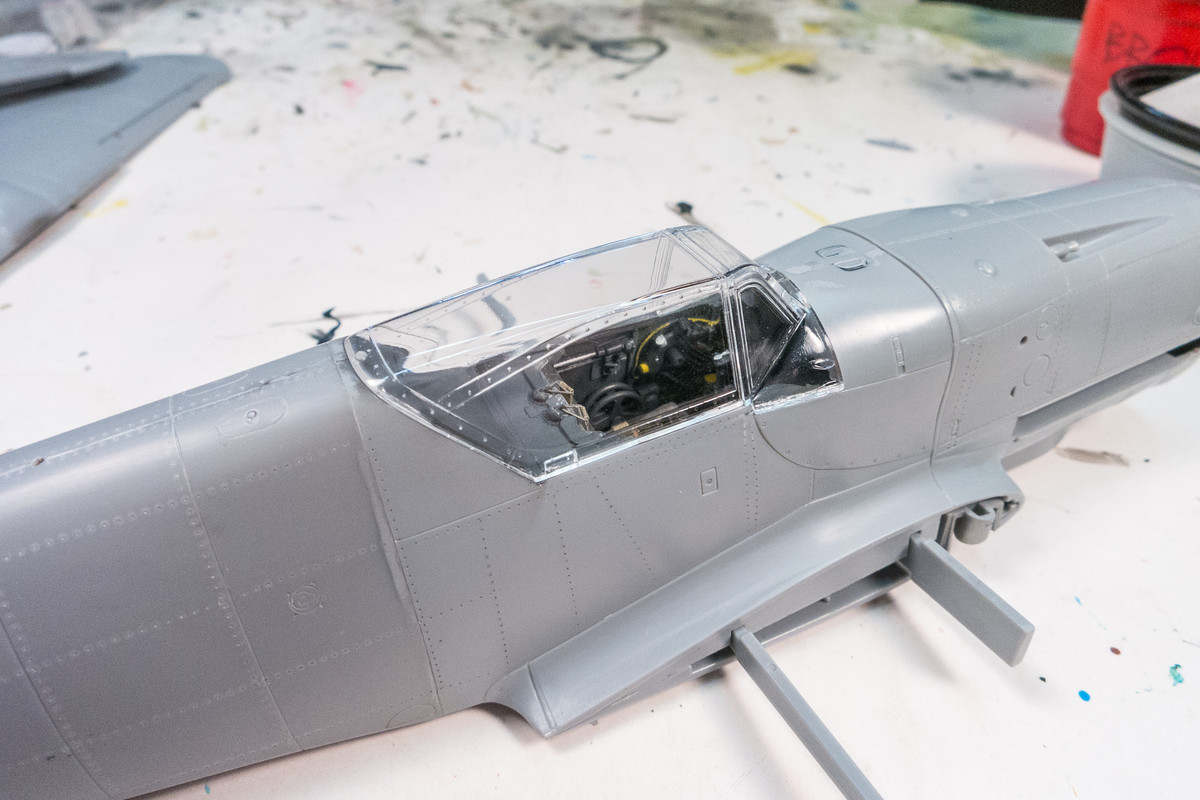
The clear parts have been polished and dipped into Future. Remember, the cross-section of the canopy and the fuselage spine has been re-sculpted to remove some of the "squareness" of the original kit.

After doing a bunch of 1/48 scale builds, I transitioned over to 1/32 and found that I just like it better. Maybe it has something to do with my failing 55 year old eyesight? Most of my 1/48 scale builds are housed in various bookcases. But all of my 1/32 scale builds are destined to be shipped away so I don't have to worry about space.keavdog wrote:Nice work. I haven't done any planes over 1/48 - do you feel like it's more seam, more filling or is the detail really worth it? Also - where do you put these big birds?
This is how I paint my exhausts. After experimenting with a few paint sequences, I've kind of settled on this routine but will vary it here and there. I put on a base coat of gloss black first.
Over the black, I put on a metallic color. It doesn't really matter since it will get covered up but any darkish metal shade would work. In this case, I've used Alclad Dark Aluminum.
Next I use Alclad Exhaust Manifold in irregular swipes with the airbrush to give the exhausts a brownish tinge.
I mix up a small amount of orange/red/brown rust color and dry dab it onto the exhaust in patches. I like how this removes some of the uniformity from the exhausts.
Finally, I use a piece of post-it to isolate each tip and spray a thinned black into the hollowed out openings. This again helps to remove some of the uniformity from the exhaust row and makes each pipe kind of stand out on its own.
Here's what the painted exhaust stacks look mounted in the fuselage. I can set these aside for now and glue them in at the end of the build.
The clear parts have been polished and dipped into Future. Remember, the cross-section of the canopy and the fuselage spine has been re-sculpted to remove some of the "squareness" of the original kit.
John aka JKim
-----------<><

-----------<><

Re: 1/32 Hasegawa Bf109K-4 Weisse 8
Beautiful exhaust, thank you for showing us your way of painting them, I also like to add a bit of blue to show heated metal.
March as one, Don't look back
Odin's sons... Attack!
Unleash hell! Do not repent! Warfare grants us no lament
Let your weapons slash and tear This is no place for fear
Hold the lines! Move as one! In unity our victory's won
Our shields will form a mighty wall
United we shall never fall
Odin's sons... Attack!
Unleash hell! Do not repent! Warfare grants us no lament
Let your weapons slash and tear This is no place for fear
Hold the lines! Move as one! In unity our victory's won
Our shields will form a mighty wall
United we shall never fall
Re: 1/32 Hasegawa Bf109K-4 Weisse 8
A bit of blue would be a good touch!Floki wrote:Beautiful exhaust, thank you for showing us your way of painting them, I also like to add a bit of blue to show heated metal.
I got a surprise package in the post today. A prototype landing gear replacement set for the Hasegawa kit! As this is not released to the public yet, I've been asked to give an evaluation and keep the source anonymous for now.

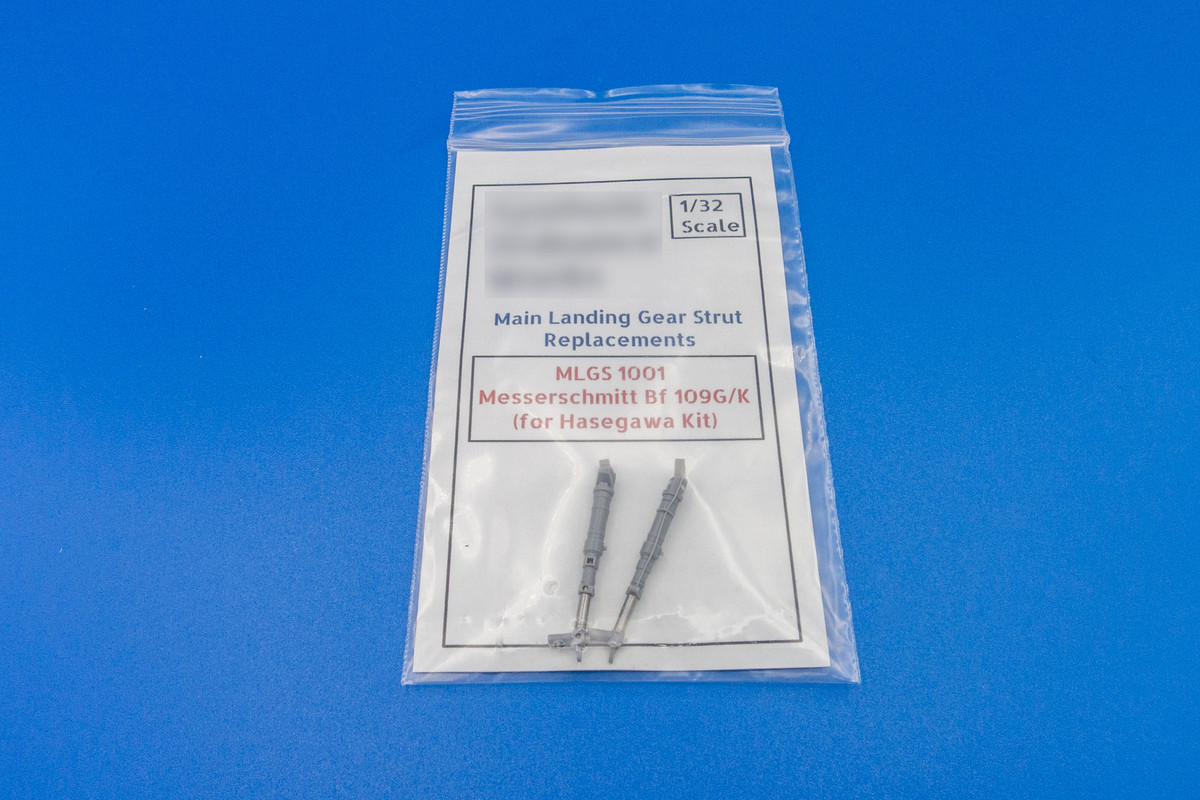
The landing gear struts are an ingenious mixed media product comprised of a stainless steel tube core, which lends strength to the legs and also gives the oleos a shiny metal finish without having to paint it. The rest of the landing gear leg is molded in resin using the kit landing gear as a master mold. As you can see, the metal extends into the mounting peg, which should make the legs significantly stiffer/stronger than plastic or pure resin legs. The molding edge is thoughtfully placed so that is will be hidden from view by the landing gear covers.
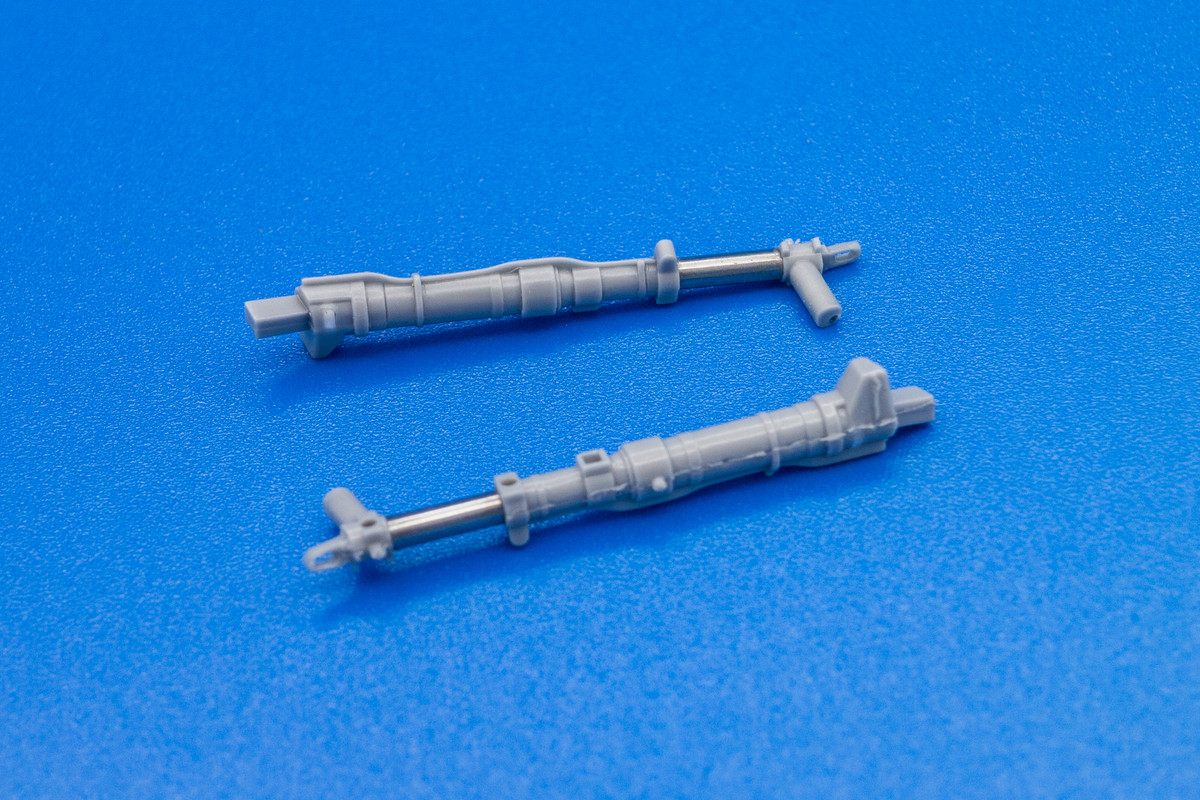
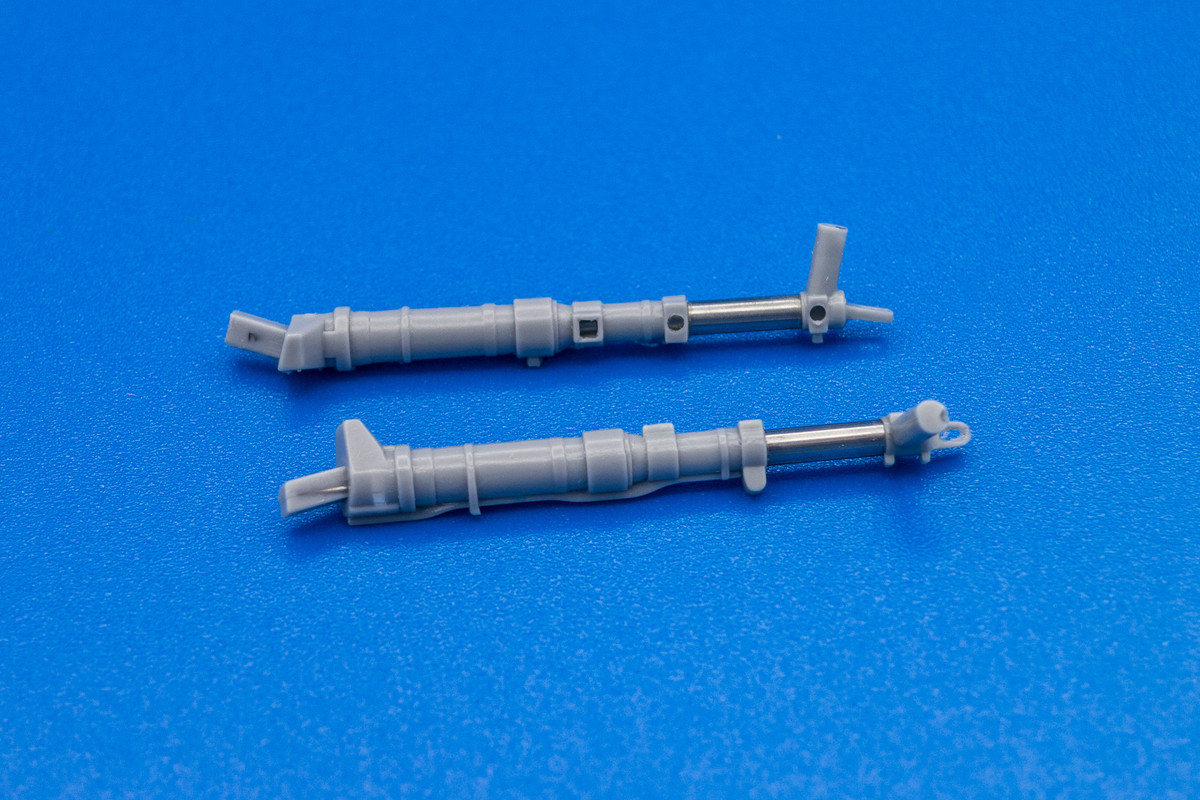
The landing gear legs are basically identical to the kit gear legs, with the exception of the additional tow eye that was placed at the wheel end of the leg. All of the mounting tabs and sockets are replicated as to work seamless with the kit parts. I've already verified that these fit very positively into the wing bottoms. Casting is of the highest quality with no visible roughness or air bubbles.
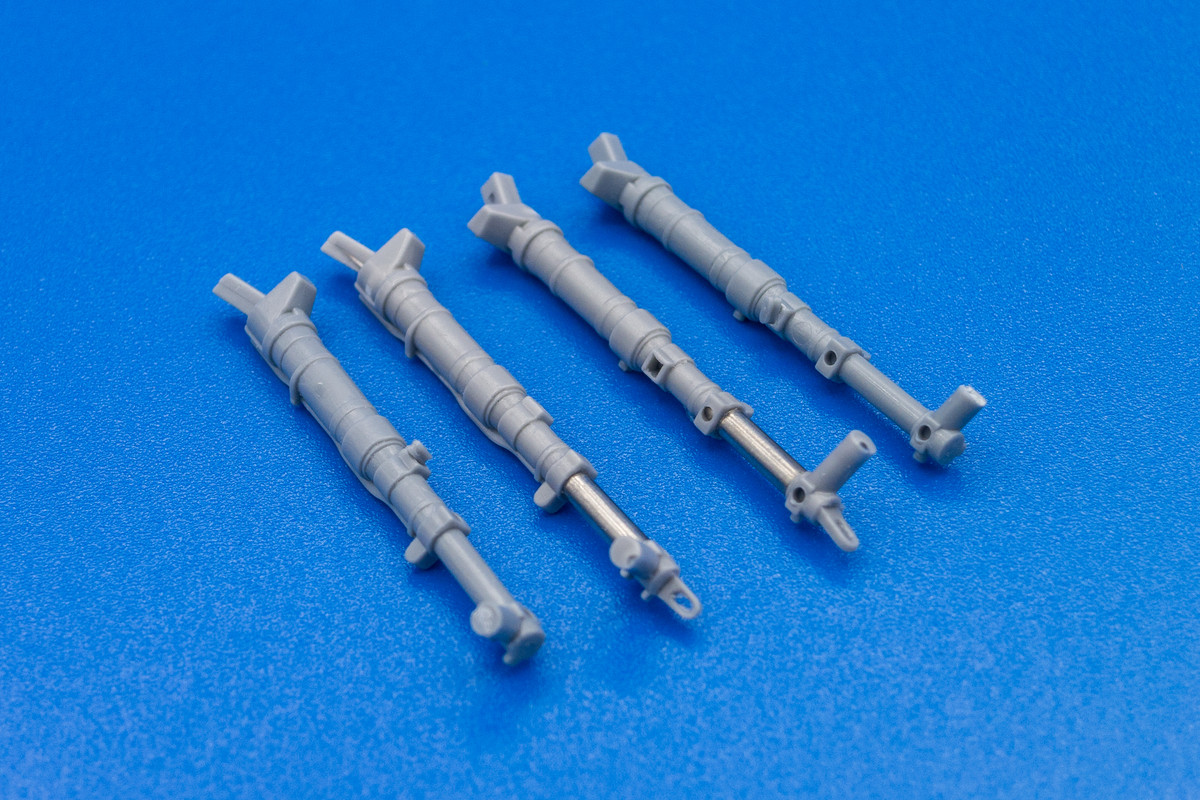
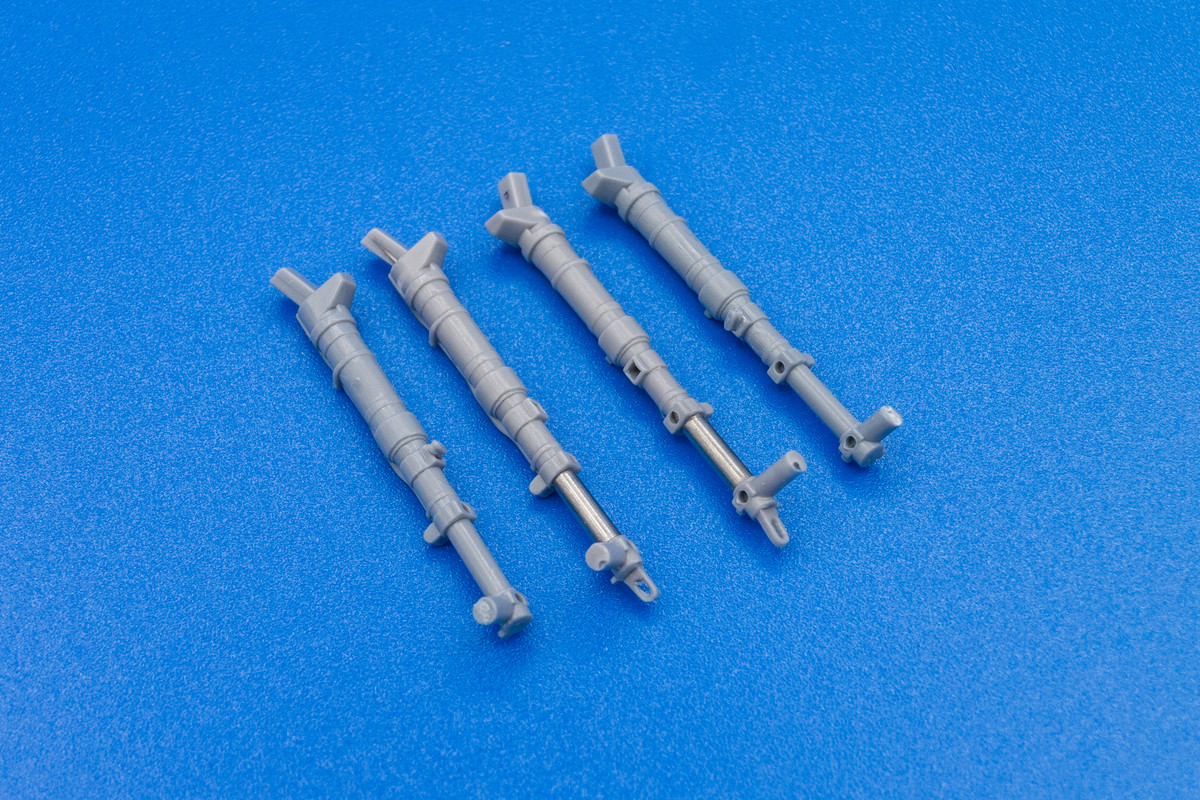
I love the ingenuity of the mixed media approach. Metal legs are nice but they can be a pain to clean up. The resin is much easier to handle and the metal tube gives the legs an upgrade in strength. Double thumbs-up from me!
John aka JKim
-----------<><
-----------<><
Re: 1/32 Hasegawa Bf109K-4 Weisse 8
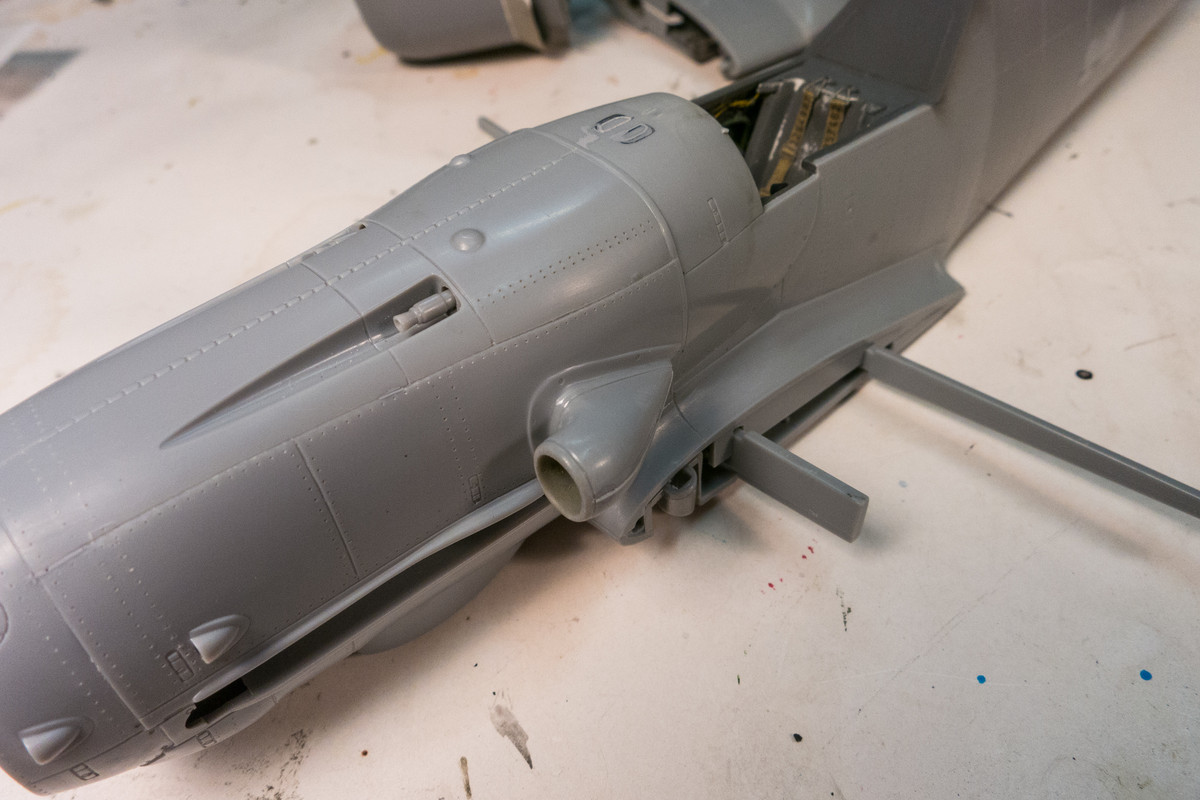
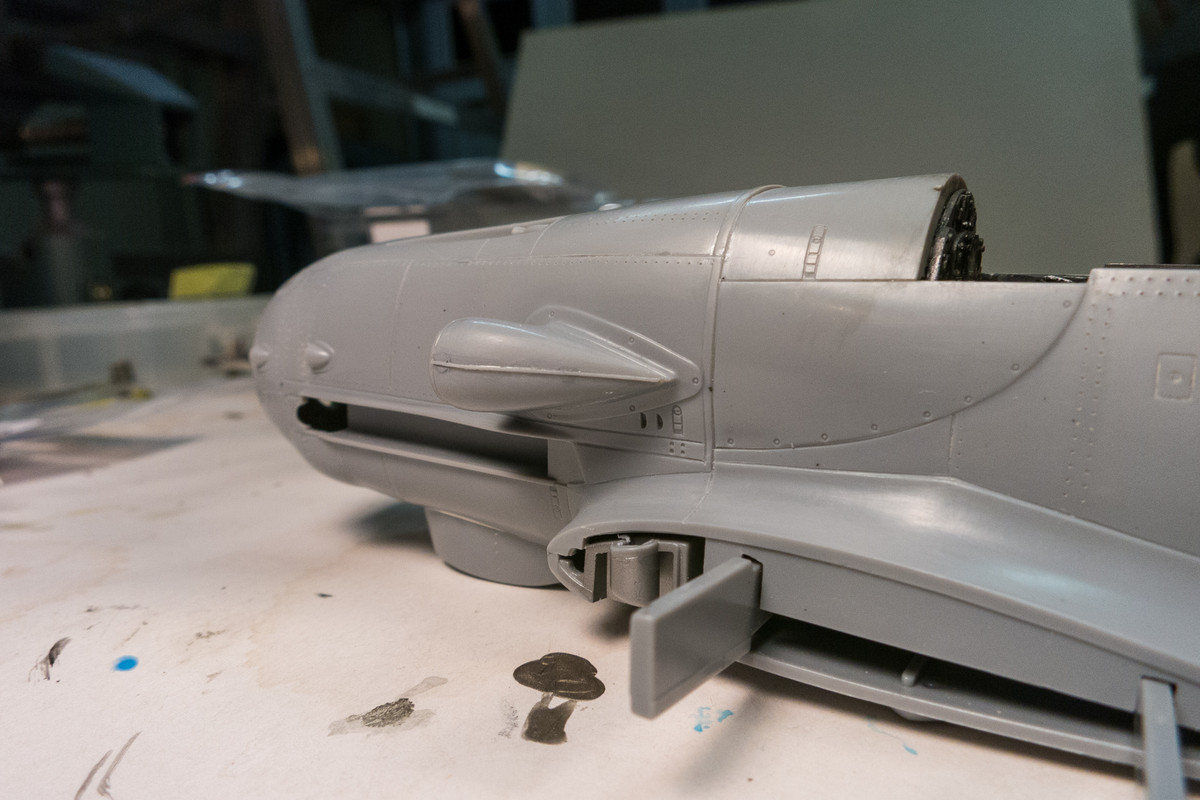
I've glued on the supercharger intake. I added a weld seam using stretched sprue, which will get sanded down a bit.
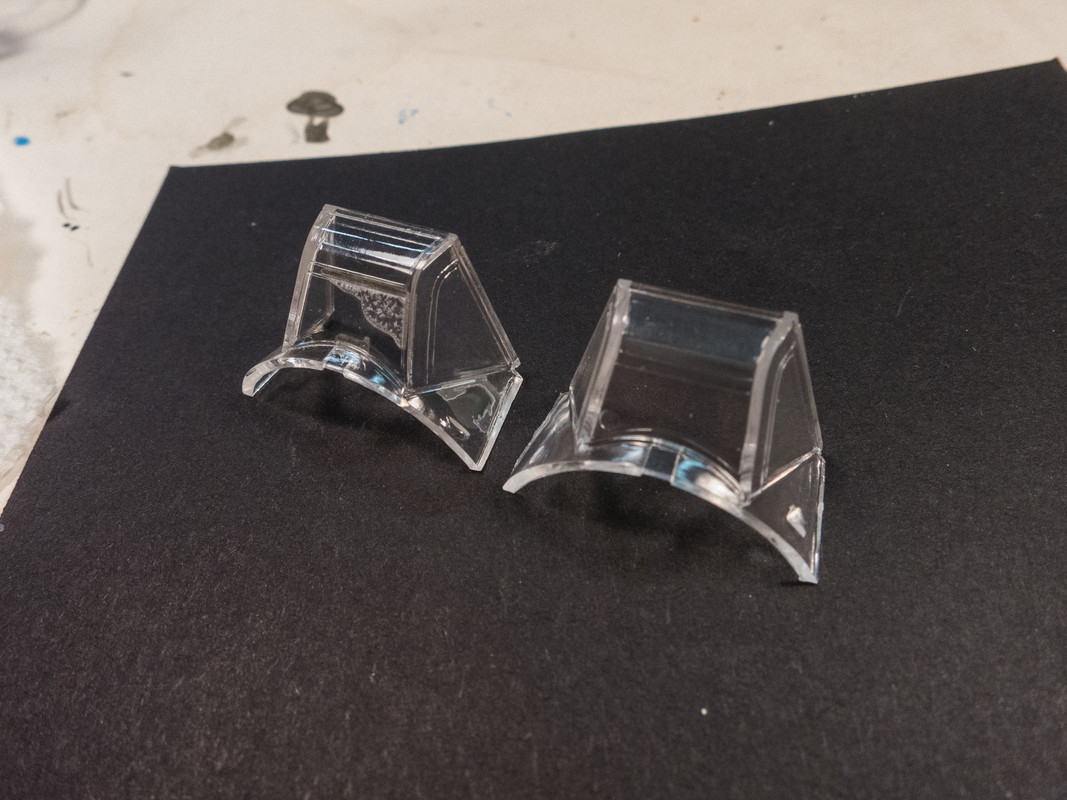
I messed up the windshield. When trying to attach the armored glass, the capillary action of the Tamiya Extra Thin seeped in and made a mess of things. Thankfully, Hasegawa supplied a spare windshield.
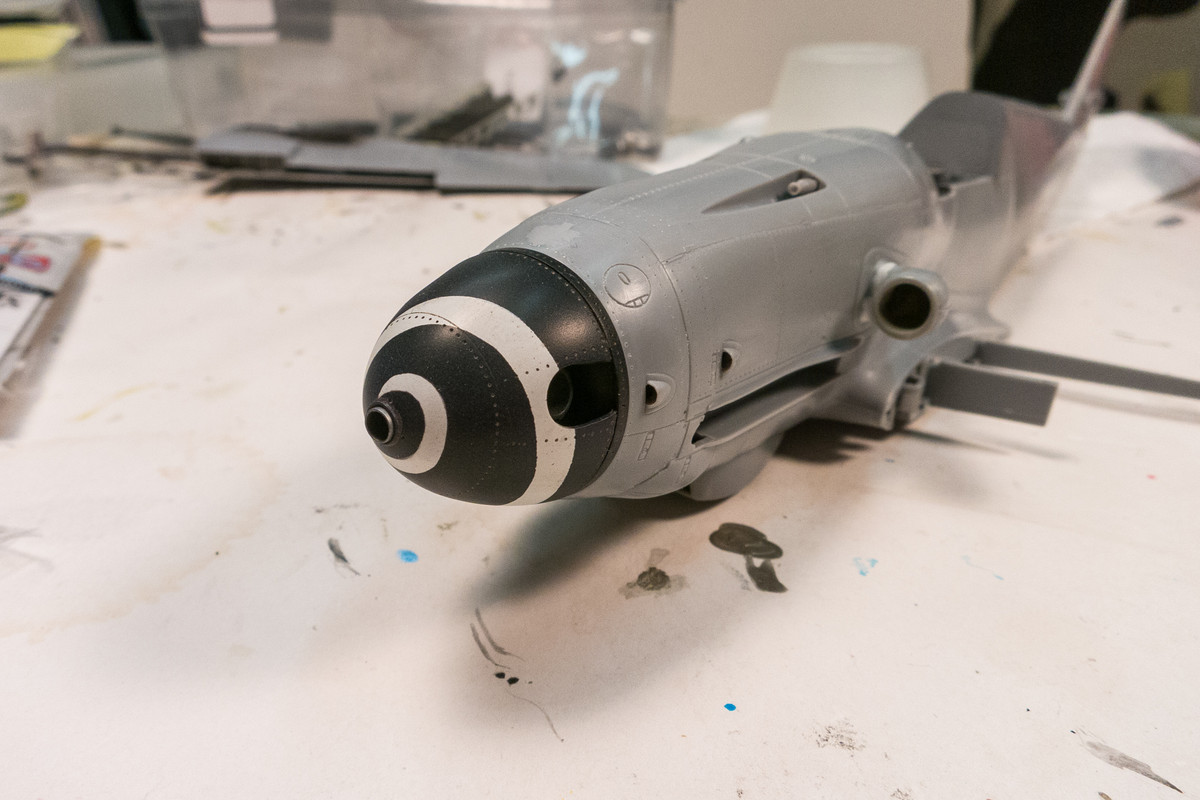
I've glued the backplate onto the spinner and painted it to match.
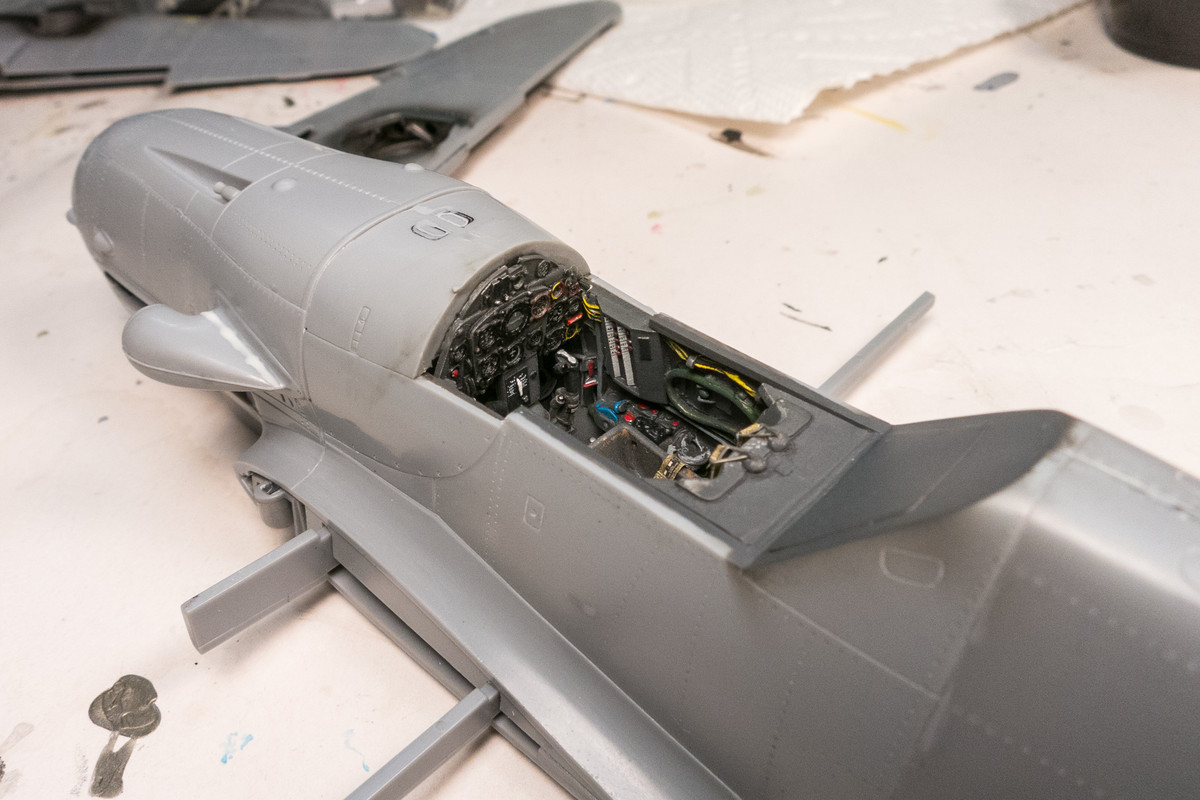
Prior to the windshield mishap, I was gearing up to attach the clear parts and glued in the instrument panel. A little delay to see if I can salvage the armored glass that goes behind the windshield.
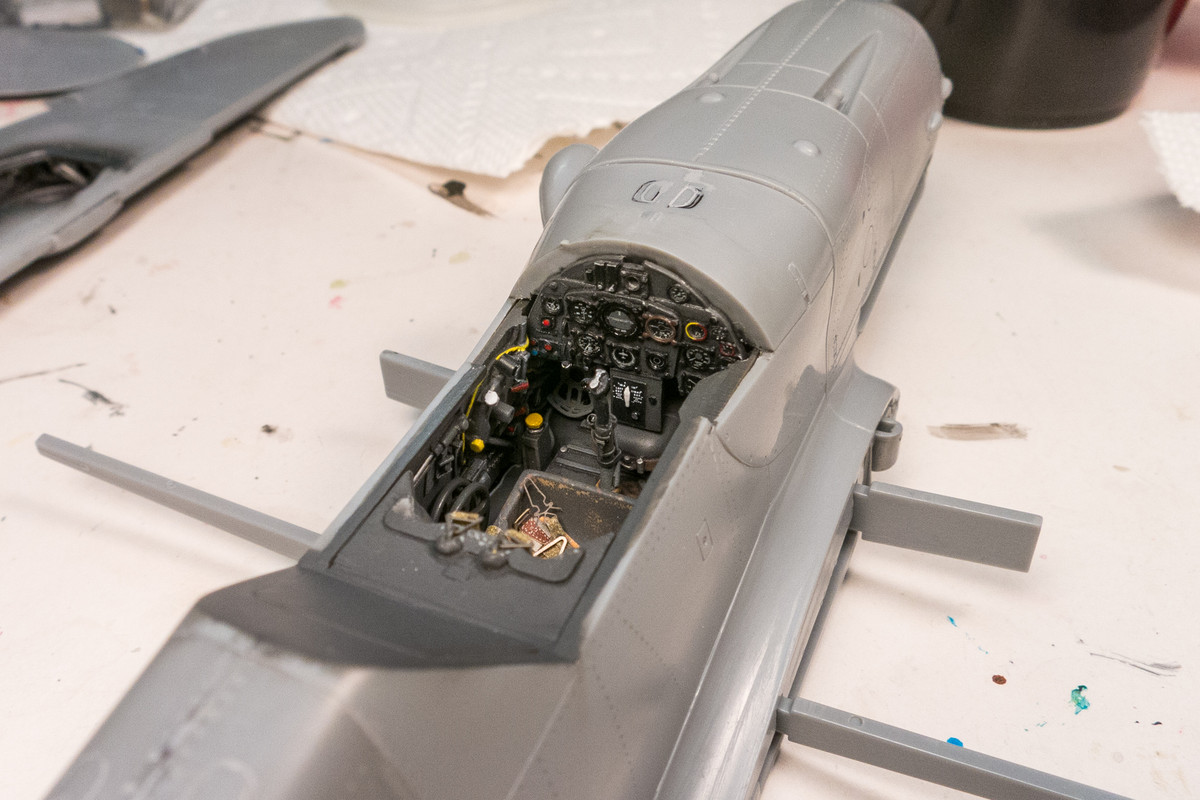
I messed up the windshield. When trying to attach the armored glass, the capillary action of the Tamiya Extra Thin seeped in and made a mess of things. Thankfully, Hasegawa supplied a spare windshield.
I've glued the backplate onto the spinner and painted it to match.
Prior to the windshield mishap, I was gearing up to attach the clear parts and glued in the instrument panel. A little delay to see if I can salvage the armored glass that goes behind the windshield.
John aka JKim
-----------<><
-----------<><
-
BlackSheep214

- Elite Member
- Posts: 13595
- Joined: Sun Apr 06, 2014 8:47 pm
Re: 1/32 Hasegawa Bf109K-4 Weisse 8
The curves on the spinner is the hardest to do but you are one of the few that can pull it off brilliantly. Well done! As for the exhaust... whoa! 

“Who controls the skies, controls the fate of this Earth”
Author unknown- 352nd Fighter Group, Blue-Nosed Bastards of Bodney
“Send one plane it’s a sortie; send two planes it’s a flight; send four planes it’s a test of airpower. - Richard Kohn
Author unknown- 352nd Fighter Group, Blue-Nosed Bastards of Bodney
“Send one plane it’s a sortie; send two planes it’s a flight; send four planes it’s a test of airpower. - Richard Kohn
Re: 1/32 Hasegawa Bf109K-4 Weisse 8
Thanks for the comment!
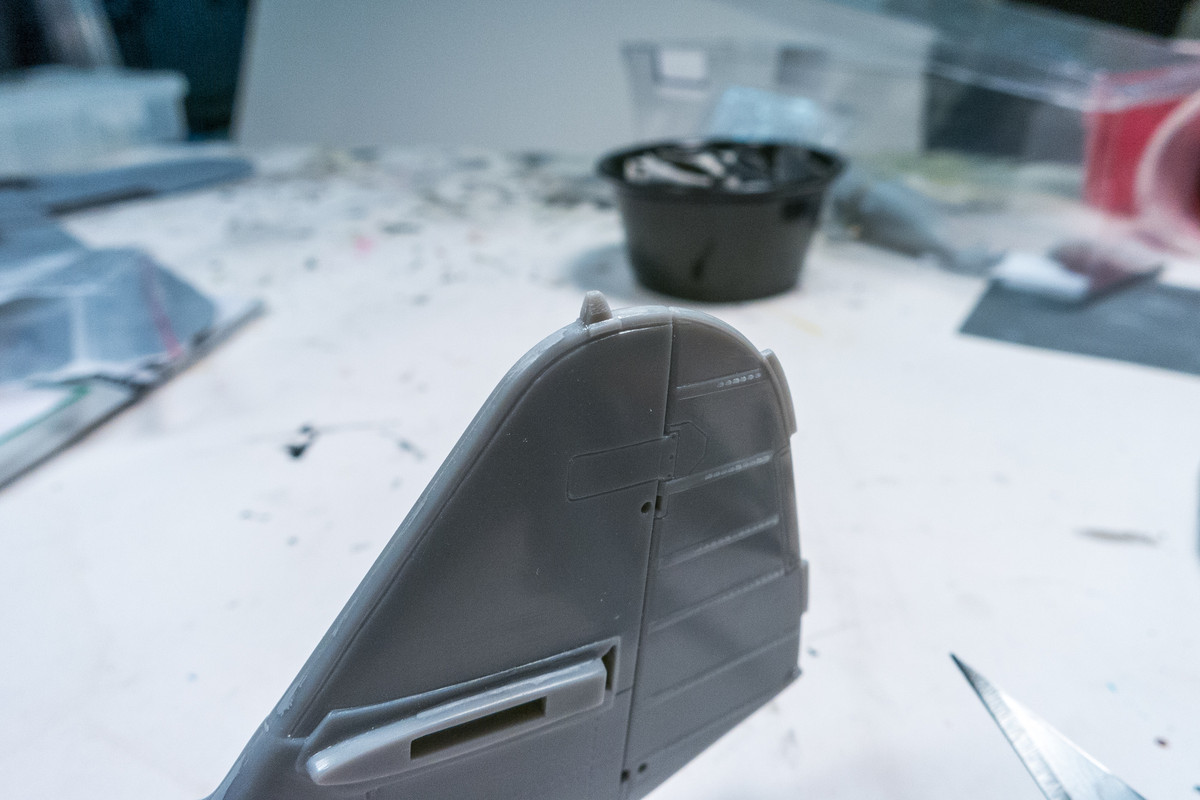
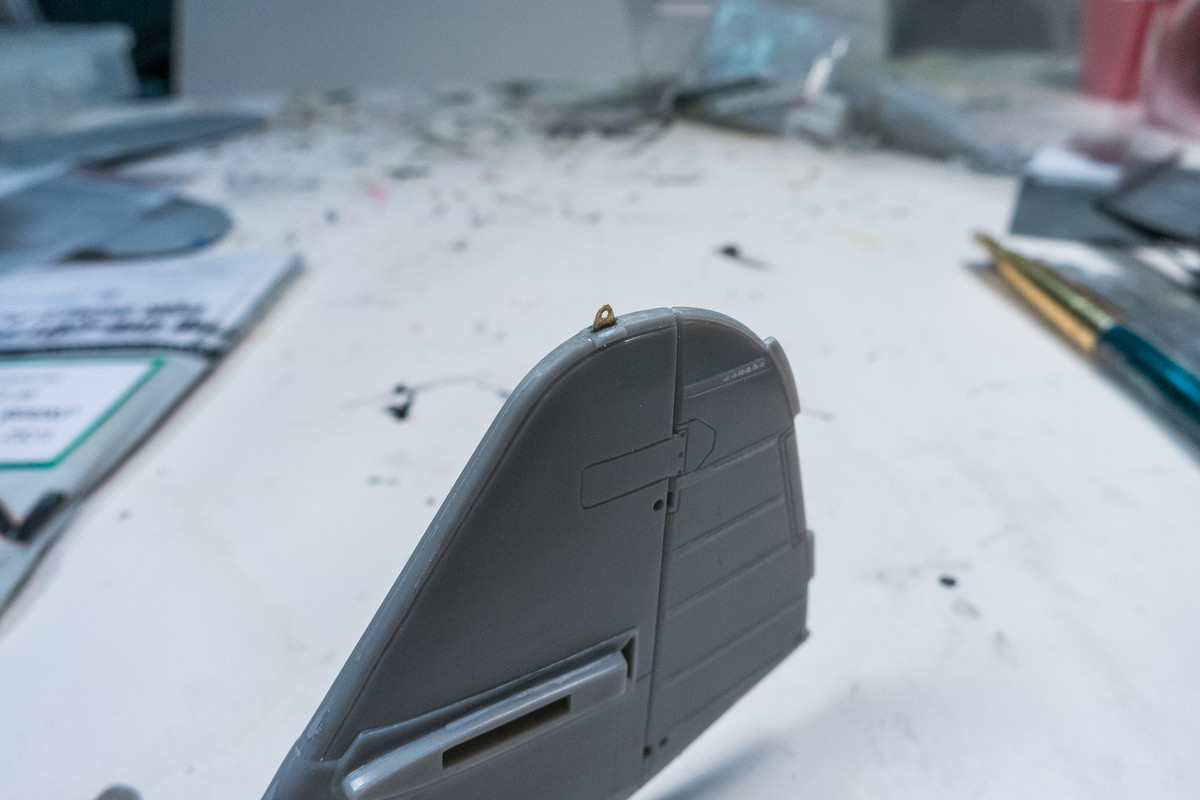
I replaced the aerial attachment tab with a piece of brass sheet.
The Revi 16 gun sight is finally glued into place prior to the attachment of the clear parts.
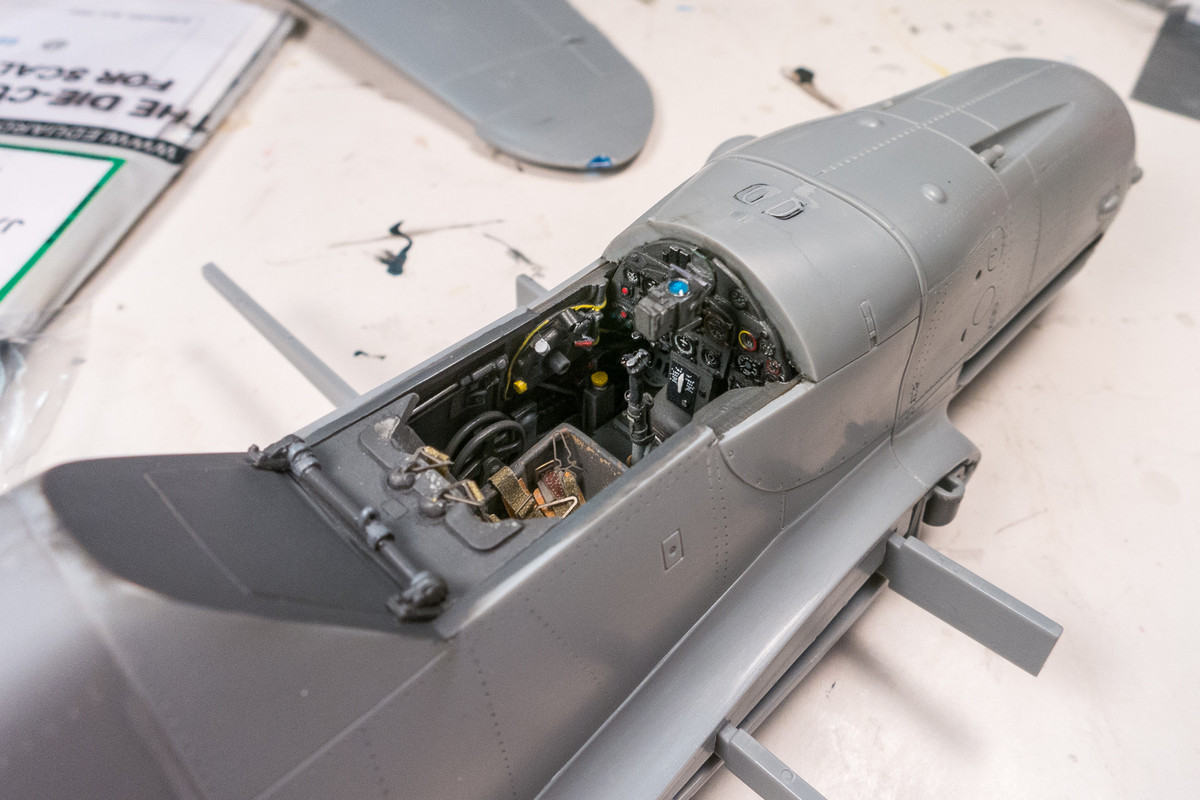
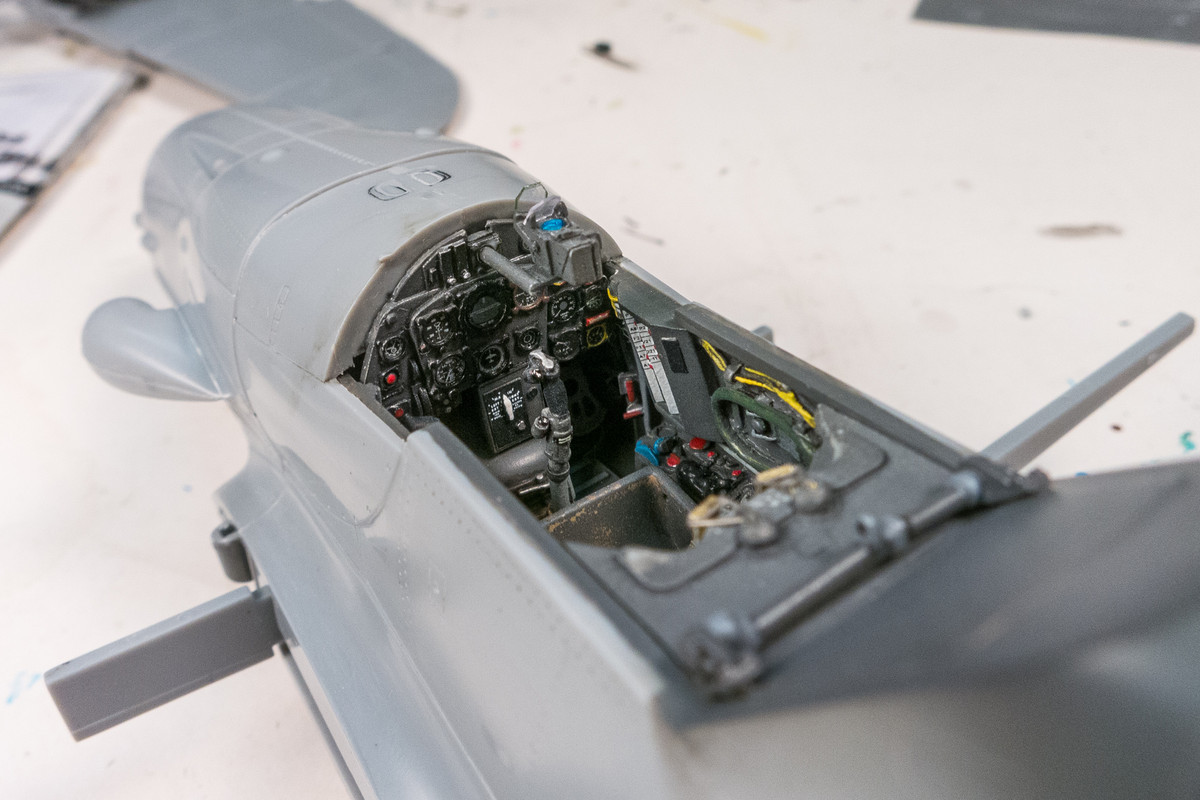
I got lazy and ordered a set of Eduard masks for the clear parts. As usual, the fit is PERFECT! This build will have the canopy in the closed position so the windshield and canopy are glued into place permanently.
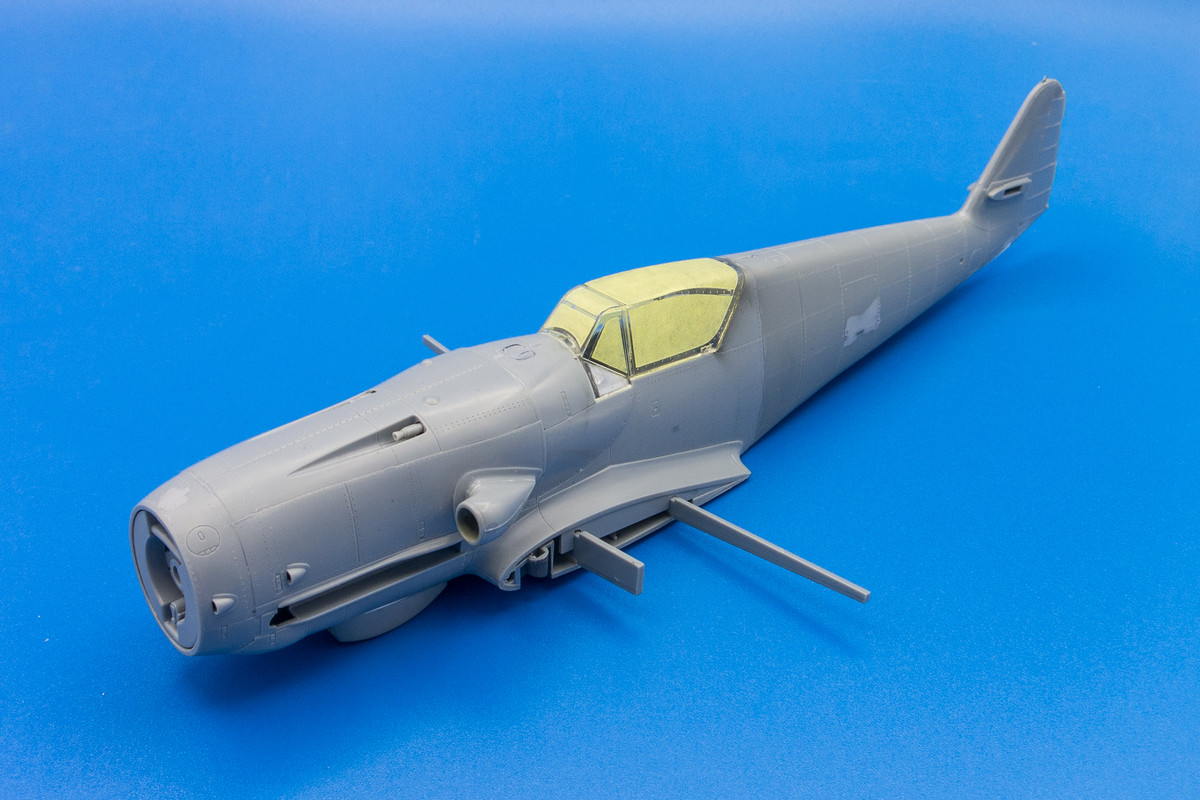
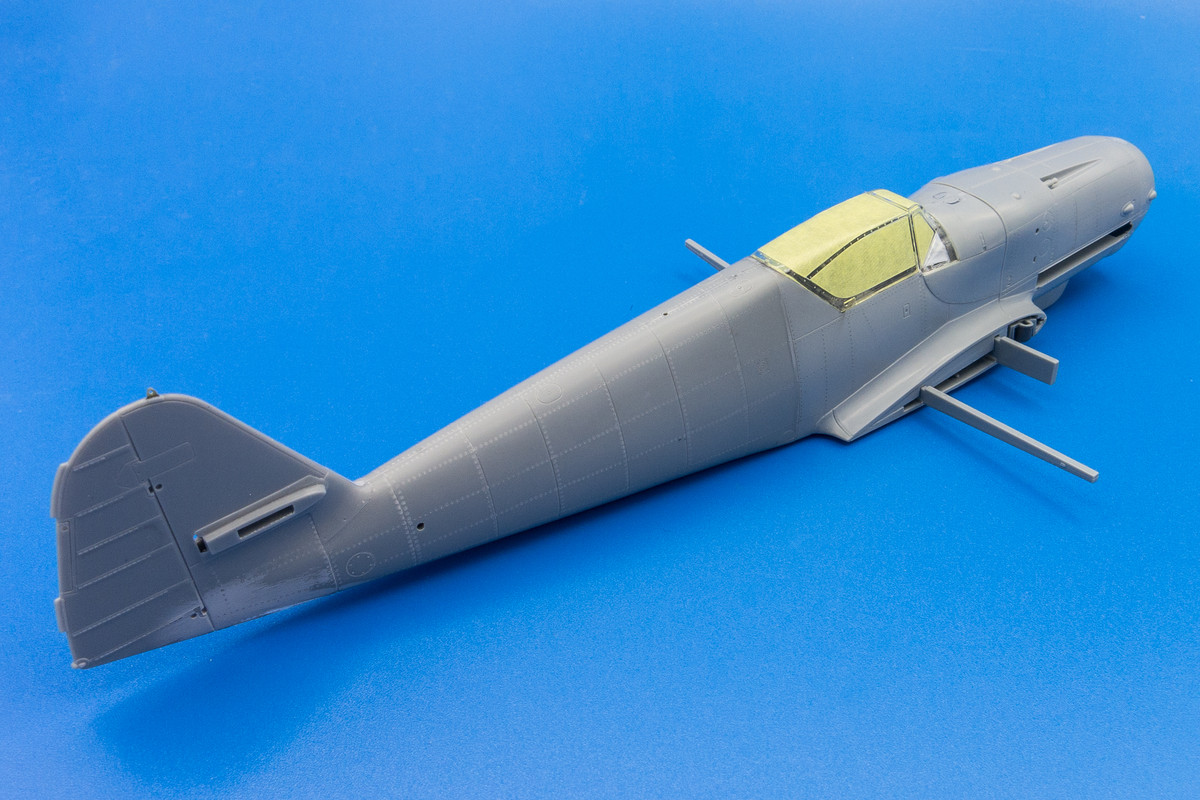
You can see the modifications/corrections I've done on the bottom per Vincent K's excellent article.
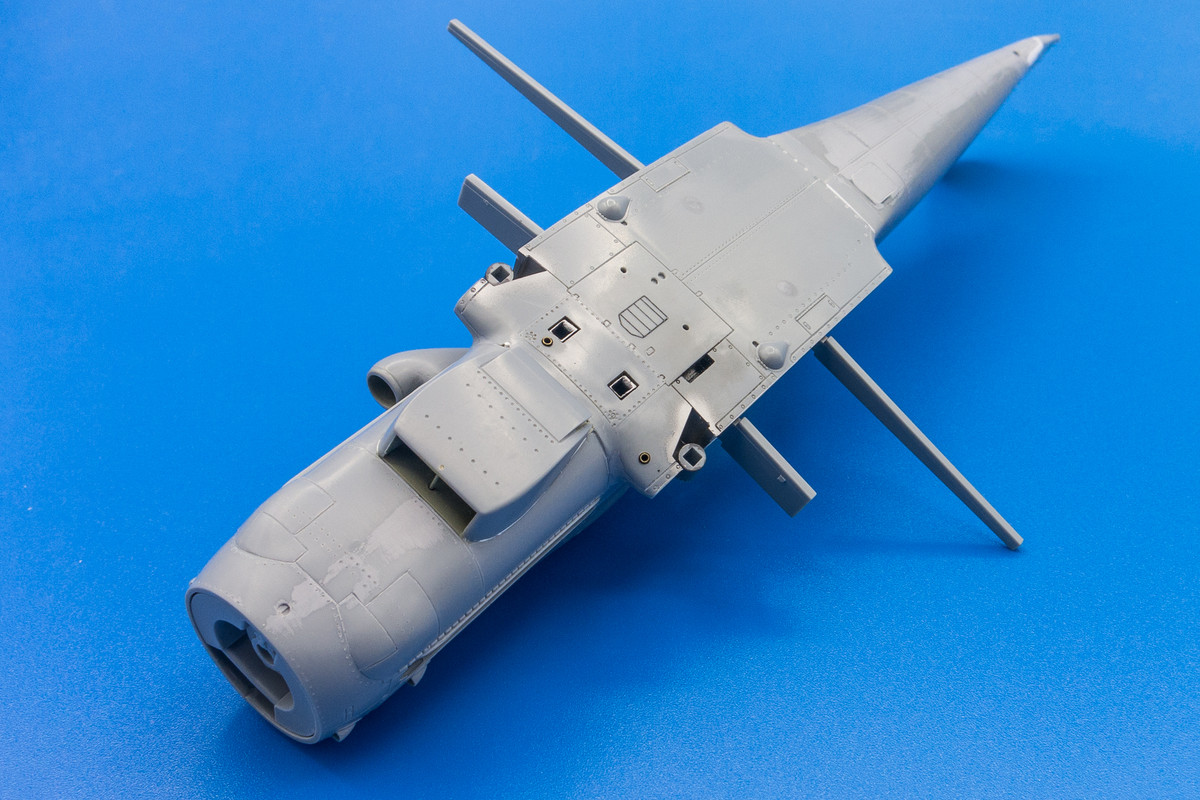
I replaced the aerial attachment tab with a piece of brass sheet.
The Revi 16 gun sight is finally glued into place prior to the attachment of the clear parts.
I got lazy and ordered a set of Eduard masks for the clear parts. As usual, the fit is PERFECT! This build will have the canopy in the closed position so the windshield and canopy are glued into place permanently.
You can see the modifications/corrections I've done on the bottom per Vincent K's excellent article.
John aka JKim
-----------<><
-----------<><
-
tempestjohnny

- Elite Member
- Posts: 3825
- Joined: Sat Oct 15, 2016 4:51 am
- Location: Naples. FL

-
mustang1989

- Moderator
- Posts: 5044
- Joined: Tue Mar 18, 2014 8:35 pm
Re: 1/32 Hasegawa Bf109K-4 Weisse 8
Thanks for the tute on the exhaust manifold work. I have had my formula for aircraft exhausts for a while which is similar to yours except for the orange, red and brown mixture. I cheated and used MM Rust over the aluminum.  May have to give your mixture a try.
Very nice work on this one. The details man.....WOW!!
May have to give your mixture a try.Very nice work on this one. The details man.....WOW!!
Re: 1/32 Hasegawa Bf109K-4 Weisse 8
Beautiful work!! Amazing work on those exhaust stubs!
Messerschmitt 109 Addict