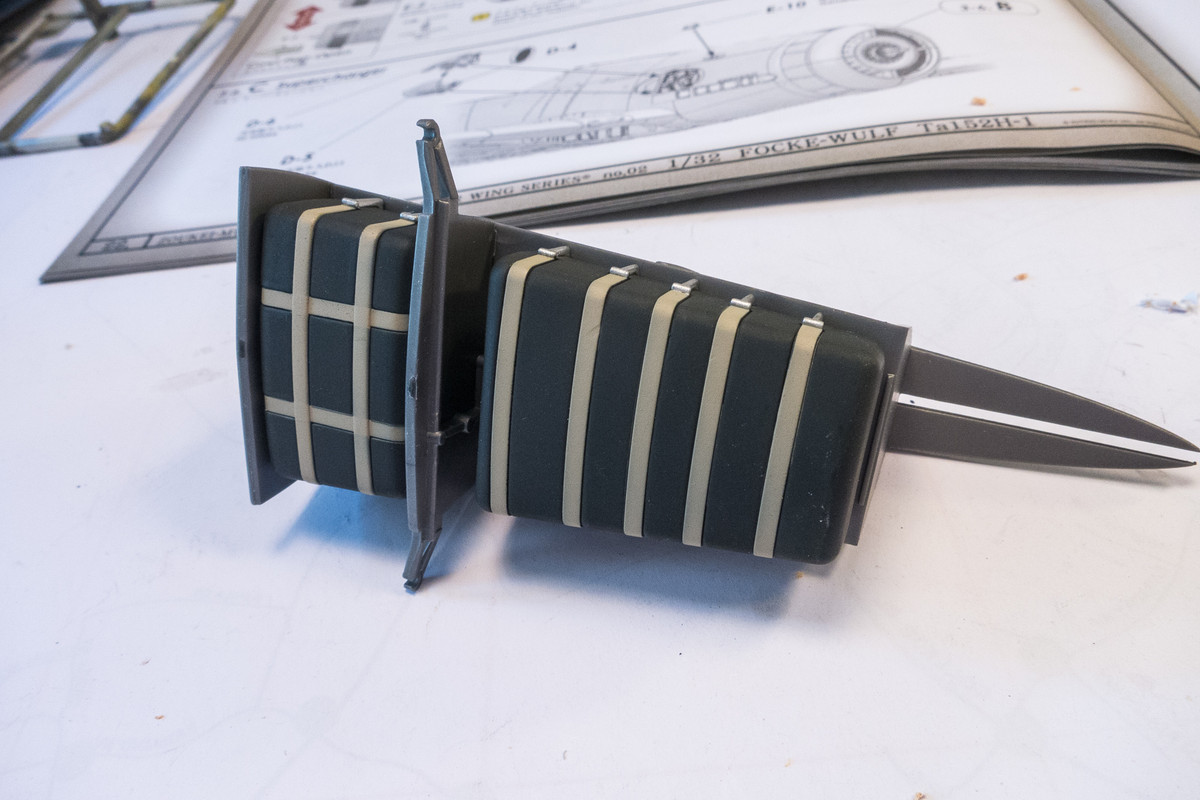
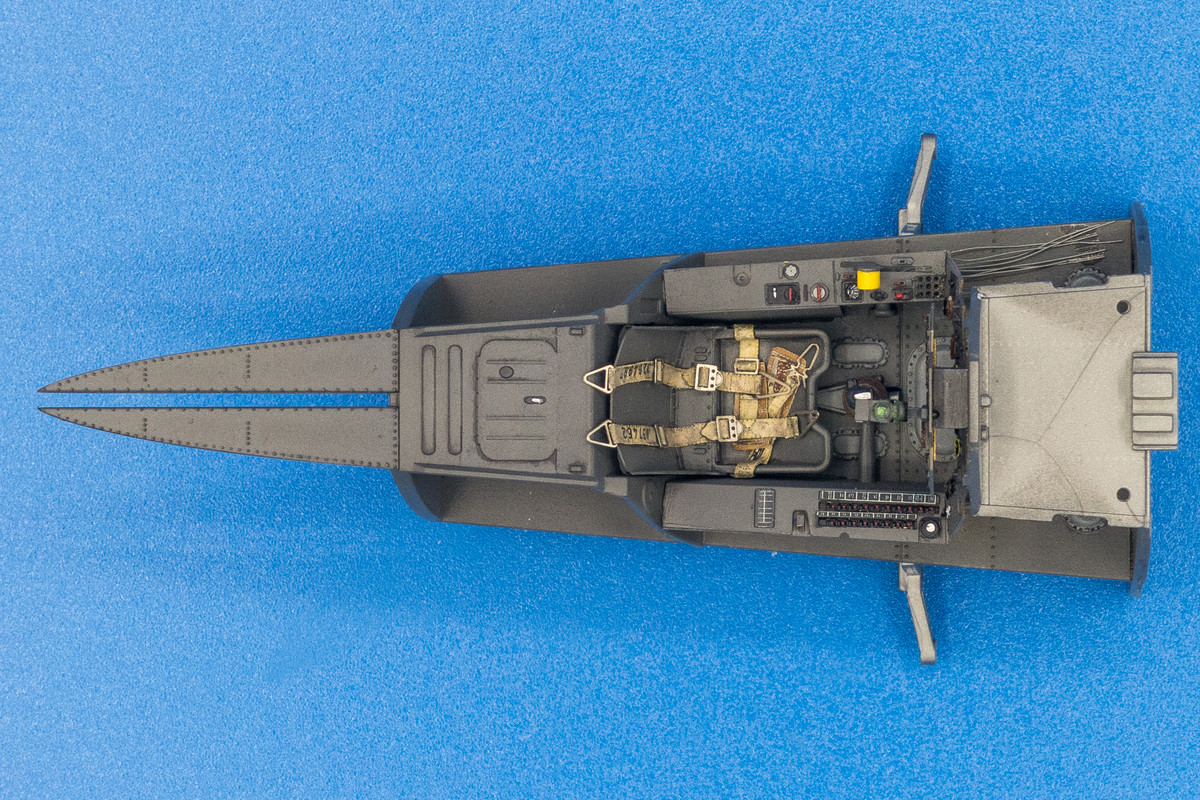
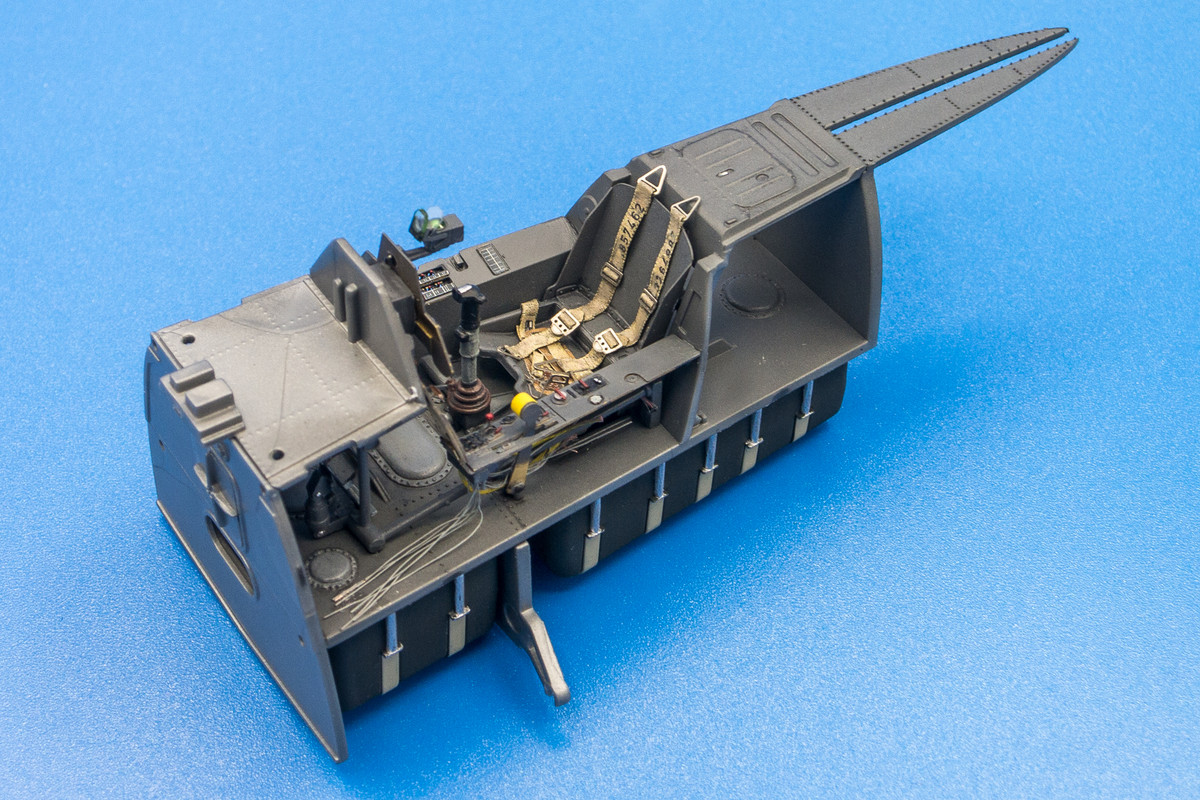
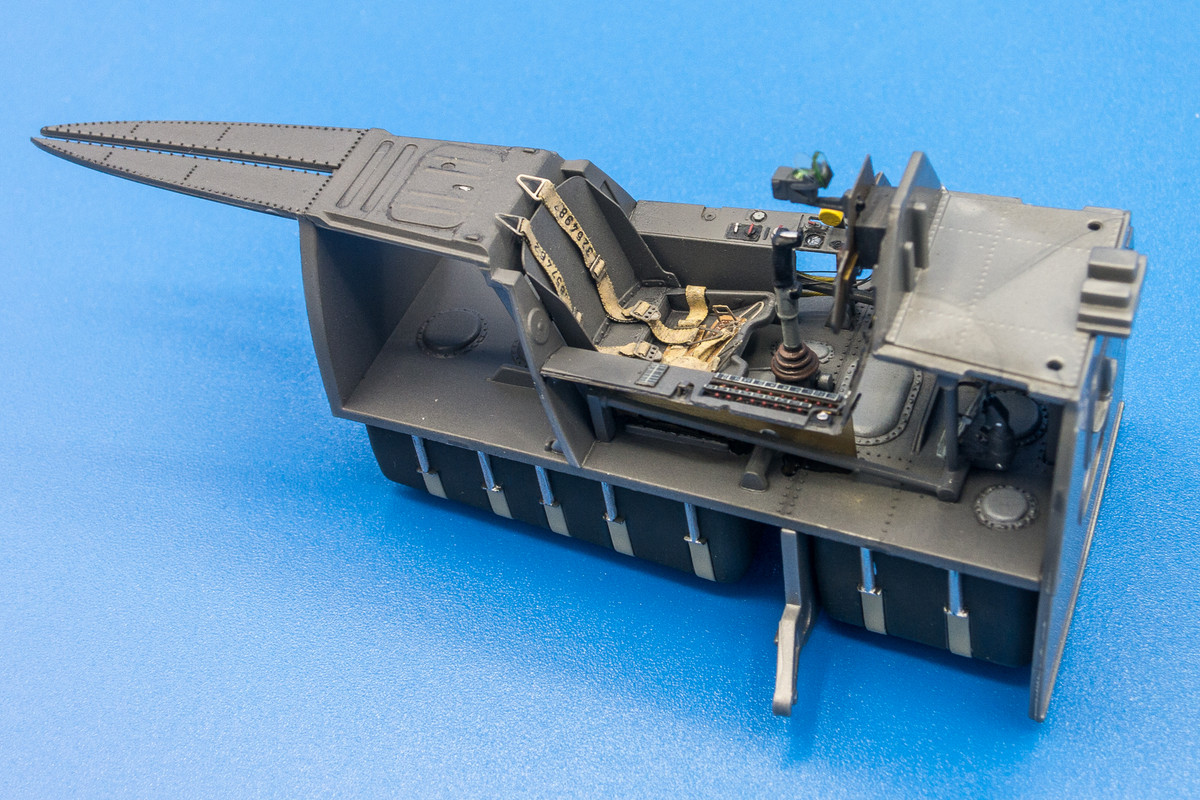
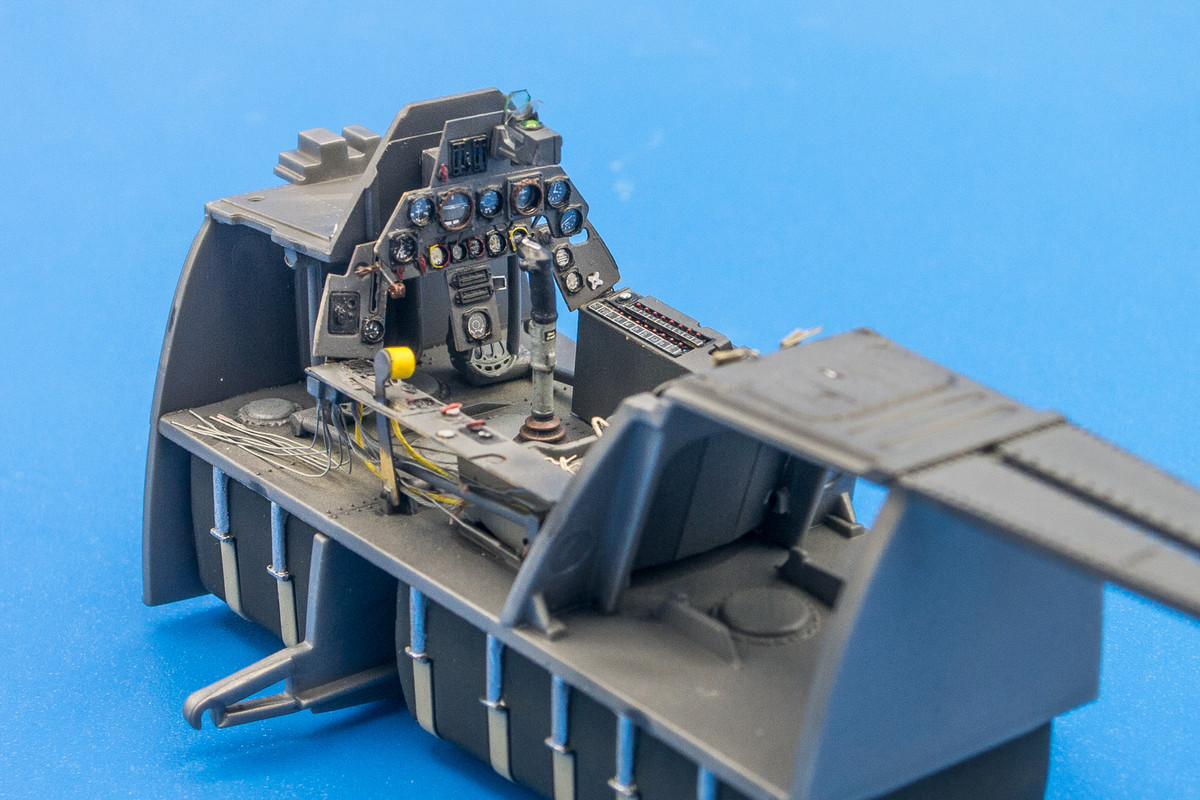
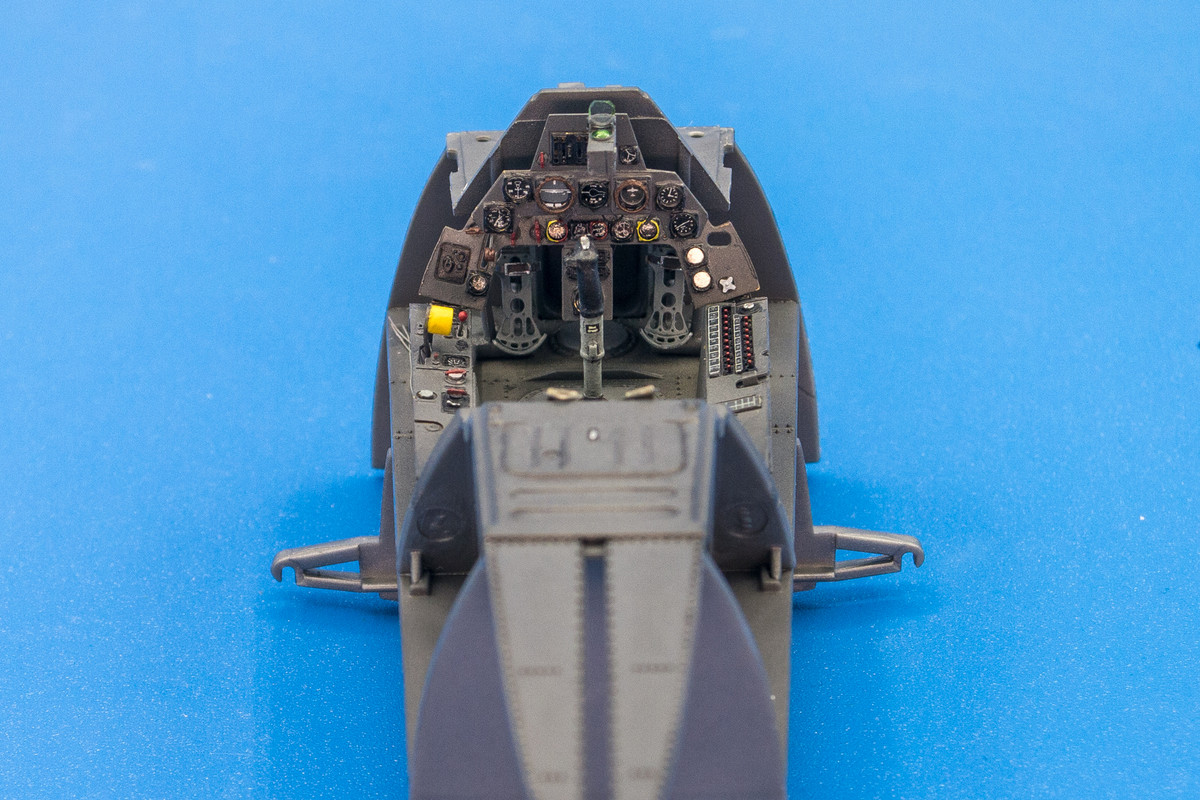
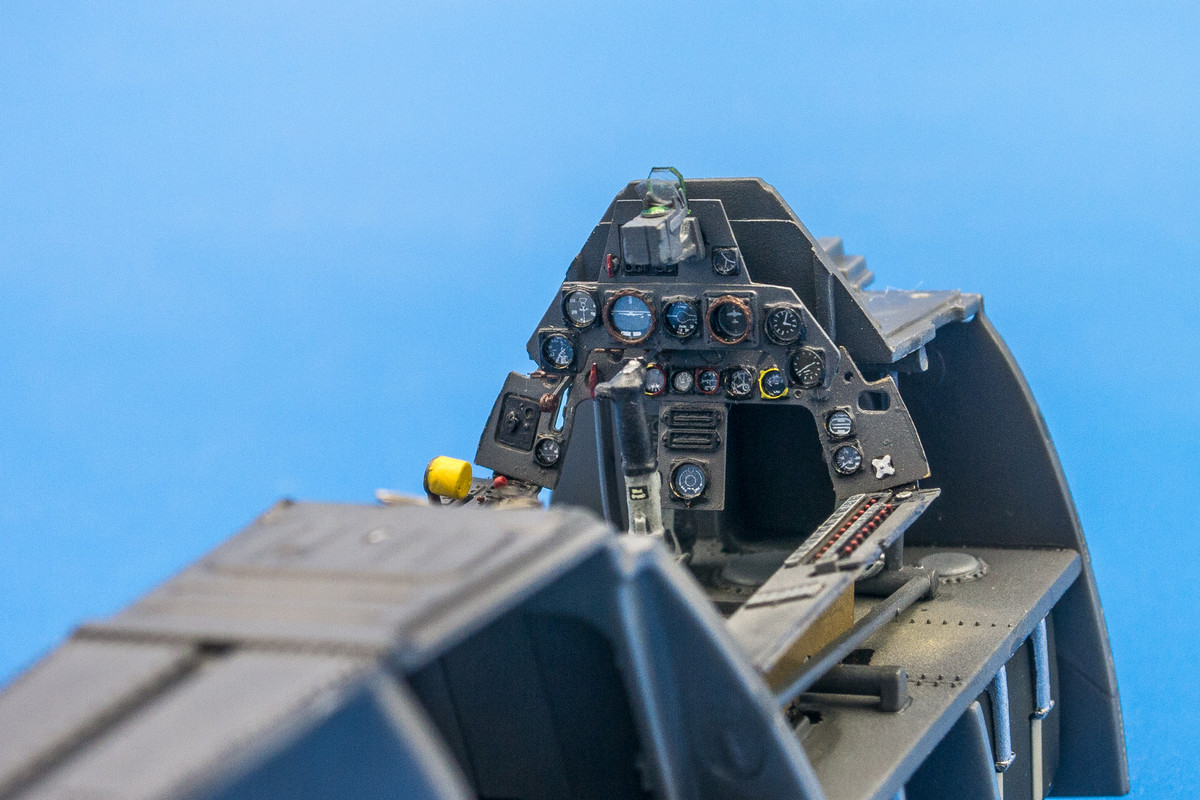
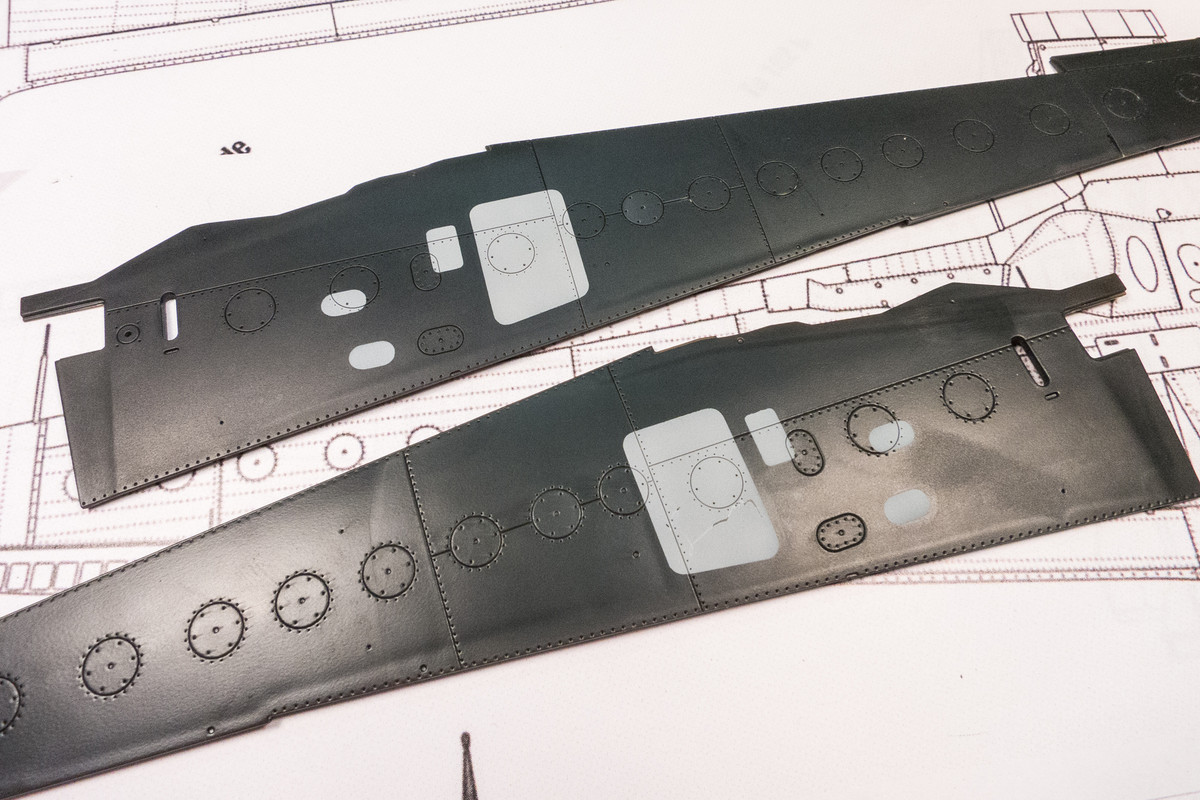
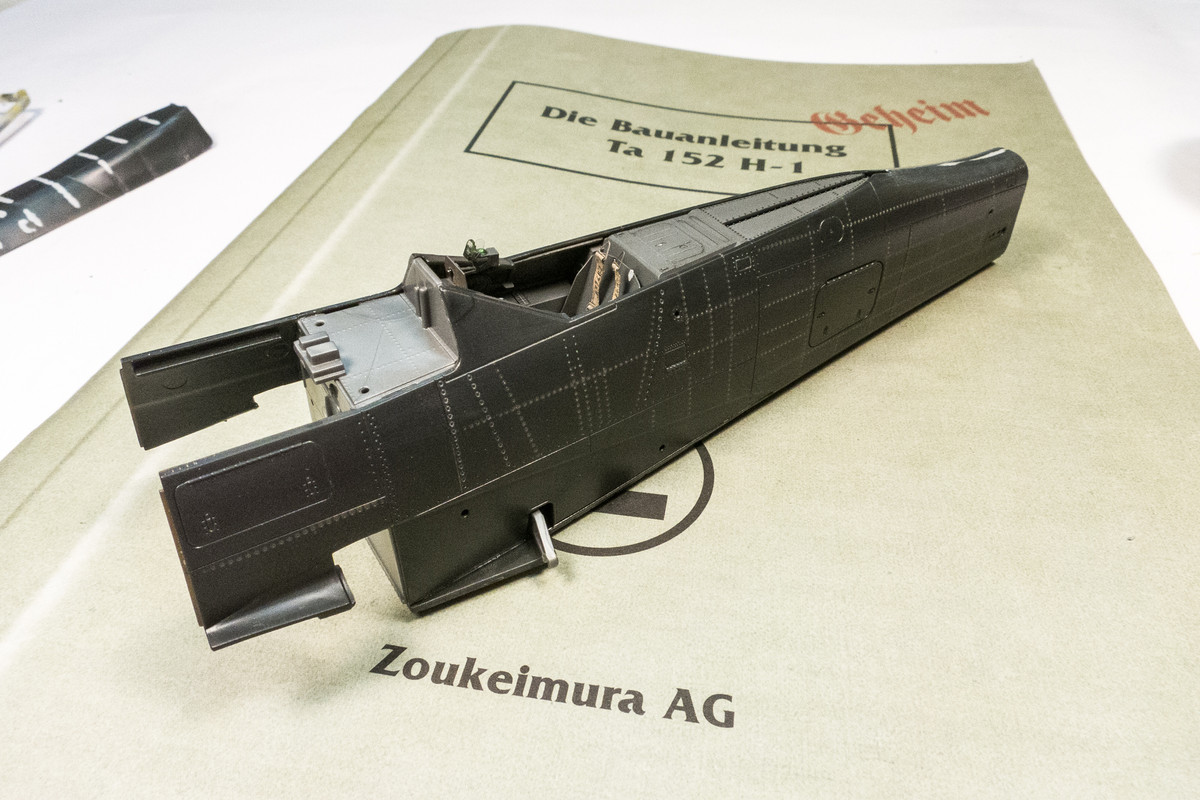
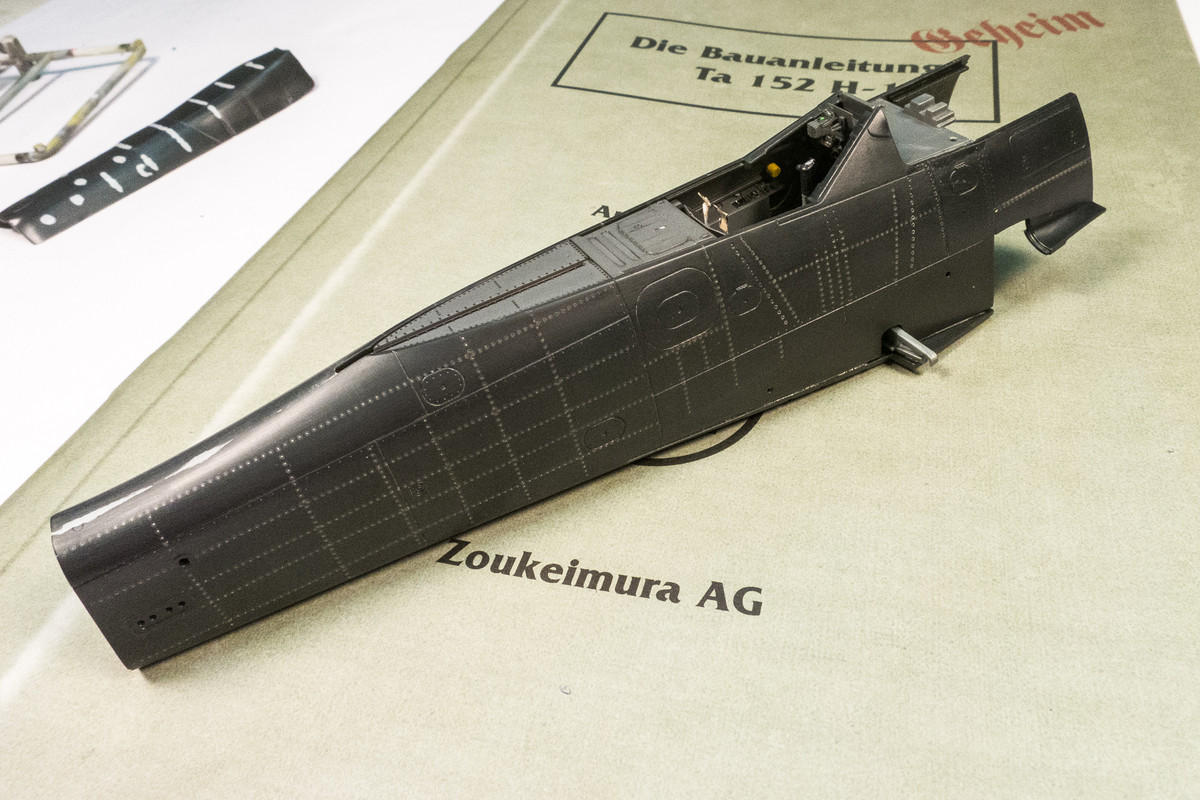
Thanks guys! Now that the cockpit tub is completed, I can glue the fuselage together. This assembly is made more complicated by the fact that it is a triangular affair... two fuselage sides AND the fuselage bottom. It made dry-fitting of the cockpit parts a headache so I'm eager to put this teepee together and move past it. One last look at the fuel tanks before they go bye-bye.
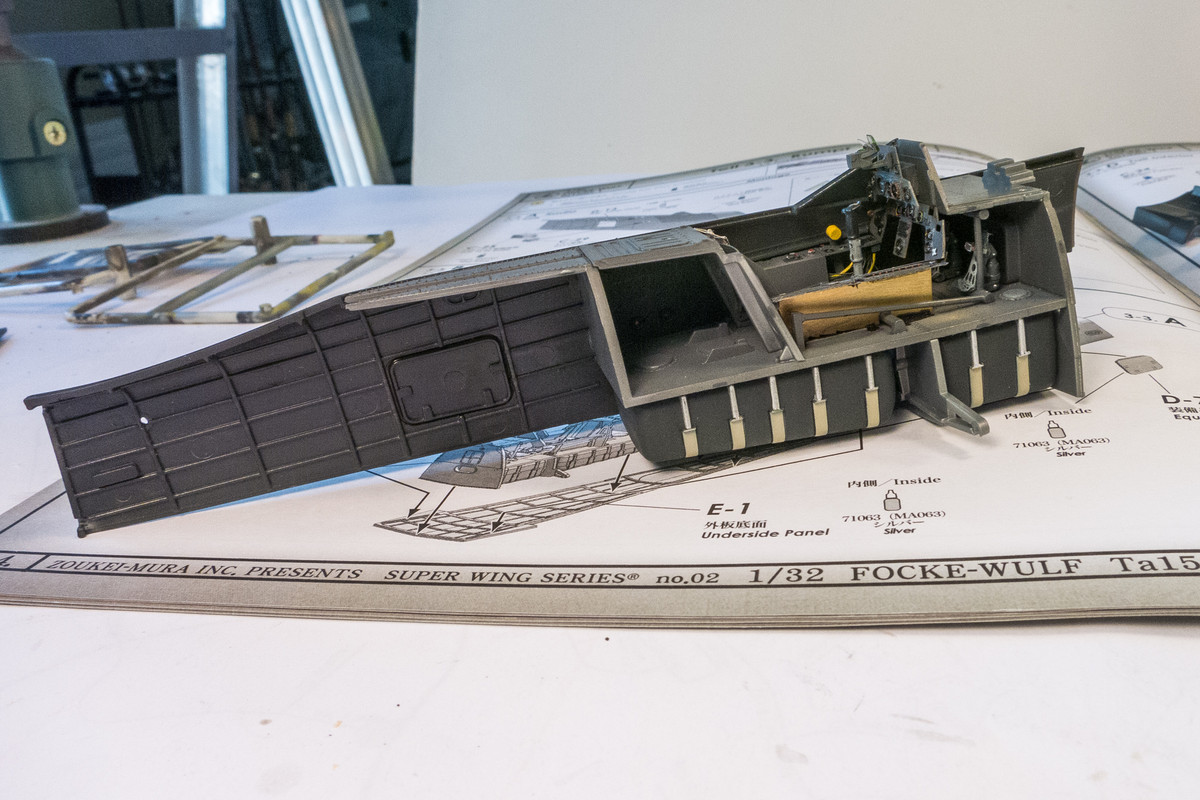
The cockpit tub fit better into the port side so I started off there. I put tube glue on all of the interior contact areas and then topped it off with Tamiya Extra Thin on the joints that I could reach from the outside.
After the left side was taken care of but not completely cured, I attached the starboard fuselage side. Now could pinch the two fuselage sides together to get a good connection.
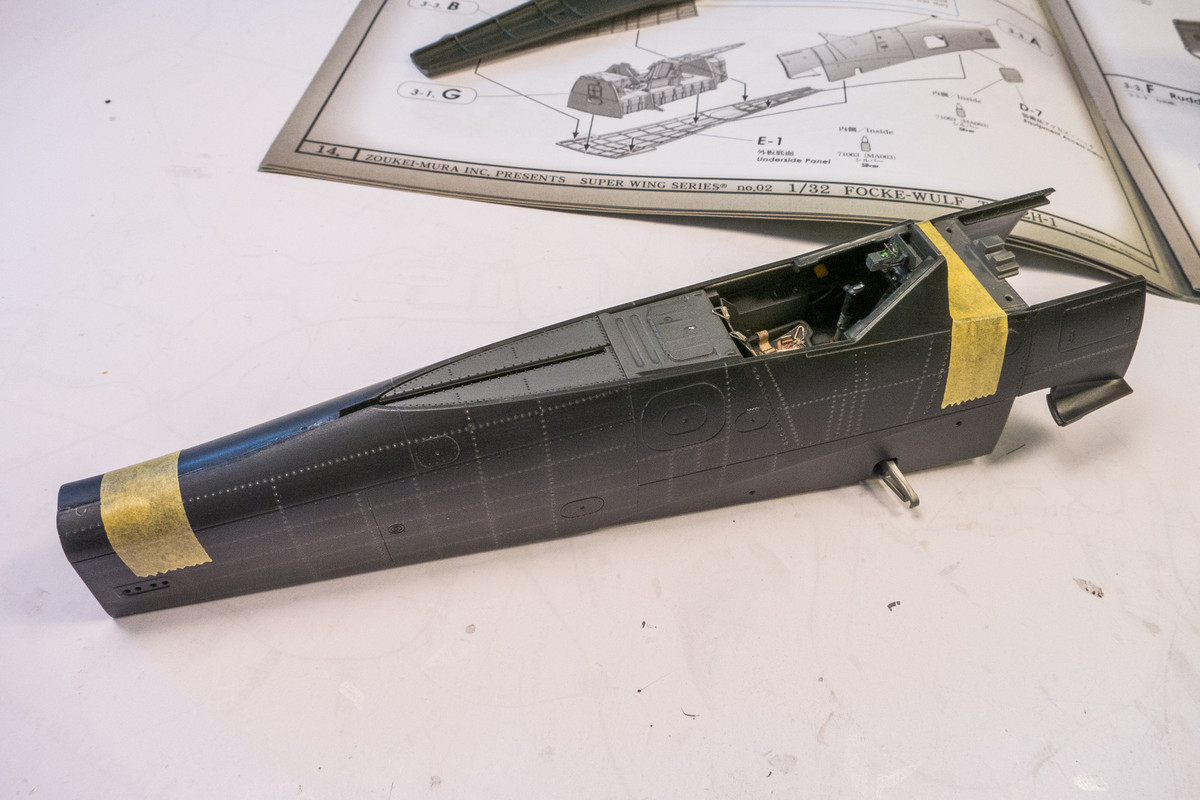
The bottom was attached last.
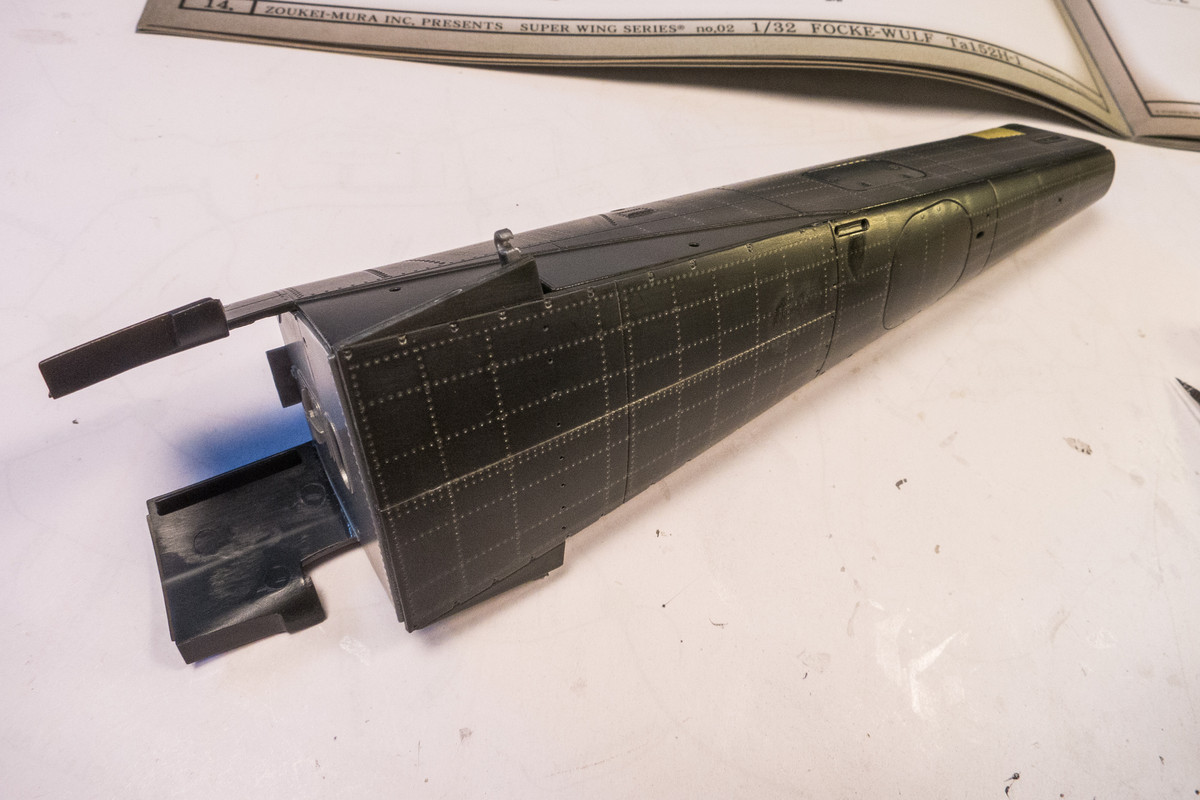
I set that aside to dry. The next step in this build (per the instructions) would be the engine. Since I am replacing the kit prop with a resin prop and spinner from Henri Daehne, I wanted to make the necessary adjustments to the kit parts.
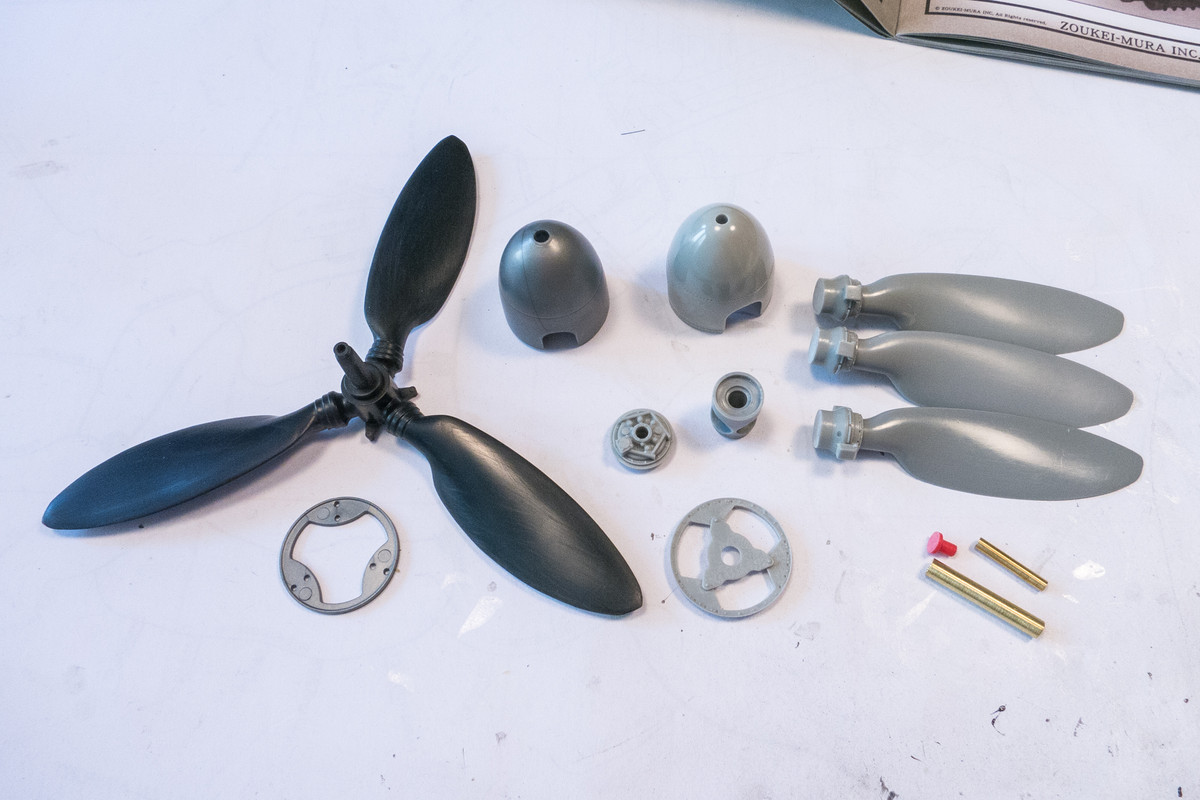
I didn't make any precise measurements but to my eye, the kit prop and spinner look pretty good.
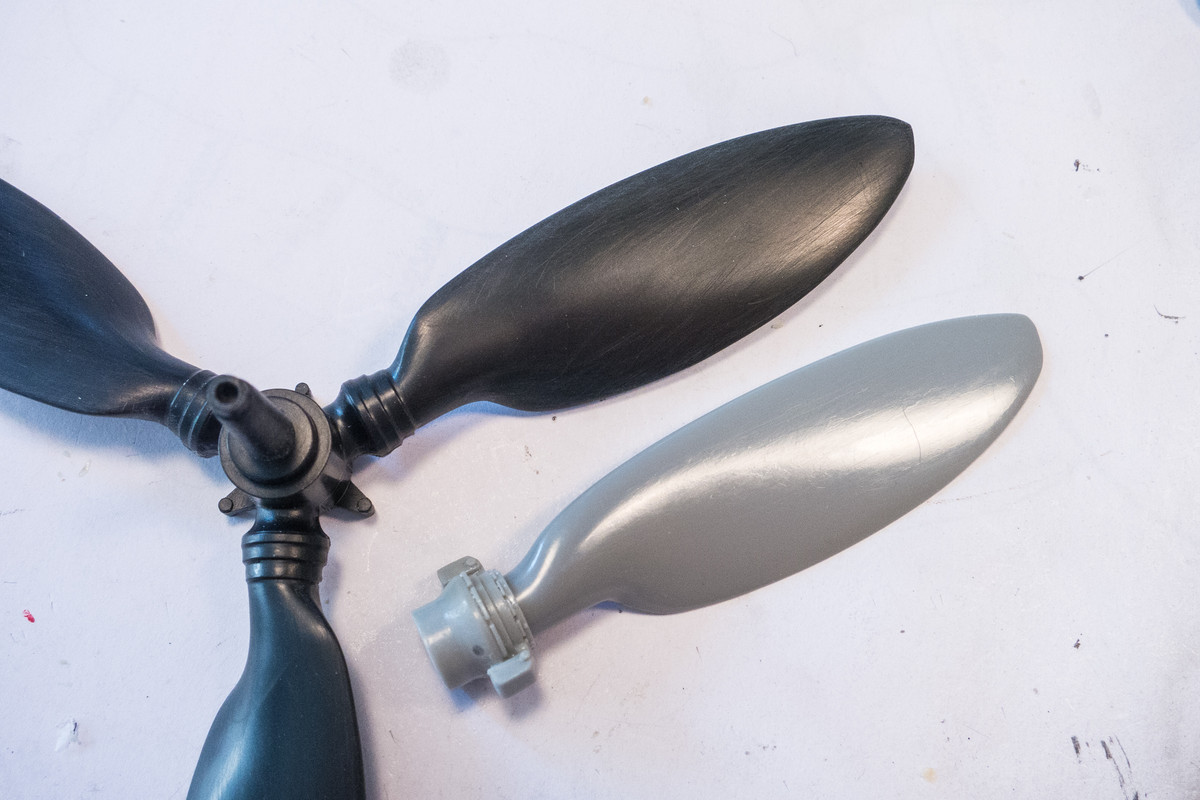
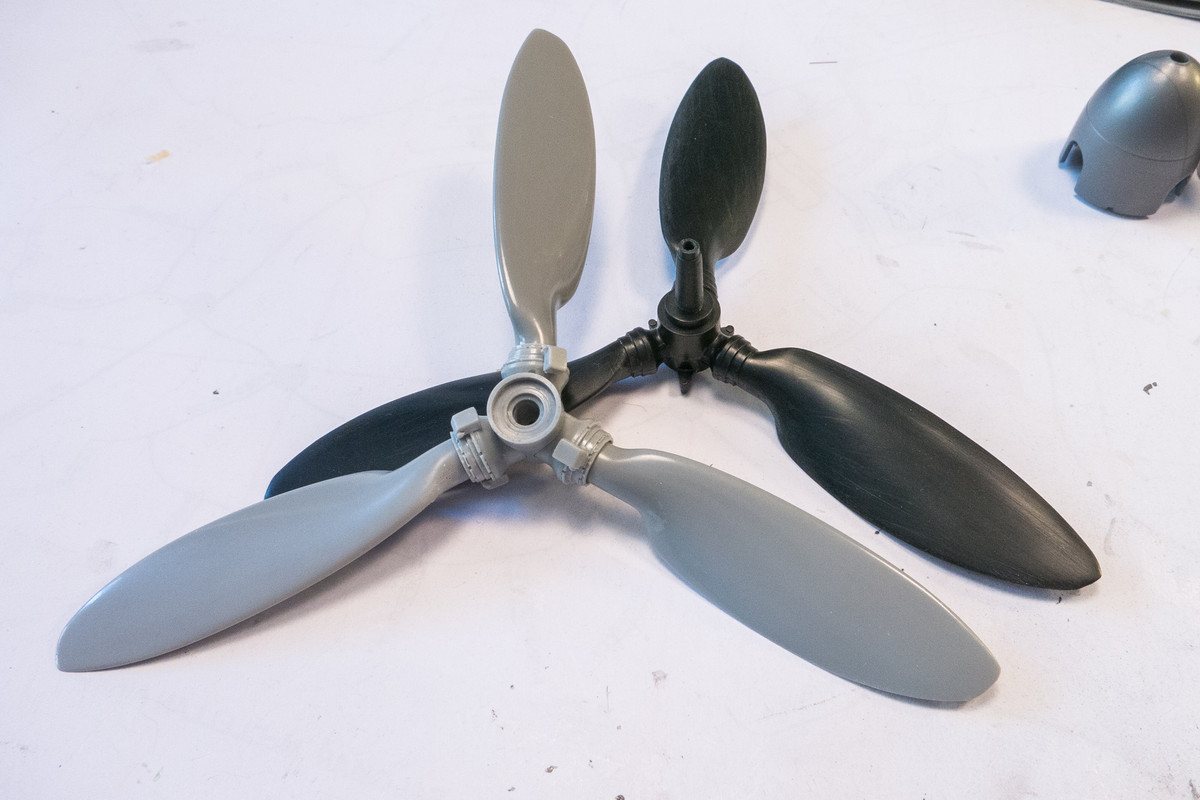
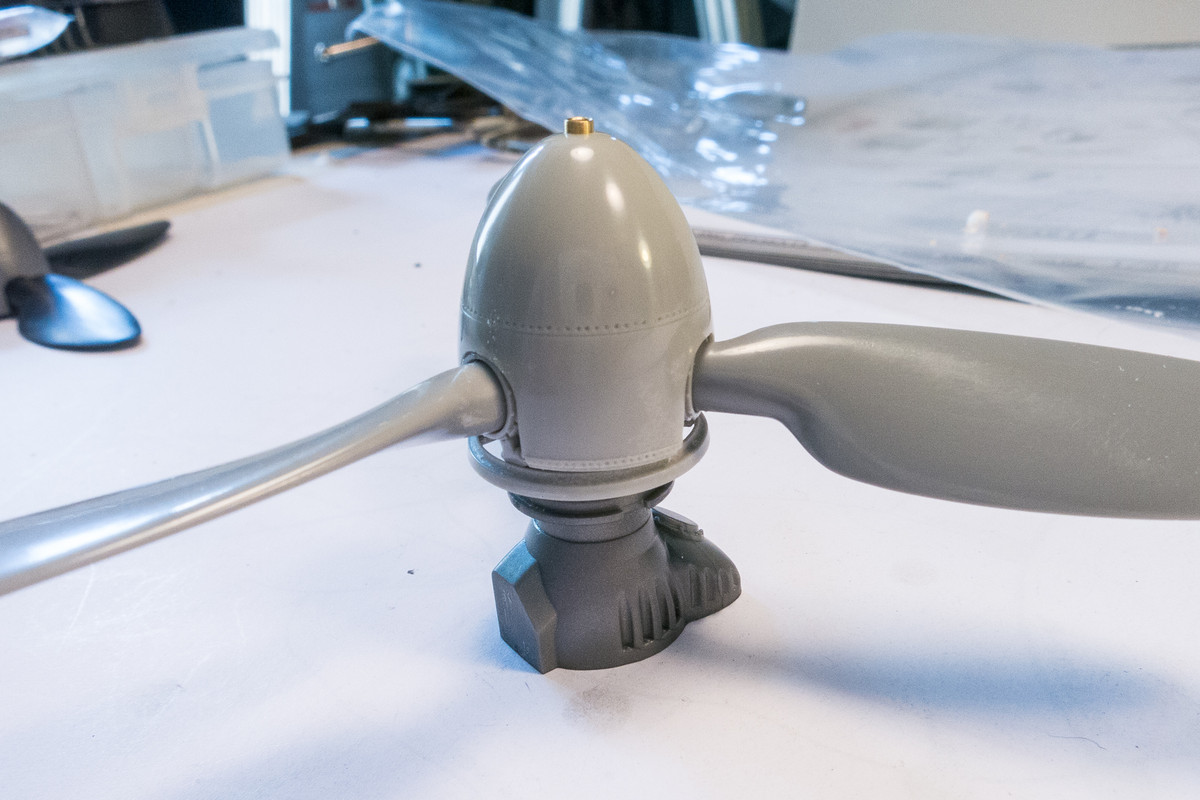
Where the H.D. prop outshines the competition is the surface quality and the amazing details found on the prop hub and spinner.
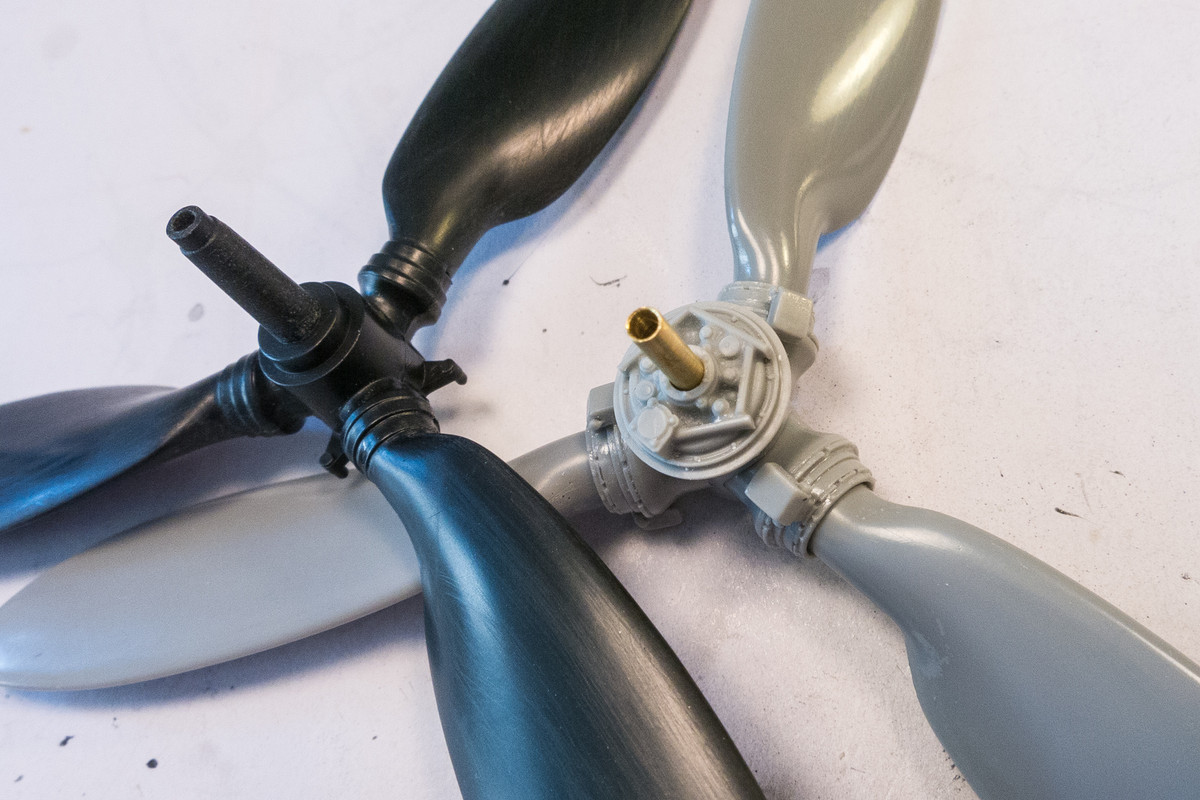
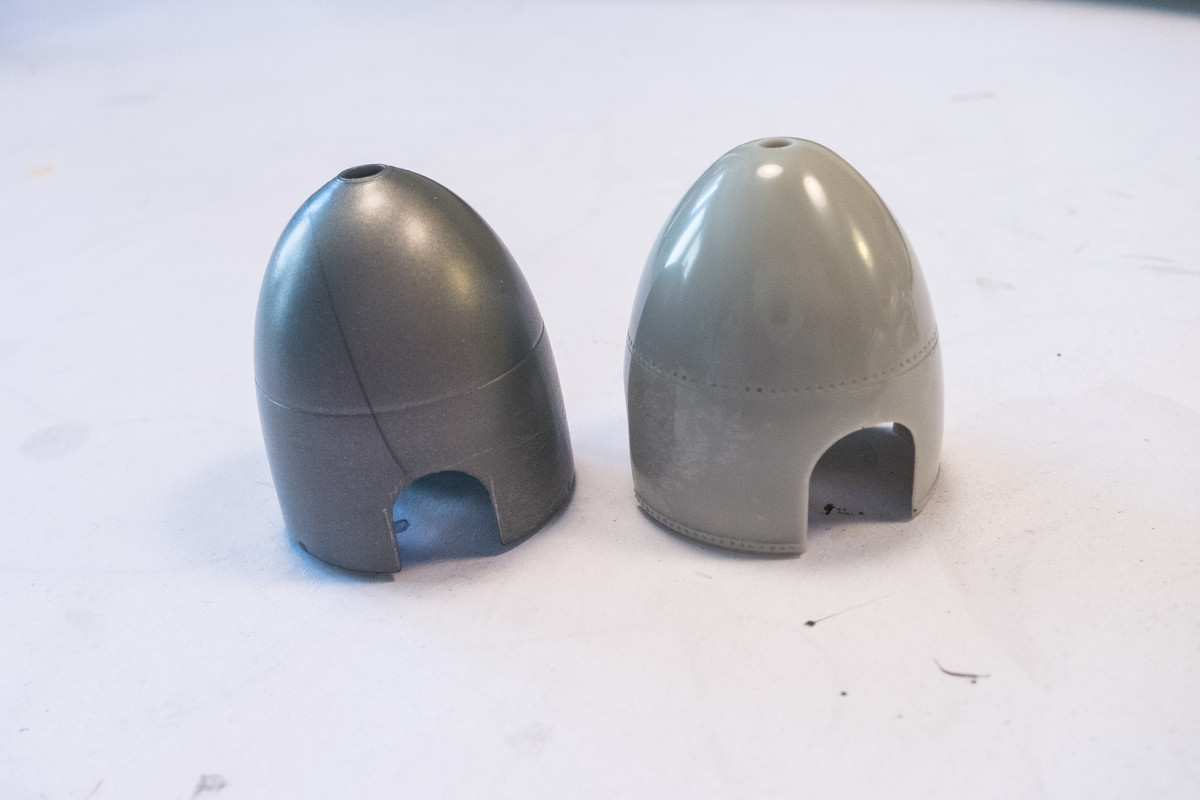
Once the prop is assembled, you won't be able to see much of the hub detail, unfortunately. Since the Ta152H has a cannon firing through the spinner, I won't be able to fashion a pop-off spinner using magnets like I did on my last Fw190D-9 build.
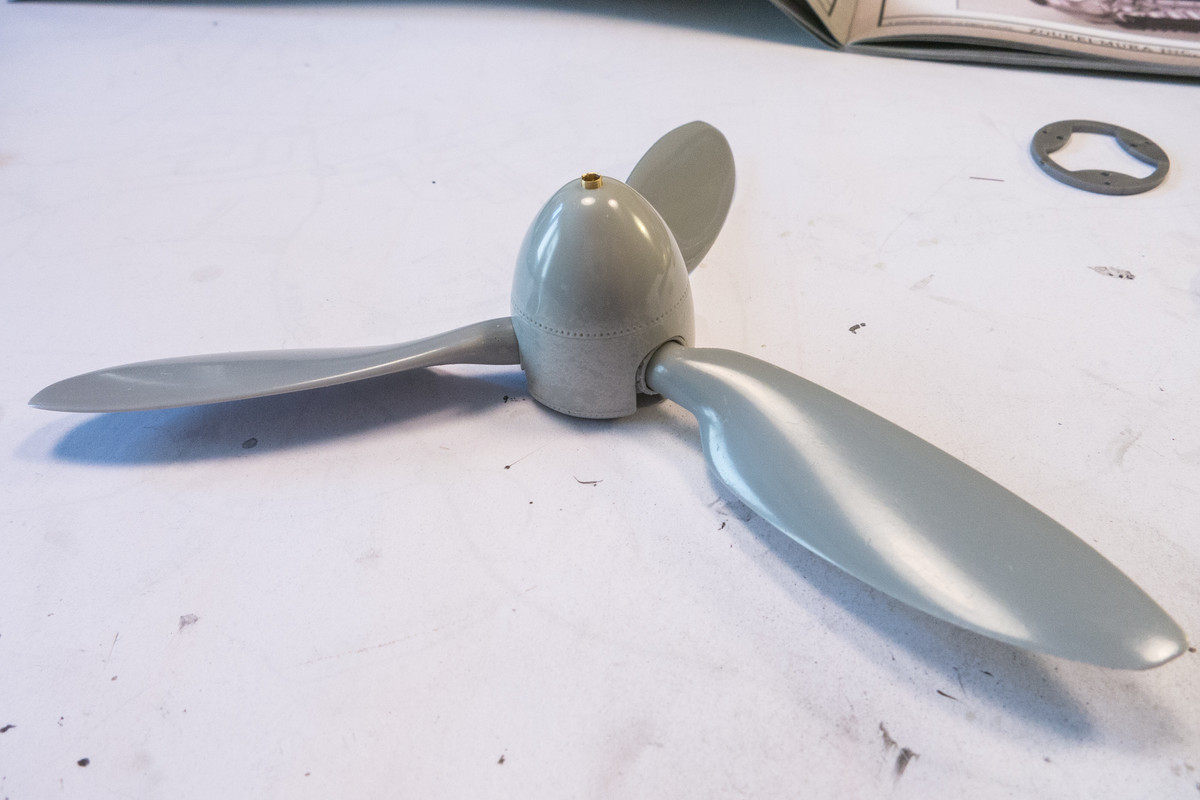
The main modification to the kit parts is to enlarge the holes for the prop shaft. H.D. includes a 3mm diameter brass tube and the kit parts need to accommodate this wider shaft.
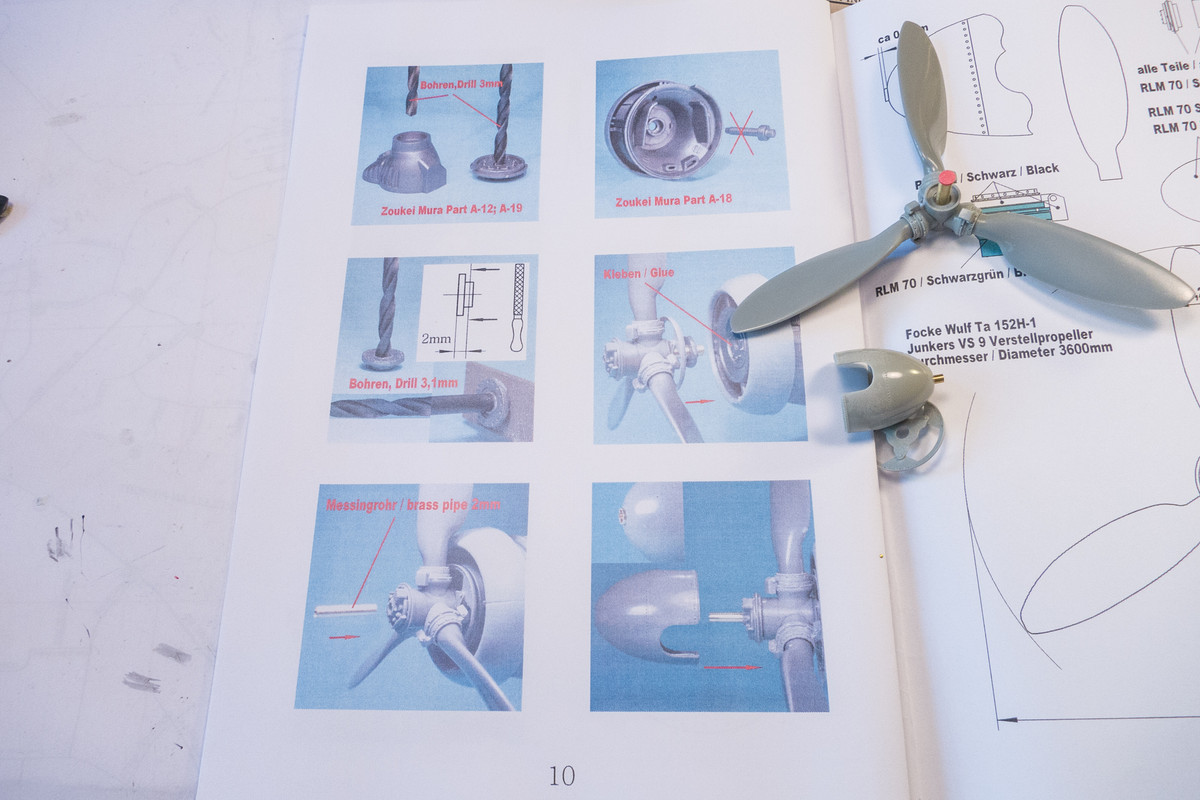
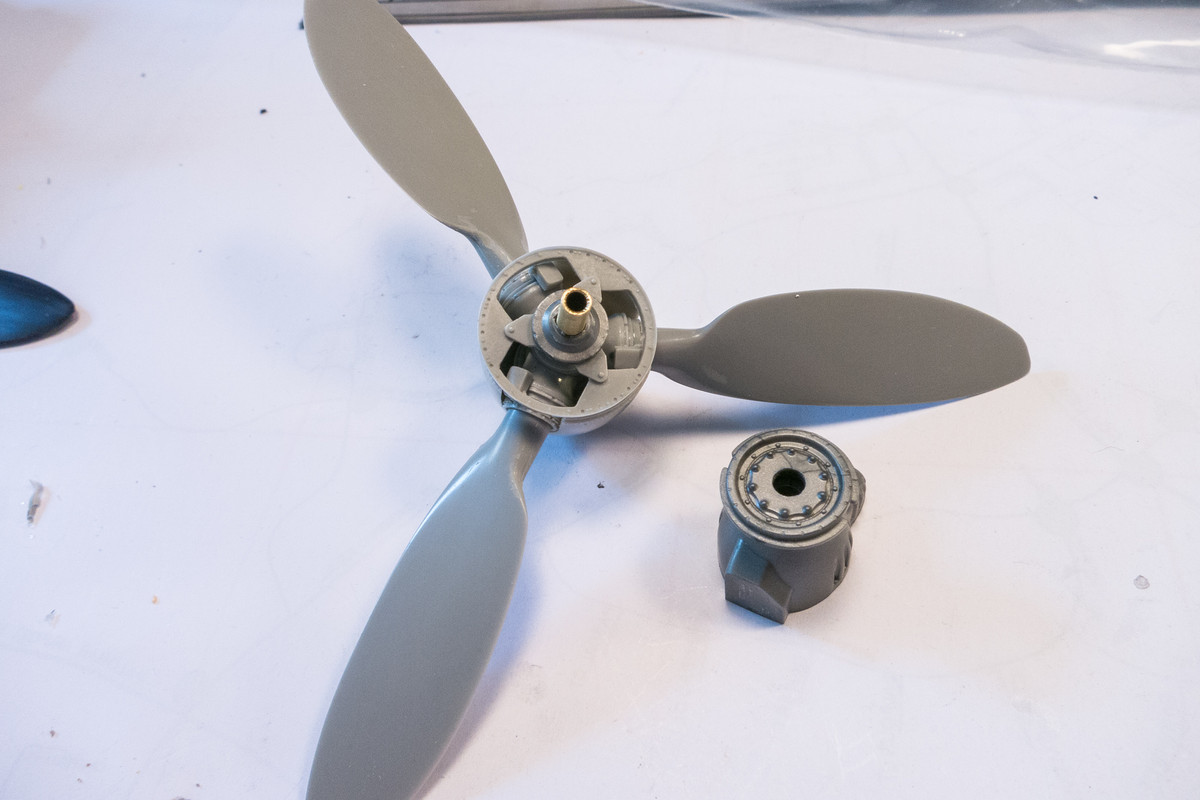
Once I have verified that the brass shaft is now accommodated, I can set this aside and move on with the build.



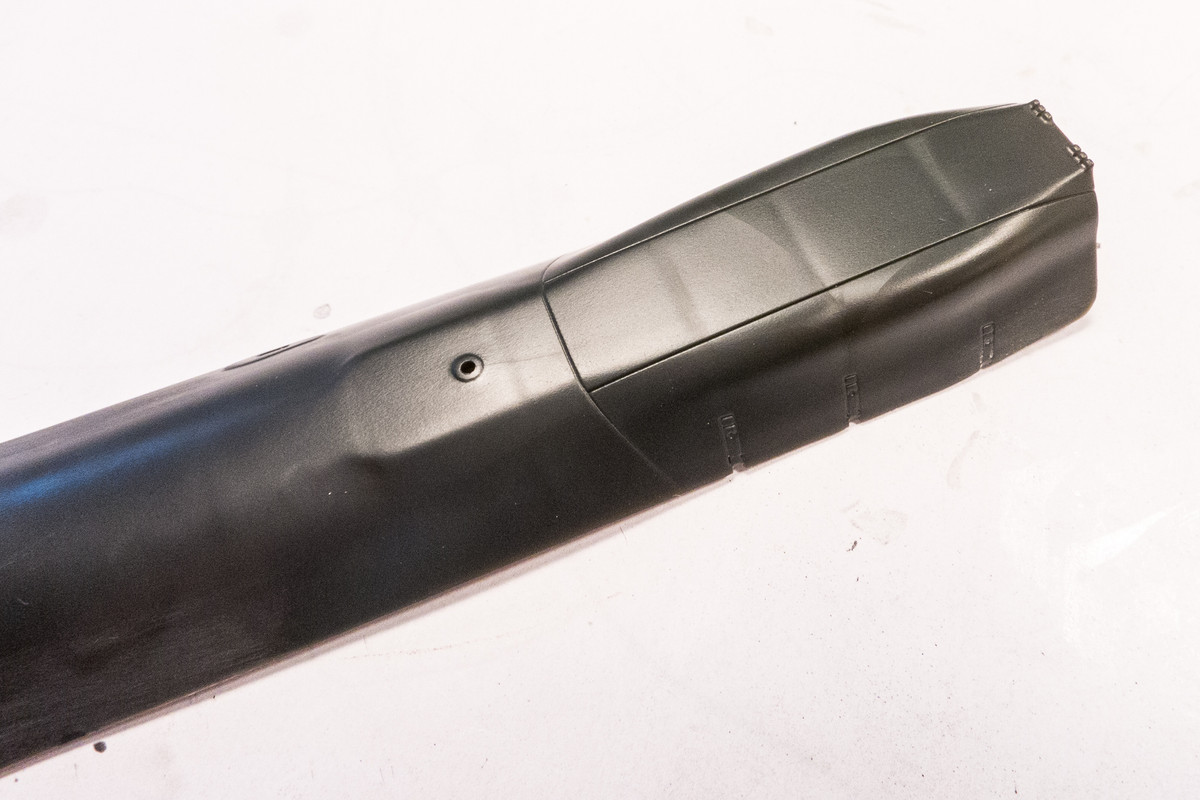
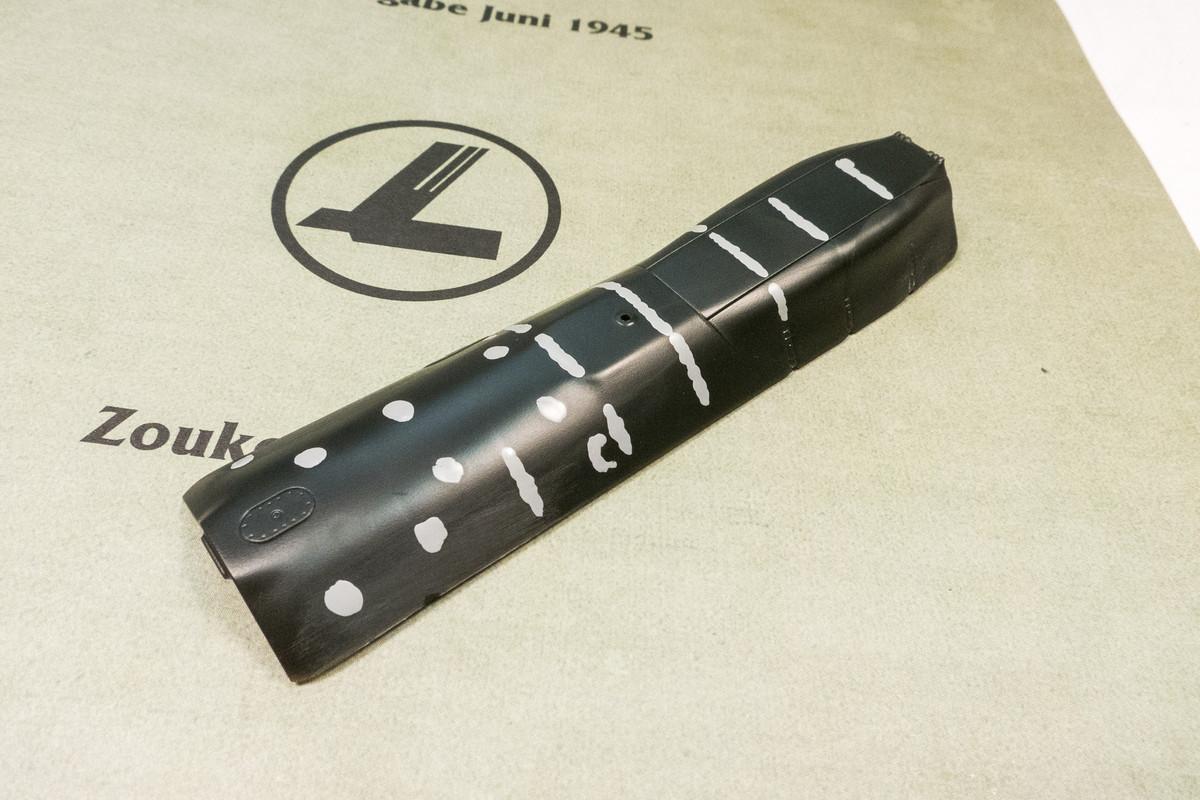
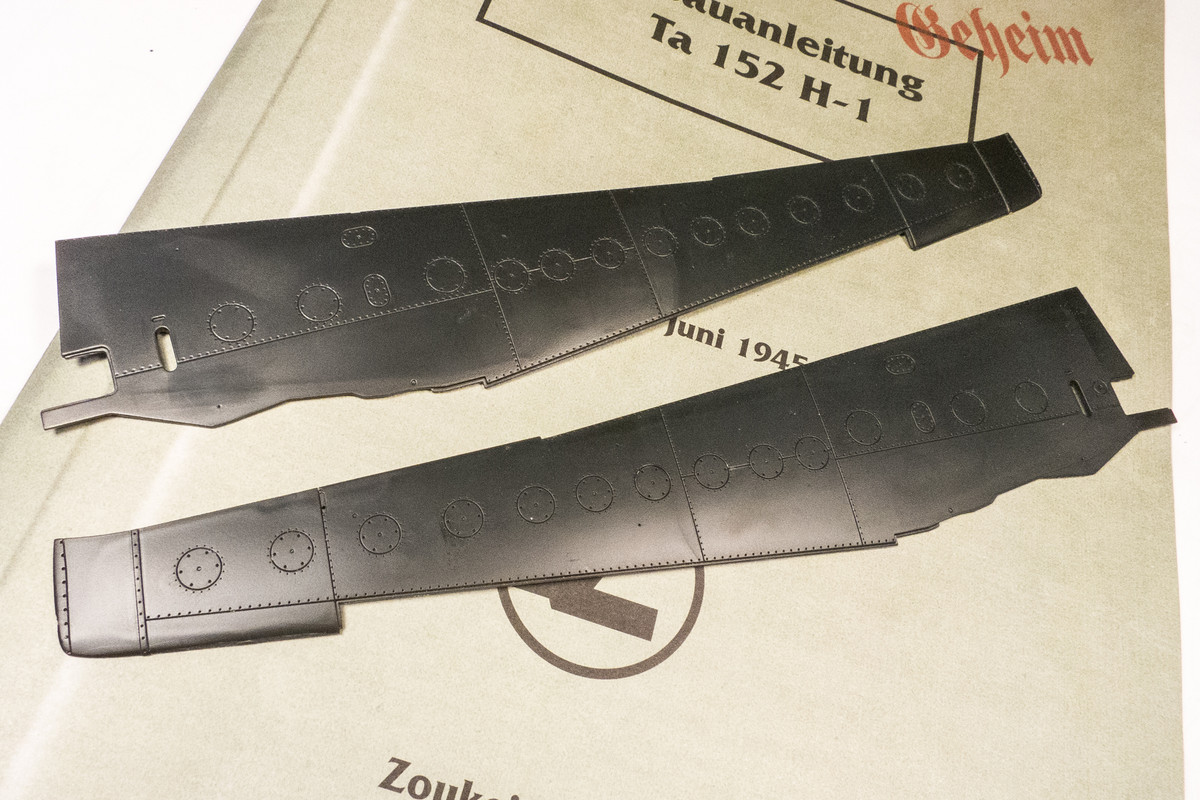
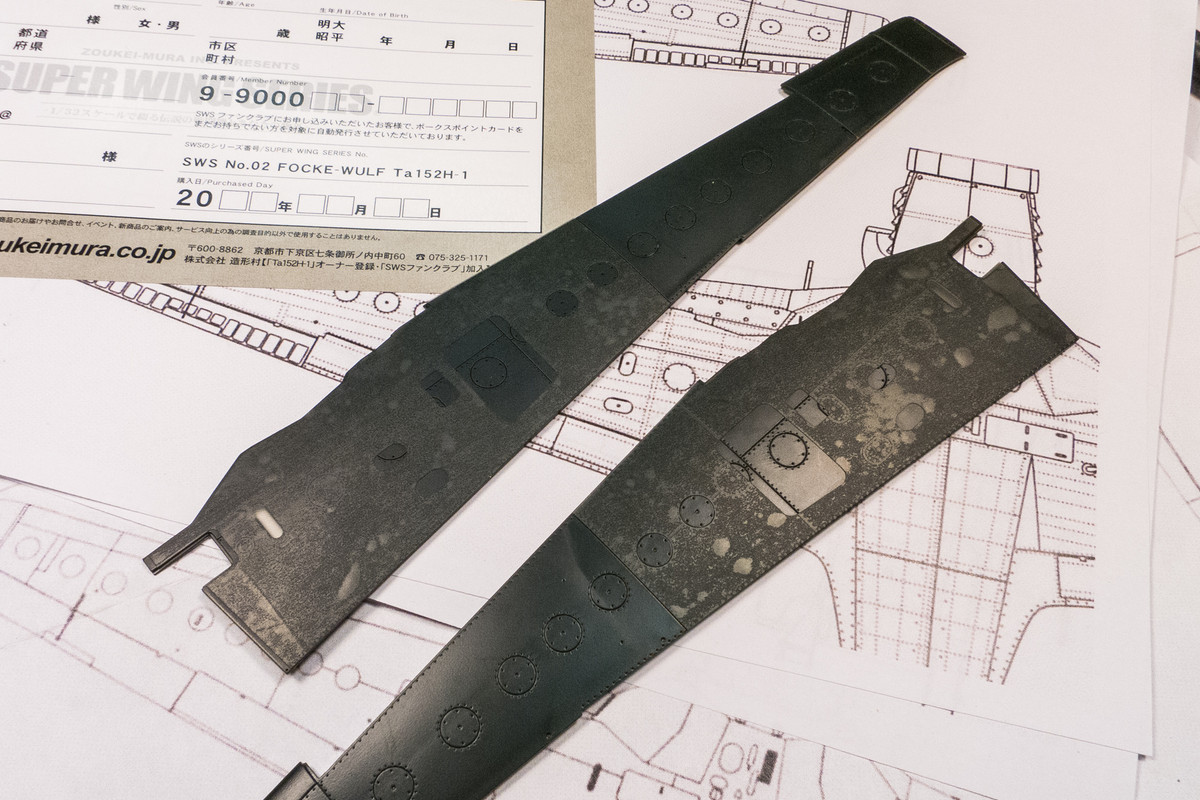

 Absolutely incredible!