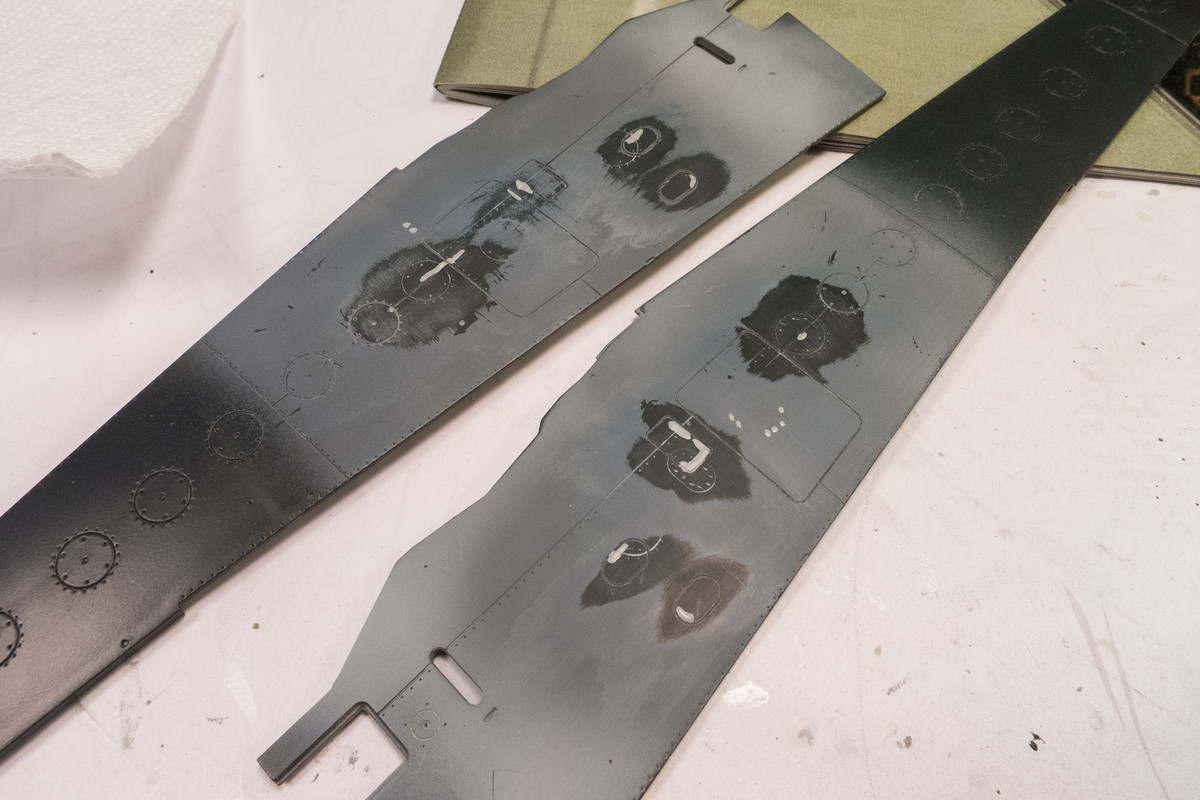
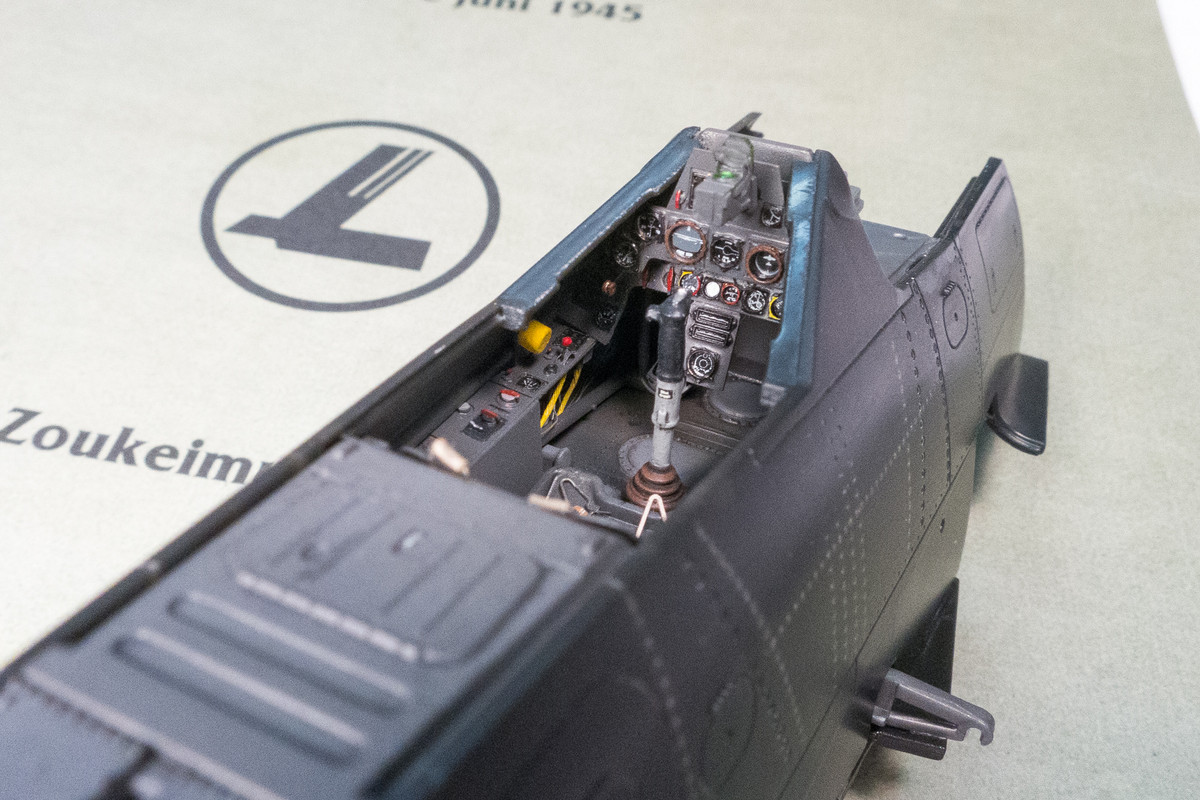
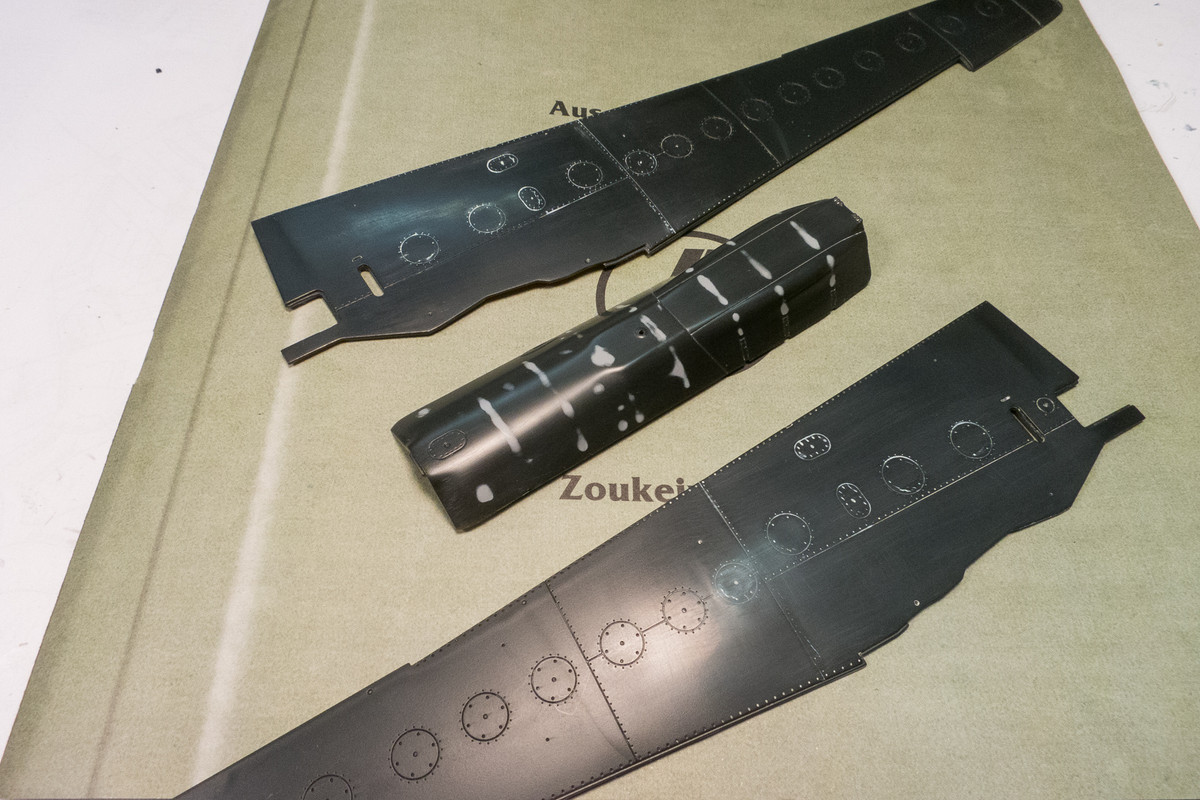
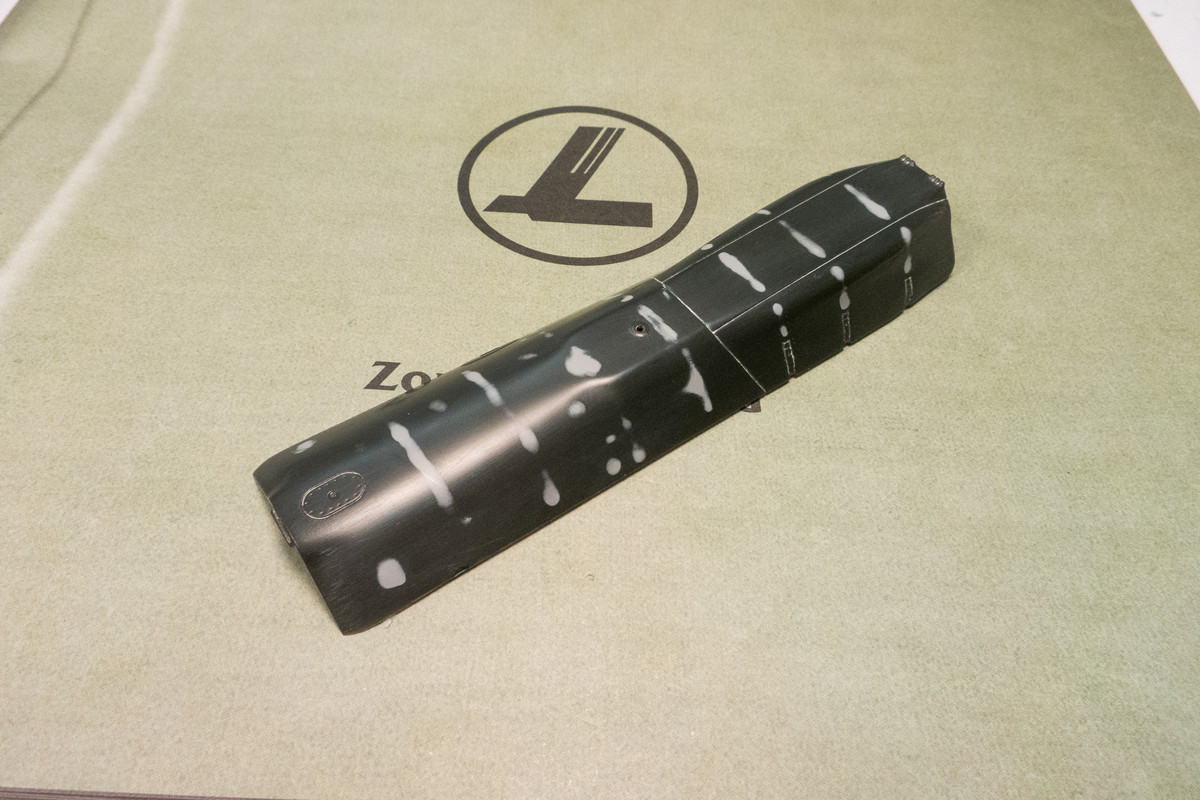
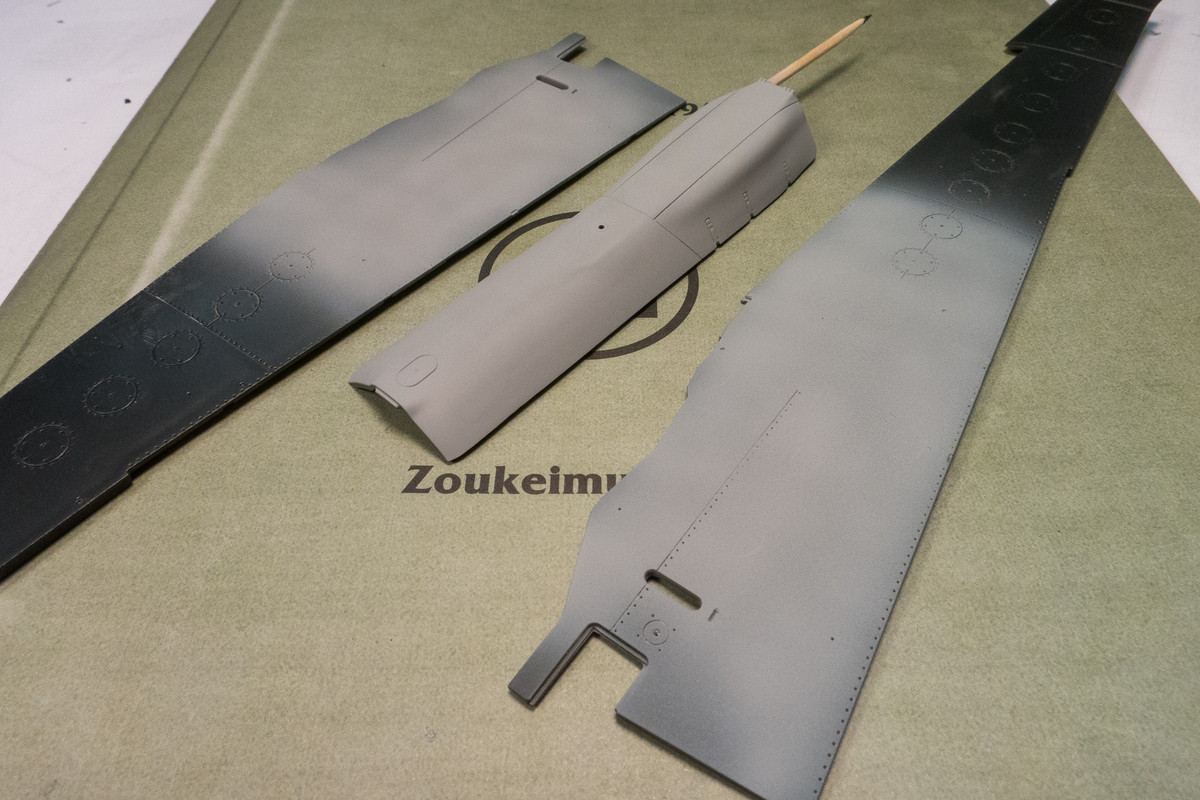
A light coat of grey to check the filled panel lines. So far so good.
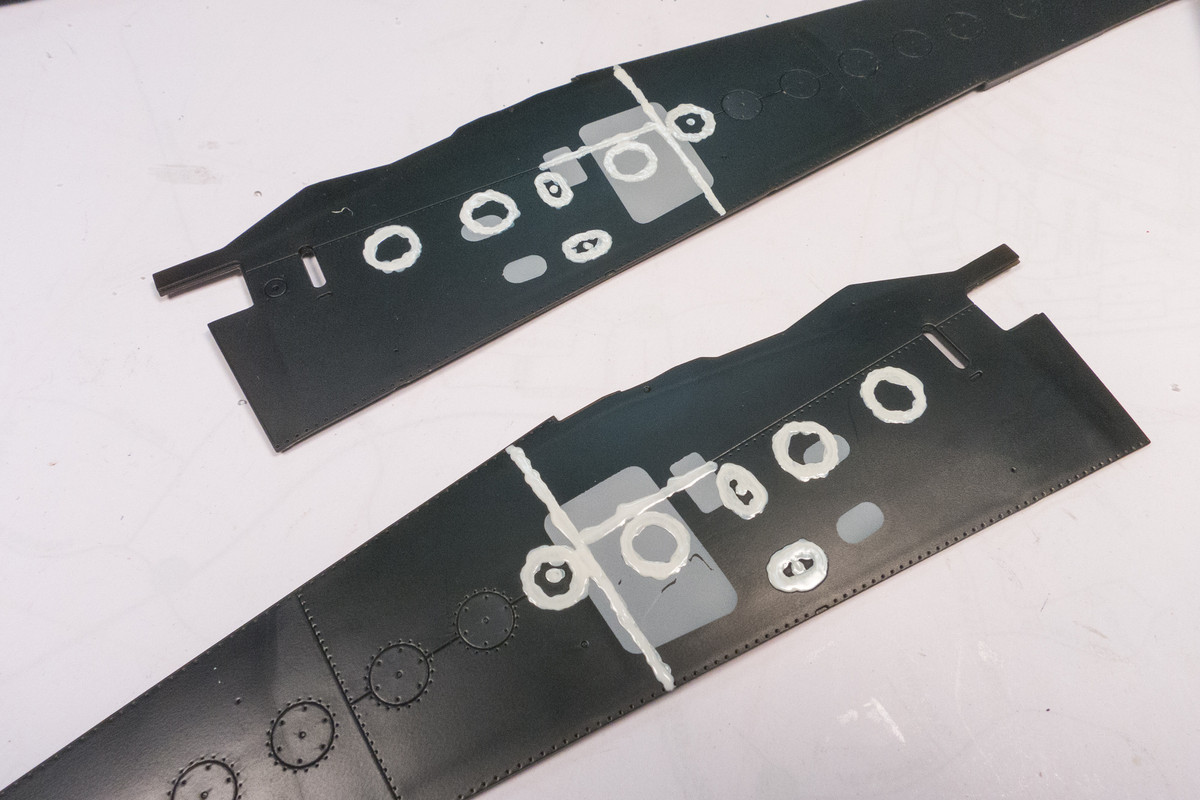
Using masks cut with a Silhouette Portrait cutter, I can mark the locations of the new hatches and ports. The brass template for the large 4-sided access panel are temporarily glued into place with CA glue. Black paint is used to mark the locations for the smaller ports upon which I can use a standard scribing template.
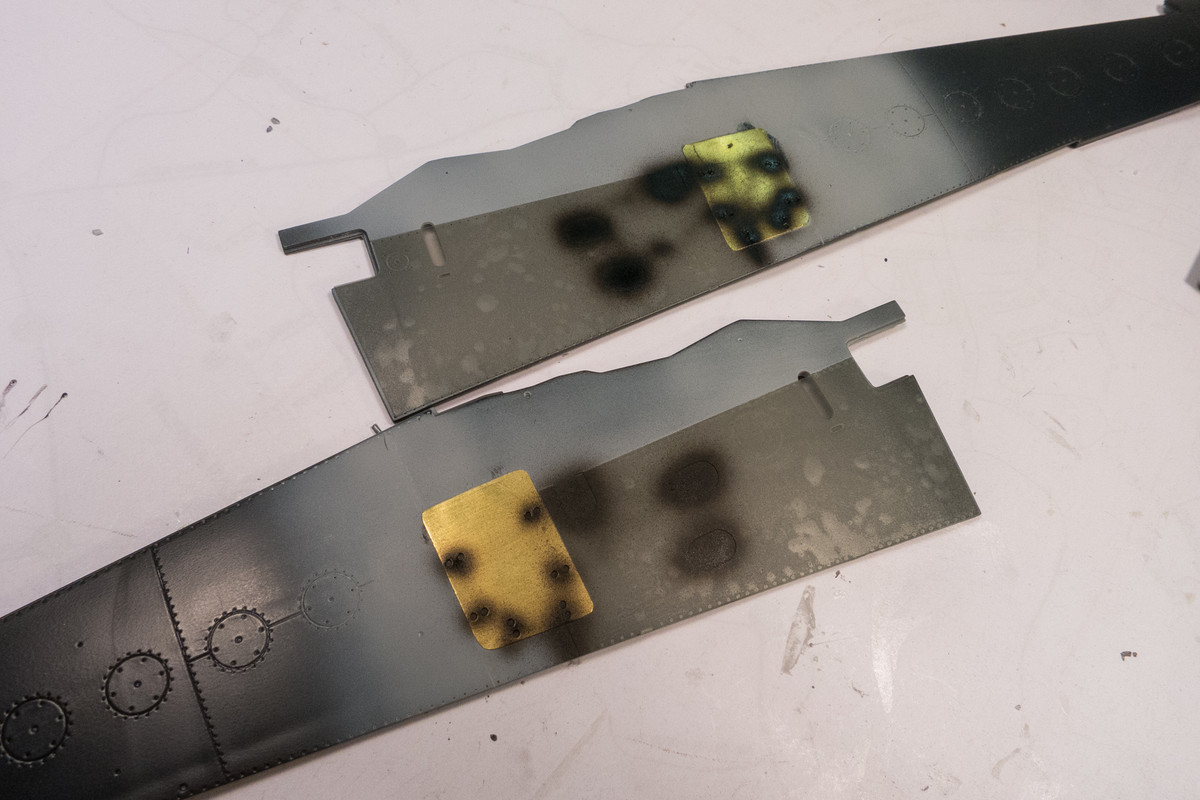
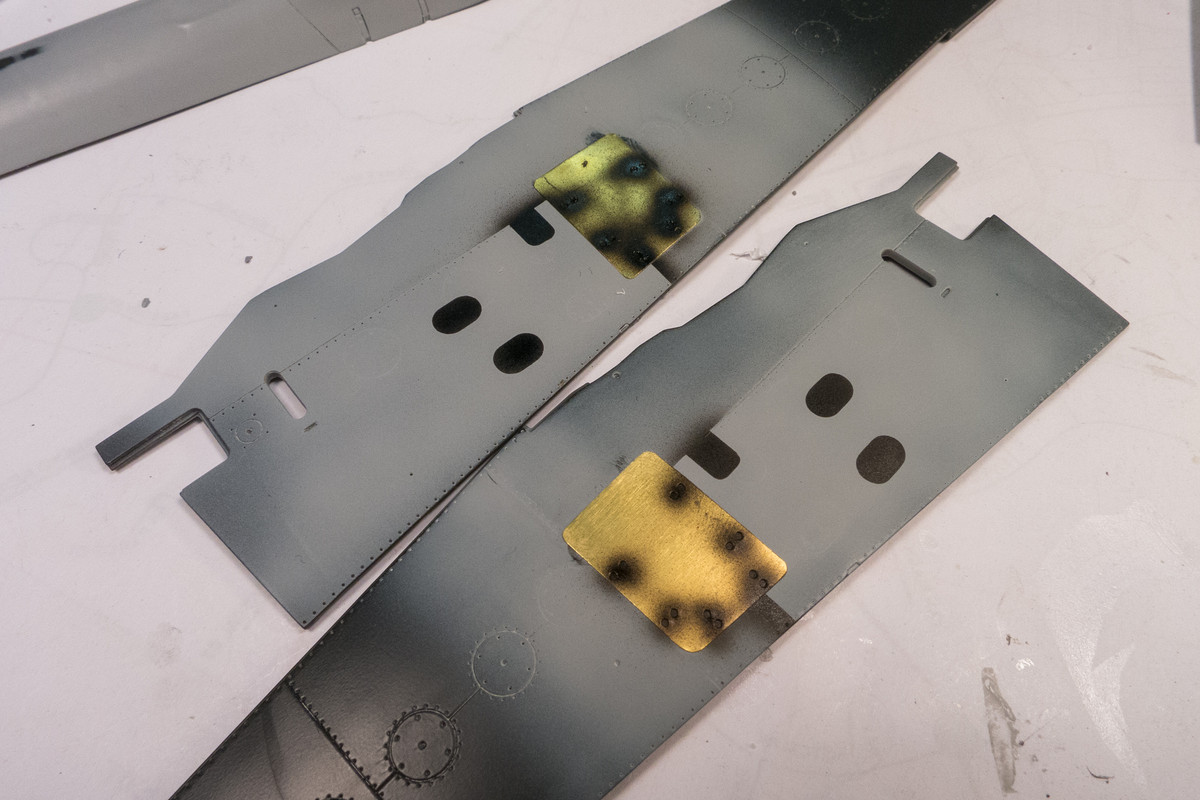
This is where I started running into trouble. I had hoped that the panel lines that I had filled with sprue goo would give me a consistent material over which I could run a scriber but this was not the case. The filled areas were much softer than the plastic and it was difficult to track a consistently straight light through any area that had been filled. The filled areas, being softer, clung to any excess pushed up by the scriber, making it more difficult to clean up the lines that had been scribed. And white putty on black putty is not the easiest color combination to worth with since it is hard to distinguish between the putty and sanding dust.
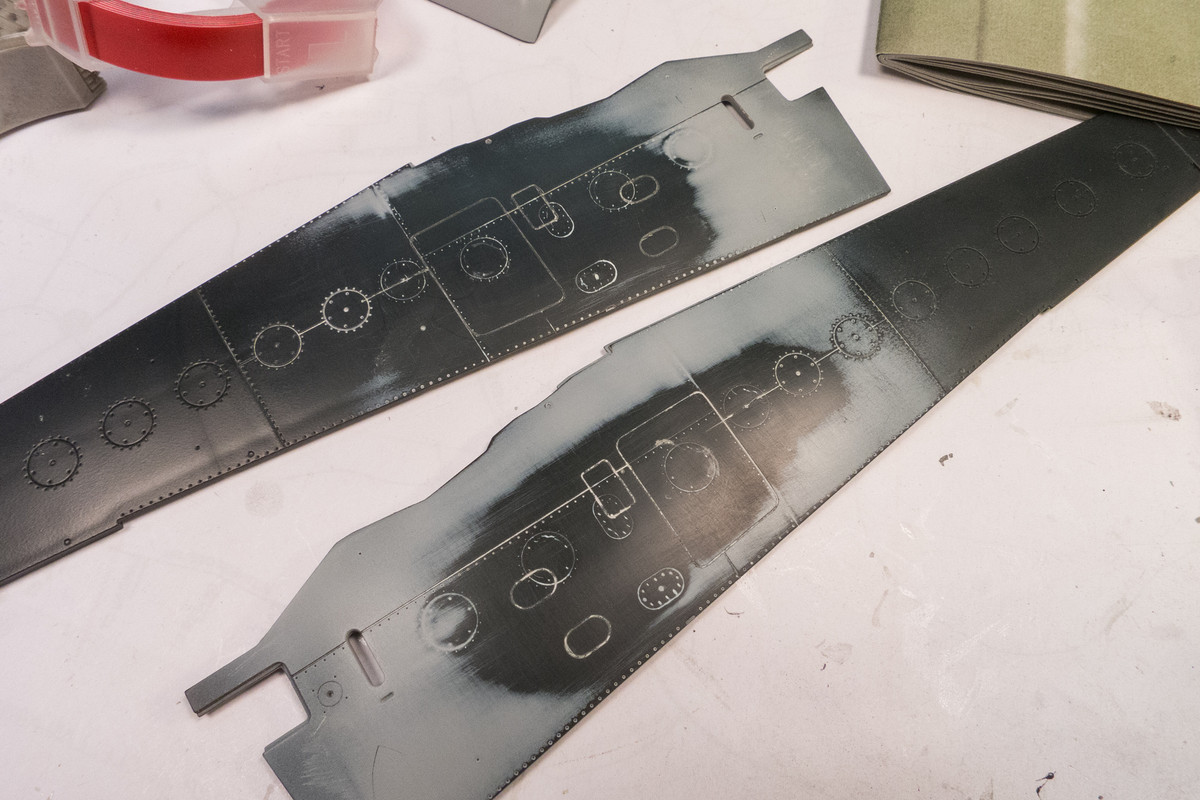
Another shot of grey paint removes the visual clutter of the filled lines. But it also reveals the imperfections from the scriber getting bogged down by the softer sprue goo. So frustrating... I was really disappointed at this stage and was compelled to put down my work and go do something else.
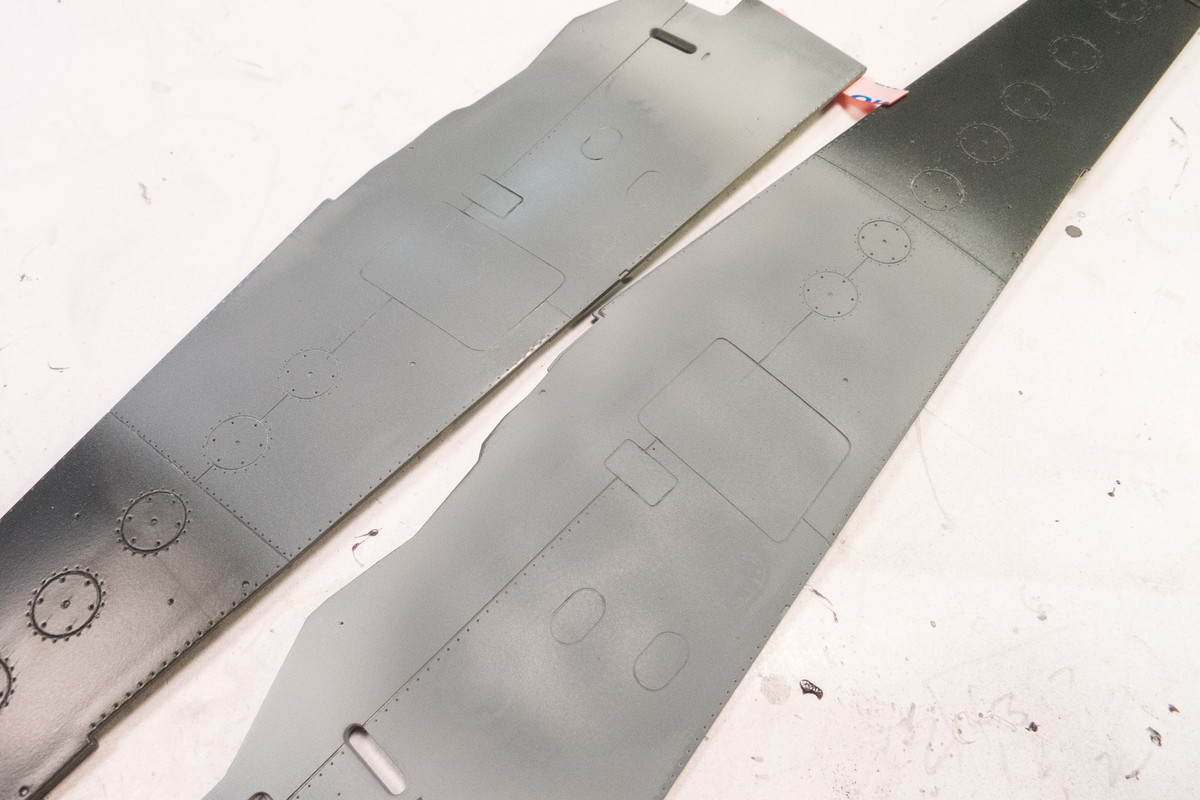
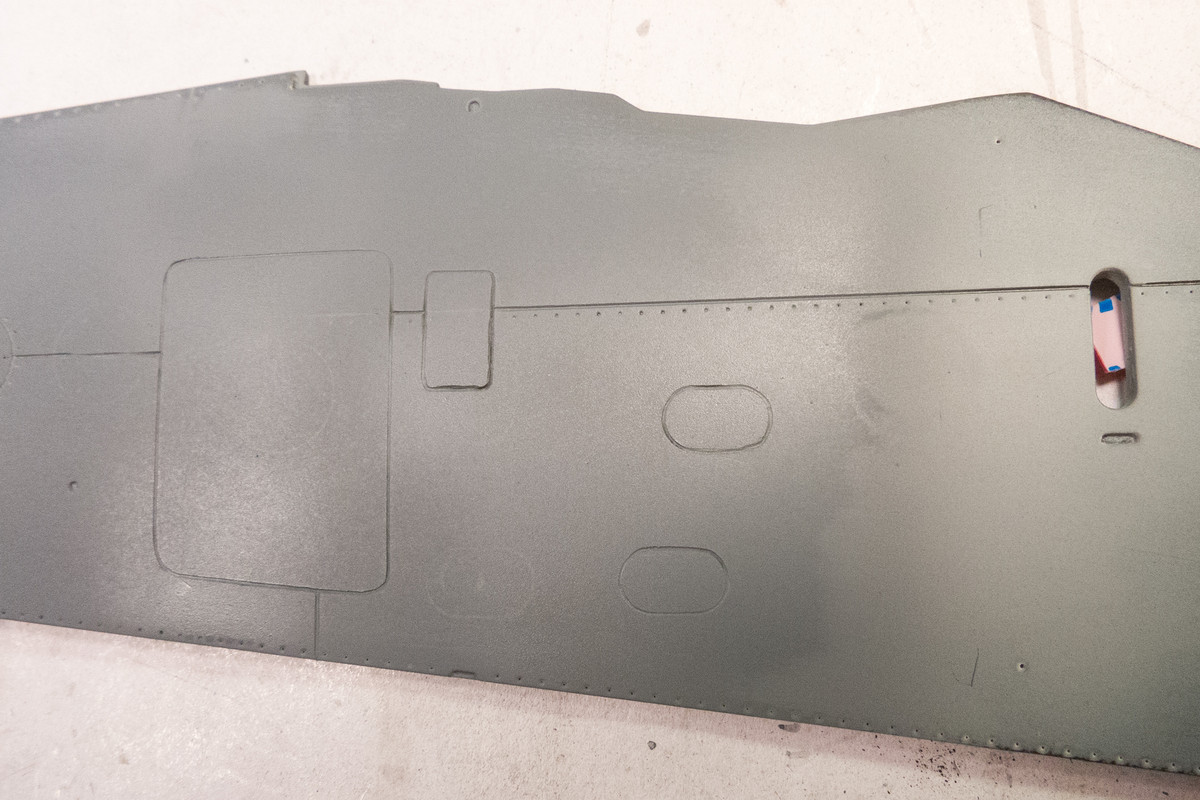
When I came back, I didn't think the results were THAT bad. Most of the shapes seemed workable. Re-tracing the shapes using the templates cleaned up some of the slop. The worst spots were filled with Black CA and re-scribed. So now I am in micro-cleanup mode, using dabs of Mr Surfacer to repair scratches and make the lines more uniform. Getting there...