Page 2 of 20

Re: 1/32 Hasegawa Bf109G-14 Hartmann

Posted: Sun Apr 19, 2020 6:00 pm
by speedgraflex
Image

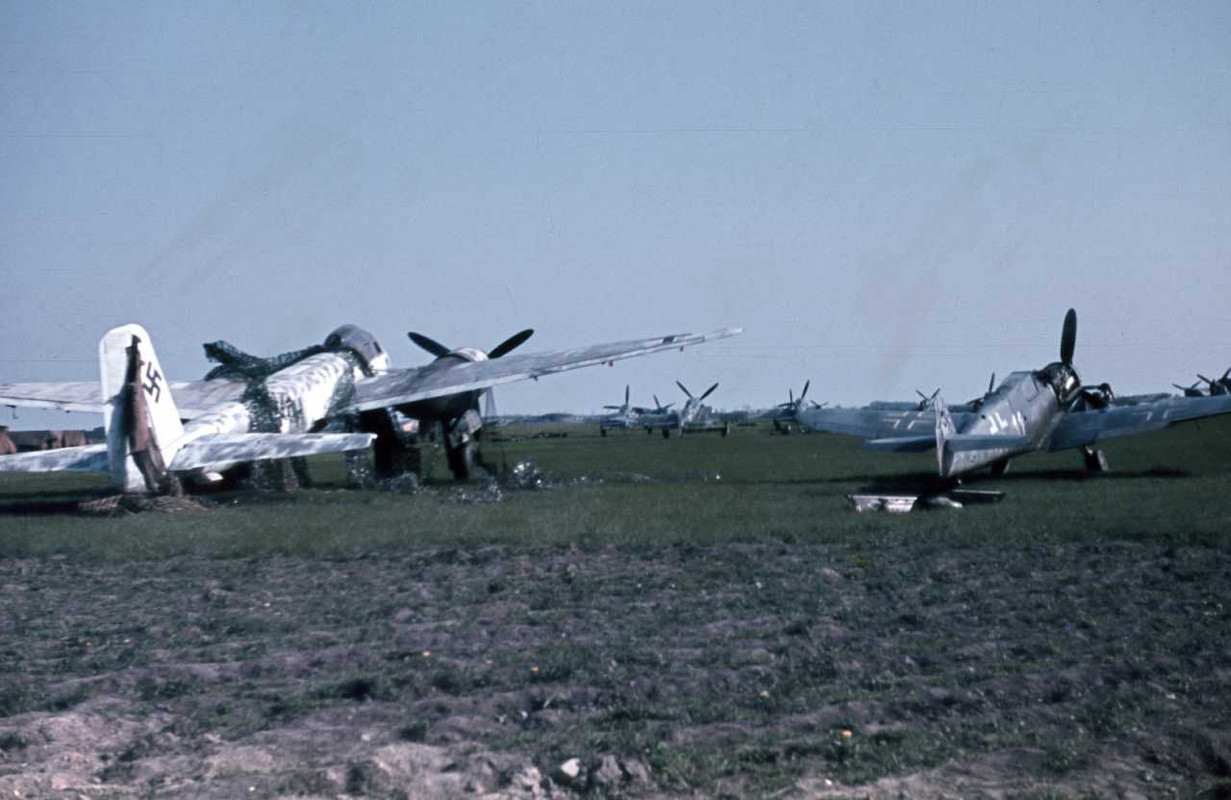
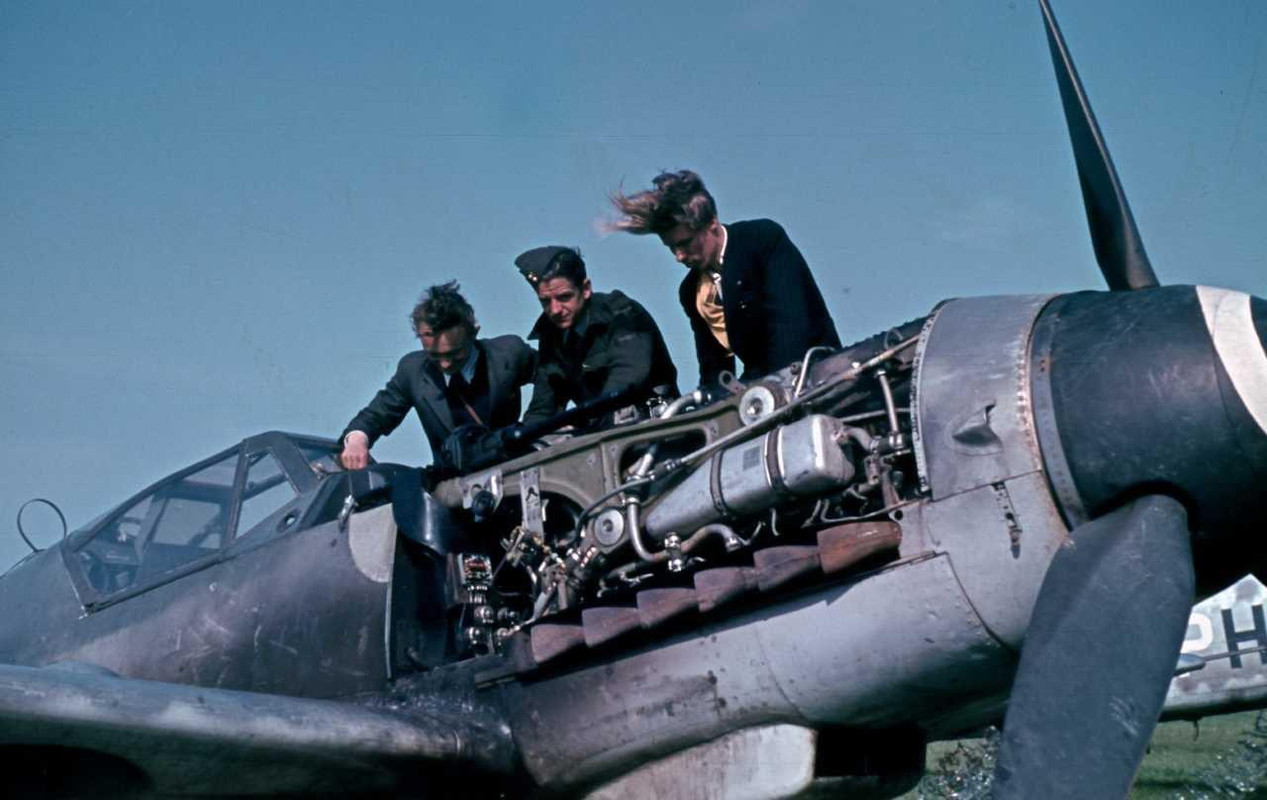
Great reference for G-14 - magnificent color slide taken at Copenhagen-Kastrup in May 1945: Erla Leipzig built Bf 109 G-14 W.Nr. 462 959 "White 11.”

Re: 1/32 Hasegawa Bf109G-14 Hartmann

Posted: Sun Apr 19, 2020 9:03 pm
by Stikpusher
Excellent reference for the engine.

Re: 1/32 Hasegawa Bf109G-14 Hartmann

Posted: Mon Apr 20, 2020 6:04 am
by Stuart
:popcorn: :popcorn:

Re: 1/32 Hasegawa Bf109G-14 Hartmann

Posted: Mon Apr 20, 2020 2:35 pm
by jkim
Excellent reference shot of that G-14. Thank you Bruce! Coincidentally, I was sent that photo along with the one below just recently by a friend... same aircraft...
Image

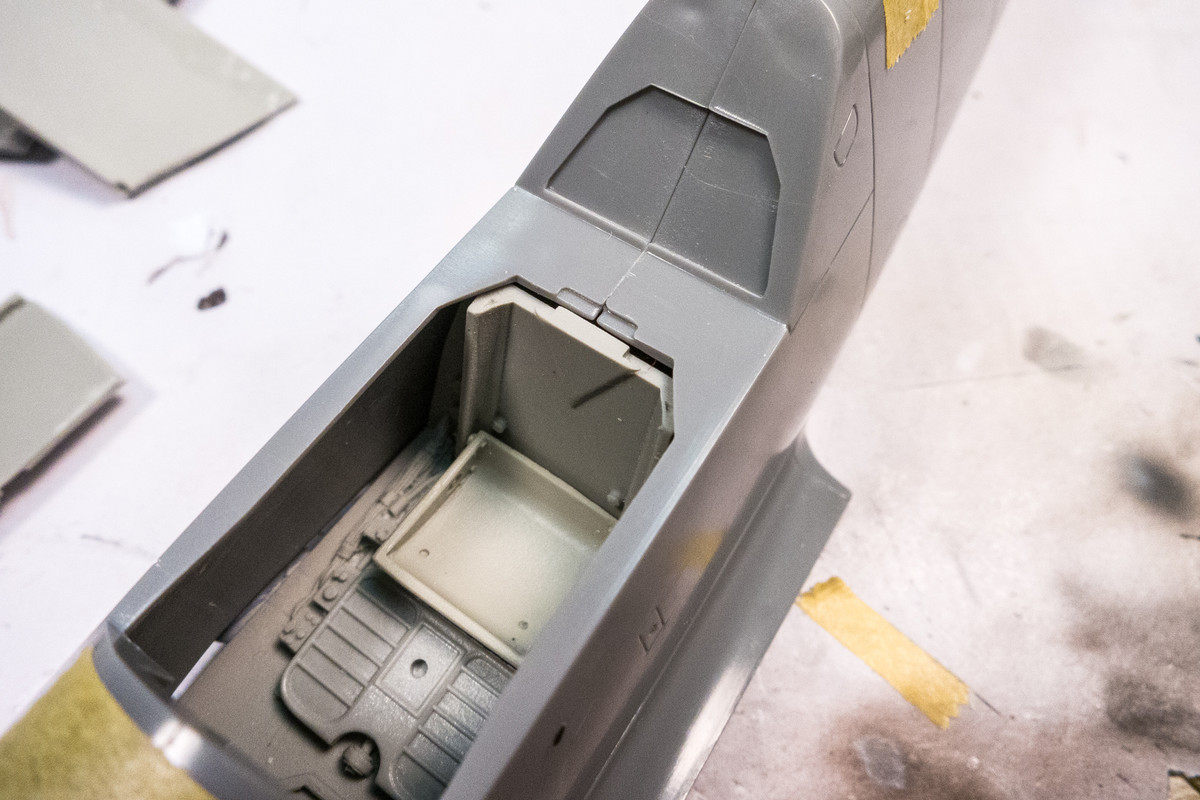
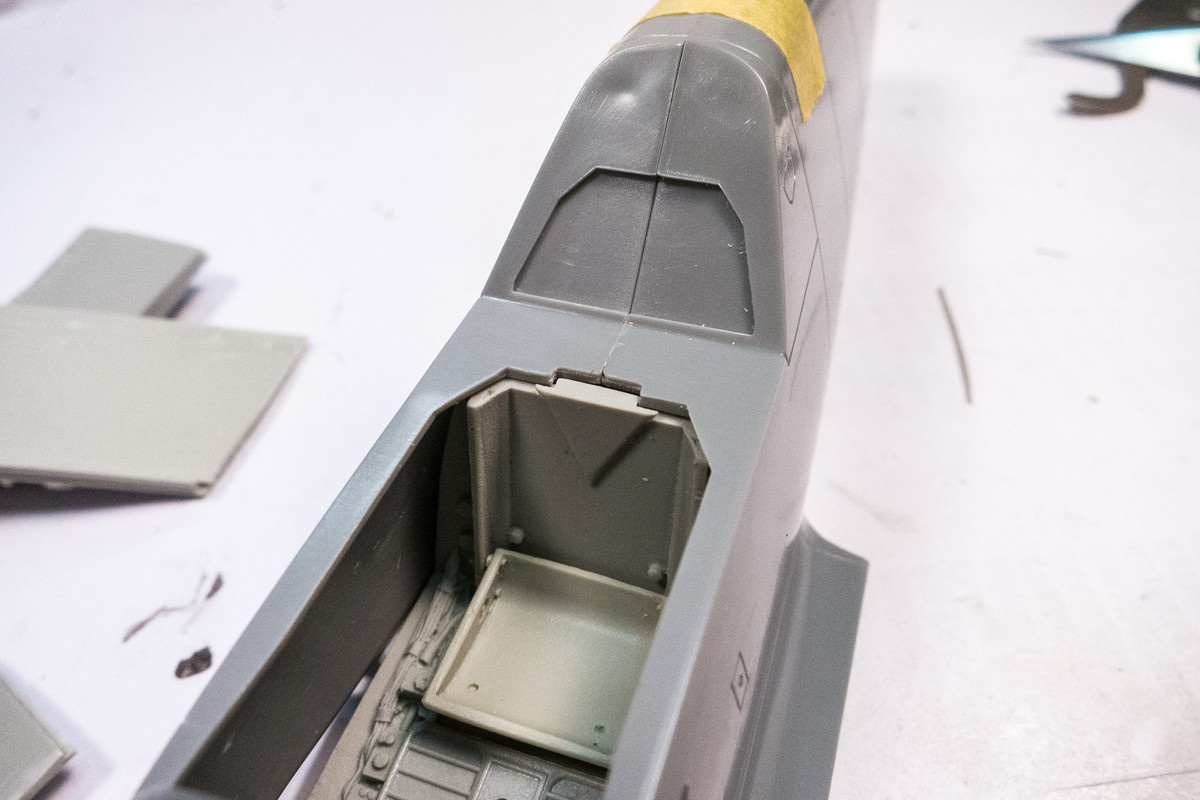
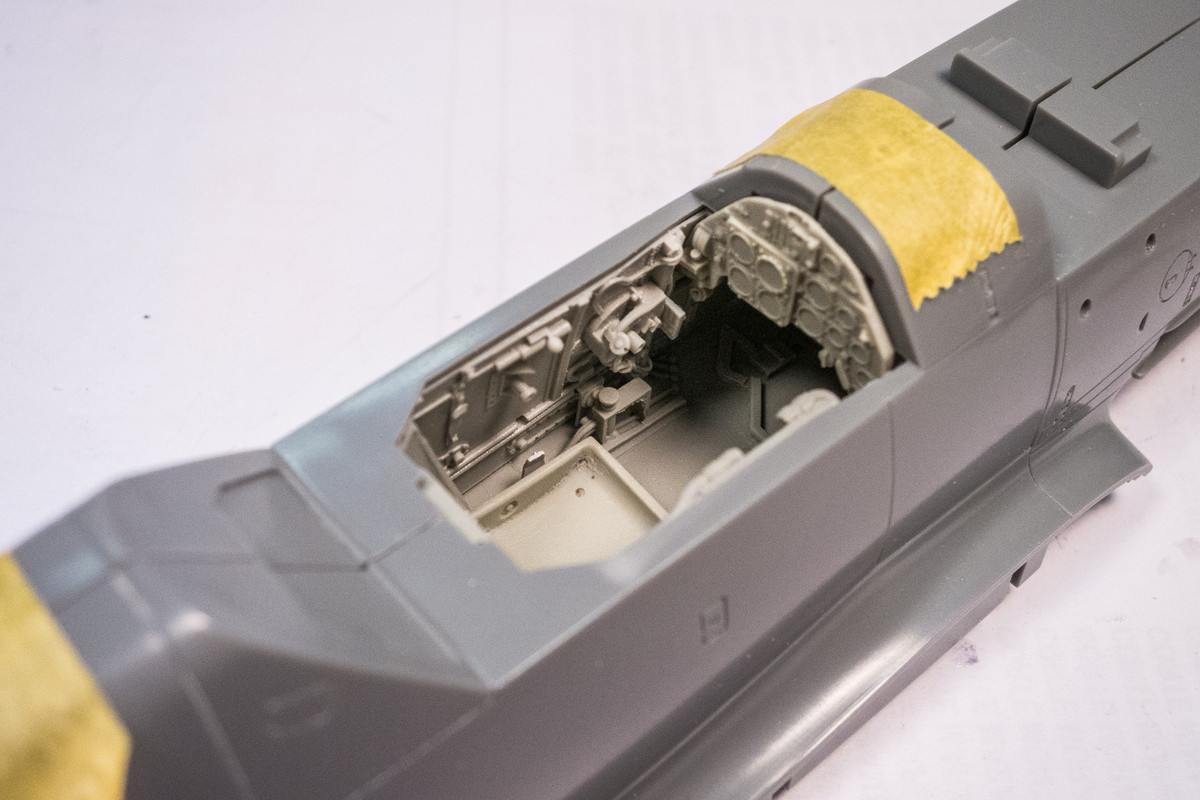
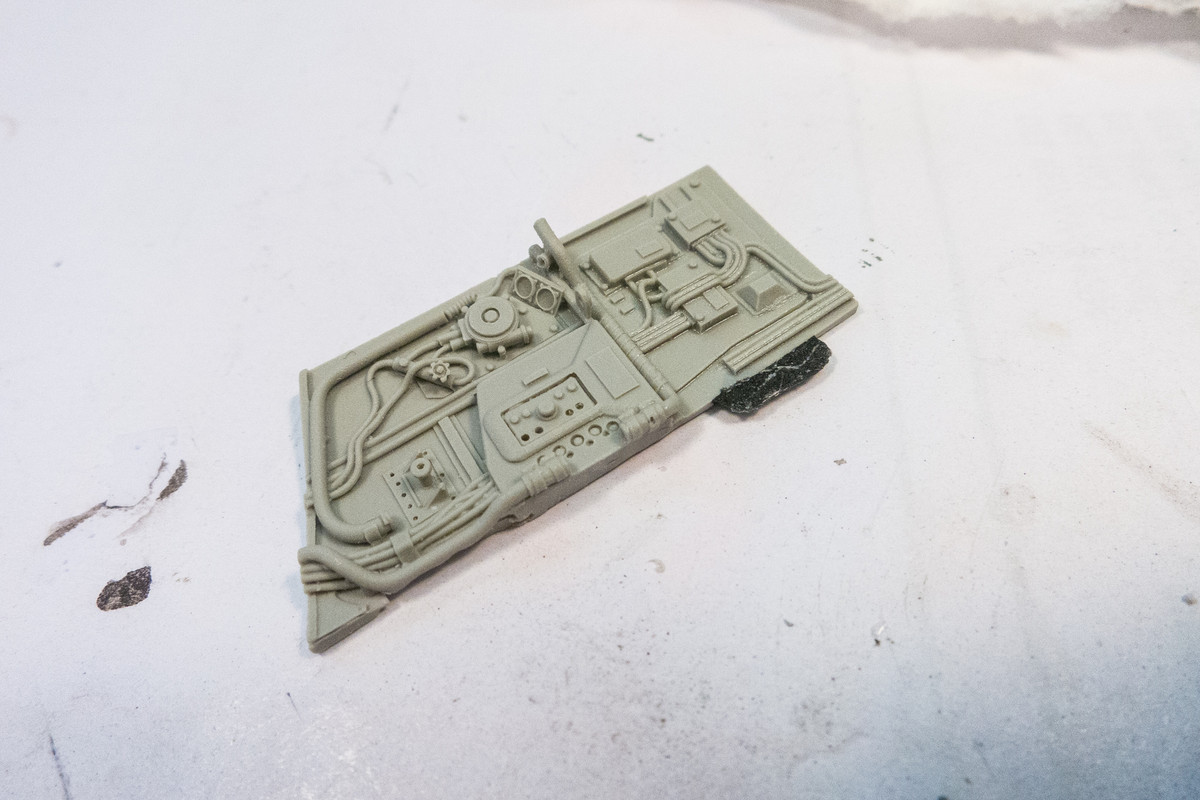
Further futzing with the MDC resin cockpit. I just noticed something during dry-fitting. A notch in the kit fuselage that seems to correspond exactly with a tab on the resin cockpit. It's not mentioned in the instructions but could it be a designed locating aid? One way to find out.
Image

A couple of snips and cuts and it appears that this is something that MDC planned although not specifically documented. It's hard to keep the resin tub in place without glue but it seems to butt up nicely once that notch was cut away.
Image

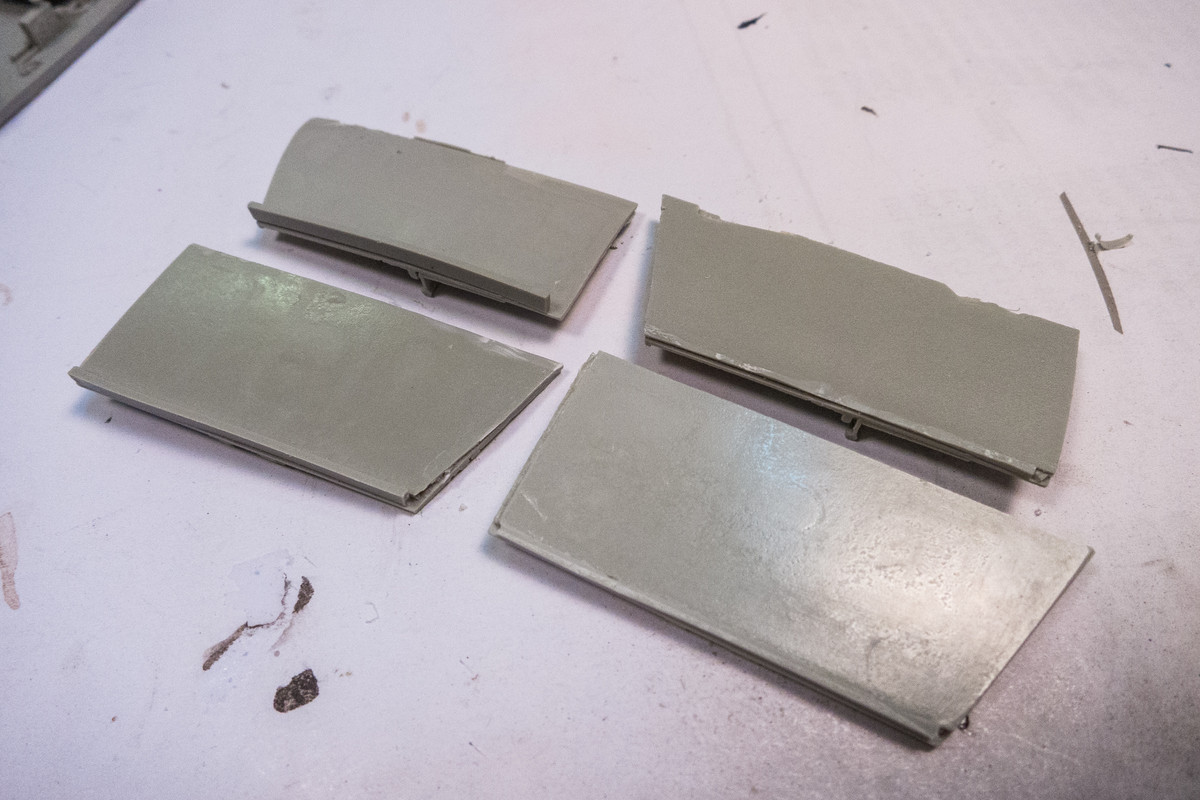
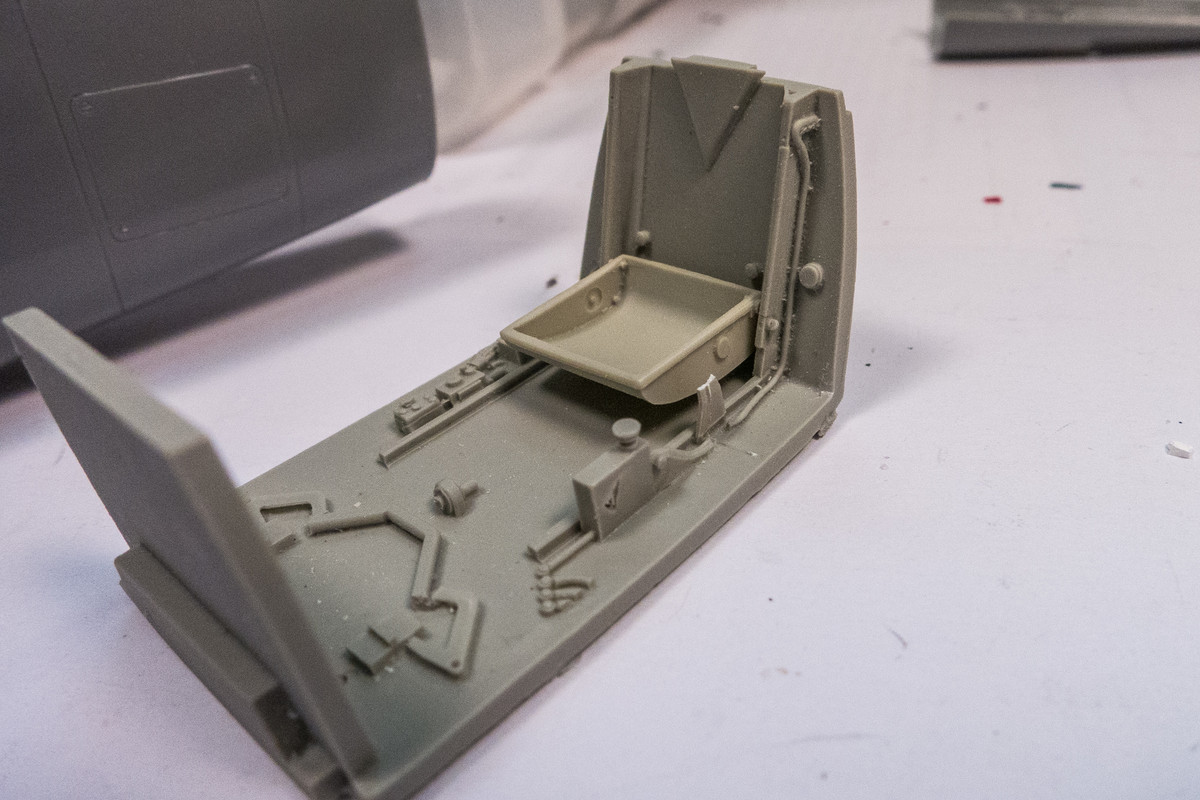
With the luxury of some extra sidewalls, I've cut away a rib on the bottom edge of the sidewalls to see if it would improve fit. This would press the sidewalls closer to the fuselage walls and make the opening from the bottom wider, hopefully making it easier to fit the cockpit tub into position from the bottom.
Image

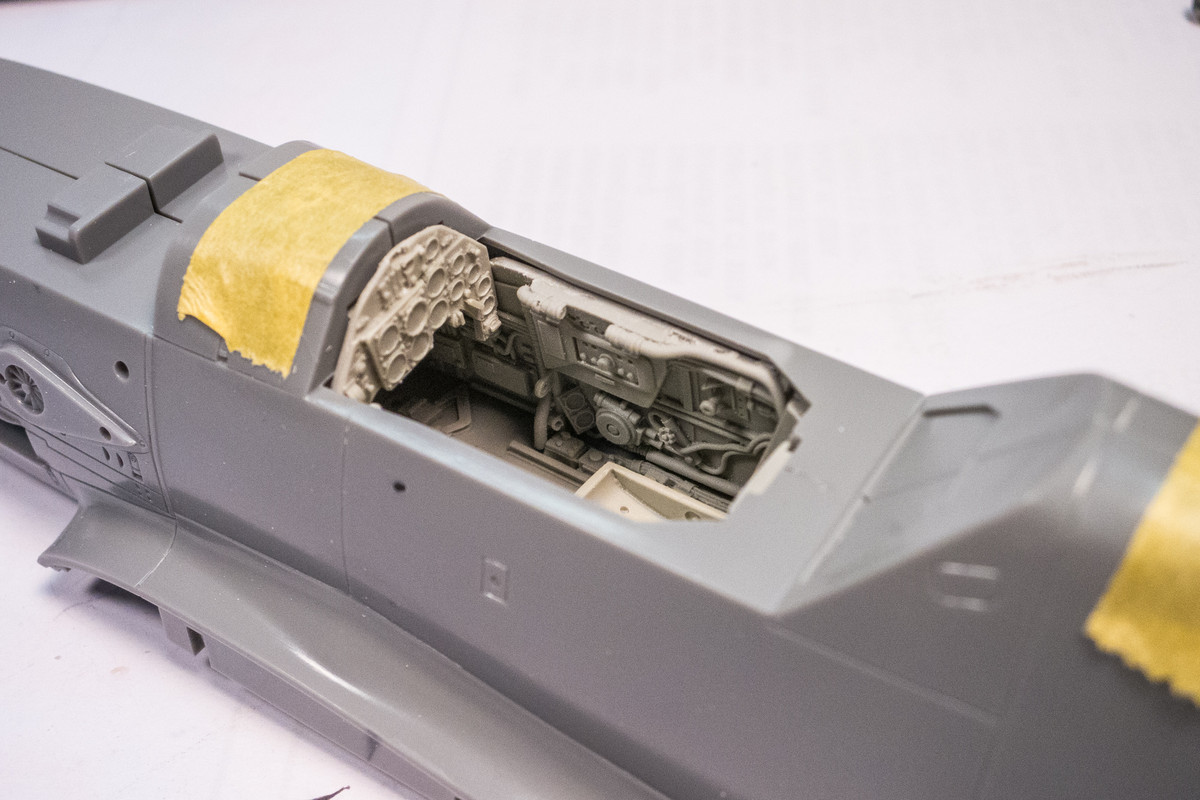
I temporarily secured the sidewalls using bits of Blu-Tack and then pushed the cockpit tub into place from the bottom opening. Success... at least partially. Not the cleanest fit but I was able to squeeze both sidewalls with the cockpit tub AND was able to tape the two fuselage sides together. Some more trimming is required but I think I'm getting there.
Image
Image

The delicate resin experienced the first breakage... the small pin to hold the trim wheels on the port side of the seat broke away. I recovered the tiny piece and may attempt to reattach it at a later stage.
Image

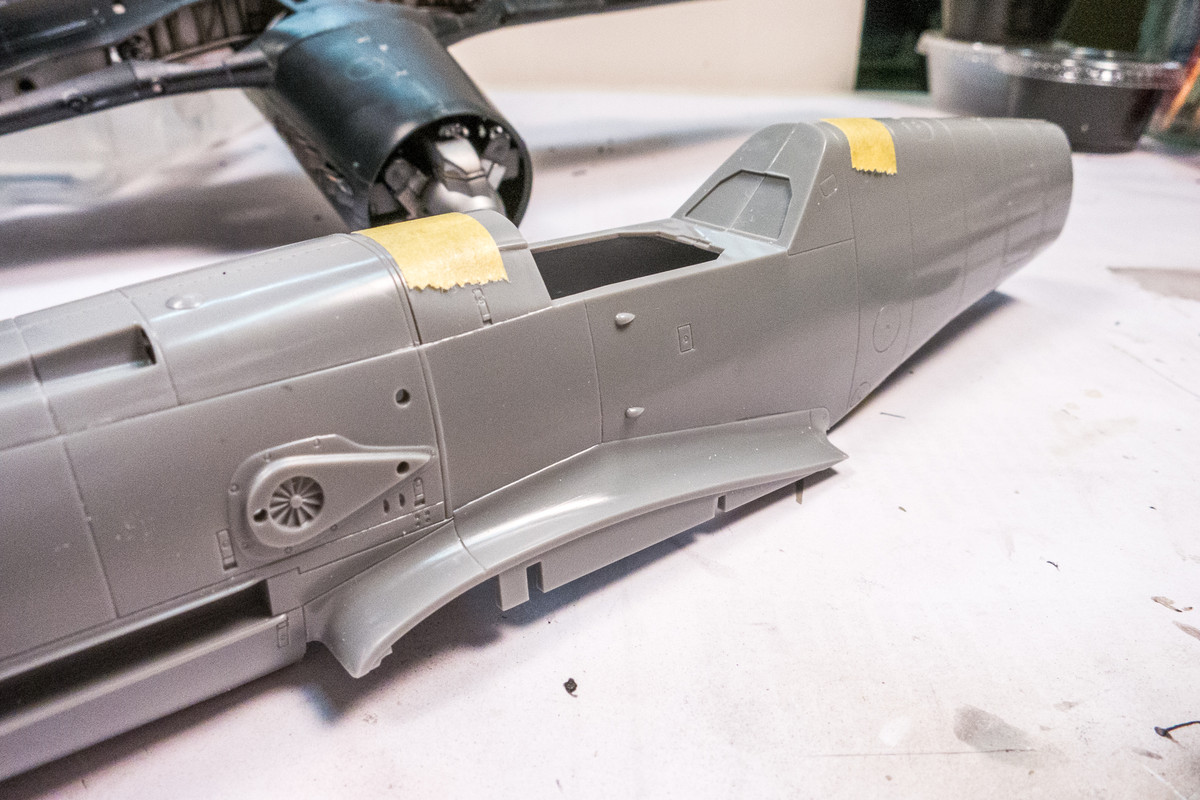
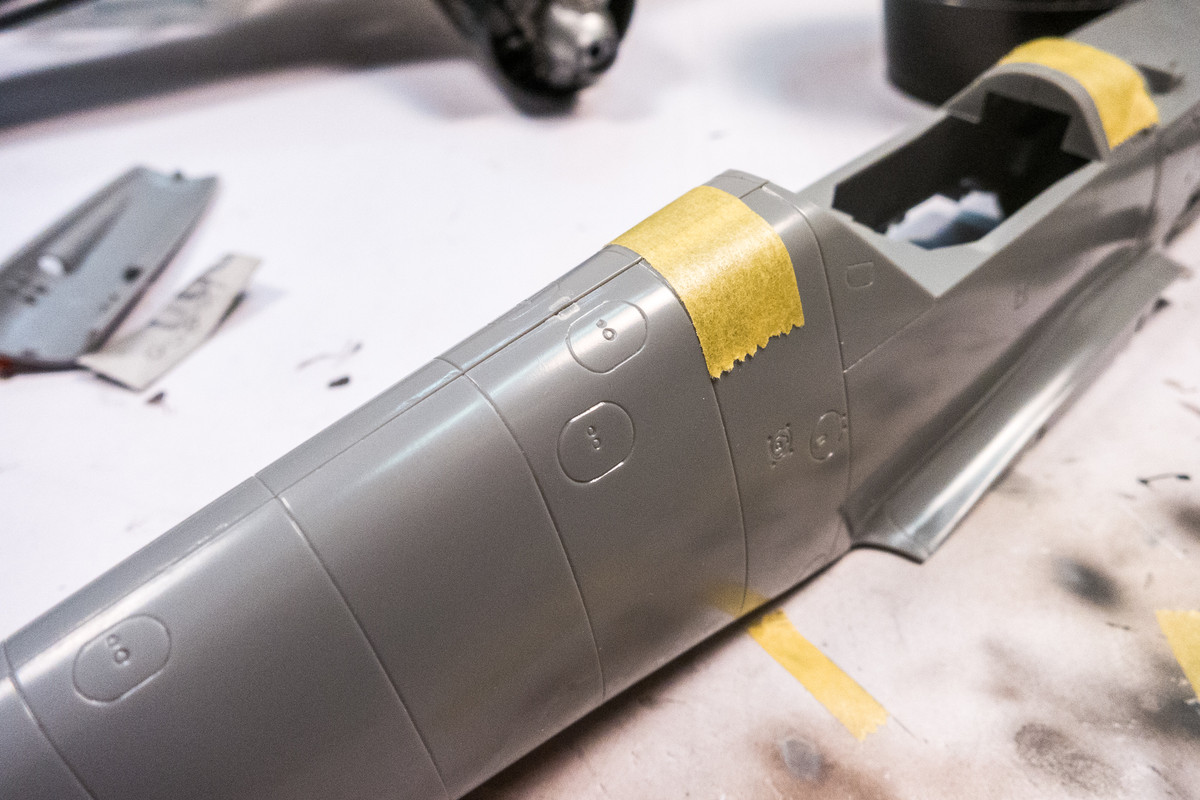
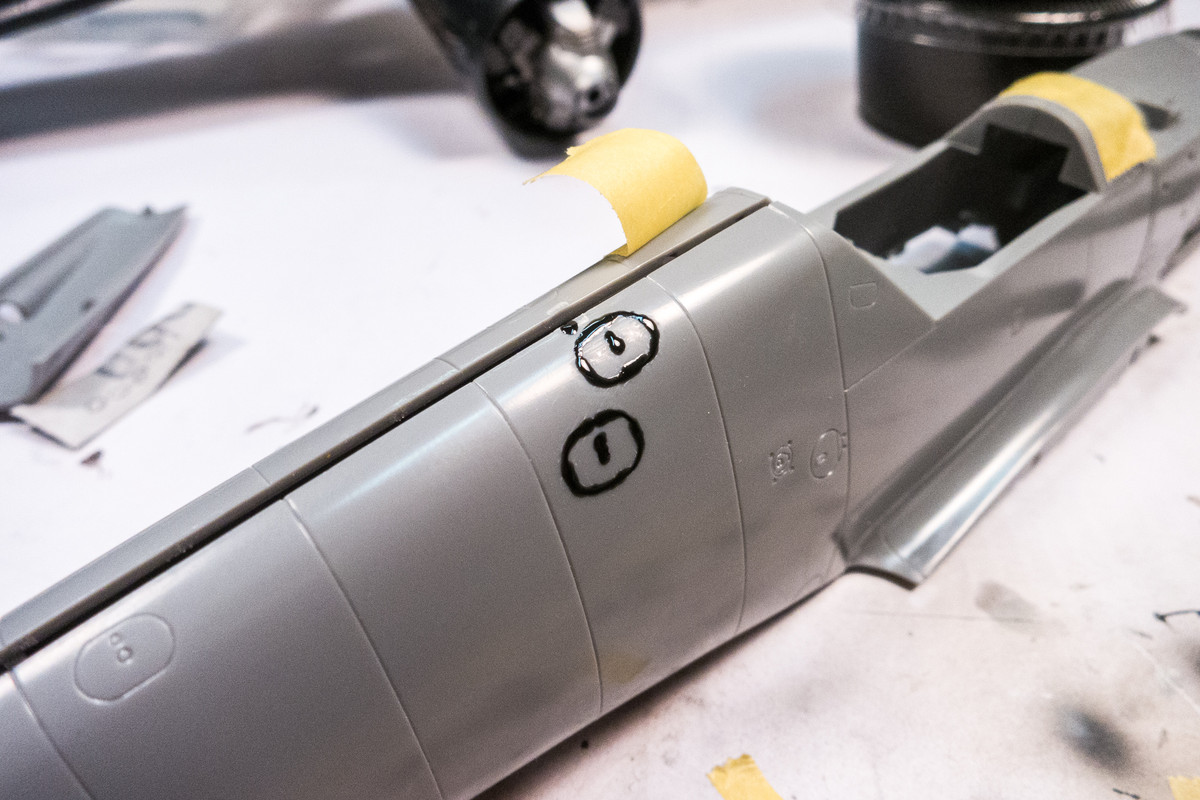
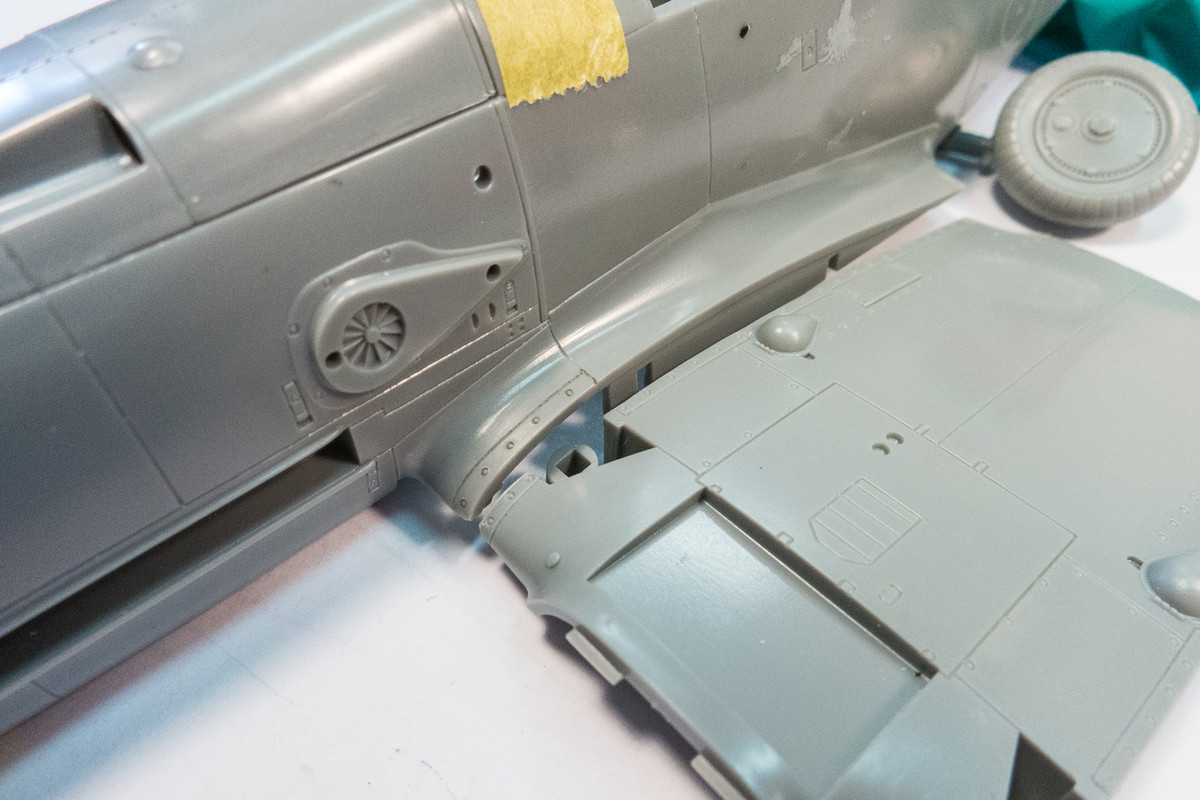
Some clean up work on the fuselage was performed. Don't need those little bumps on port side (they hold the umbrella on 109's based in the desert) and too many fuel fillers on the starboard side.
Image
Image

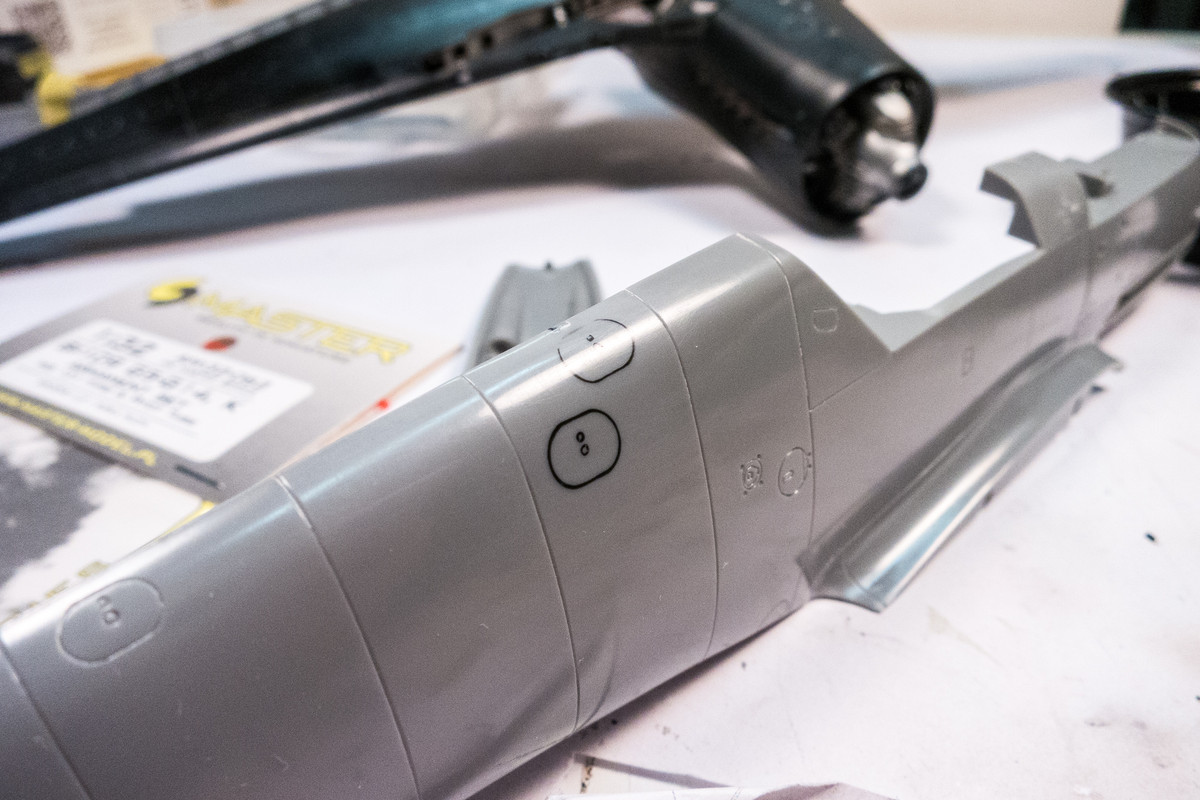
The bumps are cut away and the fuel ports filled with Black CA glue.
Image
Image

Re: 1/32 Hasegawa Bf109G-14 Hartmann

Posted: Mon Apr 20, 2020 3:05 pm
by LyleW
John, you are quite rhe engineer!

Re: 1/32 Hasegawa Bf109G-14 Hartmann

Posted: Mon Apr 20, 2020 7:34 pm
by Floki
I've had a chance to use that black CA several times now and I really like it, thank you for telling us about it. The cockpit looks like it will fit in there nicely.

Re: 1/32 Hasegawa Bf109G-14 Hartmann

Posted: Mon Apr 20, 2020 8:37 pm
by BlackSheep214
I’ve never heard of black CA. Is it sandable?

Re: 1/32 Hasegawa Bf109G-14 Hartmann

Posted: Tue Apr 21, 2020 3:54 pm
by jkim
LyleW wrote:John, you are quite rhe engineer!
Thank you! Actually, I AM a registered professional engineer (Civil and Traffic) in the State of California.
Floki wrote:I've had a chance to use that black CA several times now and I really like it, thank you for telling us about it. The cockpit looks like it will fit in there nicely.
BlackSheep214 wrote:I’ve never heard of black CA. Is it sandable?
I've been using rubberized (black) CA for a while now. Both as an adhesive and as a filler. I like it because it dries a hair slower than regular CA and it is more sandable than regular CA without needing the addition of microbubbles or talcum powder. But hard enough to polish to a nice sheen if necessary.

Scrounging in my pile of aftermarket parts (including the "used" stuff, which is separate from my "new" pile), I found a few things that will be useful in this build. One is a set of MDC ejection chutes. As I recall, Damian of SOW was kind enough to send me these for my K-4 build and I had forgotten that he had sent me an extra pair. So that's a nice time-saver as is an Eduard canopy mask set for the Hasegawa G-14 kit.

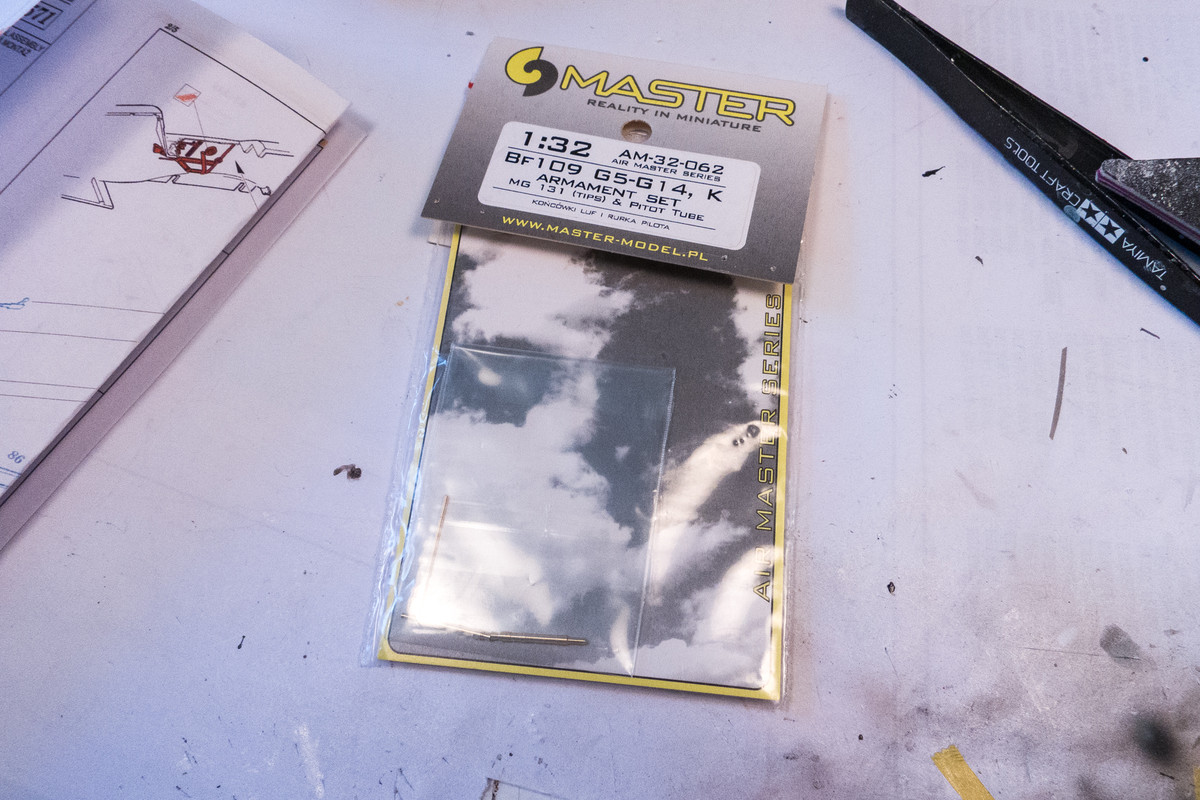
Another thing I found was a set of Master brass gun barrels and pitot tube.
Image

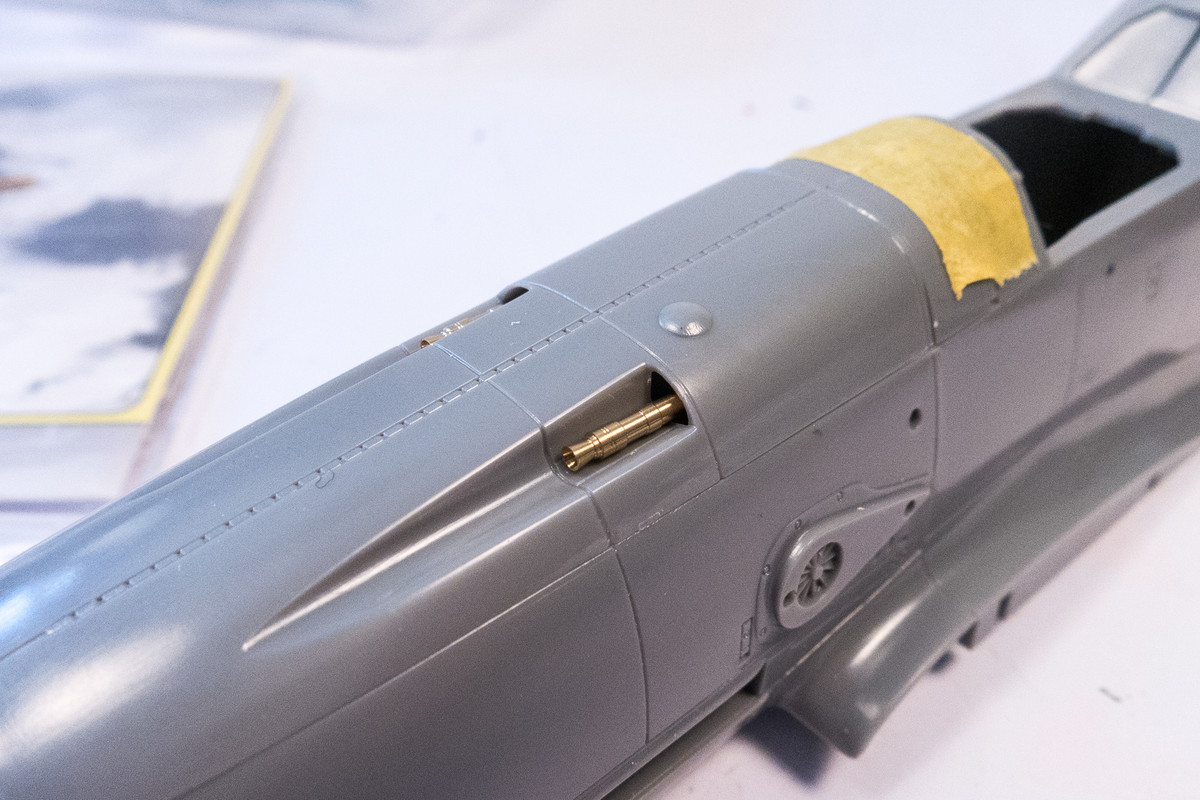
It looks like the gun barrels can be slid in from the outside and seated in a very positive and secure way so that I can leave them off until the very end. Another time-saver that will eliminate the need for any masking or re-painting.
Image

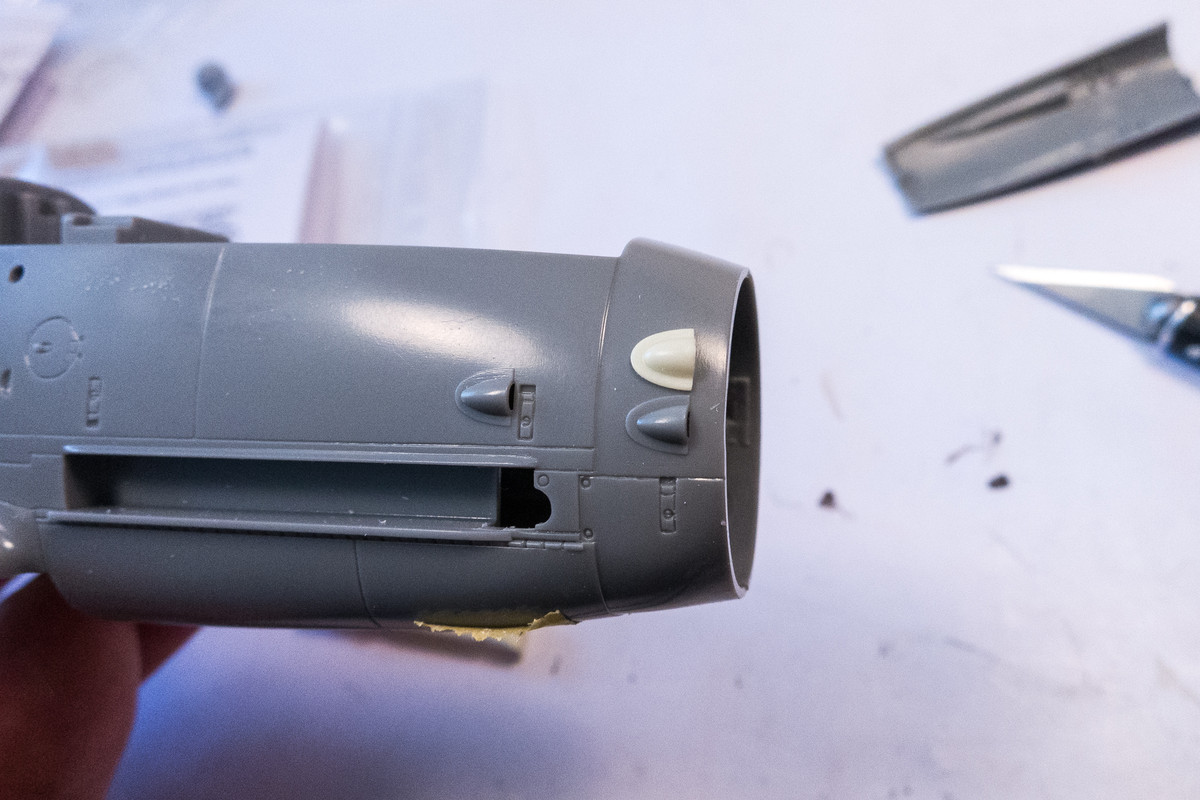
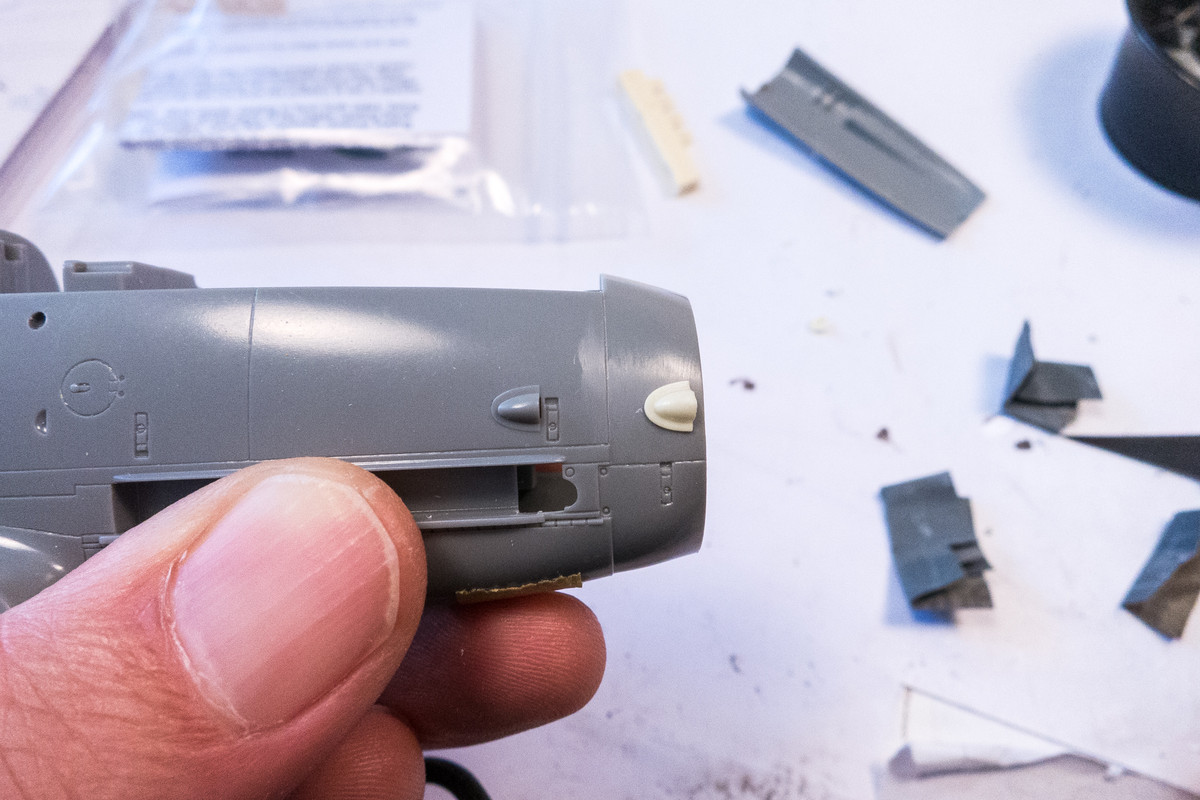
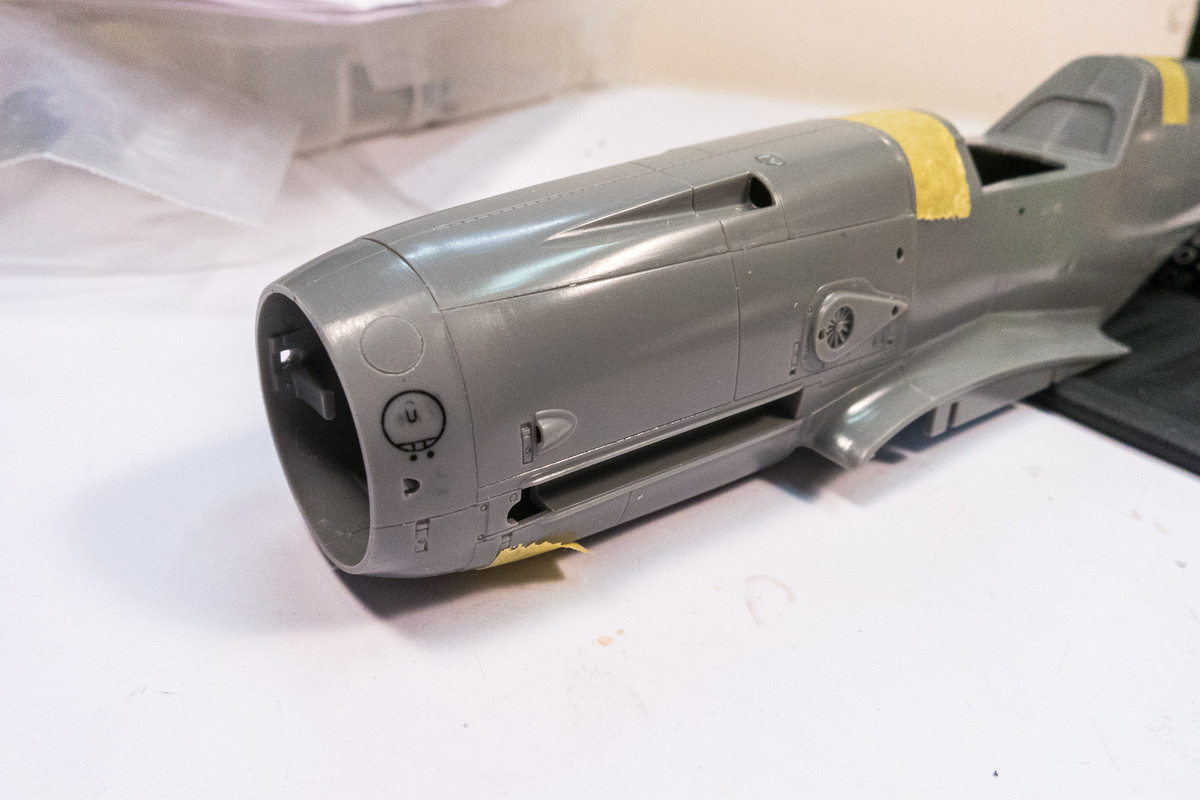
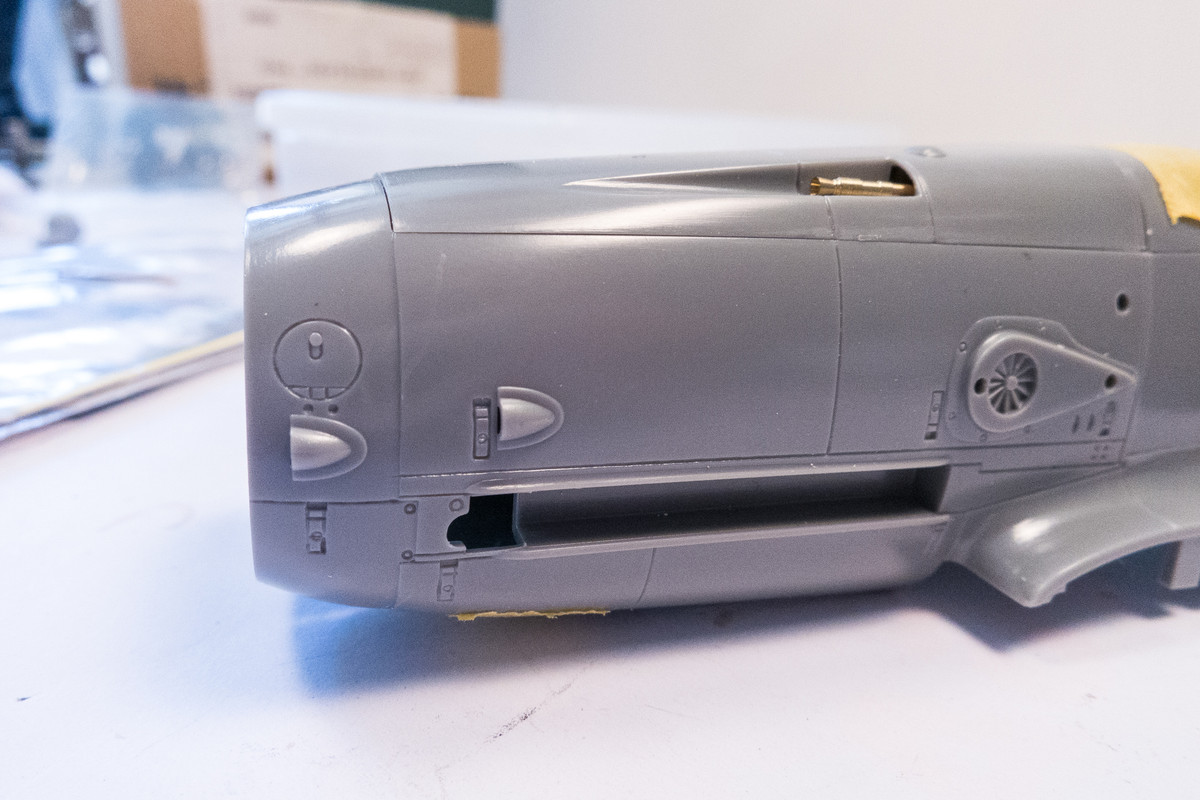
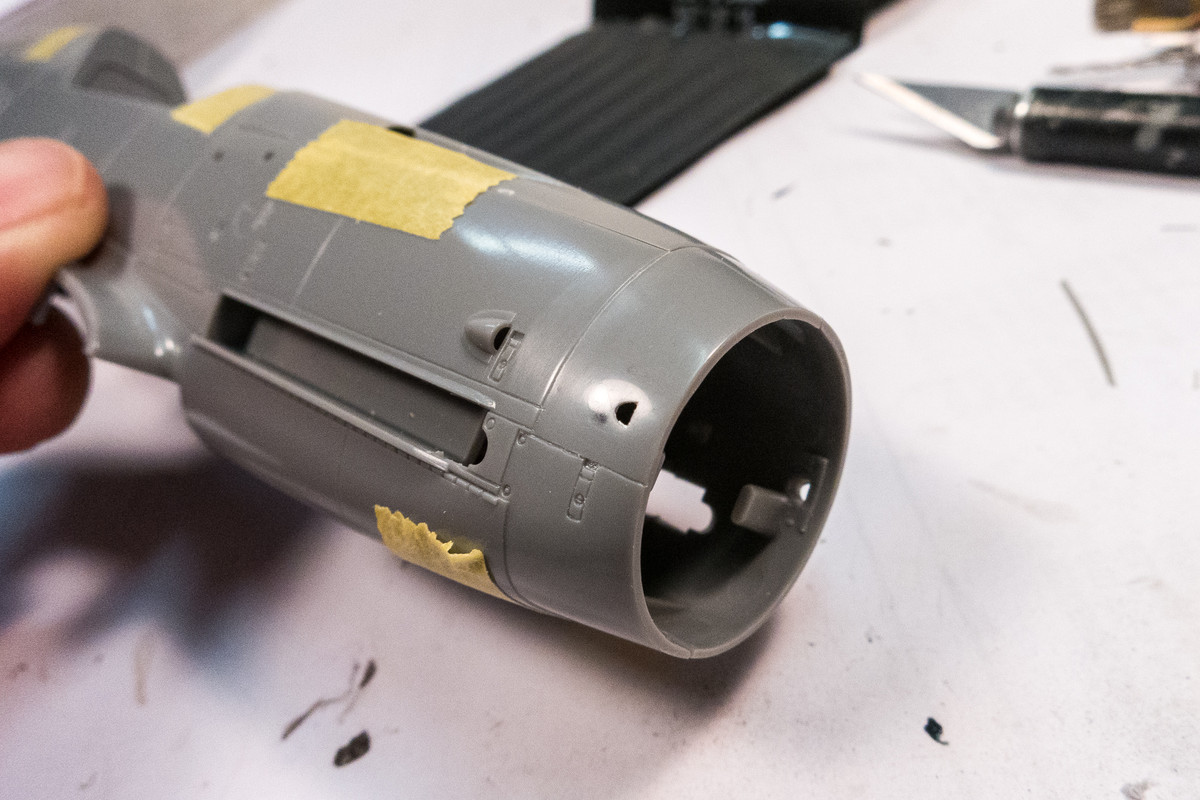
The small intake scoops on the nose should be in line with one another, not offset. That means the forward scoop needs to be moved up a bit and the circular port moved up too.
Image

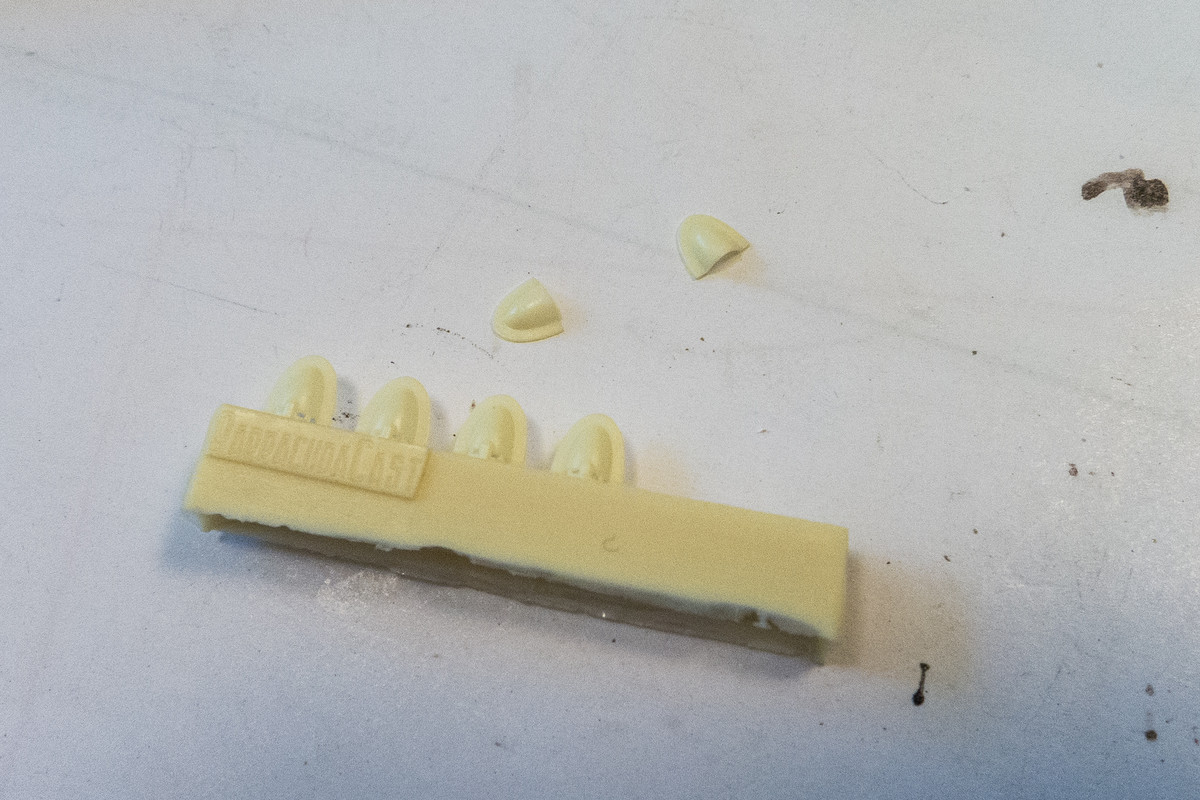
I have a bunch of these Barracuda scoops from past builds at my disposal. Not the exact same size but close enough for me.
Image
Image
Image

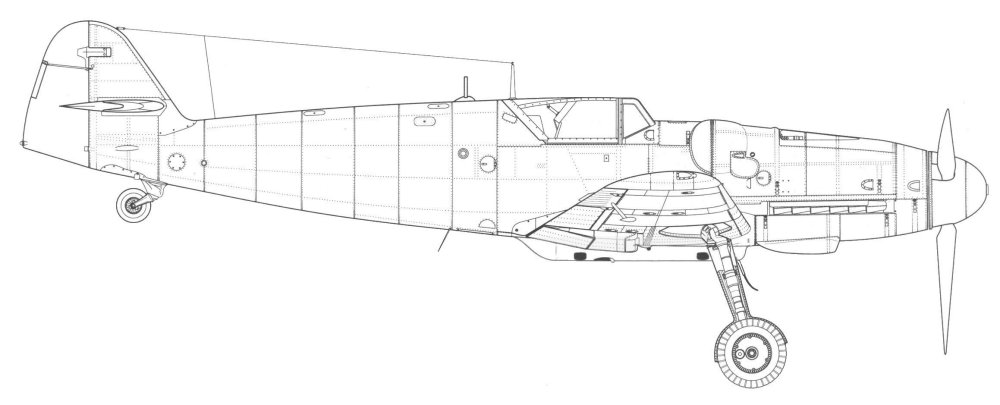
I'll probably leave the little scoops off until after I rivet the fuselage. The new placement of the circular port is based on a drawing from the 109 Lair website.
Image
Image

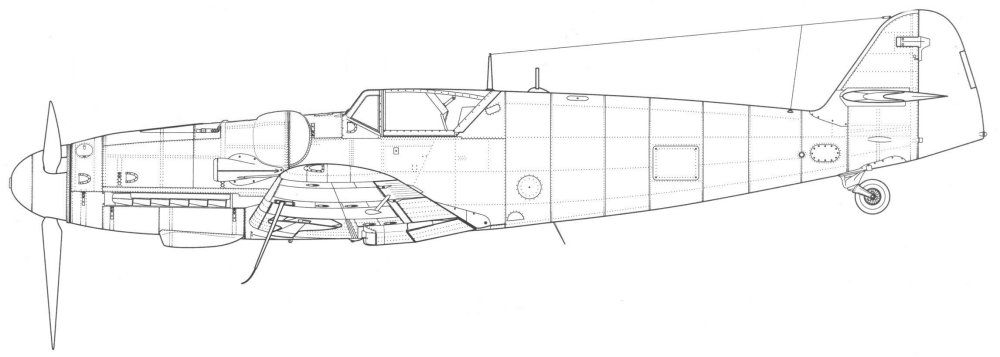
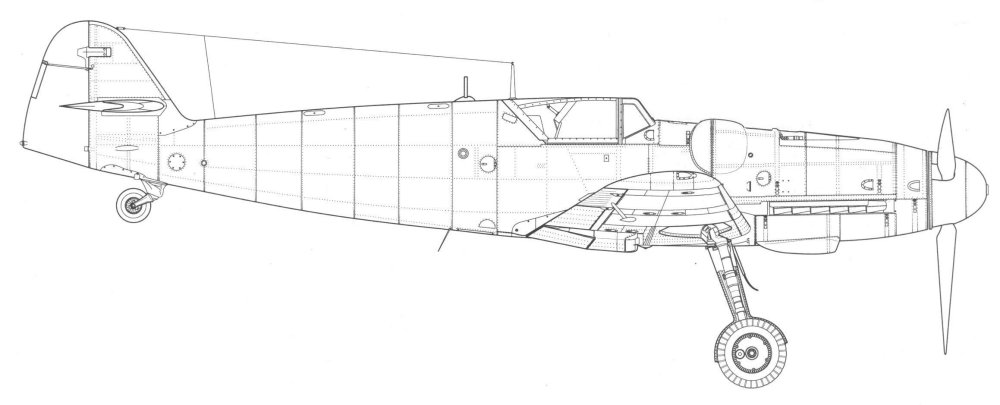
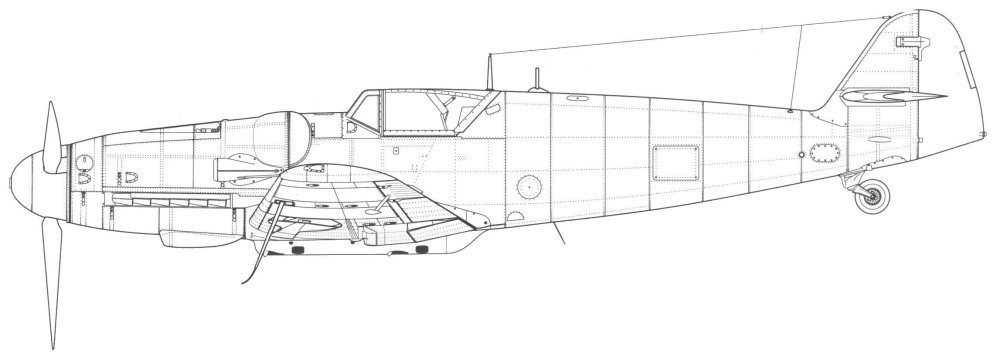
I just noticed that there is some variation in where this port may be located. There are two G-14 drawings at the 109 Lair. I prefer the higher position of the "Late" version to avoid the re-scribing over the old port but I'm not sure it if it is appropriate for Hartmann's machine. The G-14 "No. 43" has the circular port on the nose closer to the scoop. It also has both fuel ports on the starboard fuselage spine that I've just removed in addition to the small bulge in front of the starboard beule. Unless there is documentation that says otherwise, I'll be going with the G-14 "Late" and will have to re-scribe one of those starboard fuel ports.

Bf109G-14 "No. 43"
Image
Image

Bf109G-14 "Late"
Image
Image

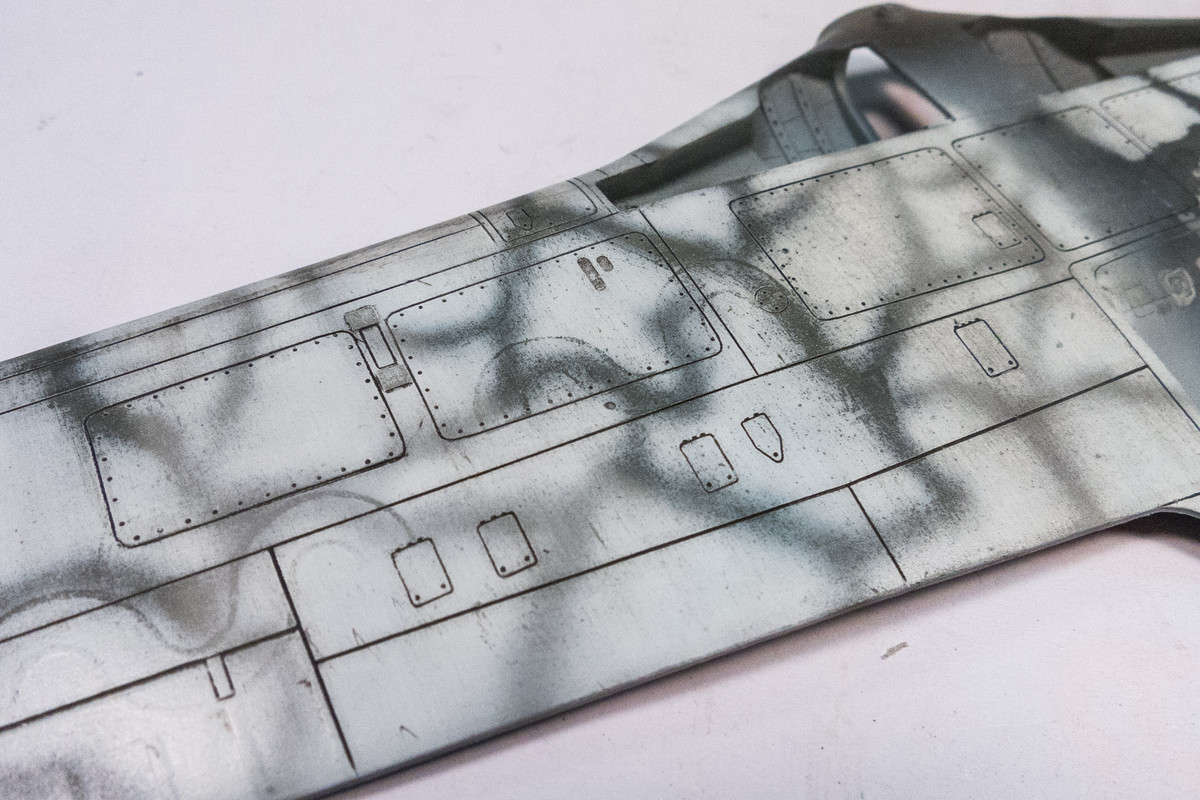
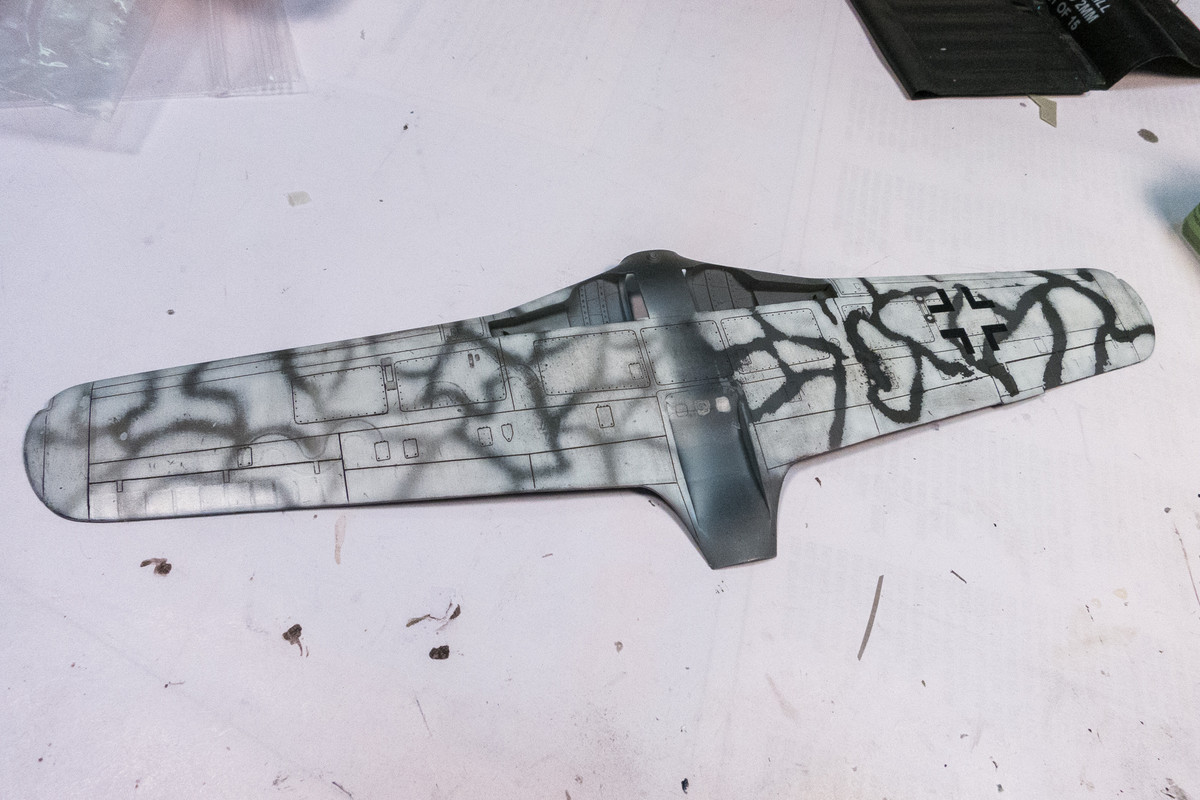
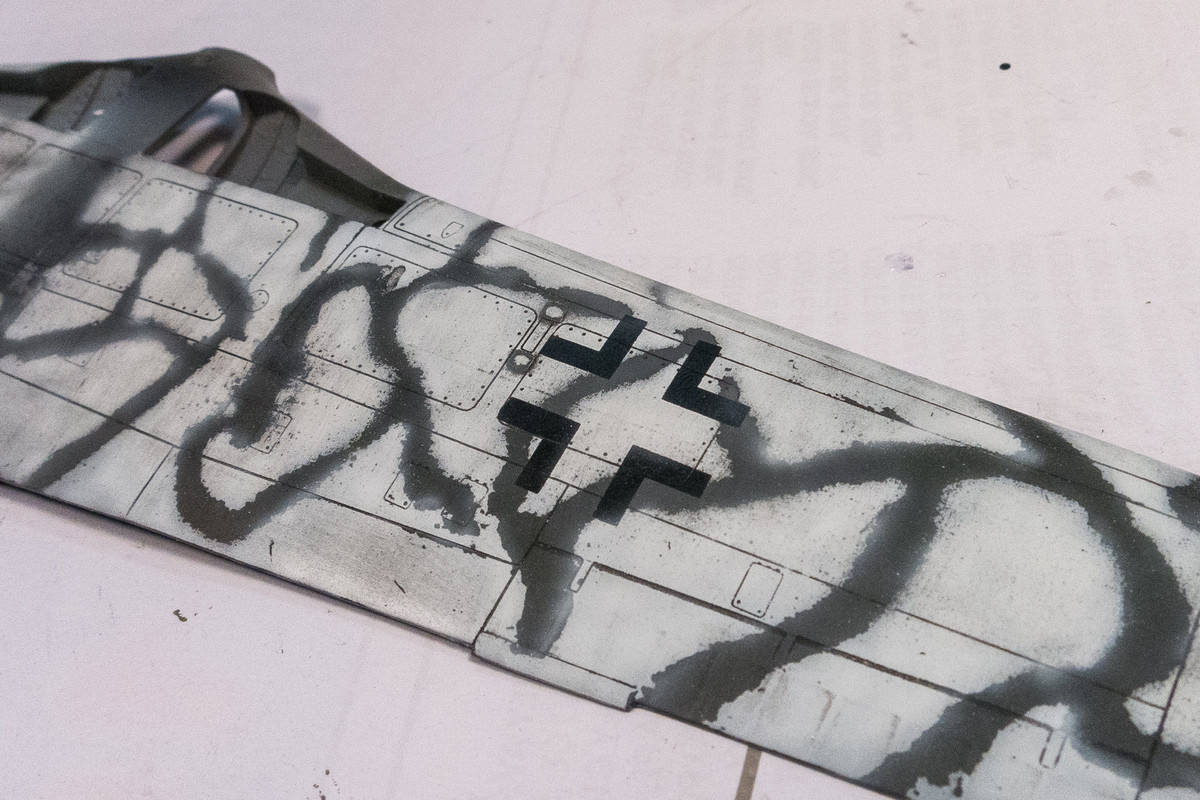
Finally, I did an initial foray into the white wash winter colors sprayed over a standard 74/75. The right side was treated with hairspray and the left was scrubbed with Micromesh after painting was completed.
Image
Image
Image

Disregarding the shape of the mottles (I admittedly have a hard time establishing "good looking" random mottles and will need to map those out prior to actual painting), I'm looking at the wear patterns caused by both the hairspray method and by physically removing paint using Micromesh. I have to be very careful with the Micromesh as any surface deviation on the model will show up right away. On the left side of the wing you can see the indentation of Luftwaffe wave symbols that was sprayed underneath the camo on my test piece. I'm going to do more testing in the ample time I have prior to the painting stage of this project but you can get an idea of where this might be going.
Re: 1/32 Hasegawa Bf109G-14 Hartmann

Posted: Tue Apr 21, 2020 7:41 pm
by jkim
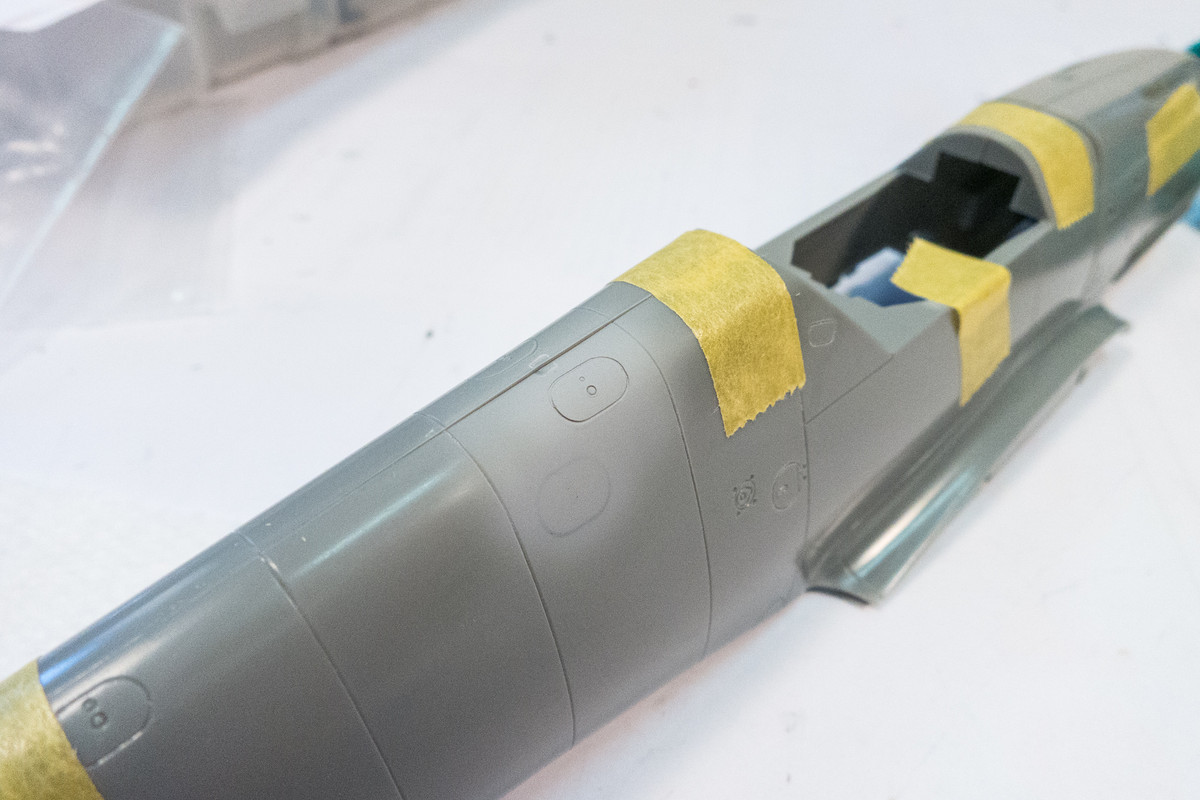
As mentioned earlier, the upper fuel port on the starboard fuselage spine shouldn't have been filled in so I had to restore by re-scribing.
Image

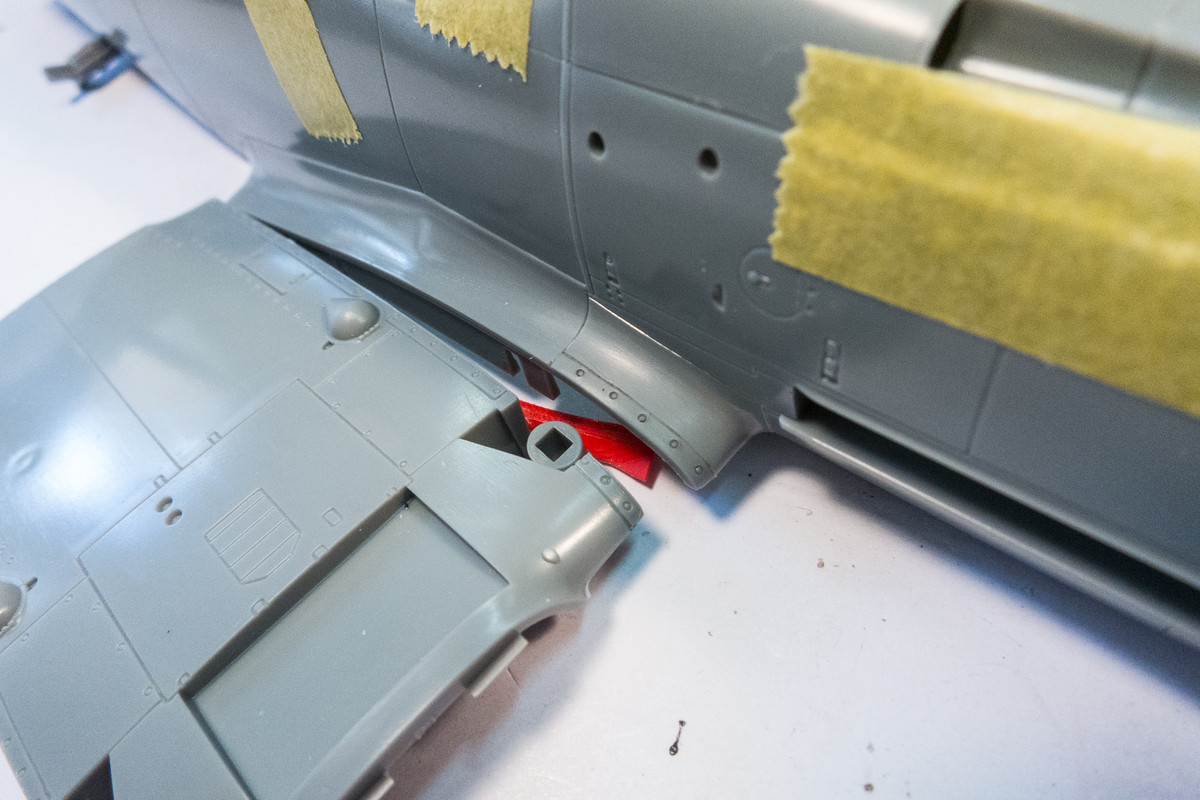
The Hasegawa kit doesn't continue the steel strengthening strip along the wing joint to the upper side so added it now. Much easier to do now without the wings in the way.
Image
Image

Per Vincent's comment, I've replaced the starboard sidewall to the correct one without the map holder. It had some damage to the top edge of the piece which might be visible through the canopy so I filled it in with Black CA to repair.
Image

Re: 1/32 Hasegawa Bf109G-14 Hartmann

Posted: Tue Apr 21, 2020 9:09 pm
by Floki
You've got a lot of work done on this. Those little details now will pay off in the end.