Thanks guys!
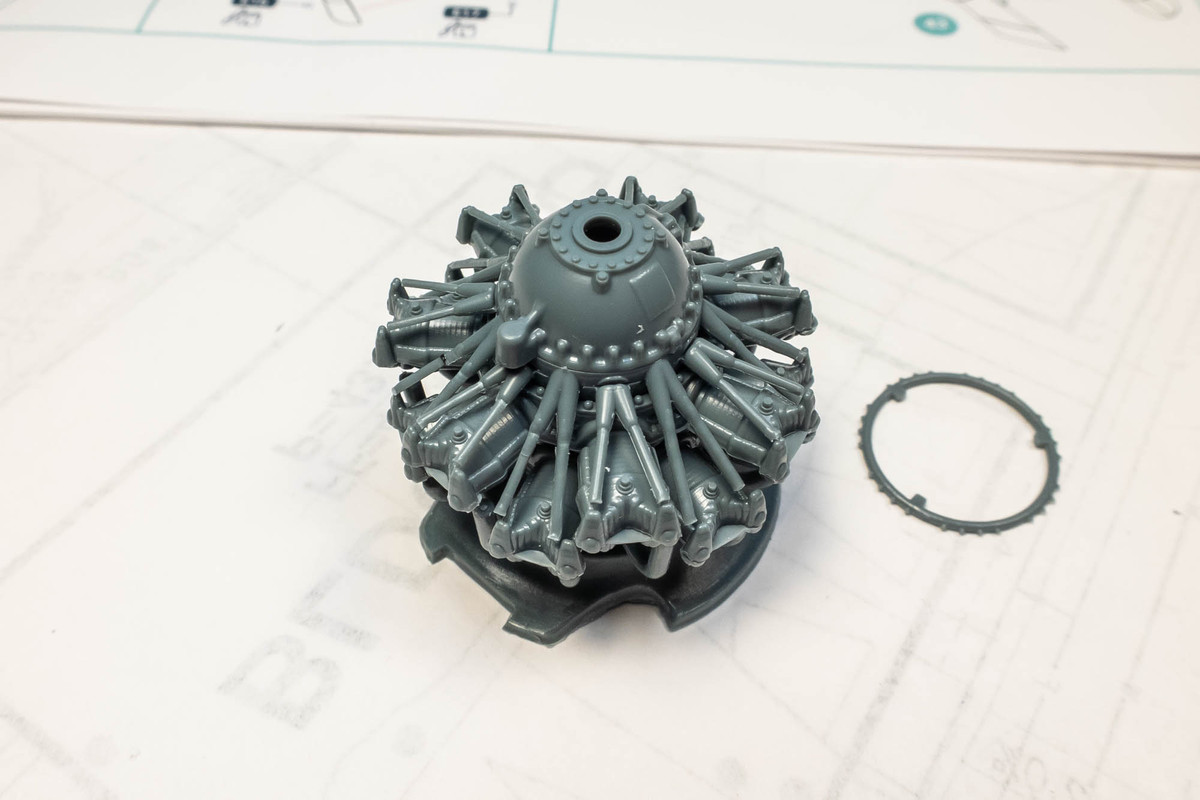
Working further on the engine, the exhaust manifolds have a heavy seam line and some flash that needs to be carefully cleaned. I guess "need" is arguable since these are in the back of the engine and will not be visible at all on the completed model. Since I consider these photographs as much a part of the model as the finished product itself, I usually like to address even the ultimately unseen flaws.
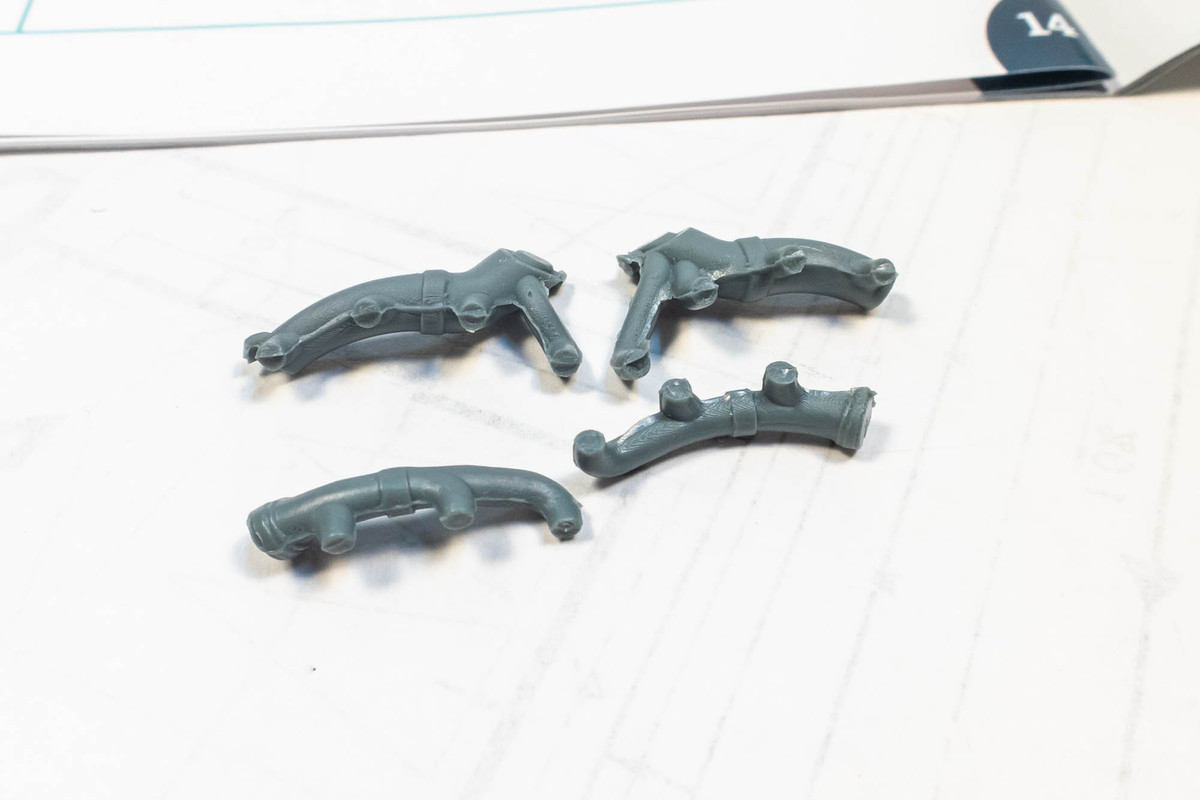
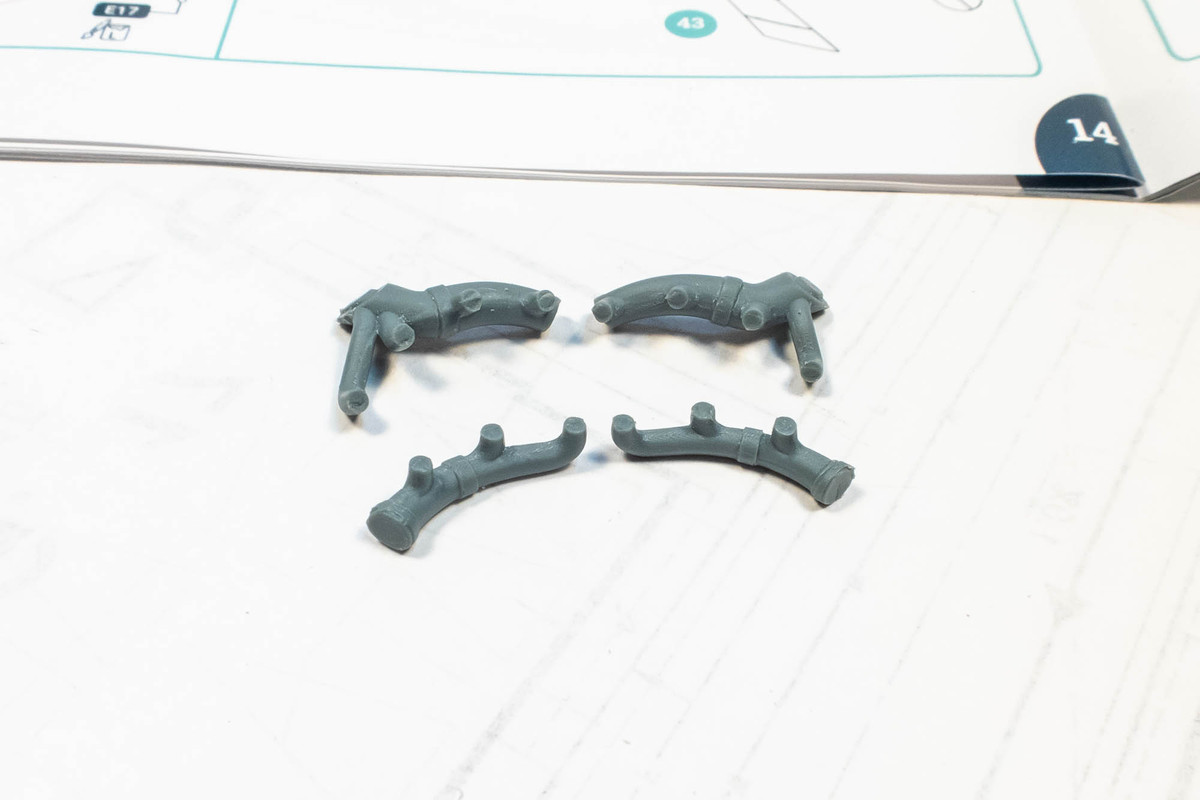
The exhaust tips are needless molded into two parts instead of one so we have to take care of the visible seams.
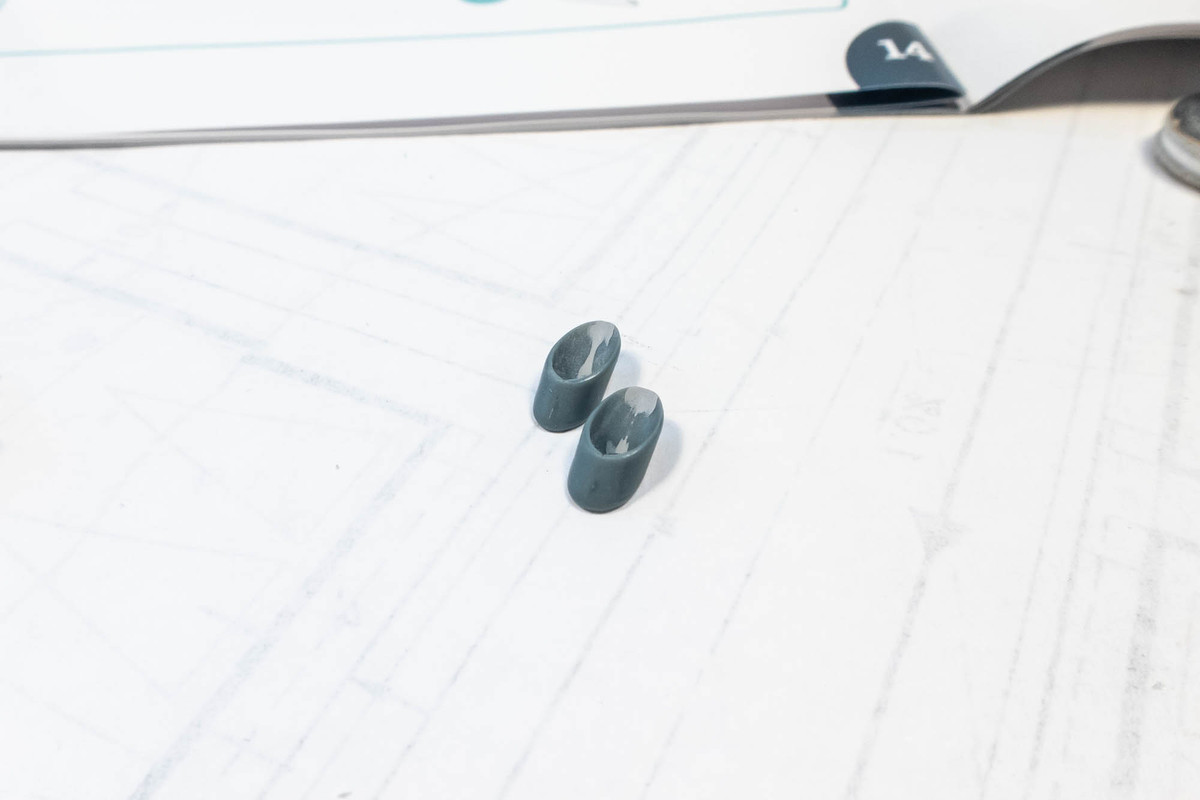
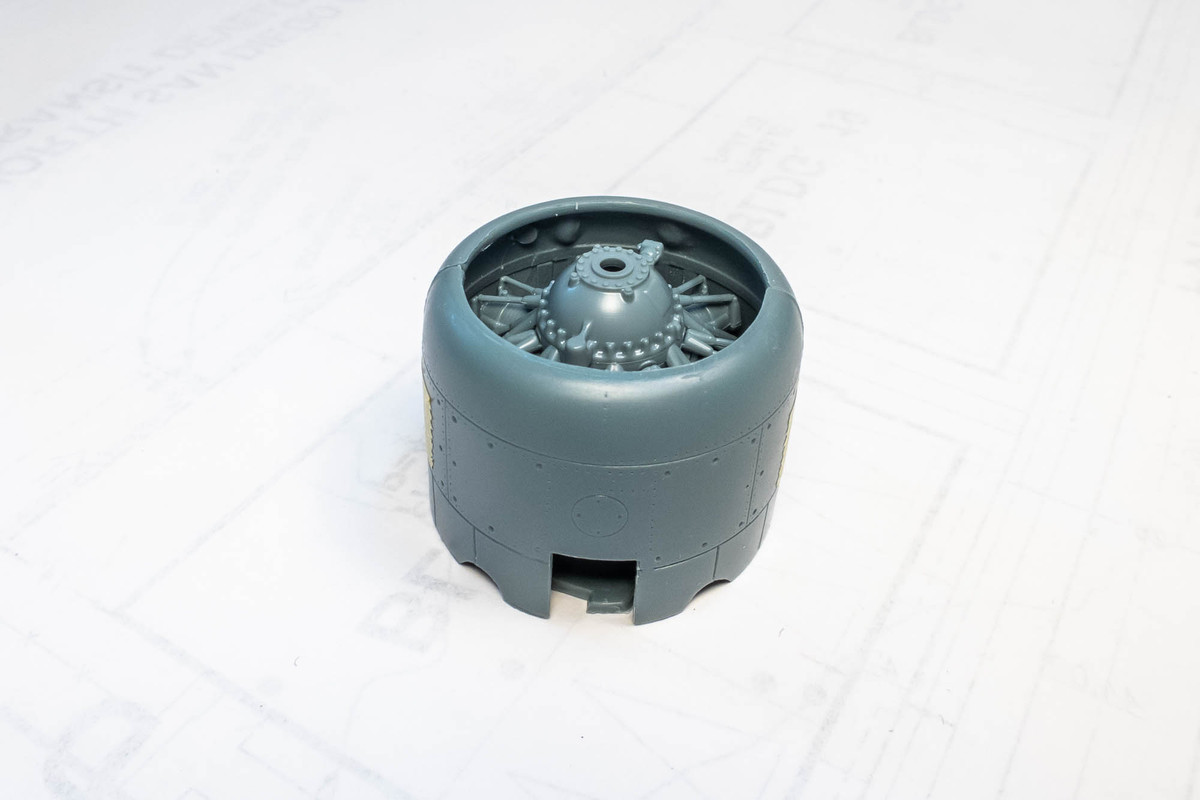
The engine cowling is also two parts instead of one. The interior features a couple of ejector pin whoppers.
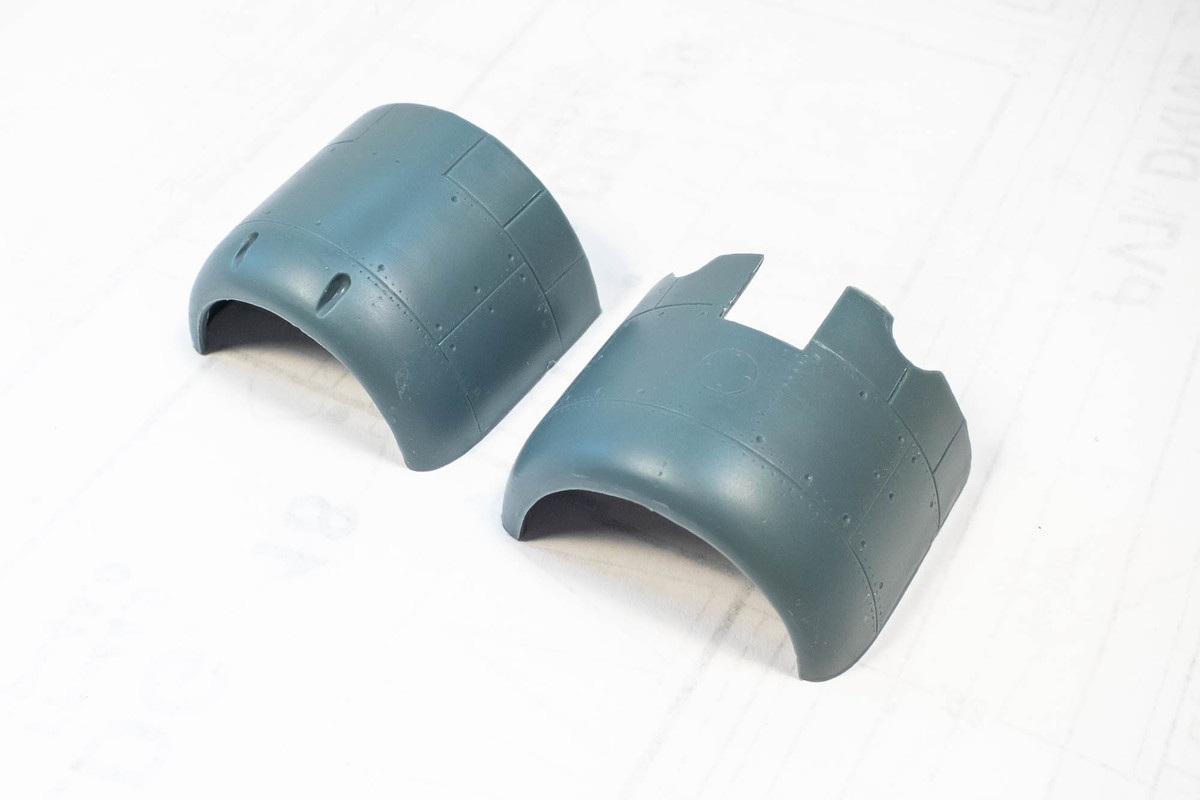
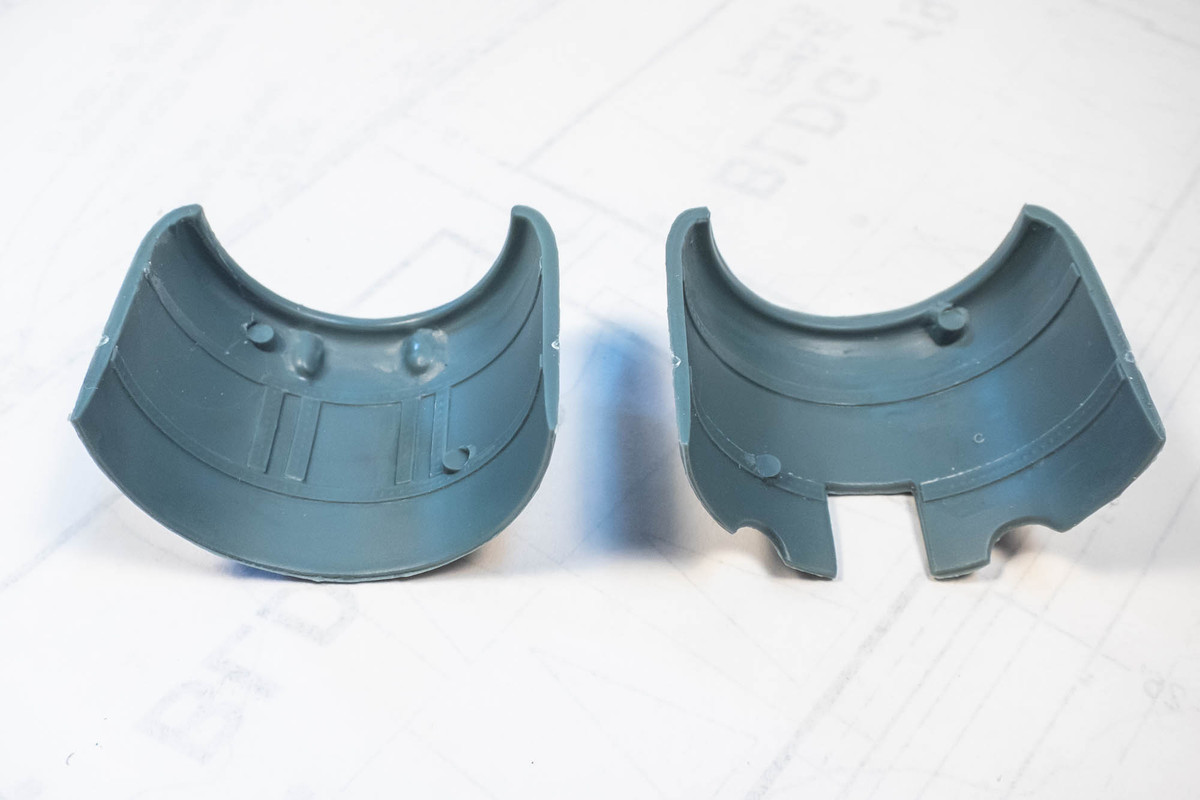
The view from the front tells me that these ejector pins will not be visible in most cases.
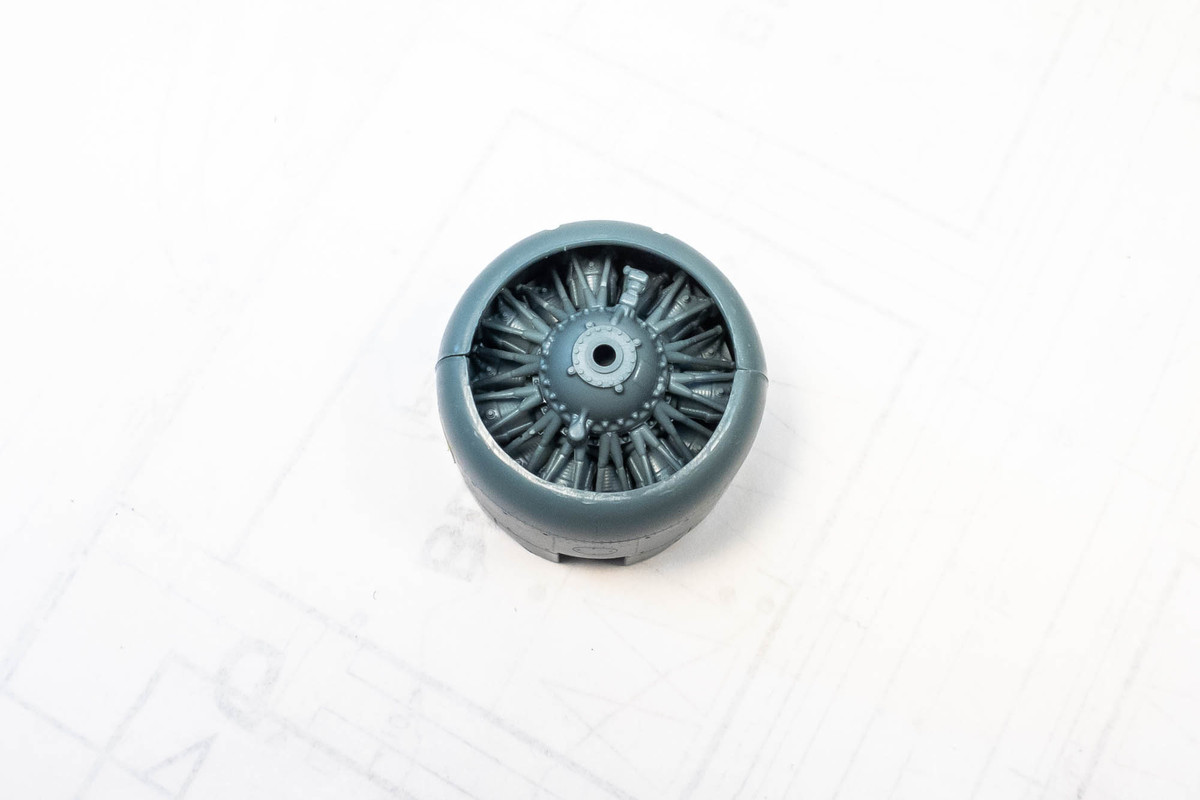
But I should probably take care of them now, when the cowlings pieces are still separate.
The holes for the cowling gun openings need to be hollowed out.
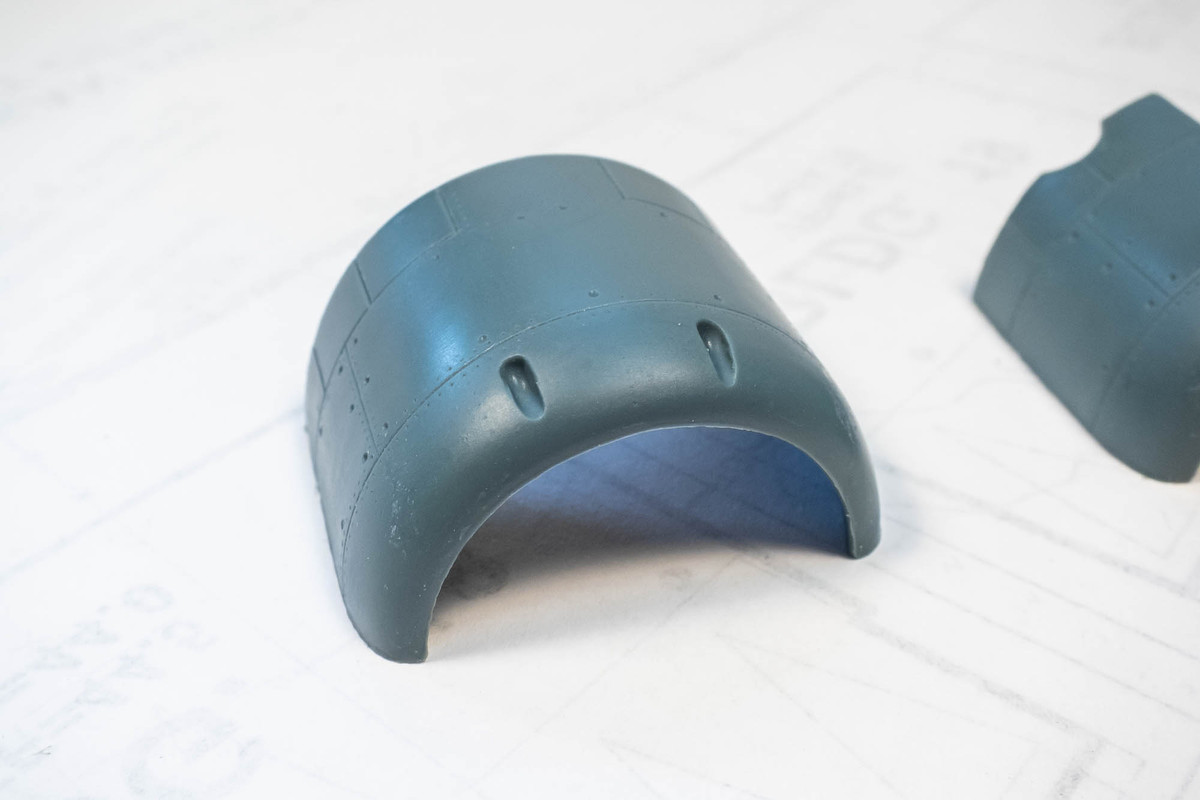
The trailing edges of the cowling flaps can be thinned.
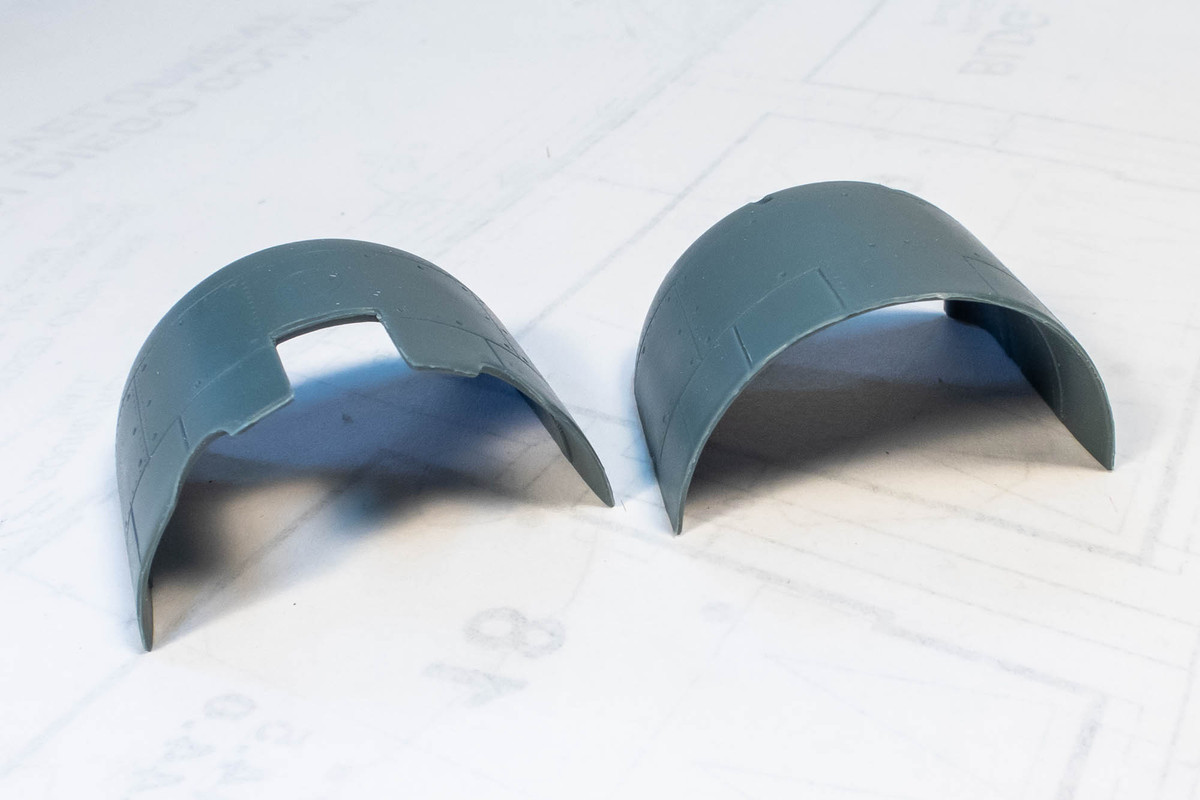
The lip of cowling opening has some funky molding defects that need to be cleaned up. Lots to do these two parts before I glue them together.
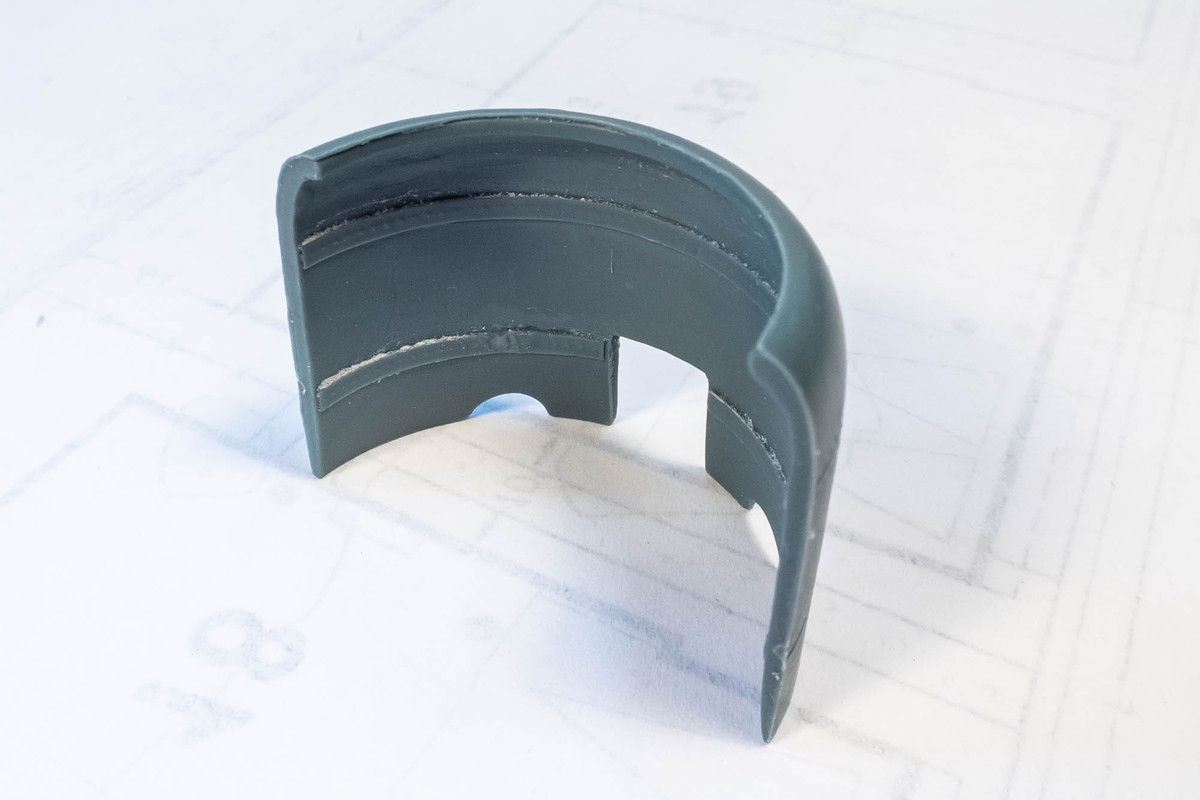
Gun openings are hollowed out with a drill bit.
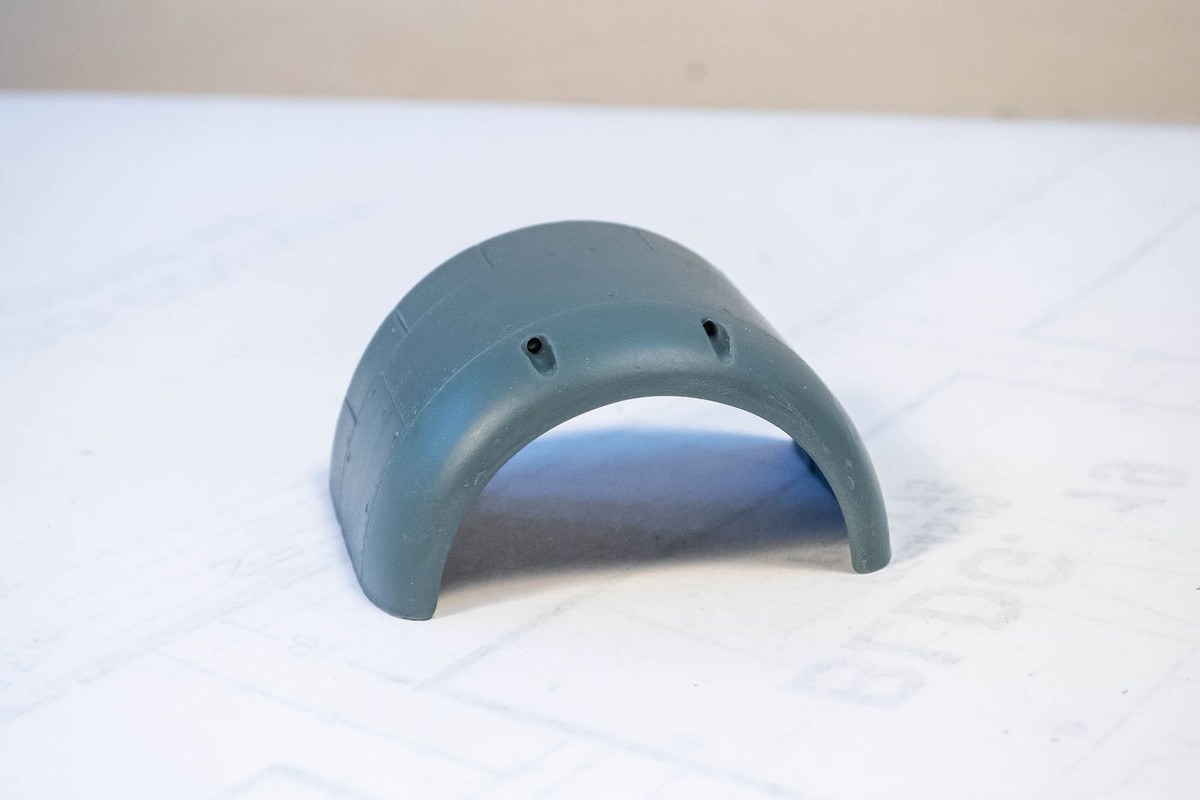
The ejector pin marks are cleaned up and the cowling trailing edges are thinned.
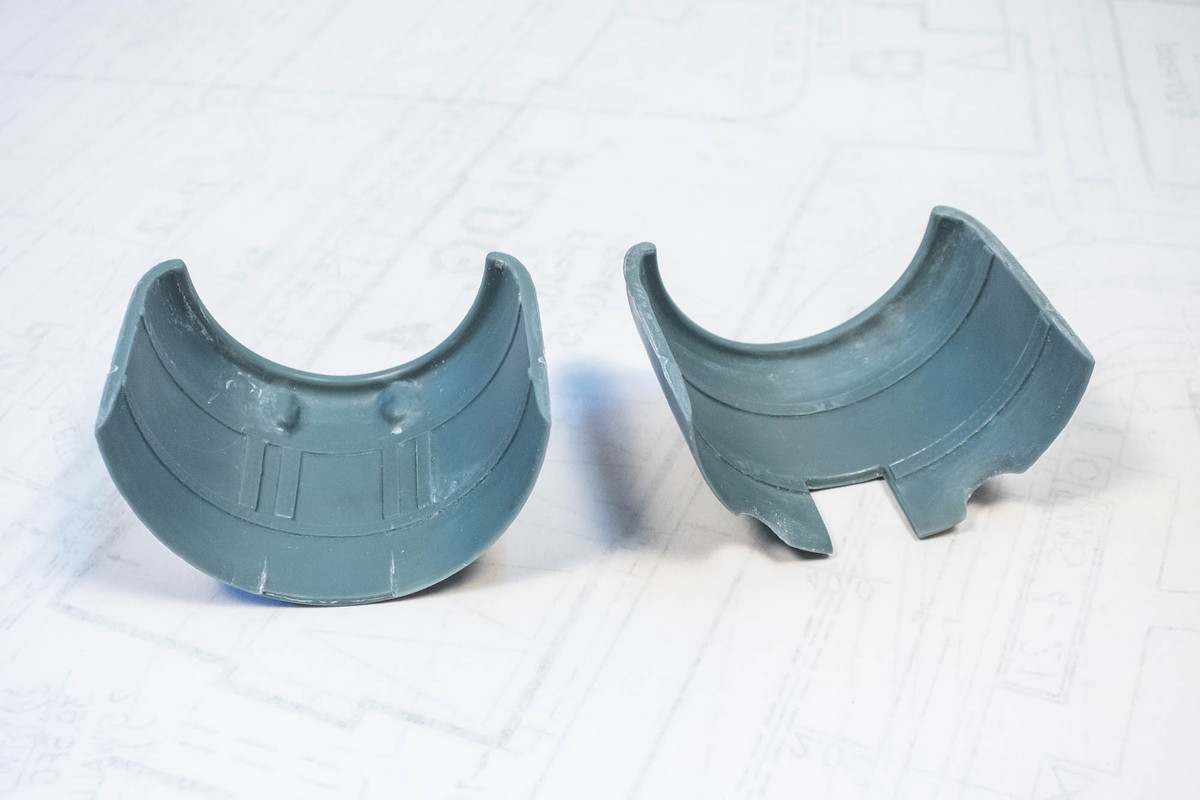
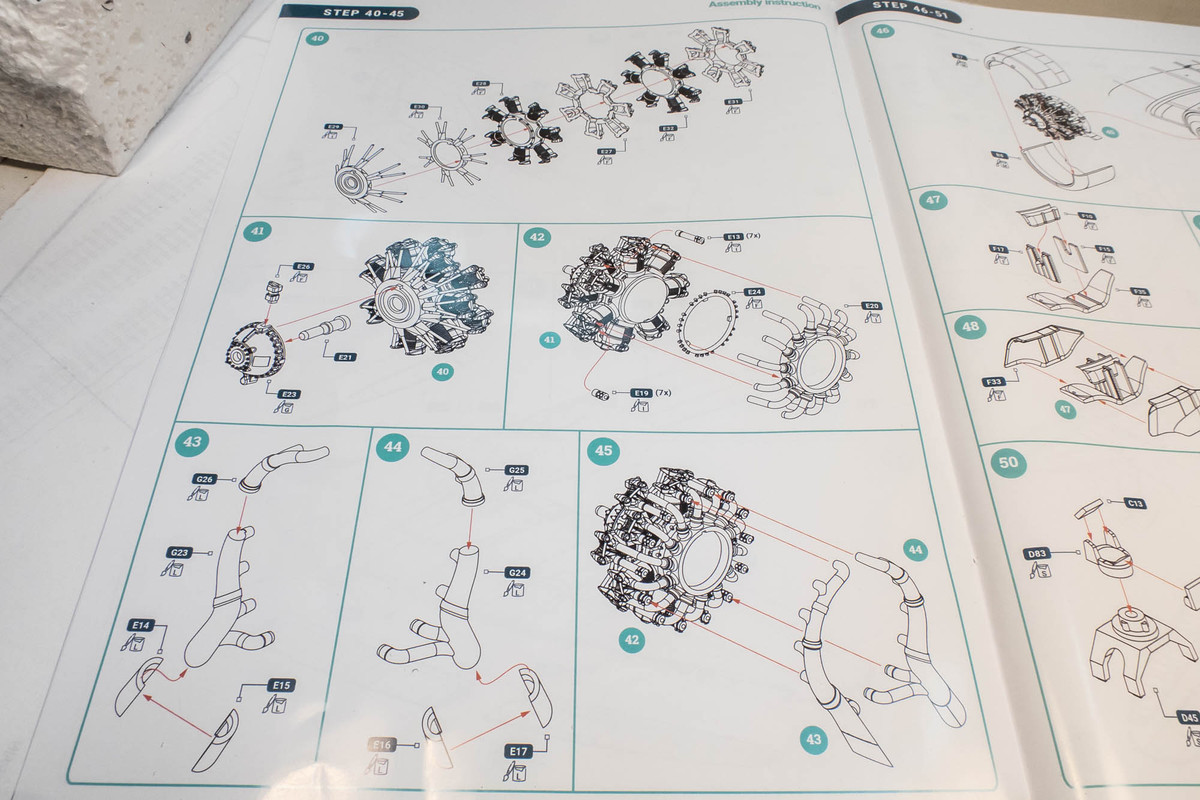
I couldn't find much detailed information on the engine for the D3A1, which was the Mitsubishi Kinsei 14-cylinder radial engine. I was lucky enough to get a PDF copy of Ryan Toew's "Detailing the D3A1" from the man himself. In addition to identifying some of the engine component colors, he includes one of the few photos of the Kinsei engine within the D3A1. He notes, "Under the upper lip of the cowling were three black painted carburetor air intake ports."
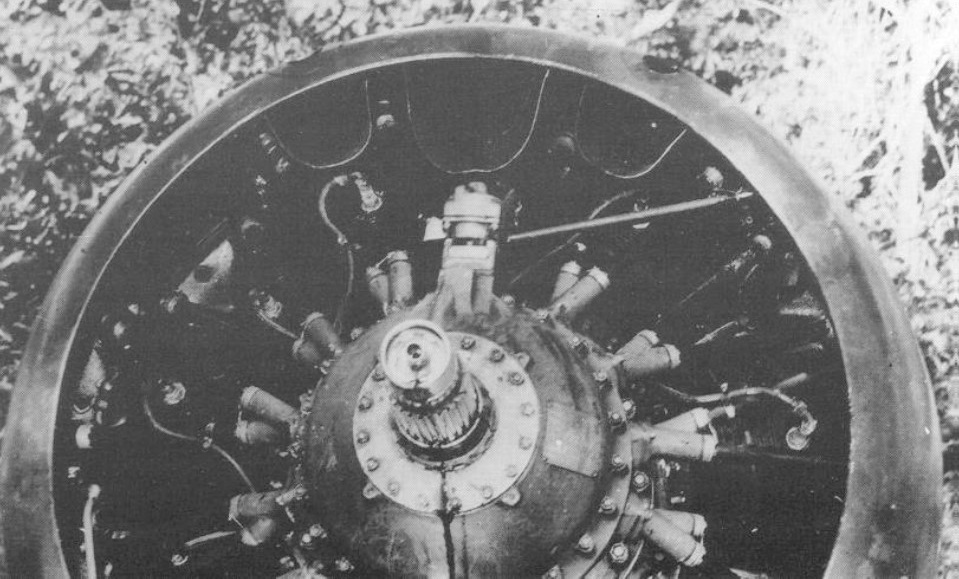
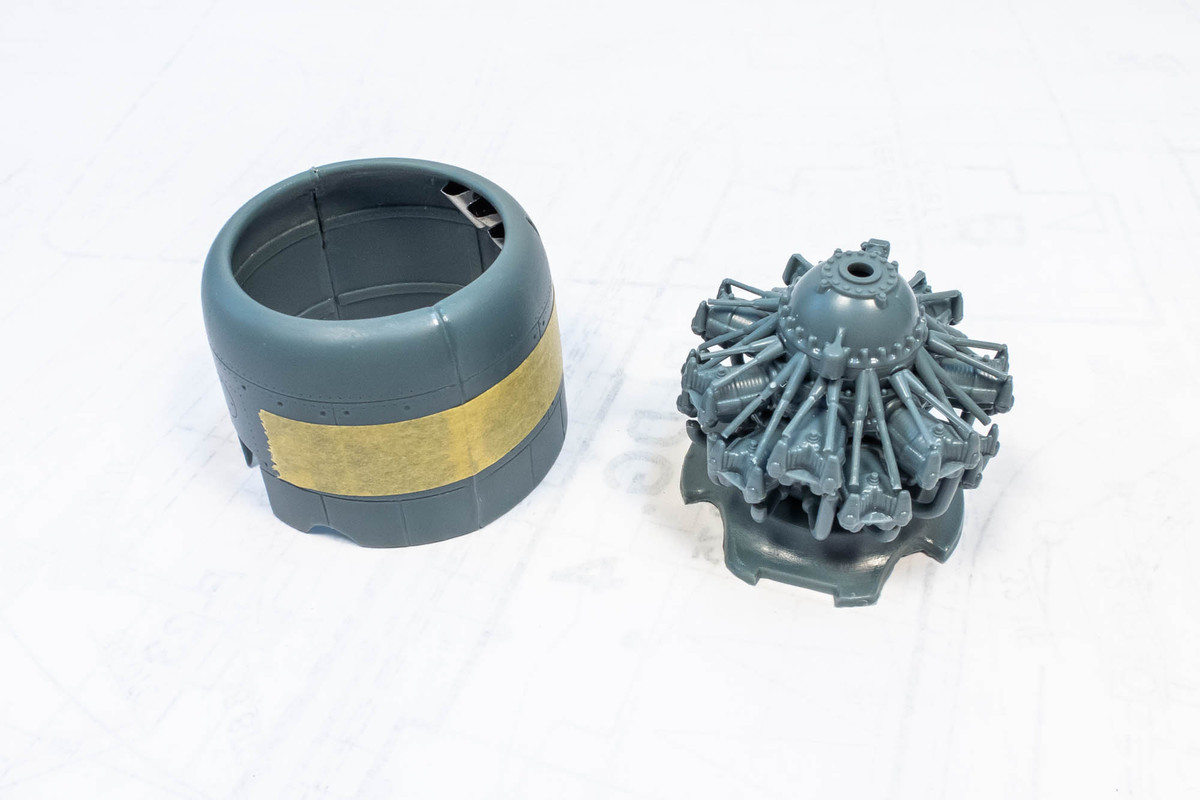
So I decided to add these to the engine cowling using curved pieces cut from a soda can.
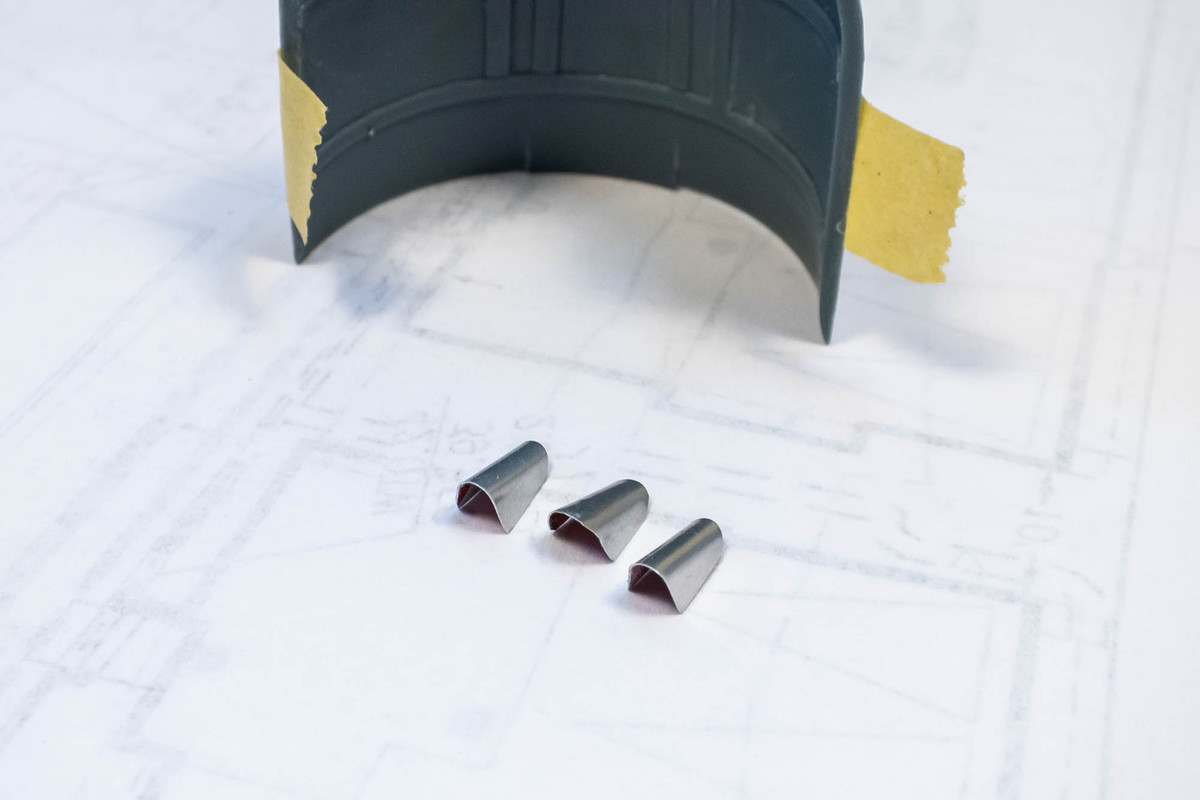
A test fit to make sure the three intake ports don't interfere with the rest of the engine.

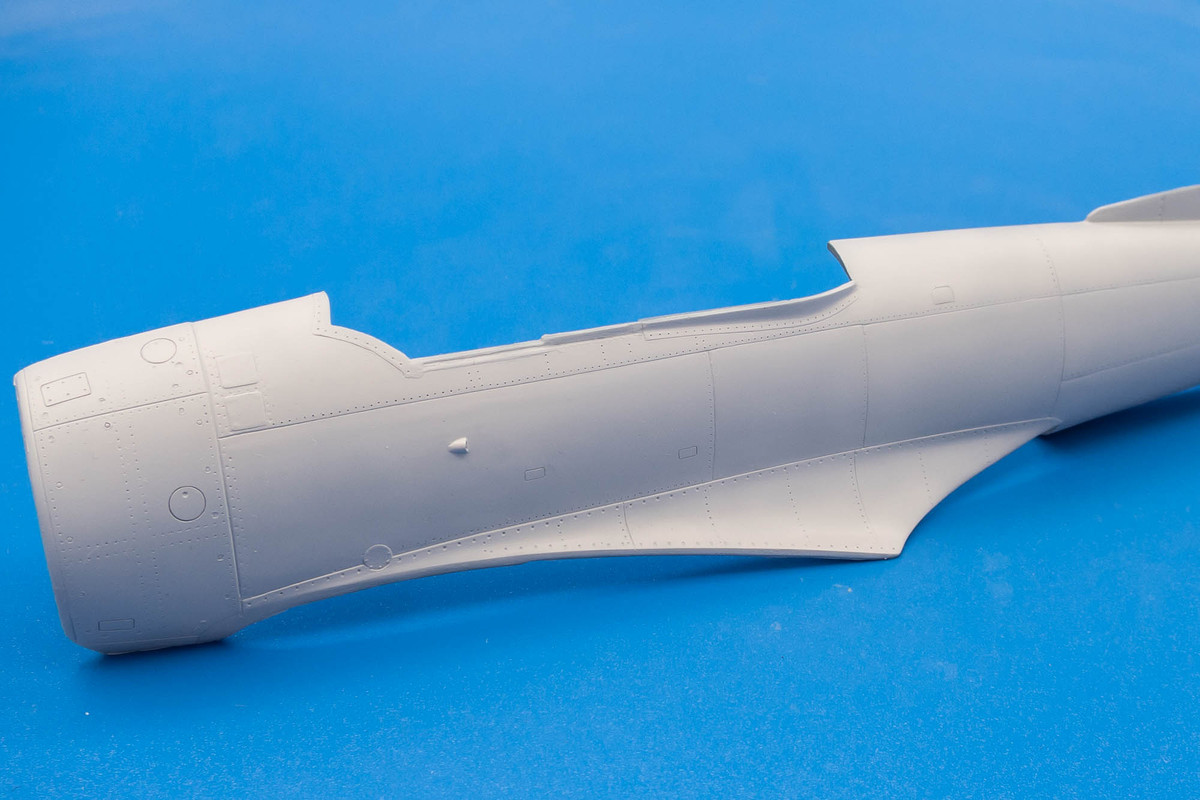
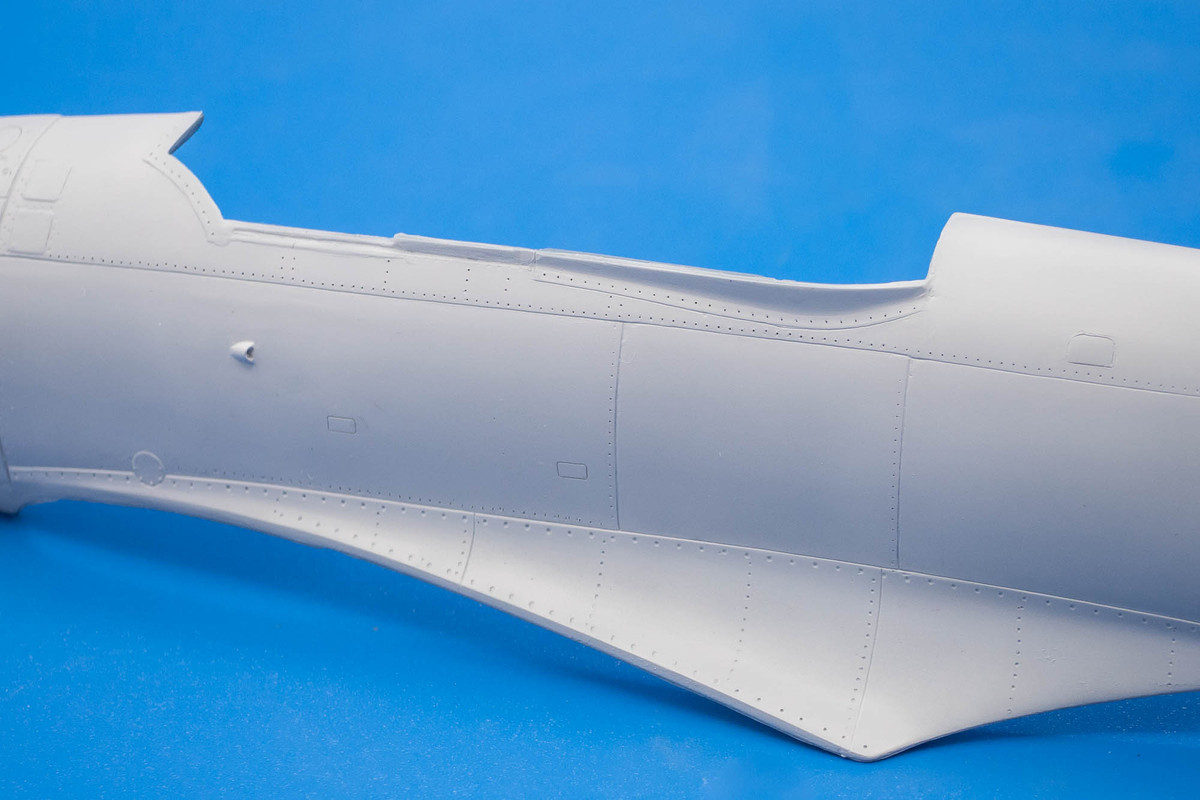
With that work done, I have glued the two halves of the engine cowling together with Tamiya Extra Thin cement. Then I'll have to deal with the seam.