Page 11 of 20
Re: 1/32 Hasegawa Bf109G-14 Hartmann
Posted: Tue Jun 09, 2020 4:36 pm
by jkim
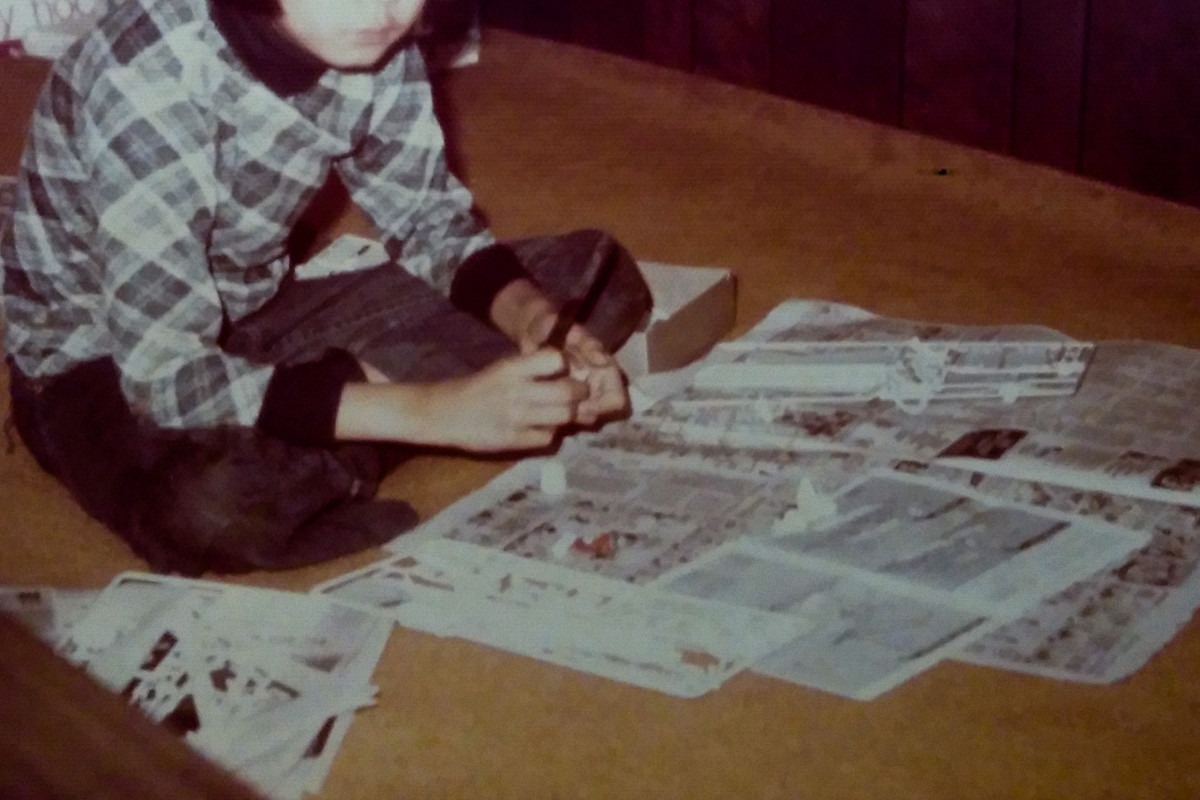
I DID build the X-Wing and Darth Vader TIE fighter (MPC, I think) after Star Wars came out but the photo is definitely pre-1977 since we moved from Virginia to Hawaii in the bicentennial year. It COULD be a Revell 1/32 aircraft such as the Fw190D-9 or Kawasaki K-61. Both of those were very light grey plastic, as I recall.
Re: 1/32 Hasegawa Bf109G-14 Hartmann
Posted: Tue Jun 09, 2020 6:30 pm
by jeaton01
I worked on tha splendid photo and my guess is it is a Revell missile of some type, I see white and grey plastic. Couldn't do anything with the haircut, sorry.

Re: 1/32 Hasegawa Bf109G-14 Hartmann
Posted: Tue Jun 09, 2020 7:34 pm
by jkim
Re: 1/32 Hasegawa Bf109G-14 Hartmann
Posted: Tue Jun 09, 2020 7:41 pm
by LyleW
Looking good!
Re: 1/32 Hasegawa Bf109G-14 Hartmann
Posted: Tue Jun 09, 2020 9:12 pm
by Floki
All looking good and that haircut well I think we all had a bad haircut when we was young.
Re: 1/32 Hasegawa Bf109G-14 Hartmann
Posted: Tue Jun 09, 2020 10:30 pm
by Stikpusher
Floki wrote:All looking good and that haircut well I think we all had a bad haircut when we was young.
It was the 70’s...

Looking real good John (the model that is). I swear that watching one of your projects is like watching the real thing being built in an aircraft plant.
Re: 1/32 Hasegawa Bf109G-14 Hartmann
Posted: Tue Jun 09, 2020 10:45 pm
by keavdog
Really nice work on this. What a huge AM build. Starting to make me want to get over my PE aversion. Hence the new bender.
Cockpit looks fantastic and the resin bits are coming along nicely.
Re: 1/32 Hasegawa Bf109G-14 Hartmann
Posted: Wed Jun 10, 2020 12:38 am
by speedgraflex
I'm going to suggest this—the box is behind him, the instructions and decals are in front of him, so that gives us the size of the kit itself. I think this dates the photo at approximately the same time as the kit was released and John is building the booster engines. If you look at the decals they really are sparse on fairly large sheet of paper, kind of the way a set of NASA decals and maybe the cockpit windows would be laid out, I think. Also I'm going to go out even further on a creative limb or whim or whatever flight of fancy I'm taking and suggest that this model was a gift on his birthday. That's based on his clothes which to me seem to be the good stuff worn on special occasions. Great work on the clean up, John Eaton and thanks for the close up, John. Feel free to cut my branch and let me fall.
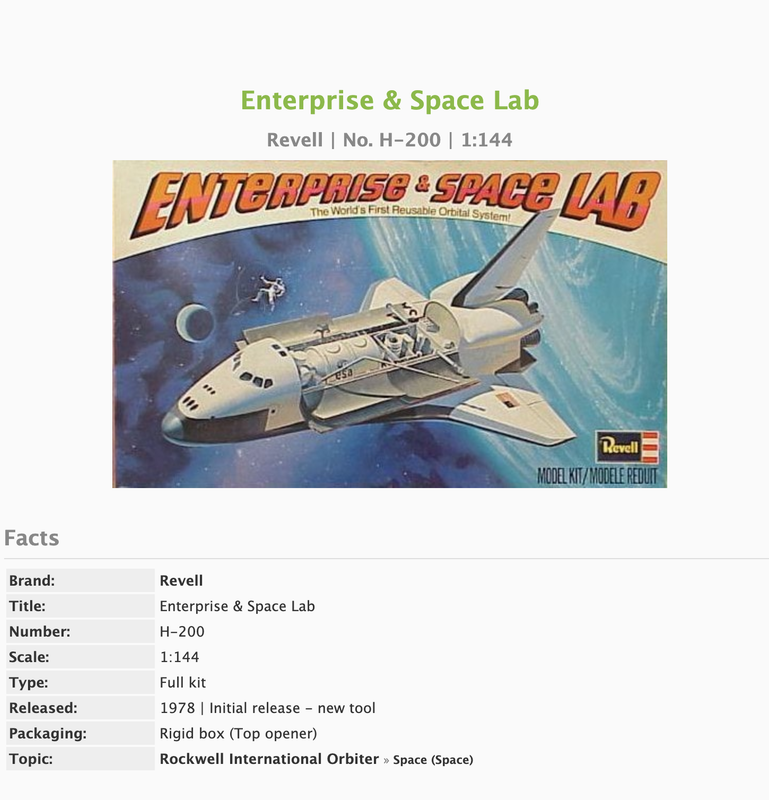
—and I know you said the time would be different but these kits were around even earlier, I just pulled one I liked from the Scalemates timeline. Here's the Airfix version from 1972:
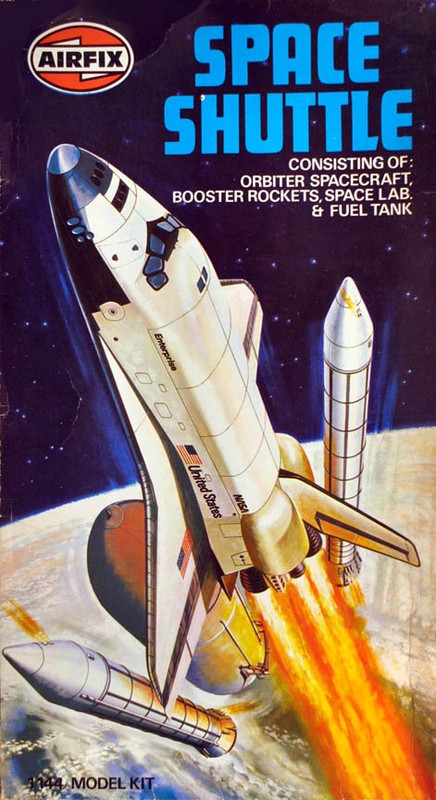
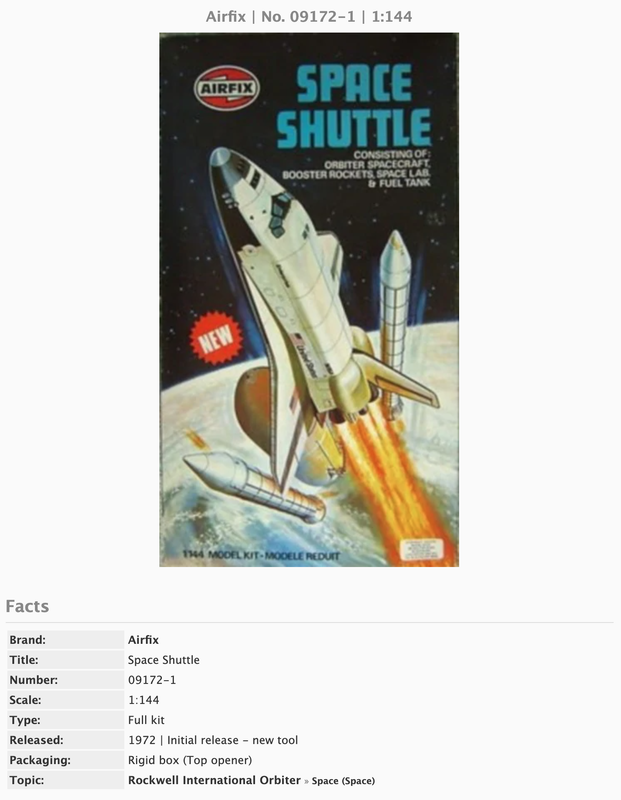
With all apologies to Herr Hartmann. I am certain he would approve of the finesse work you are doing to his craft!
Re: 1/32 Hasegawa Bf109G-14 Hartmann
Posted: Wed Jun 10, 2020 7:53 am
by jkim
It couldn't have been a Space Shuttle model. I never built one and the first launch was in '81. I'm guessing this photo is in the 1974-1975 period. And I do remember building a Saturn 5 model... I could see my dad giving that to me as a birthday present.
Re: 1/32 Hasegawa Bf109G-14 Hartmann
Posted: Wed Jun 10, 2020 5:39 pm
by jkim
Thanks guys! Let's leave the mystery of childhood build alone for now since I've got a present build to talk about now.
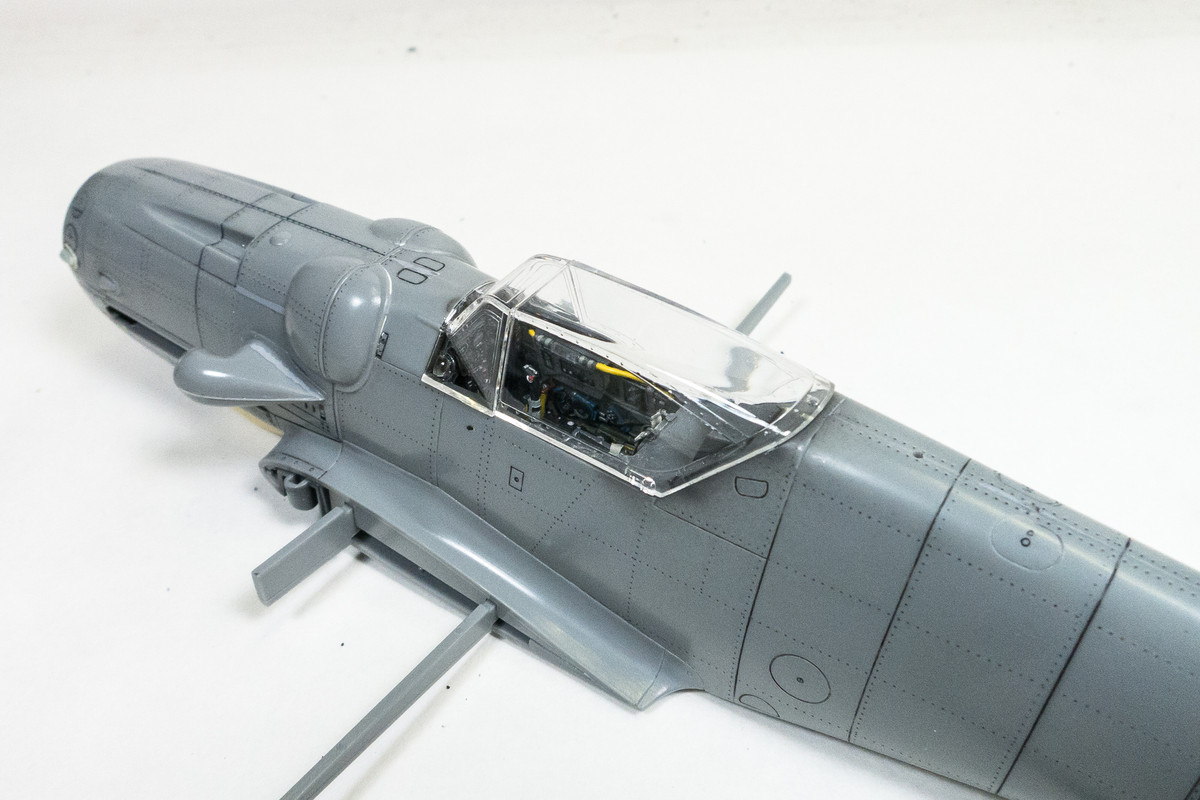
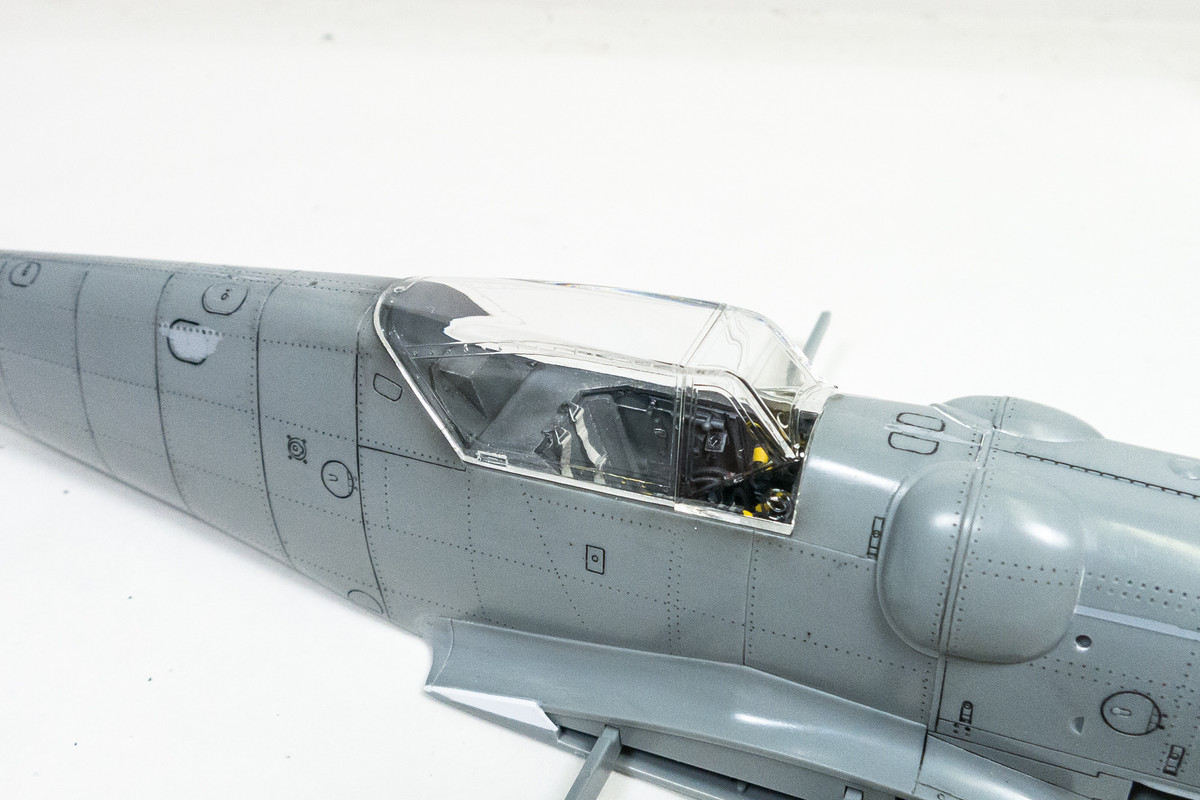
The clear parts have been dipped in Future, which does a good job of (a) hiding any micro scratches and scuffs and (b) protecting against any potential frosting caused by CA and Tamiya Extra Thin cement. After I finish attaching all of the cockpit details including the Revi 16B gun sight, I'll glue the clear parts into place in the closed position.
The Barracuda spinner, which I used on my last build, has some nice hub detail molded within the openings. After the recess is painted black, I've picked out the detail in metallic grey.
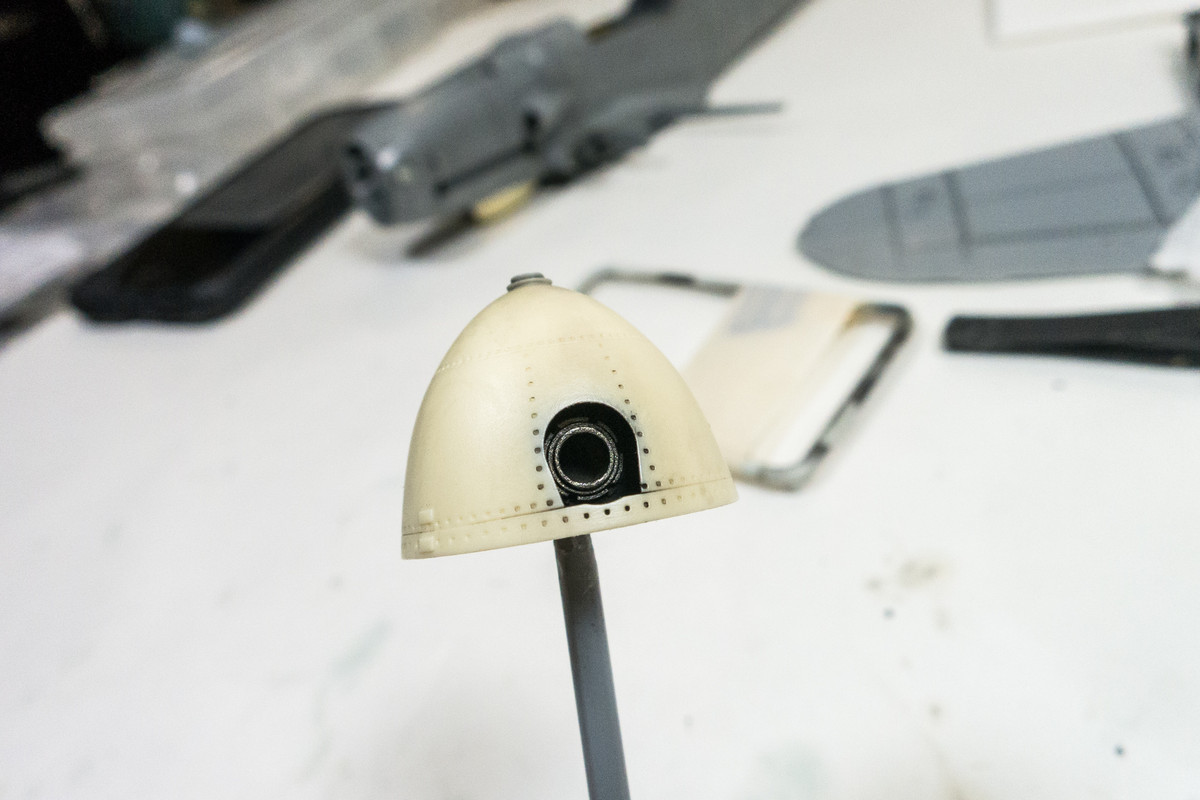
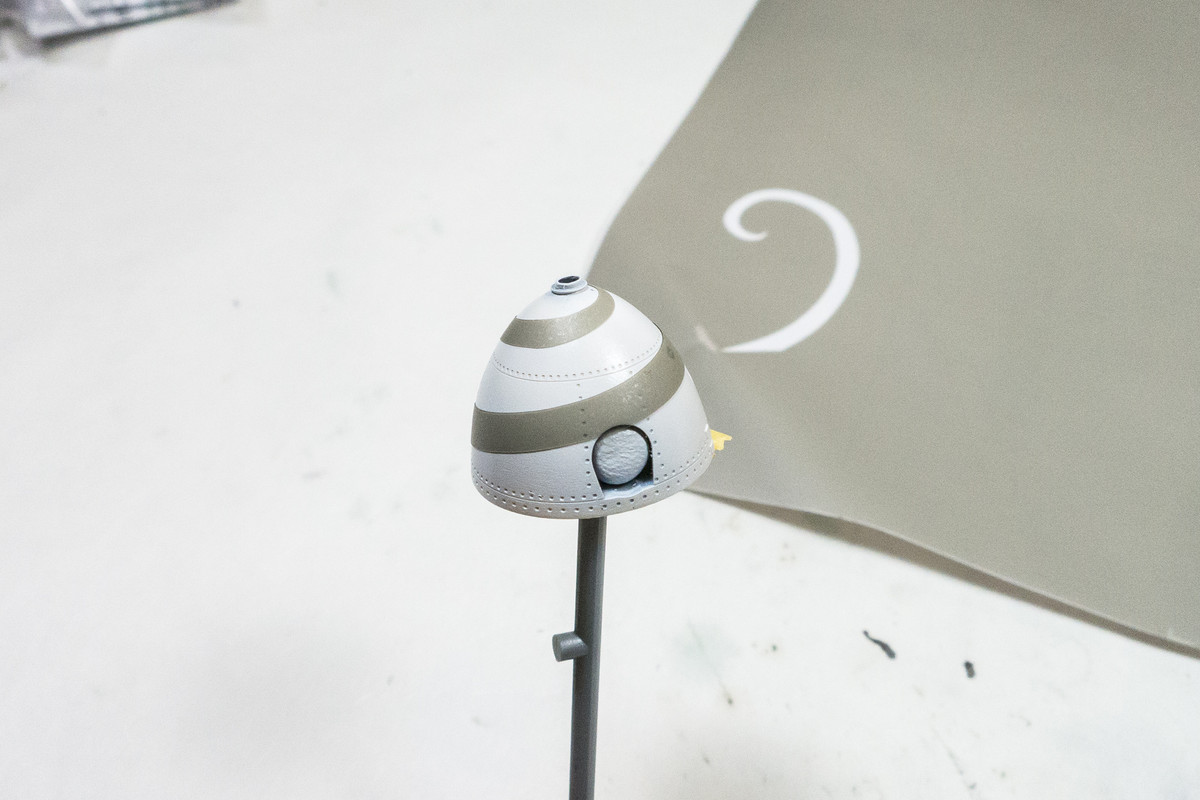
The spinner is sprayed gloss white as a base for the white spiral. The mask is custom cut using the Silhouette Portrait and is based on a EagleCal spiral decal I have from a previous build. This is actually the second try. The first coat of white revealed a slight casting imperfection on the surface of the spinner that I couldn't ignore so I wiped off the paint and smoothed the spinner out.
The spinner is then sprayed gloss black.
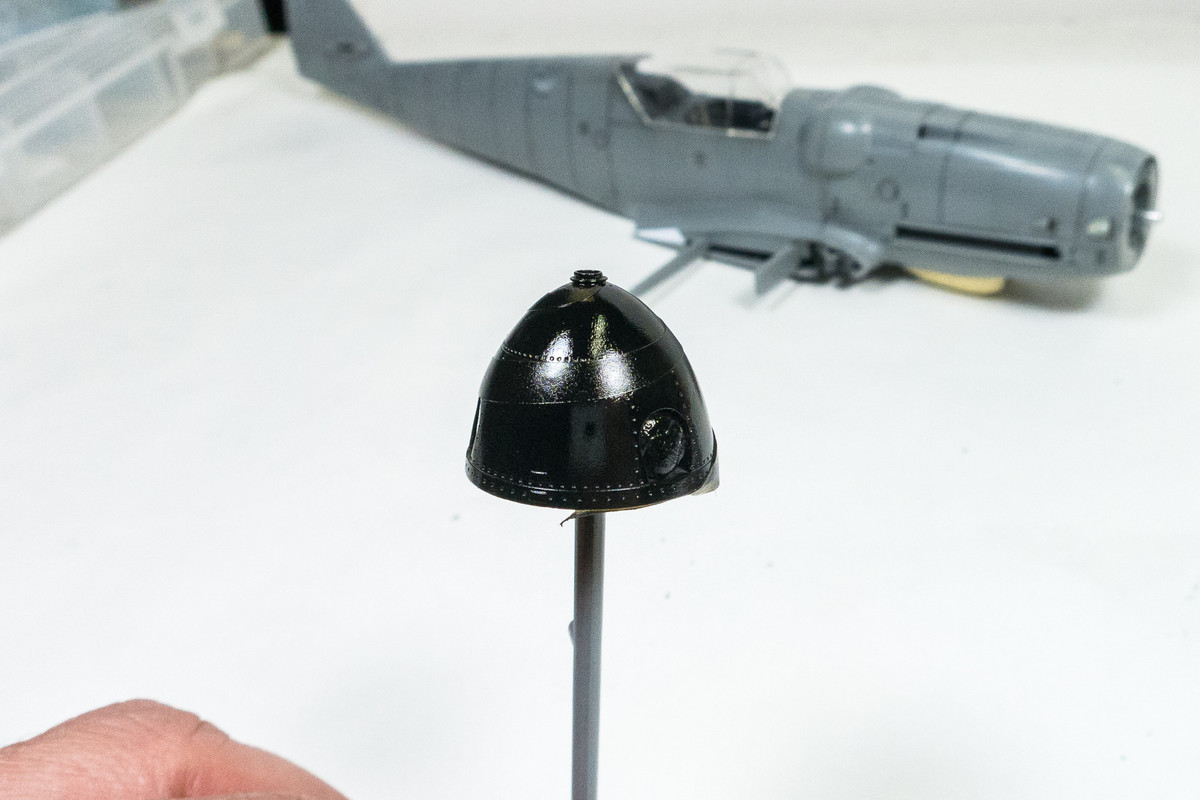
I'm so excited to see the results, I usually remove masks minutes after spraying. Which is usually not a problem with quick-drying acrylic paints but it would be safer to pull the masks after the paint has had time to cure.
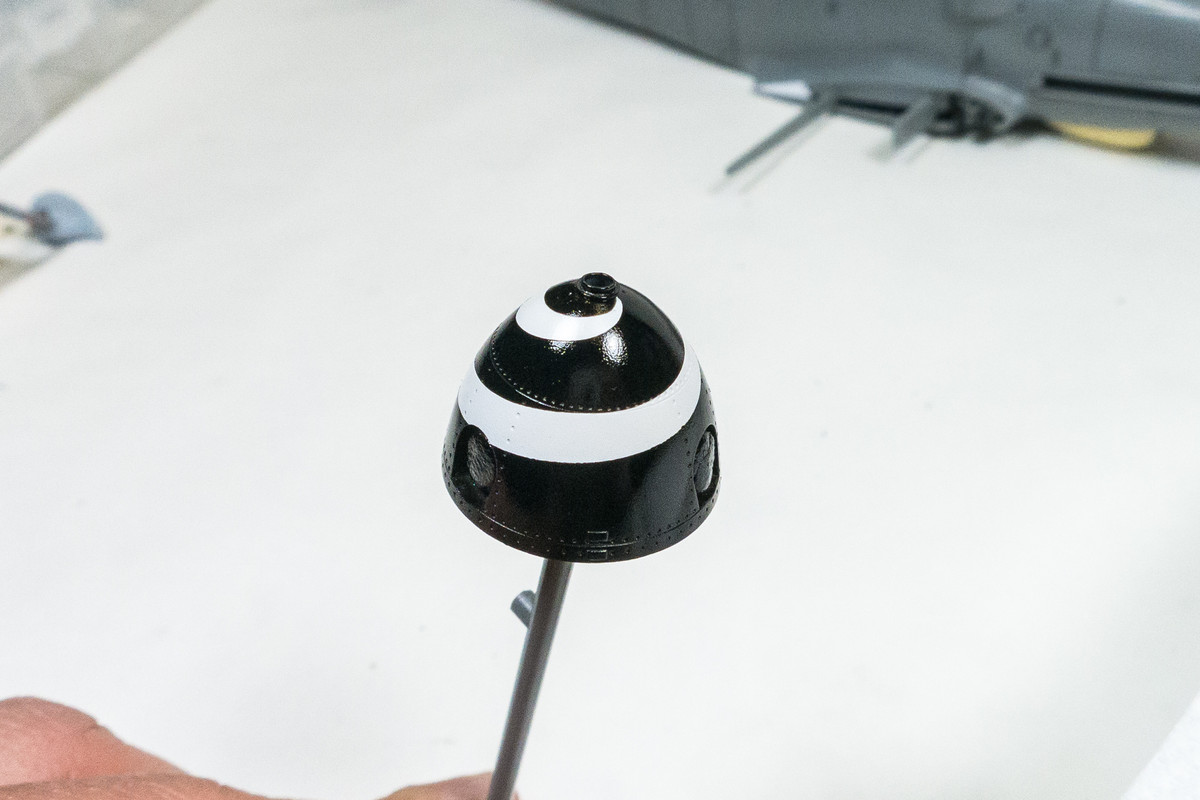
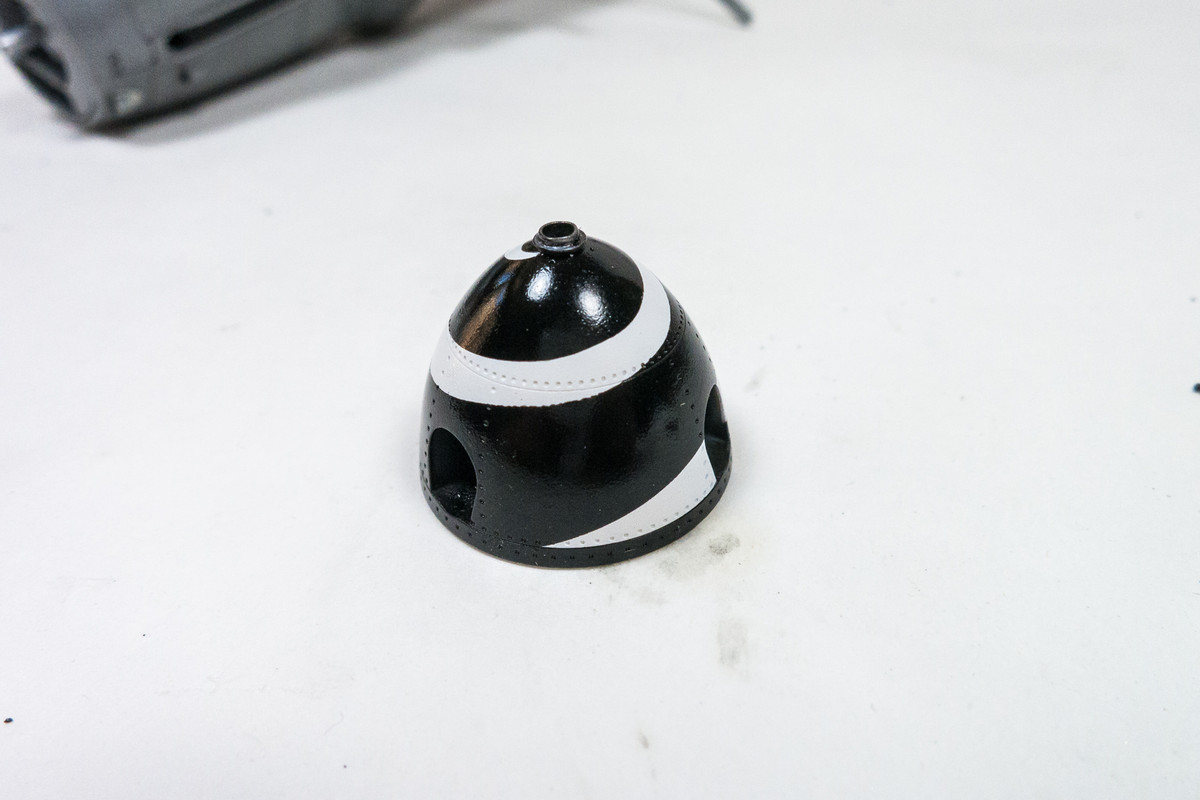
This time my impatience probably caused some rough edges on the spiral that I'm not going to address since this will be covered in a white overspray. I am assuming that Hartmann's machine HAD a spinner spiral before the white winter camo was applied.
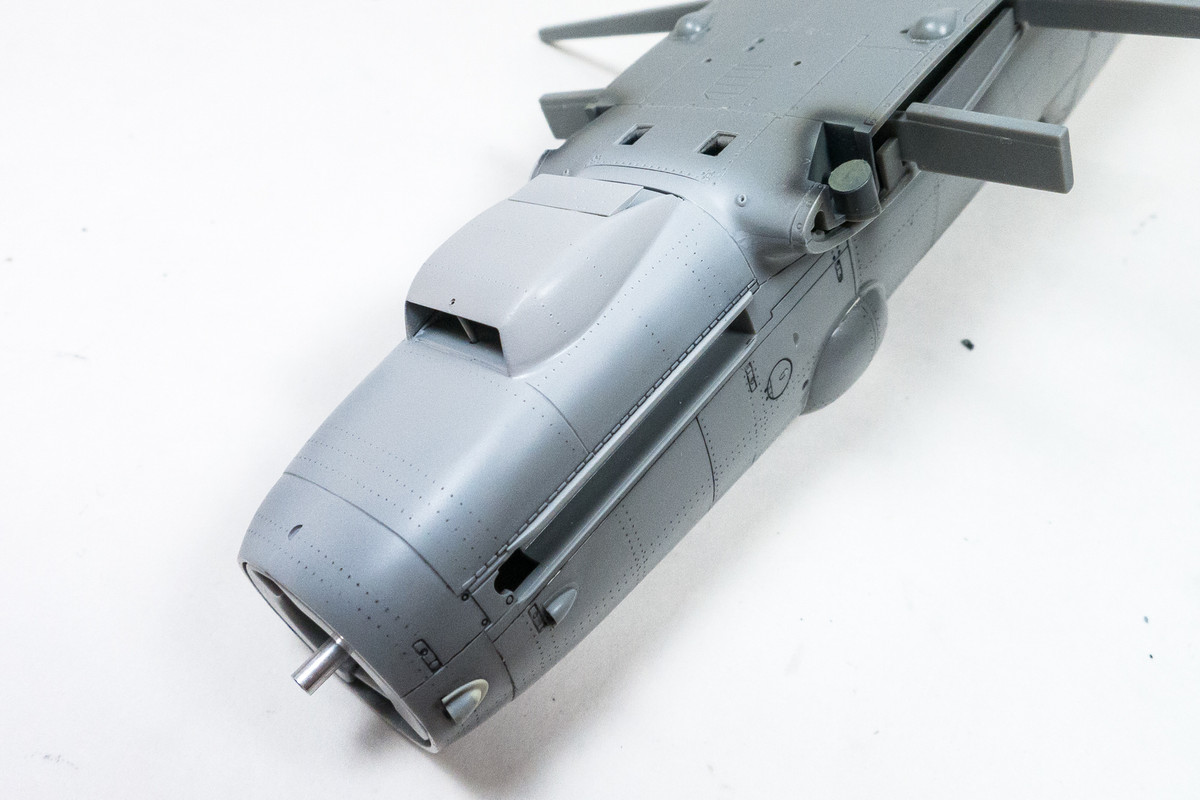
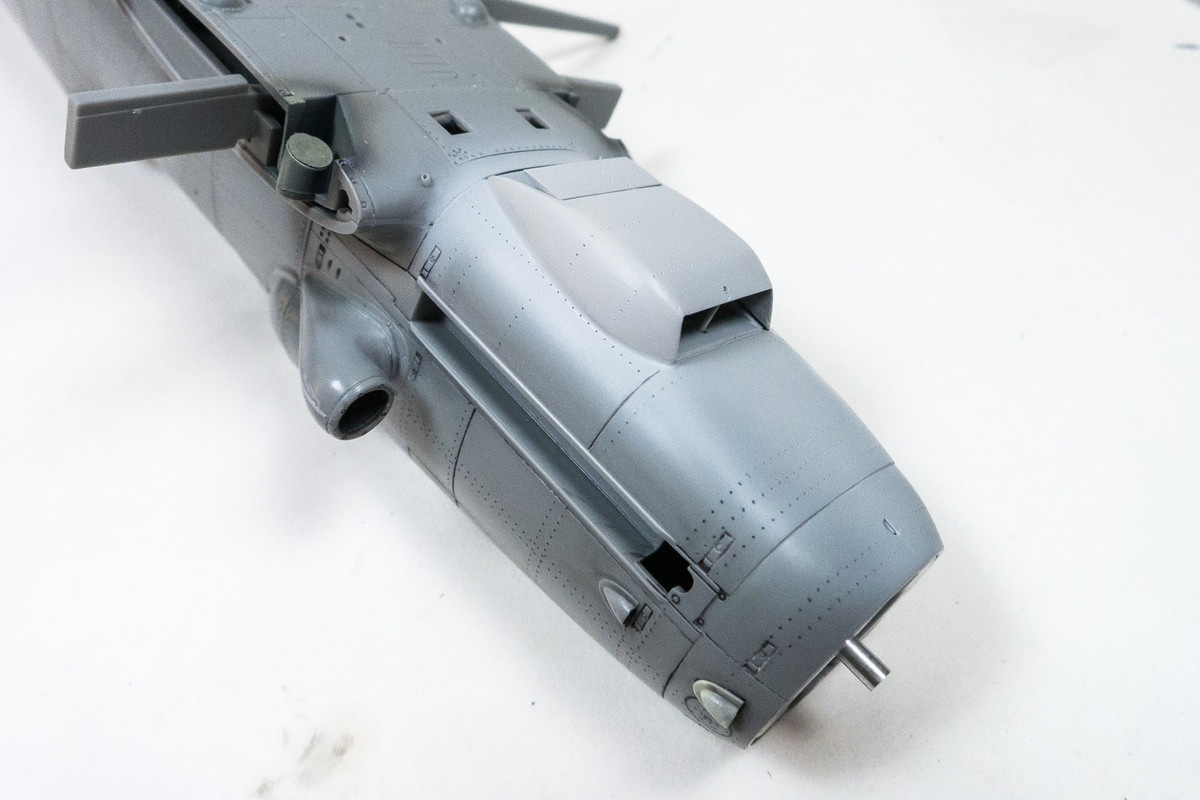
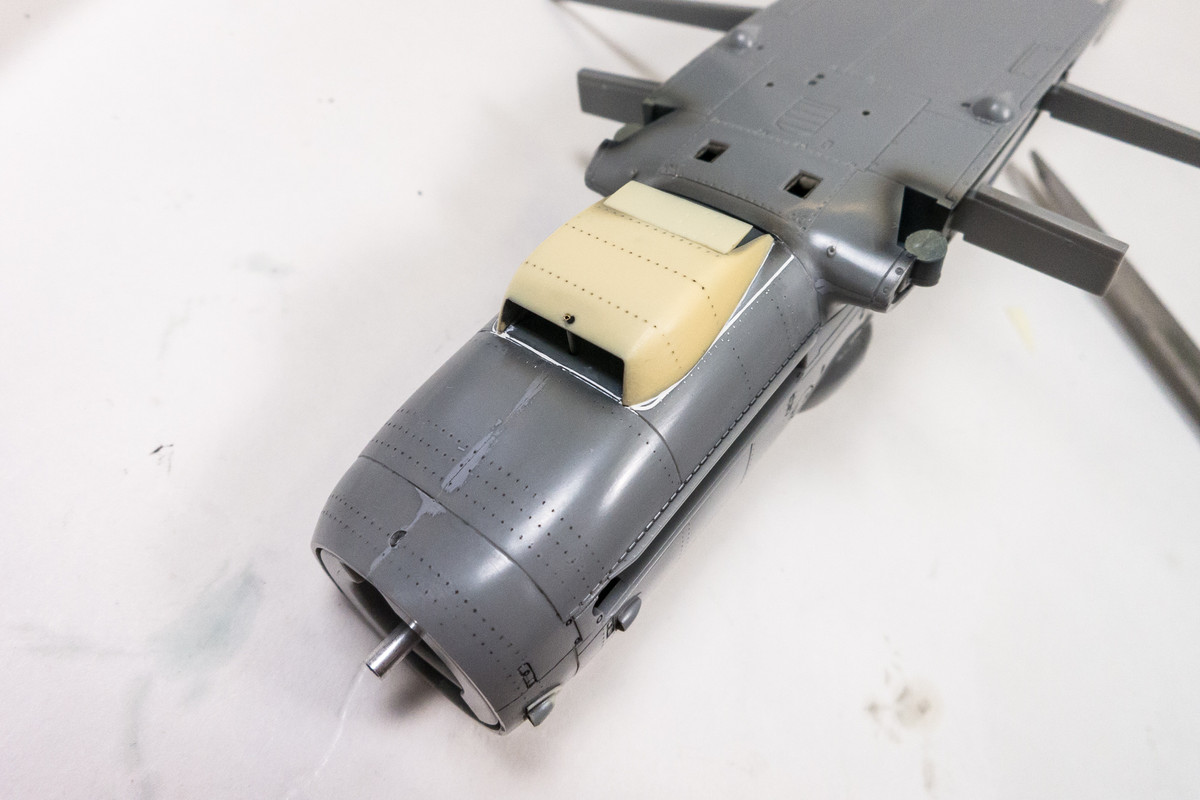
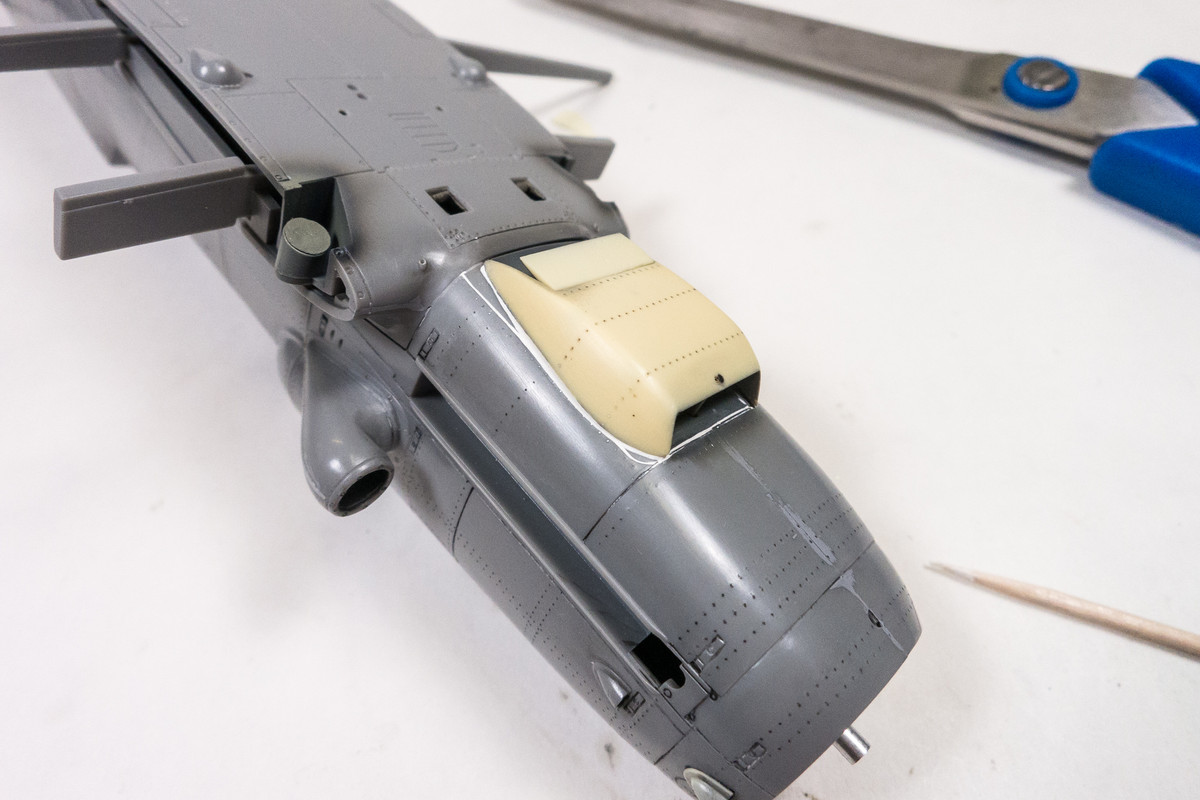
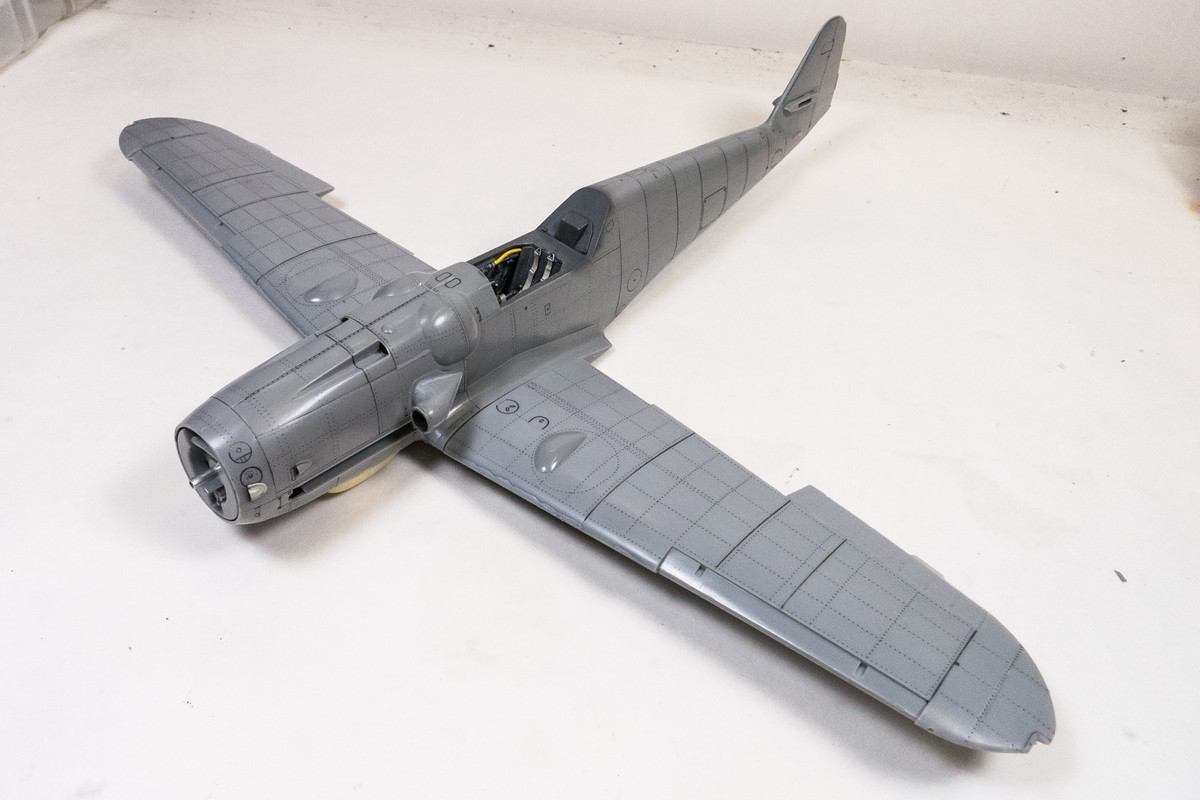
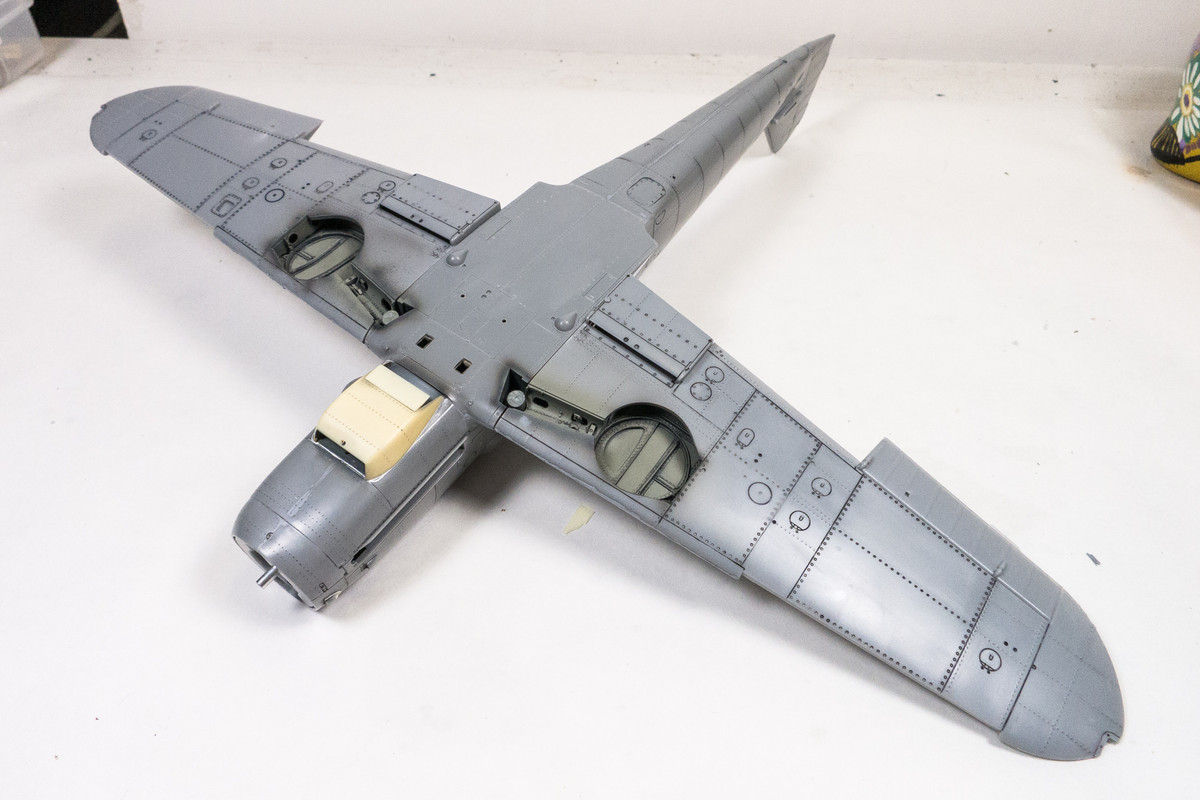
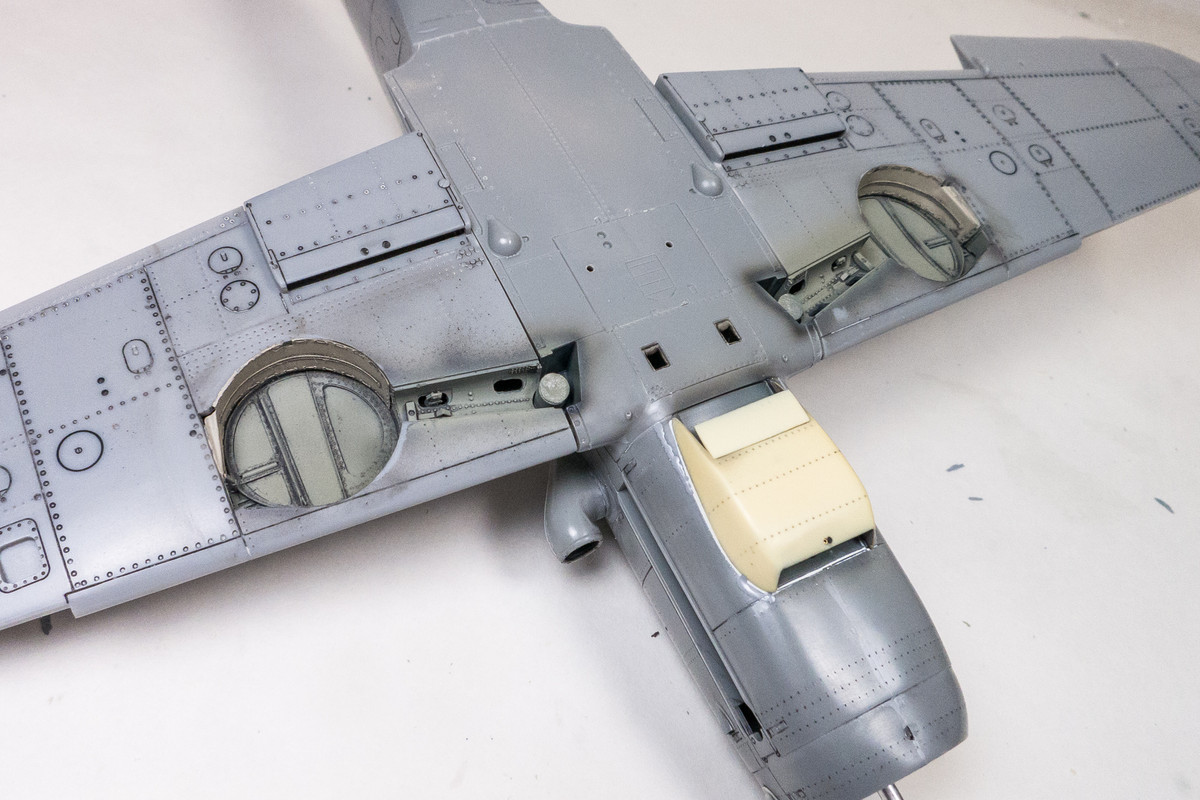
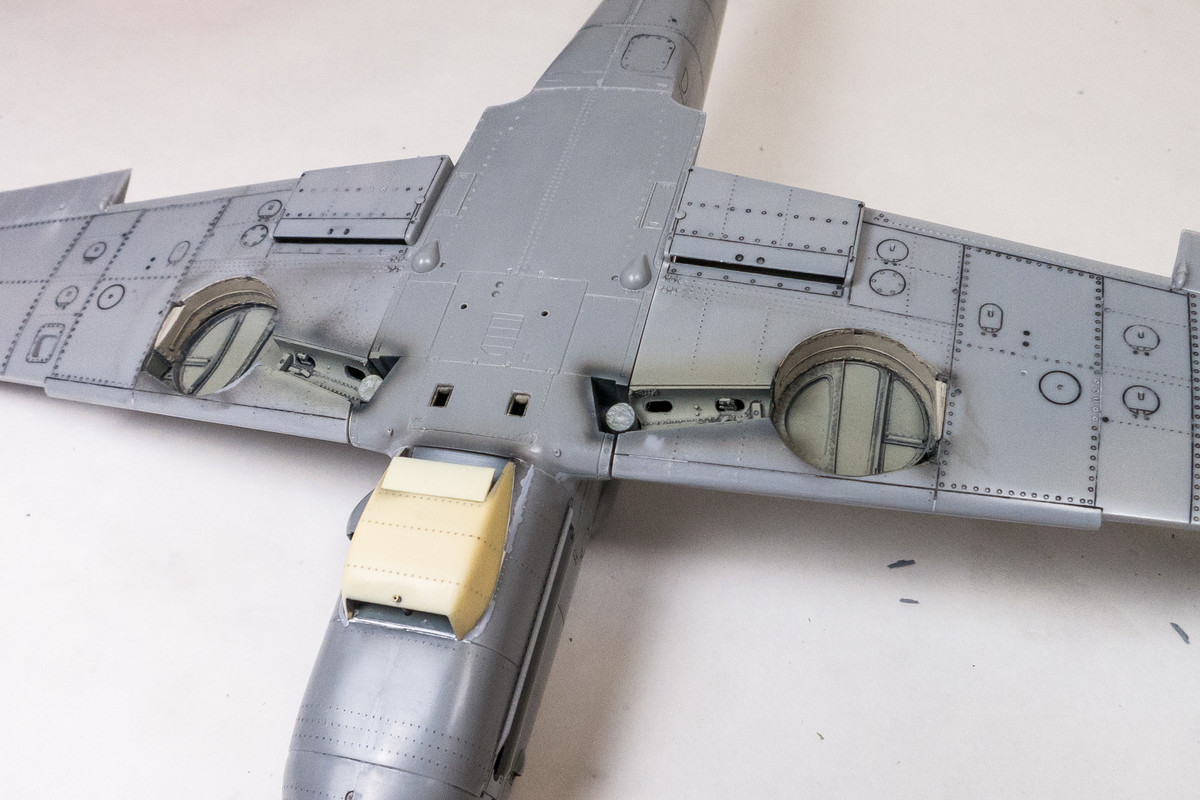
The blending in of the Barracuda oil cooler intake has been completed. The initial fill using Milliput was topped off with some Mr Surfacer 1000.
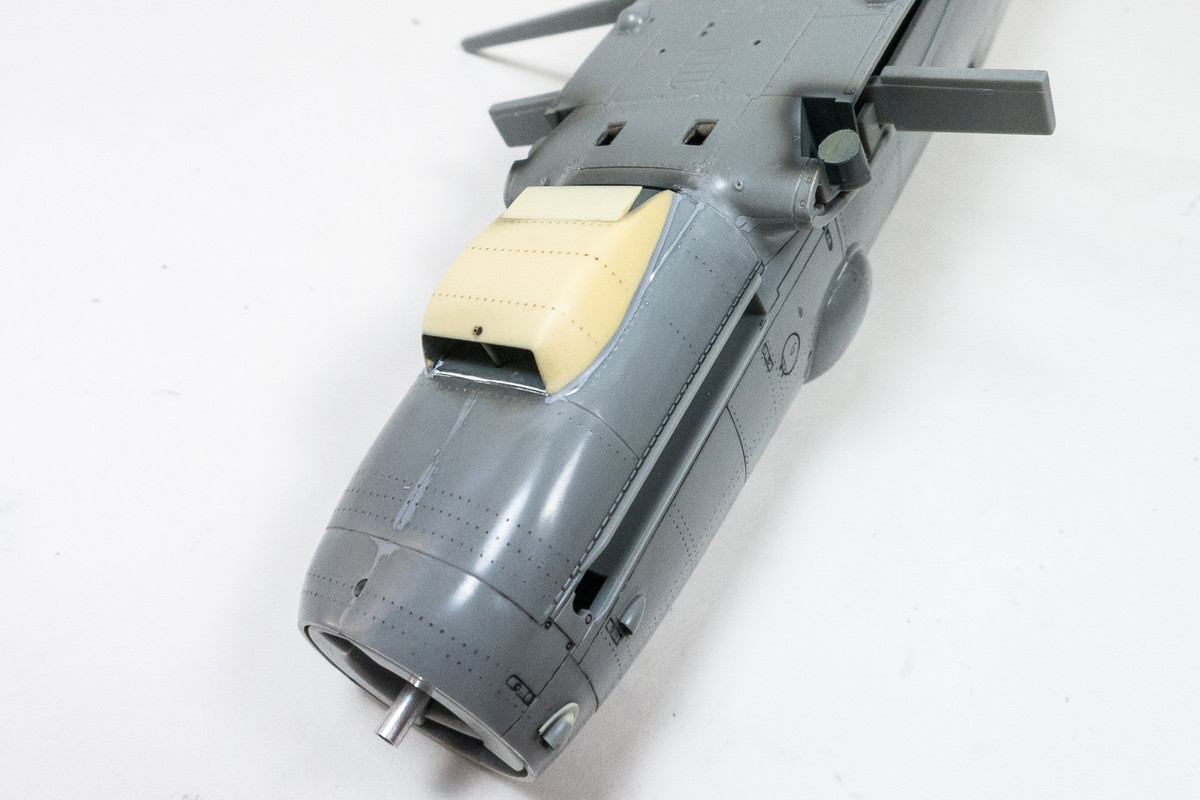
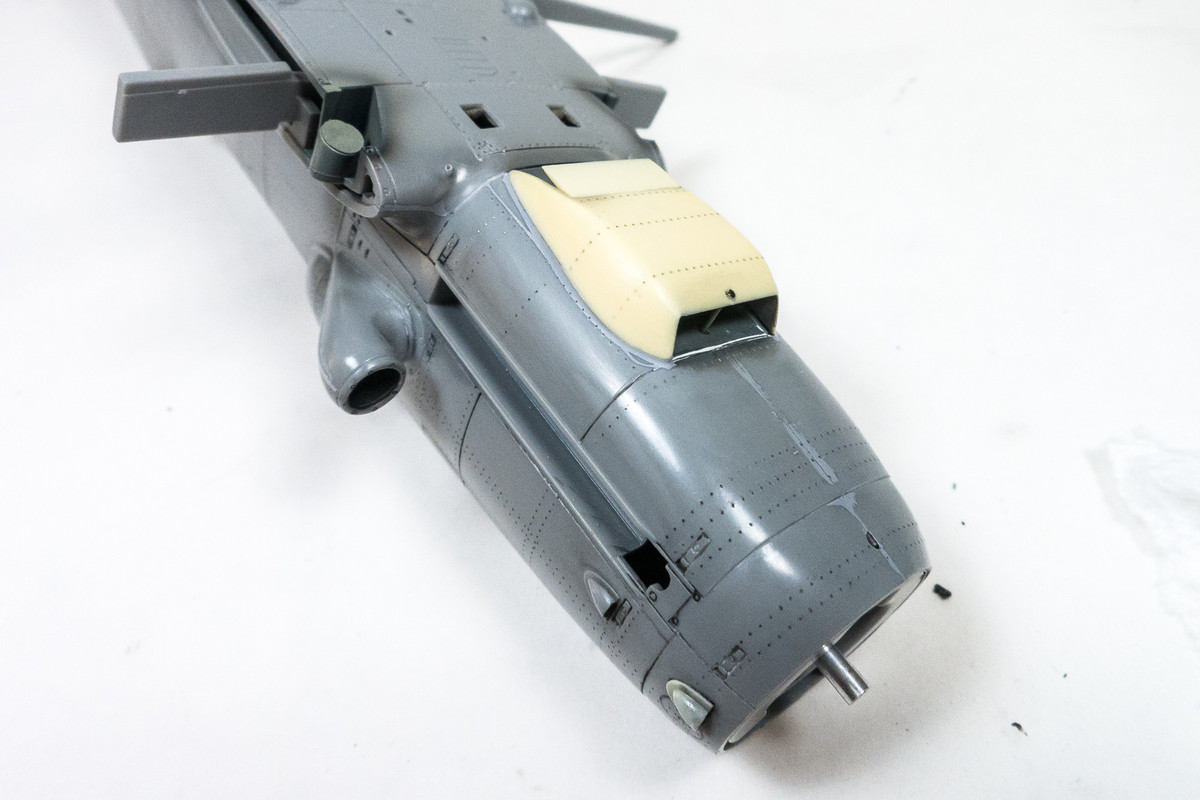
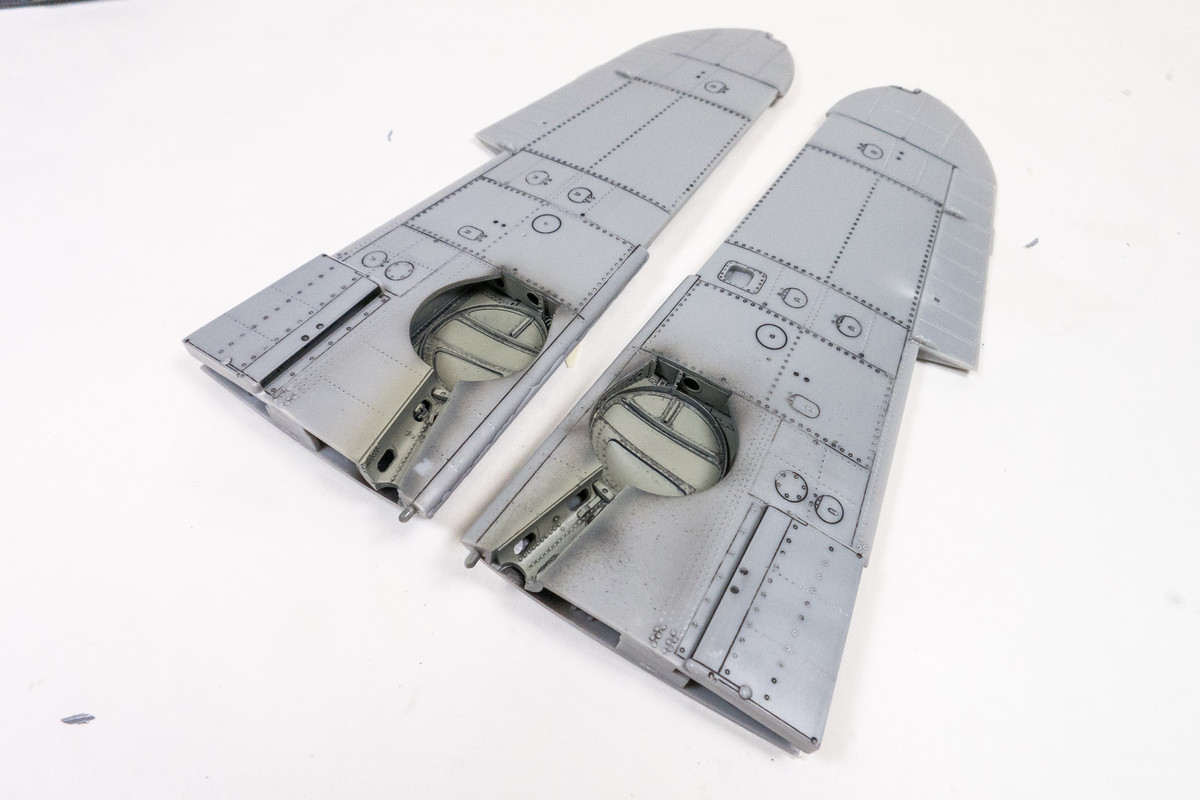
The area was coated with a primer. I've just started using Mr Primer Surfacer 1000 as a primer, thinned with Tamiya Lacquer Thinner. It seems to be a little smoother and provide more consistent coverage than the Mr Surfacer 1200 that I was using previously.