Tamiya 1/32 Spitfire XIVe Conversion
- Stikpusher
- Moderator
- Posts: 21180
- Joined: Sat Apr 05, 2014 8:37 pm
- Location: Ceti Alpha 5
Re: Tamiya 1/32 Spitfire XIVe Conversion
John, the painting may be fighting you, but your persistence is paying off handsomely! Those markings look fantastic.

"Surely I have made my meaning plain? I intend to avenge myself upon you, Admiral. I have deprived your ship of power, and when I swing 'round, I intend to deprive you of your life."
FLSM
FLSM
Re: Tamiya 1/32 Spitfire XIVe Conversion
Thanks Carlos!
Gloss coat has been applied. I used Alclad Aqua Gloss thinned with Mr Leveling Thinner.


Gloss coat has been applied. I used Alclad Aqua Gloss thinned with Mr Leveling Thinner.


John aka JKim
-----------<><

-----------<><

Re: Tamiya 1/32 Spitfire XIVe Conversion
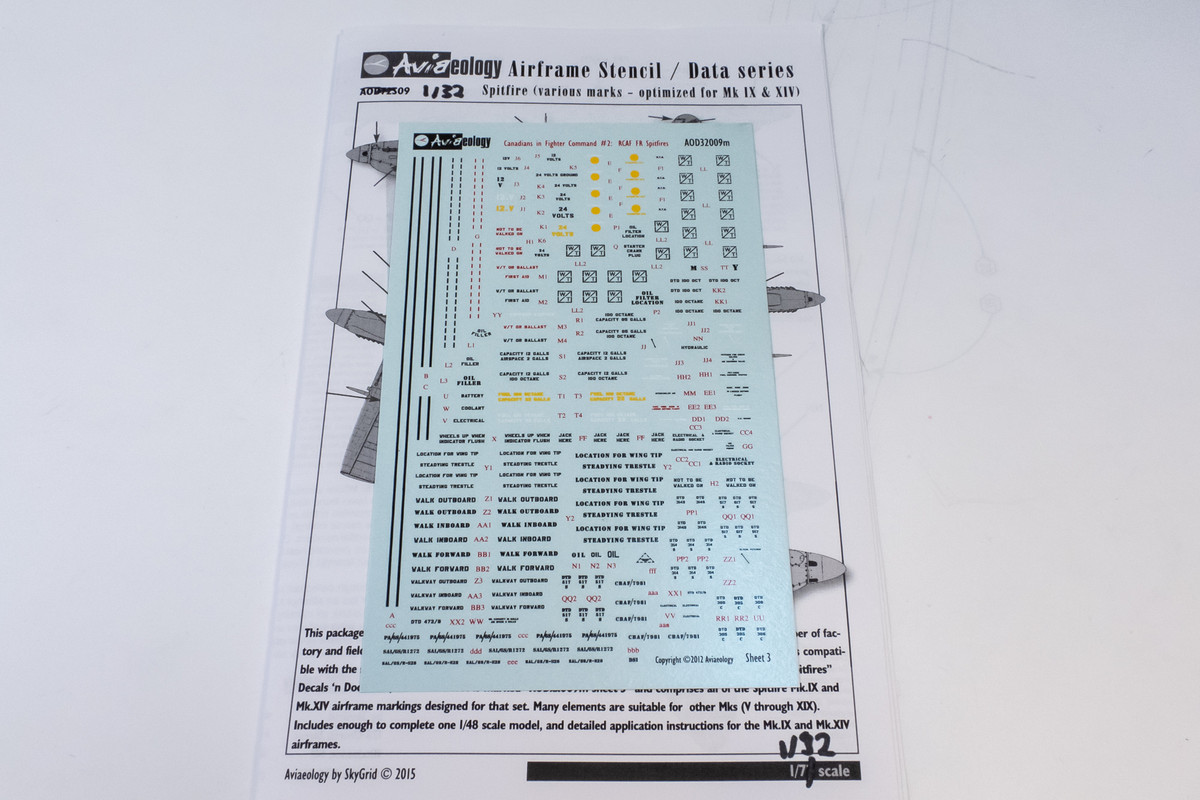
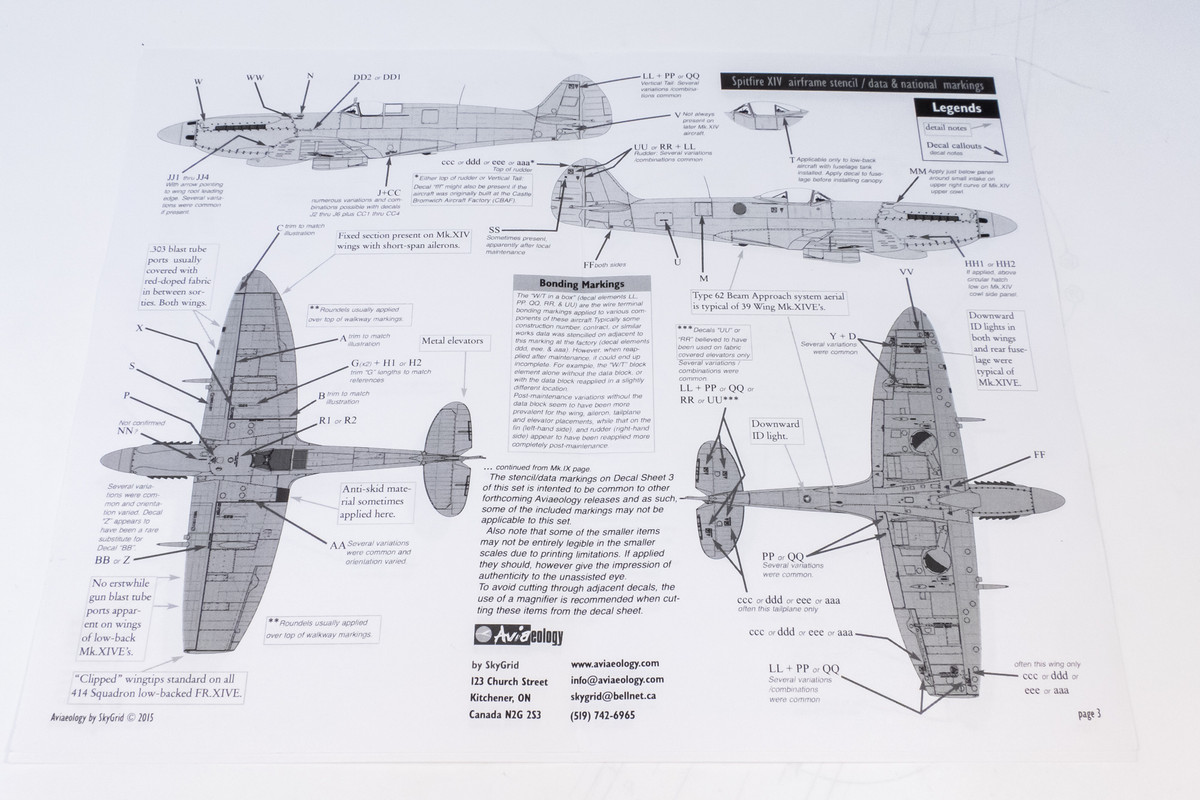
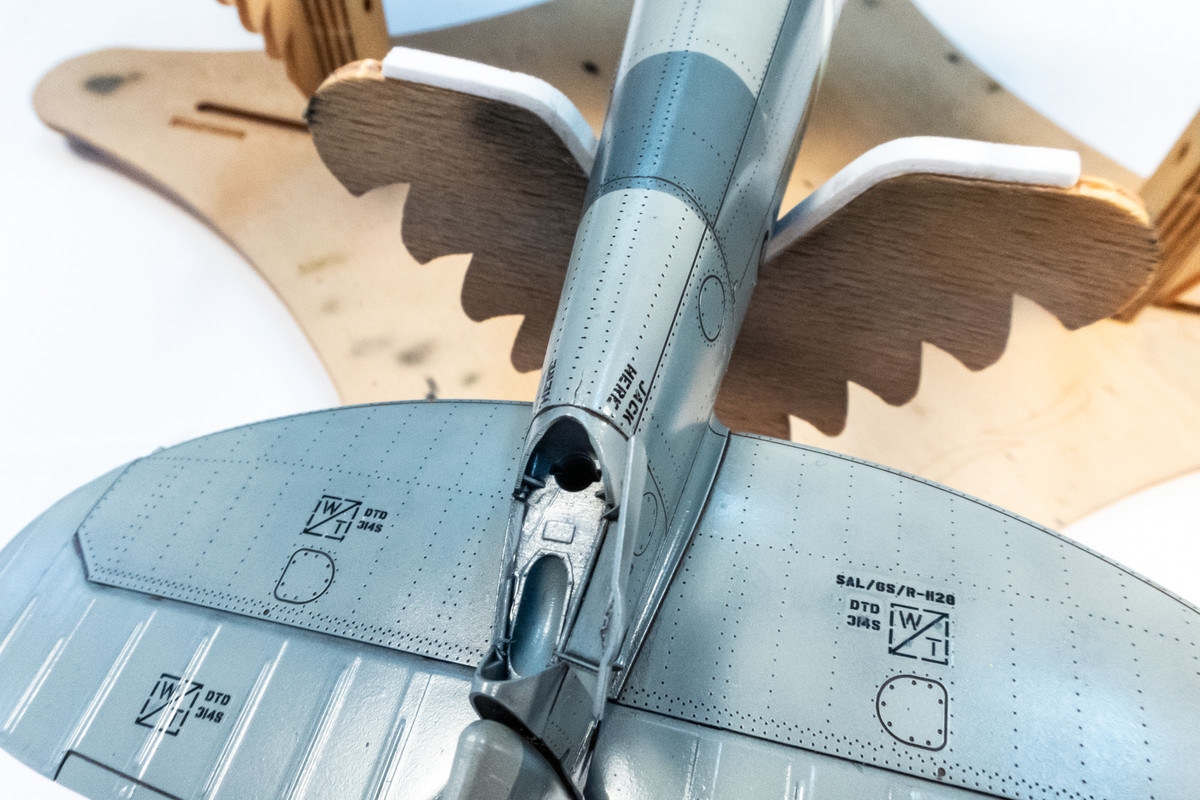
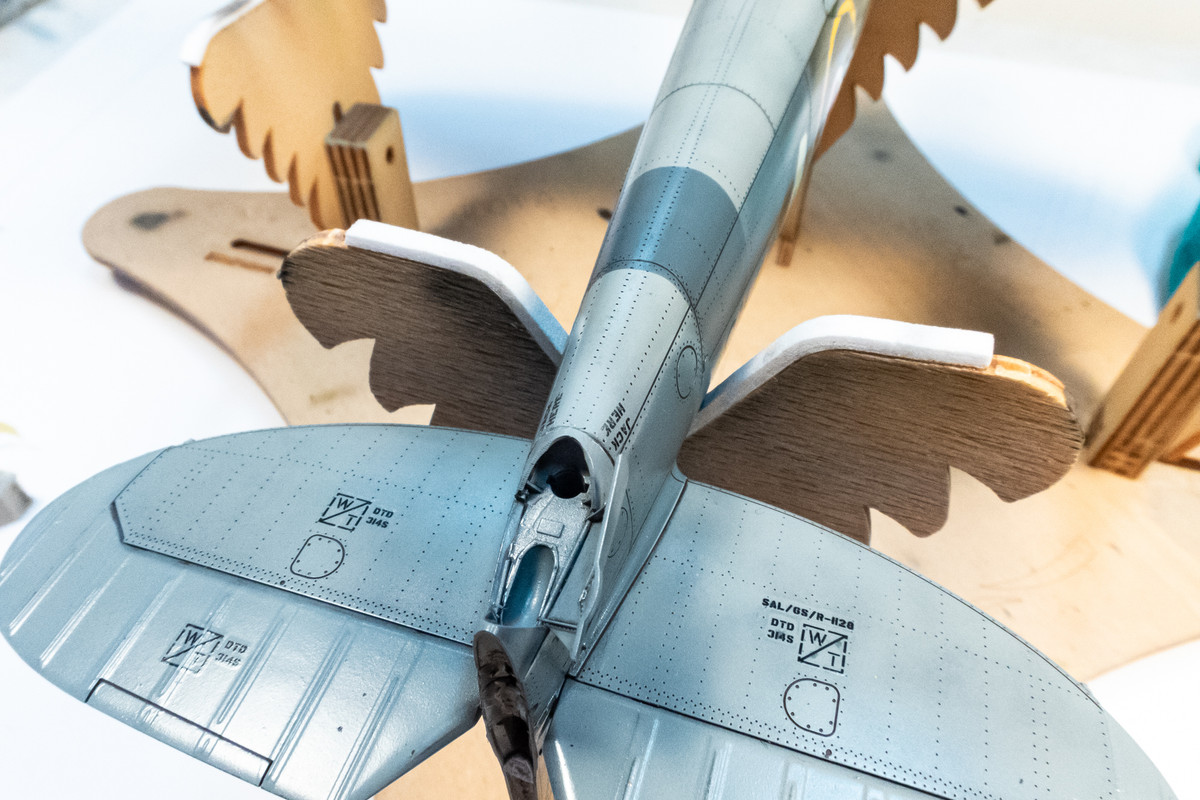
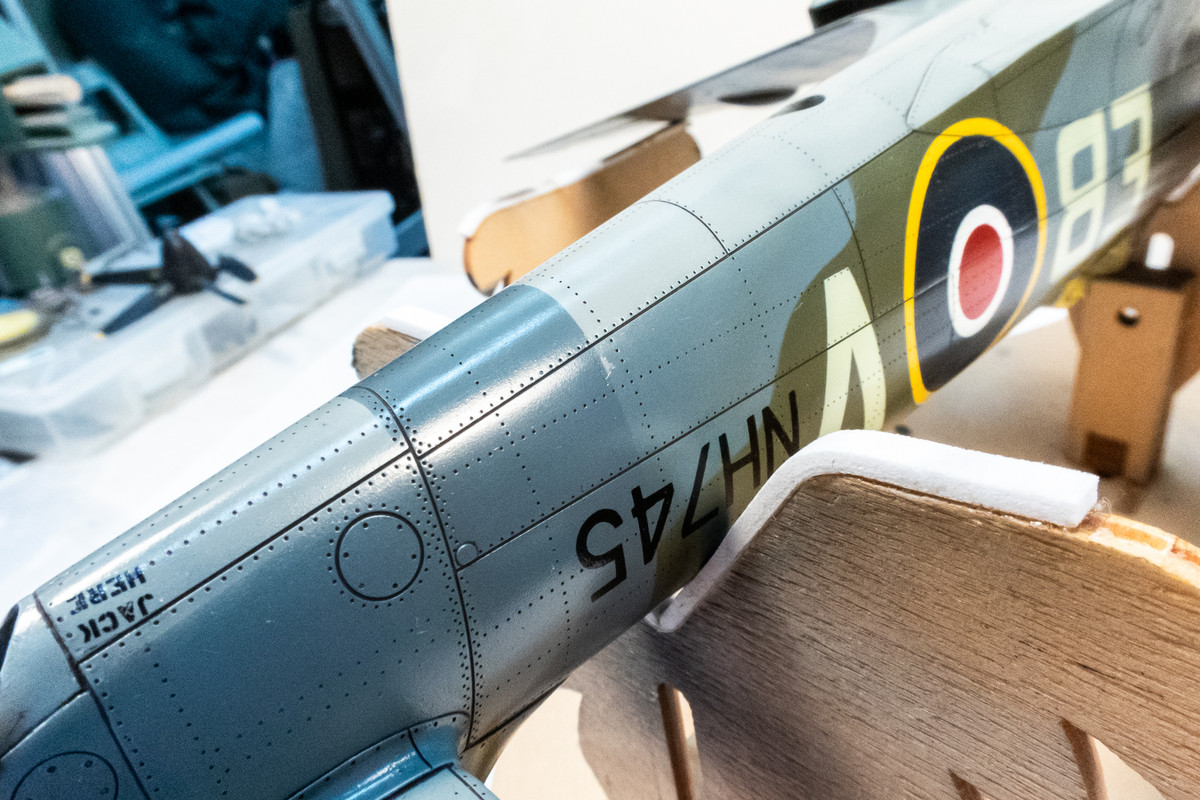
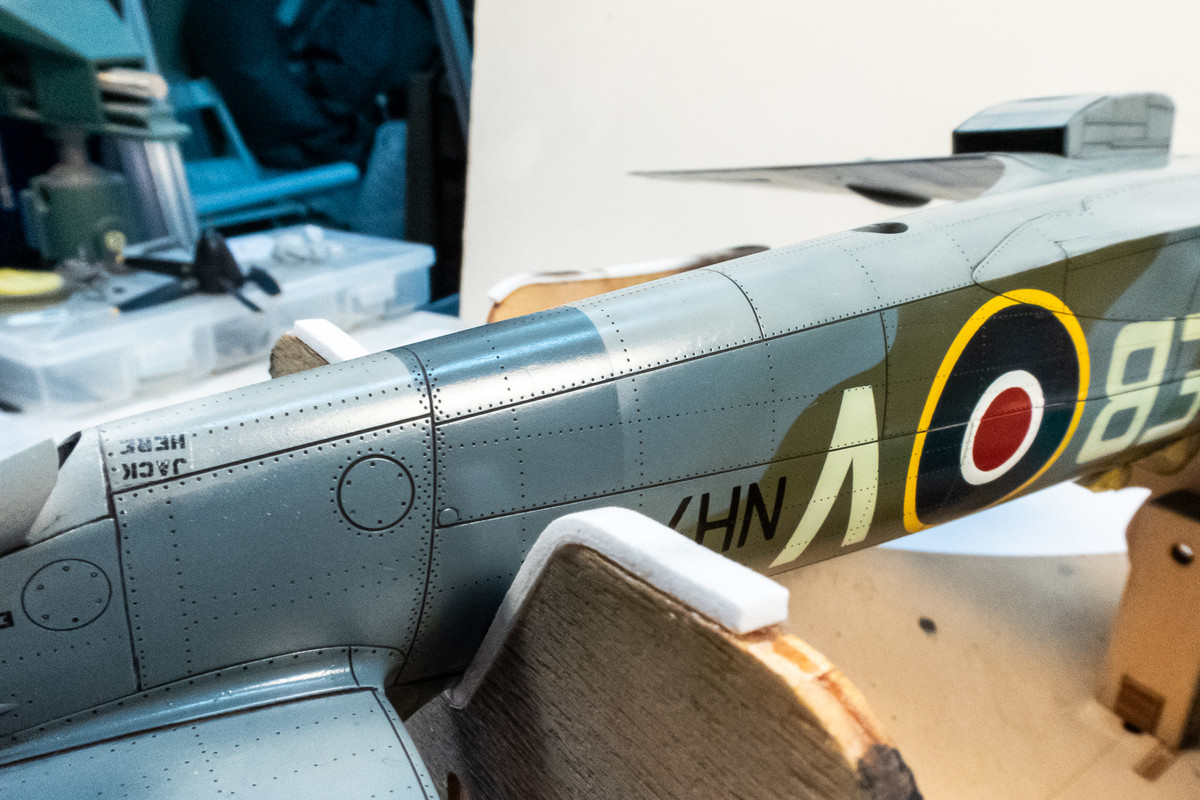
I picked up a decal sheet for the XIVe data stencils from Ebay before I started this build. This is based on my experience with Tamiya decals being overly thick.

I have no experience with Avieaology Decals but the instructions seem very complete and full of useful information on the specifics of the XIVe including the shortened ailerons, the wing and fuselage lights and the beam approach antenna mounted on the fuselage bottom, that is thankfully included in the Tamiya kit.

It took a few sessions of getting all of the decals down. The decals were very good in terms of detail and even the smallest words were legible under magnification. In terms of performance, I would rate them as ok but they had to be forced into recessed details, being resistant to every decal softener I threw at them (Micro Sol, Solvaset and Mr Softer).


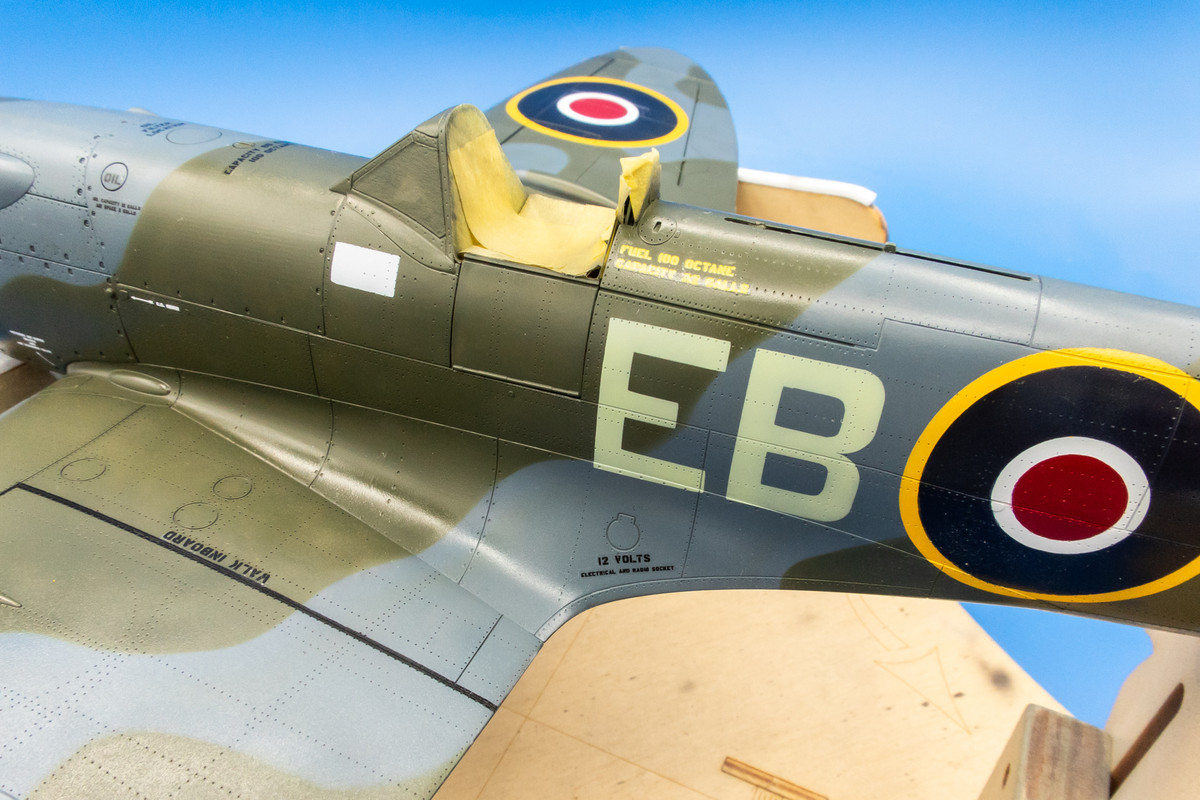
The white rectangle was painted to serve as a base for the custom-printed squad leader flag that I drew up in Powerpoint.


I have no experience with Avieaology Decals but the instructions seem very complete and full of useful information on the specifics of the XIVe including the shortened ailerons, the wing and fuselage lights and the beam approach antenna mounted on the fuselage bottom, that is thankfully included in the Tamiya kit.

It took a few sessions of getting all of the decals down. The decals were very good in terms of detail and even the smallest words were legible under magnification. In terms of performance, I would rate them as ok but they had to be forced into recessed details, being resistant to every decal softener I threw at them (Micro Sol, Solvaset and Mr Softer).


The white rectangle was painted to serve as a base for the custom-printed squad leader flag that I drew up in Powerpoint.


John aka JKim
-----------<><

-----------<><

- BlackSheep214
- Elite Member
- Posts: 13409
- Joined: Sun Apr 06, 2014 8:47 pm
Re: Tamiya 1/32 Spitfire XIVe Conversion
“Who controls the skies, controls the fate of this Earth”
Author unknown- 352nd Fighter Group, Blue-Nosed Bastards of Bodney
“Send one plane it’s a sortie; send two planes it’s a flight; send four planes it’s a test of airpower. - Richard Kohn
Author unknown- 352nd Fighter Group, Blue-Nosed Bastards of Bodney
“Send one plane it’s a sortie; send two planes it’s a flight; send four planes it’s a test of airpower. - Richard Kohn
Re: Tamiya 1/32 Spitfire XIVe Conversion
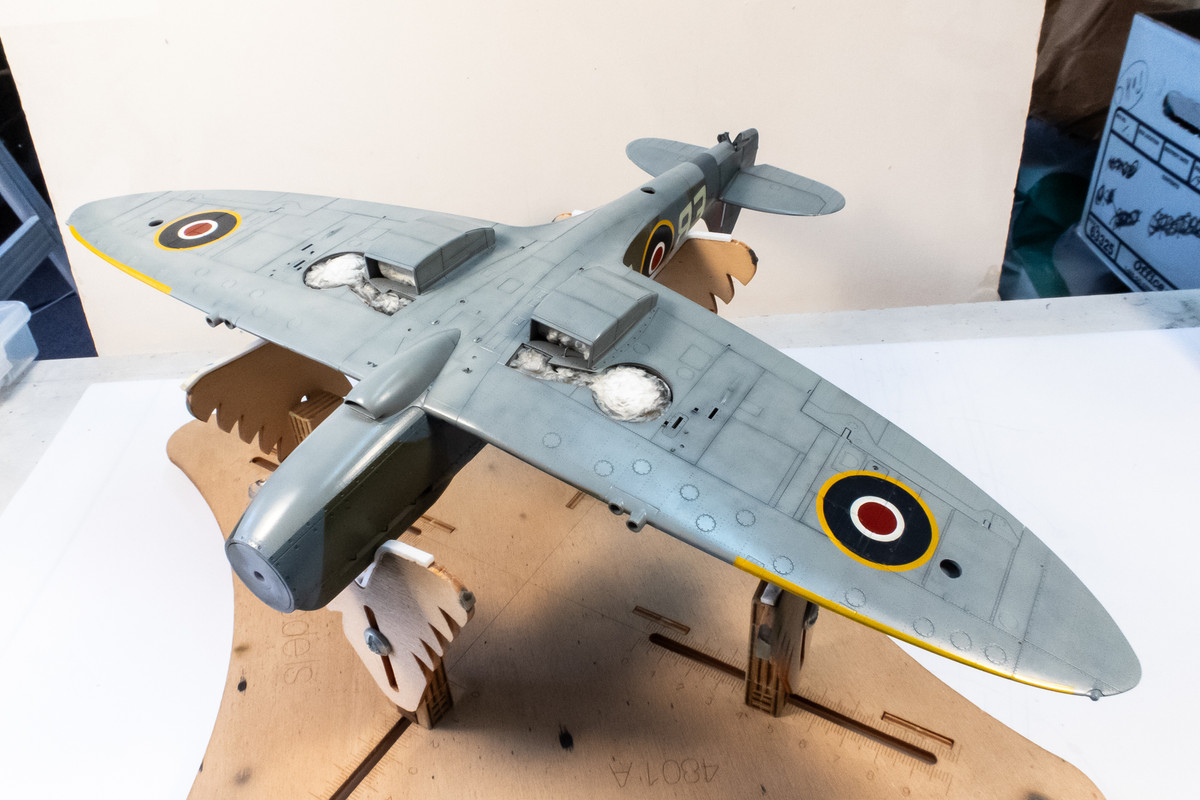
After the decals are finished, they are sealed with a gloss coat and I move on to the panel wash. I make my own washes using pastel chalk and water.
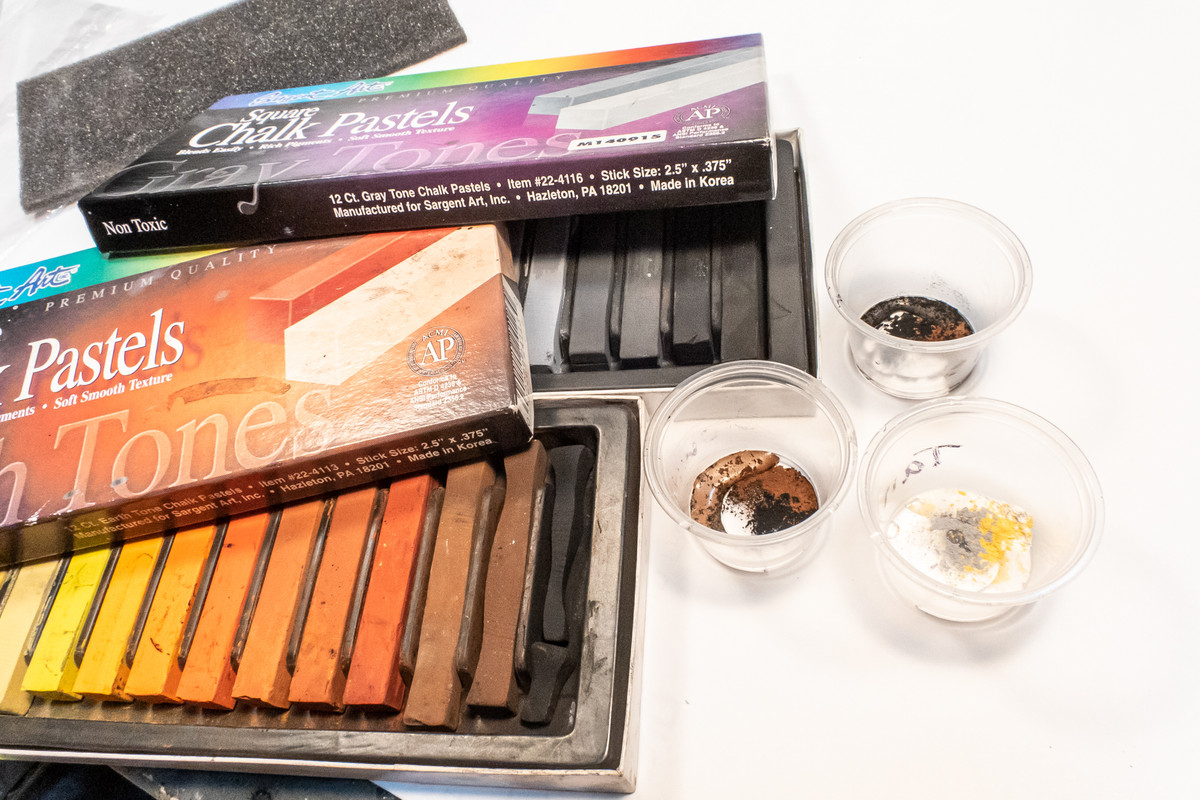
Before the panel wash step, my eyes see the model surface comprised of physical holes (rivets) and grooves (panel lines). While the most obvious effect of the wash is to highlight those areas, it also accomplishes something that I think is more important. Visually, the contrasting effect of the wash "flattens" the holes and grooves and turns them into dots and lines, which is more scale appropriate.
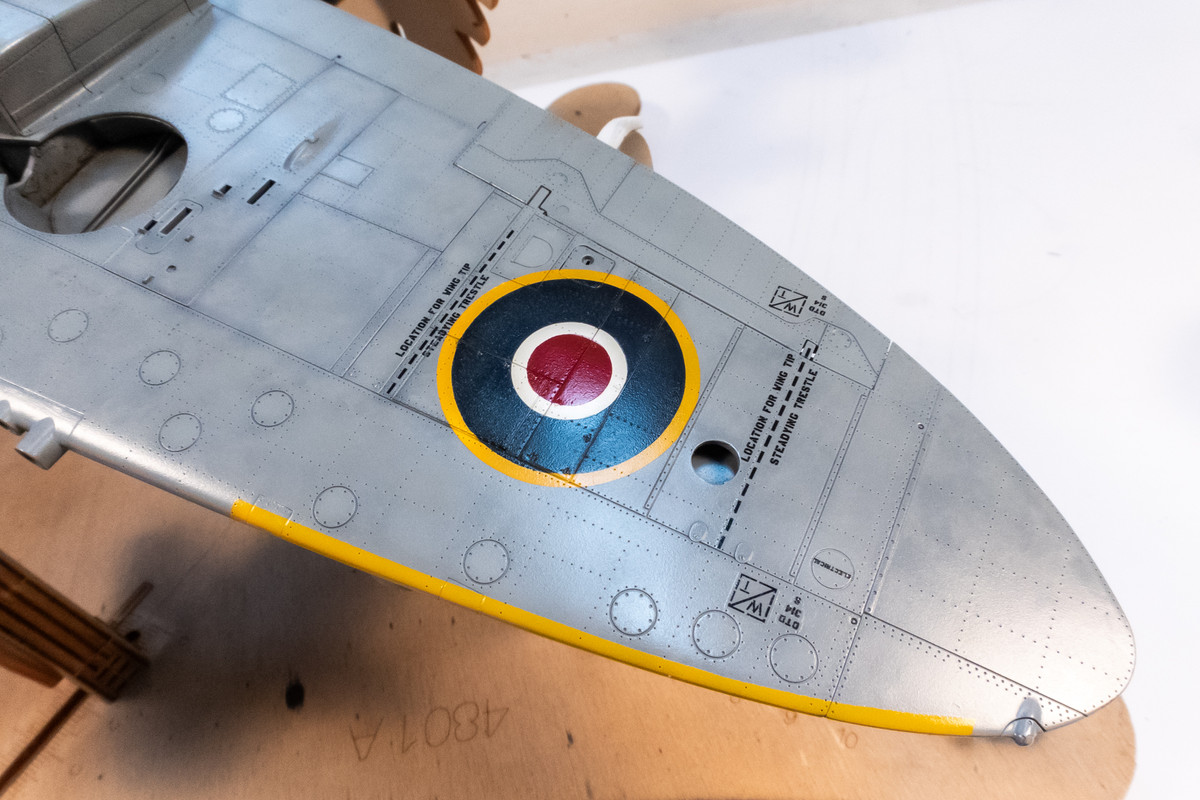
For most WW2 camo schemes, I like using a brown wash. A lighter brown on the bottom and a darker brown on the correspondingly darker top colors.
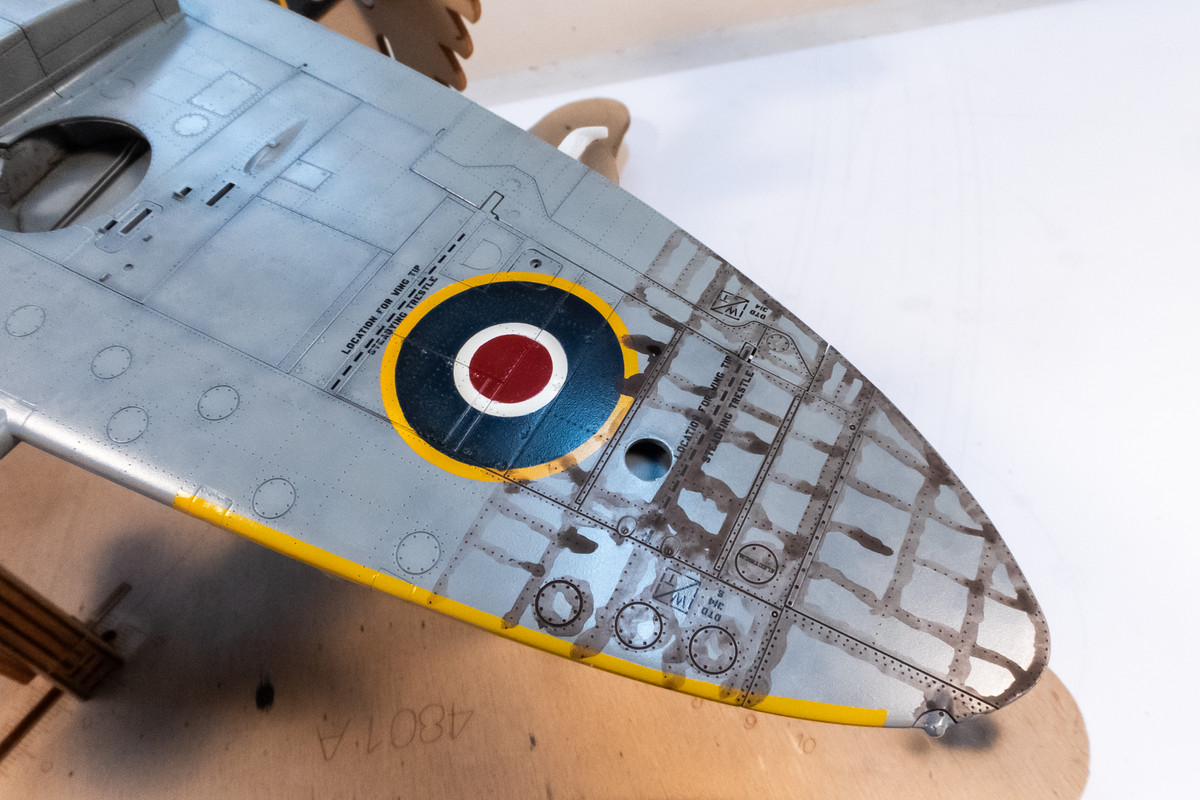
After the wash is completely dry, wipe it off with a damp cloth or paper towel. I use pre-cut sheets of lint-free wipes.

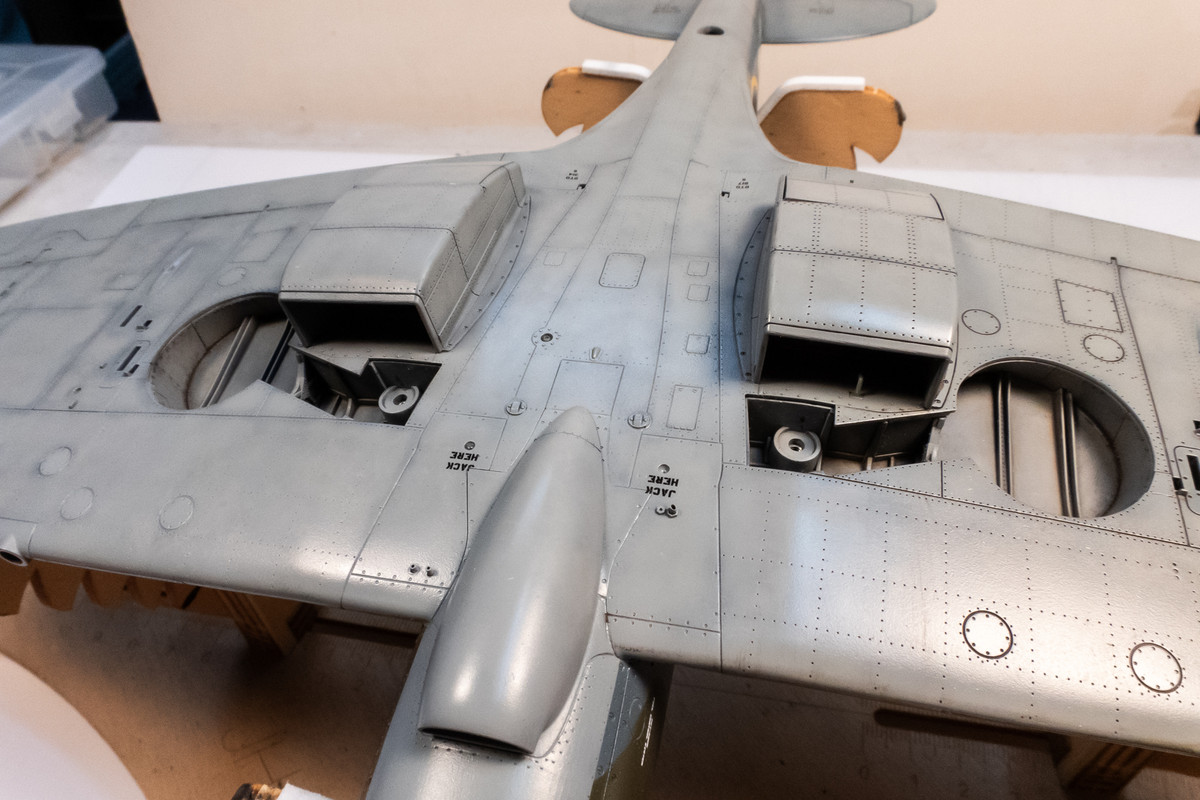
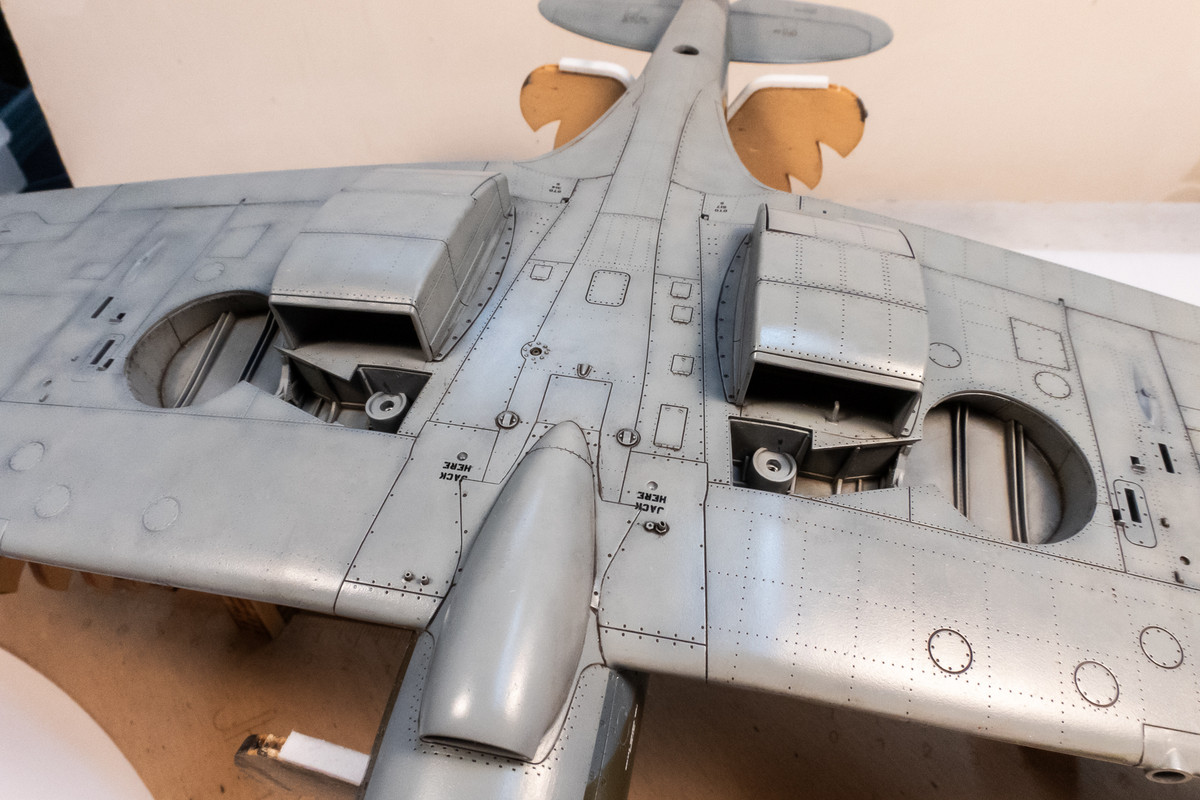
Eventually, the bottom is finished.
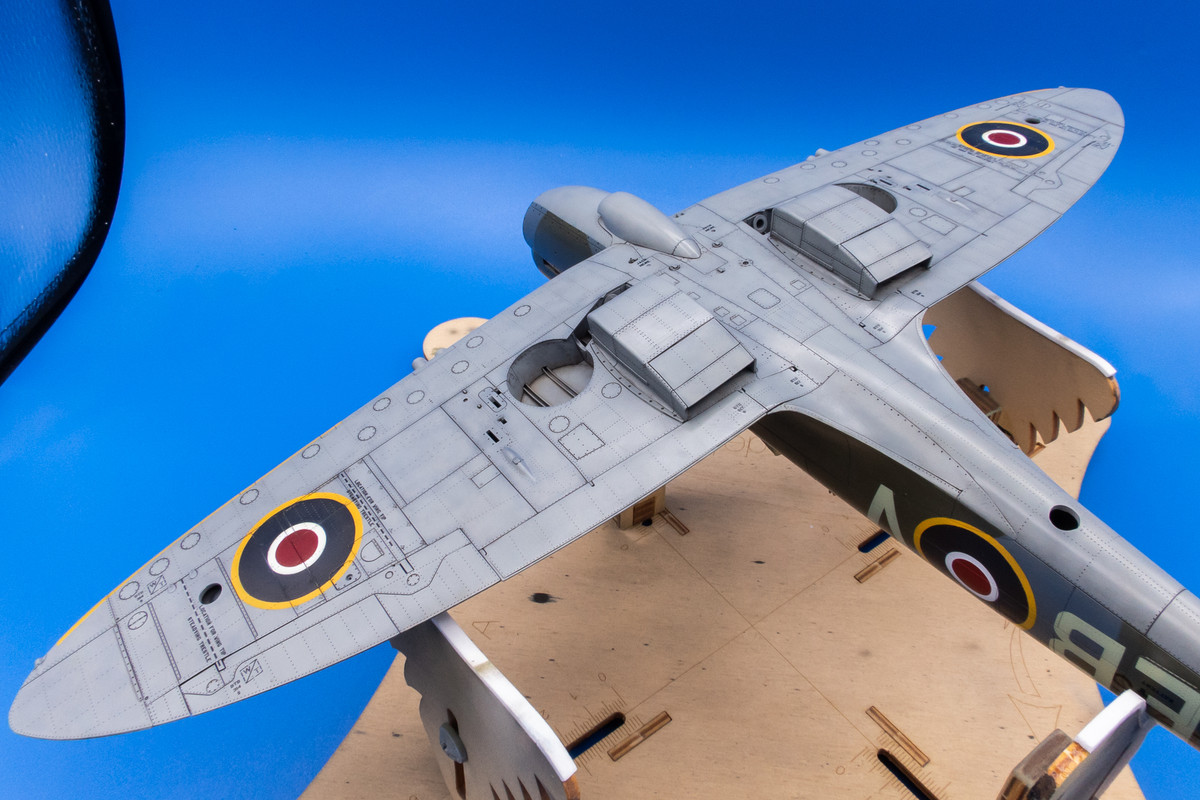

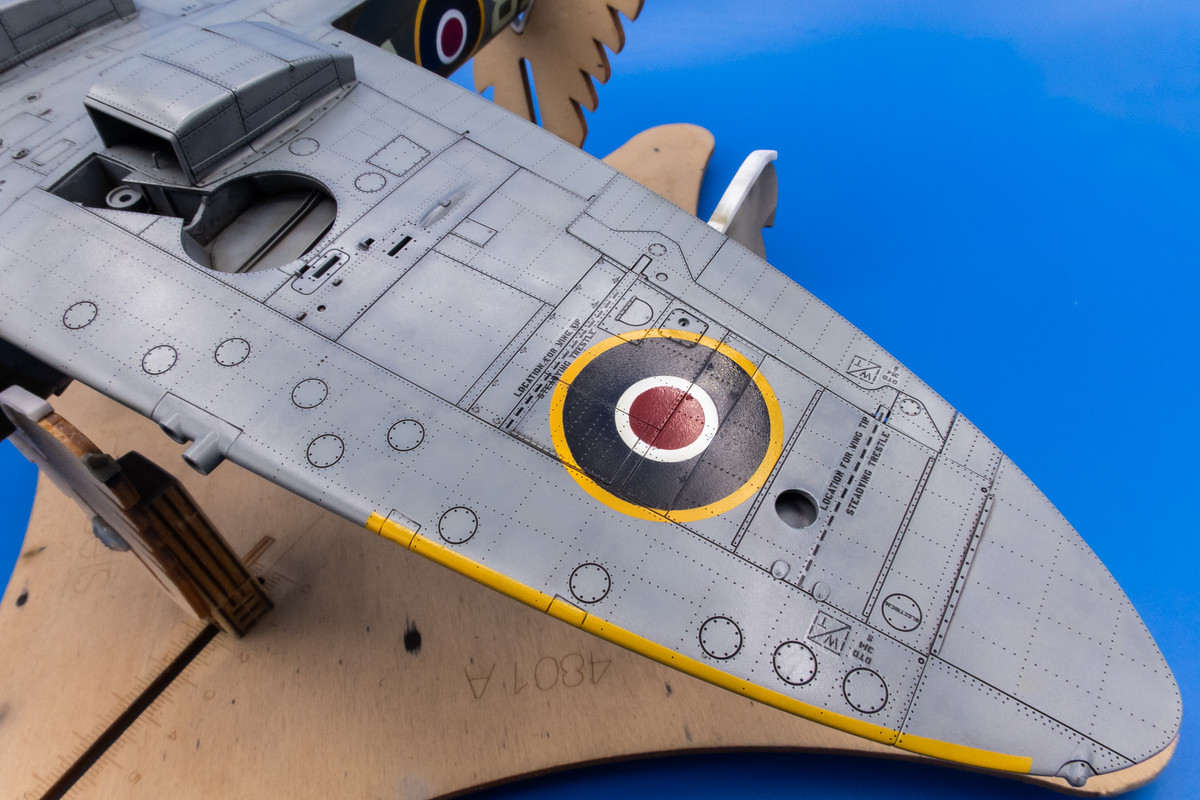
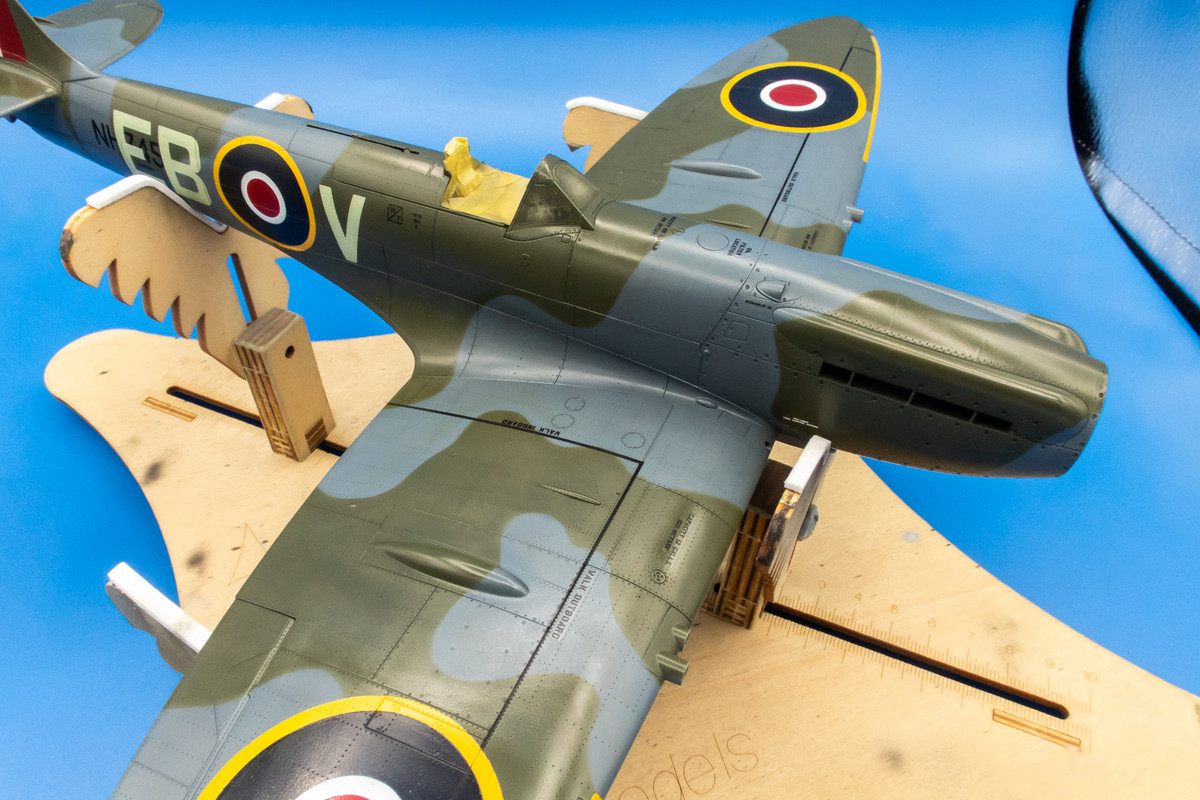
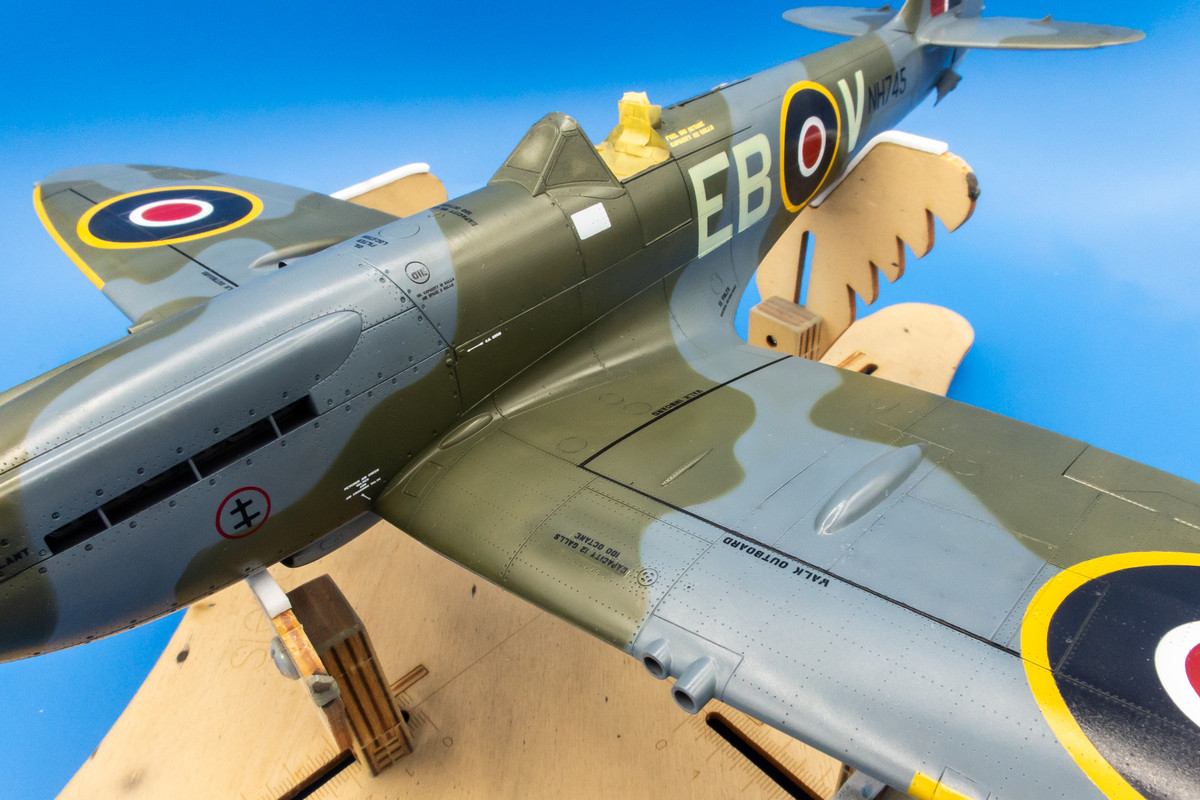
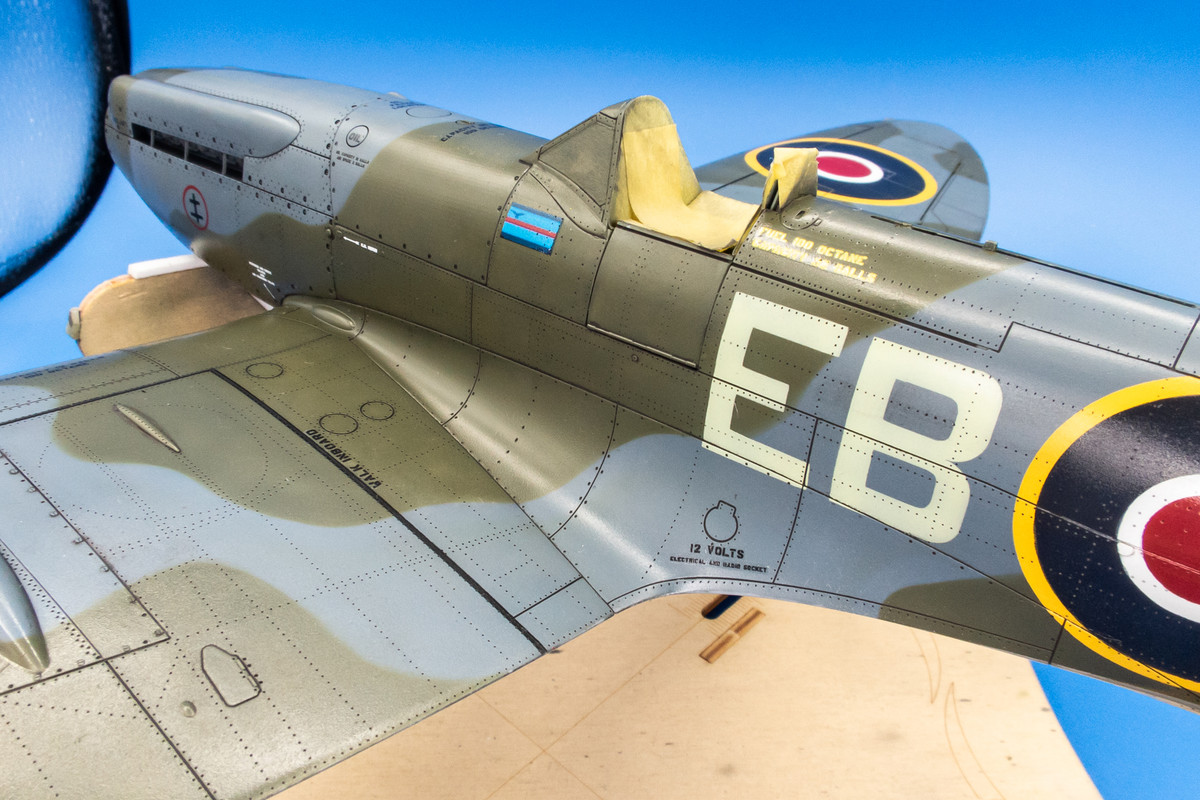
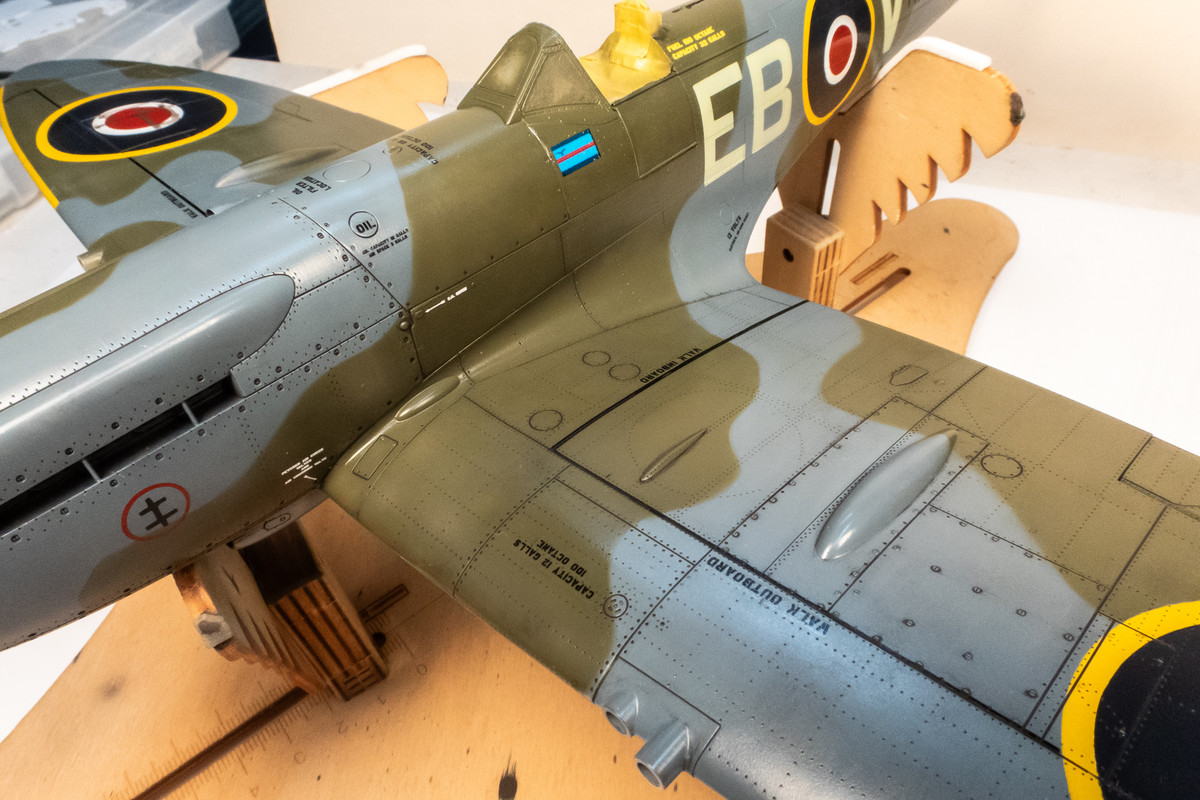
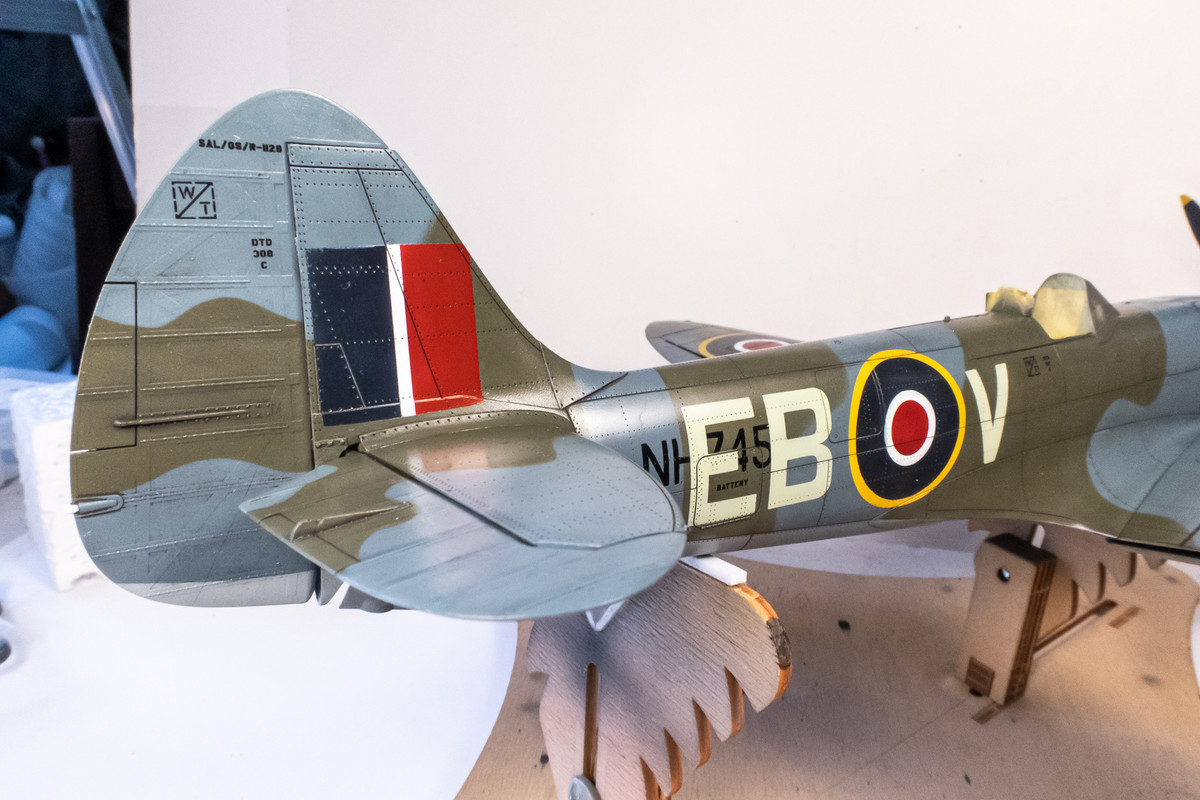
A darker black/brown wash is used for the top. A big fail is to leave a spot of dried wash and since the wash is harder to discern on the darker top camo, I'll take my time here. Oh, and you can now see the custom-printed squad leader decal that I've put into position under the windscreen.


Before the panel wash step, my eyes see the model surface comprised of physical holes (rivets) and grooves (panel lines). While the most obvious effect of the wash is to highlight those areas, it also accomplishes something that I think is more important. Visually, the contrasting effect of the wash "flattens" the holes and grooves and turns them into dots and lines, which is more scale appropriate.

For most WW2 camo schemes, I like using a brown wash. A lighter brown on the bottom and a darker brown on the correspondingly darker top colors.

After the wash is completely dry, wipe it off with a damp cloth or paper towel. I use pre-cut sheets of lint-free wipes.


Eventually, the bottom is finished.


A darker black/brown wash is used for the top. A big fail is to leave a spot of dried wash and since the wash is harder to discern on the darker top camo, I'll take my time here. Oh, and you can now see the custom-printed squad leader decal that I've put into position under the windscreen.
John aka JKim
-----------<><

-----------<><

- Stikpusher
- Moderator
- Posts: 21180
- Joined: Sat Apr 05, 2014 8:37 pm
- Location: Ceti Alpha 5
Re: Tamiya 1/32 Spitfire XIVe Conversion
Very nice John! That homemade wash is excellent stuff!!!
"Surely I have made my meaning plain? I intend to avenge myself upon you, Admiral. I have deprived your ship of power, and when I swing 'round, I intend to deprive you of your life."
FLSM
FLSM
Re: Tamiya 1/32 Spitfire XIVe Conversion
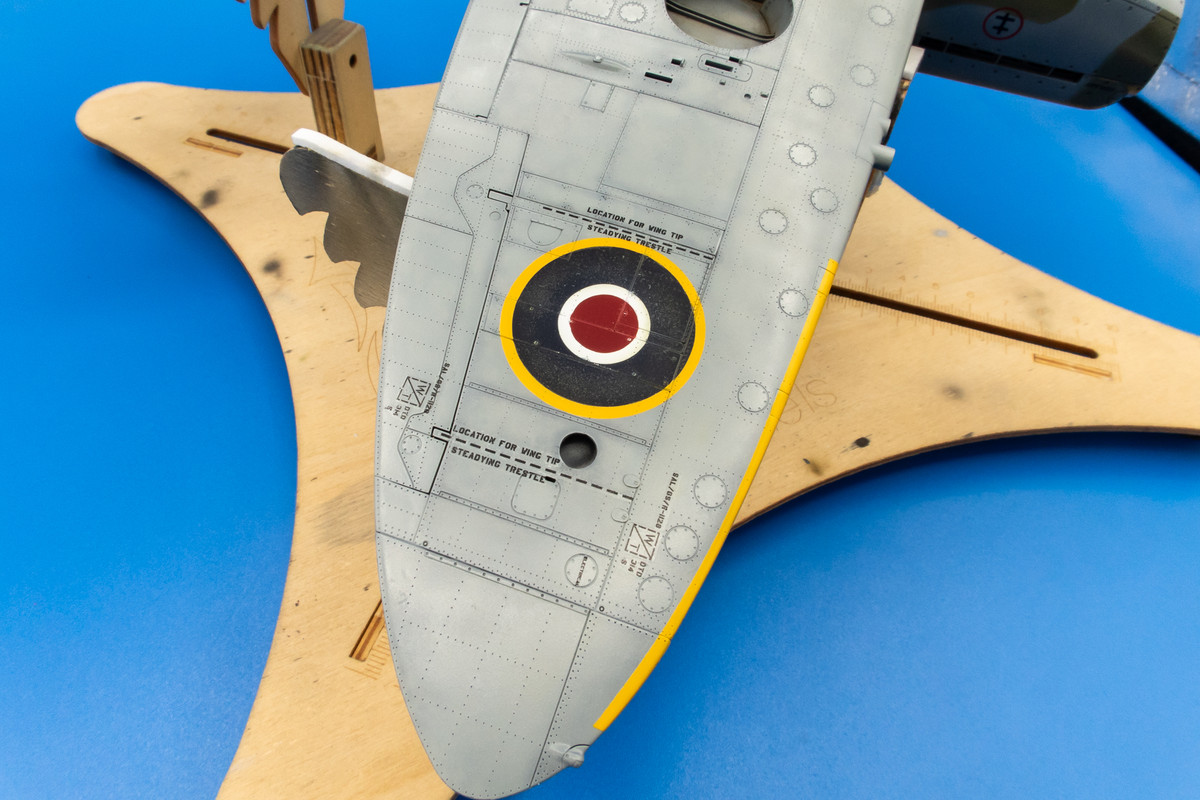
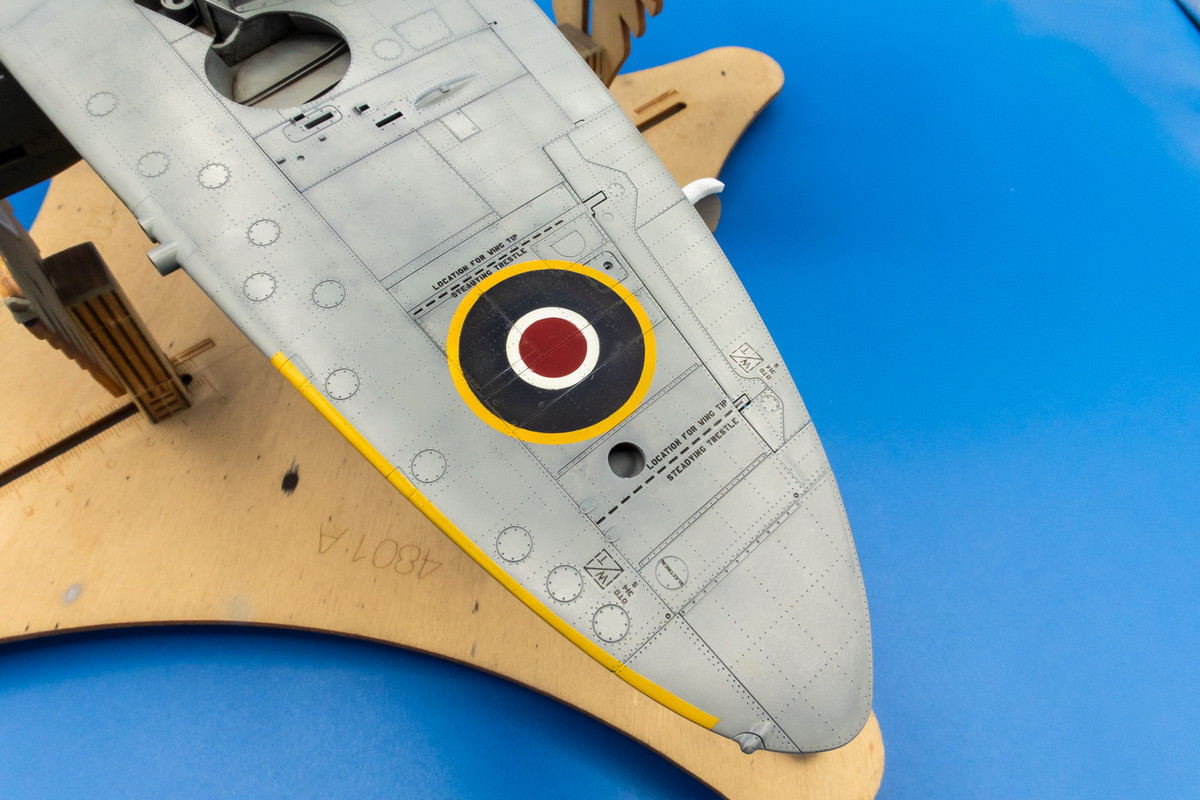
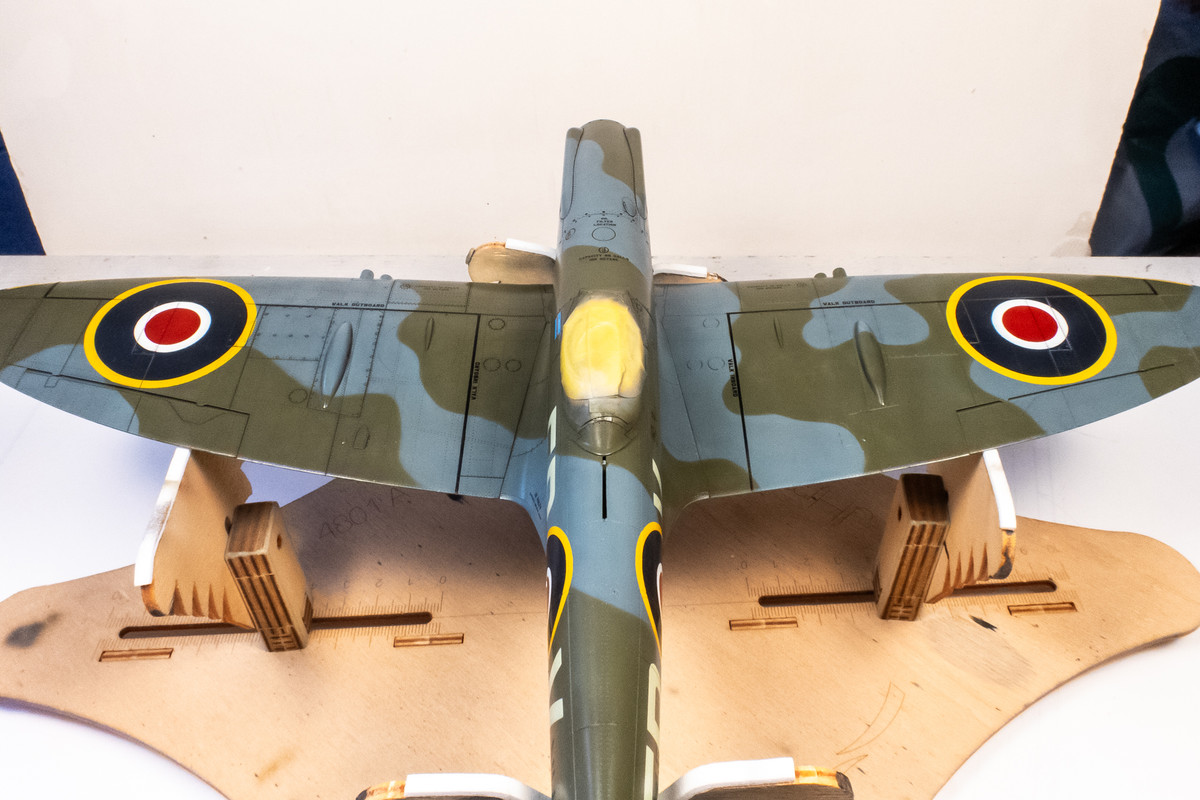
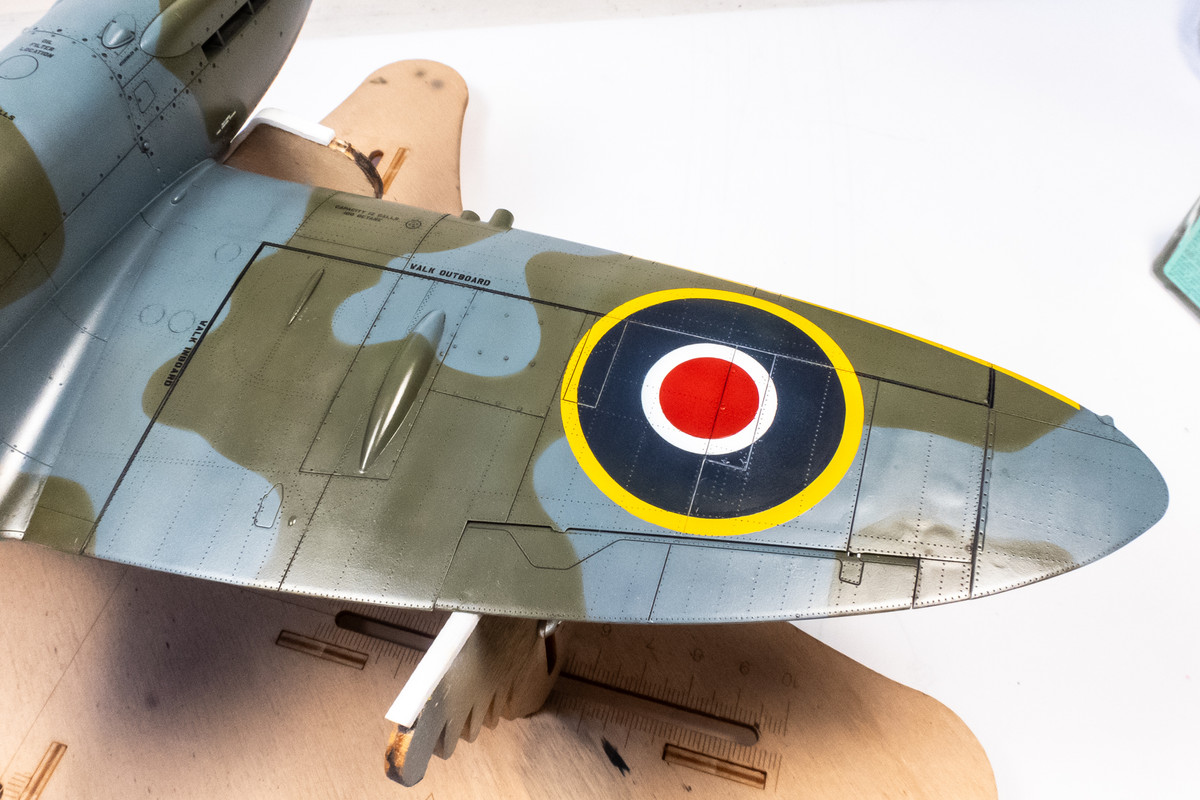
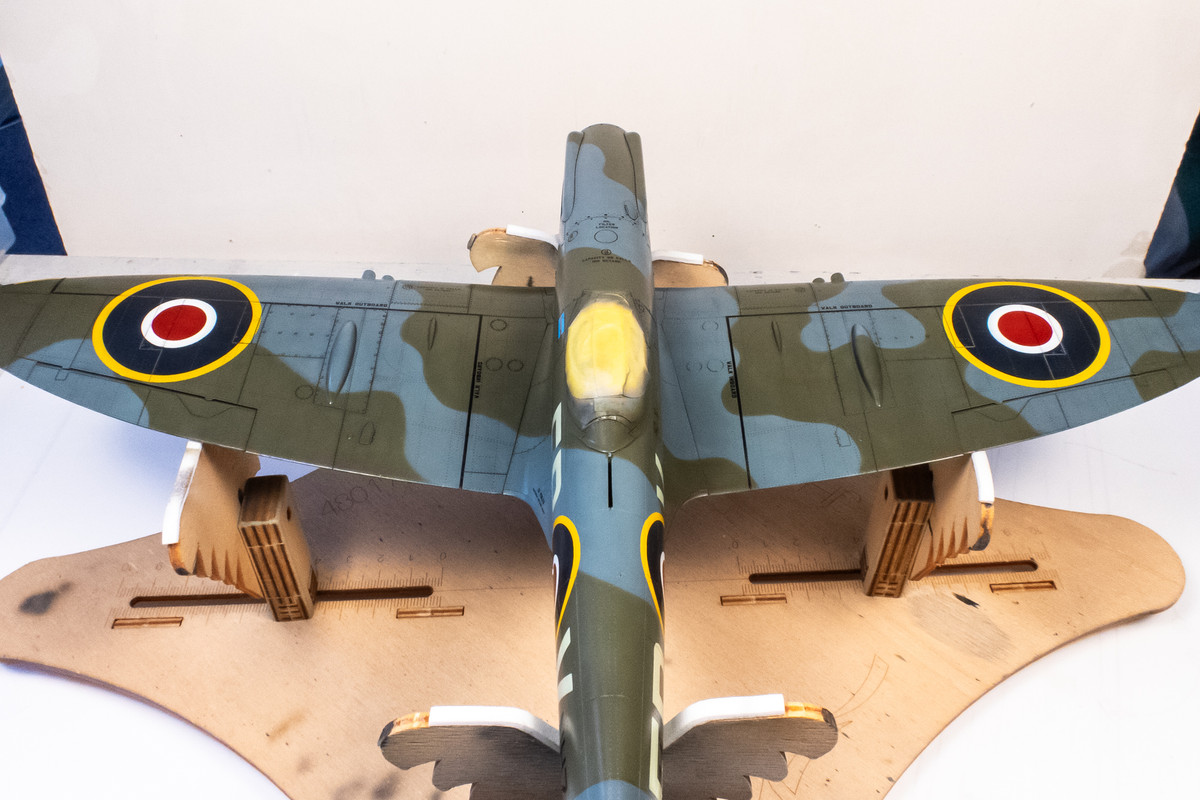
Thanks Carlos! Slowly working my way around the top side of model. Port wing has been given a wash, the starboard wing has not...

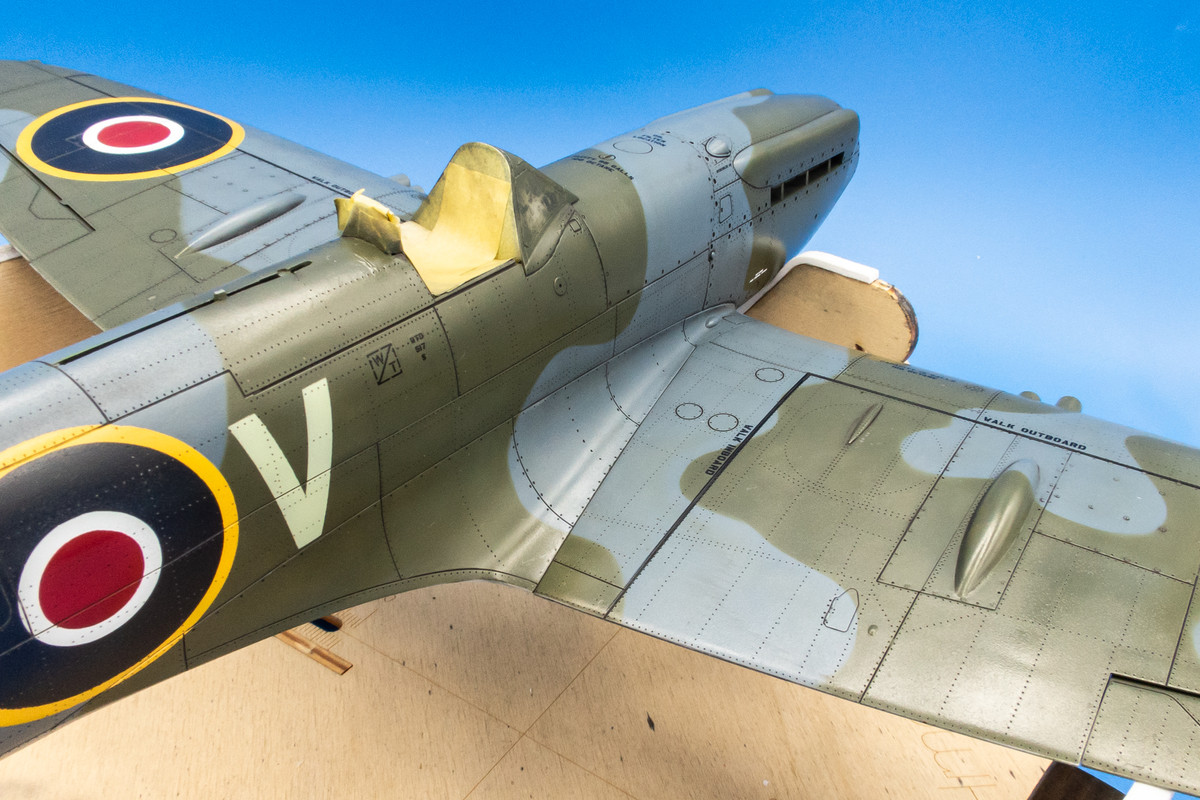
The starboard wing after the wash. I've elected to give the blue areas of the roundels a tan wash but when it is too stark like this, I will take a damp paintbrush and scrub out some of the wash to tone it down.
Both wings after the wash treatment.

The starboard wing after the wash. I've elected to give the blue areas of the roundels a tan wash but when it is too stark like this, I will take a damp paintbrush and scrub out some of the wash to tone it down.

Both wings after the wash treatment.

John aka JKim
-----------<><

-----------<><

Re: Tamiya 1/32 Spitfire XIVe Conversion
As I work to complete the pastel wash, I've notice a few little things that need repair. One is a crack on the fuselage seam next to the wheel well. Not surprising due to the tight fit but I didn't notice the crack until now.

It's quickly repaired with a touch of black CA glue. and repainted.

There was also a tiny paint lift next to the painted out fuselage band.

It's small enough that I skip the sanding and just shoot a dab of thickish Ocean Gray on it. These repair spots seem lighter because they are flat compared to the gloss of the surrounding areas. They should disapper when the final matte coat is applied.

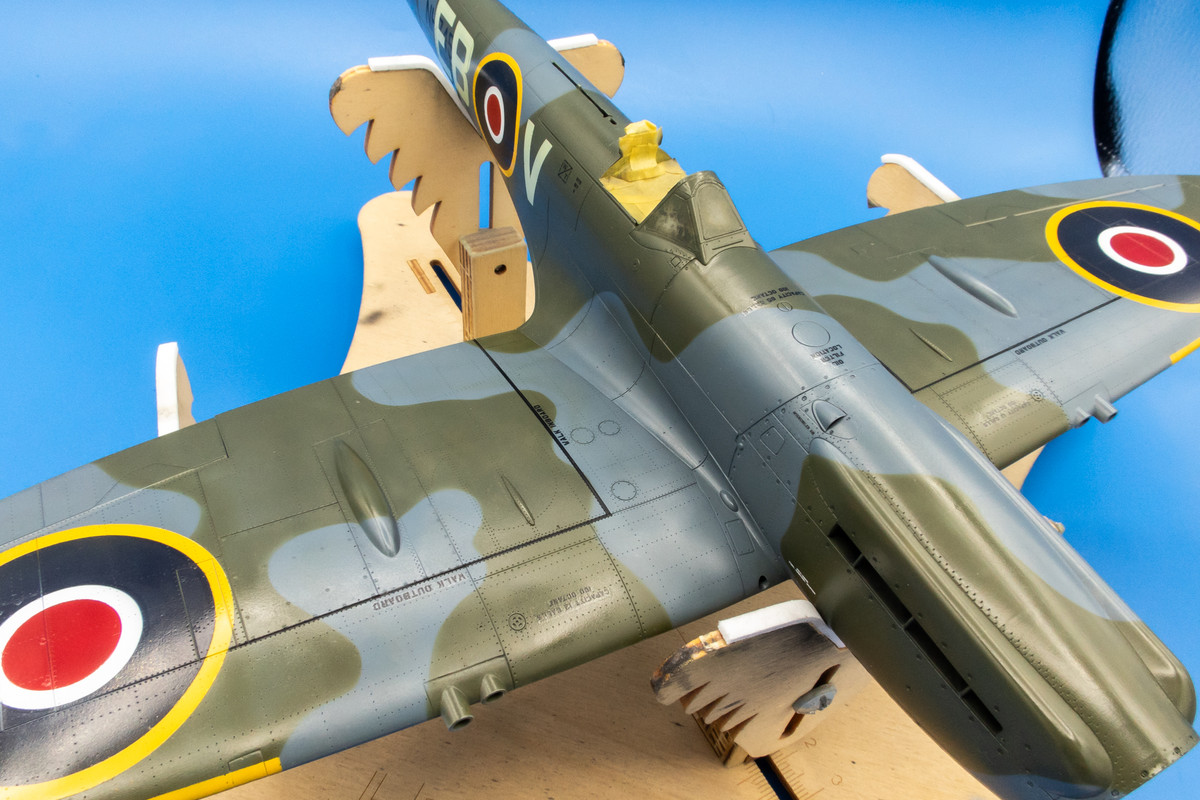
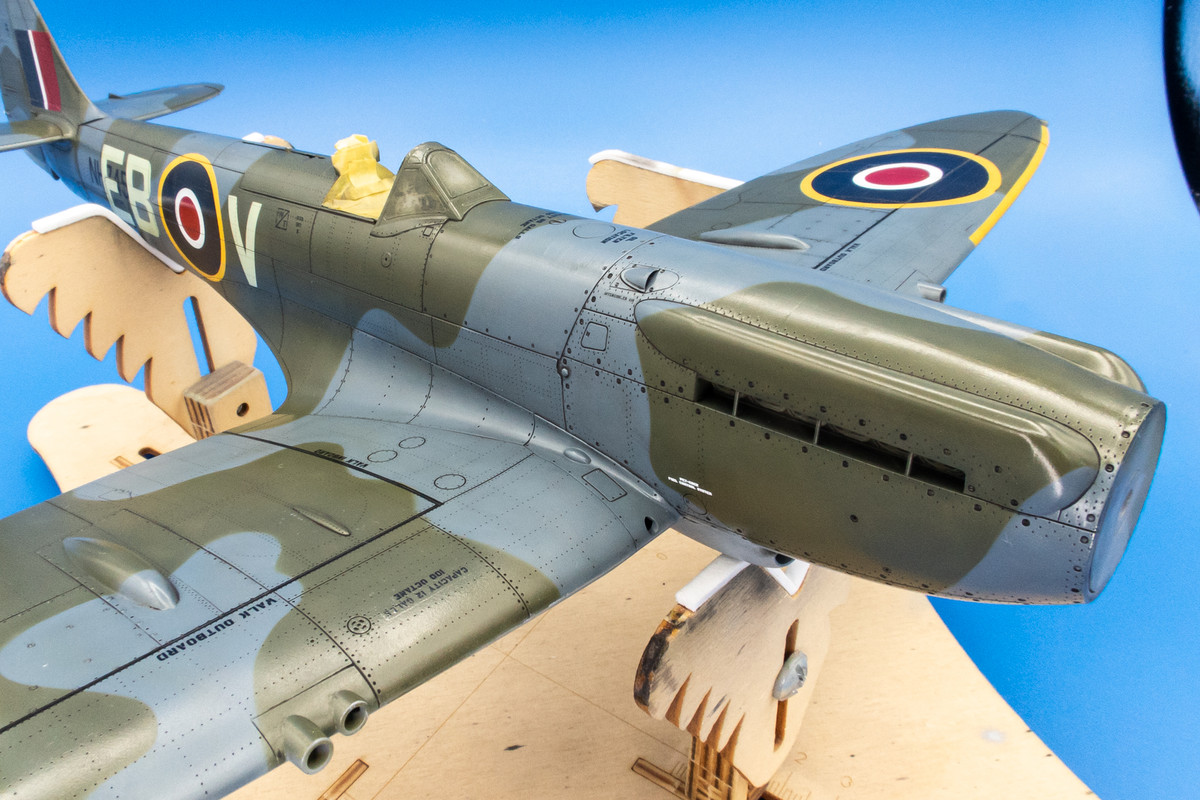
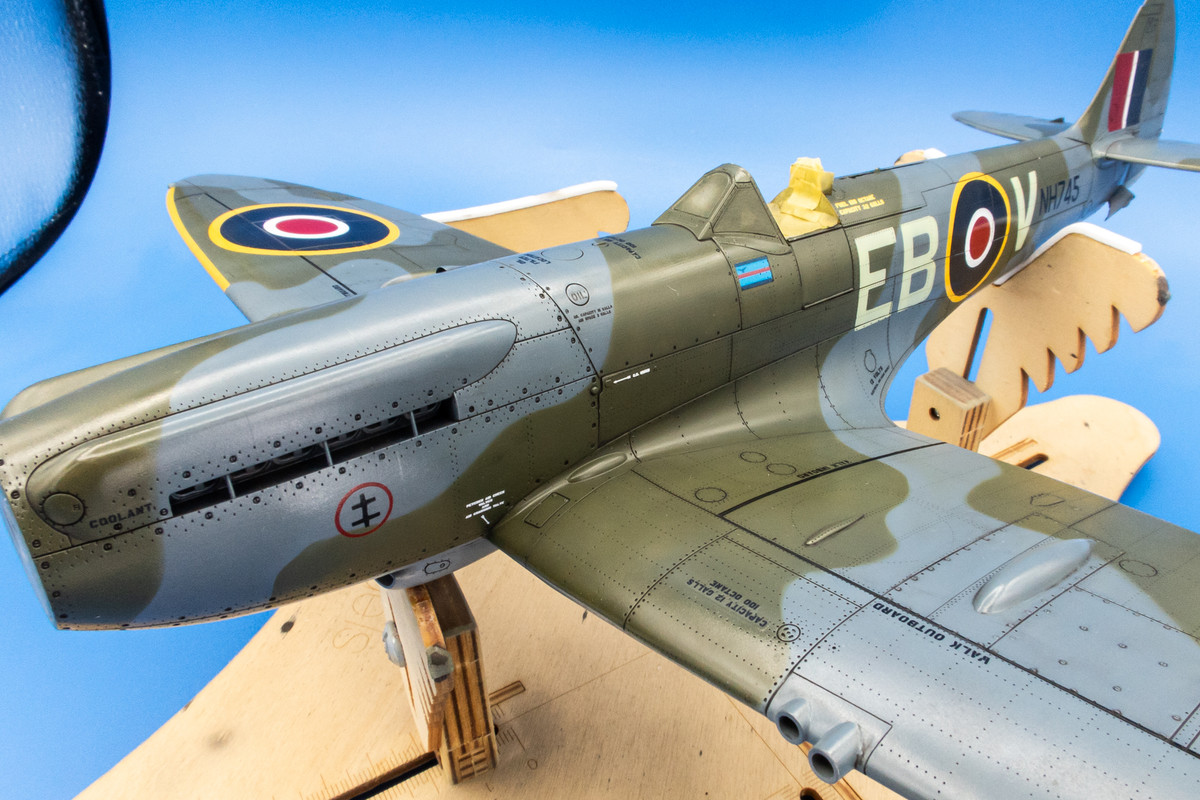
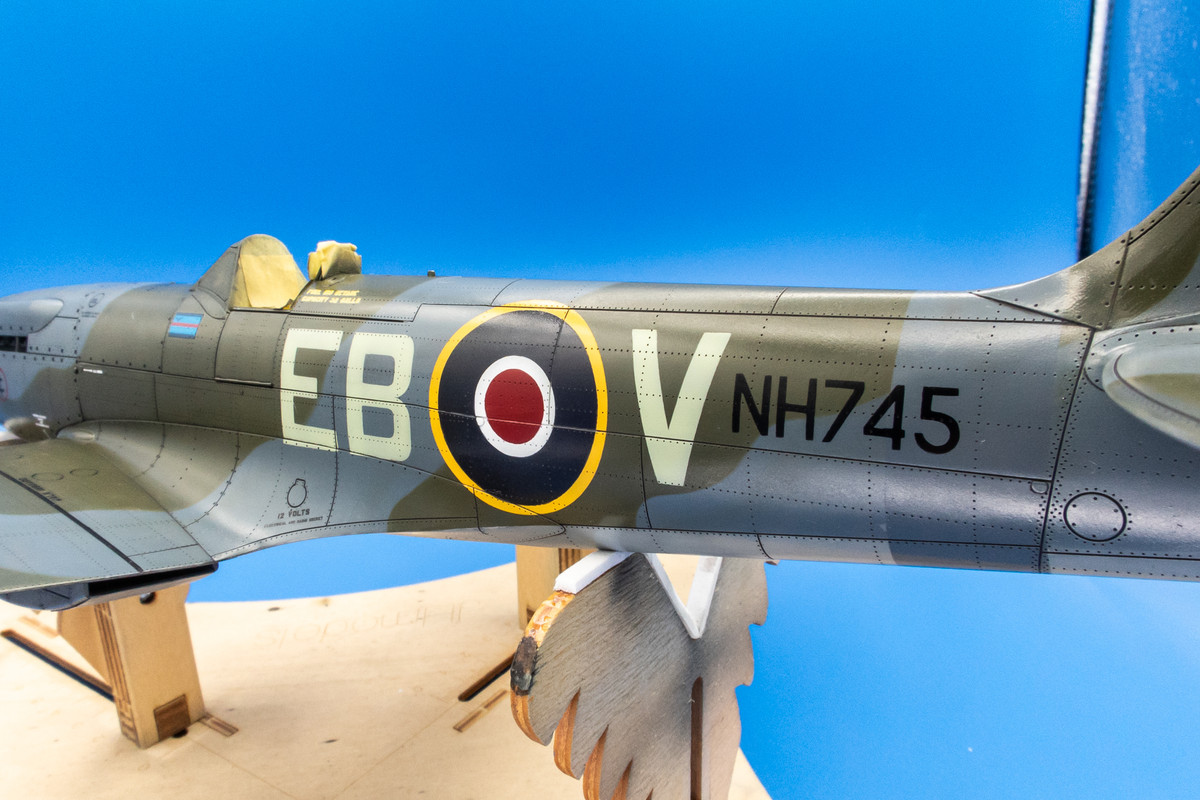
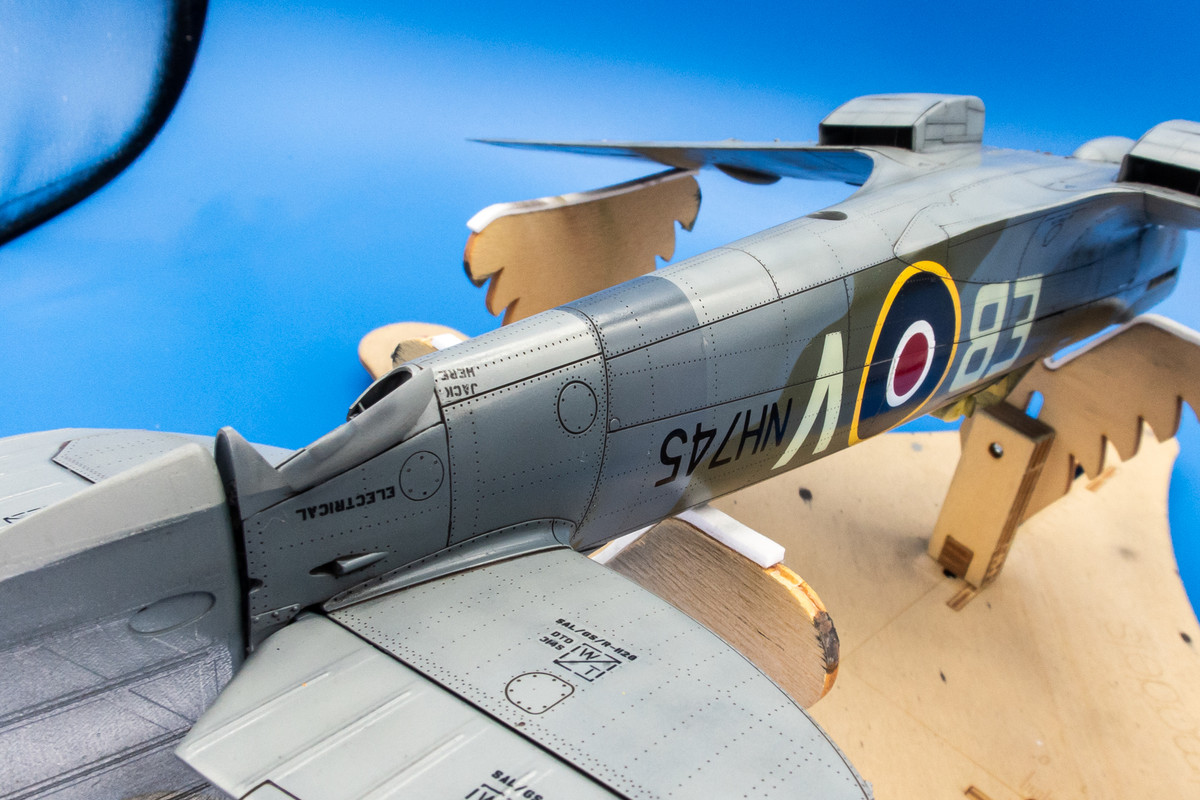
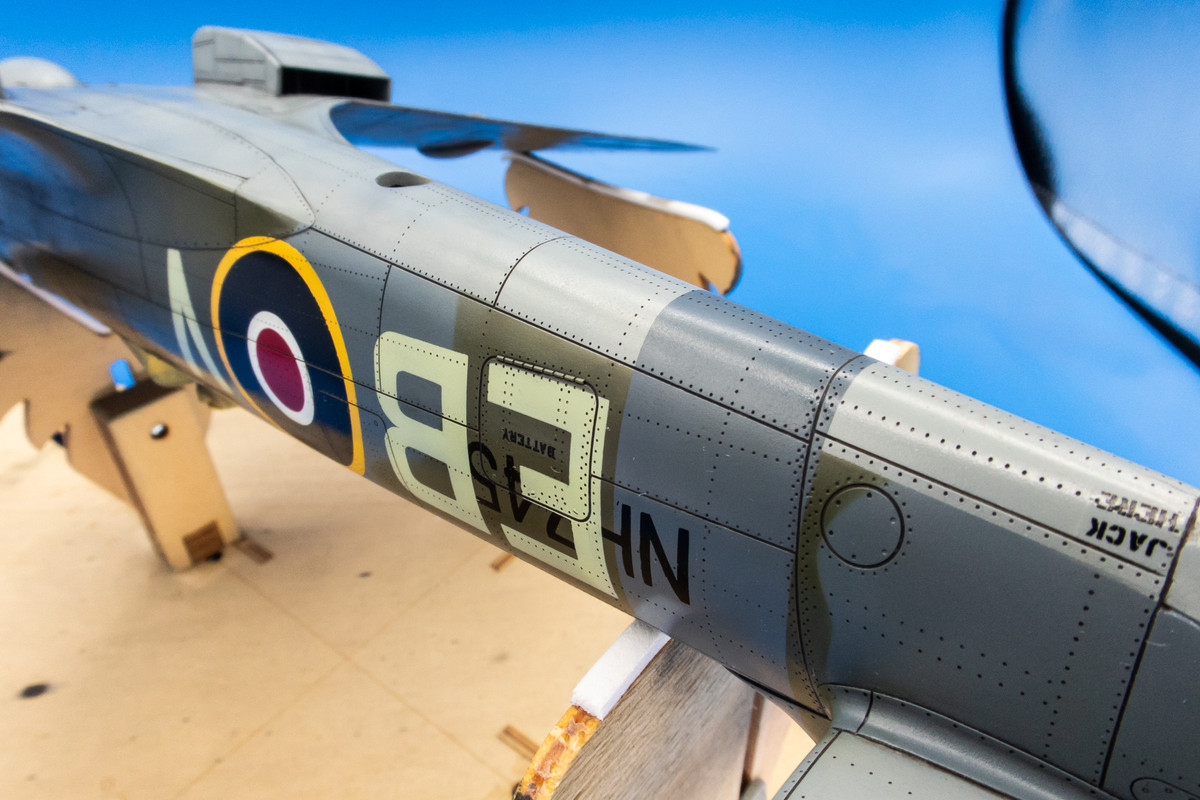
The panel wash is essentially finished. I'll probably spend a day or two inspecting the finish and cleaning up any small messes before moving on to the flat coat. Note that the above described repair was done AFTER this light box session.


It's quickly repaired with a touch of black CA glue. and repainted.

There was also a tiny paint lift next to the painted out fuselage band.

It's small enough that I skip the sanding and just shoot a dab of thickish Ocean Gray on it. These repair spots seem lighter because they are flat compared to the gloss of the surrounding areas. They should disapper when the final matte coat is applied.

The panel wash is essentially finished. I'll probably spend a day or two inspecting the finish and cleaning up any small messes before moving on to the flat coat. Note that the above described repair was done AFTER this light box session.


John aka JKim
-----------<><

-----------<><

Re: Tamiya 1/32 Spitfire XIVe Conversion
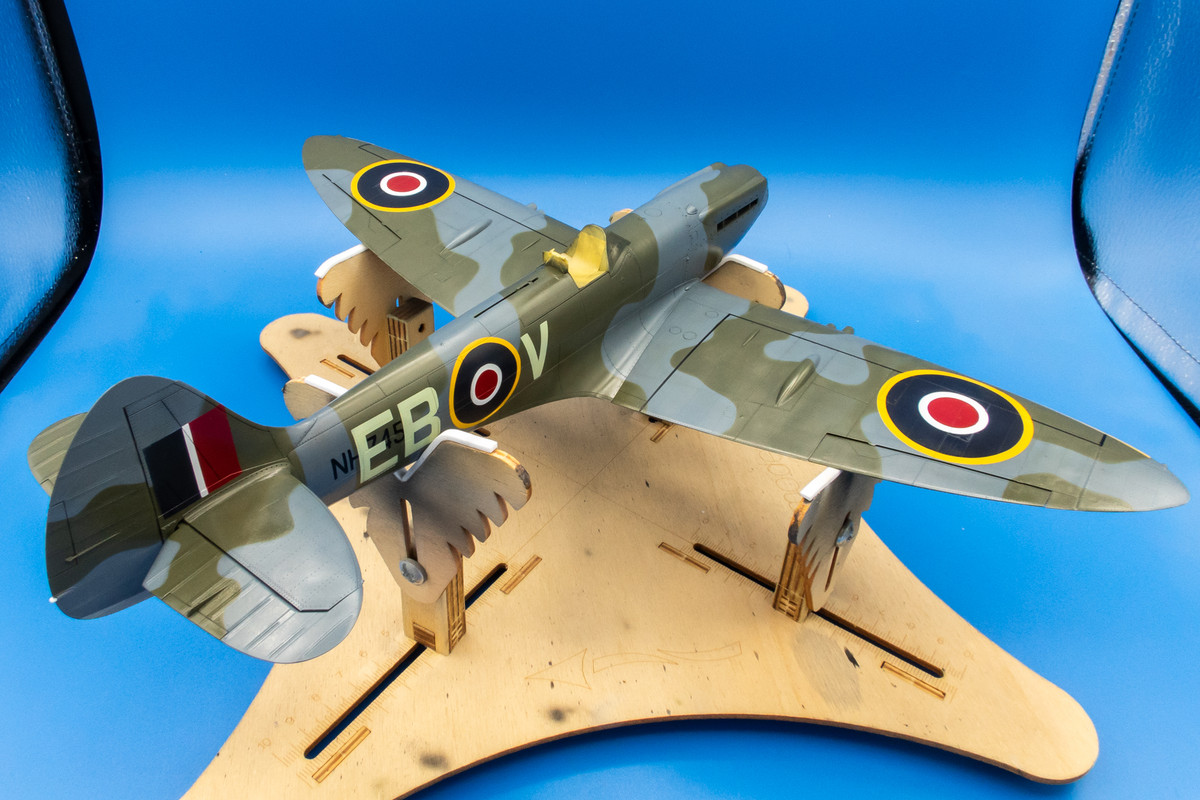
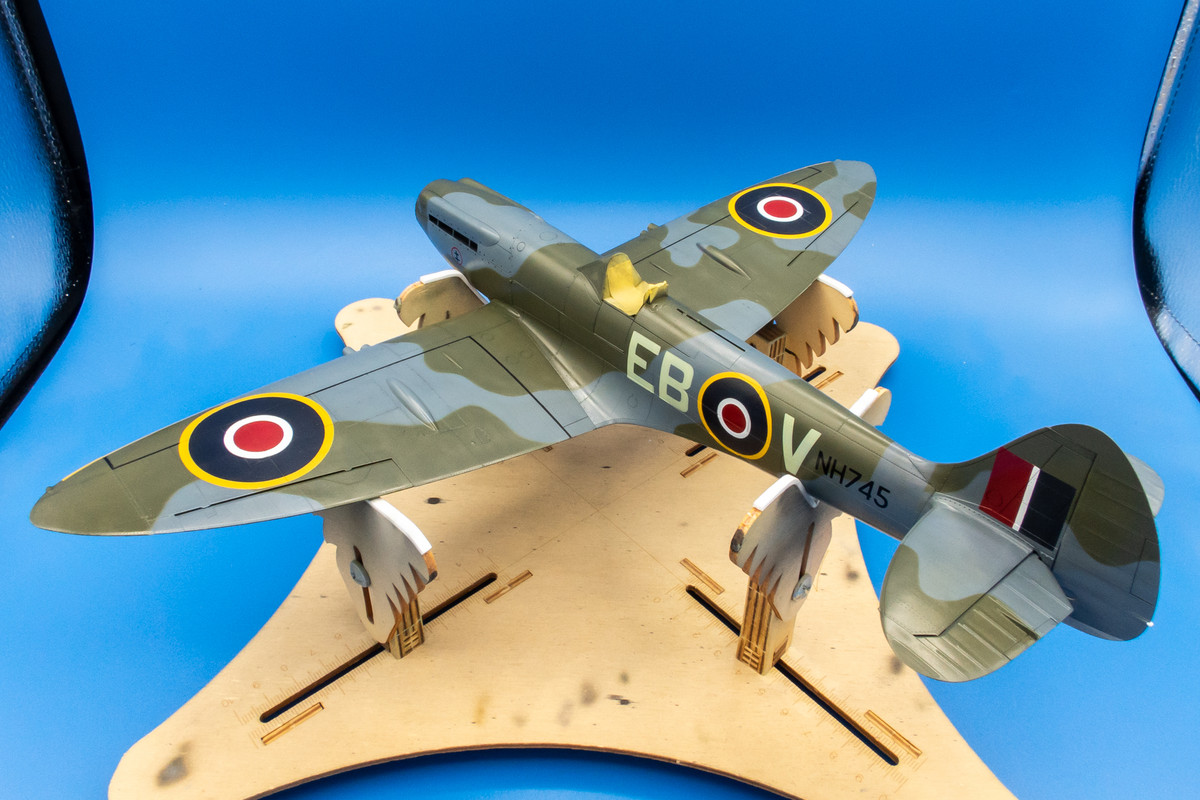
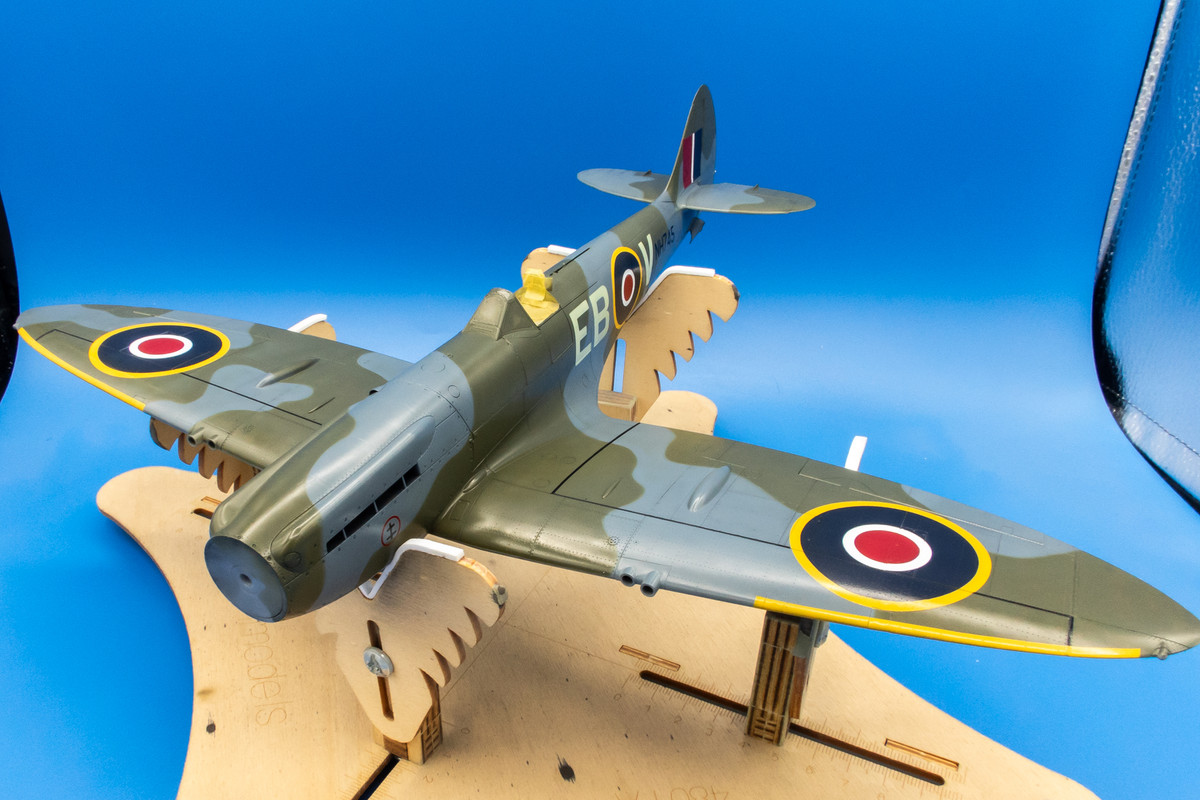
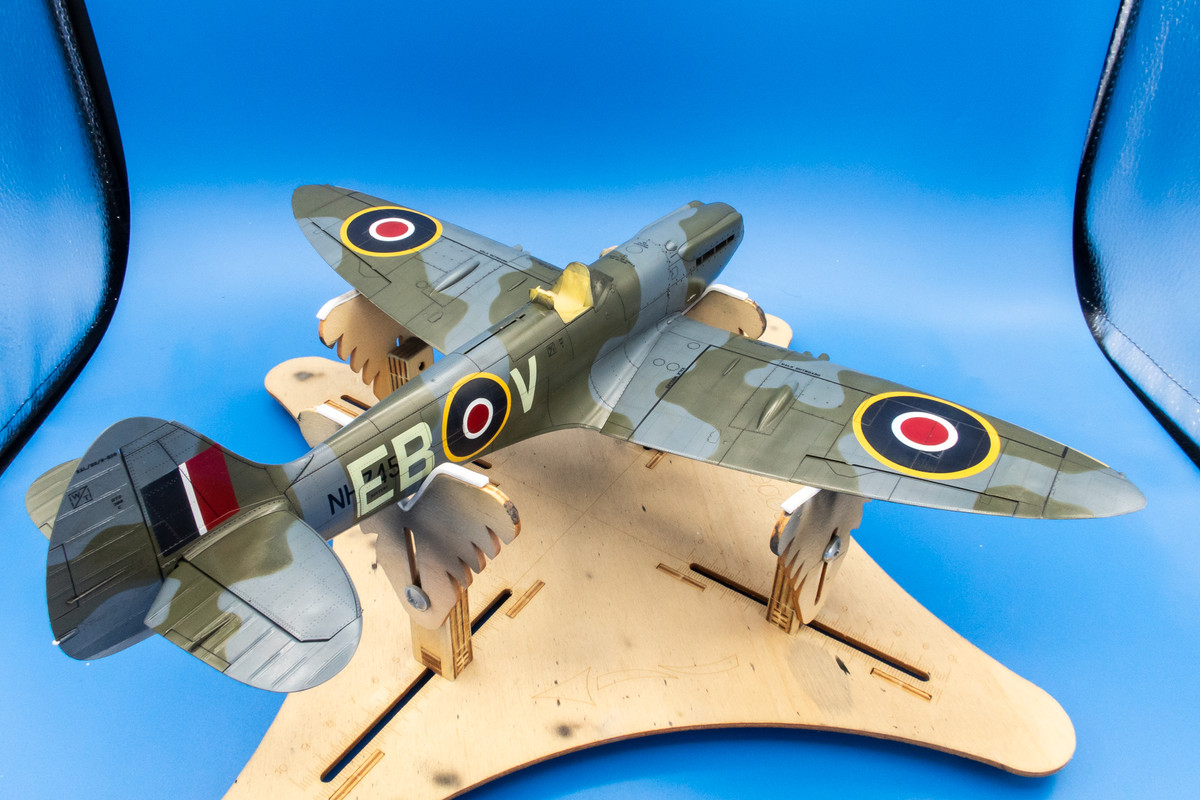
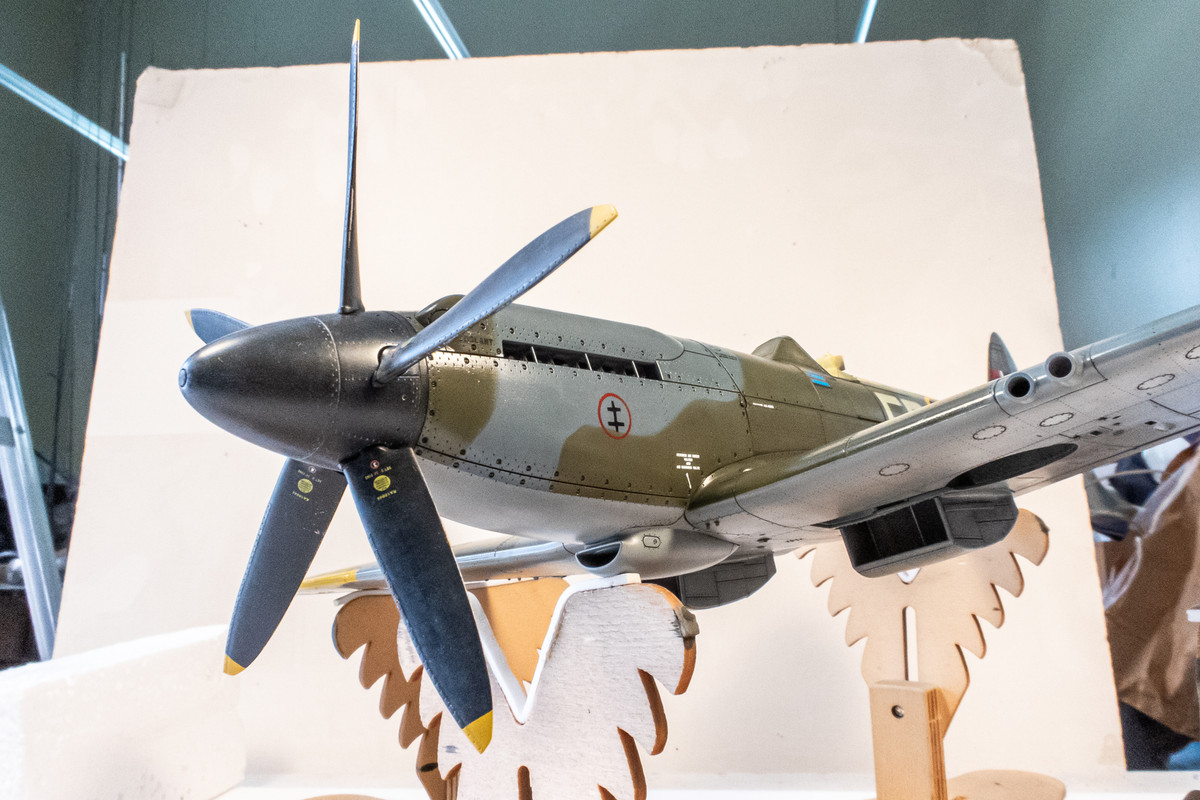
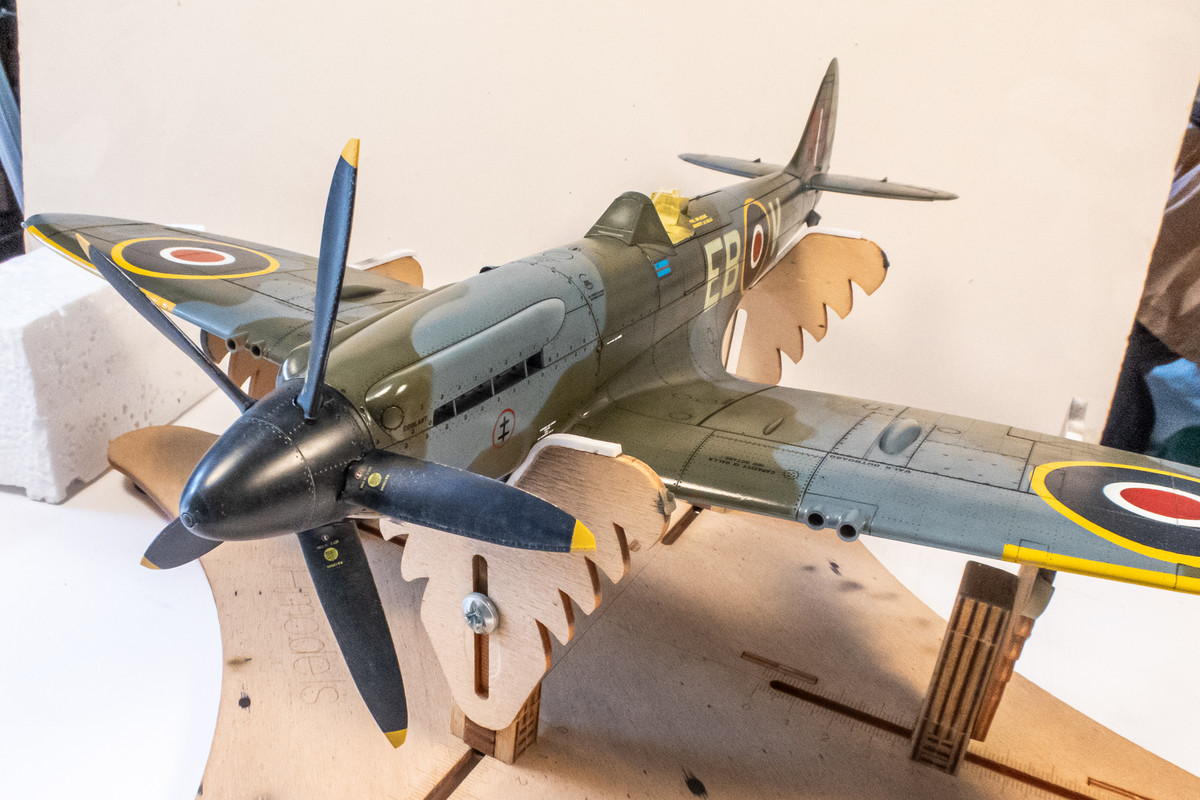
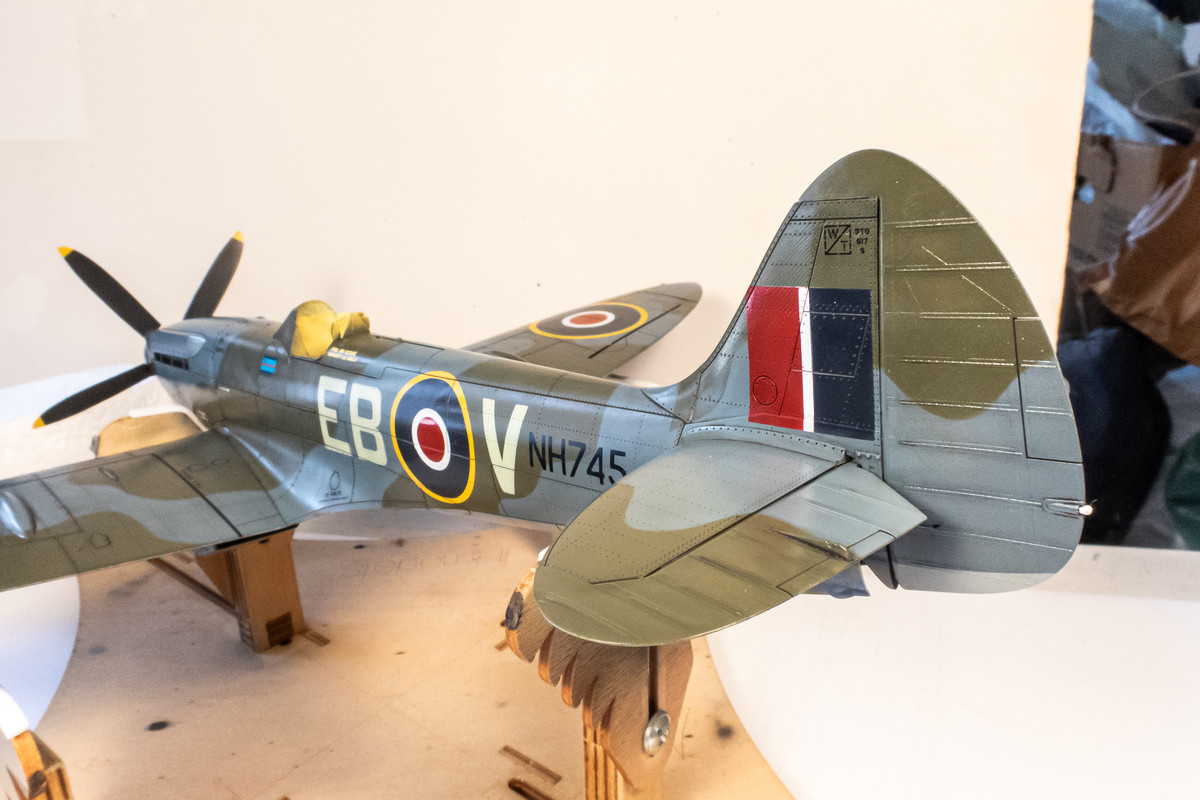
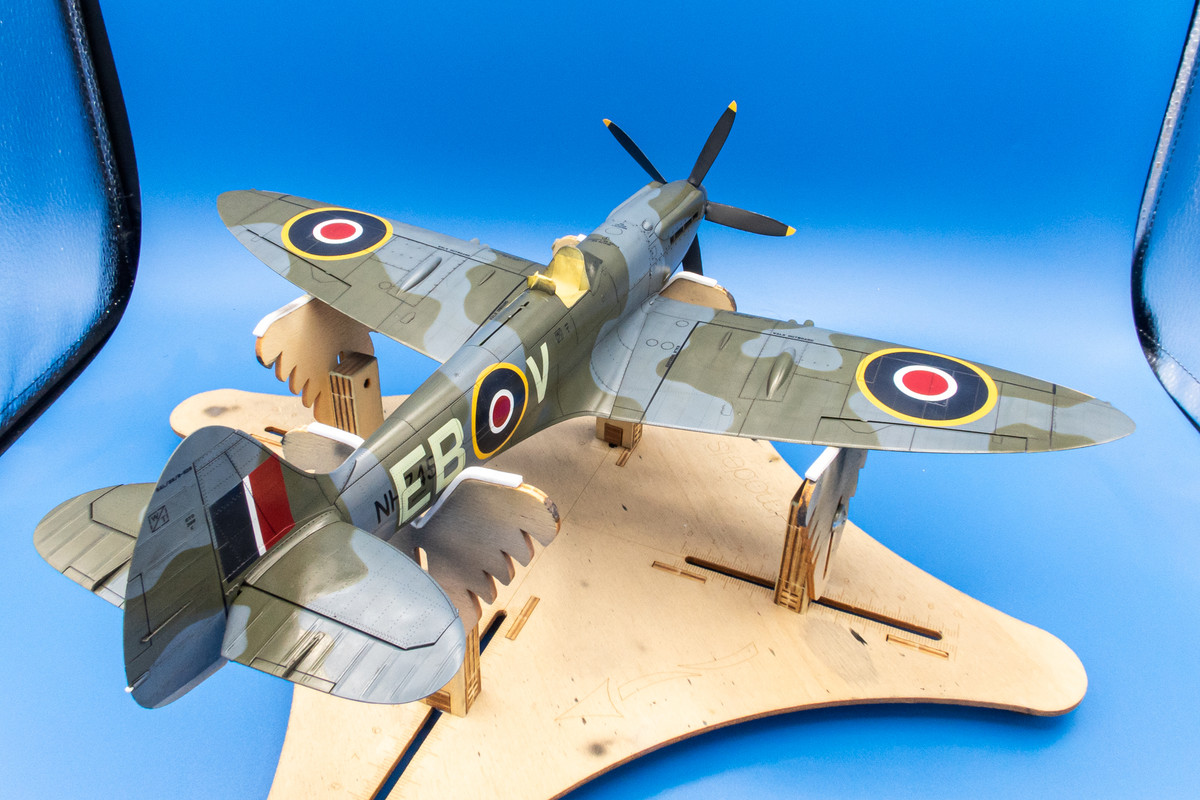
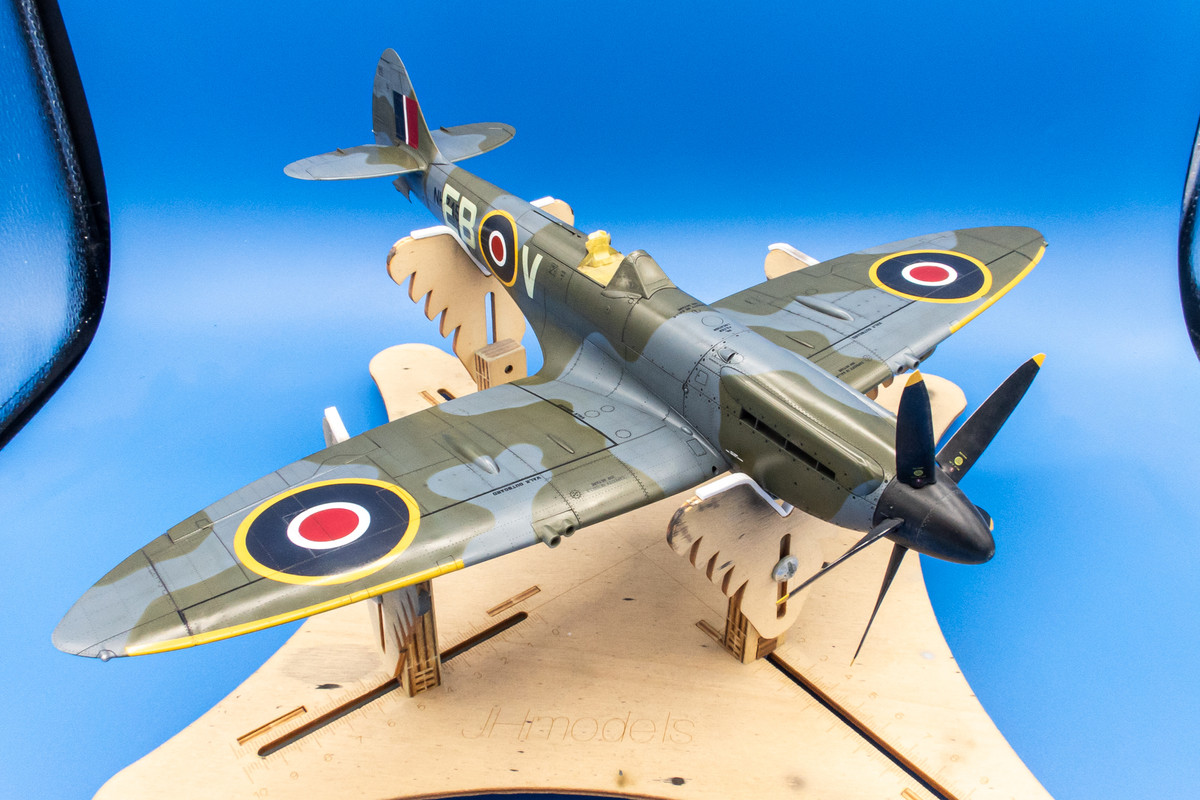
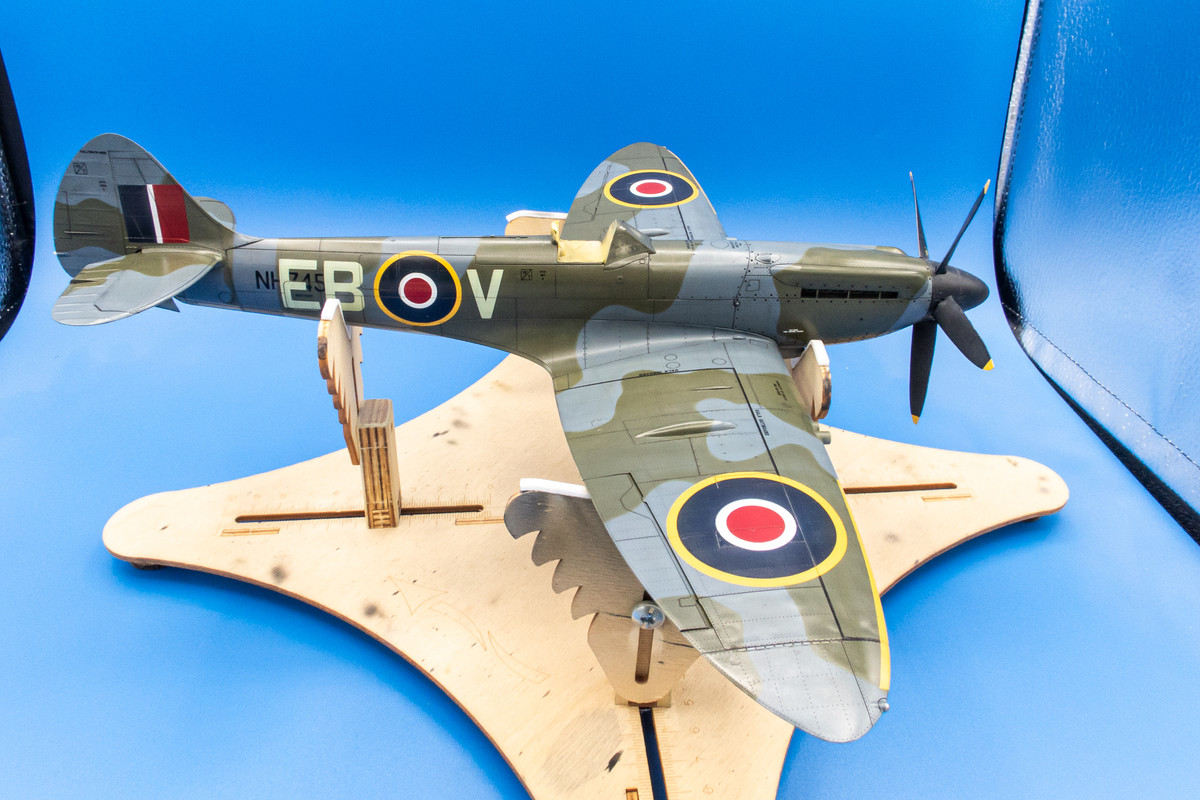
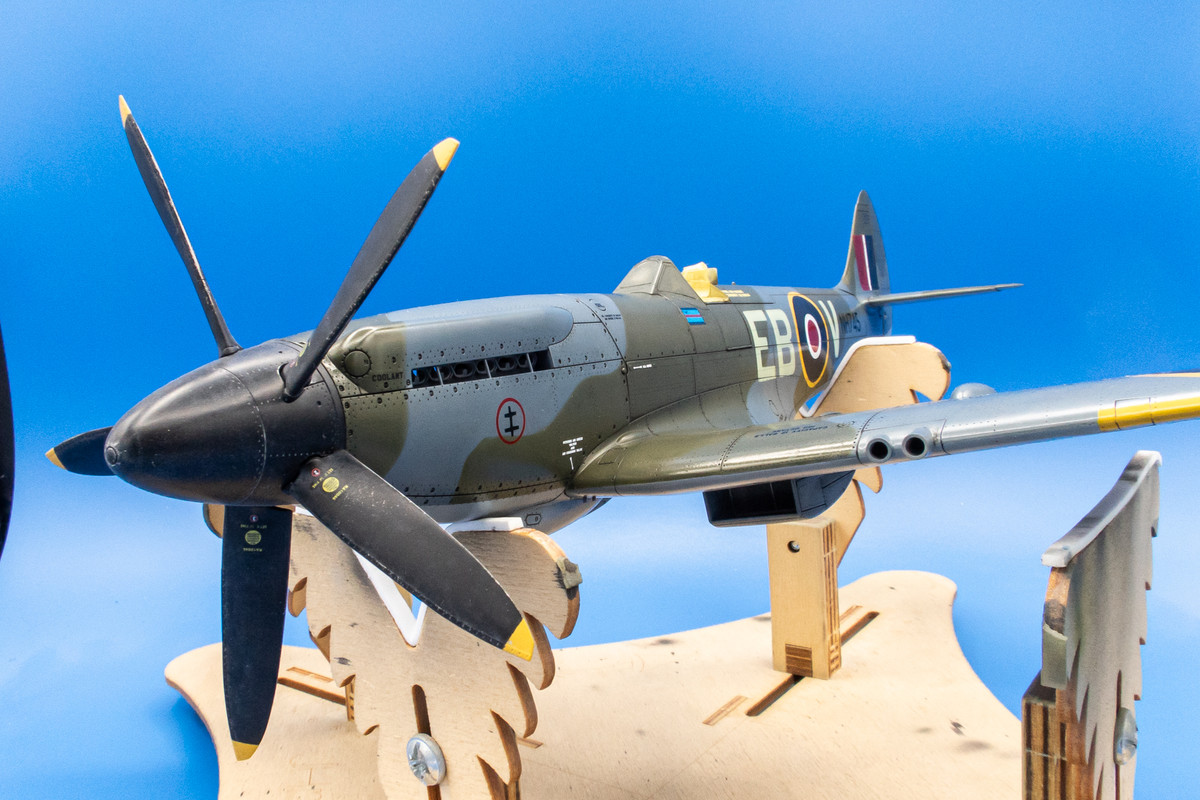
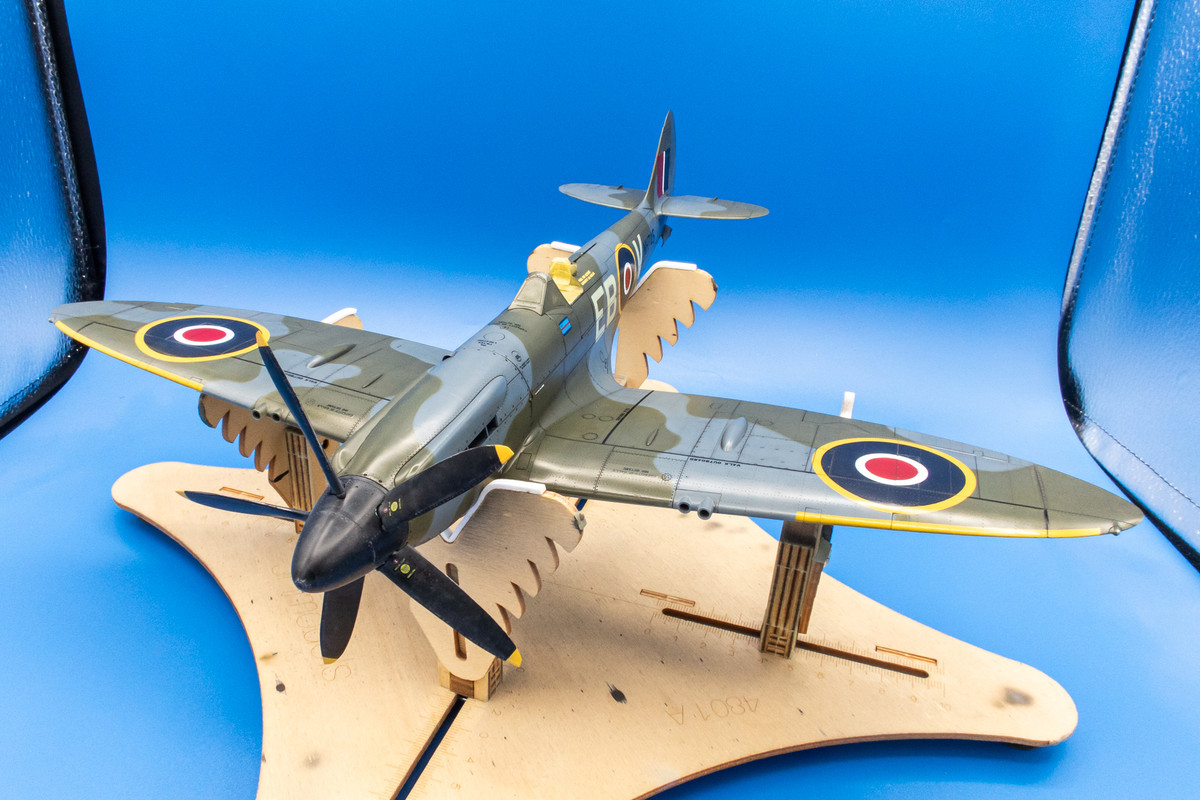
Treading water while I decide how far I want to take this build while waiting for the replacement canopy from Tamiya. I've gone ahead and permanently attached the five prop blades to the spinner. The attachment is keyed so there is no guessing regarding position or orientation.


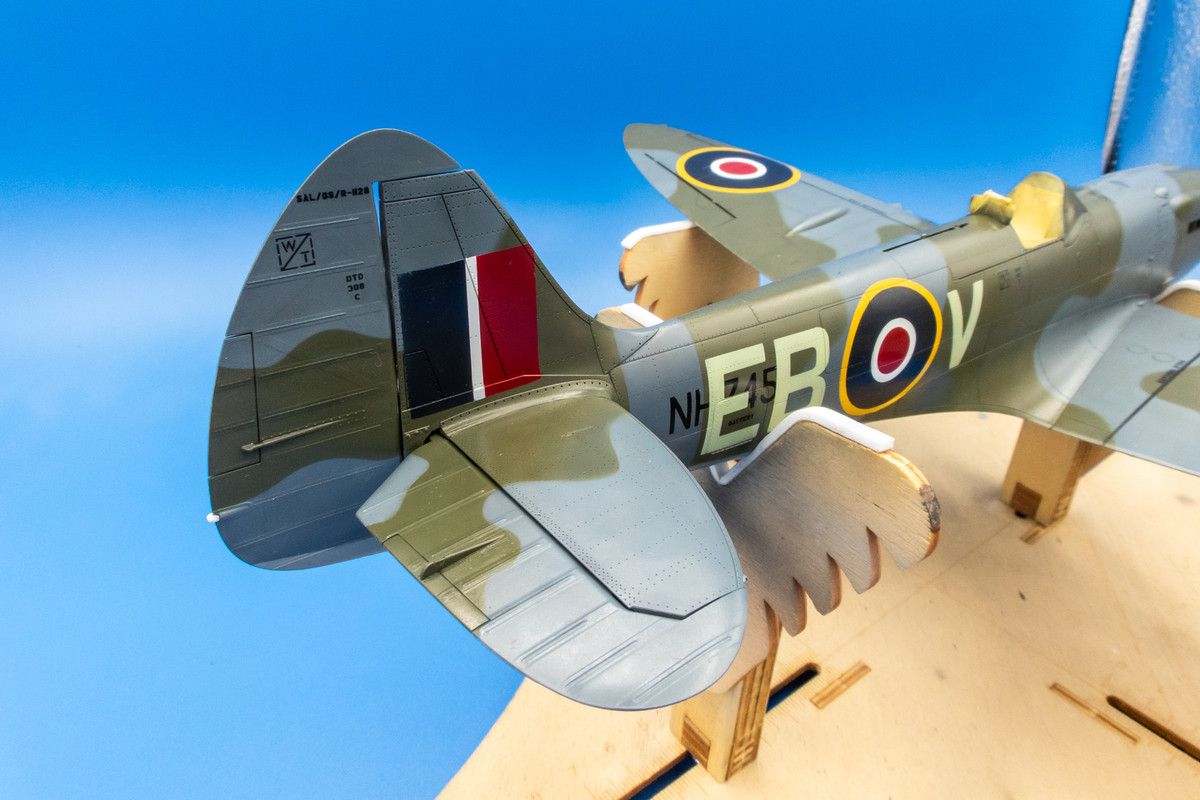
I've also glued the rudder onto the tail.


Here's where we are at...


I've also glued the rudder onto the tail.


Here's where we are at...


John aka JKim
-----------<><

-----------<><

Re: Tamiya 1/32 Spitfire XIVe Conversion
The definition is excellent!
Give Blood, Play Rugby, cause everyone knows football is for wimps!