Page 3 of 20
Re: 1/32 Hasegawa Bf109G-14 Hartmann
Posted: Wed Apr 22, 2020 5:28 pm
by Stuart
Cracking work John!
Re: 1/32 Hasegawa Bf109G-14 Hartmann
Posted: Thu Apr 23, 2020 9:27 am
by jkim
Re: 1/32 Hasegawa Bf109G-14 Hartmann
Posted: Thu Apr 23, 2020 9:52 am
by LyleW
Outstanding! What meticulous work.
Re: 1/32 Hasegawa Bf109G-14 Hartmann
Posted: Thu Apr 23, 2020 10:07 am
by Stikpusher
LyleW wrote:Outstanding! What meticulous work.

Re: 1/32 Hasegawa Bf109G-14 Hartmann
Posted: Thu Apr 23, 2020 2:27 pm
by Stuart
Awesome detailing work John it's always a please to see your builds!
The cockpit is beautiful - I love the detail in there!
Re: 1/32 Hasegawa Bf109G-14 Hartmann
Posted: Thu Apr 23, 2020 5:22 pm
by BlackSheep214
Holy cow!


Re: 1/32 Hasegawa Bf109G-14 Hartmann
Posted: Fri Apr 24, 2020 7:24 pm
by jkim
Thanks everyone! I hope everyone is doing ok out there.
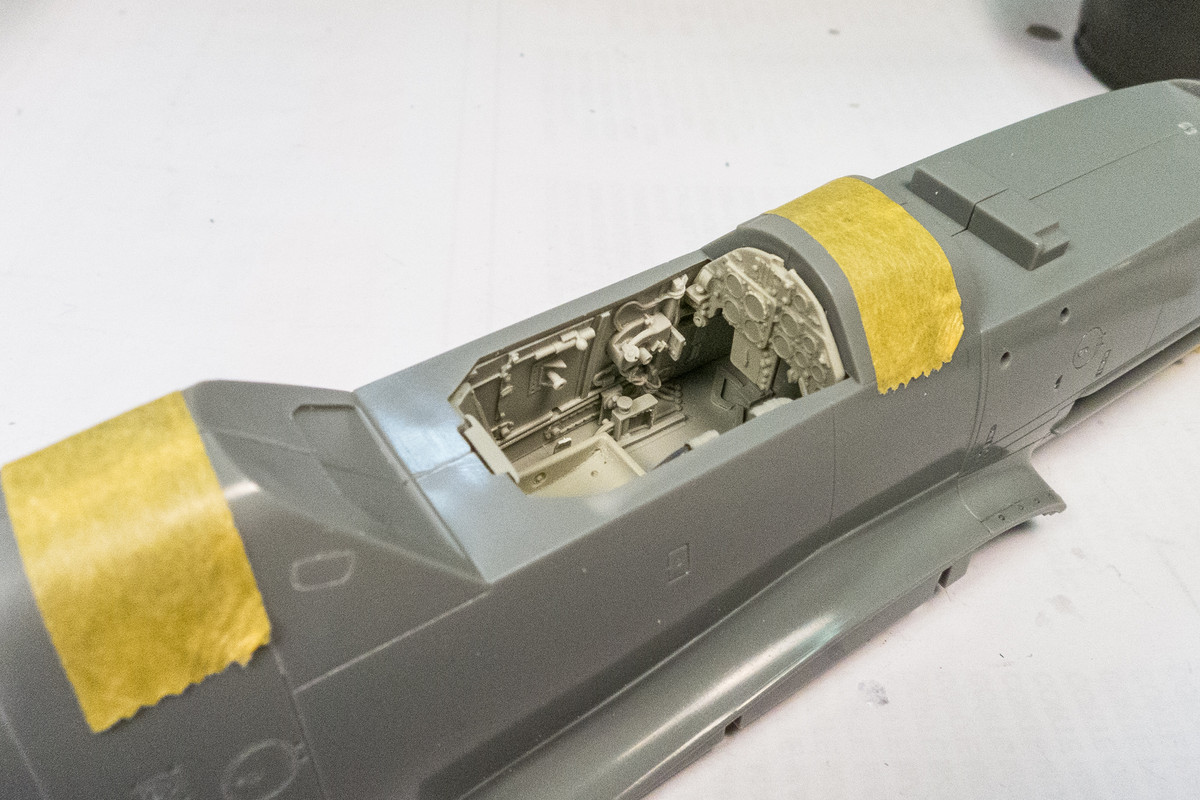
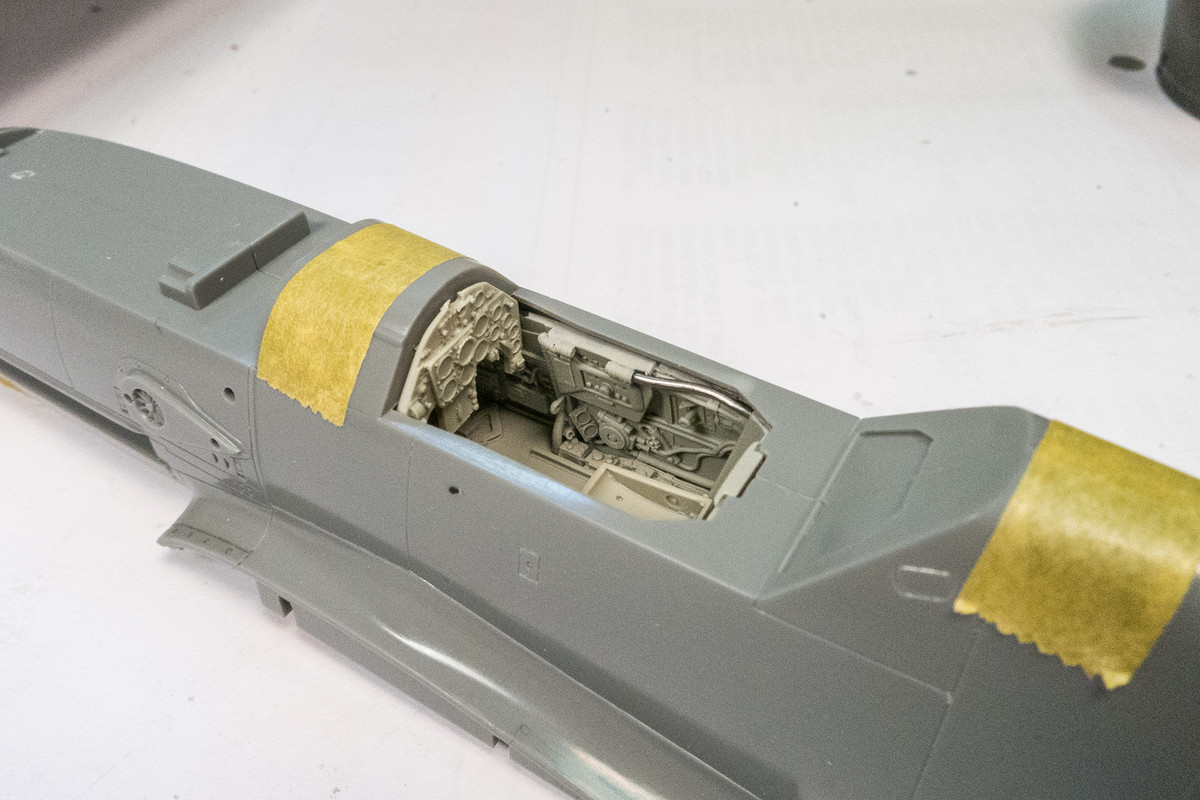
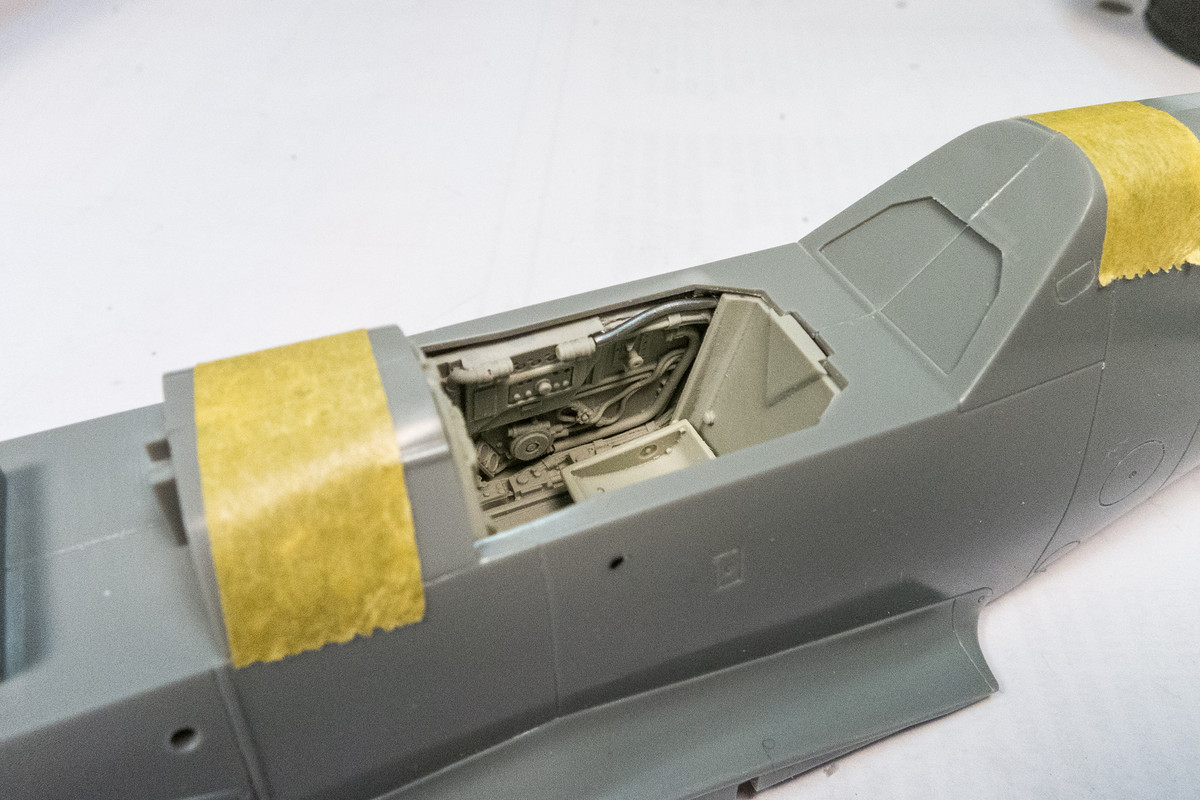
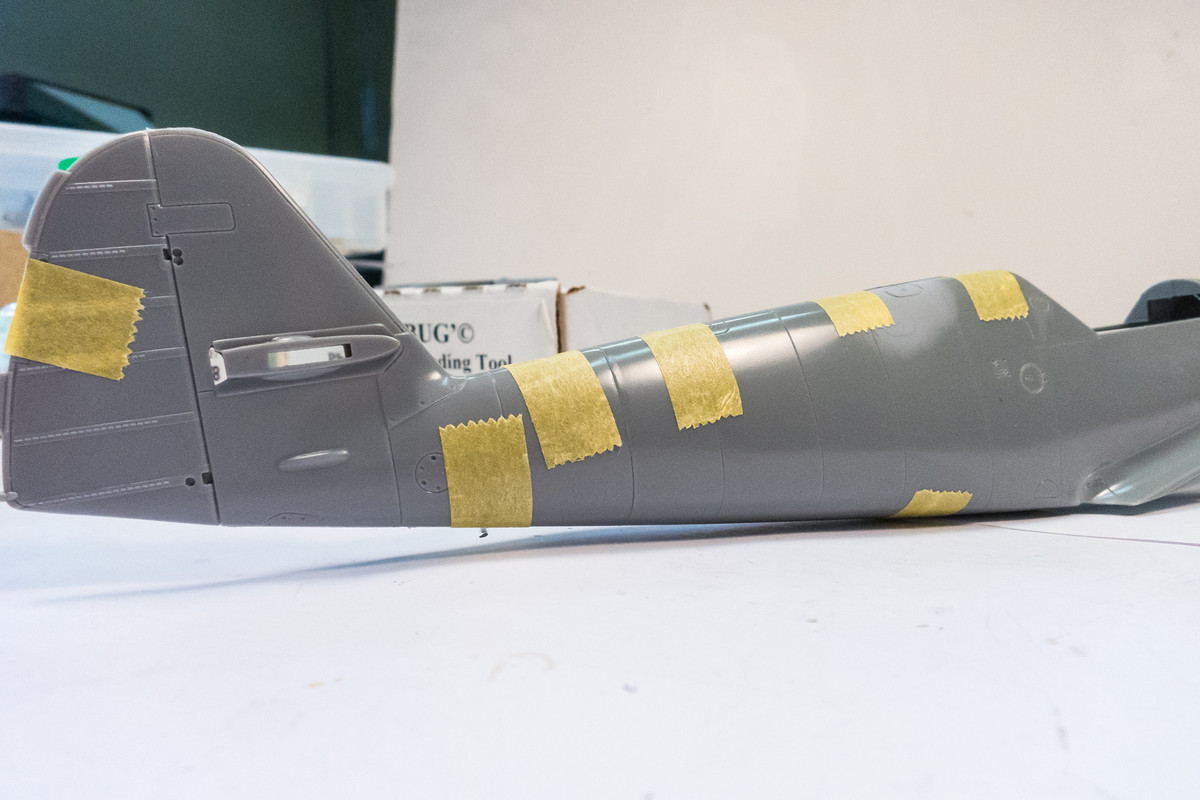
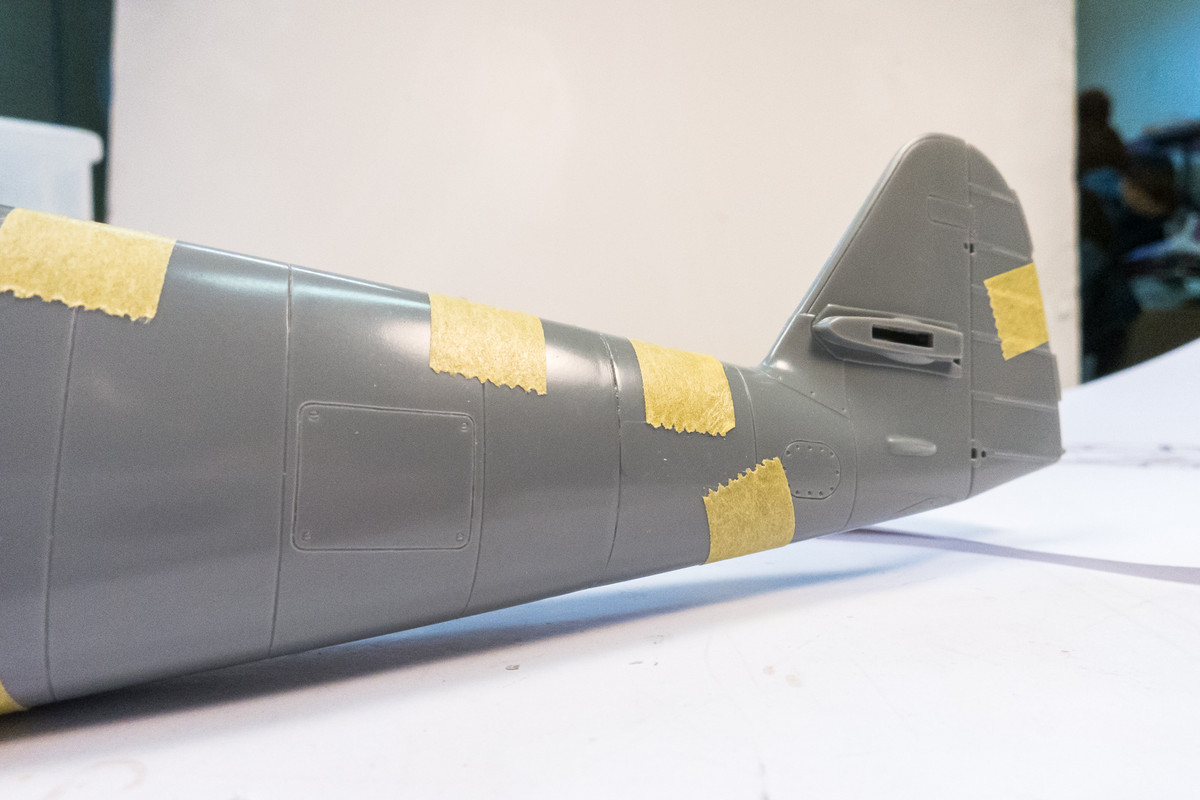
Work continues on the G-14. I'm looking forward a few steps and know that before I close up the fuselage, I want to apply the rivets. And since the Hasegawa kit has a separate tail unit, I want to make sure this seam is addressed prior to the rivet work. This is a slight departure from the kit instructions where they would have you attach the tail as a unit after the fuselage halves are glued together. In addition to making riveting a whole lot more manageable, doing it out of order will actually strengthen the tail/fuselage bond as I can access all contact surfaces of the join this way.
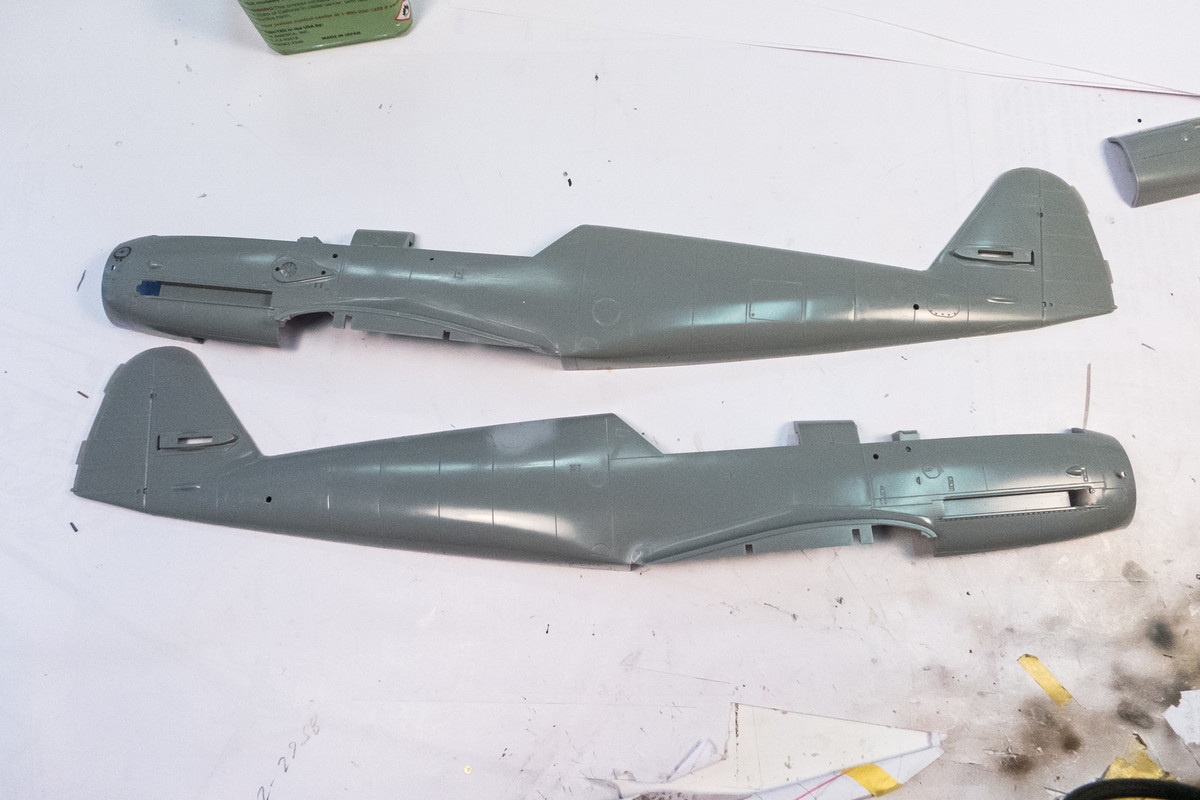
While the glue is still soft, I've attached the fuselage halves together with tape to ensure proper alignment of all of the parts. I'll separate the halves once the glue is dry.
We've already seen how good the Eduard pre-painted instrument panels looks. I wanted to do a comparison with the MDC resin IP just for kicks so I've taken the time to paint up the resin IP. After the painting stage, the MDC panel looks a little messy but a lot of that is due to the different sheens of the paint used. It should smooth out after a shot of flat clear.
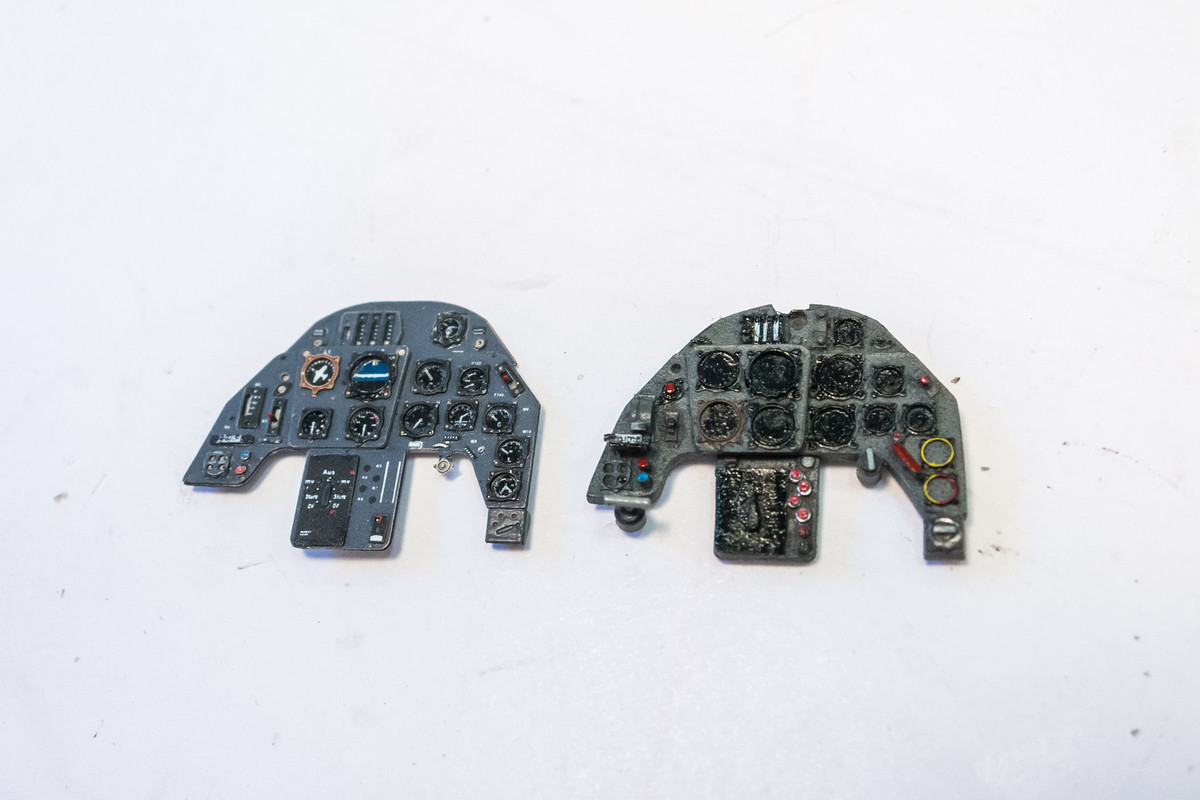
I've elected to use Airscale decals for the instrument dials because of they had much finer detail than the MDC decals. Each individual instrument was punched out and inserted into the appropriate bezel. After all of the instrument dials were completed, I shot the panel with a flat clear and then I took the extra step of punching out discs of clear overhead transparency film (remember that technology?) for the glass bezels.
Here's how they look under the work table lights.
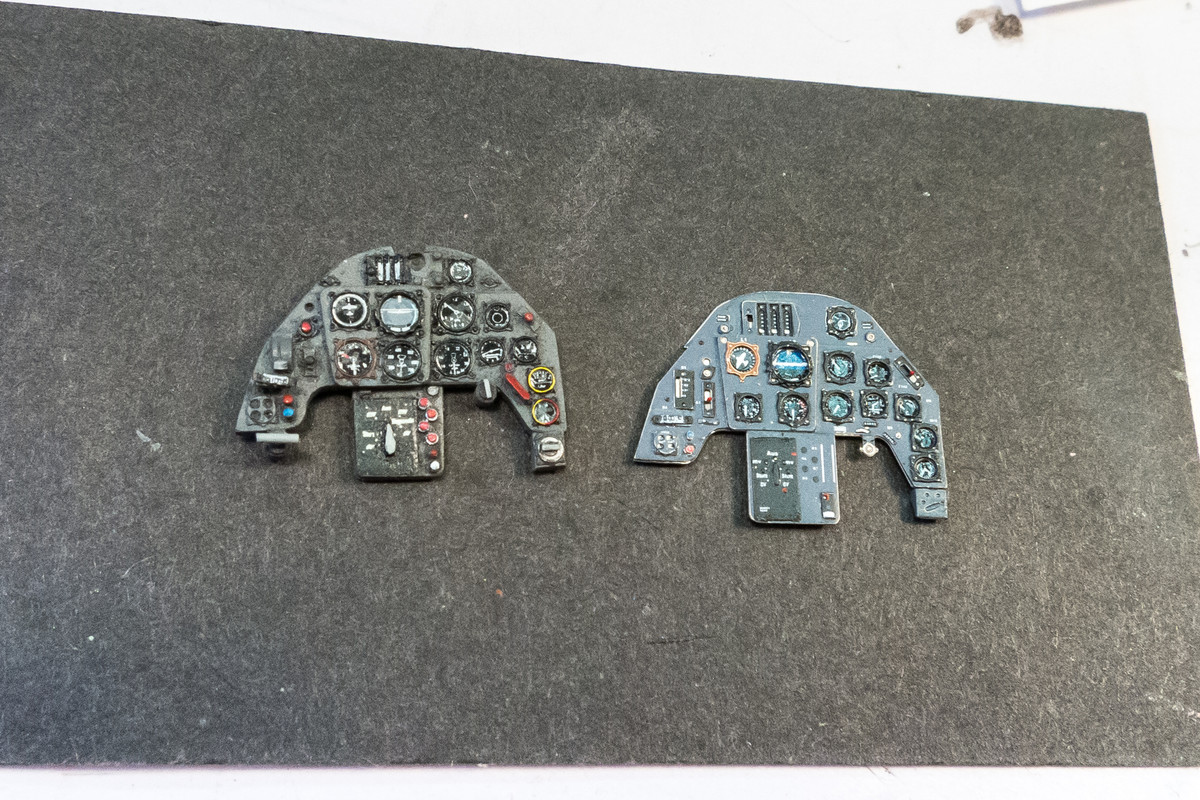
For a further comparison, I've taken some pics in the light box. I took a few different angles since the clear discs in the MDC panel tends to give off glare (which is a cool effect in itself).
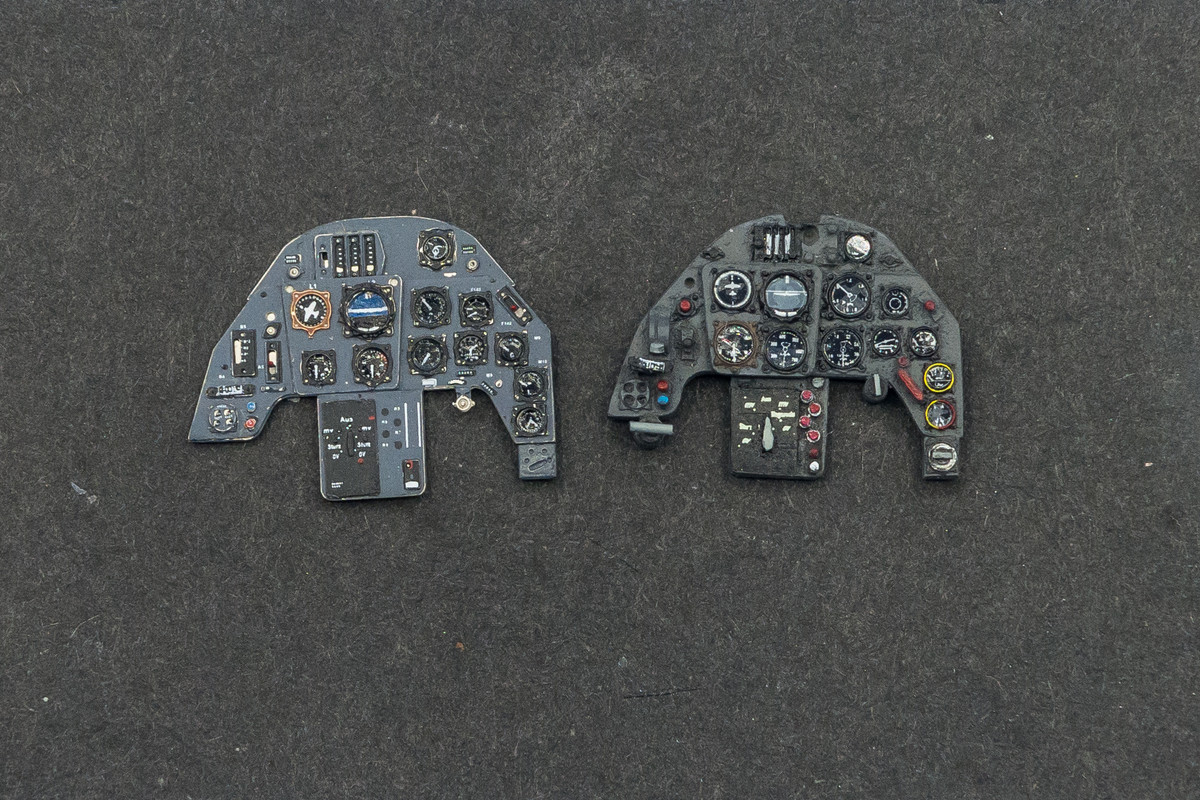
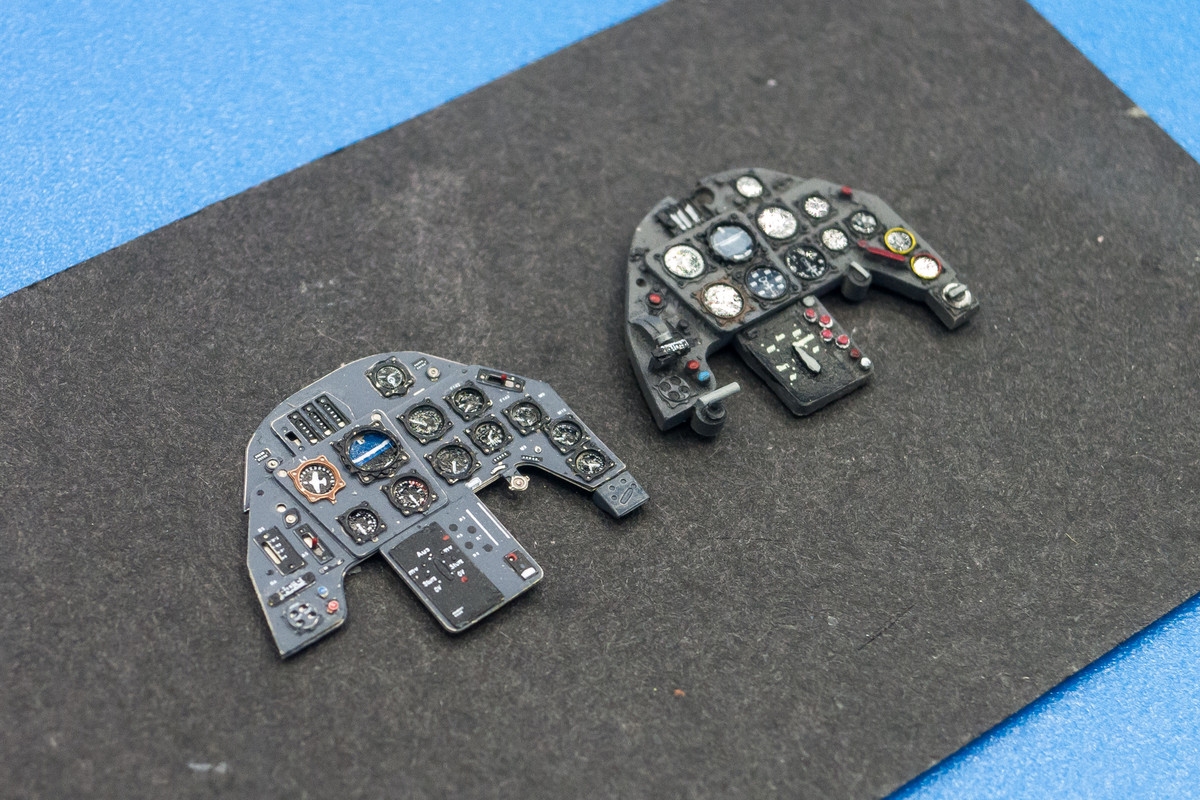
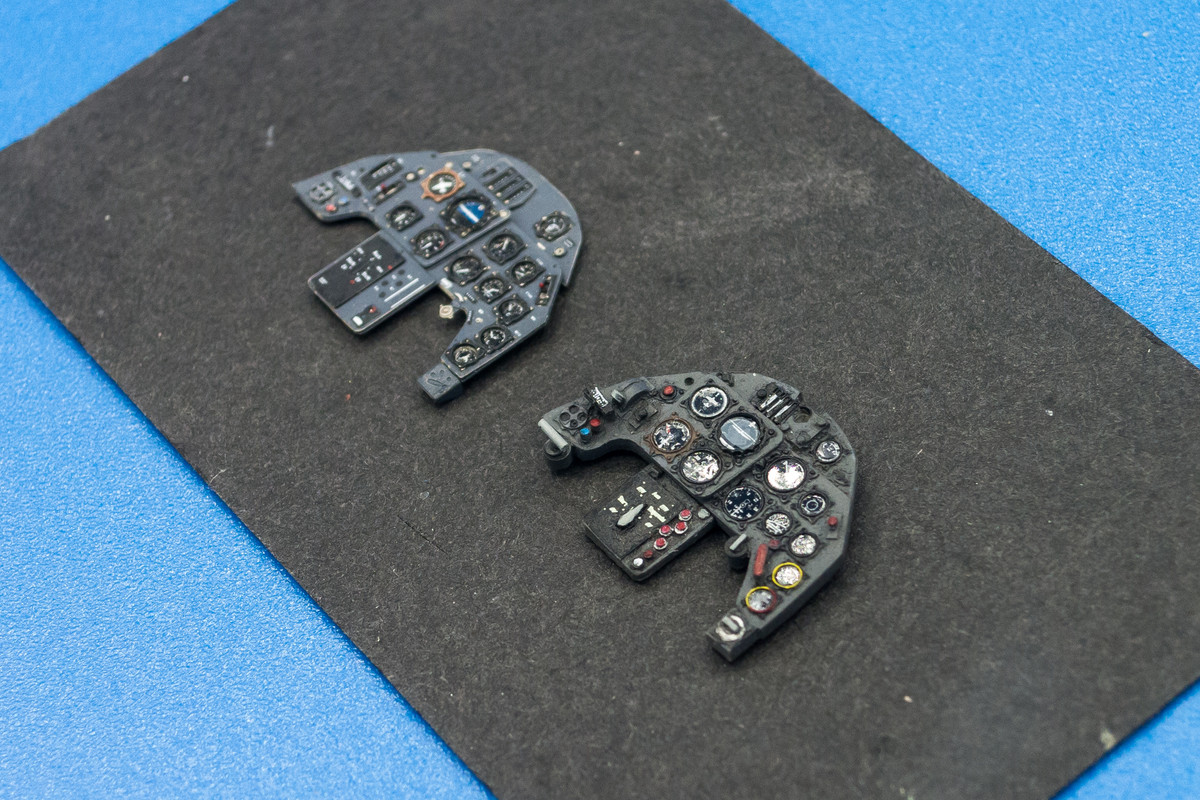
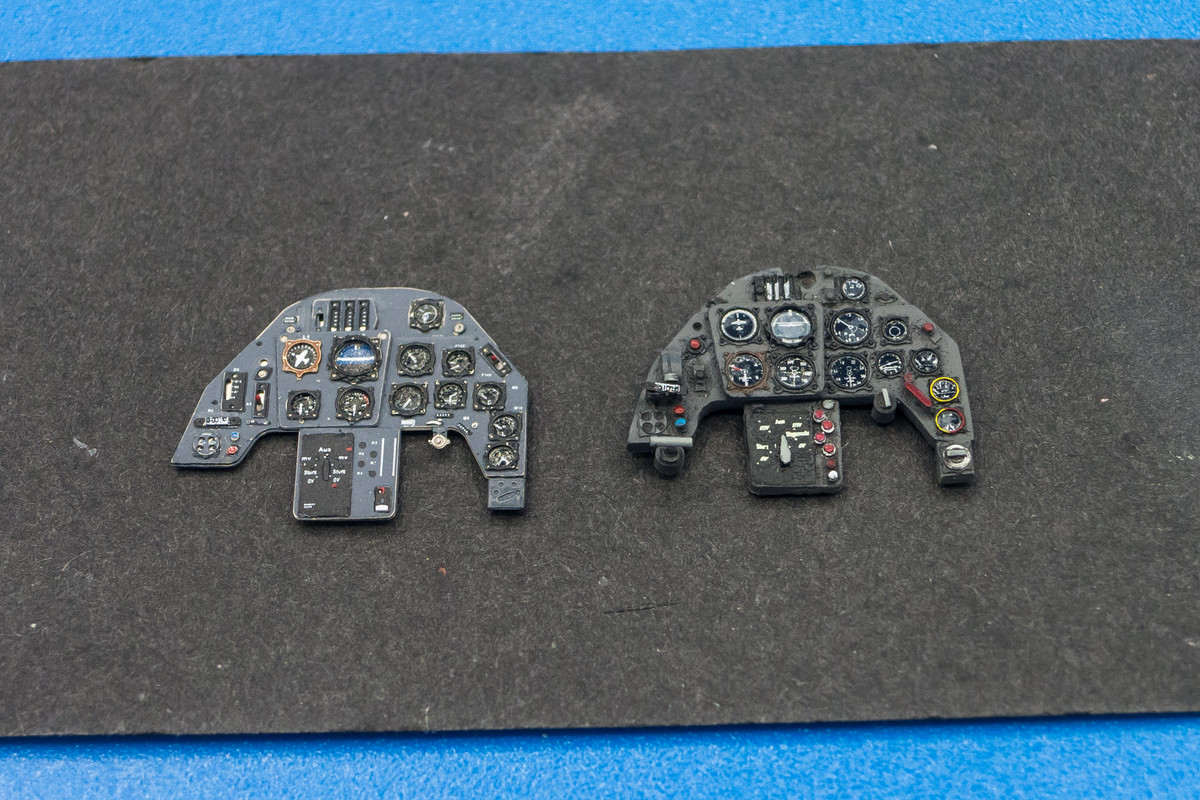
The Eduard panel is definitely neater since I can't match the printed details with my shaky paint brush. But the Airscale instrument faces in the MDC panel have more detail than the Eduard instruments. I'm not very happy with my paint job of the ammo counter on top of the MDC panel but I could possibly tidy that up. The MDC panel definitely gives off more 3D relief than the relatively flat Eduard panel but I can't say that one is a clear winner over the other. They both have their positives and negatives.
Re: 1/32 Hasegawa Bf109G-14 Hartmann
Posted: Fri Apr 24, 2020 10:46 pm
by Floki
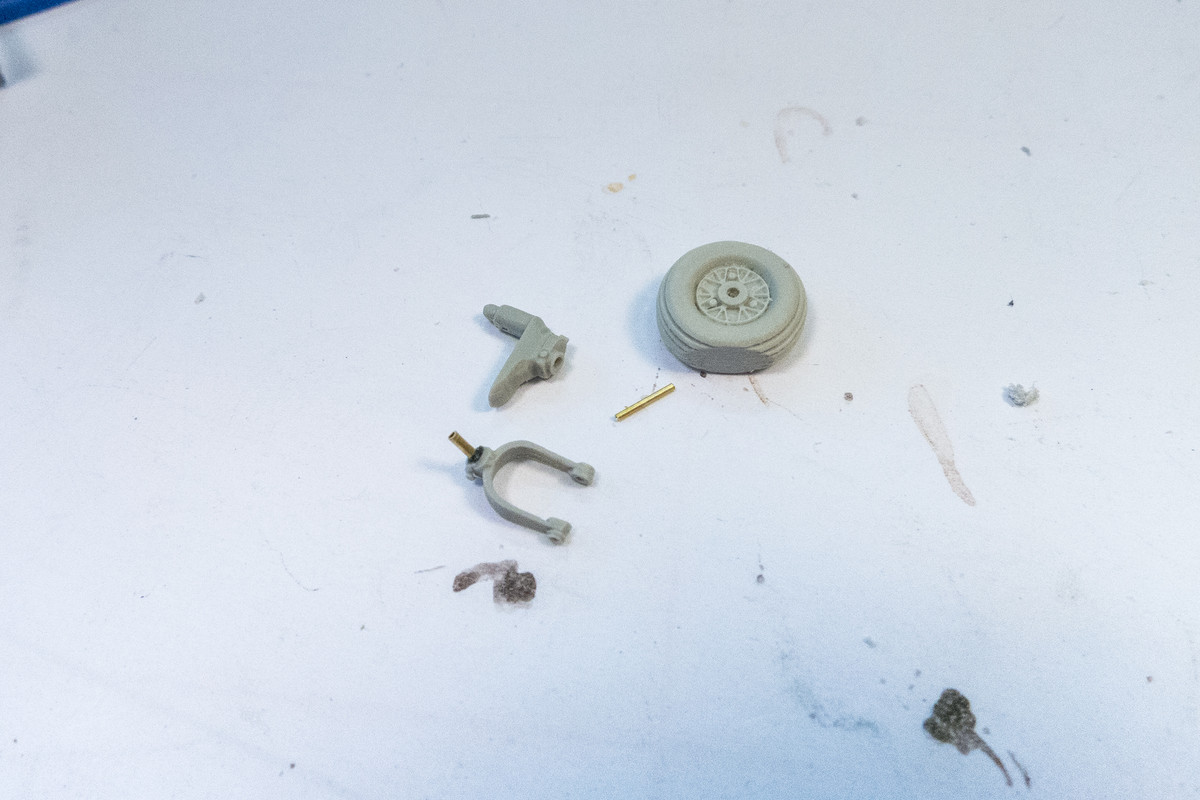
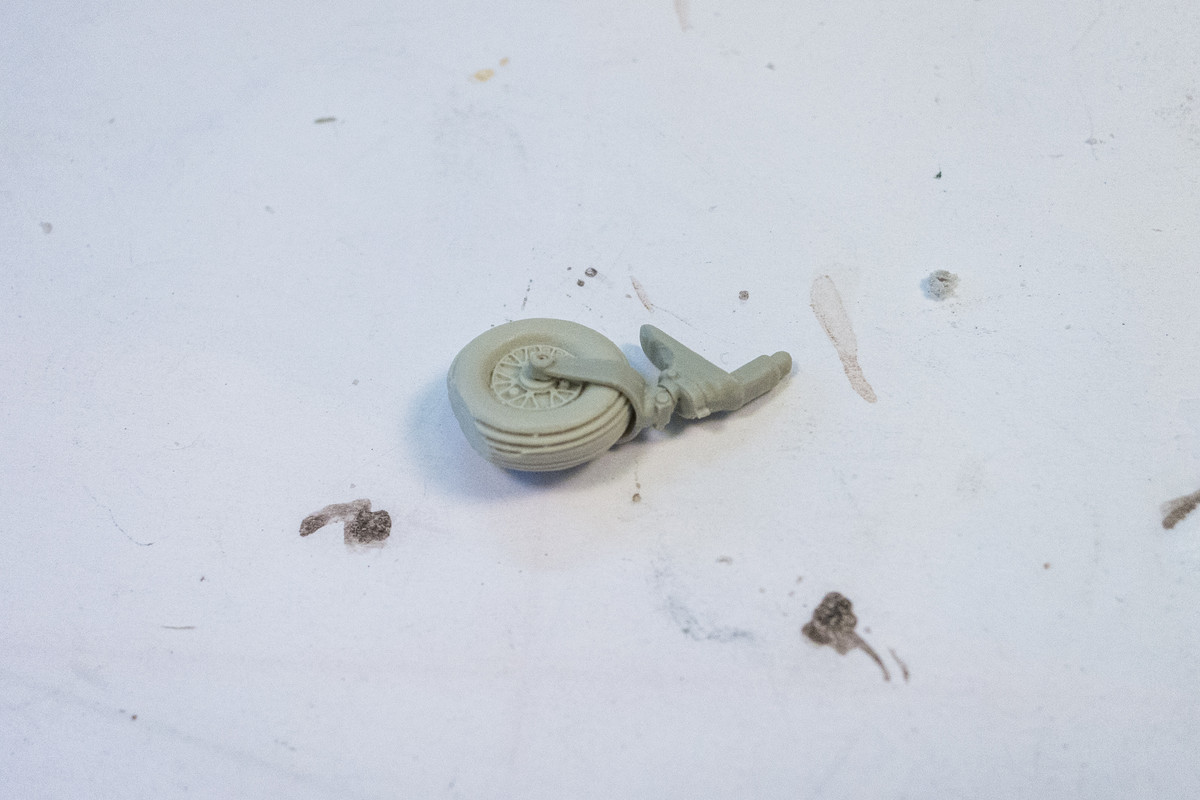
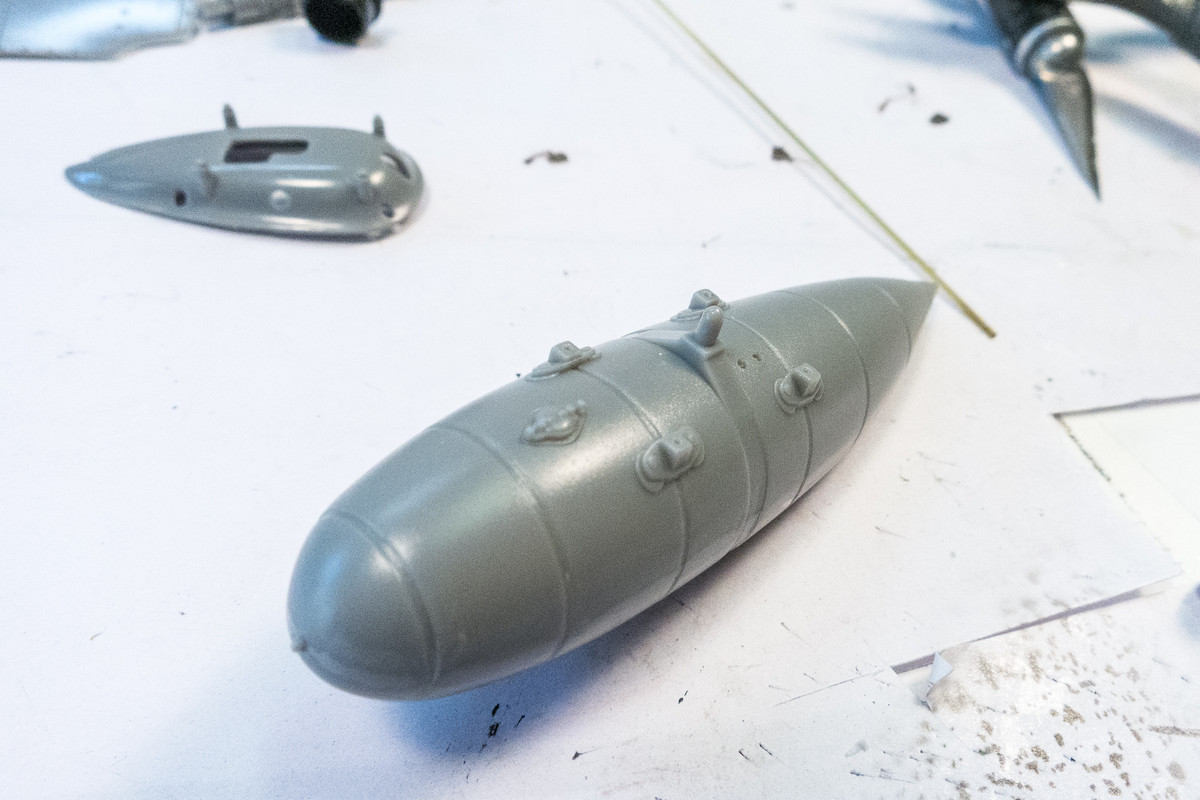
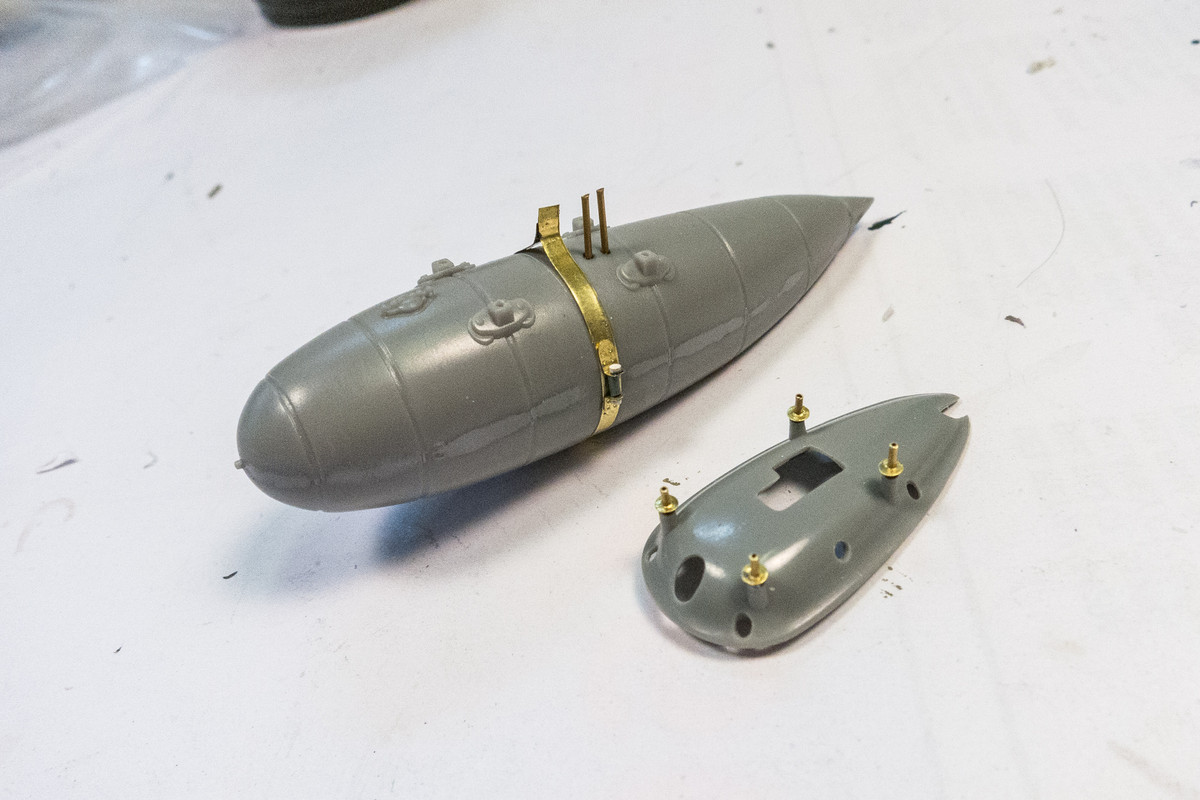
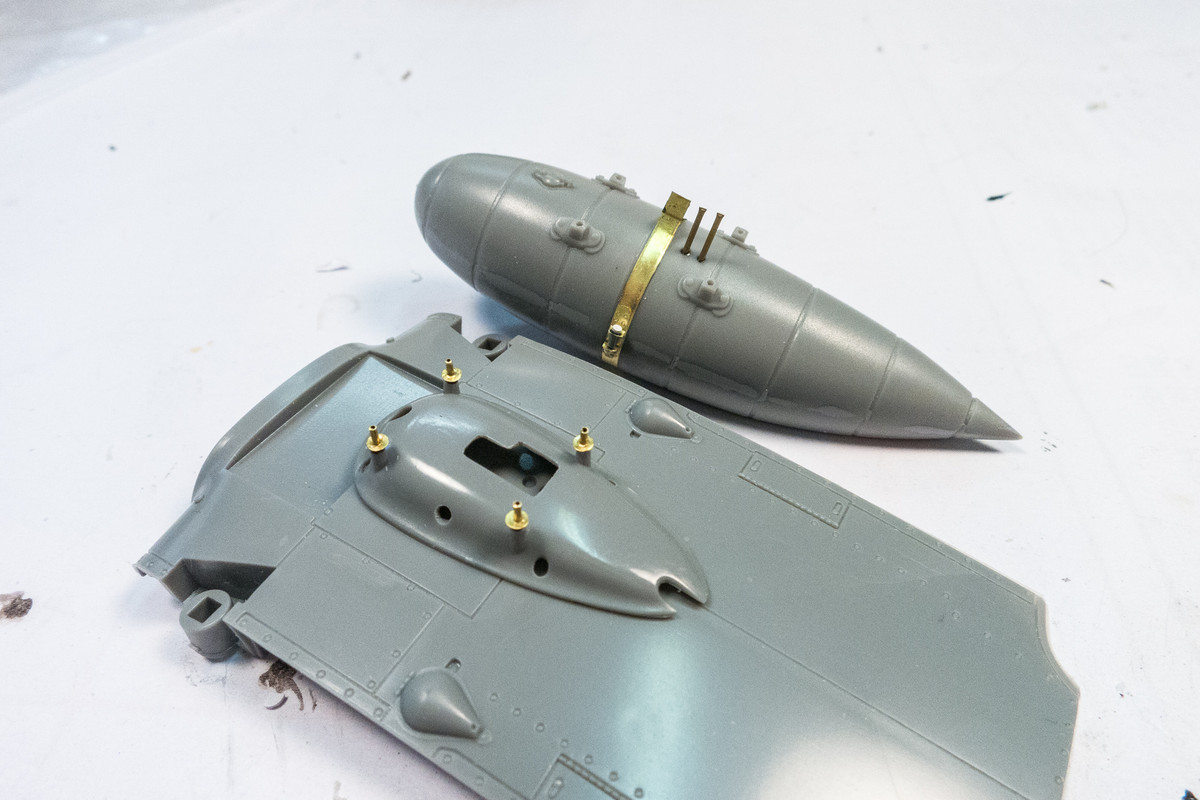
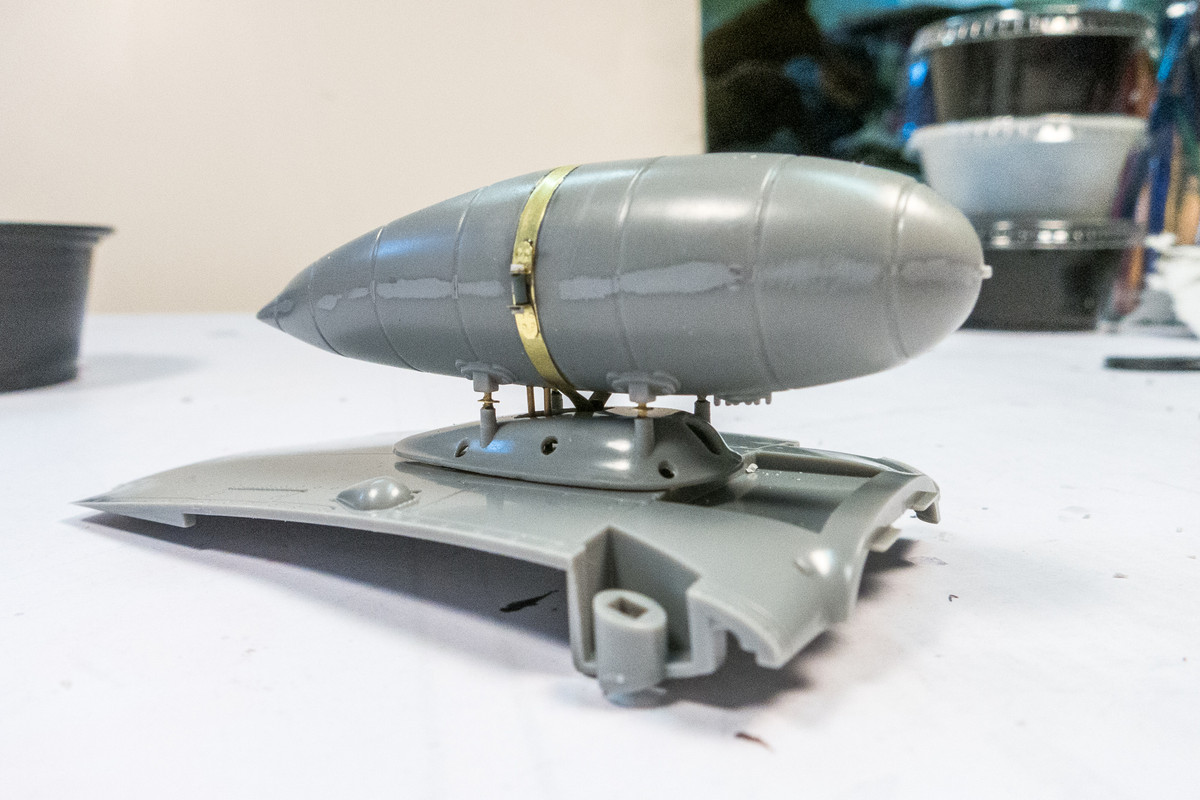
Looking great John!. The extra detail on the drop tank is amazing. Also I can't tell exactly where the tail join is great job there. My pick would be for the resin IP you can't get that 3D effect with the PE in this scale.
Re: 1/32 Hasegawa Bf109G-14 Hartmann
Posted: Sat Apr 25, 2020 11:45 am
by Stikpusher
Suggestion- recently I came across some Sharpie oil based paint pens, which they make in various colors and different tip sizes down to ultra fine. One of those might be just what you need for tidying up those ammo counters.
And I agree with Clint on the 3-D relief of the resin panel being superior in look. That is always the drawback of PE Too bad you can’t easily combine both panels for an end results product.
Re: 1/32 Hasegawa Bf109G-14 Hartmann
Posted: Sat Apr 25, 2020 5:47 pm
by Stuart
I'd be happy with both but in 1/32... Yeah I'd go with the resin.
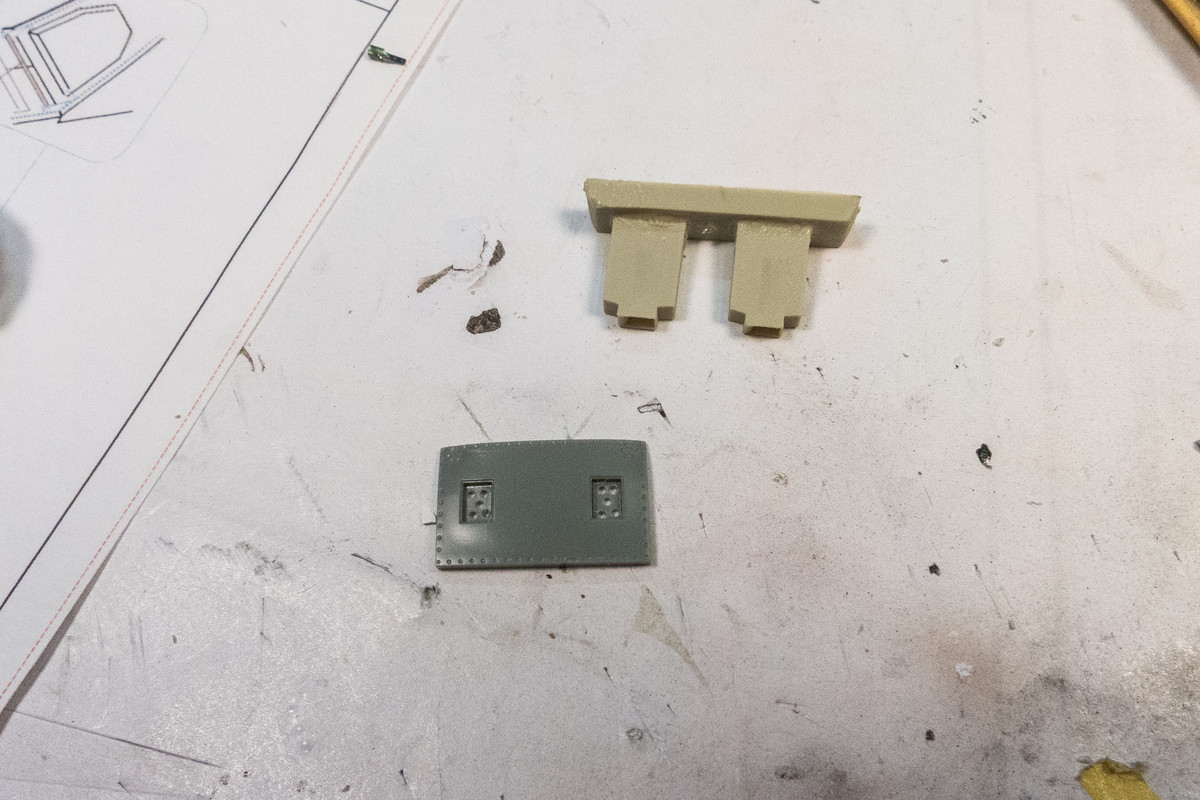
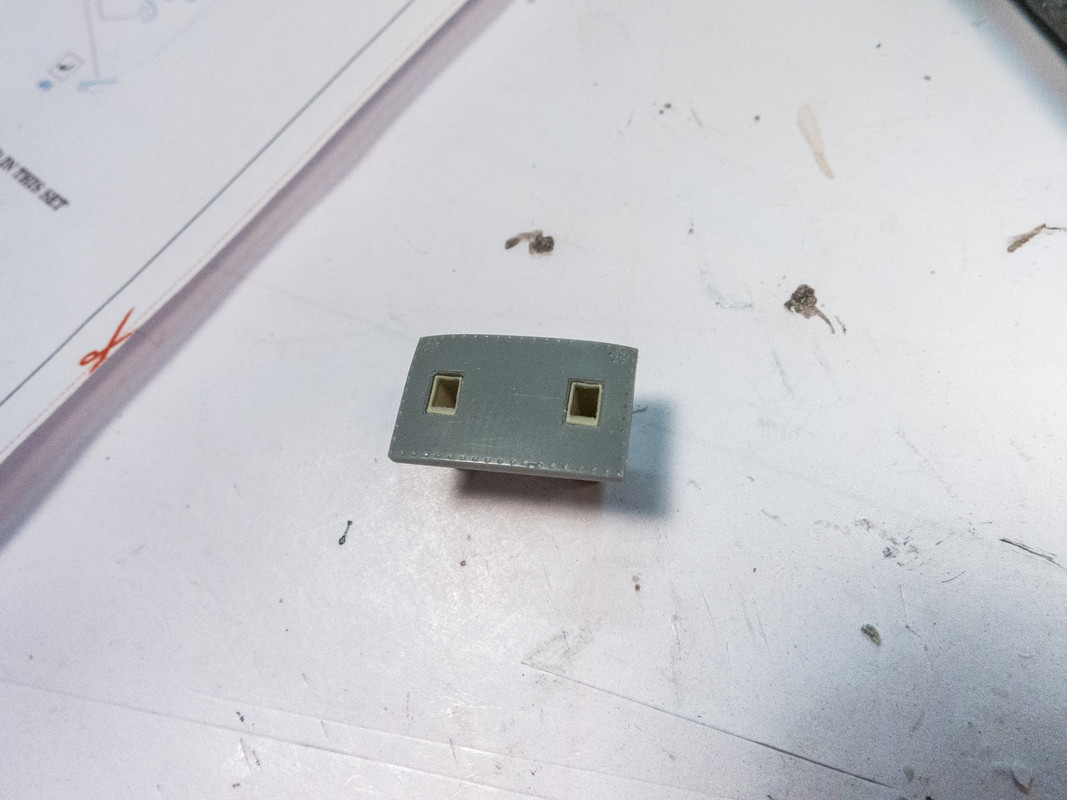
Great work attaching that rail John! You'd never know a join was there.