Page 3 of 12

Re: Border 1/35 Focke Wulf Fw190A-5 Nowotny Double Chevron

Posted: Tue Aug 22, 2023 4:37 pm
by BlackSheep214
I'd love to try my hand on a painted curved stripe spinner but I'm at a loss how to do it uniformly.

Re: Border 1/35 Focke Wulf Fw190A-5 Nowotny Double Chevron

Posted: Tue Aug 22, 2023 5:09 pm
by Stikpusher
I’d suggest painting it white first in acrylic paint, then do the black in enamel. You can clean up any errors before the enamel black cures using paint thinner.
Have a look here, the real ones weren’t always as good as us modelers make them… just like invasion stripes

https://falkeeins.blogspot.com/2021/11/ ... rs-in.html

Re: Border 1/35 Focke Wulf Fw190A-5 Nowotny Double Chevron

Posted: Thu Aug 24, 2023 10:48 am
by jkim
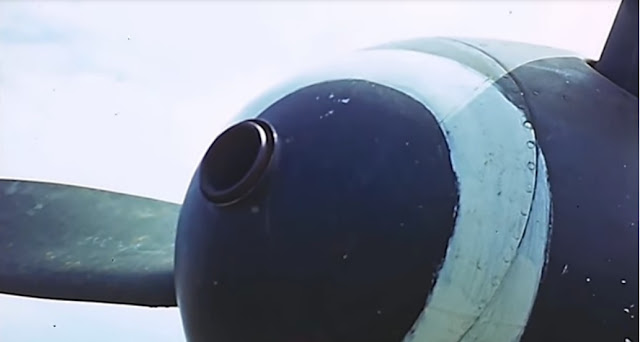
Spinner spirals can be tricky. I like to use masks based on spiral decals provided in kits. The Oramask vinyl material is flexible so even if the decal isn't a perfect fit, the mask can be stretched to overcome those slight errors. There are other ways to do it but that is the approach that works for me. Generally speaking, Luftwaffe spirals were very neatly done. Even the example that Carlos referenced, despite some slightly ragged edges and brush marks within the spiral itself, is very uniform in shape, width and curvature.
Image

The difficulty in trying to mimic real life imperfection is doing it in scale. I think it is nearly impossible to simulate brush marks on the model that represent the brush marks you see on the photo above so I don't do it that way. Props to you if you can achieve that!

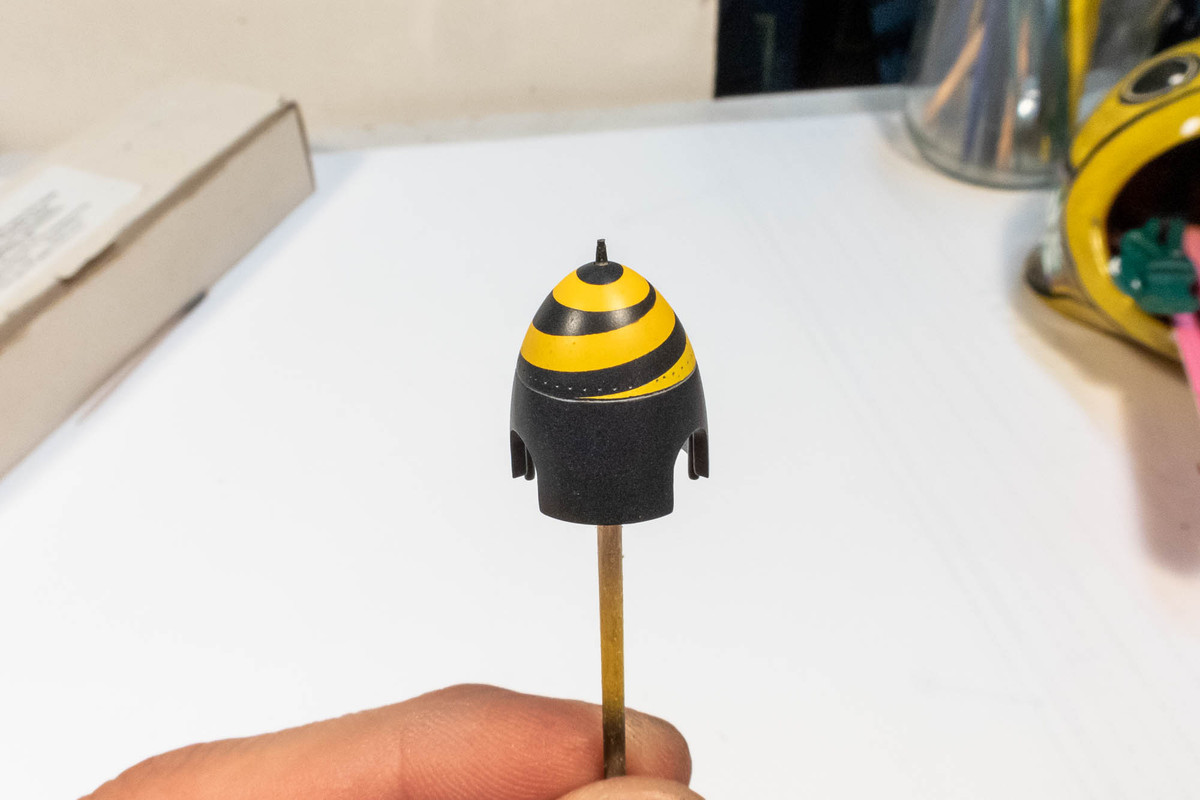
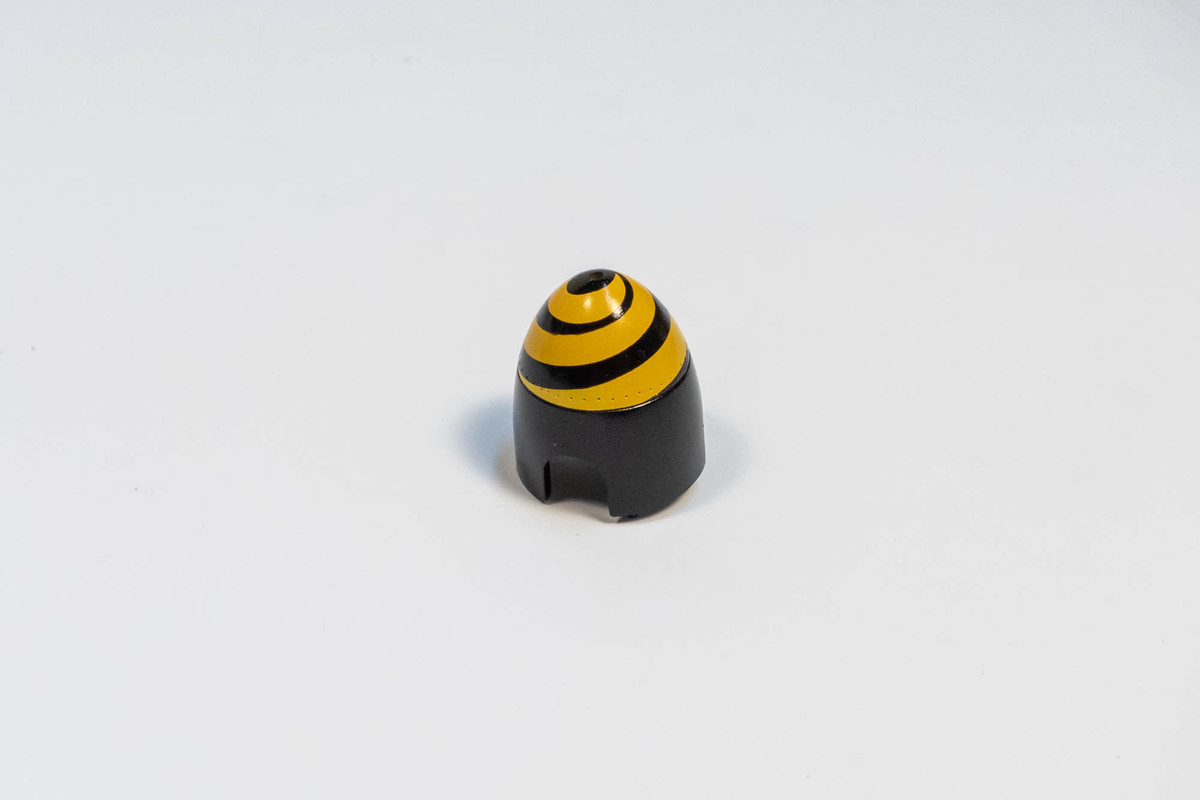
Speaking of spinner spirals, the rest of the black has been painted on Nowotny's spinner.
Image

After a light flat coat...
Image

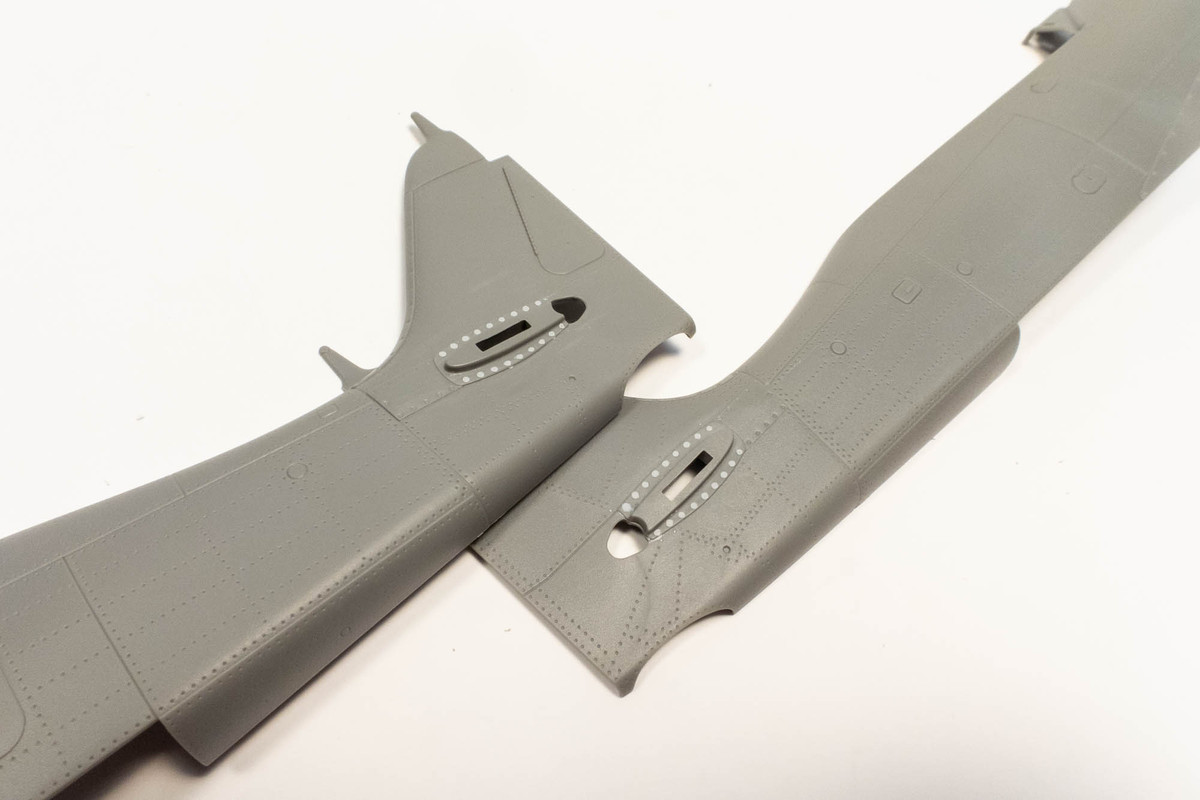
Some minor body work was performed by filling in the erroneous rivets on the panel around the horizontal stabilizers.
Image

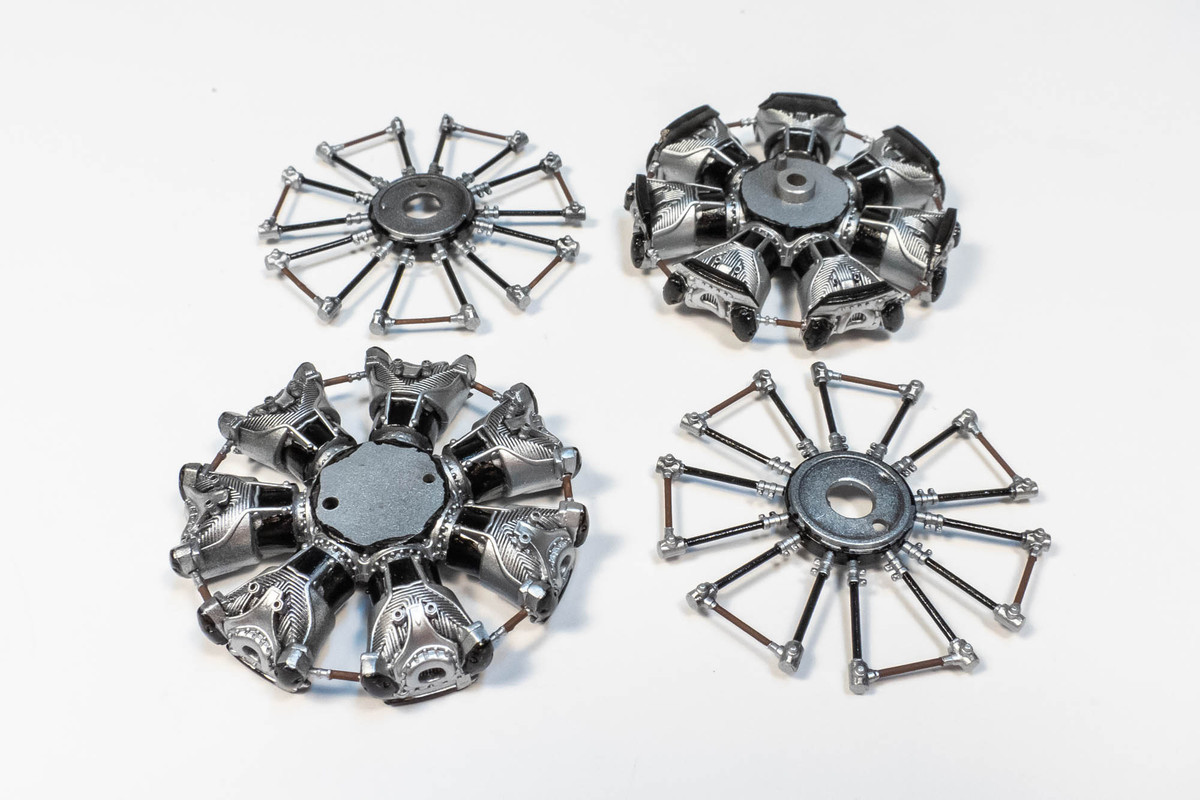
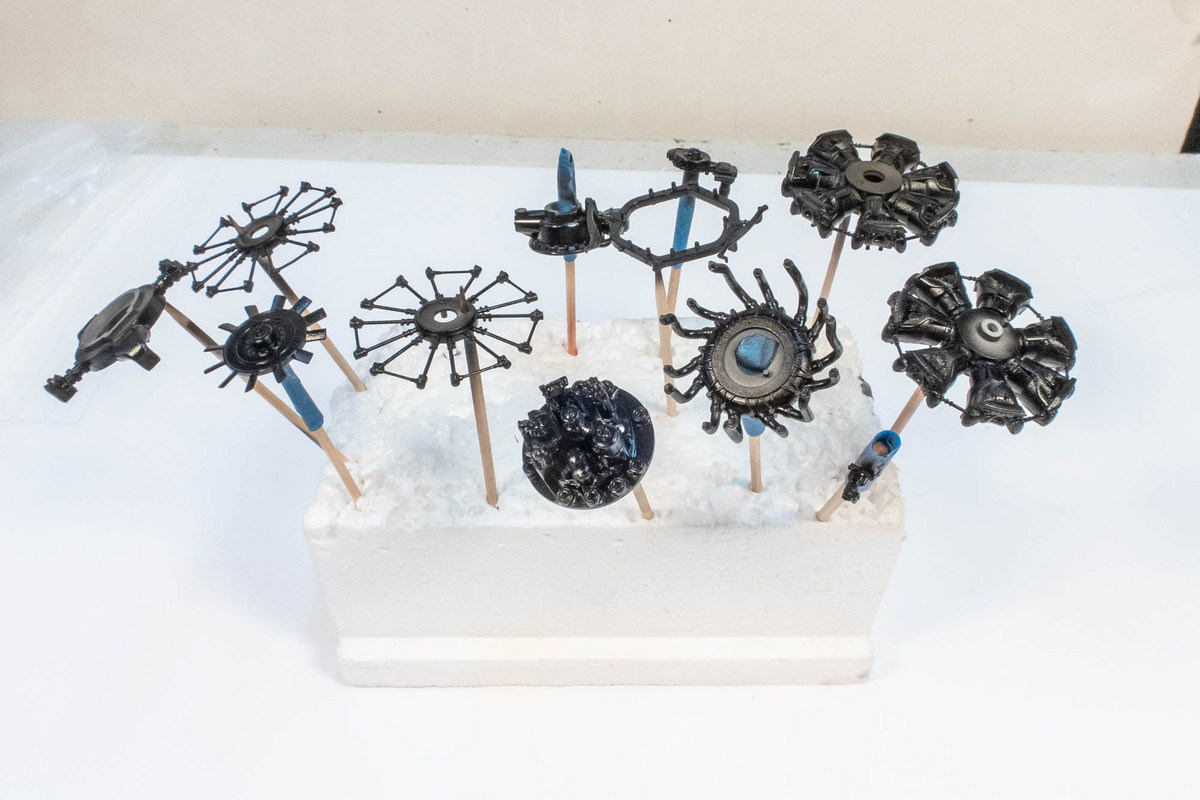
The engine components have been given a base coat of black.
Image

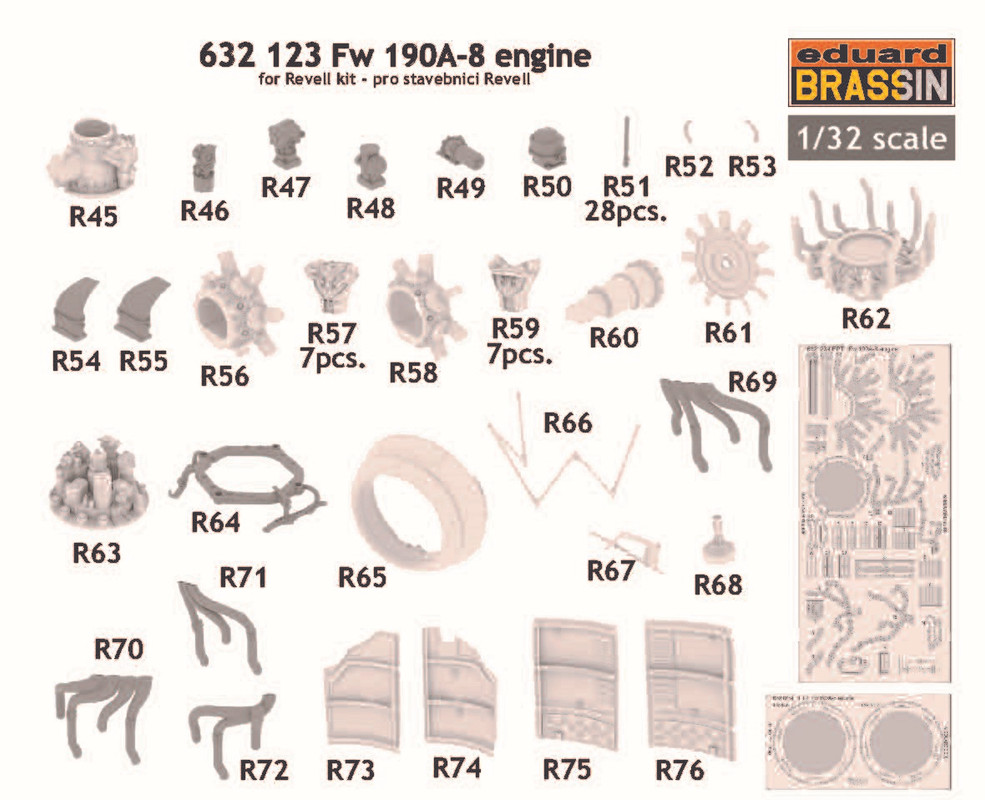
I printed out the instructions for the Eduard Brassin 1/32 Fw 190A-8 engine as a painting guide since the Border instructions offer NO color callouts of any kind. Looking at the Eduard resin parts gave me a feeling of deja vu. I have sneaking suspicion that Border got a lot of "inspiration" from the Eduard resin.
Image

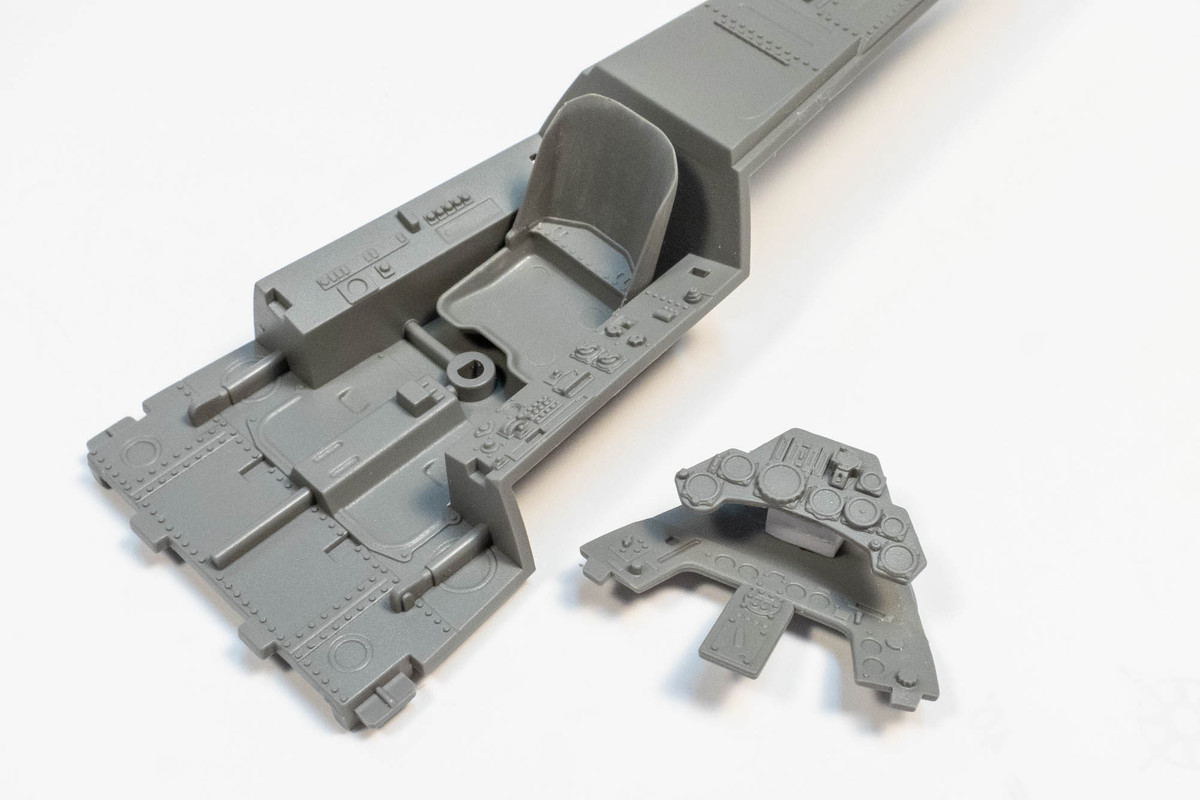
Jumping over to the cockpit for a while, I took a look at the 2-part instrument panel. The rear lower panel is designed to fit onto the cockpit tub while the upper panel is supposed to be glued into the fuselage, under the hood. I thought it would be much simpler if the 2 instrument parts be kept together so I fashioned a spacer out of sheet styrene so that the IP would become one unit. I also thinned the backrest of the pilot seat at this stage.
Image

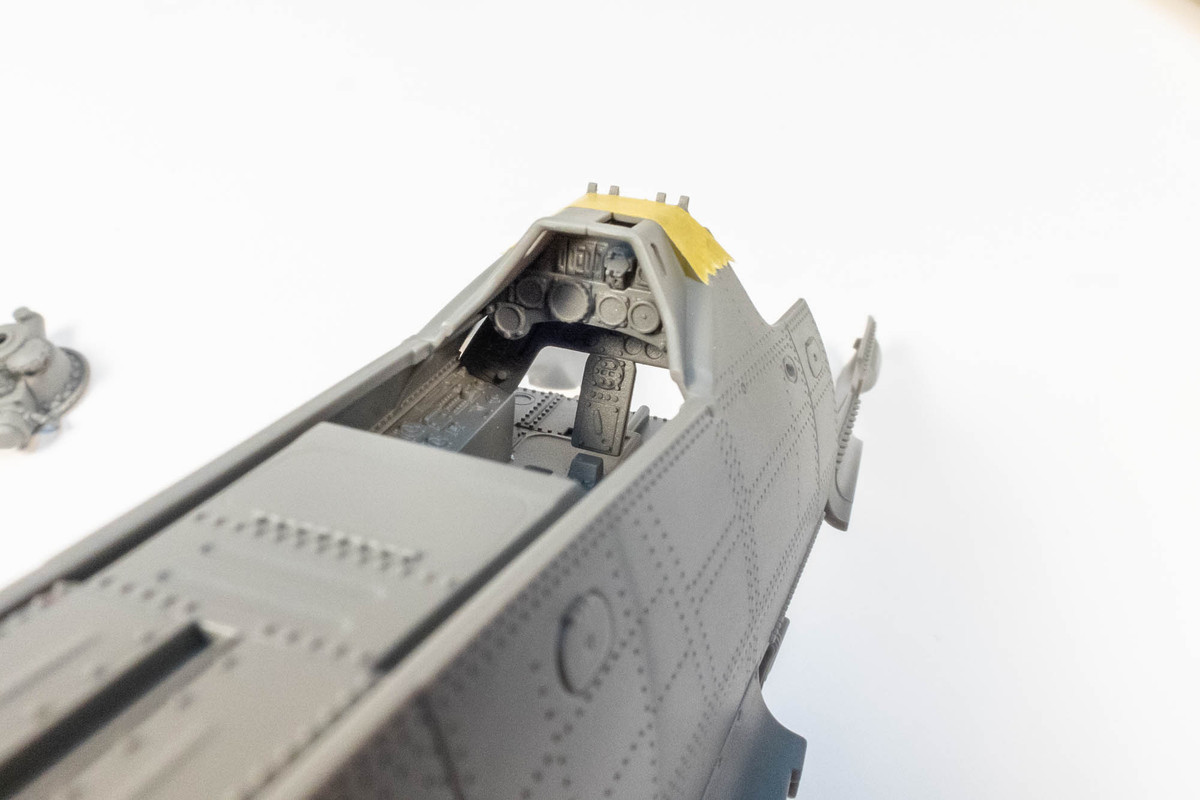
Checking to make sure that the upper instrument panel is in the correct position. I purposely sized the spacer so that it pushes the upper instrument panel further out to make it more visible from the outside.
Image

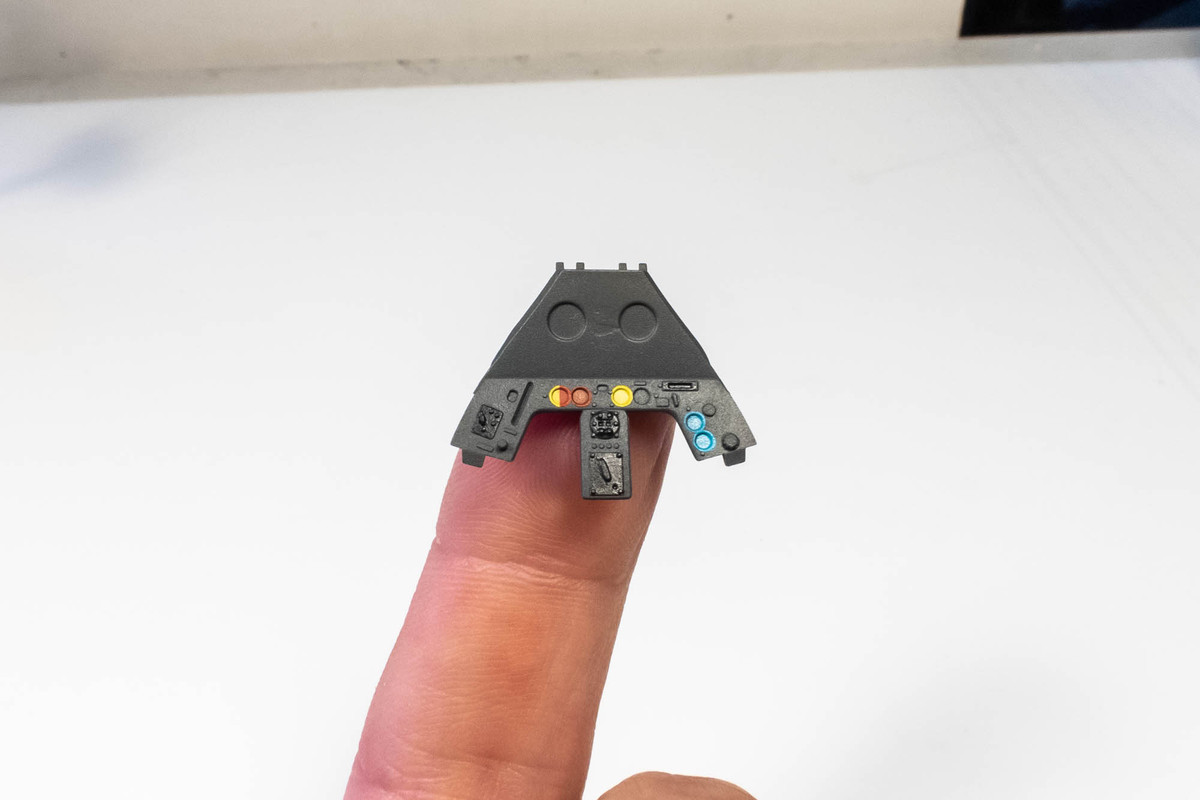
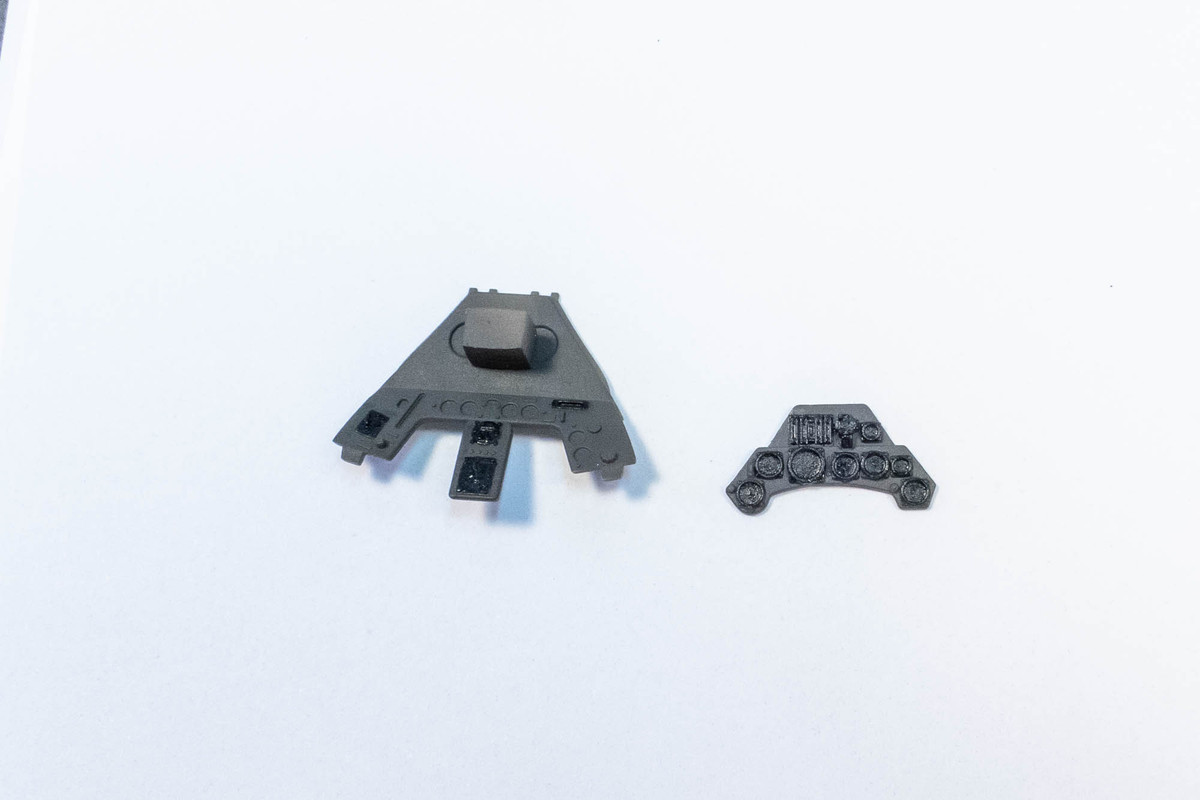
The instrument panels are given a coat of RLM 66 Dark Grey (Mr Hobby Aqueous). Instrument bezels and panels were picked out in black.
Image

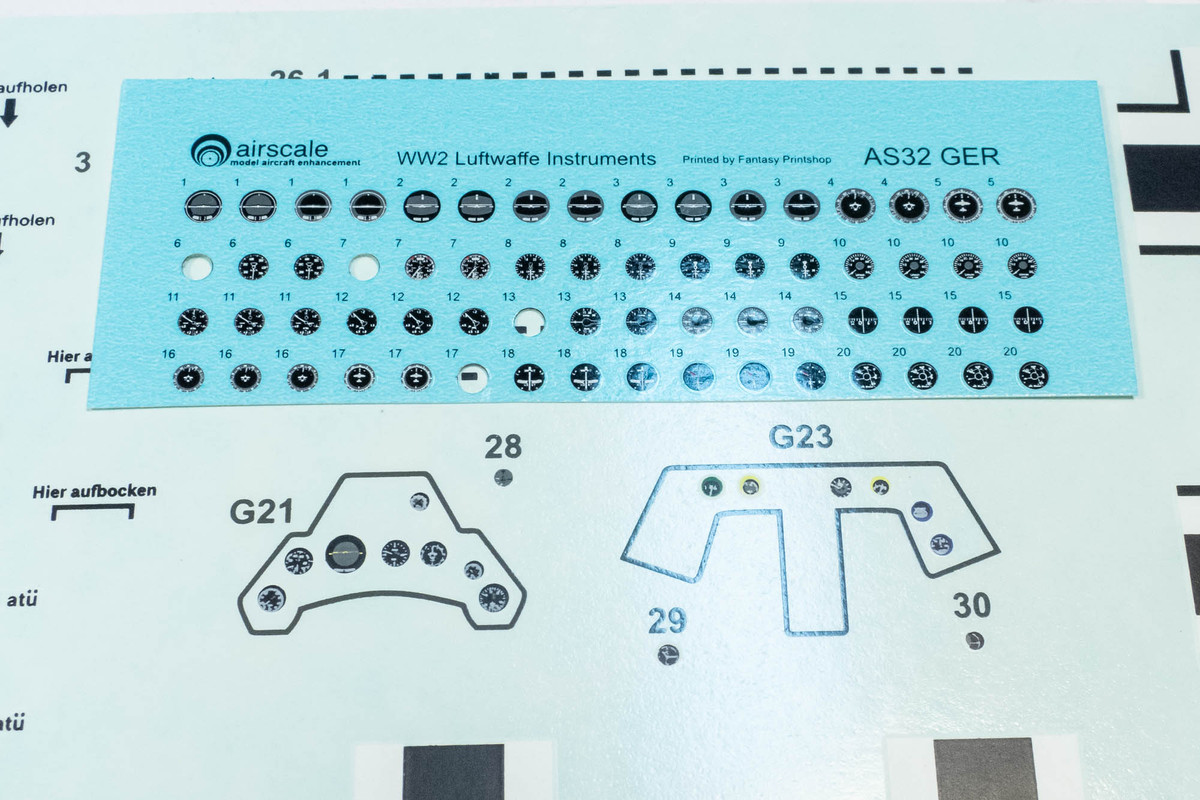
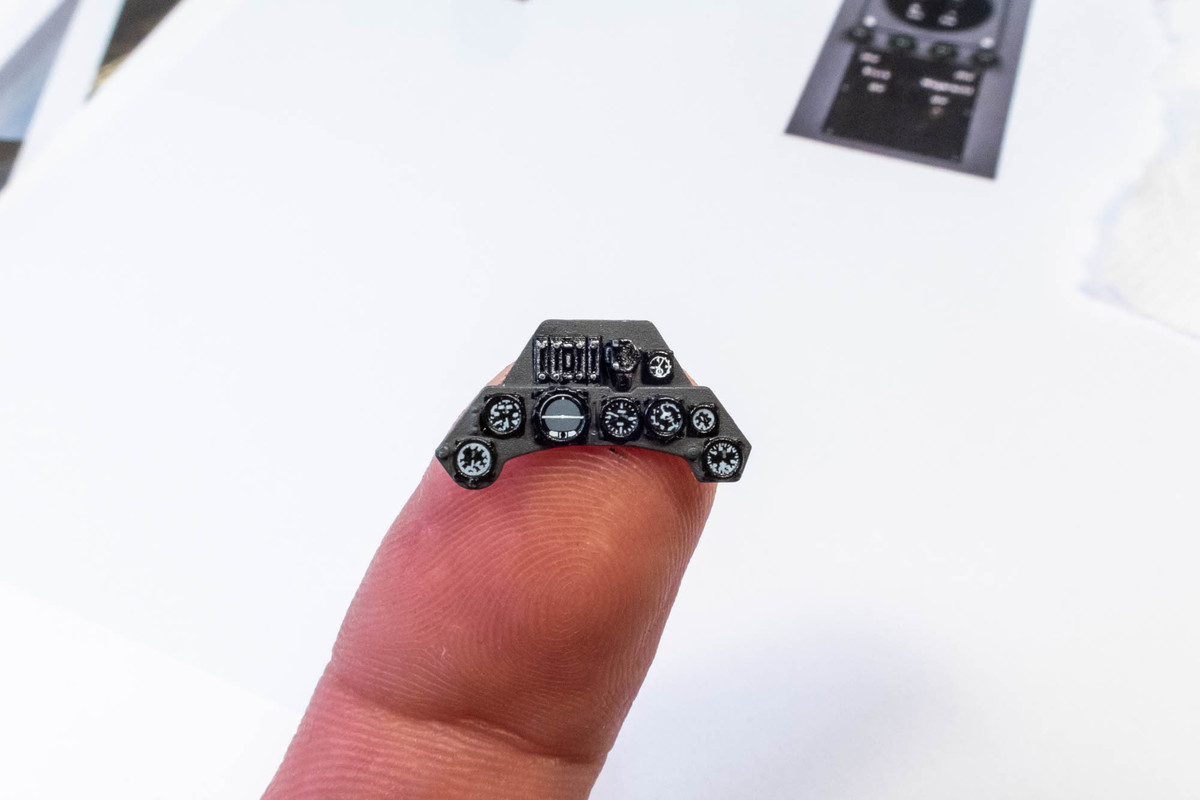
The kit-supplied decals for the instrument panel lack the resolution of Airscale and are noticeably out of register. But the scale difference between 1/35 and 1/32 rendered most of the Airscale instruments unusable.
Image

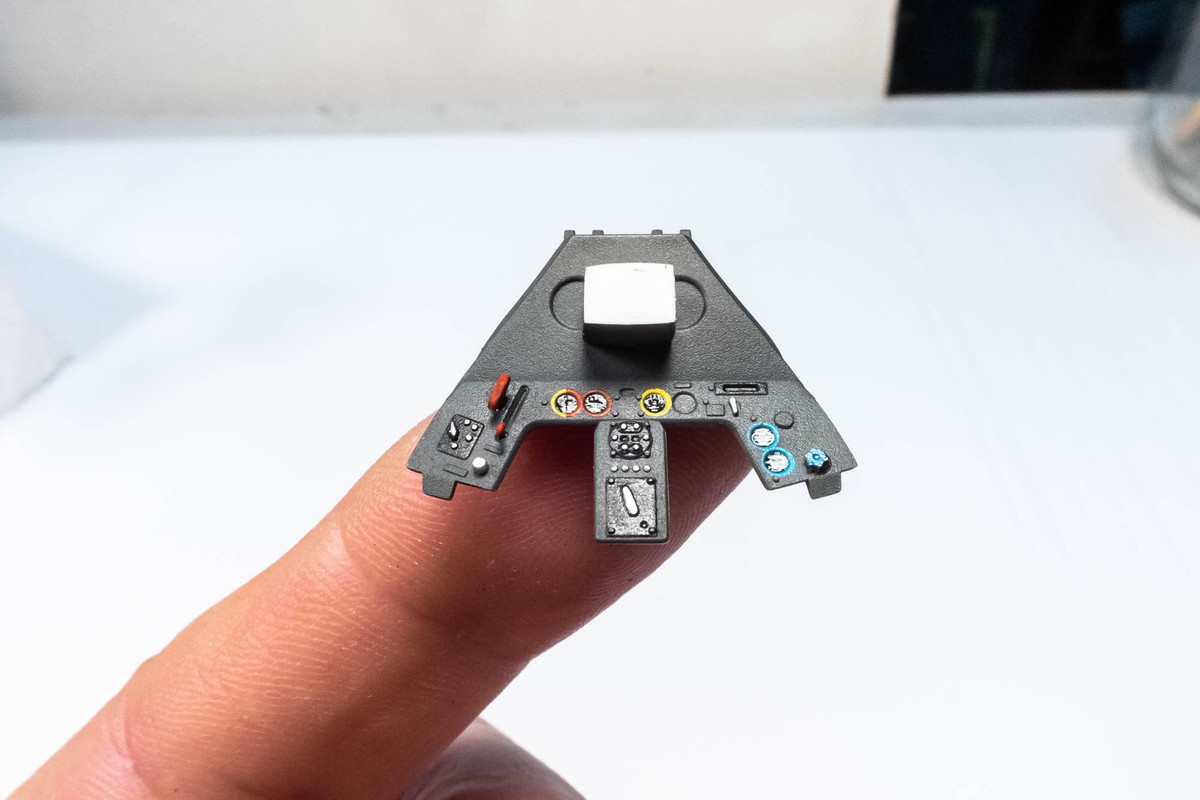
I got the Airscale artificial horizon to fit but otherwise had to use the kit decals for the upper panel. Punching the instruments out individually helped correct the registration errors.
Image

Re: Border 1/35 Focke Wulf Fw190A-5 Nowotny Double Chevron

Posted: Thu Aug 24, 2023 5:01 pm
by tempestjohnny
The IP and the spinner look great

Re: Border 1/35 Focke Wulf Fw190A-5 Nowotny Double Chevron

Posted: Fri Aug 25, 2023 10:52 am
by jkim
Thank you Johnny!

The lower instrument panel received paint as well. I highlighted certain instruments with color.
Image

The smaller range of Airscale instrument decals were small enough to fit so I used them here instead of the kit decals.
Image

Not yet glued, I've placed the upper panel on top of the spacer fitted to the lower panel to show how they look together.
Image


Some of the engine components have been painted but not yet weathered.
Image

Re: Border 1/35 Focke Wulf Fw190A-5 Nowotny Double Chevron

Posted: Fri Aug 25, 2023 7:42 pm
by jkim
The cylinder banks have been given a dark pastel wash and a flat coat.
Image
Image

Same with the cooling fan and the exhaust waste collectors.
Image

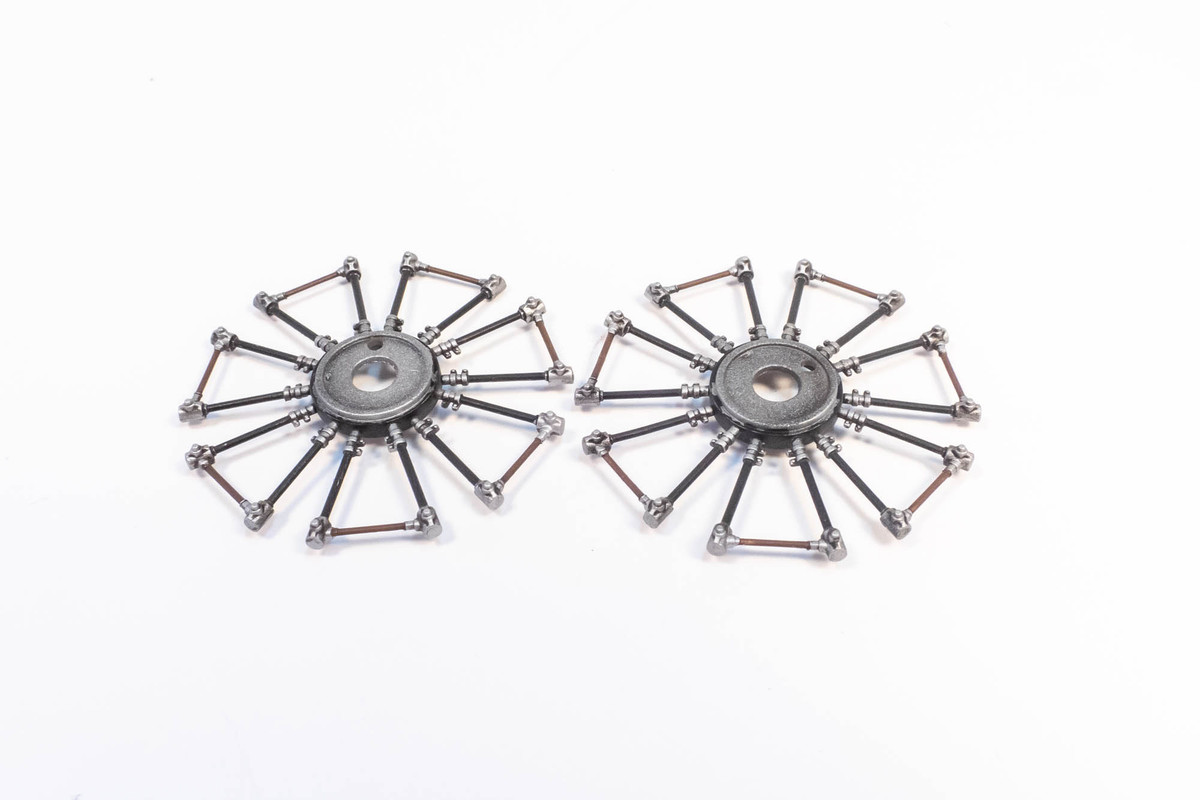
Here are the completed pushrods.
Image

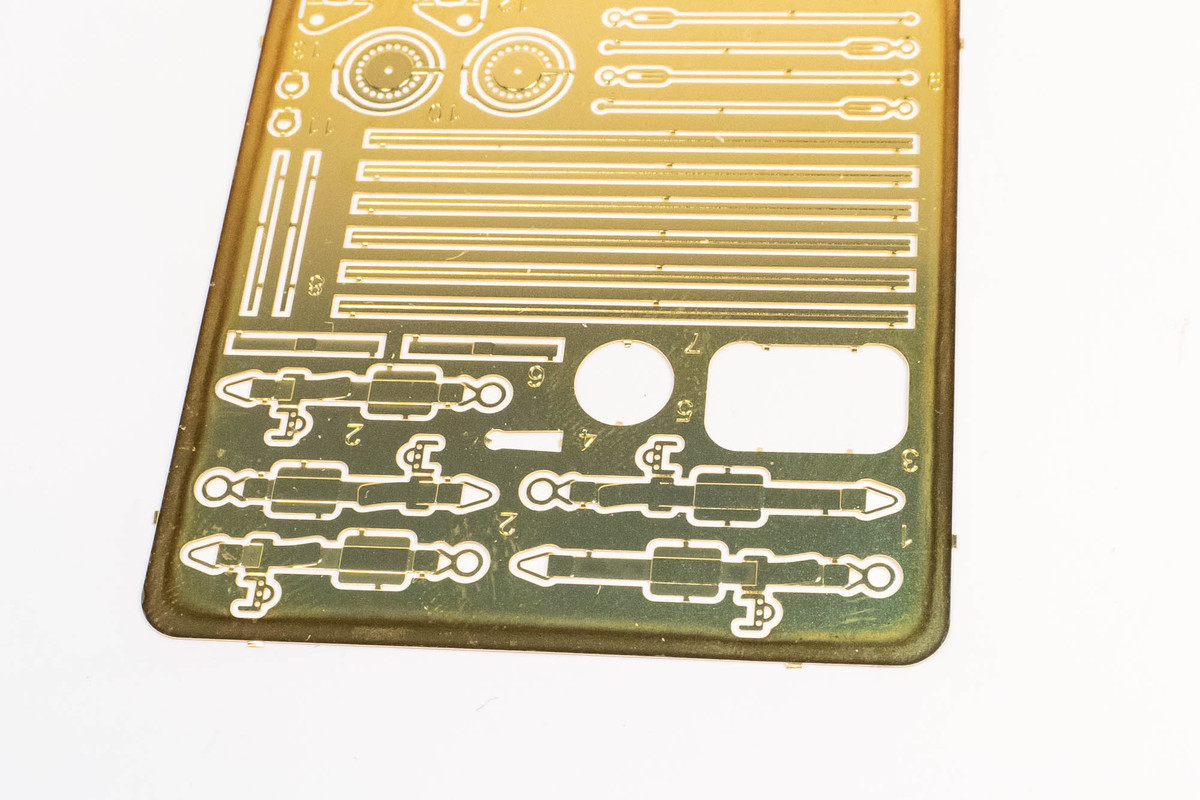
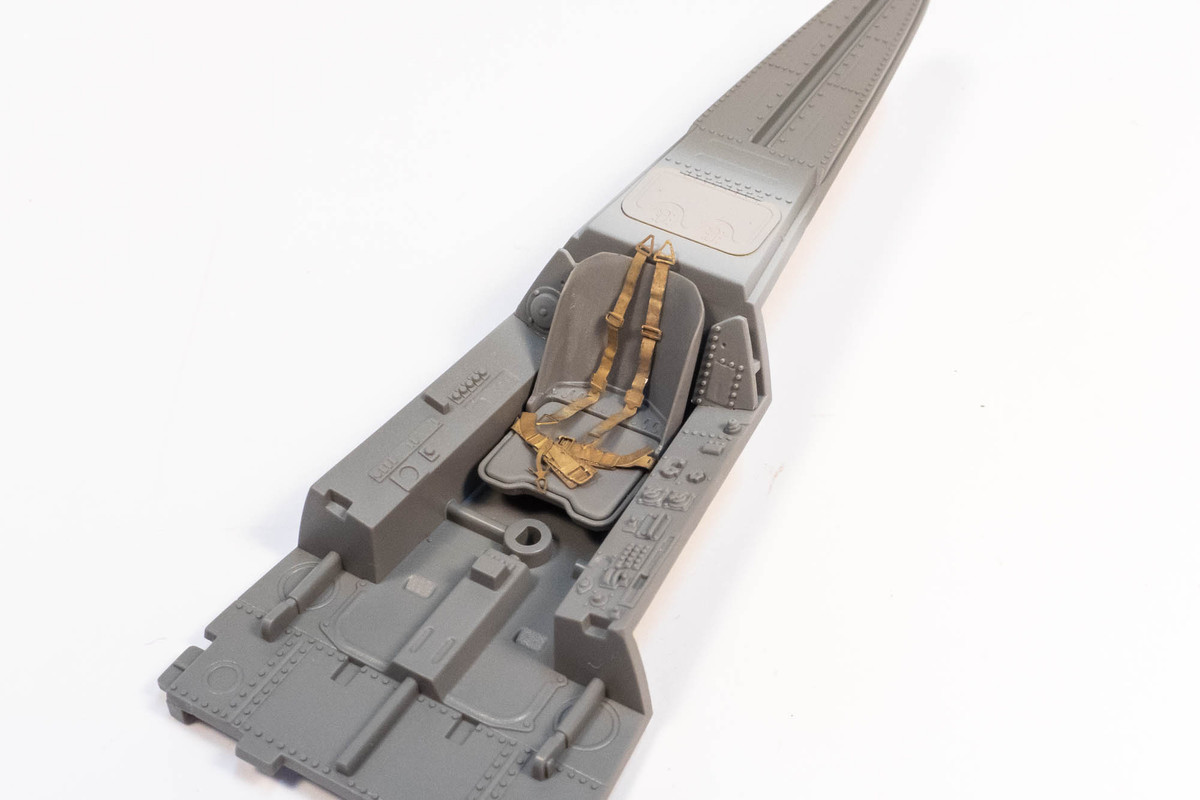
The PE seat harnesses that Border provides are very... funky. Strange pads in strange positions and reversed buckles.
Image

I looked into my spares box and found a set of 1/48 generic Luftwaffe harnesses that looked close enough in size to work. I annealed them with heat and introduced some random bends to simulate fabric... ruler straight PE harnesses don't look right to me. Since rough placement has been worked out, I can paint the seat parts separately.
Image

Re: Border 1/35 Focke Wulf Fw190A-5 Nowotny Double Chevron

Posted: Sat Aug 26, 2023 6:02 pm
by jkim
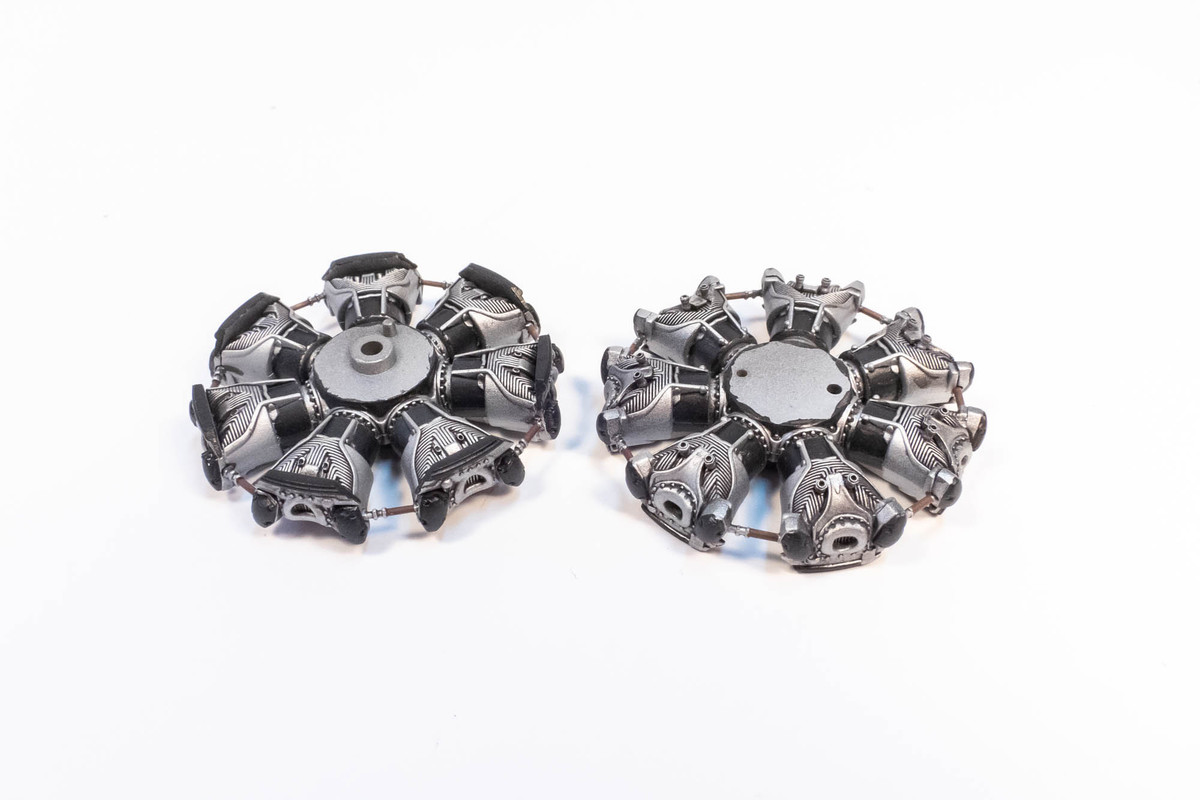
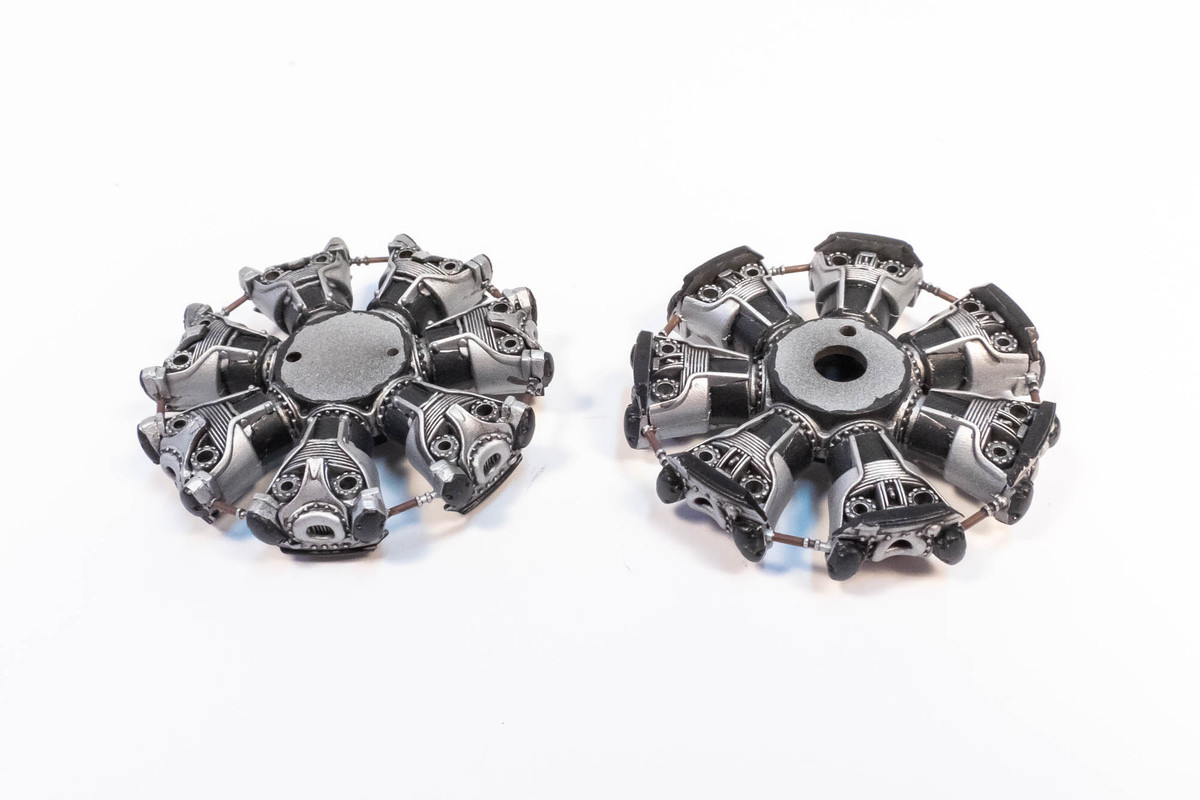
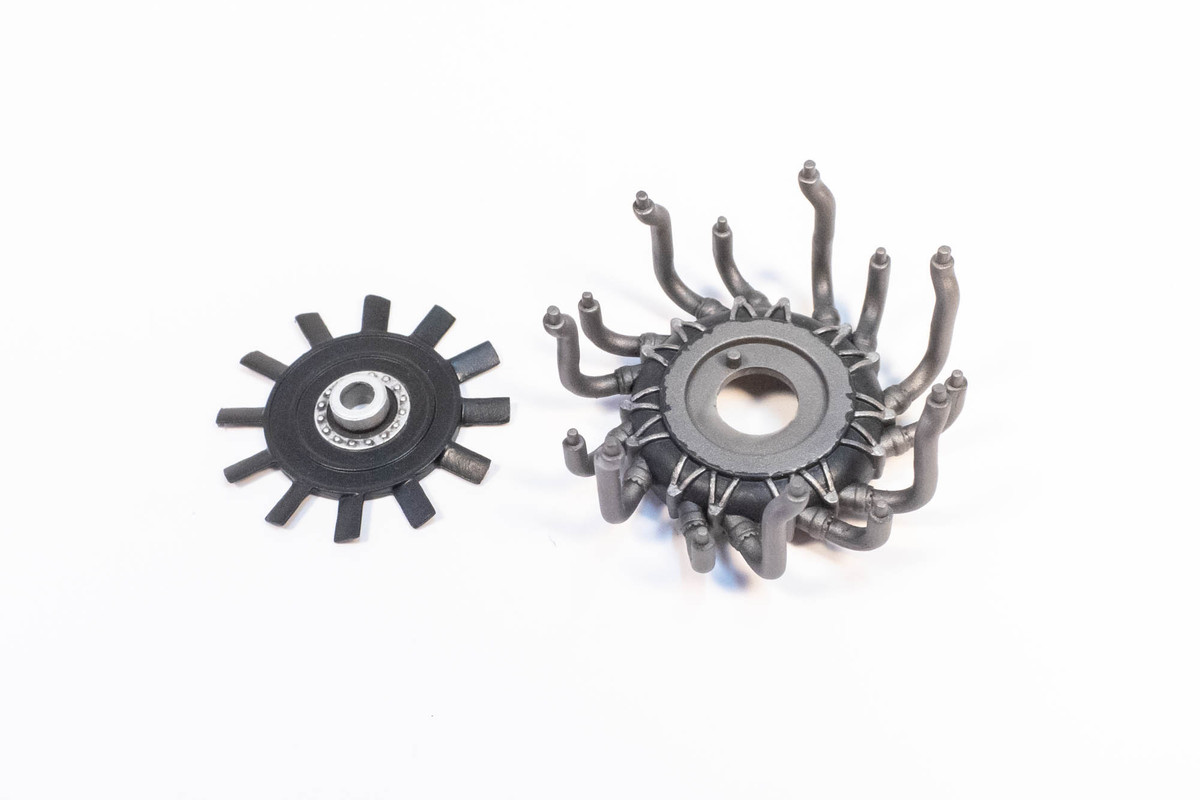
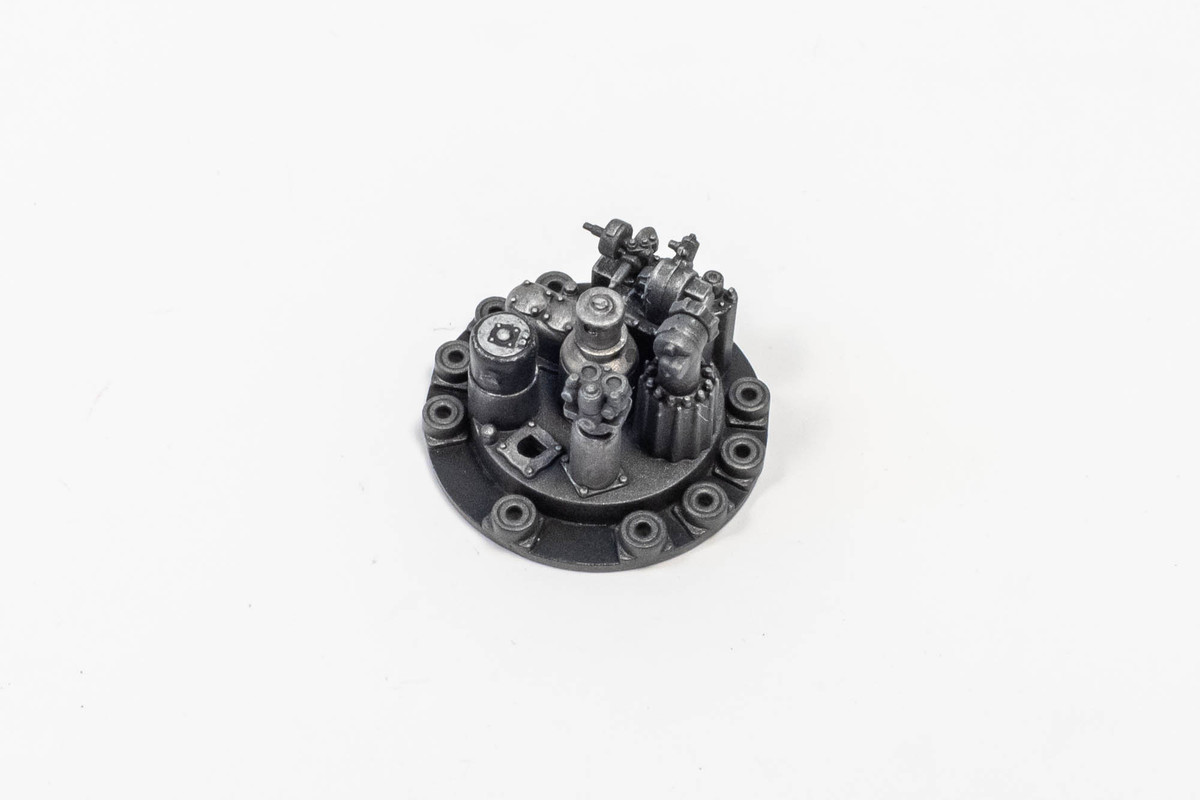
Some more engine components are being painted.
Image
Image
Image
Image

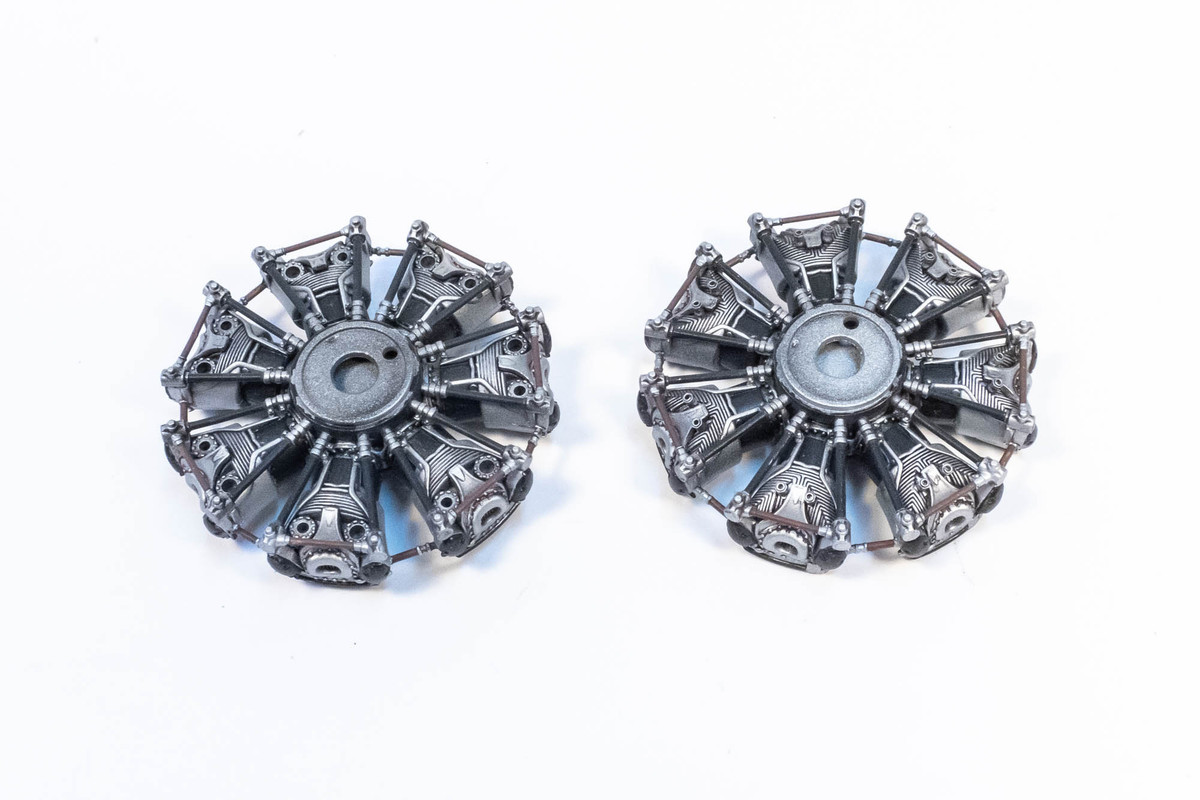
The previously painted pushrods are glued onto the cylinder banks.
Image

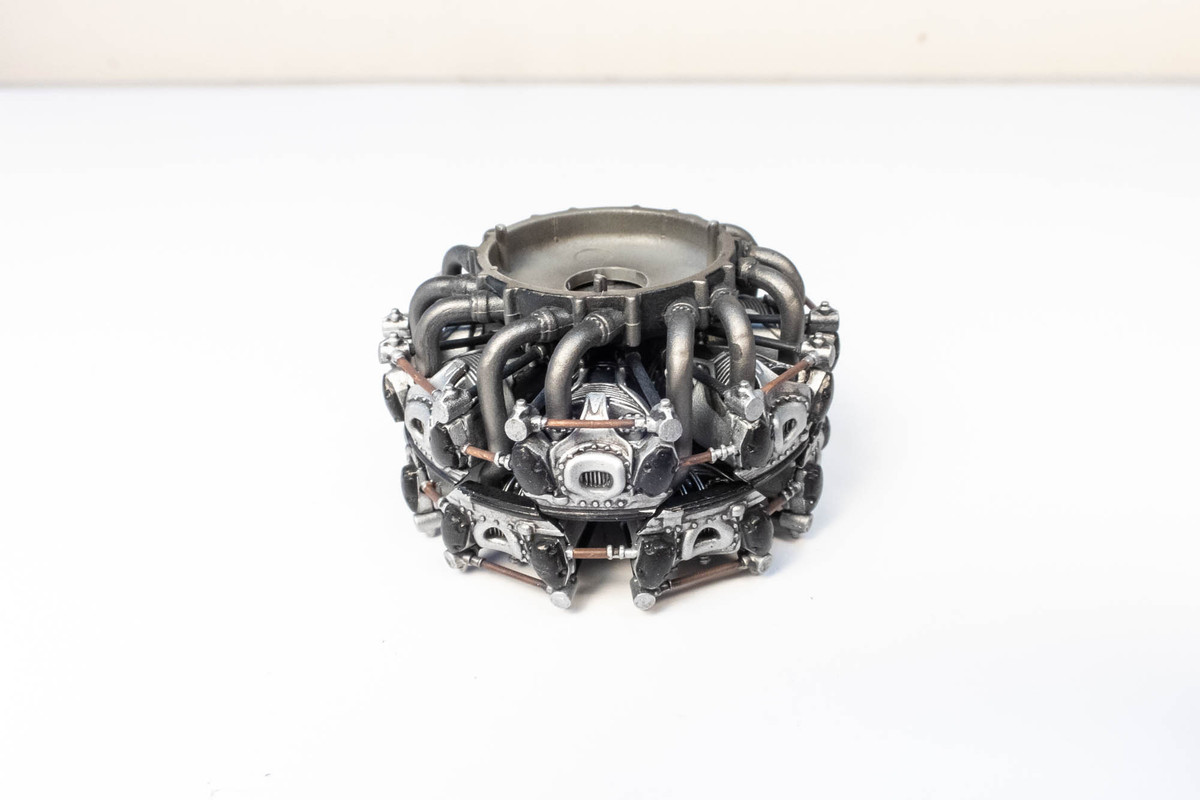
The exhaust collectors are glued into the rear cylinder bank first and then the front cylinder bank is glued. Fit is excellent.
Image

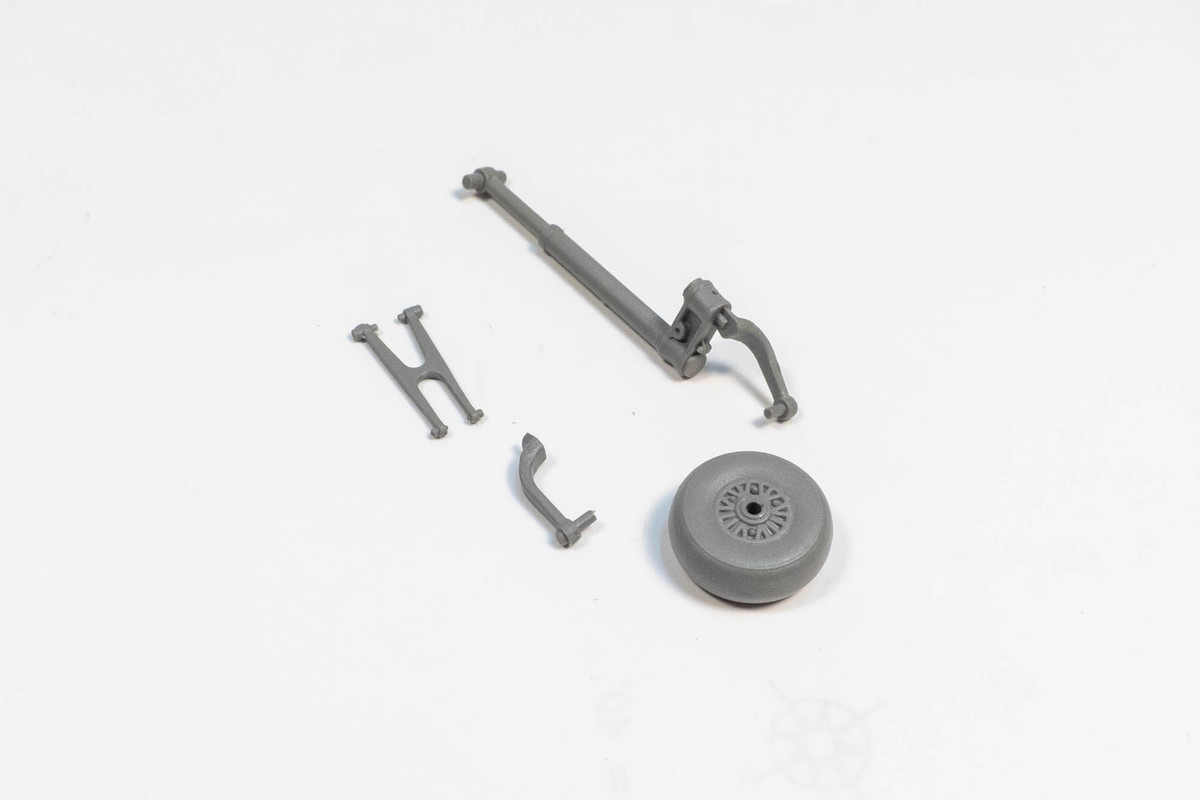
During the painting process, I also did some work on the wheels. The tail wheel is trapped between two parts of the tail gear.
Image

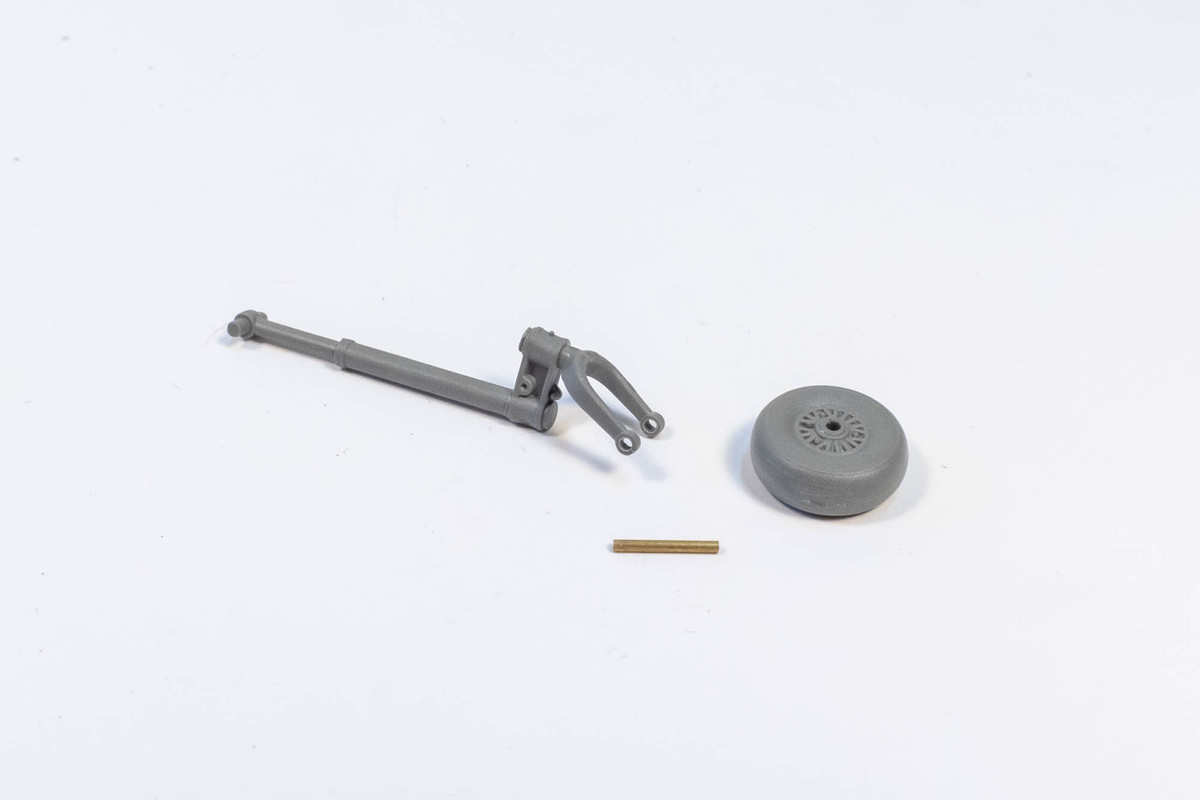
I opted to cut off the pins and so some drilling to accommodate a new brass tubing axle.
Image

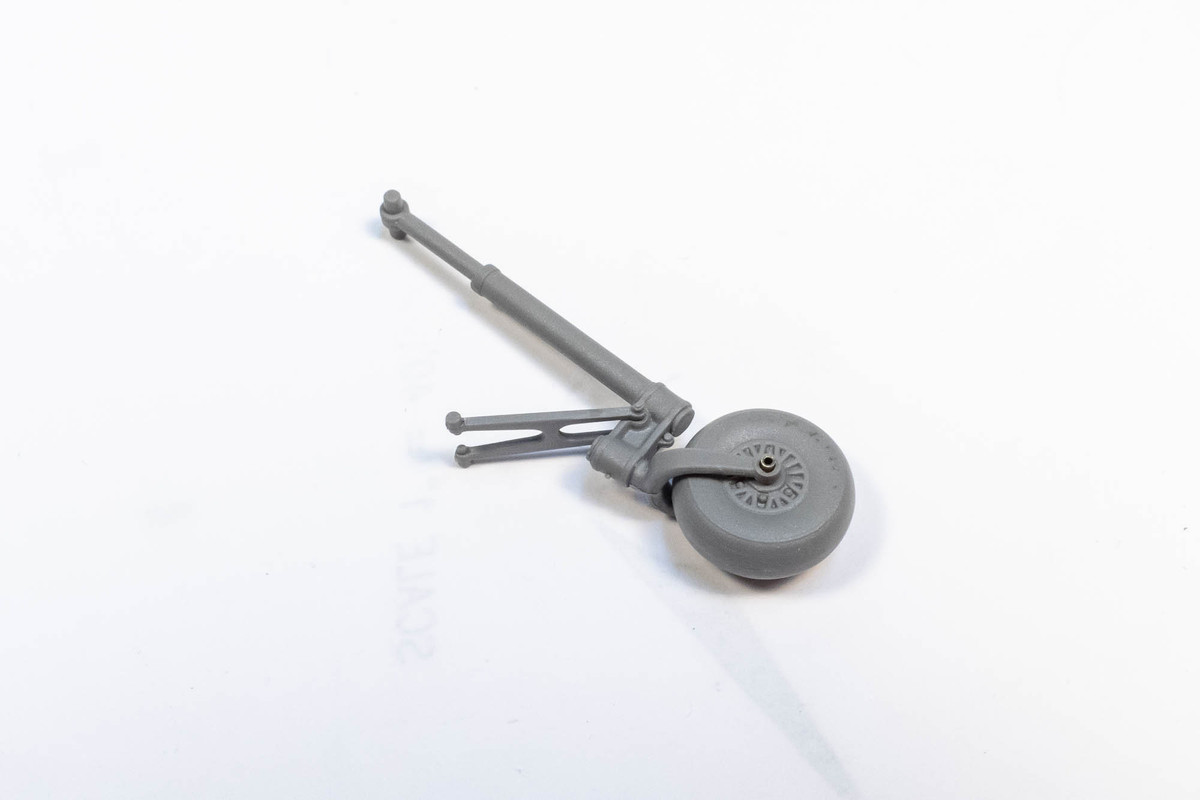
This allows me to attach the wheel later.
Image

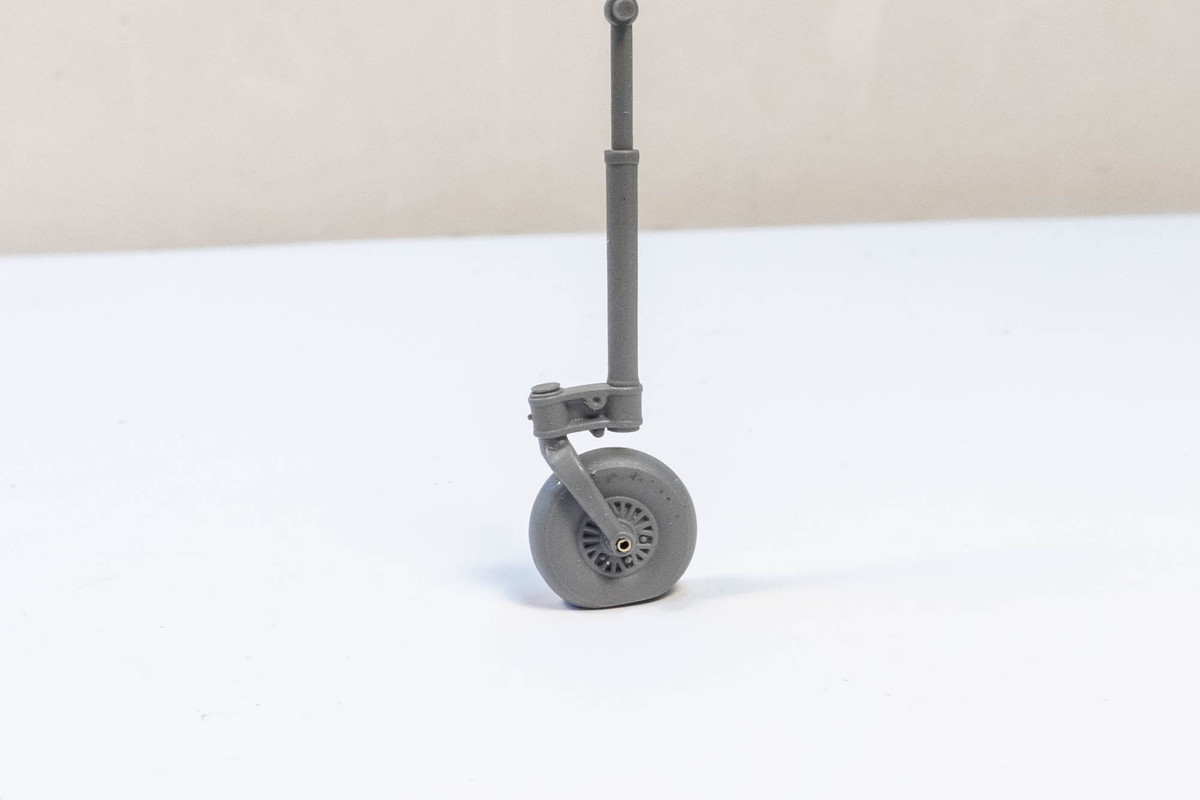
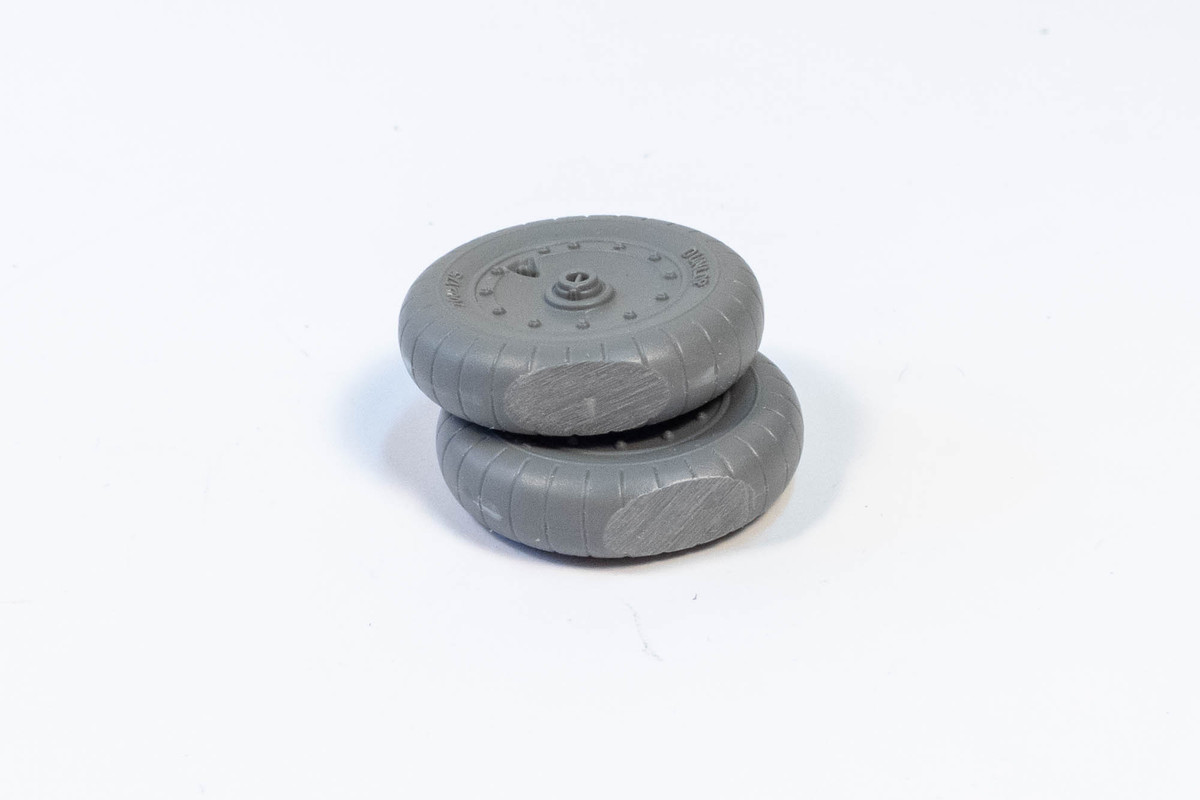
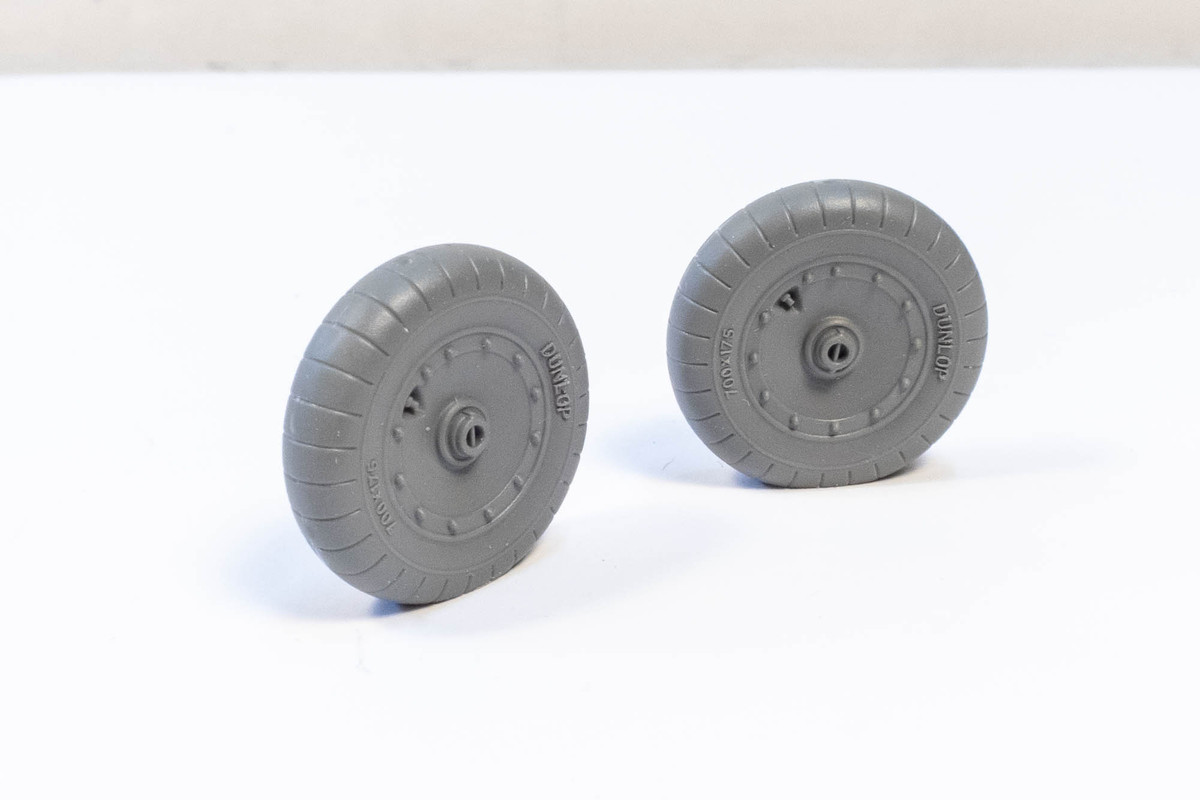
I've added flat spots to both the tail wheel and main wheels to simulate the weighted effected.
Image
Image
Image

Re: Border 1/35 Focke Wulf Fw190A-5 Nowotny Double Chevron

Posted: Sat Aug 26, 2023 6:42 pm
by Medicman71
Wow! Such great work!

Re: Border 1/35 Focke Wulf Fw190A-5 Nowotny Double Chevron

Posted: Sat Aug 26, 2023 9:13 pm
by Stikpusher
Now the engine is getting the Jkim treatment! Looking good John!

Re: Border 1/35 Focke Wulf Fw190A-5 Nowotny Double Chevron

Posted: Sat Aug 26, 2023 11:57 pm
by jkim
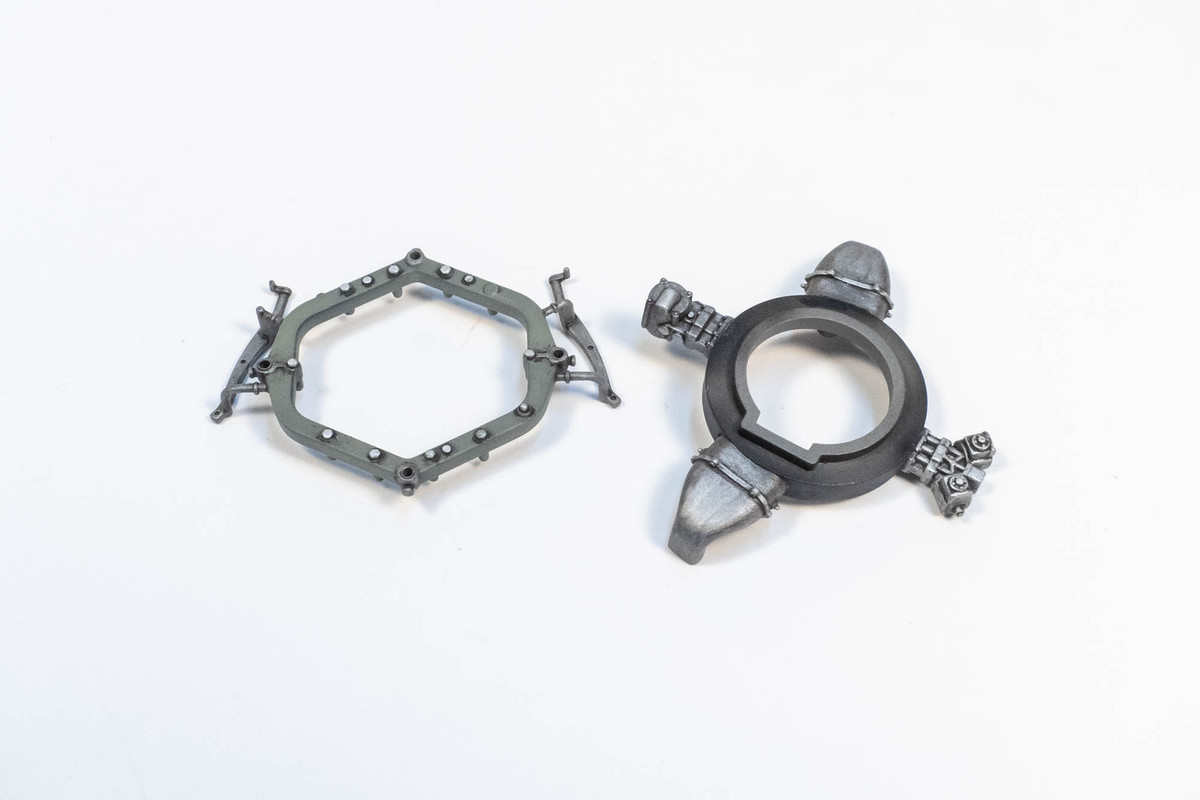
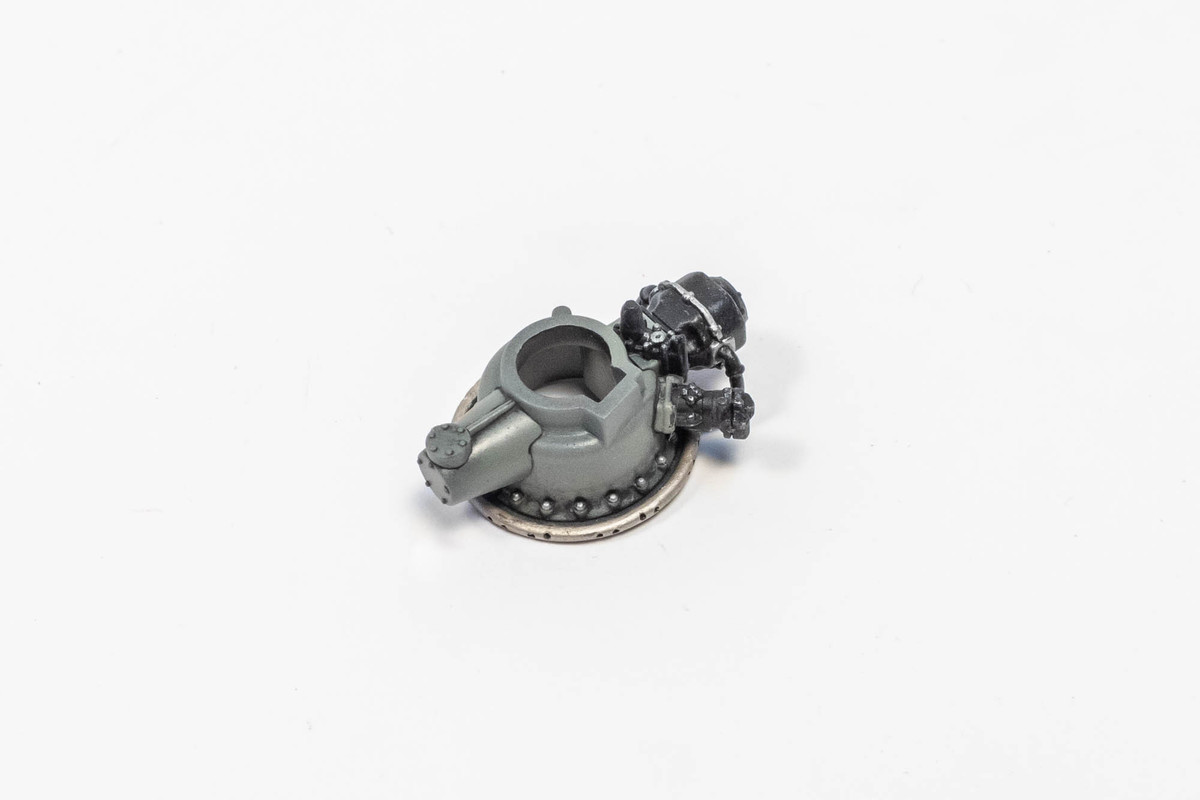
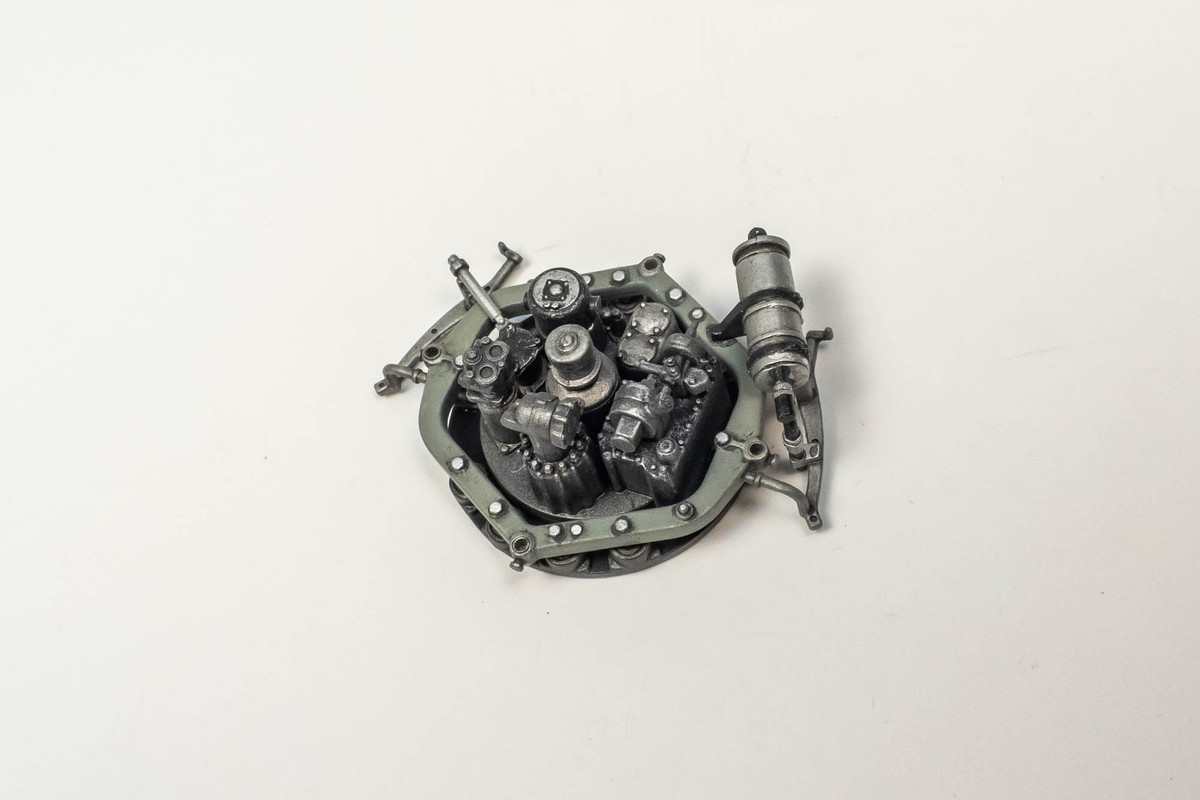
Thanks guys! Spent the day trying to wrap up the engine assembly. The gear reduction housing was glued into place next.
Image

After this, the ignition wiring was installed. The wiring is pre-cut lengths of lead wire that I had pre-painted and set aside. It was quite fiddly work as it was difficult to reach the attachment points on the rear cylinder heads. And CA glue never holds that well when the accepting holes have paint and pastel wash in them.
Image
Image
Image

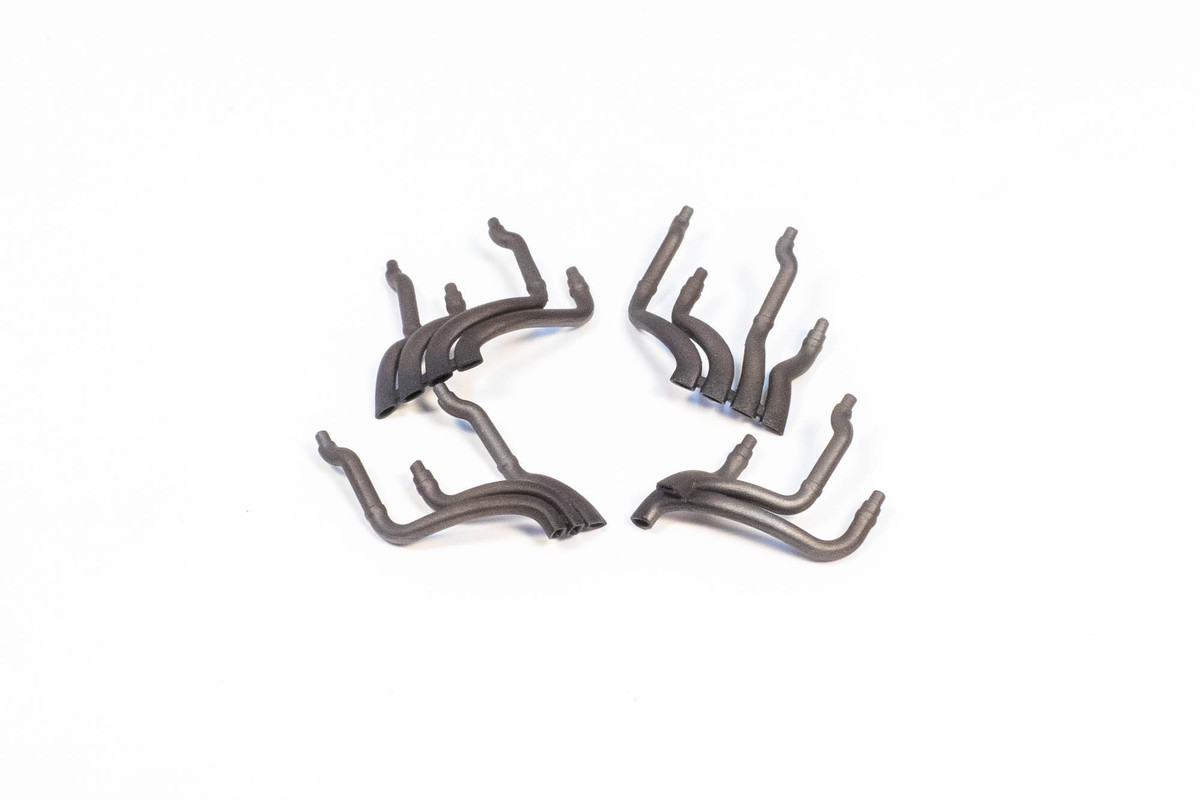
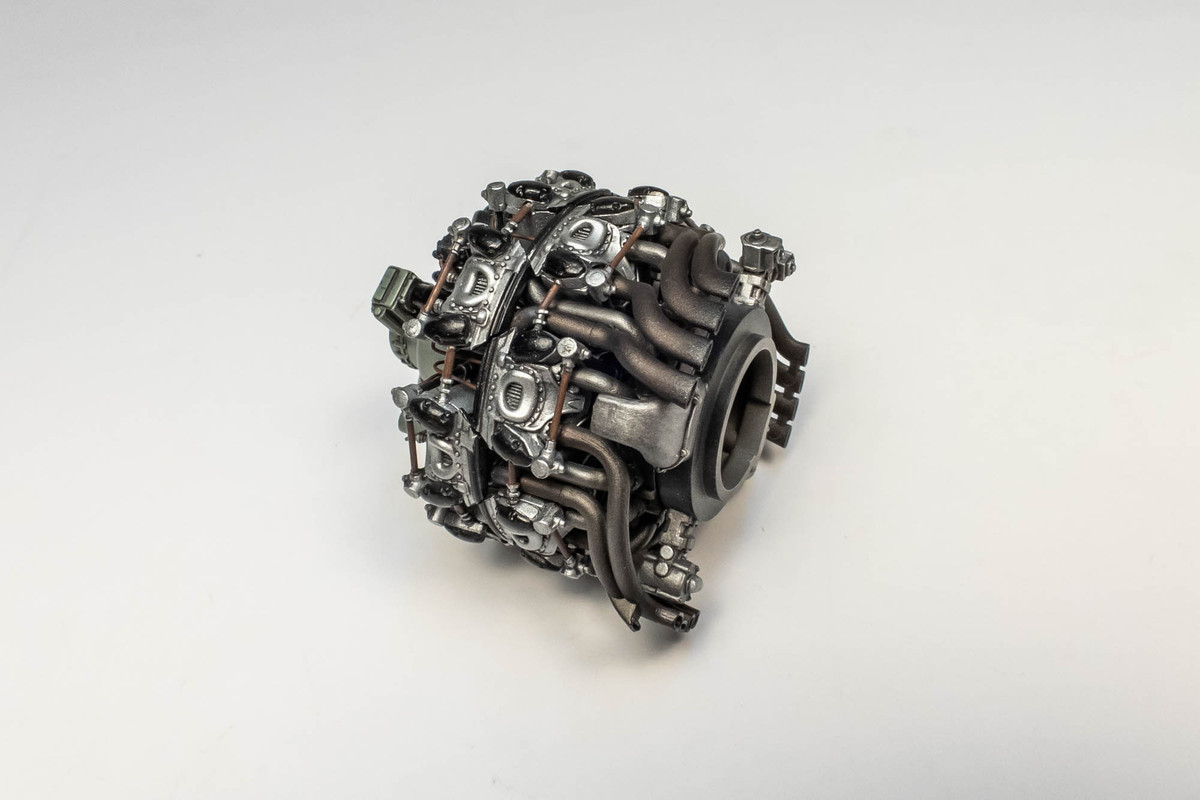
I had some issues with the exhaust pipes. The longer end connecting to the front cylinders has a bend and with the tight space, I couldn't get the pins to seat correctly in the holes. Ended up scratching the paint off the exhausts and also breaking a couple of the thin connecting pipes at the ends of the pushrods. I resolved this by cutting off the pins on the longer pipes.
Image
Image

The last piece to attach is the rear engine assembly.
Image

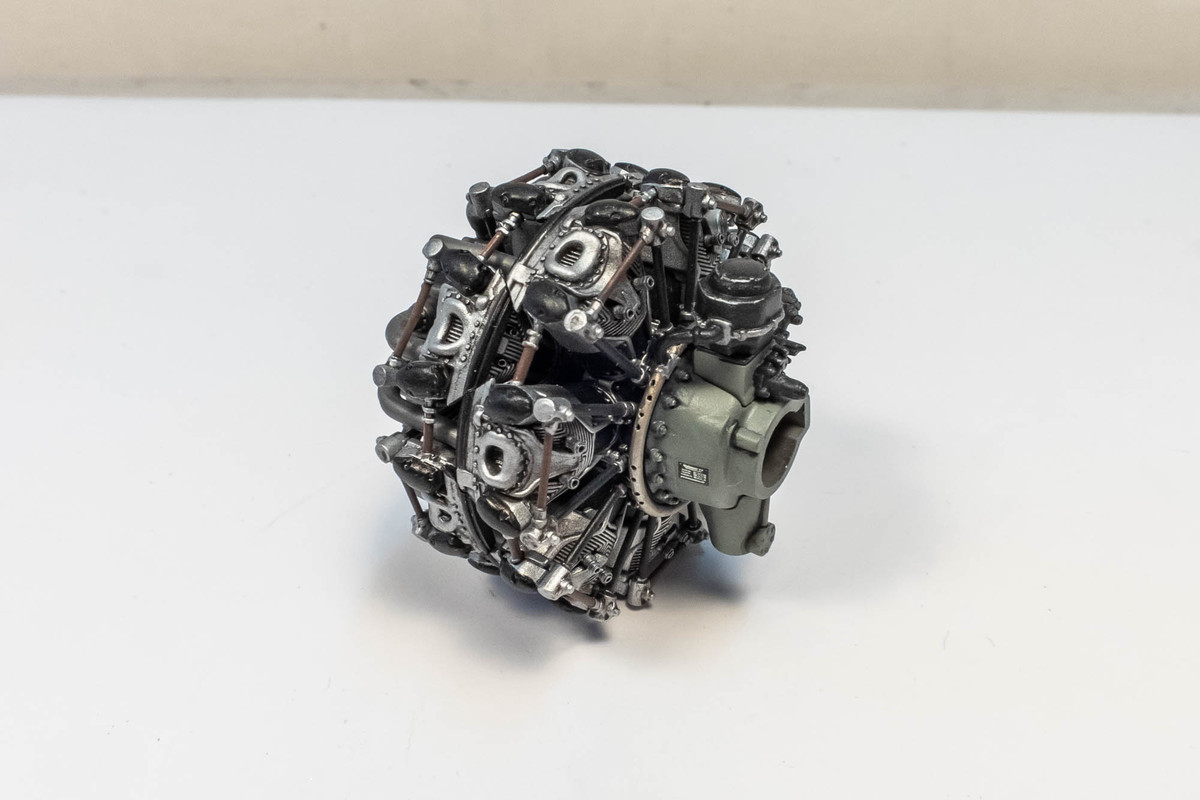
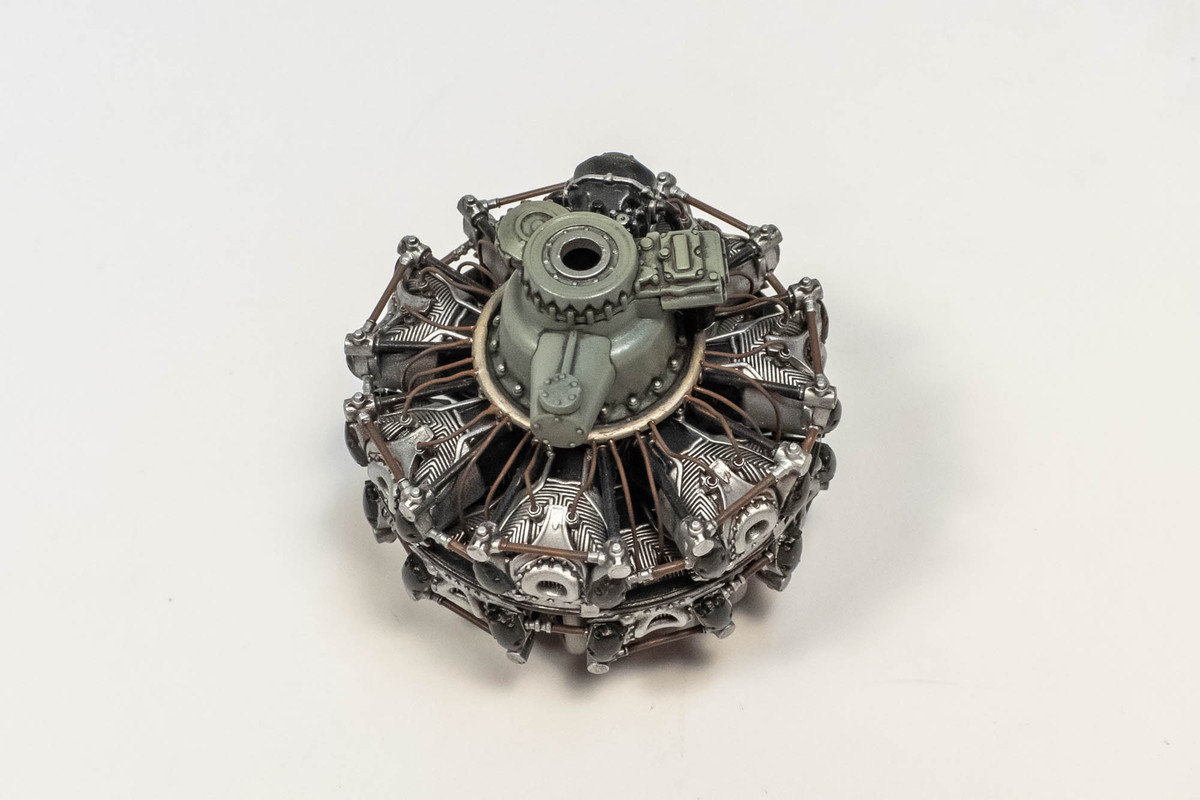
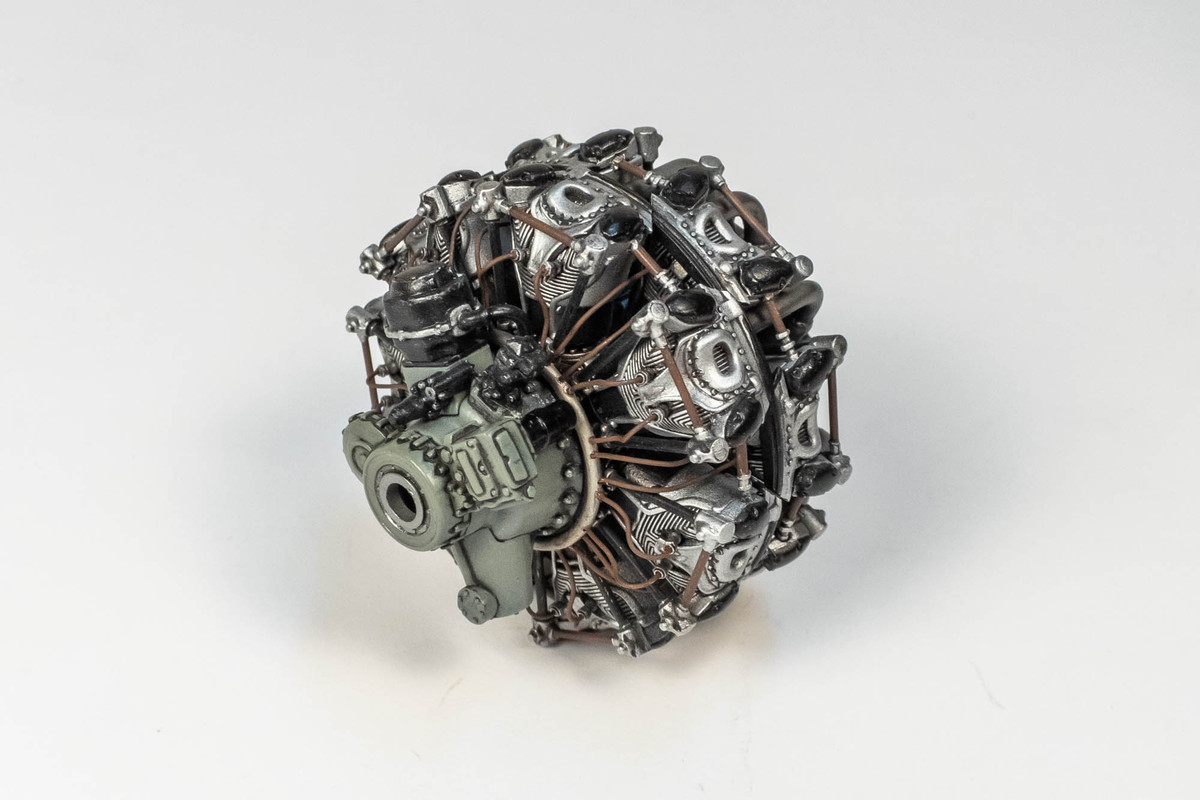
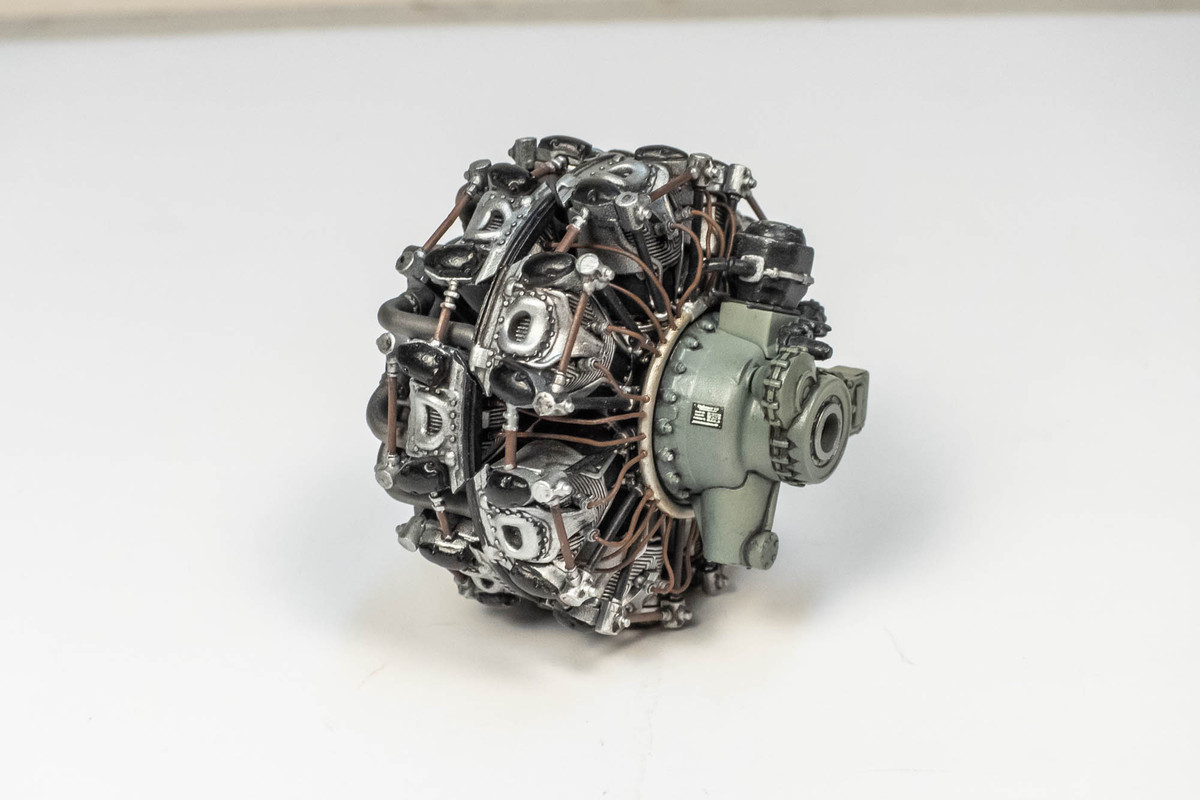
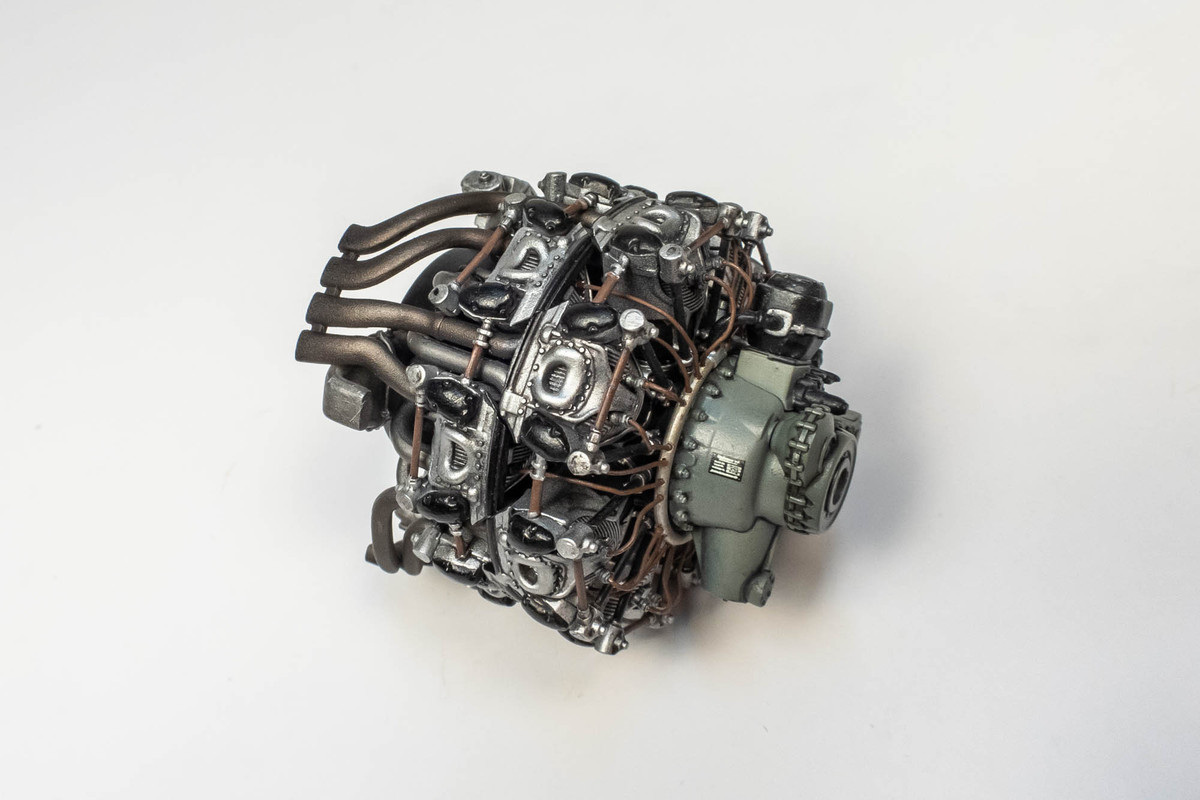
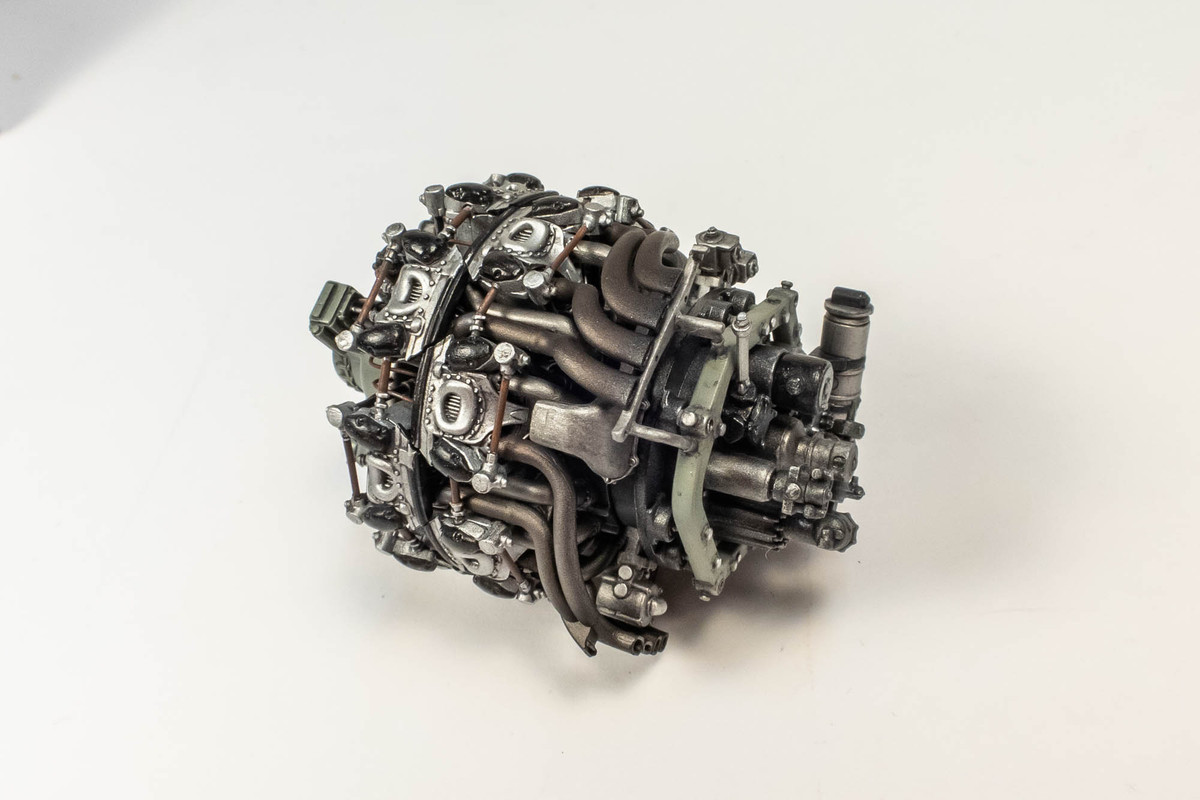
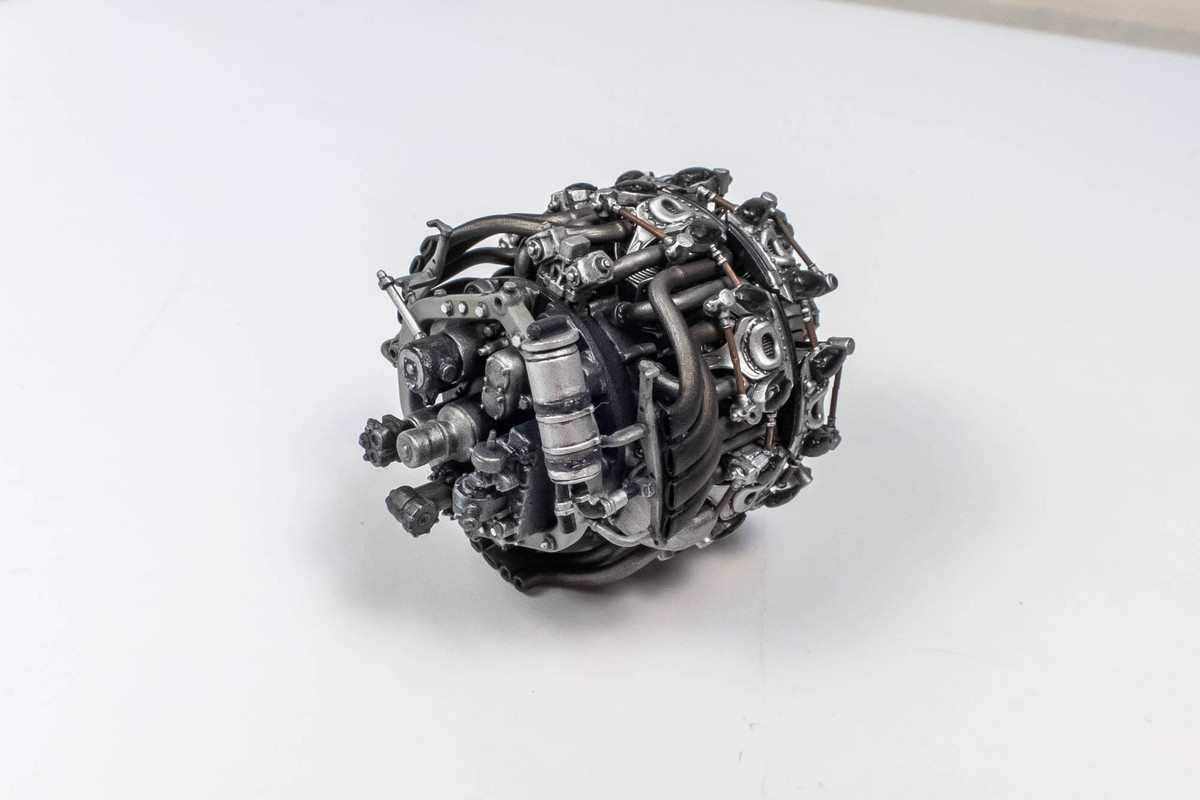
The engine is essentially complete. I may put a little bit more flat on certain areas and maybe dirty it up just a little.
Image
Image

Pretty impressive little engine that Border has provided for the Fw 190! I'll get some better pics tomorrow.
Image