Page 3 of 9
Re: 1/48 AMT P-51D
Posted: Tue Apr 15, 2025 6:39 pm
by Stikpusher
speedgraflex wrote: ↑Tue Apr 15, 2025 1:24 pm
Bravo! How did you neaten the filled areas? Those look spot on!
Thank Bruce. It was simply filling the panel lines with Mr Surfacer 500, then wet sanding them smooth with progressively finer sanding ticks from 180 grit to 1000 grit. It took a bit longer to sand than anticipated, but turned out as envisioned.
And here is todays progress report -
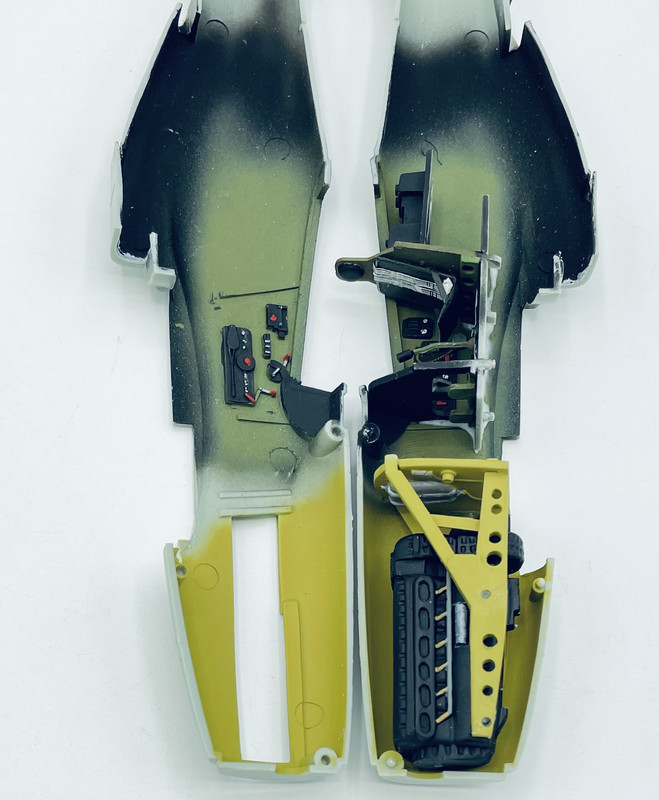
I did the detail painting in the cockpit and engine, then installed the engine
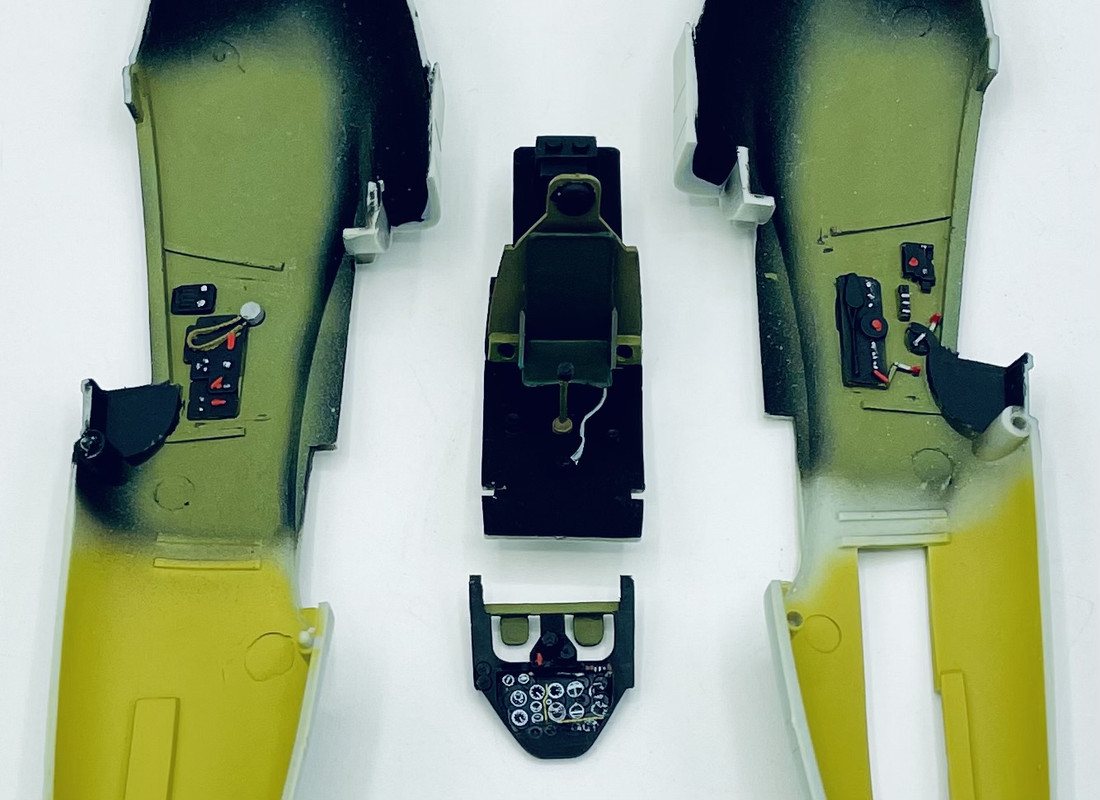
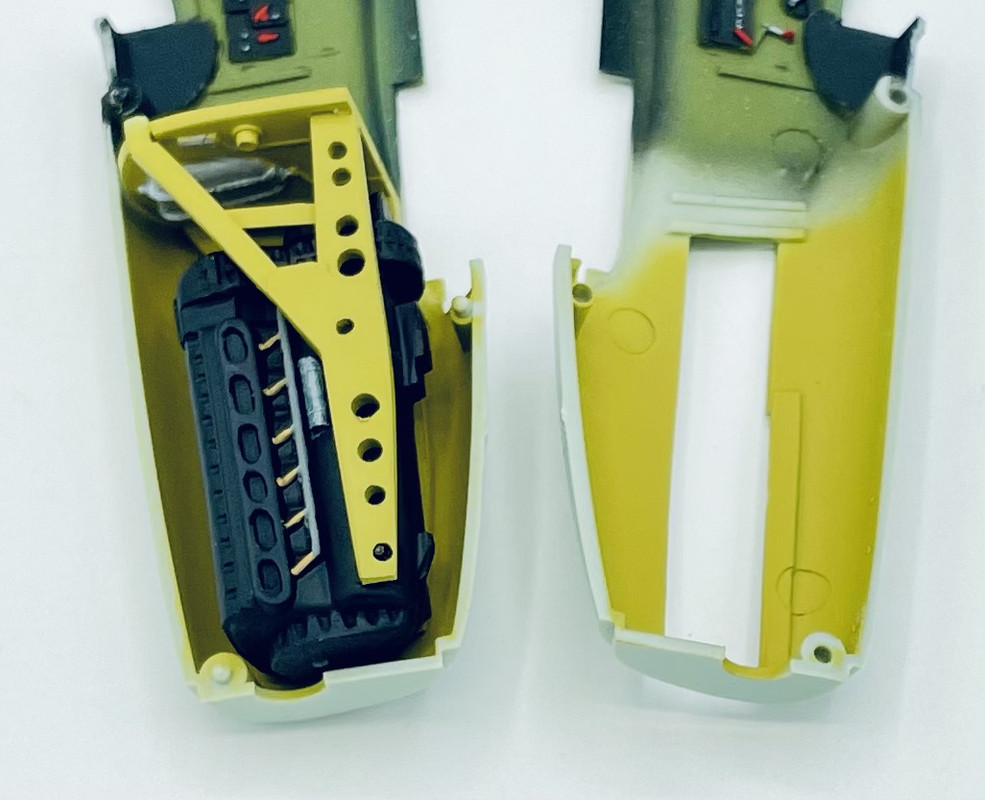
I still need to add a seat harness… once that is done, I’ll install the cockpit and get the fuselage closed up. I also airbrushed on the aluminum for the bare metal areas of the wing using AK Real Color Aluminum
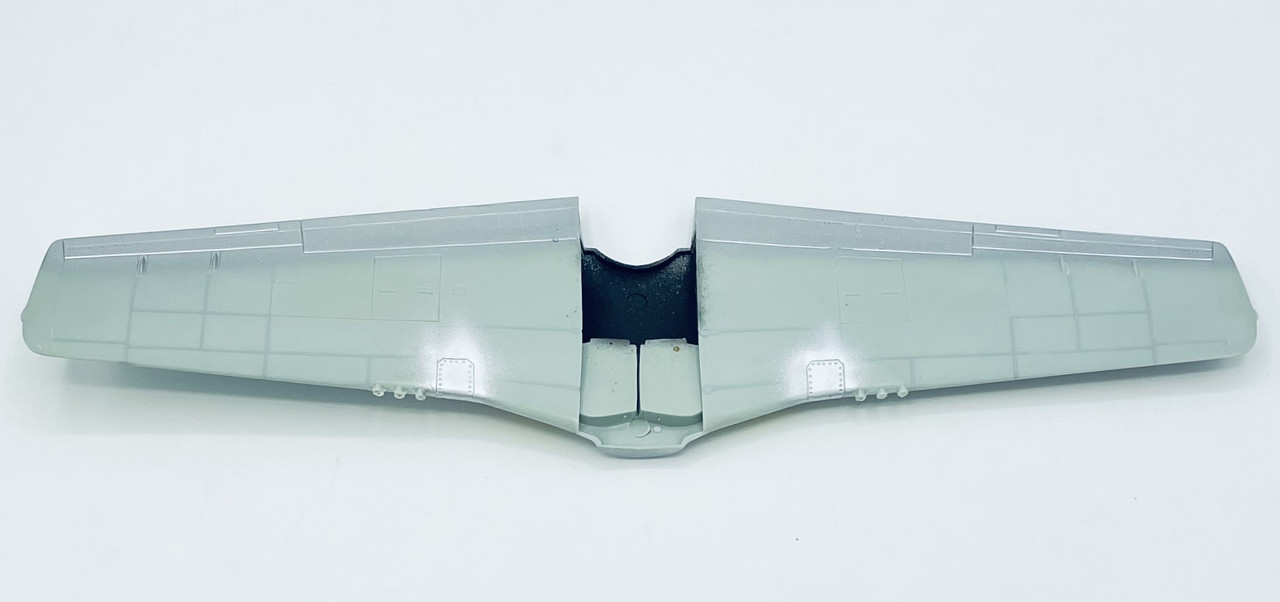
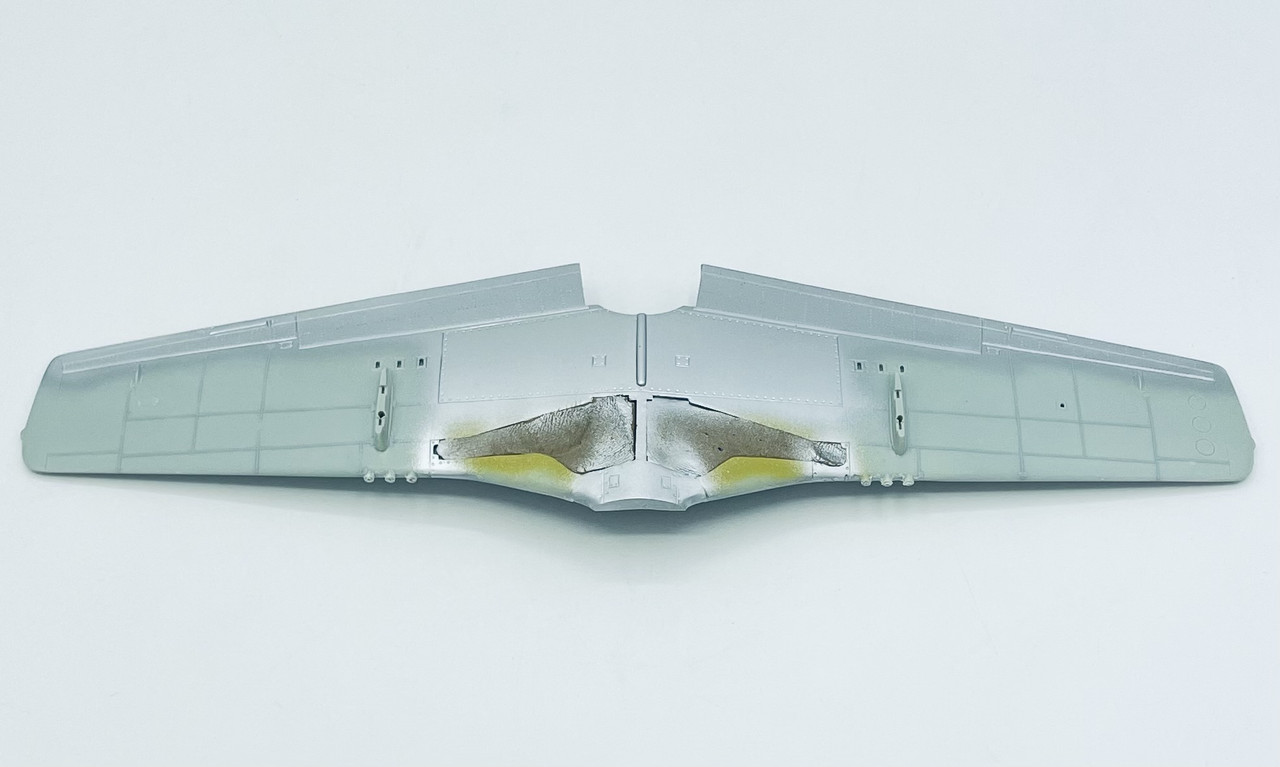
Tomorrow I’ll get those areas masked off, then paint the sealed lacquered areas of the wing using Tamiya LP Gloss Aluminum
Re: 1/48 AMT P-51D
Posted: Wed Apr 16, 2025 2:56 am
by Stuart
All looking very nice Carlos.
I'm looking forward to seeing how the fuselage closes up around that engine - are there additional exhaust stacks or are they moulded on?
Re: 1/48 AMT P-51D
Posted: Wed Apr 16, 2025 9:49 am
by Stikpusher
Thanks Stuart. Test fitting shows that the fuselage closes up nicely around the engine. The exhaust stacks are added
after the fuselage is close up.

I still need to drill out the openings on those.

Re: 1/48 AMT P-51D
Posted: Wed Apr 16, 2025 3:52 pm
by Stikpusher
Lots of progress on this today…
First I airbrushed on a coat of Tamiy LP Gloss Aluminum onto the lacquered areas of the wings.
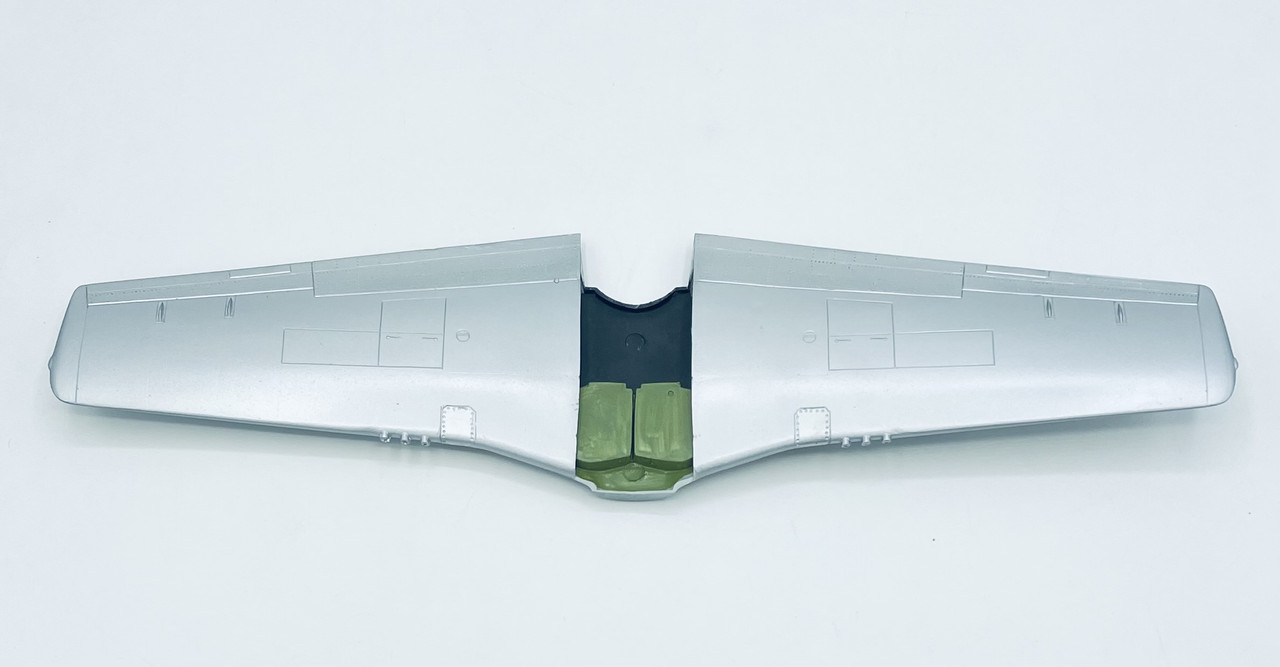
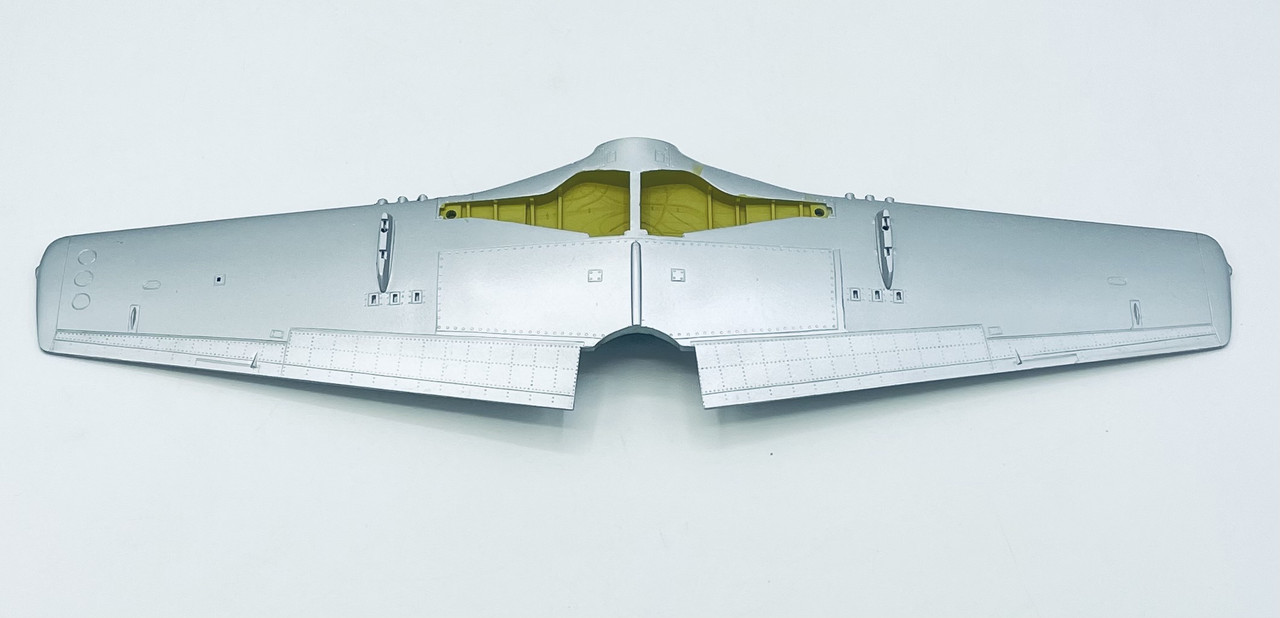
The contrast with the AK Real Color Aluminum is more noticeable in person, depending upon the angle and brightness of the light source…
Next I got the cockpit finished up and ready for installation
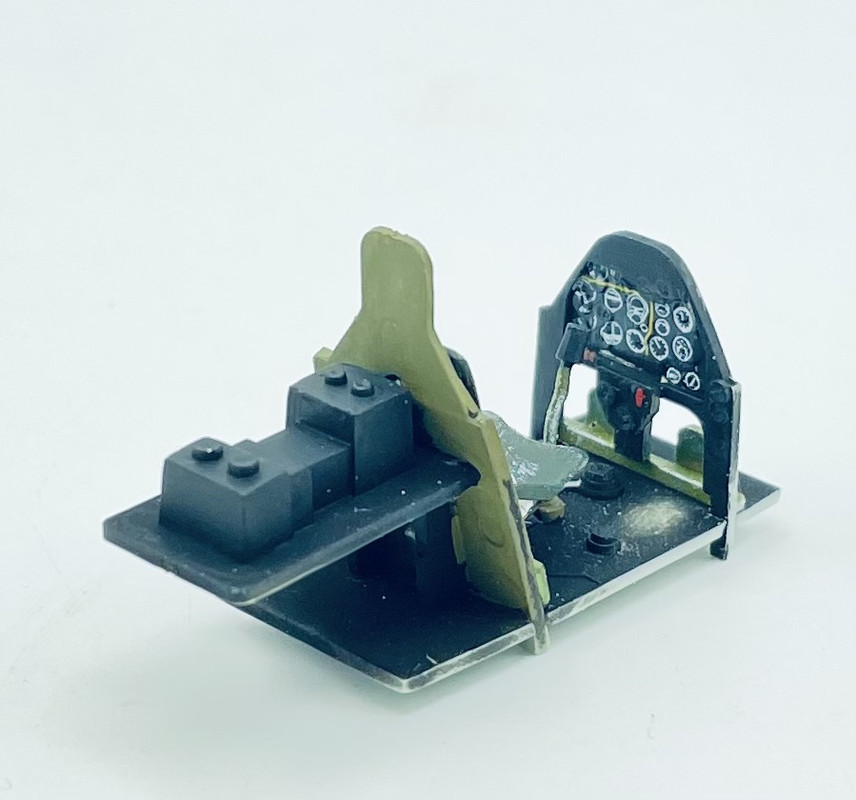
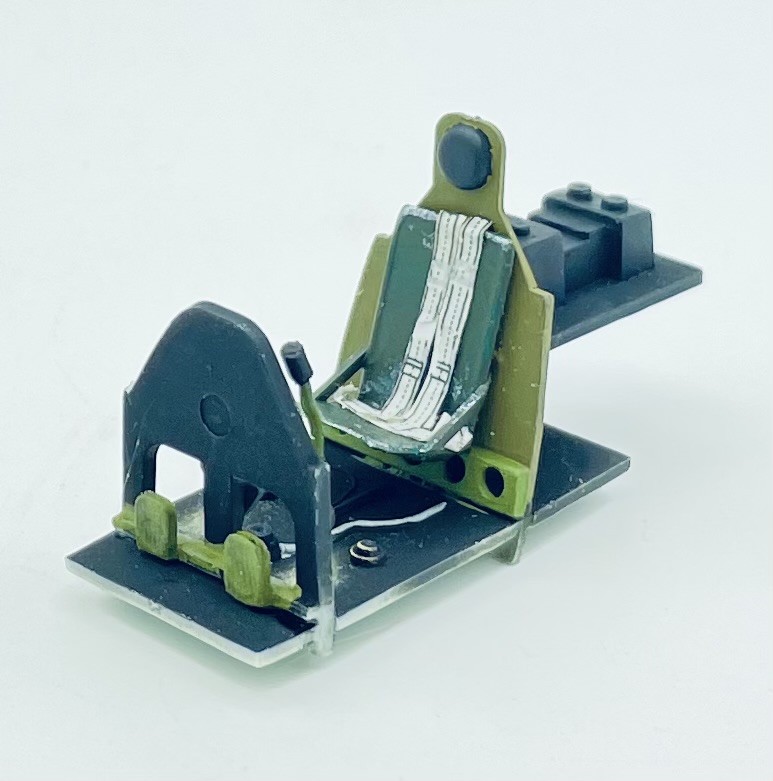
Then I glued the cockpit into place on the fuselage right half. I had glued the engine in place last night
I have since glued the fuselage halves together and have them rubber banded and clamped while the glue is drying…
Re: 1/48 AMT P-51D
Posted: Thu Apr 17, 2025 4:13 am
by Stuart
Good looking cockpit Carlos - those decals worked well. Your idea of putting the belts onto paper always looks good.
Doe this kit not have any radiator detail?
Re: 1/48 AMT P-51D
Posted: Thu Apr 17, 2025 9:16 am
by Stikpusher
Thanks Stuart! No, there is no radiator detail, insert, etc in there…. only an open hole where that item should be. So that’s why I painted it black in that part. The majority of shortfalls on these Otaki kits are in regards to anything on the inside of the airframe. Cockpits, engines, wheel wells, etc. Exterior outlines/shapes are good, panel line and rivet detailing are quite nice, especially later in the series. But the innards are weak. Ah well, this isn’t going to be a contest model anyways.
Re: 1/48 AMT P-51D
Posted: Thu Apr 17, 2025 10:32 am
by Medicman71
It looks great Stik!
Re: 1/48 AMT P-51D
Posted: Thu Apr 17, 2025 11:26 am
by KSaarni
I have a weak spot for cockpits, looks really good Carlos!
- Kari
Re: 1/48 AMT P-51D
Posted: Thu Apr 17, 2025 2:11 pm
by Stikpusher
Mike & Kari, thank you!
Kari, this cockpit is nothing to write home about, just some basic paint & decal work.

Re: 1/48 AMT P-51D
Posted: Thu Apr 17, 2025 2:14 pm
by BlackSheep214
