Good points Bruce - I was just thinking about the dimple cockpit I scratched up for the 410 I built a while back...
...once the canopy was on none of it could be seen. I'd certainly wouldn't go much further than the IP, seat and handles if you're planning on having the cockpit closed.
I'm looking forward to seeing what you guys do with them!
Stuart Templeton 'I may not be good but I'm slow...'
speedgraflex wrote: There are a missing rear pair of windows (well, technically Lindberg left these as engravings not as openings) that need to be created somehow; maybe by drilling openings, maybe a vacform or some other method.
Creating those rear windows might be easier than you think Bruce. Drill the area out, but leave full framing. If the opening is around 1/4” diameter or less (6.35mm to you folks elsewhere outside the USA ) you can use Micro Kleer or a similar clear glue to create a new clear panel. If it’s larger, sheet of clear plastic or acetate will work just fine as a replacement.
"Surely I have made my meaning plain? I intend to avenge myself upon you, Admiral. I have deprived your ship of power, and when I swing 'round, I intend to deprive you of your life."
I dropped this YouTube link because it answers questions for me and hopefully others as well:
Even though this is the V8, I think clearly the design is similar to the D version which followed. Plus it is always good to have the human scale, figures moving, interactions with the aircraft. Suddenly this is no longer just an object; its purpose is defined.
Floki wrote:Bruce I think I have some leftover PE parts from either a 109 or 190 you are welcome to have. Foot pedals, maybe a IP and side panels.
Thanks, Clint. I keep turning over your generous offer in my mind. If you do have the pieces, would you send them? Please and thanks!
Stuart wrote:Good points Bruce - I was just thinking about the dimple cockpit I scratched up for the 410 I built a while back...
Stuart, beautiful work on your cockpit. I will keep in mind not to go too far. I think that is for the best. I do plan to model the aircraft with an open cockpit, so that does open up the area a little for more inspection.
Stikpusher wrote:Creating those rear windows might be easier than you think Bruce. Drill the area out, but leave full framing. If the opening is around 1/4” diameter or less (6.35mm to you folks elsewhere outside the USA ) you can use Micro Kleer or a similar clear glue to create a new clear panel. If it’s larger, sheet of clear plastic or acetate will work just fine as a replacement.
Carlos, great point made about using Krystal Kleer. I was going to try using the clear blister pack material from a package of razors. Ralph’s keeps giving me coupons for razors. Anti-beard Covid marketing, perhaps?
That makes two of us. Bruce your surgical precision is excellent. Man I would never try this on my own. Just give me a plain old Out of the Box model any day of the week,
The Duke
Virtuoso of Miniatures
"Do you know what the chain of command is? It's the chain I get and beat you with 'till you understand who's in ruttin' command!"
-Jayne Cobb, Firefly Episode 2 "The Train Job"
We are modelers - the same in spirit, in hunger to insanely buy newly released kits, hustlers in hiding our stash from our better halves and experts in using garbage as replacements for after-market parts.
Thanks Bruce for sharing. In the meantime several progress steps were done.
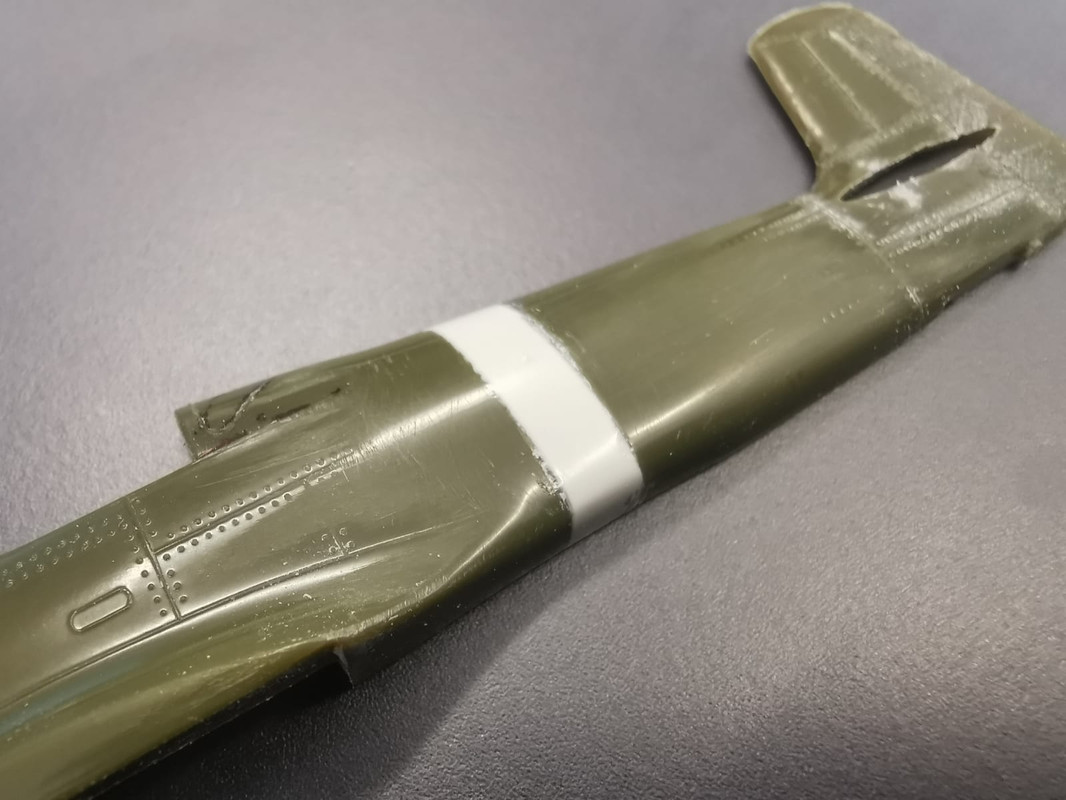
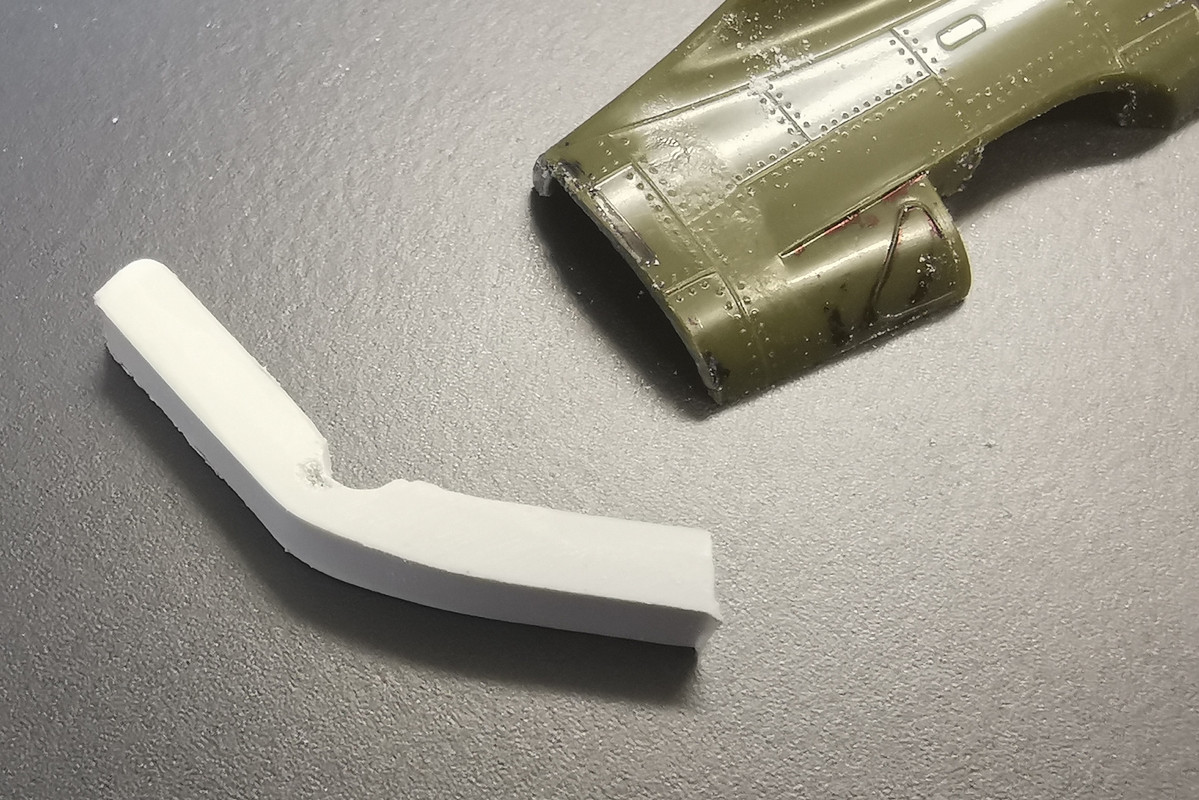
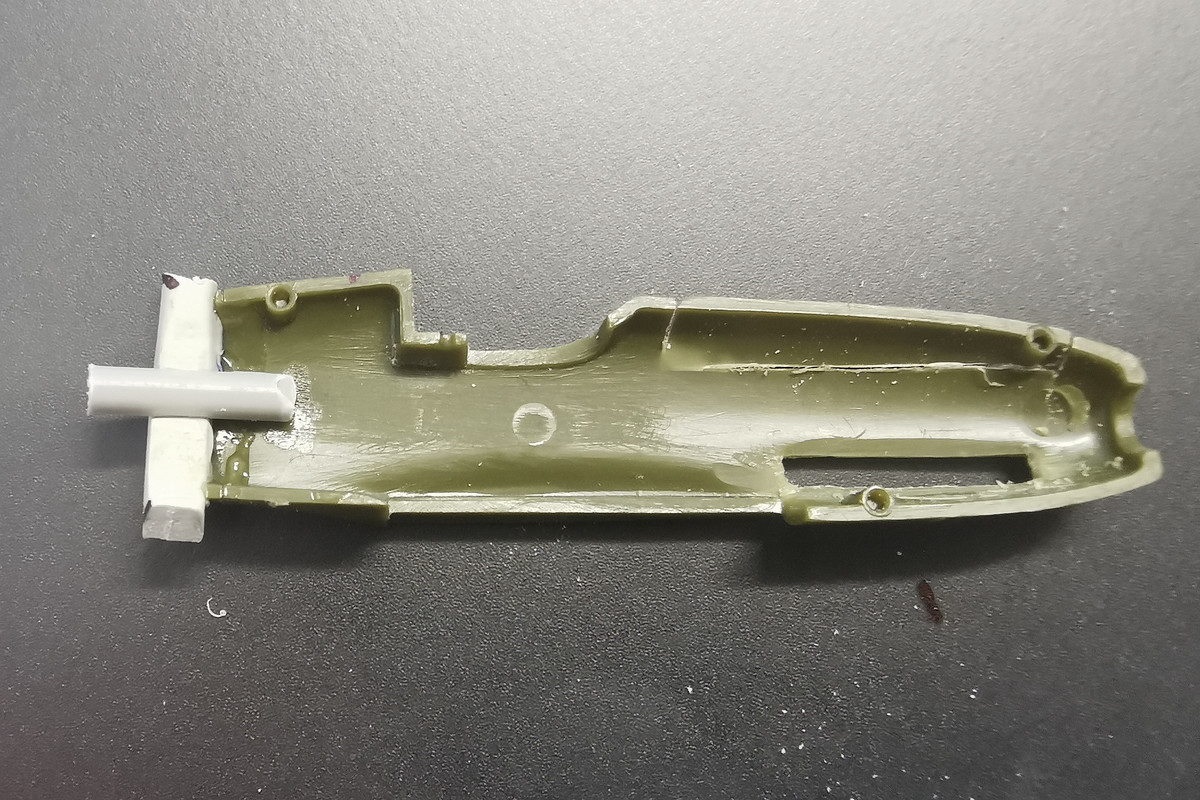
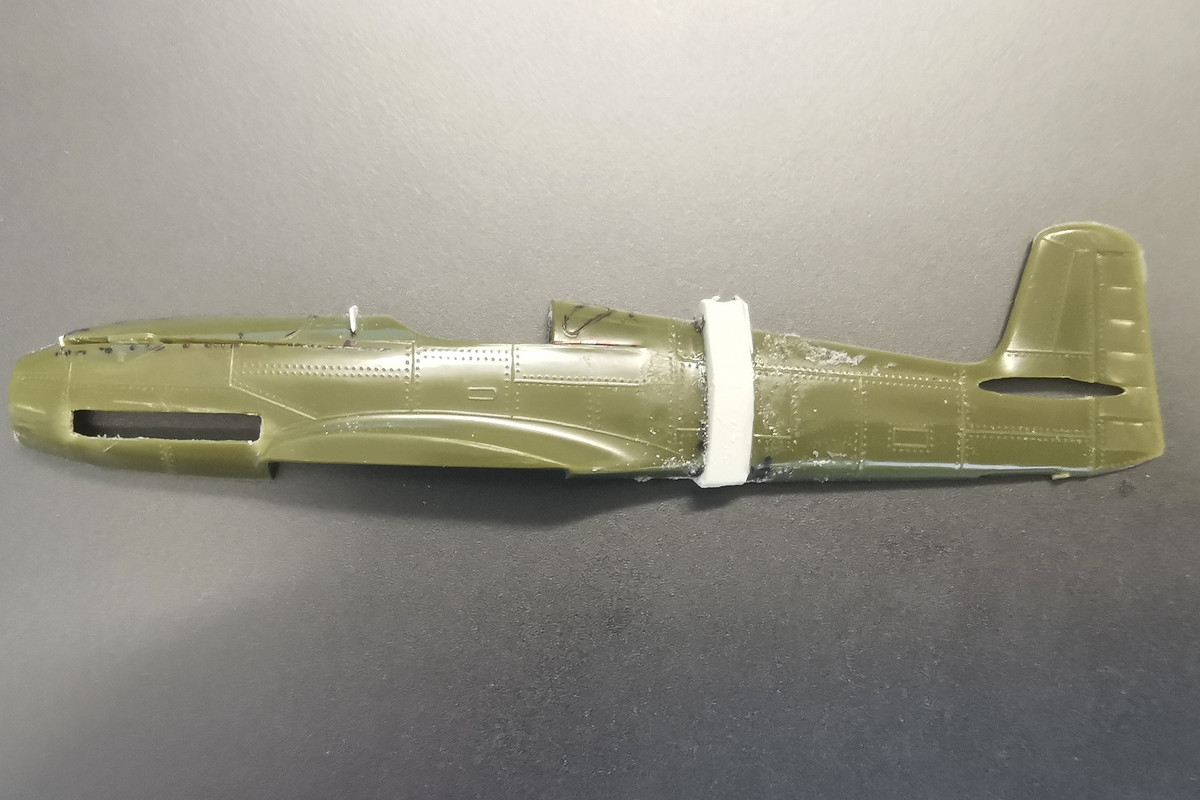
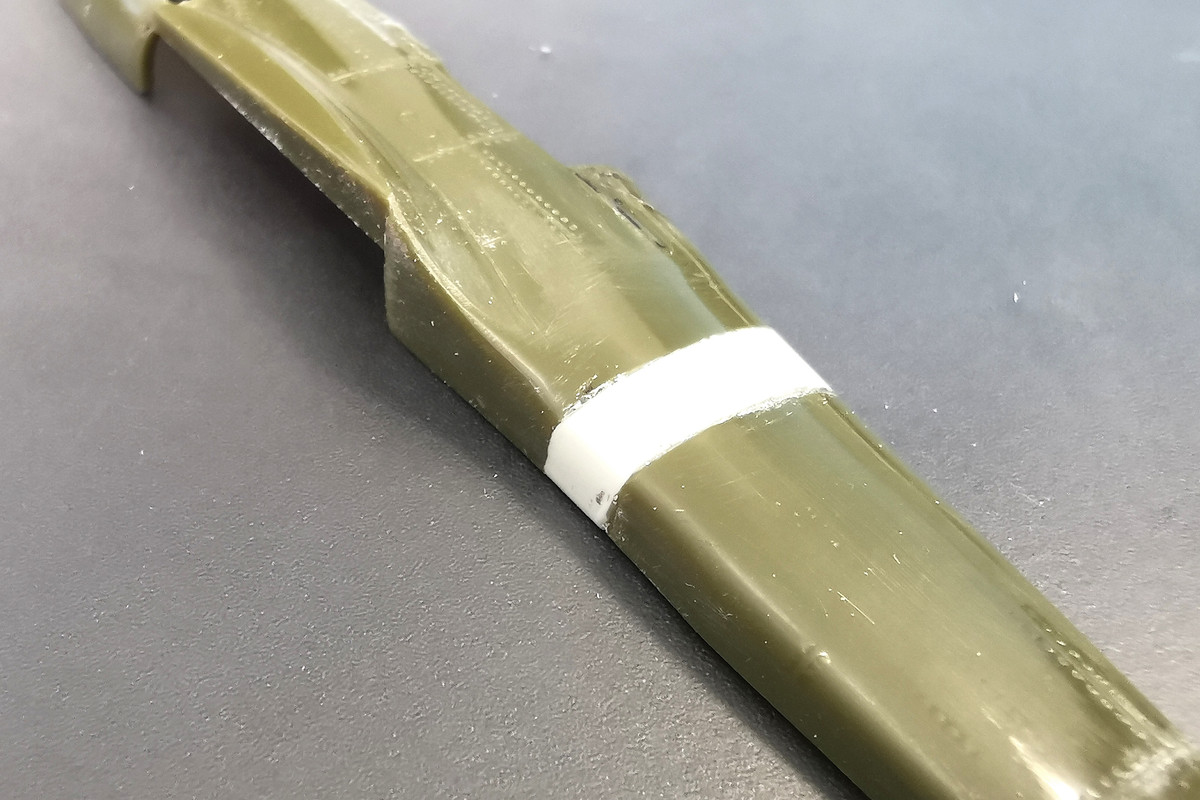
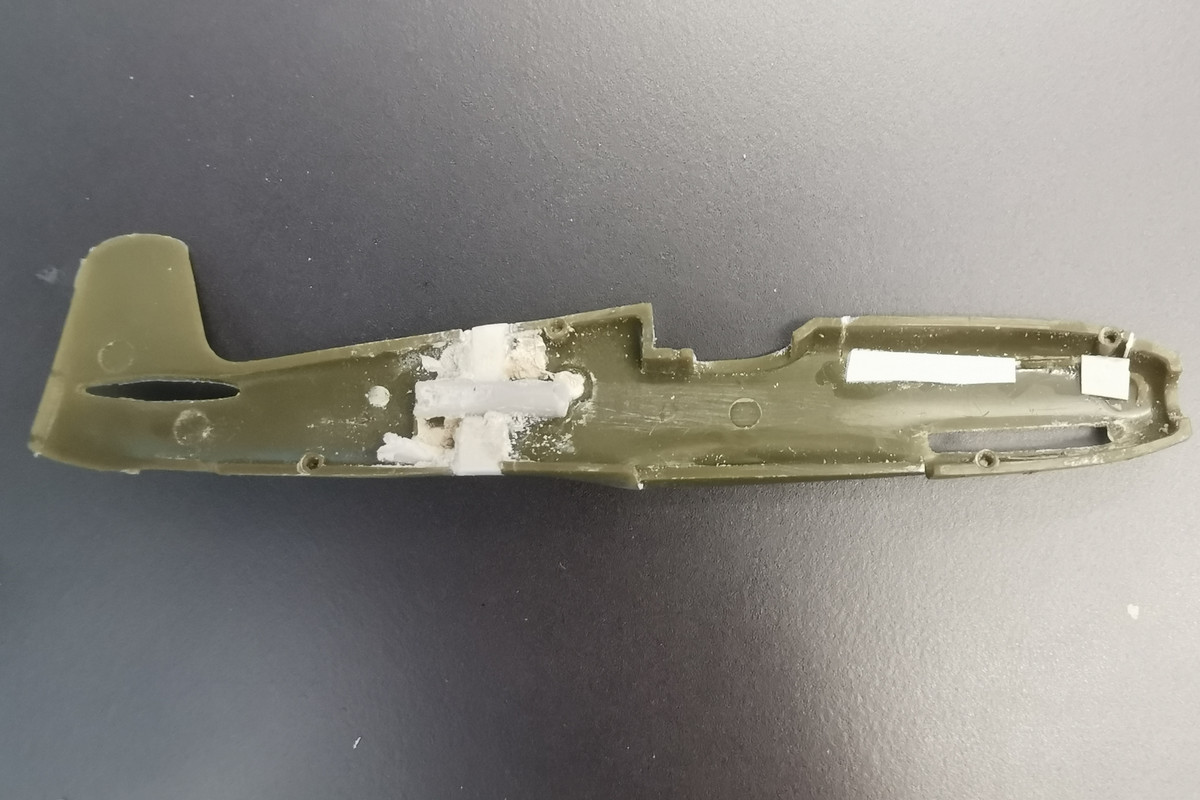
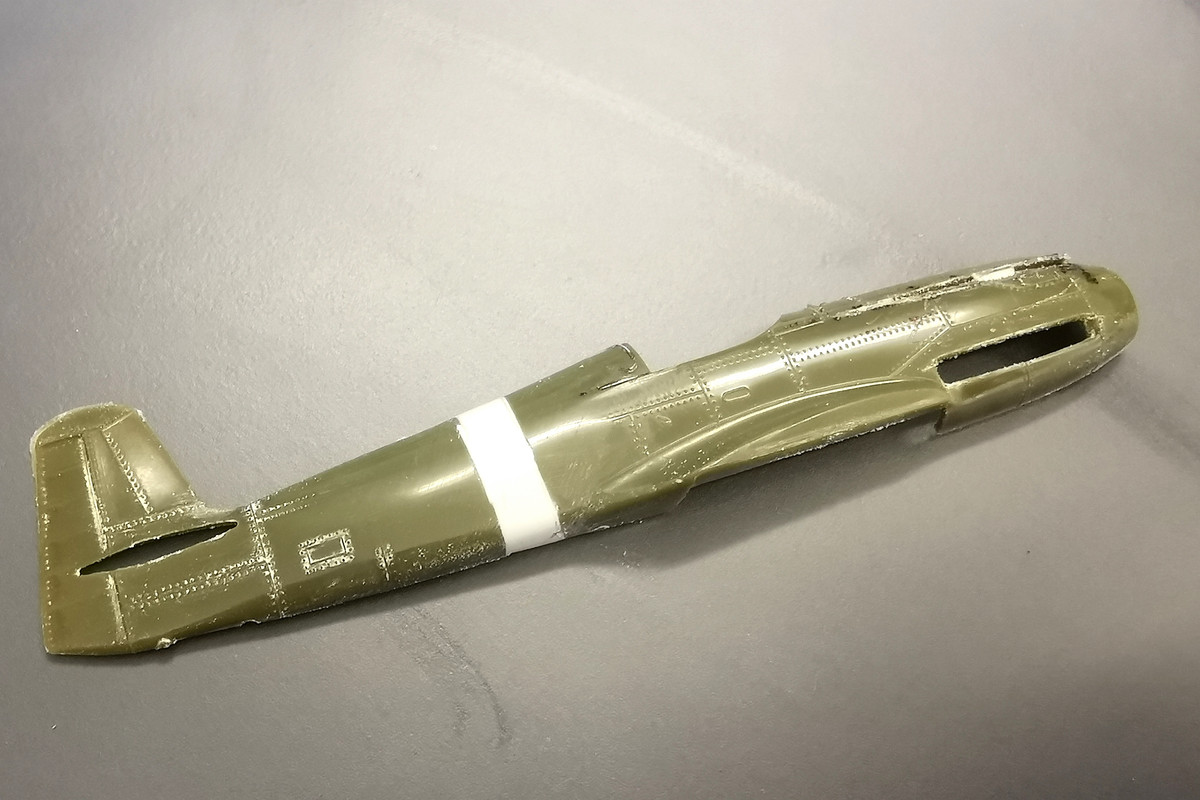
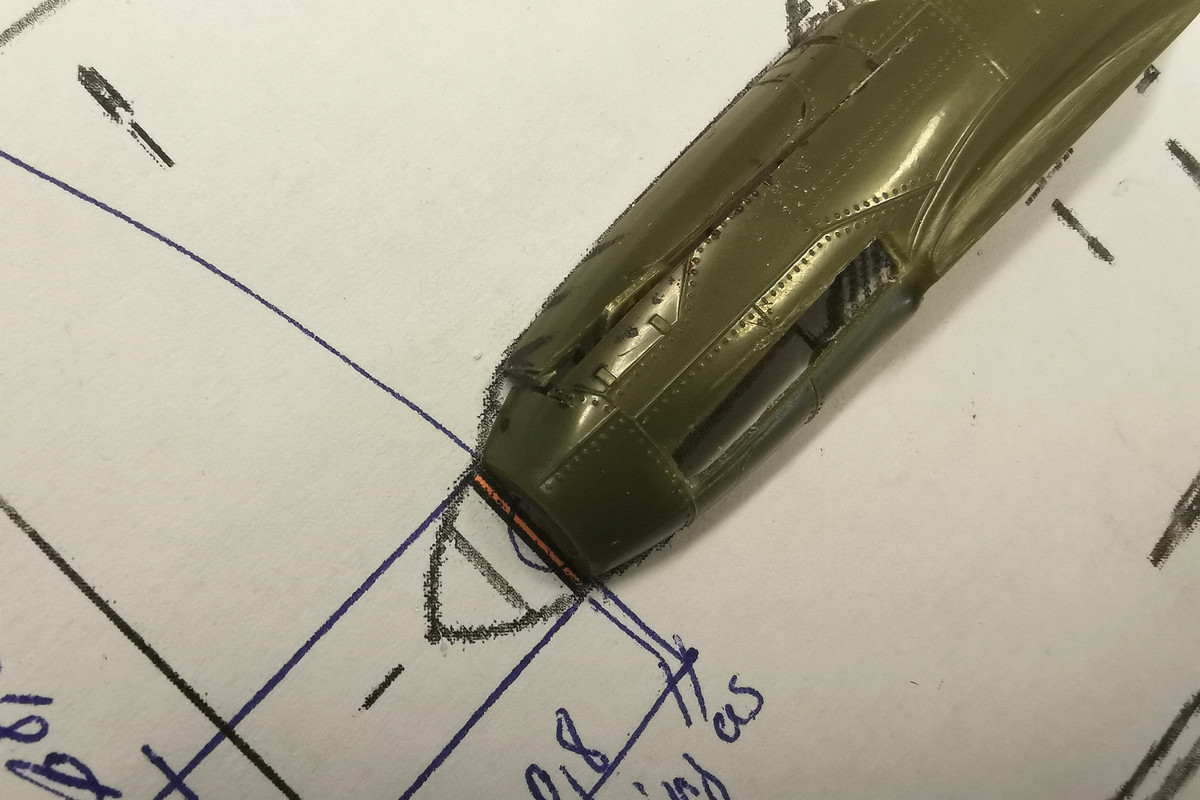
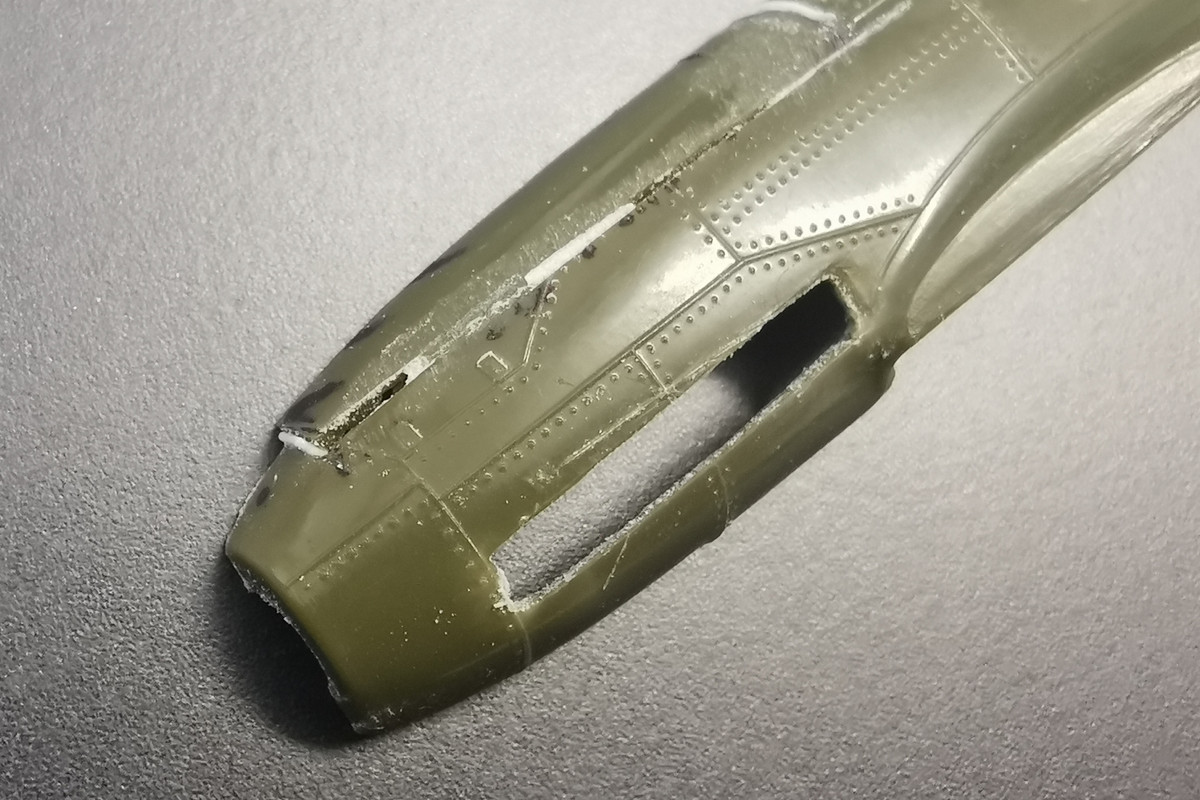
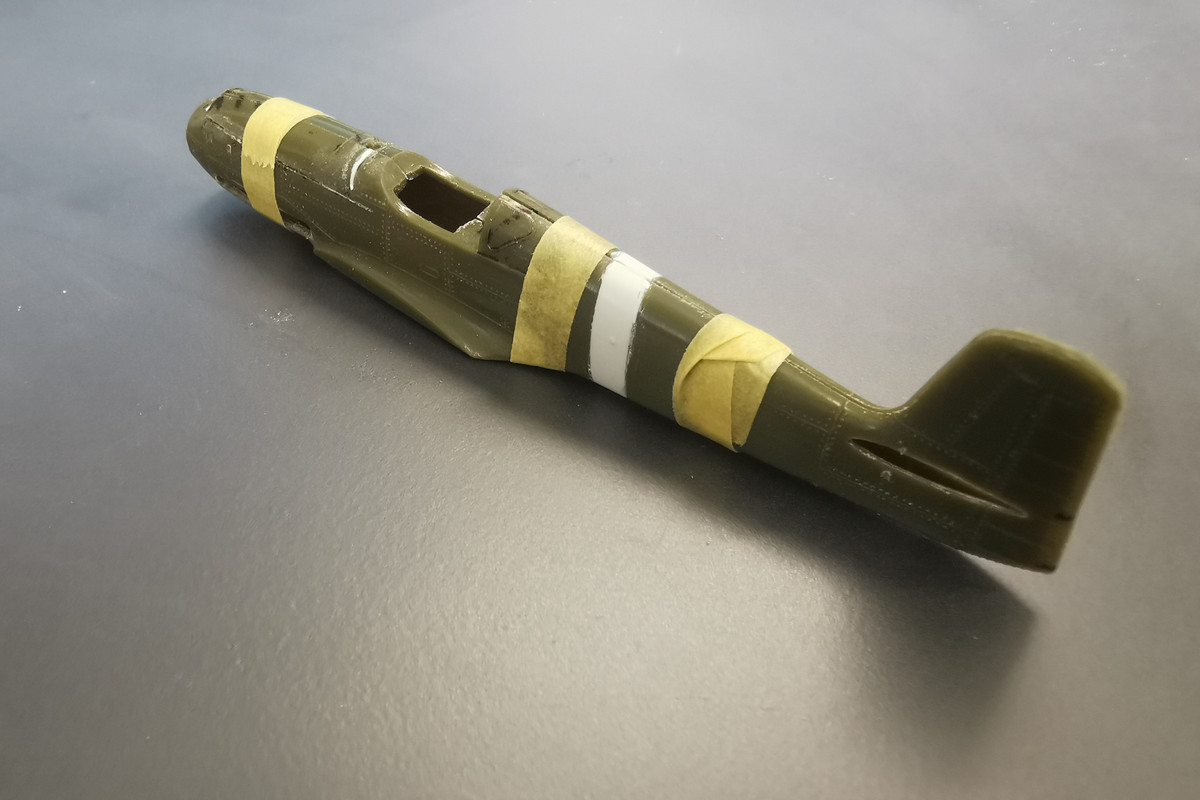
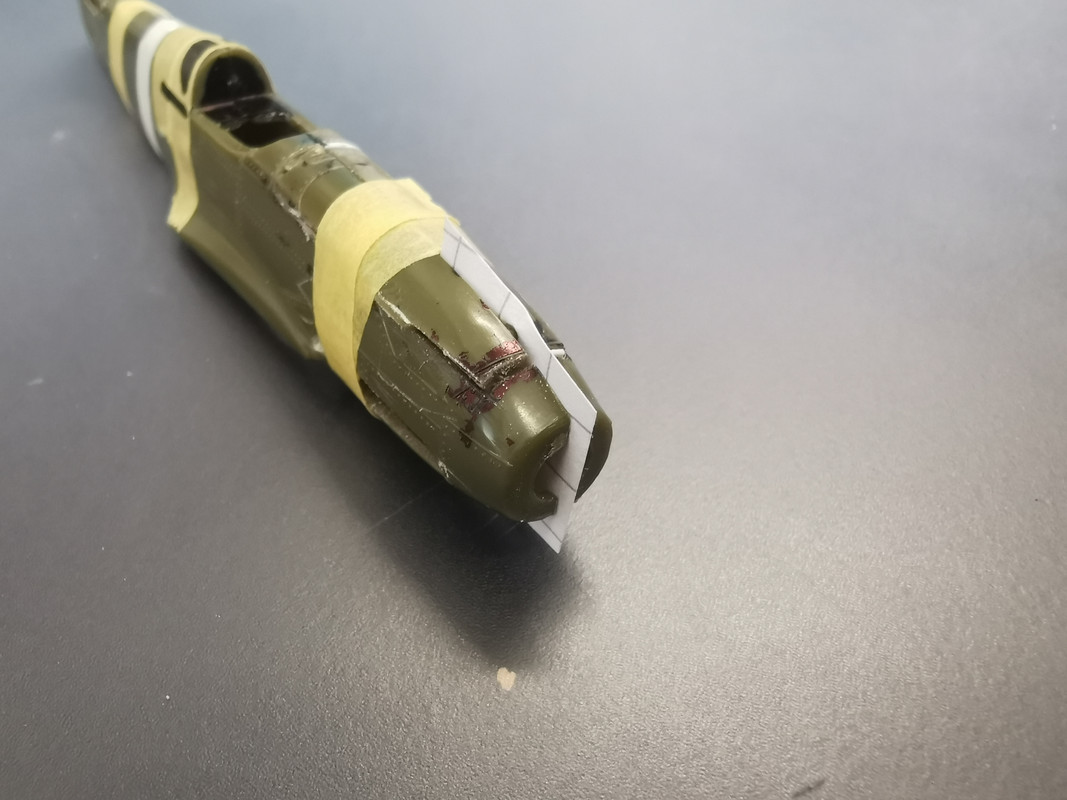
After cutting the fuselage halfs into two pieces each side and preparation of the cowling modification I started to reassemble the fuselage halfs but 4 mm roundabout longer. Therfore I used a very thick sprue and hot-formed it over each side of the front fuselage piece to get it into a rough shape. Following step was to attach the fuselage halfs to the sprue and glue it together. I used several times Tamiya extra thin and superglue. Also I added some stiffing elements made of sprues.
Last edited by Bolleken on Fri Jun 18, 2021 7:25 am, edited 2 times in total.
Last step for today was to remodel the cowling sections. I added a sheet of paper between the two halfs and put on a lot of Revell Plasto filler. For me it is easier to sand-off than sond-on...
Sanding will be done with provisional assembled halves to get a smooth surface on both sides.



 ) you can use Micro Kleer or a similar clear glue to create a new clear panel. If it’s larger, sheet of clear plastic or acetate will work just fine as a replacement.