Page 5 of 6
Re: Infinity 1/32 Aichi D3A1 - The Constanza Rule
Posted: Fri Jul 07, 2023 5:40 pm
by TheMongoose
Just beautiful! That IP is to die for

Re: Infinity 1/32 Aichi D3A1 - The Constanza Rule
Posted: Fri Jul 07, 2023 7:15 pm
by Stikpusher
I was wondering how you would approach some of those gaps between the pushrods and cylinder heads, but once the cowling is in place, they are not visible. Very wise to pick and choose your battles.
Re: Infinity 1/32 Aichi D3A1 - The Constanza Rule
Posted: Fri Jul 07, 2023 7:43 pm
by Medicman71
Man that engine looks awesome!!
Re: Infinity 1/32 Aichi D3A1 - The Constanza Rule
Posted: Fri Jul 07, 2023 11:19 pm
by jkim
Thanks guys!
Stikpusher wrote: ↑Fri Jul 07, 2023 7:15 pm
I was wondering how you would approach some of those gaps between the pushrods and cylinder heads, but once the cowling is in place, they are not visible. Very wise to pick and choose your battles.
They were short and also not very uniform. I was considering cutting the pushrods off and replacing them with something else but it would've been a pain to try get the angles right AND cut brass tubing to fit and I didn't have any styrene rods in that size. Because the cowling opening is fairly large, you can probably make out the gaps if you look hard enough but I was willing to live with it and move on.
So I retreated from that battle but chose instead to tackle this...
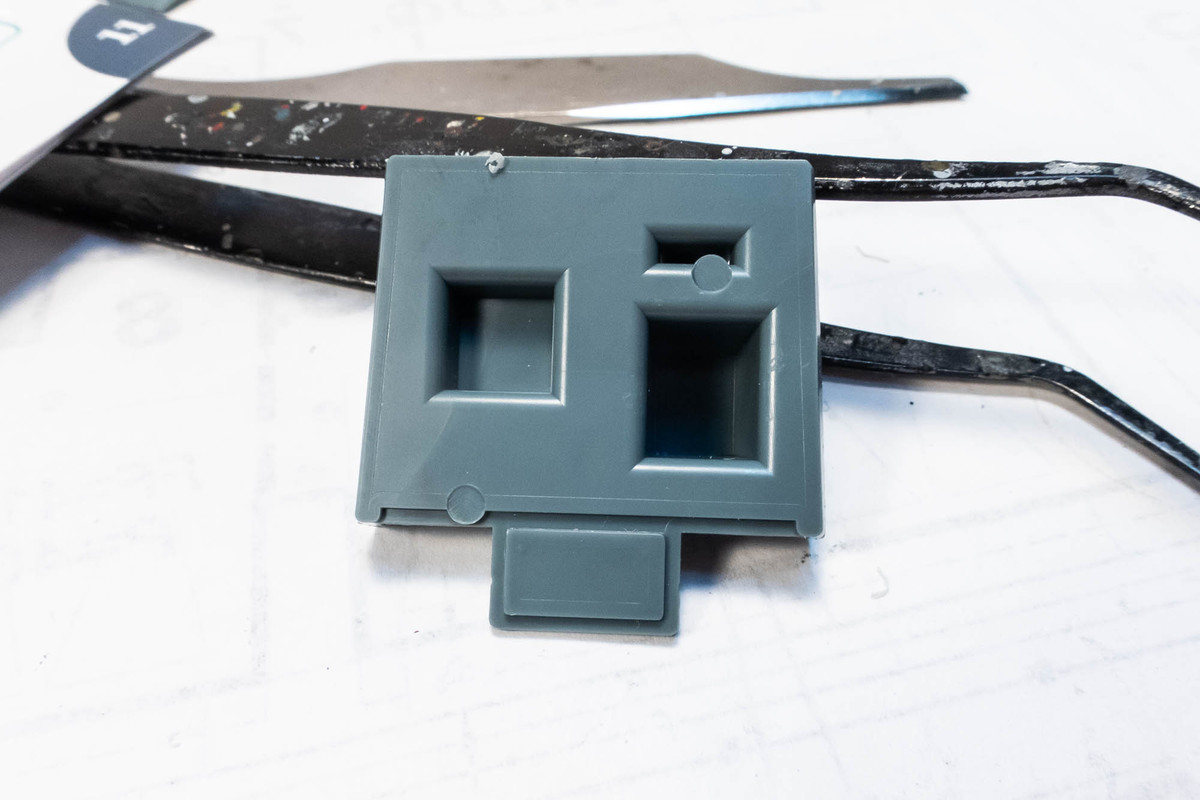
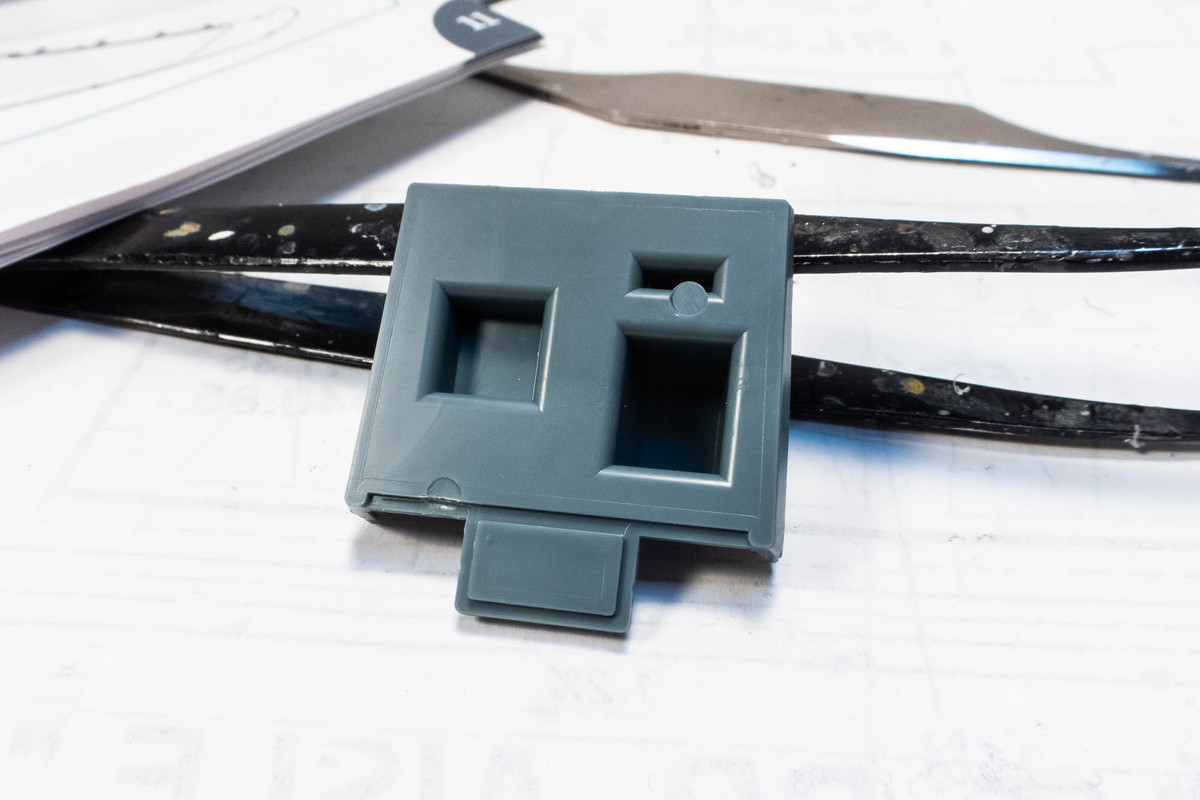
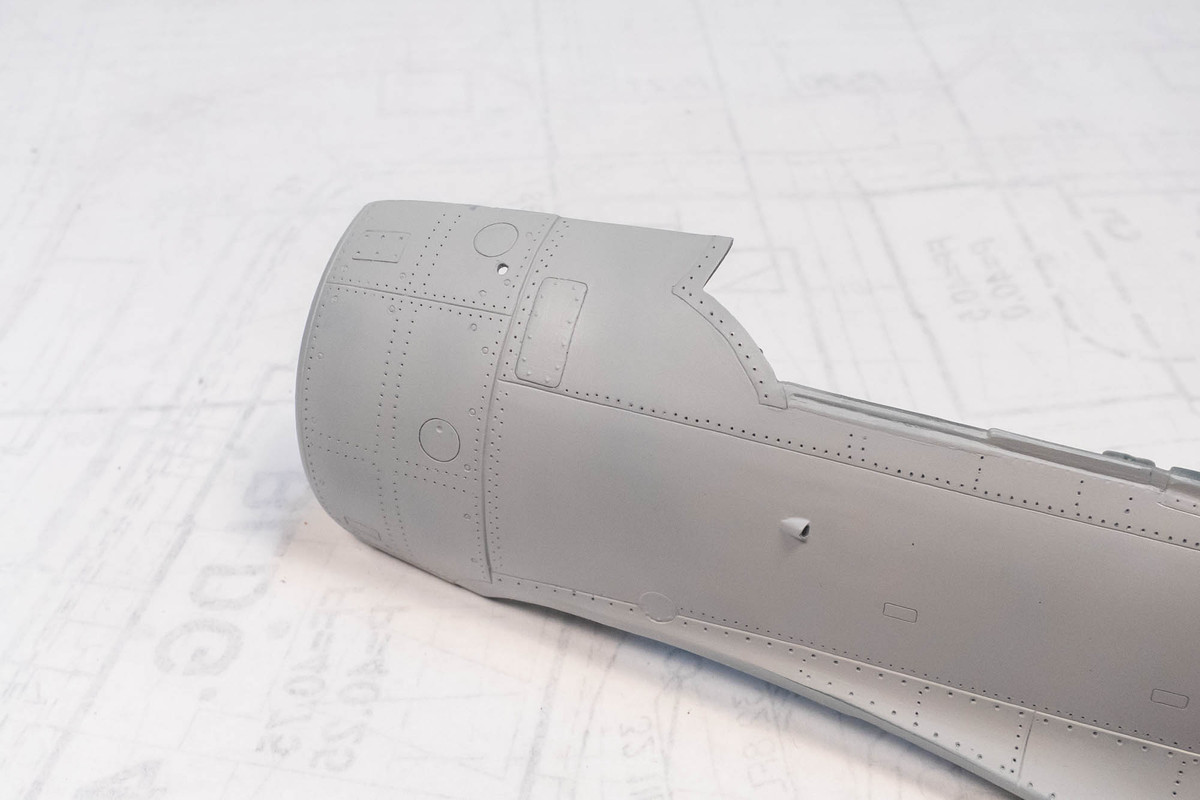
Note the two square hatches on the top of the fuselage behind the engine.
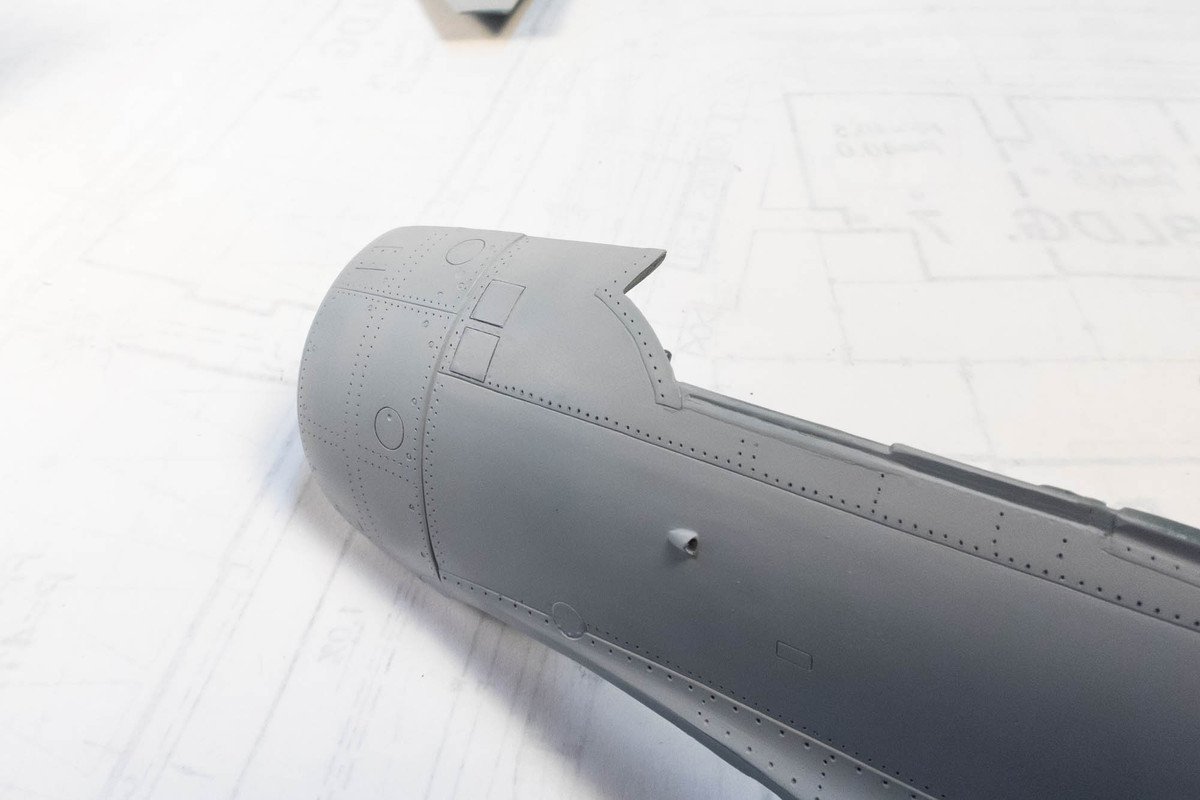
Compare with the photo of the Pearl Harbor D3A1...
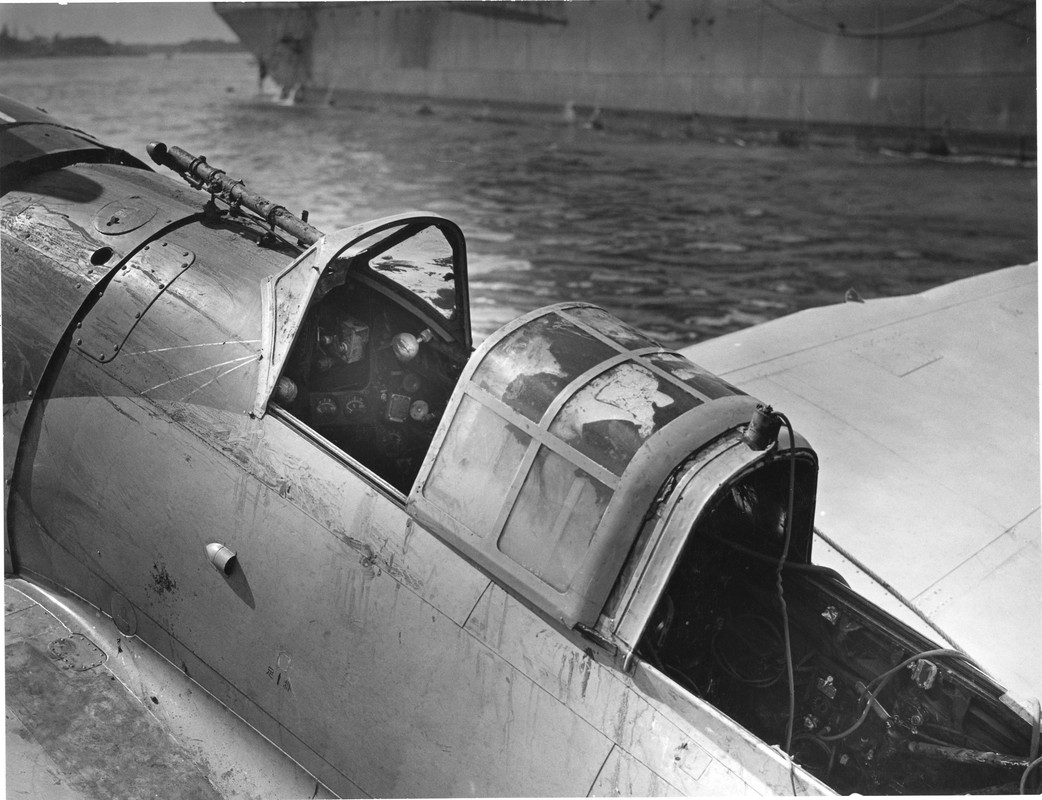
It's obviously a single rectangular hatch with rounded corners and not two square ones. Big raised rivets on it too. I don't know enough about this aircraft to know if there was any variation in these hatches but the photo is clear. I decided to try and convert the double hatches to a single one. It's trickier than a normal scribed panel because panel is slightly raised. I had scribed the outline of the two squares previously. First, I drilled out the hole in front of the hatch, which is also noticeable in the photo. I think it is a vent for the cowling gun.
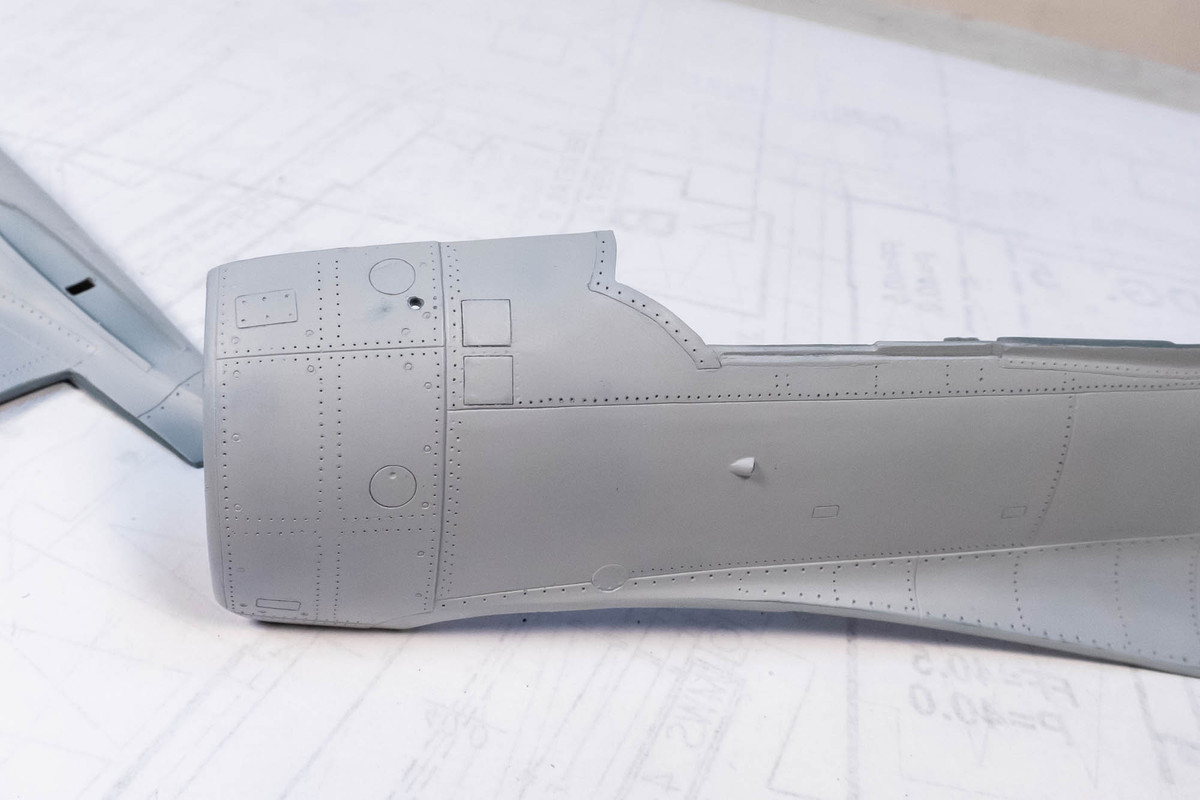
Plastic is pretty thick here so I thinned the plastic around the hole with a rotary tool.
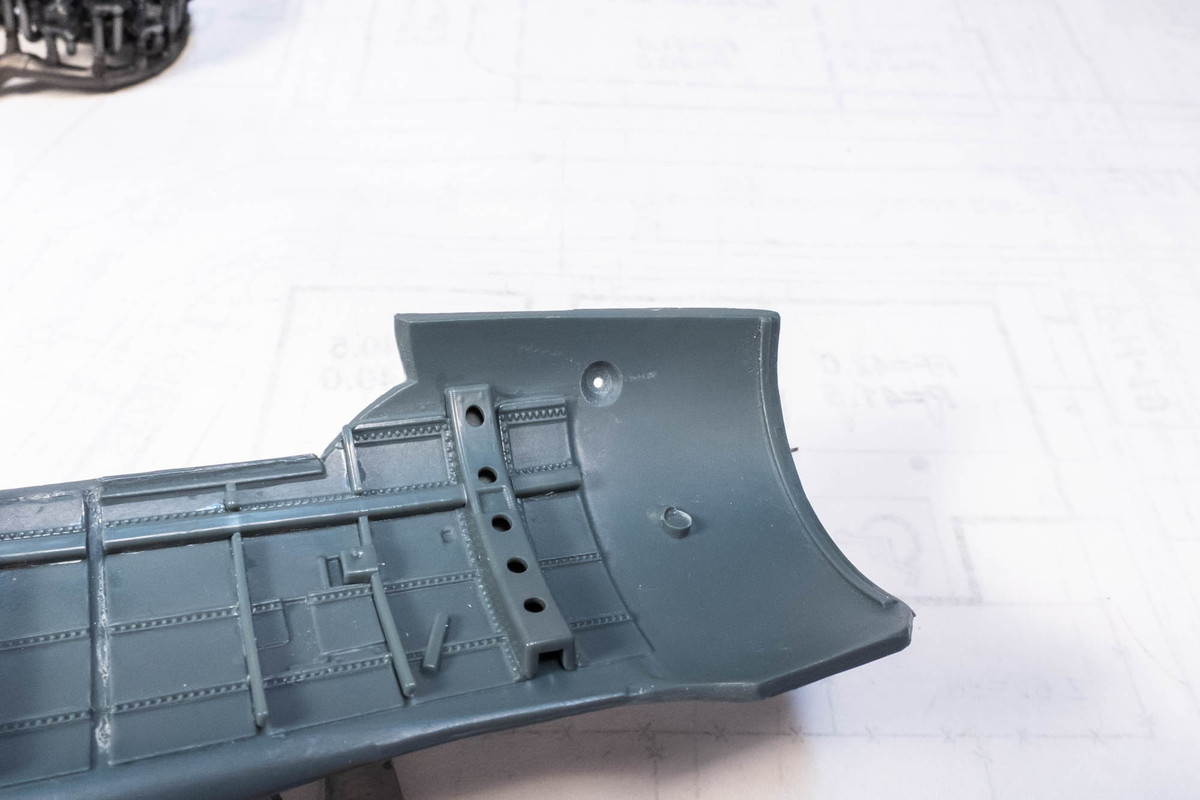
The vertical boundary of the hatch was marked off using tape. I used black CA glue to fill the gap between the two square hatches. It is viscous enough to retain its height and I don't have to deal with the waiting and shrinkage issues if I used a liquid putty like Mr Surfacer.
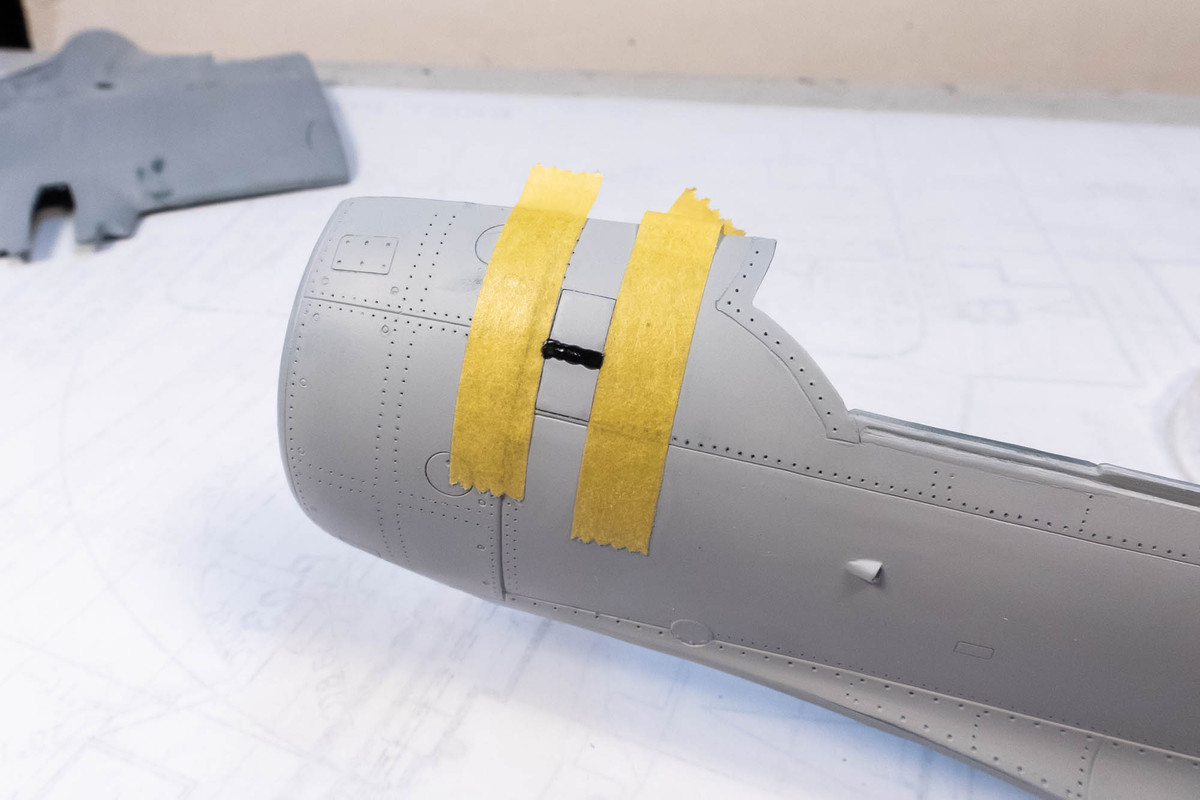
An oscillating sander like the D400 is helpful in leveling off the black CA glue after I've zapped it with activator.
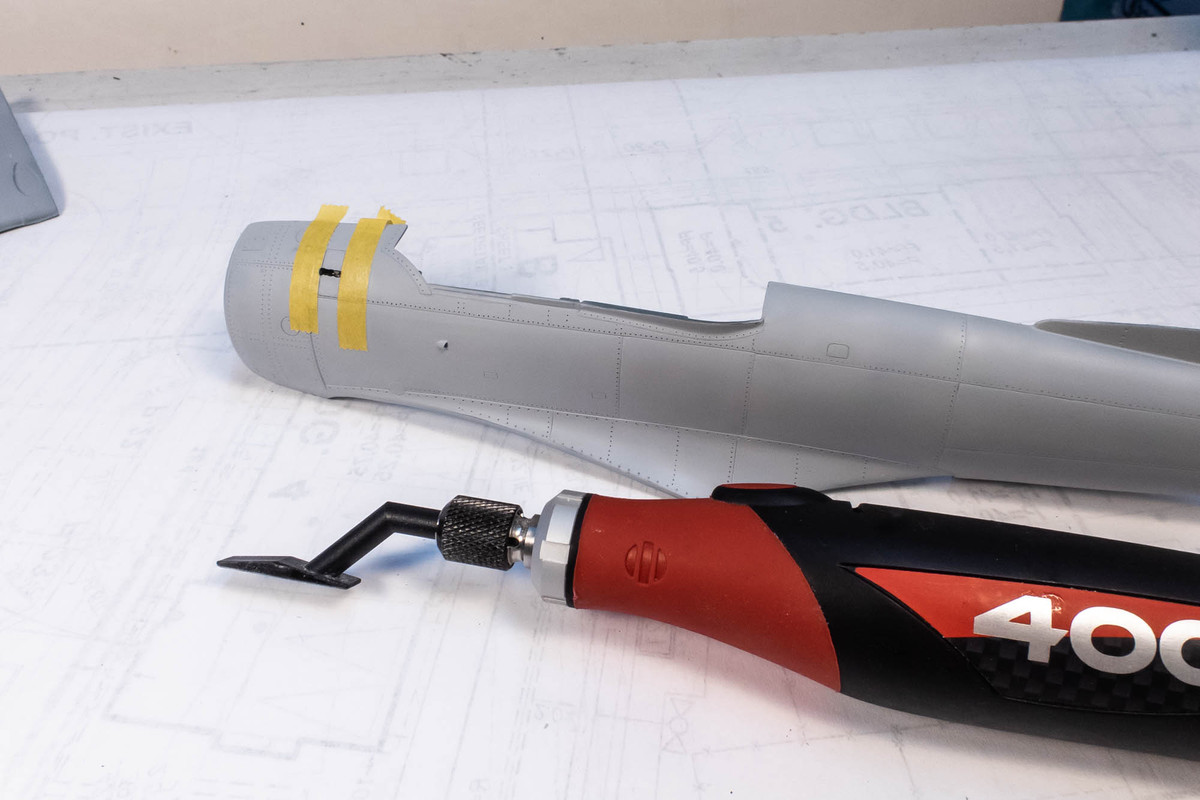
The tape is removed and the final sanding is done by hand.
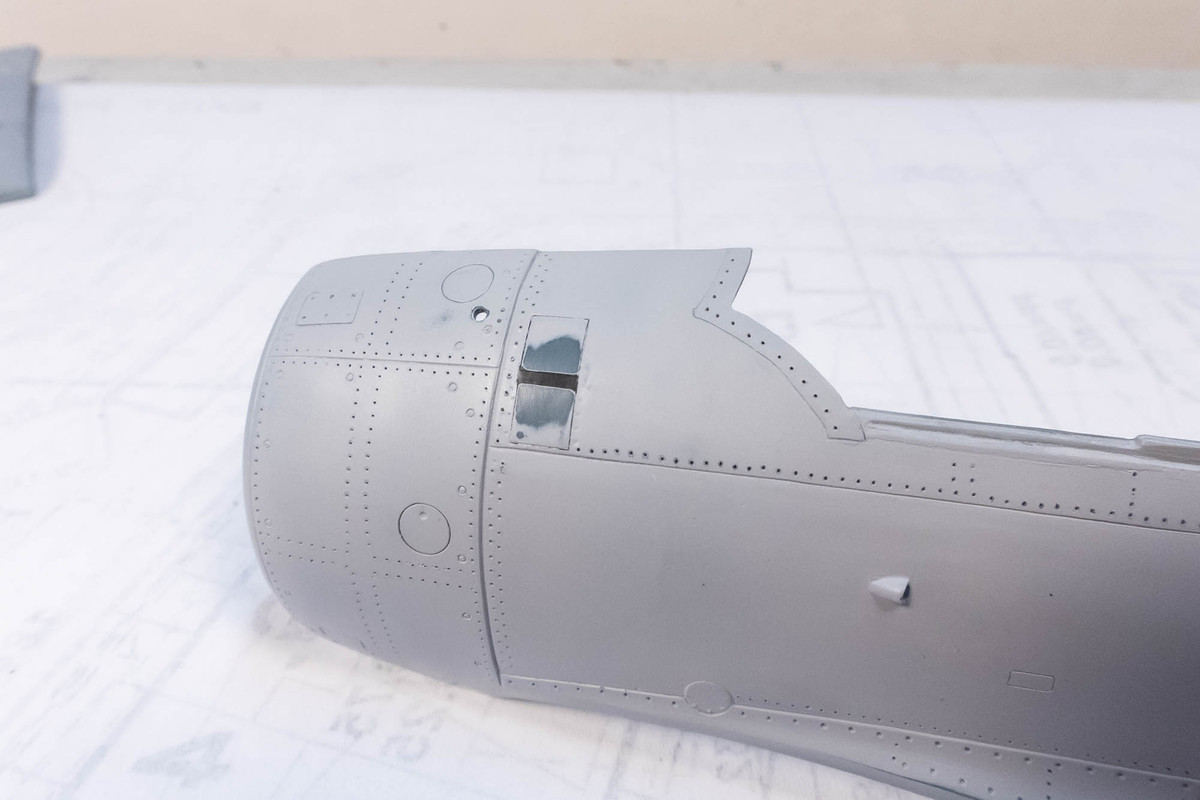
A scribing template and needle was used to round off the corners of the hatch. The Infinity plastic is very soft and it's possible that the plastic can be pushed during the corner scribing and closing the sharp corner without further work. I got lucky on a few corners but had to fill the others with micro applications of Mr Surfacer.
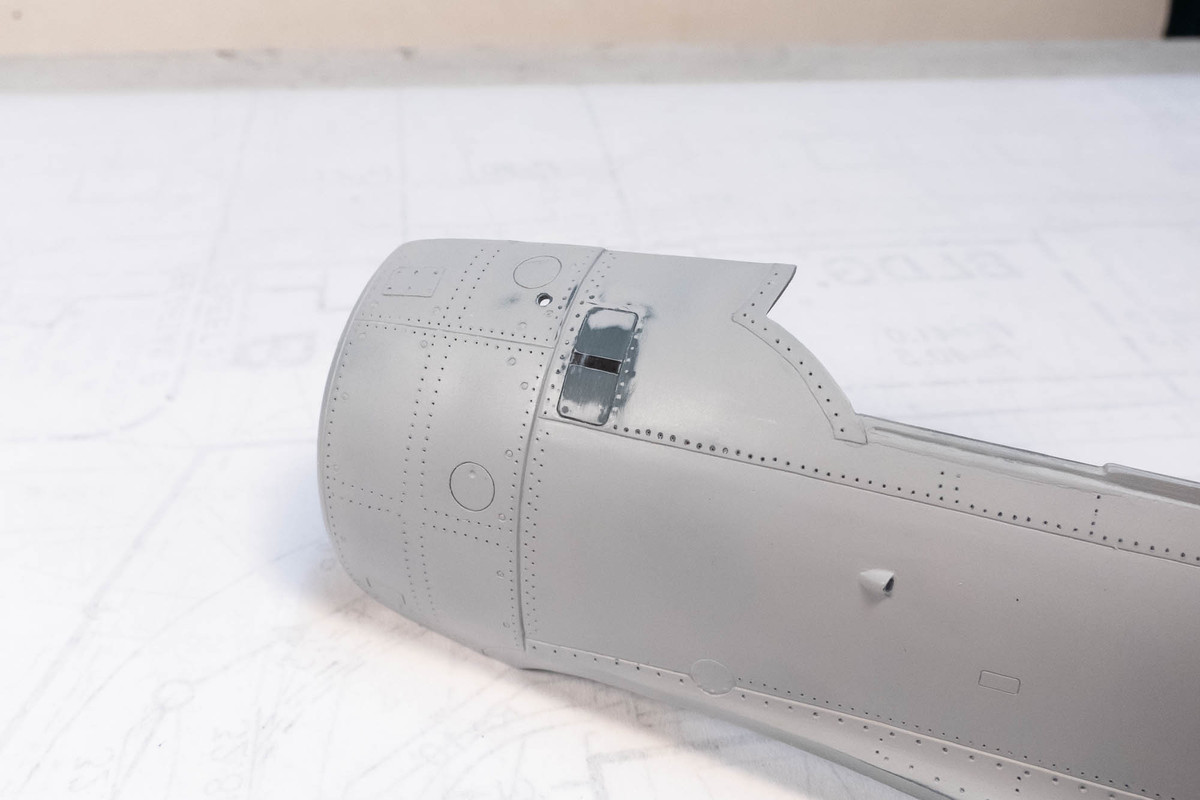
To top off the hatch, I applied raised rivet decals from Archers.
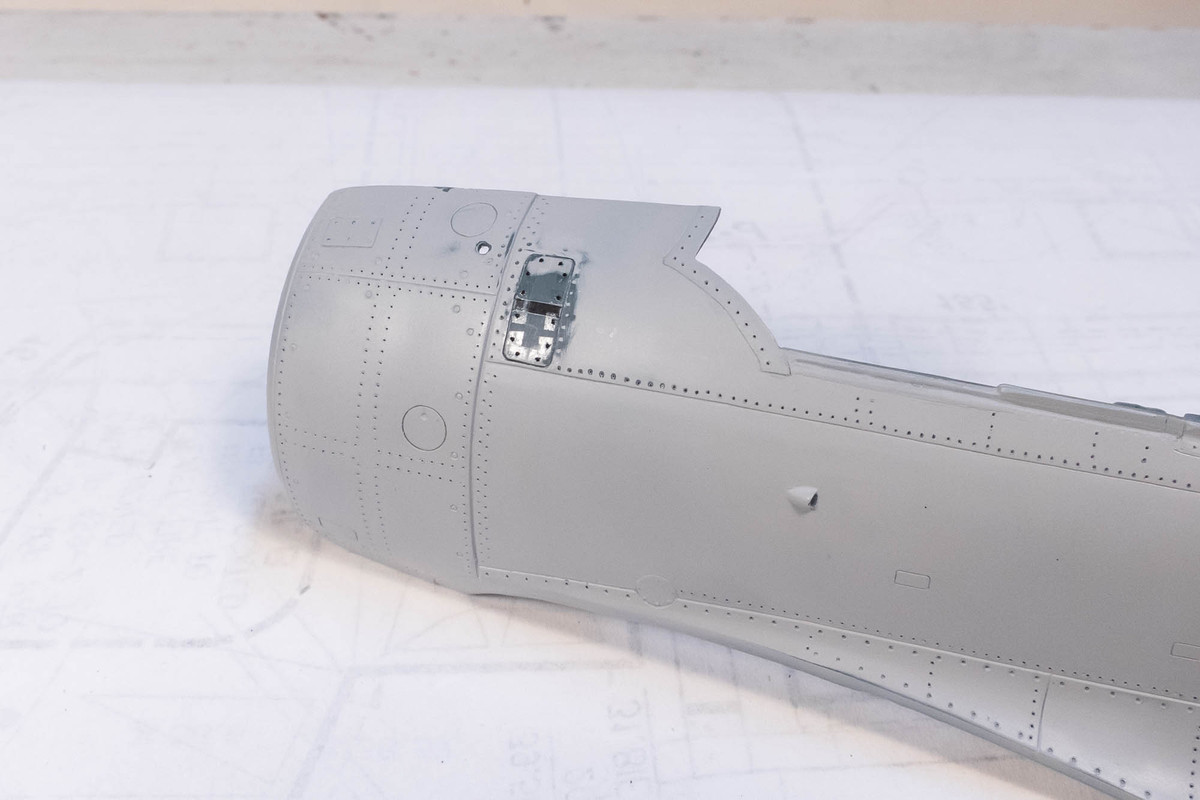
A coat of Mr Primer Surfacer 1000 to reveal the finished hatch. This work is being repeated on the other side.
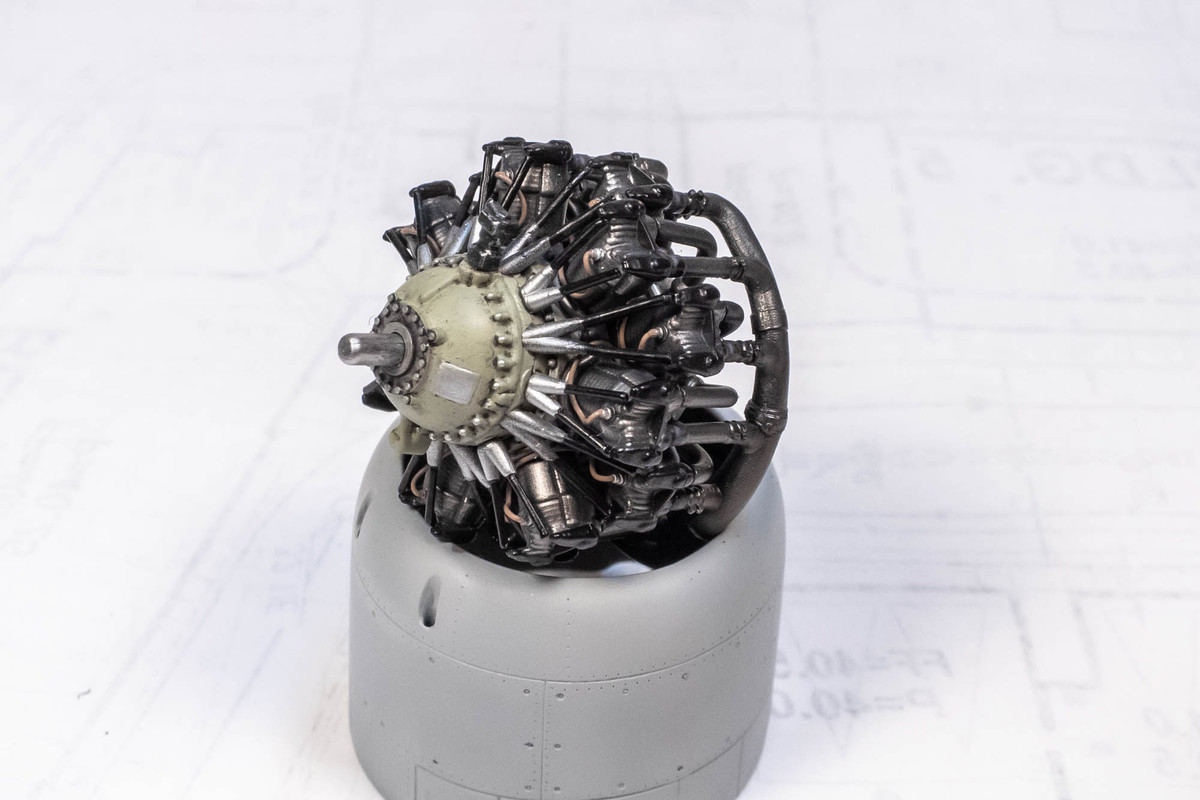
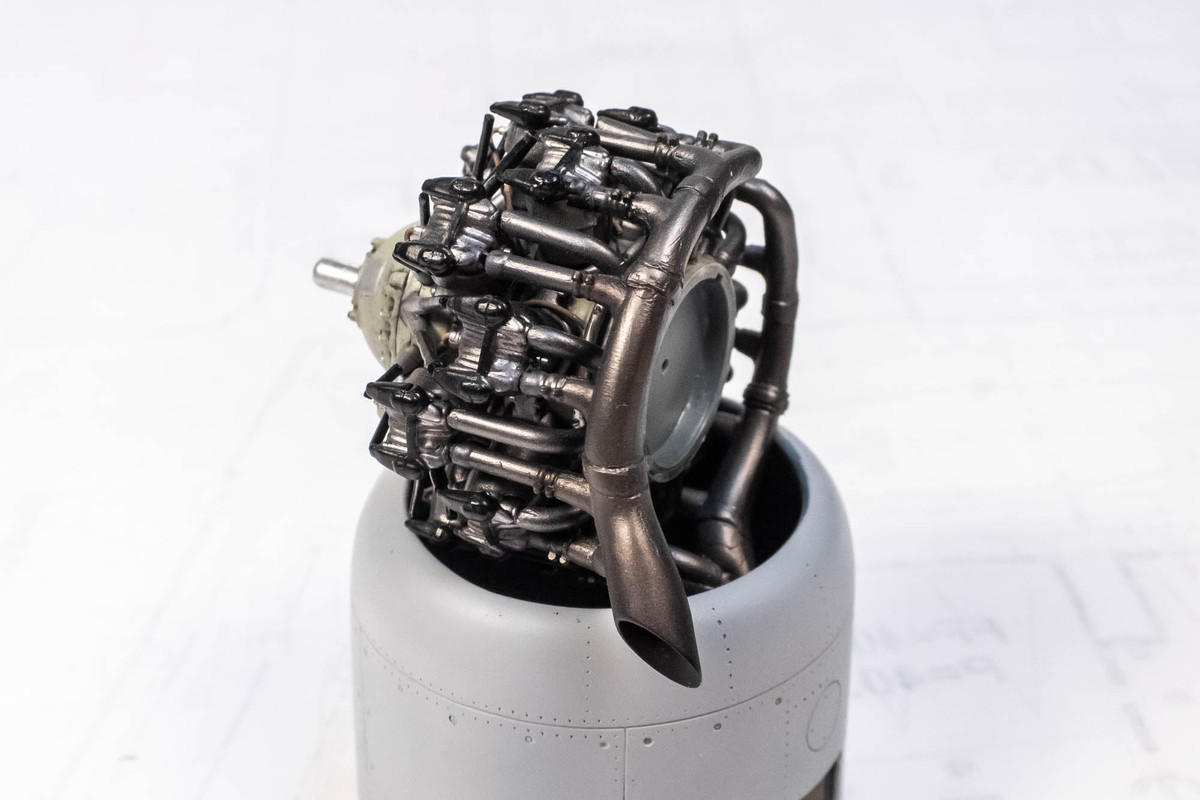
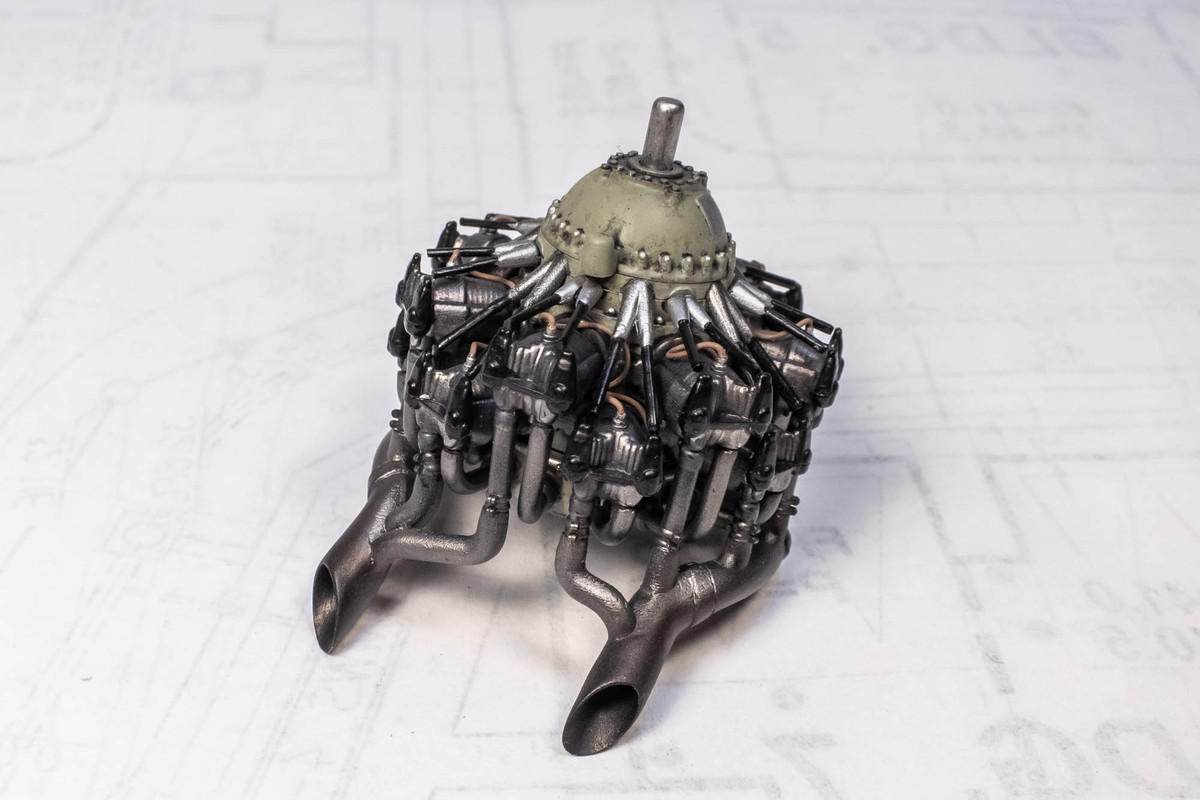
A few more views of the finished engine. Some of the ignition wiring and exhaust manifold pipe connections needed to be touched up with fresh paint.
Re: Infinity 1/32 Aichi D3A1 - The Constanza Rule
Posted: Sat Jul 08, 2023 9:18 am
by Stikpusher
John, if I'm not mistaken, that rectangular hatch that you're correcting is for re-arming the cowl guns. If there is another on the opposite side of the fuselage in the same area, that would be what they are.
Nice work on fixing that panel.
Re: Infinity 1/32 Aichi D3A1 - The Constanza Rule
Posted: Sat Jul 08, 2023 3:58 pm
by jkim
Ahhh... that makes sense, Carlos.
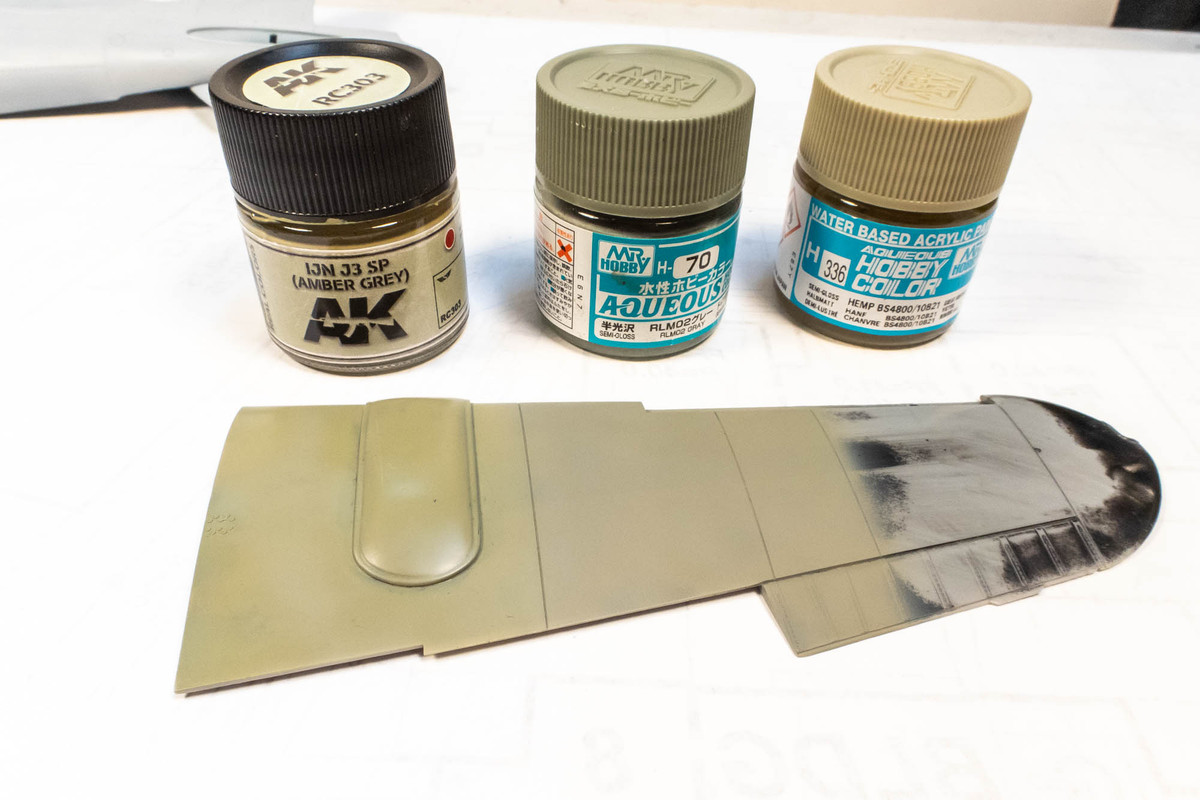
Testing out some exterior colors for the D3A1. On the left hand side of the wing is AK Real Colors IJN Amber Grey (RC 303) and on the right is a 50/50 mix of Mr Hobby Aqueous RLM 02 (H70) and Hemp (H336).
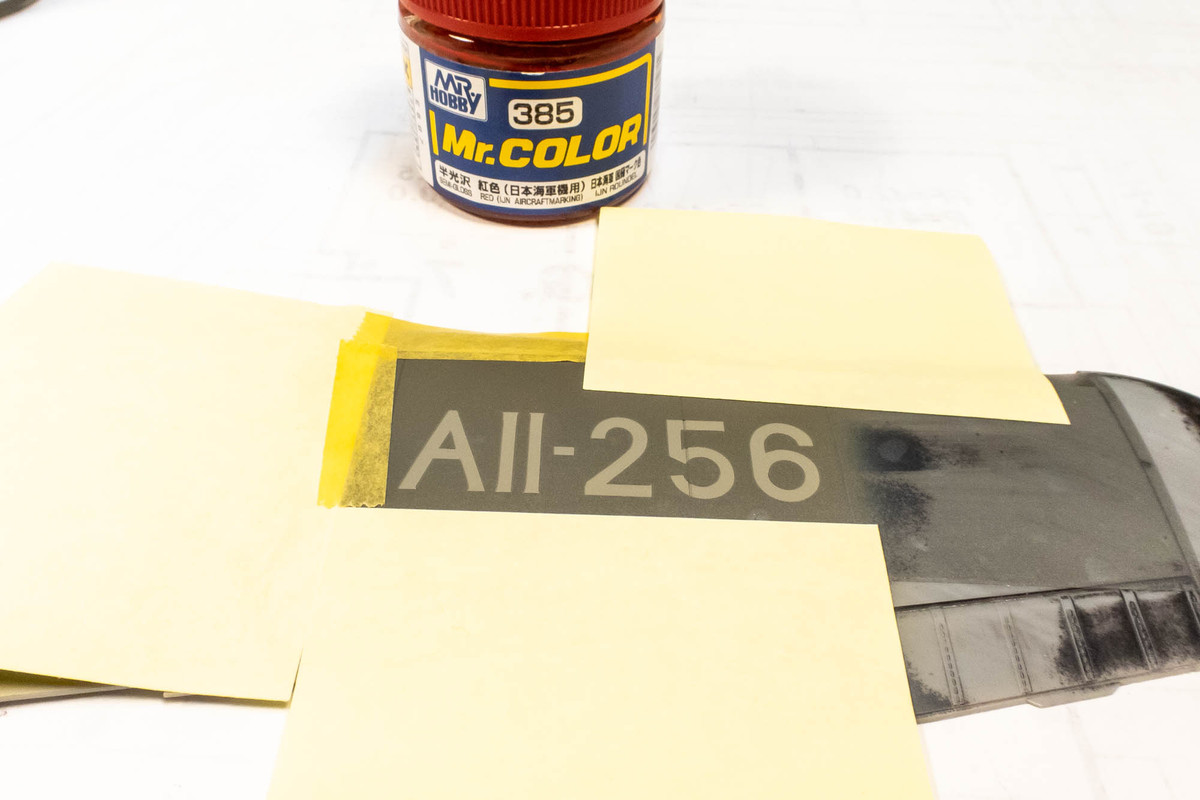
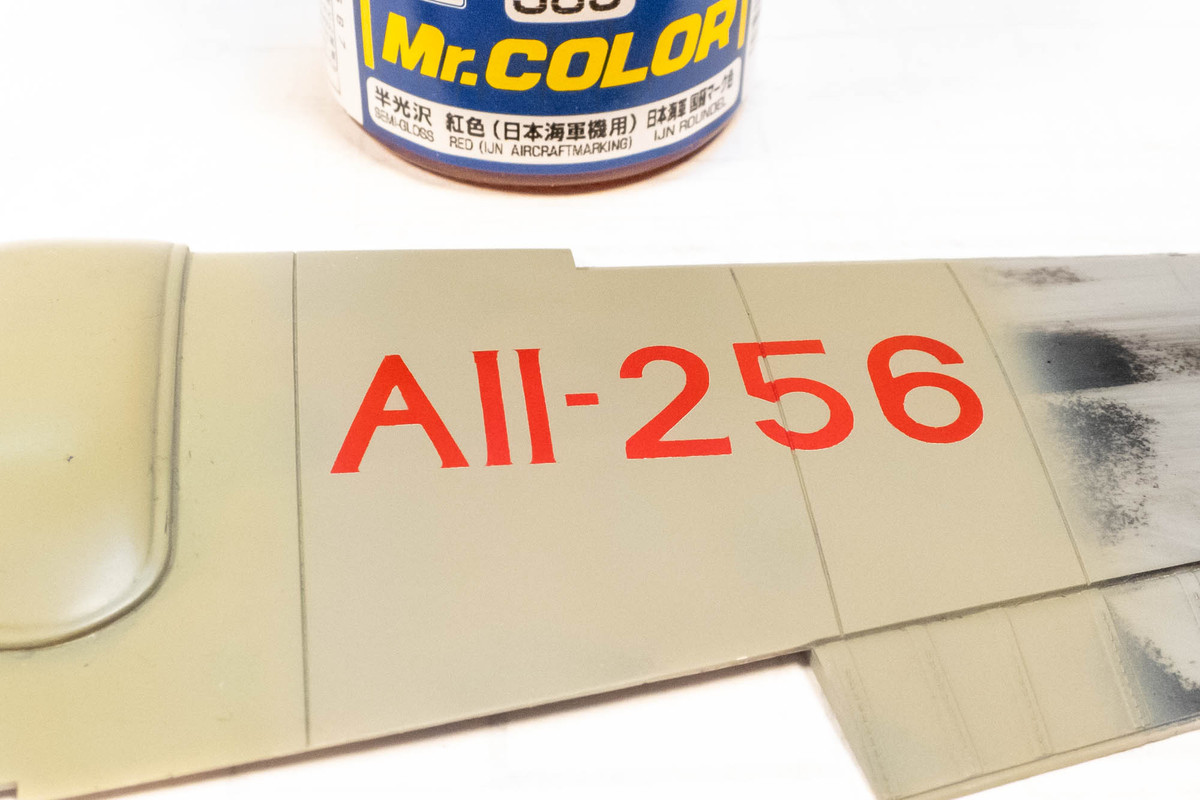
I scanned the Infinity decal sheet so that I can create as many paint masks for the markings. I wanted to test the aircraft code of the machine that I'll be building. The decal scan was traced in AutoCAD, exported to a DXF file and printed out as a mask on the Silhouette Portrait cutter. Mr Color IJN Markings Red (C385) was used.
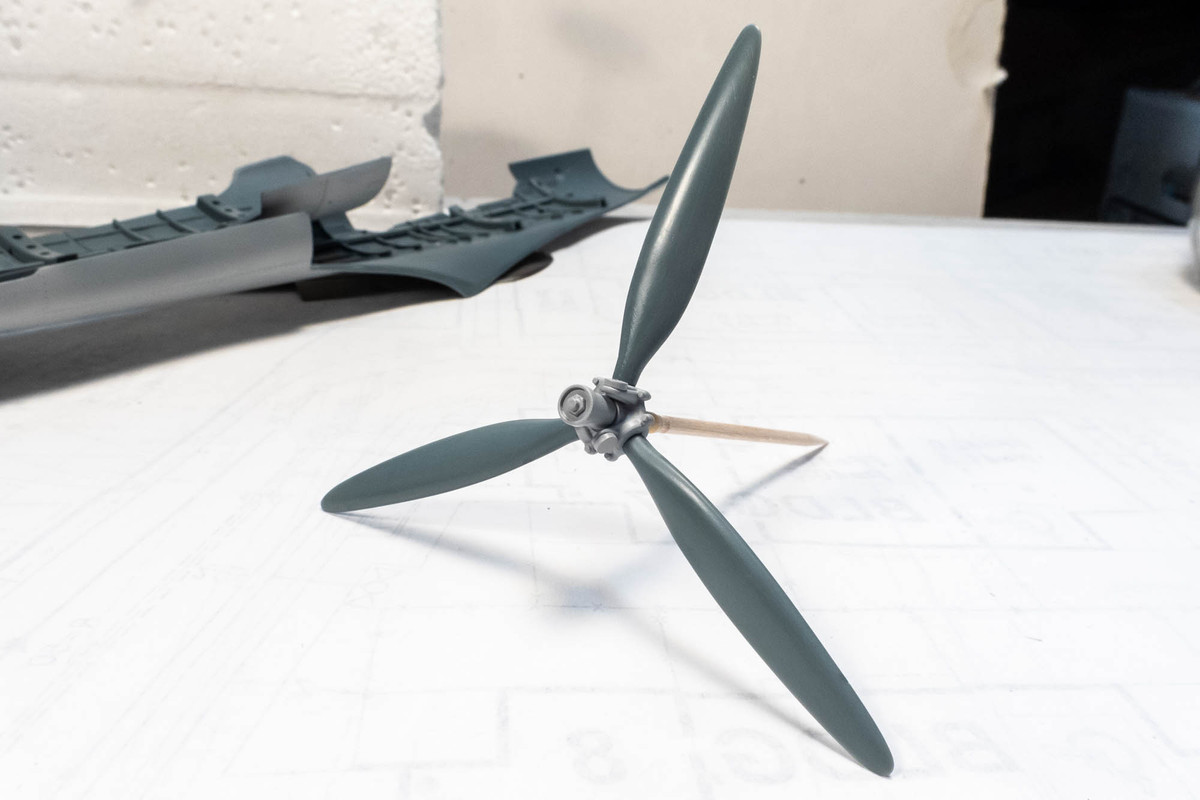
Infinity molds the prop spinner in three separate parts but it is still overly simplified.
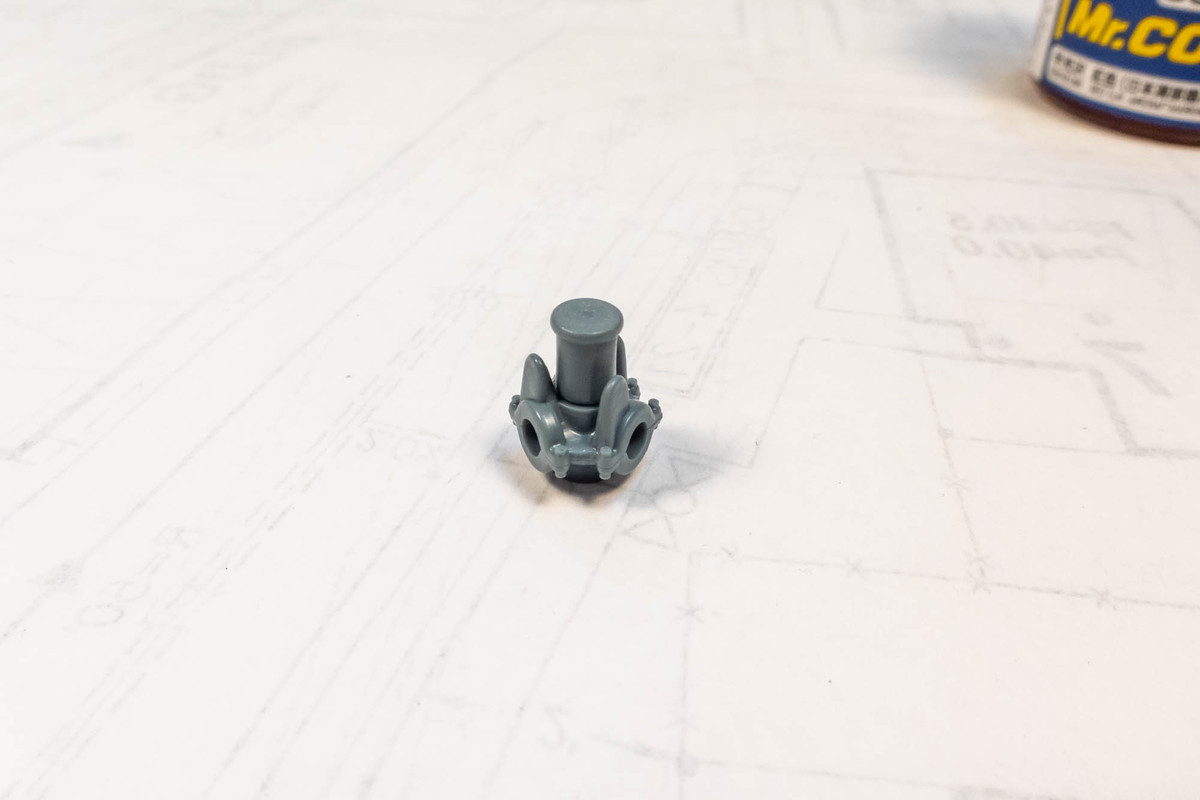

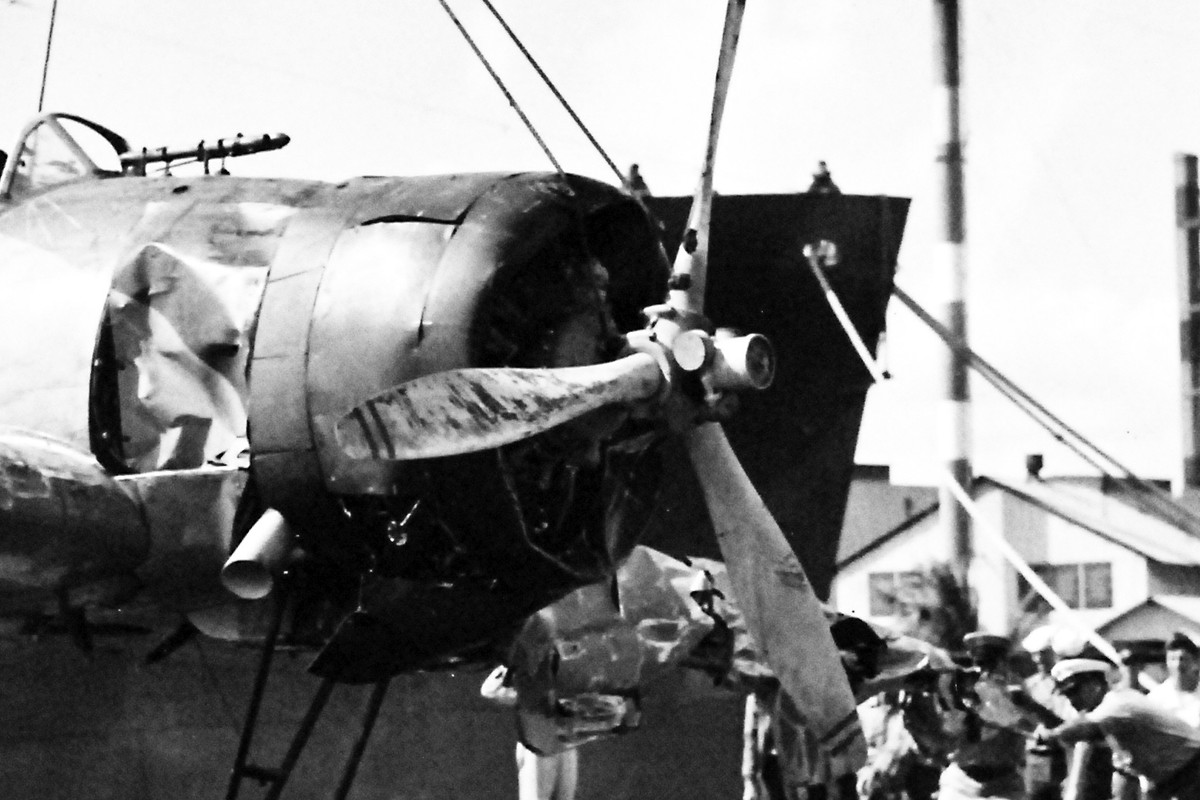
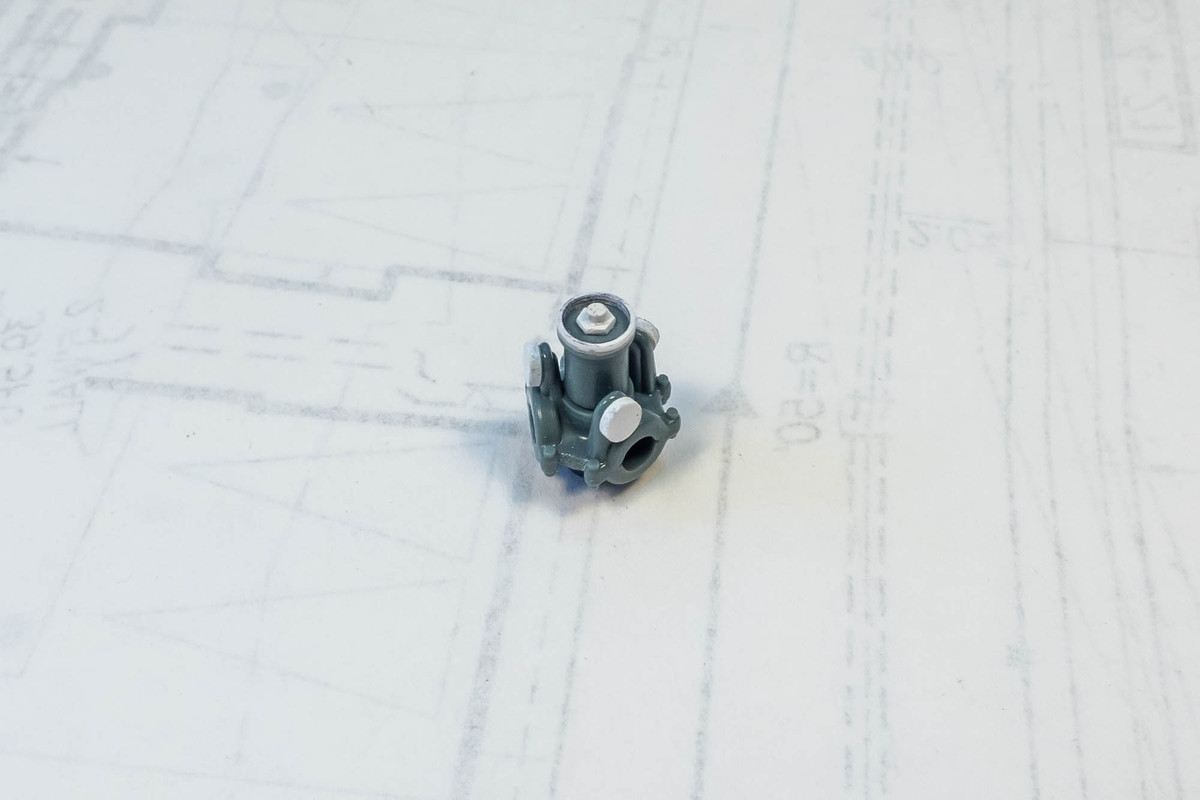
Using photo references, I dressed up the hub a bit.
Re: Infinity 1/32 Aichi D3A1 - The Constanza Rule
Posted: Sun Jul 09, 2023 7:33 am
by LyleW
John, I'm pretty quiet on these threads, because I have no words! be assured (for what it is worth) that I go through these and enjoy them immensely.
Re: Infinity 1/32 Aichi D3A1 - The Constanza Rule
Posted: Mon Jul 10, 2023 11:33 am
by jkim
Re: Infinity 1/32 Aichi D3A1 - The Constanza Rule
Posted: Mon Jul 10, 2023 7:19 pm
by BlackSheep214
Heh... still fighting to get her looking right.
Re: Infinity 1/32 Aichi D3A1 - The Constanza Rule
Posted: Tue Jul 11, 2023 3:44 am
by tempestjohnny
Your attention to detail