Monogram 1970 Dodge Challenger T/A-"Under Glass" 03-15
-
Thomas_M

- Admin
- Posts: 4244
- Joined: Fri Dec 13, 2013 9:43 am
- Location: Bad Wurzach - Germany
- Contact:
Re: 32 year old Monogram 1970 Dodge Challenger T/A
Absolutely! Very impressive!!
-
mustang1989

- Moderator
- Posts: 5044
- Joined: Tue Mar 18, 2014 8:35 pm
Re: 32 year old Monogram 1970 Dodge Challenger T/A
Thanks Owl and Thomas! Next, we move on to the brake master cylinder which was nothing special out of the box I can guarantee you.
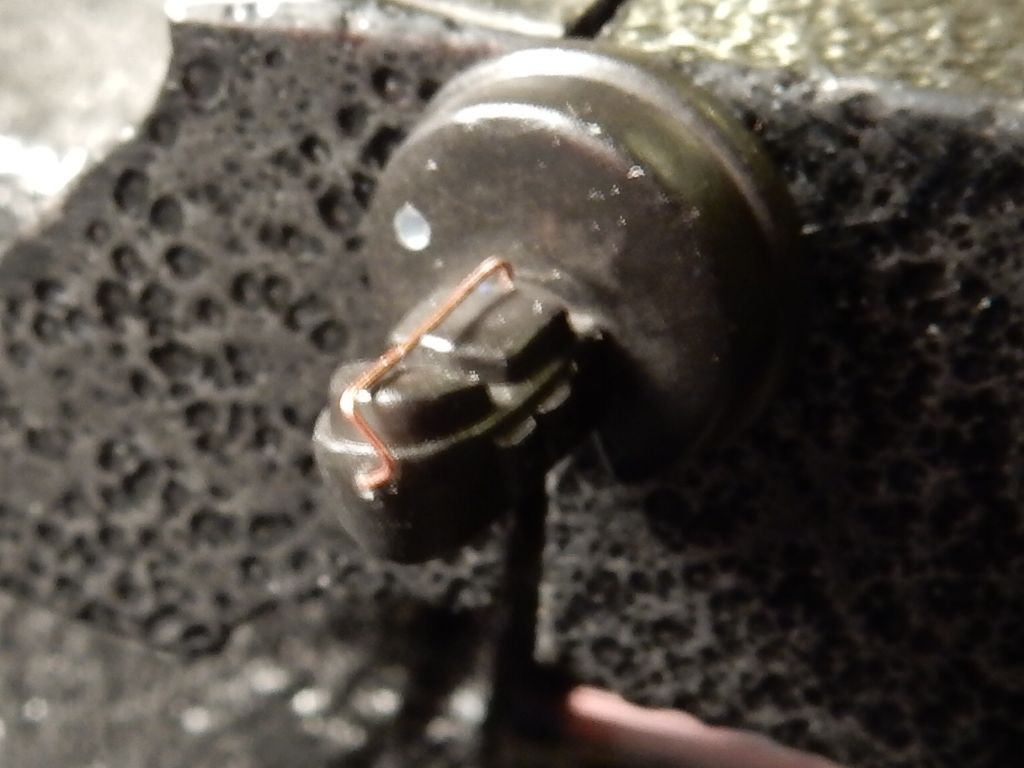
Here's the OOB master cylinder with a cap retainer I made out of some loose copper wire I had laying around.
This is what I was shooting for initially
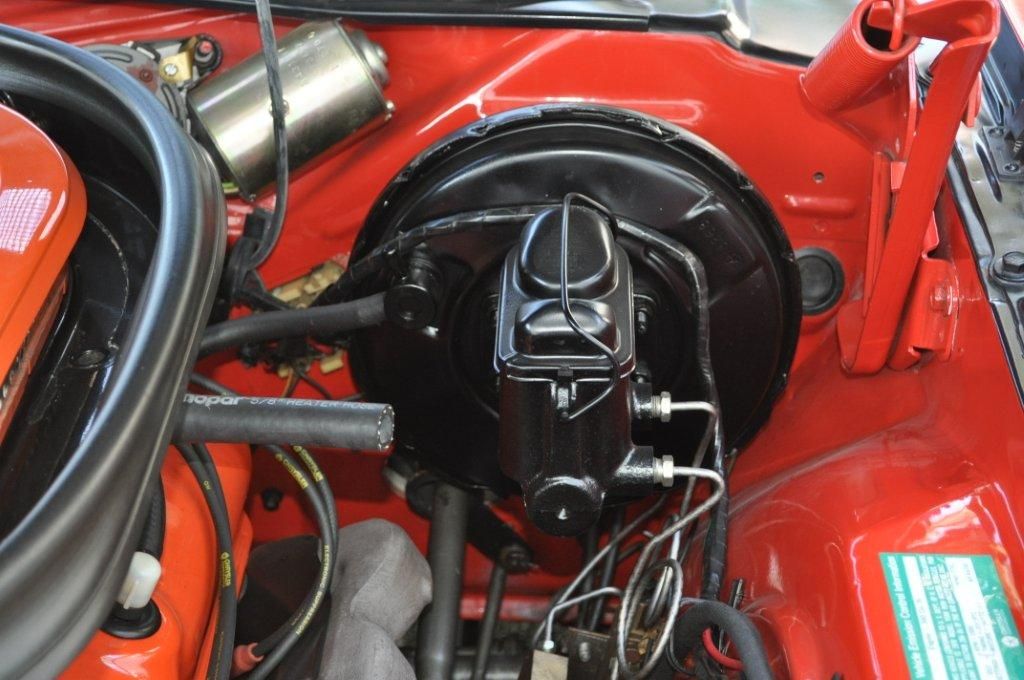
but found that Dodge/Chrysler also released some of the vehicles off of the assembly line with a goldish color on the cap and I also wanted to install a brake booster vacuum check valve with a hose going to the engine so I drilled a hole in the booster and cut off the head of a pin I had laying around
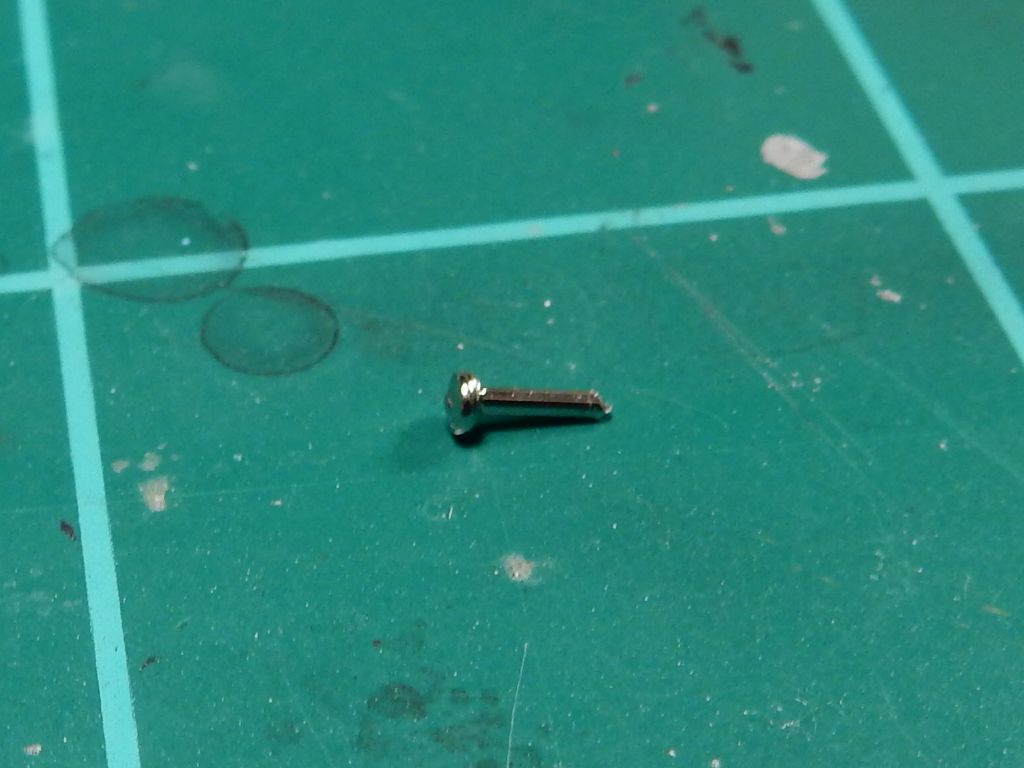
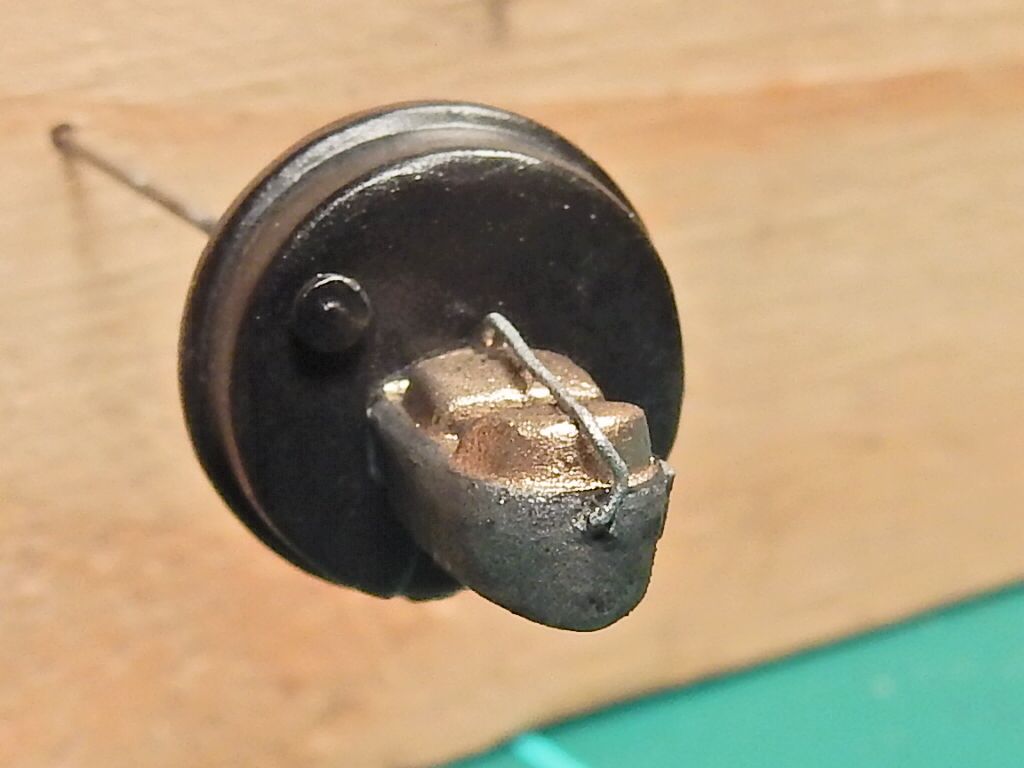
and installed it into the hole and painted everything up to look like so:
Then I have a roll of copper wire that I used for the brake lines coming off of the master cylinder so I formed them in a manner that looked like the reference pic and test fitted them. These lines will disappear into the vehicle frame.
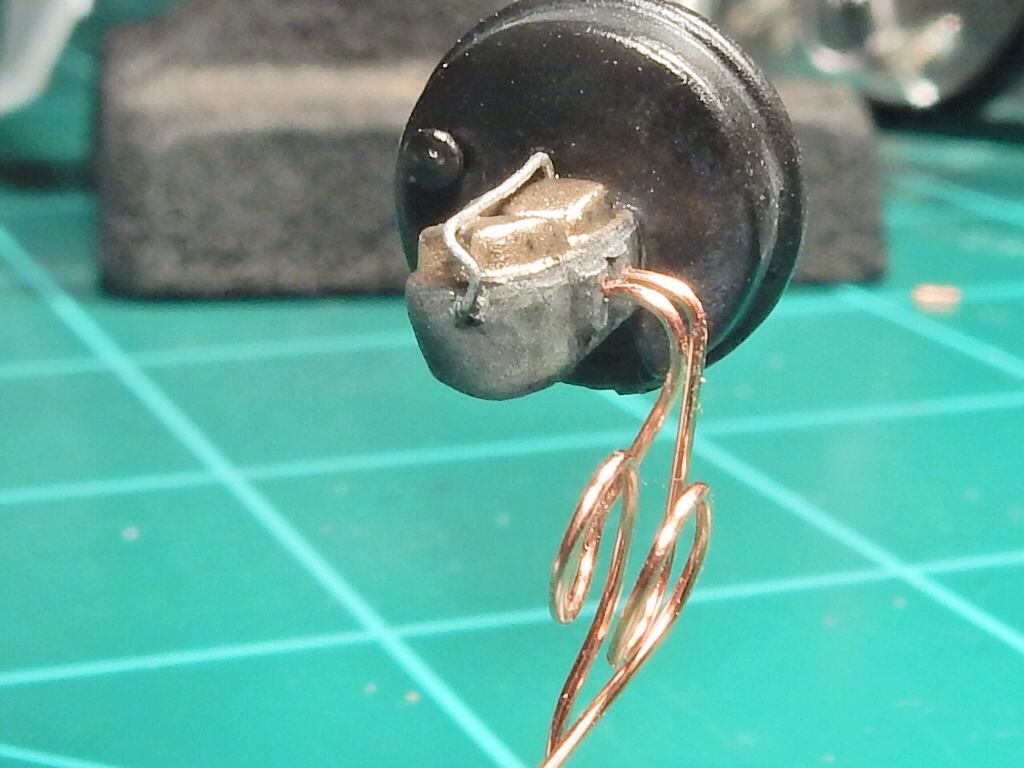
I ended up painting the lines after test fitting so they will look the part.
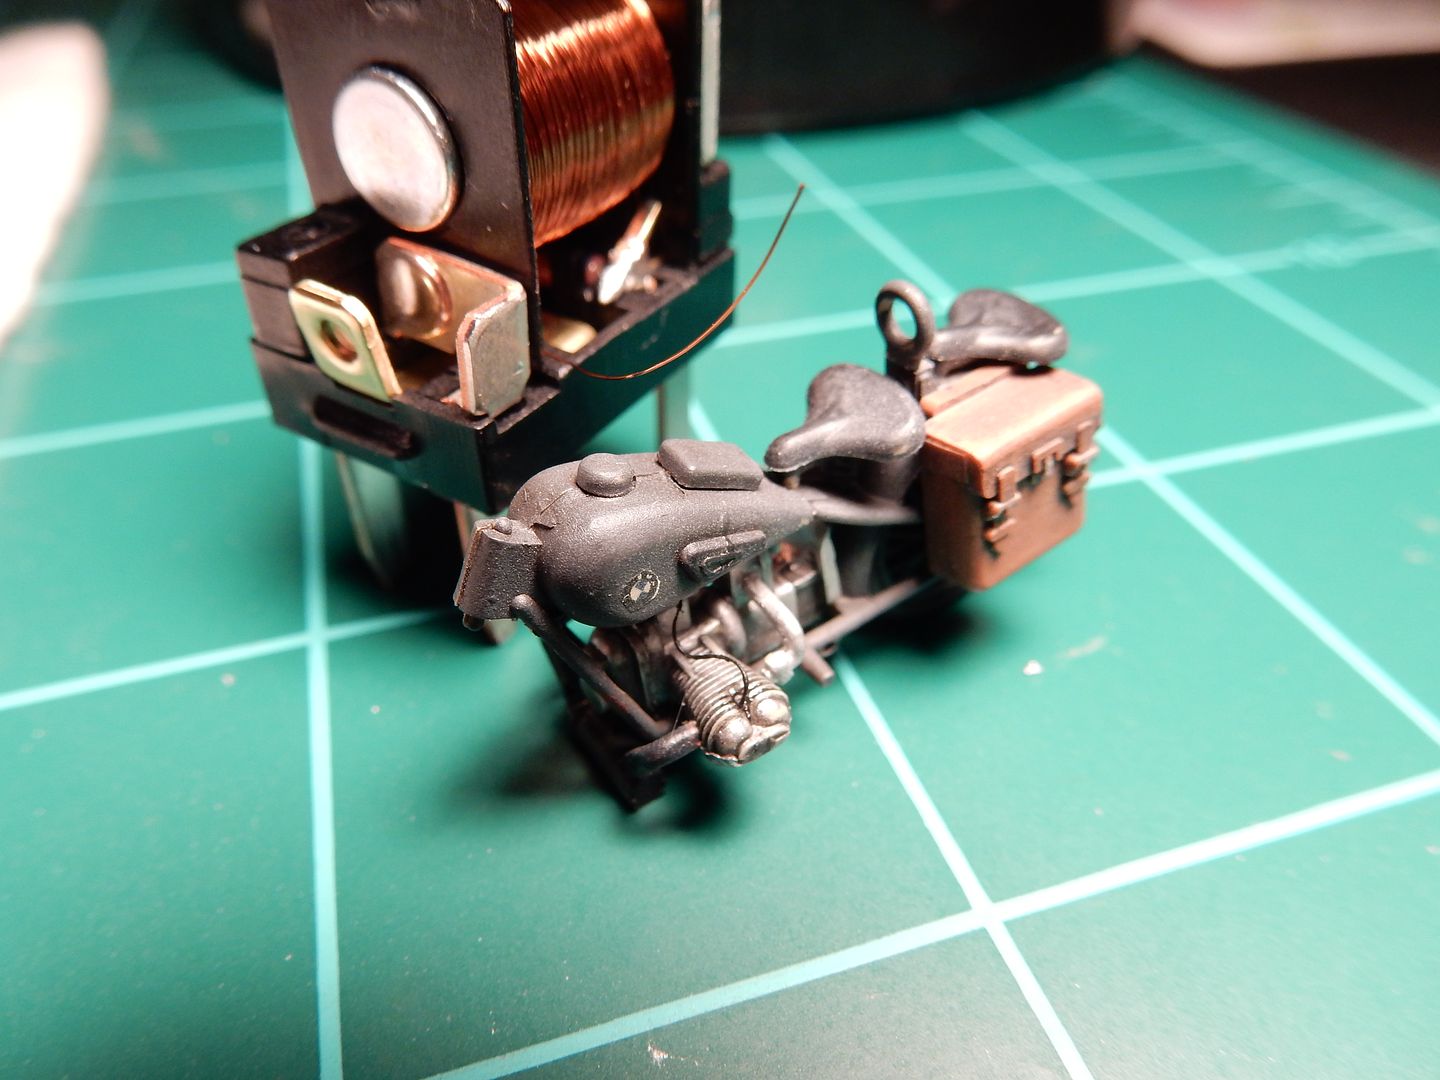
Just to elaborate a little bit on the wire used for the retaining cap on the master cylinder here. I have been an automotive technician for around 19 years professionally and have all kinds of spare parts. One of the parts that I have is common to most of us who deal in anything mechanically. I have numerous relays in my fuse/relay spare parts/ extras tool chest and these come in very handy in modeling. Just pop the top off of the relay and wallah!!
A dang near endless supply of fine copper wire right there in the relay coil windings...............
Here's the OOB master cylinder with a cap retainer I made out of some loose copper wire I had laying around.
This is what I was shooting for initially
but found that Dodge/Chrysler also released some of the vehicles off of the assembly line with a goldish color on the cap and I also wanted to install a brake booster vacuum check valve with a hose going to the engine so I drilled a hole in the booster and cut off the head of a pin I had laying around
and installed it into the hole and painted everything up to look like so:
Then I have a roll of copper wire that I used for the brake lines coming off of the master cylinder so I formed them in a manner that looked like the reference pic and test fitted them. These lines will disappear into the vehicle frame.
I ended up painting the lines after test fitting so they will look the part.
Just to elaborate a little bit on the wire used for the retaining cap on the master cylinder here. I have been an automotive technician for around 19 years professionally and have all kinds of spare parts. One of the parts that I have is common to most of us who deal in anything mechanically. I have numerous relays in my fuse/relay spare parts/ extras tool chest and these come in very handy in modeling. Just pop the top off of the relay and wallah!!
A dang near endless supply of fine copper wire right there in the relay coil windings...............

Re: 32 year old Monogram 1970 Dodge Challenger T/A
Fantastic detailing! 
You really have some patience, man...
You really have some patience, man...
Cheers,
Torben
Torben
-
mustang1989
- Moderator
- Posts: 5044
- Joined: Tue Mar 18, 2014 8:35 pm
Re: 32 year old Monogram 1970 Dodge Challenger T/A
Thanks Mostrich! I see there's a Messerschmitt GB going on in here. Hmmm...I may be game.
-
mustang1989
- Moderator
- Posts: 5044
- Joined: Tue Mar 18, 2014 8:35 pm
Re: 32 year old Monogram 1970 Dodge Challenger T/A
Here's spare kit #2 that I'm using purely as a mock up kit. I will do nothing with this body/ chassis and will be removing the wheels and tires for future use on another kit. Speaking of which I needed a set of tires to "upgrade" with to get away from the box stock "gay looking" granny tires that were originally to be used in the build. I looked in my "deep freeze" stash in the garage and found a set in my Monogram 66 Mustang kit. As a matter of fact there happened to be two sets in that boxing!!
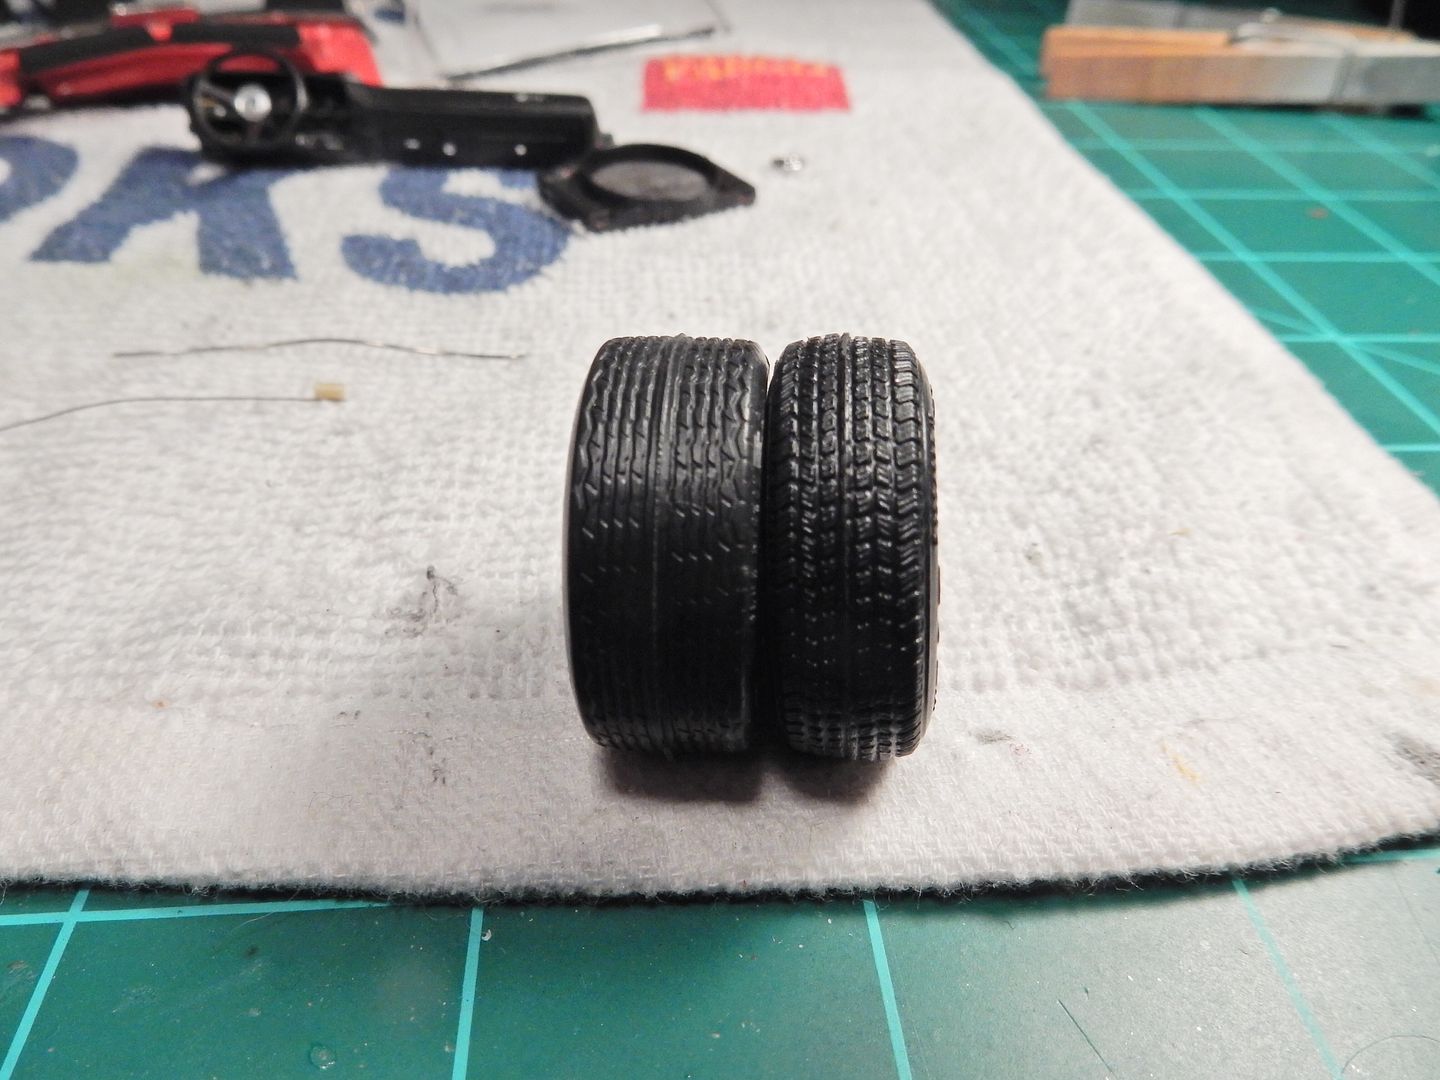
Here's the size comparison for the rear tires:
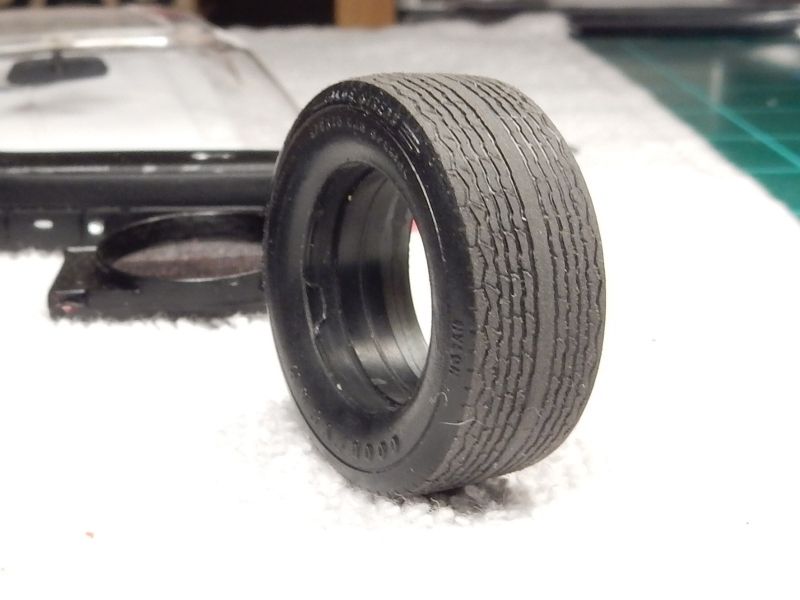
So I used a 12mm deep socket on my good ol Makita drill and mounted the tires one by one on the socket as such:
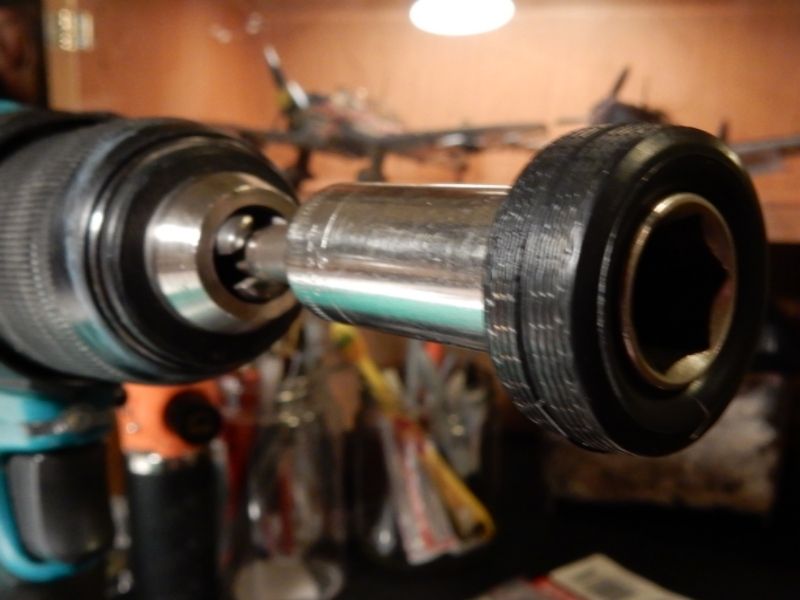
and spun 'em up on some medium grit sandpaper to get this:
Getting back to kit #2 I have the suspension set up here purely as an example of what I need to do to the real kit to get the stance like this:
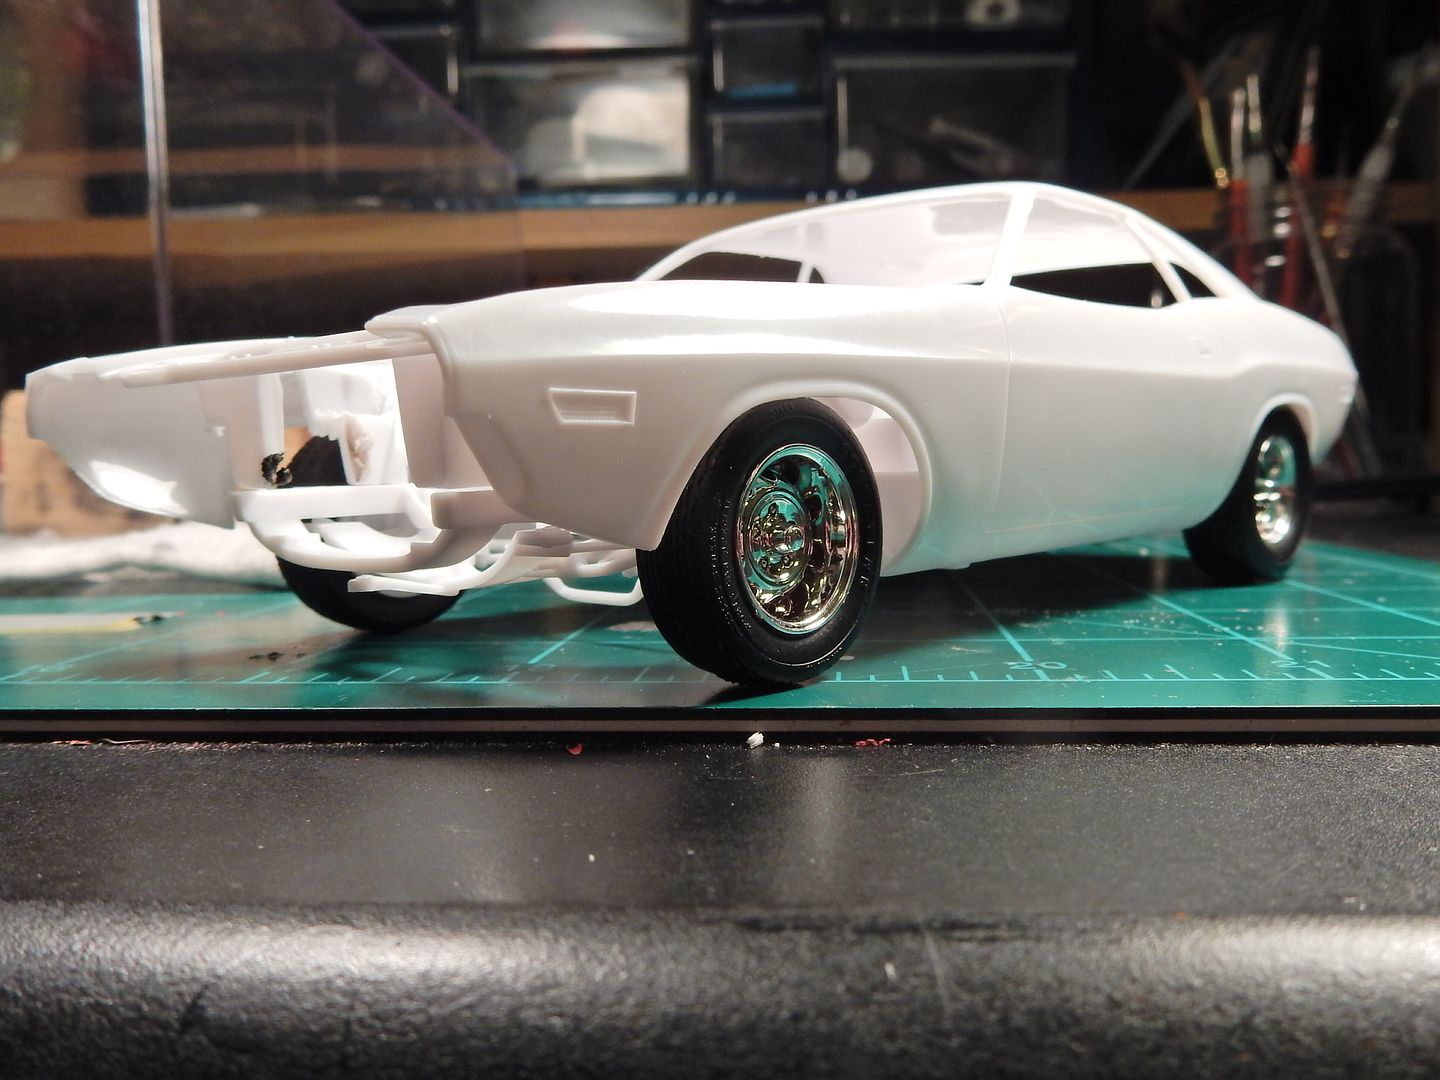
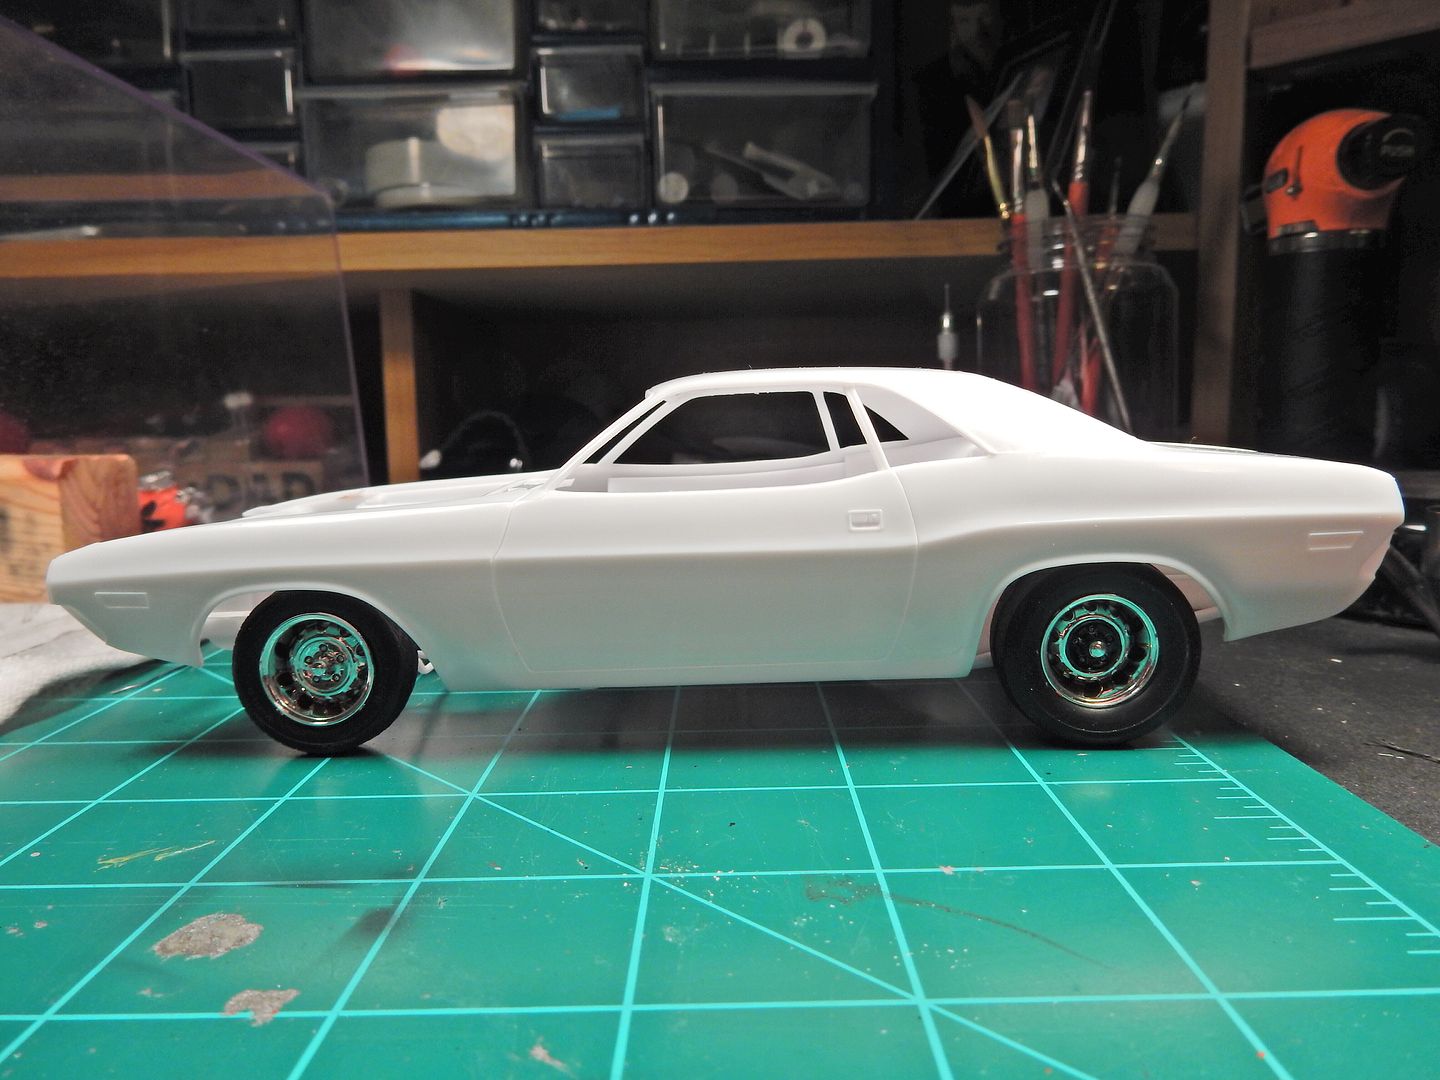
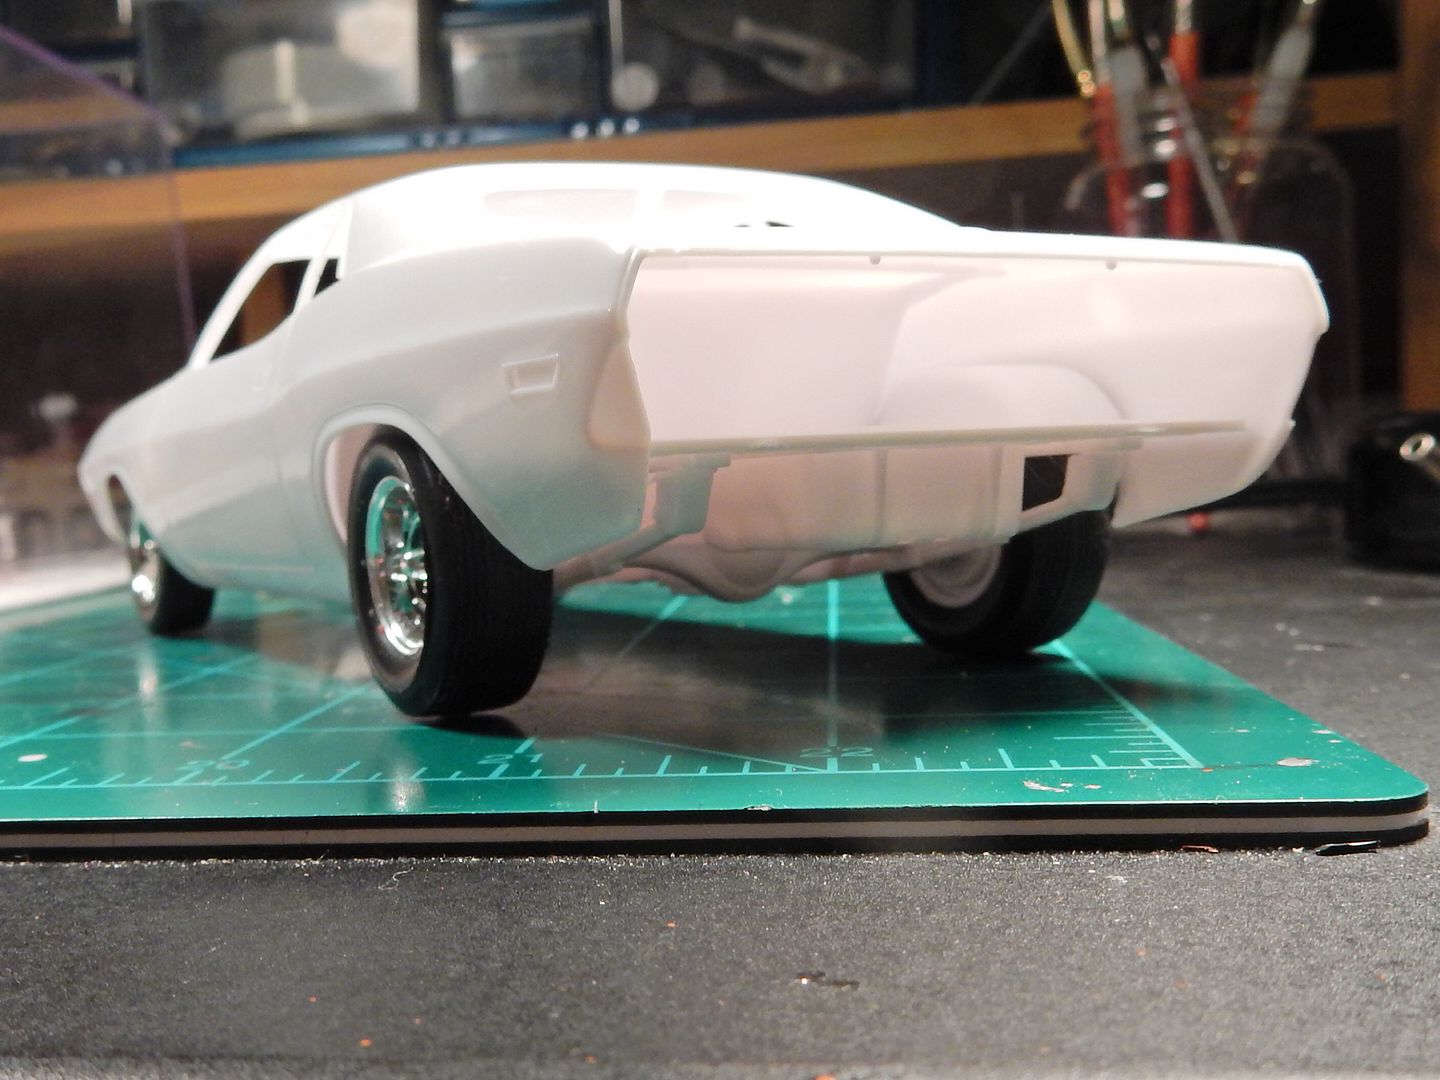
We'll get back to the continuation of those wheel/tire build ups and painting soon!
Here's the size comparison for the rear tires:
So I used a 12mm deep socket on my good ol Makita drill and mounted the tires one by one on the socket as such:
and spun 'em up on some medium grit sandpaper to get this:
Getting back to kit #2 I have the suspension set up here purely as an example of what I need to do to the real kit to get the stance like this:
We'll get back to the continuation of those wheel/tire build ups and painting soon!
-
Thomas_M
- Admin
- Posts: 4244
- Joined: Fri Dec 13, 2013 9:43 am
- Location: Bad Wurzach - Germany
- Contact:
Re: 32 year old Monogram 1970 Dodge Challenger T/A
This kit looks as good as the real car, which was a beauty itself. Watching your work here with awe!
-
mustang1989
- Moderator
- Posts: 5044
- Joined: Tue Mar 18, 2014 8:35 pm
Re: 32 year old Monogram 1970 Dodge Challenger T/A
Thanks Thomas! This build has enlightened me on several areas of modeling that I don't get exposed to on the military side.
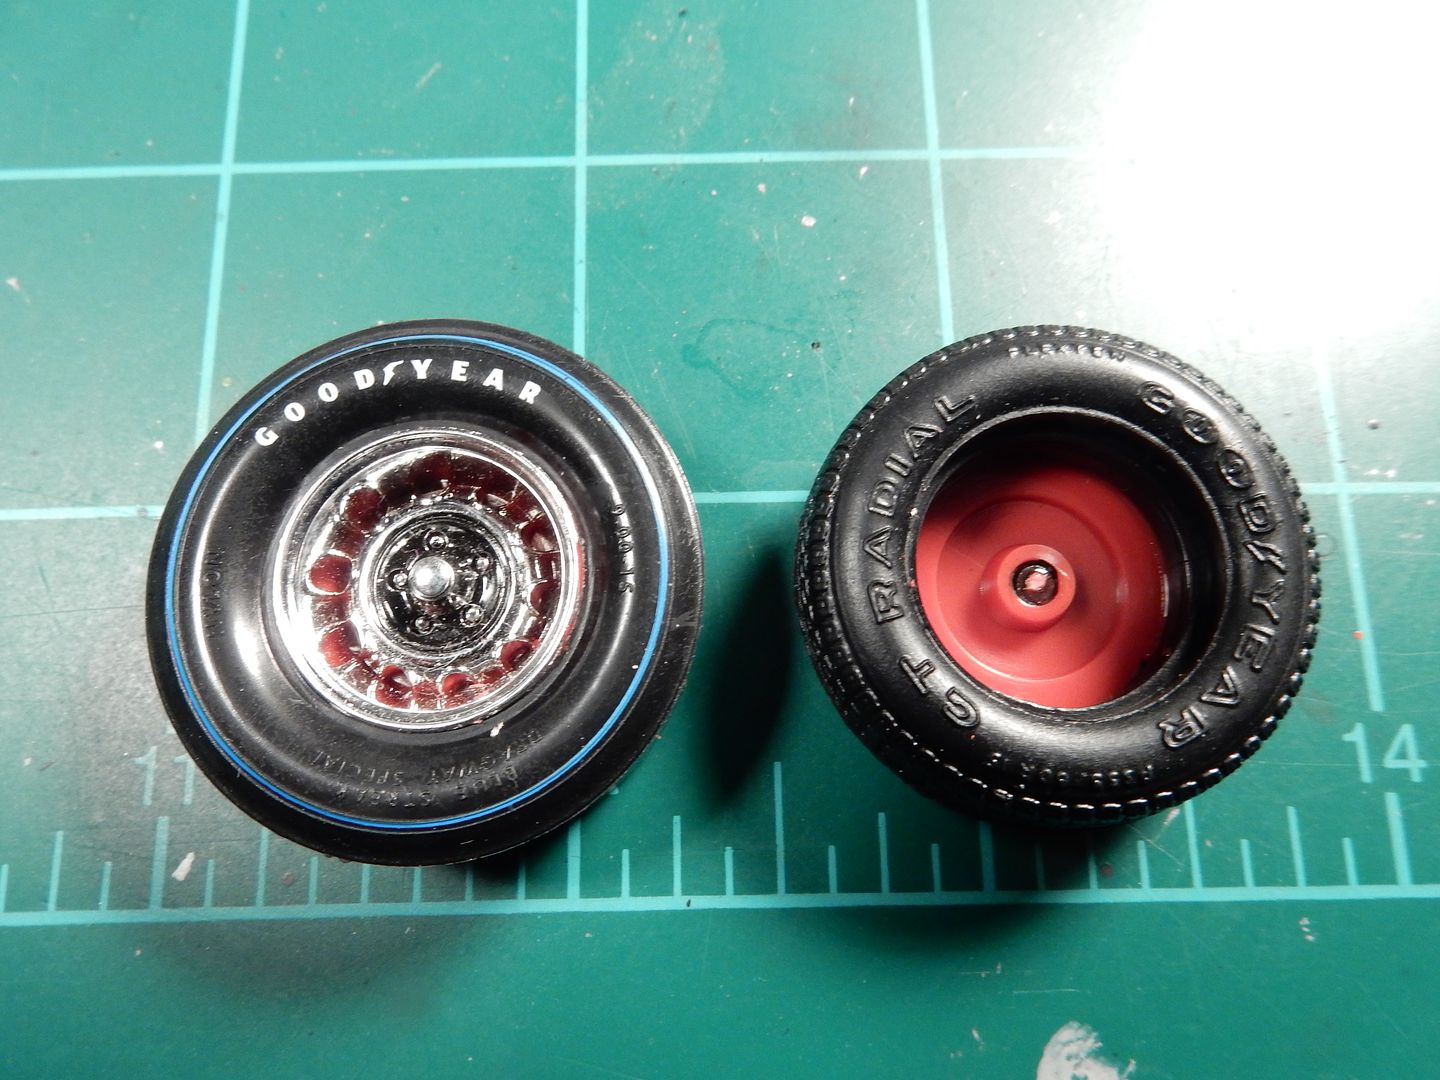
These were the original wheels. Disregard the tires on the left as they are slicks and I'm not going to use these here. The tire on the right is original from 30+ years ago. I painted only the centers of the wheels back then. I've seen 'em done like this in real life but the molded red color is bleeding through at the wheel through holes. Not cool.
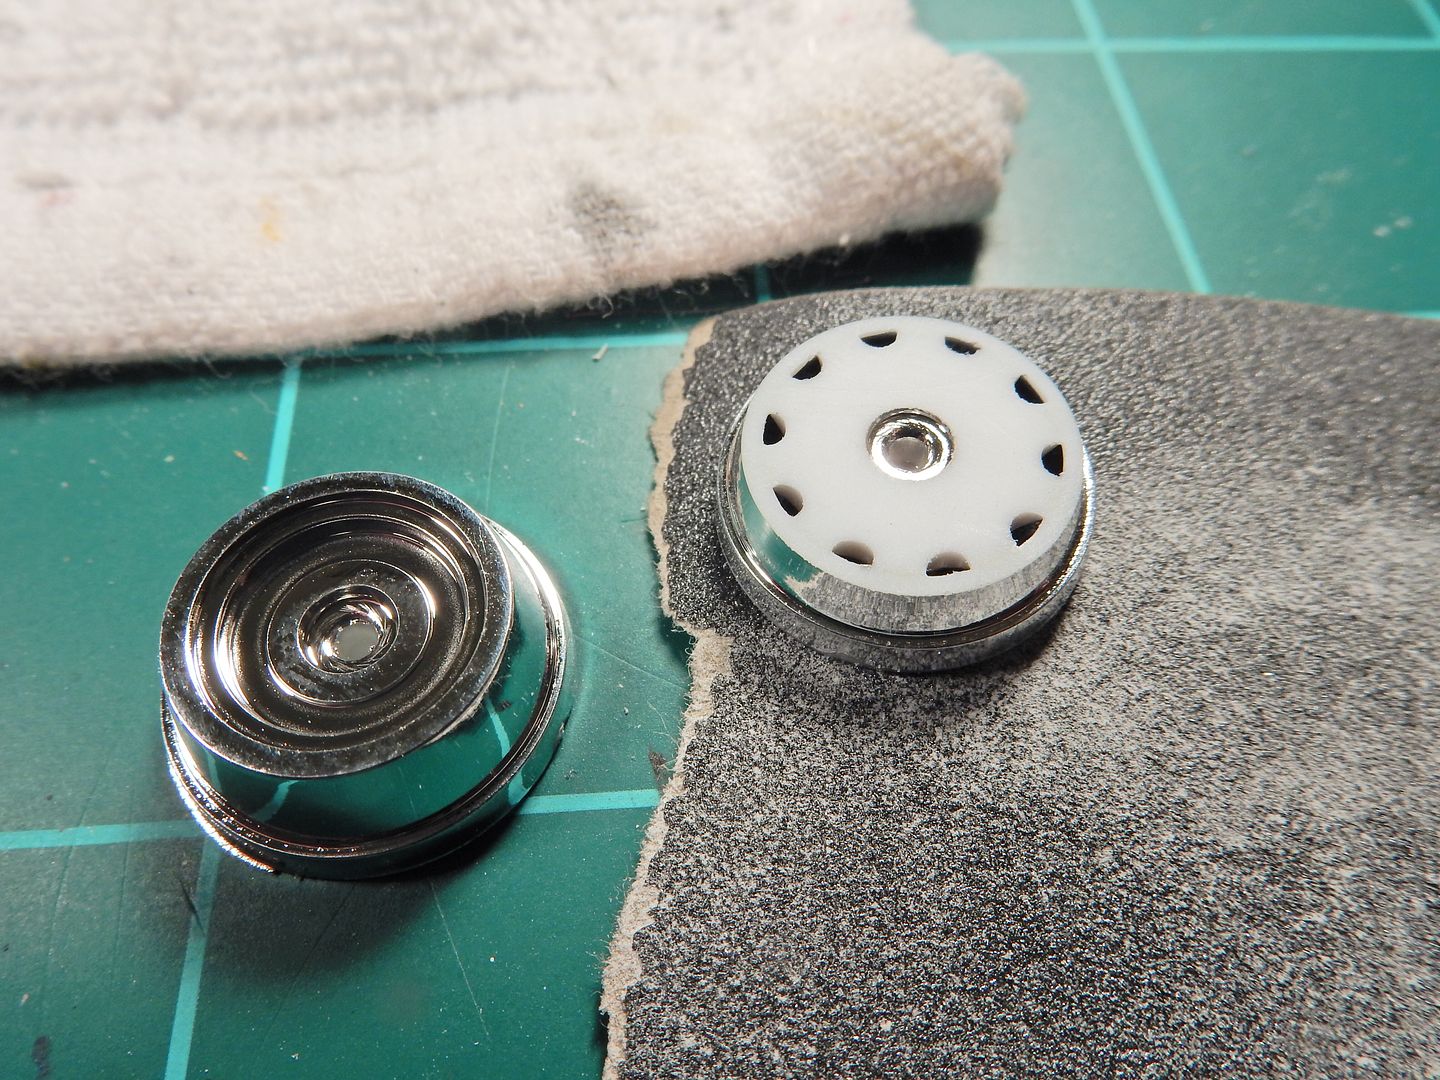
First I started by sanding the back of the wheels down to the holes to add to the realism. The wheel on the left is what I started with and the one on the right is....well....you know.
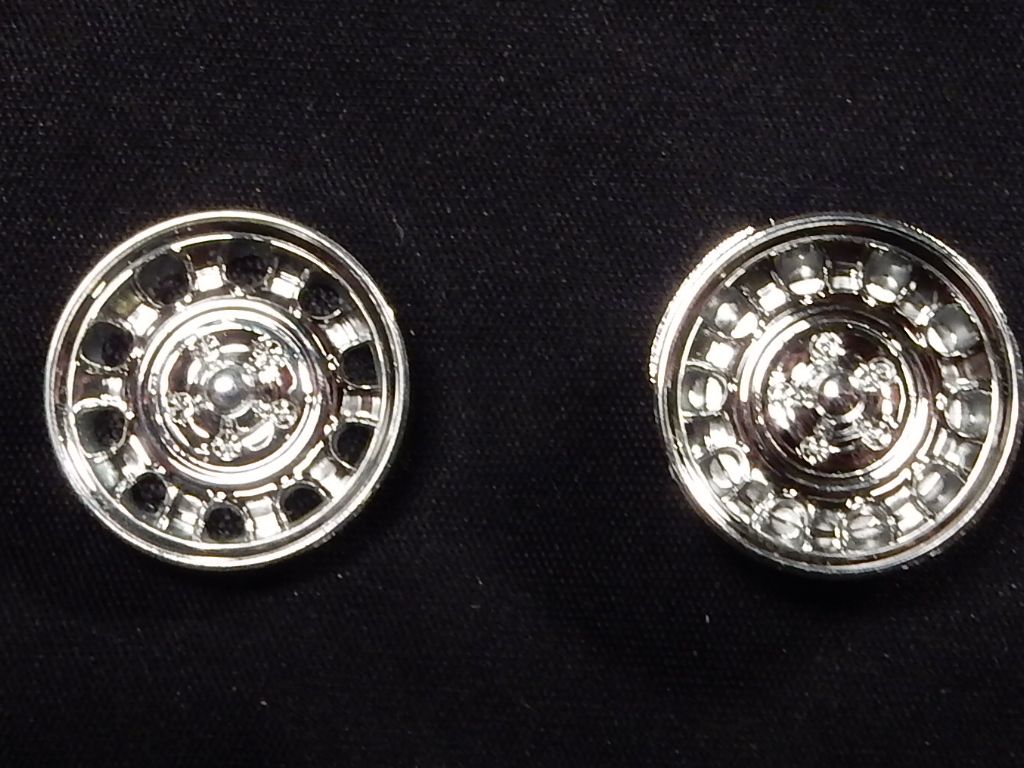
Here's the before and after look:
I started the wheel beauty ring masking here:
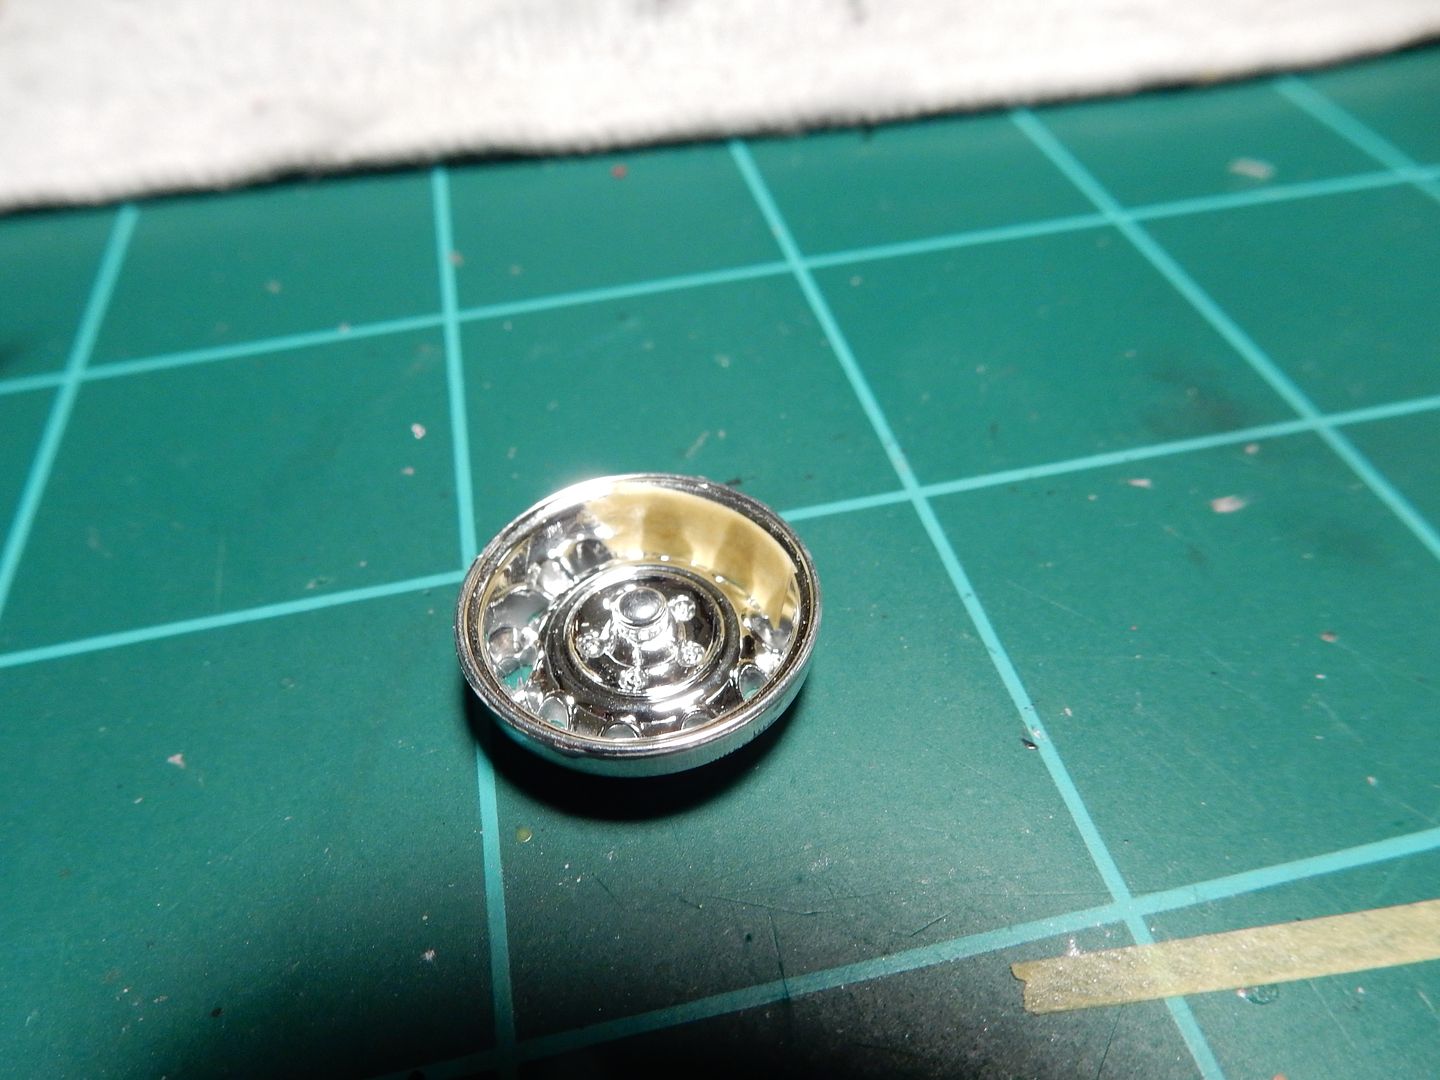
and here:
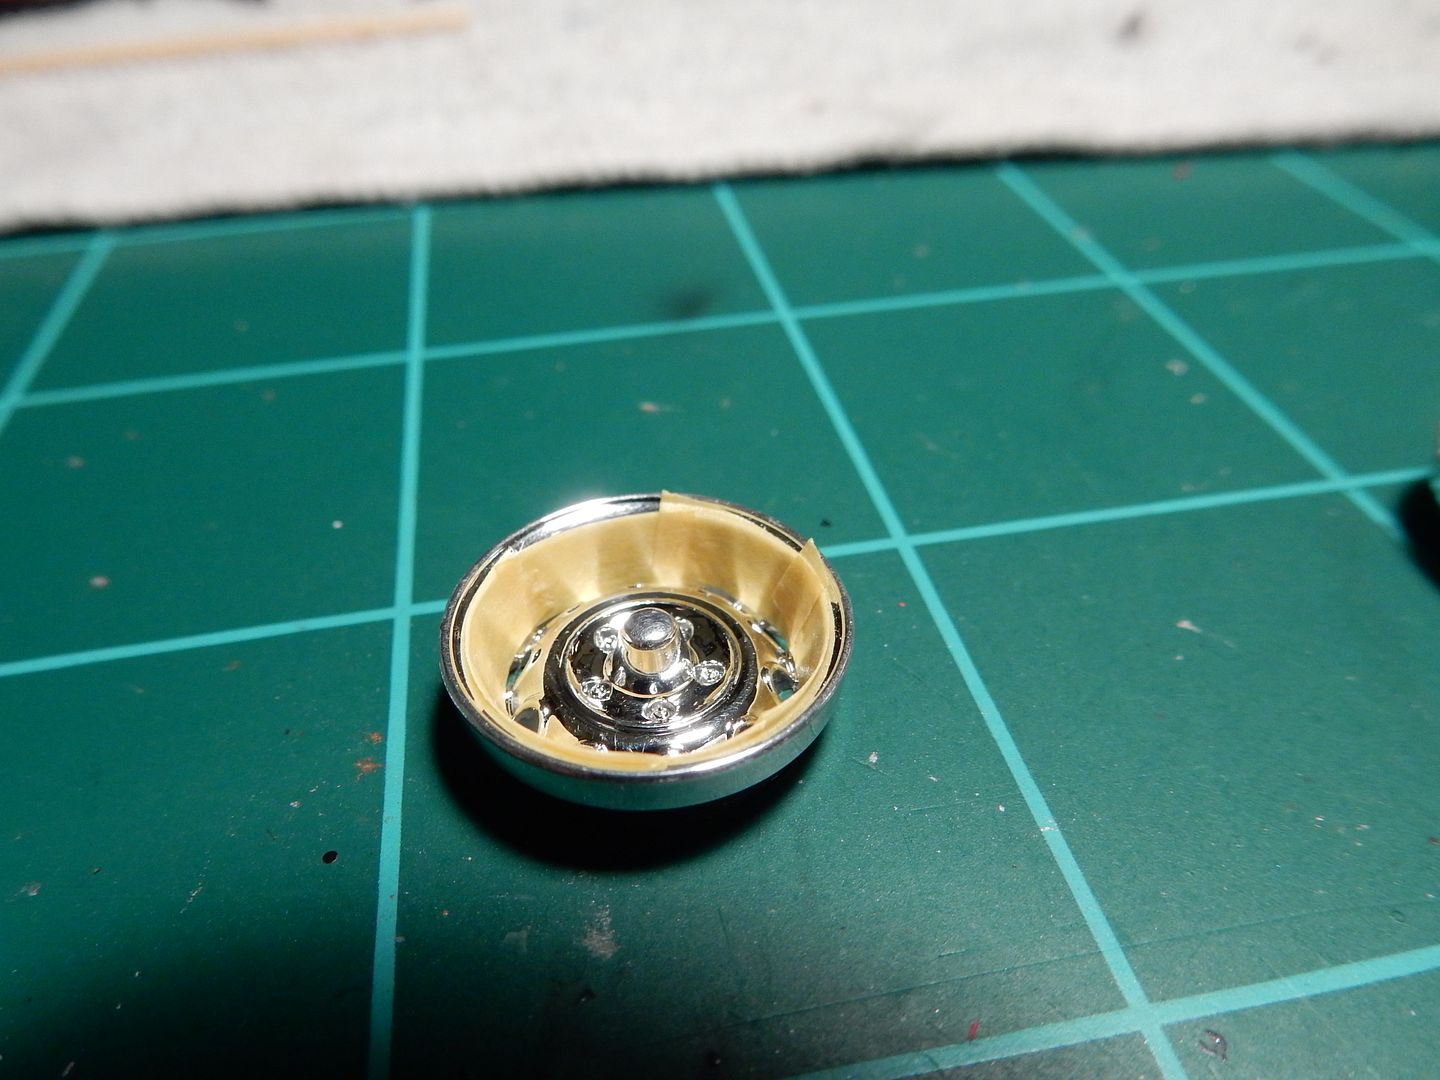
and here:
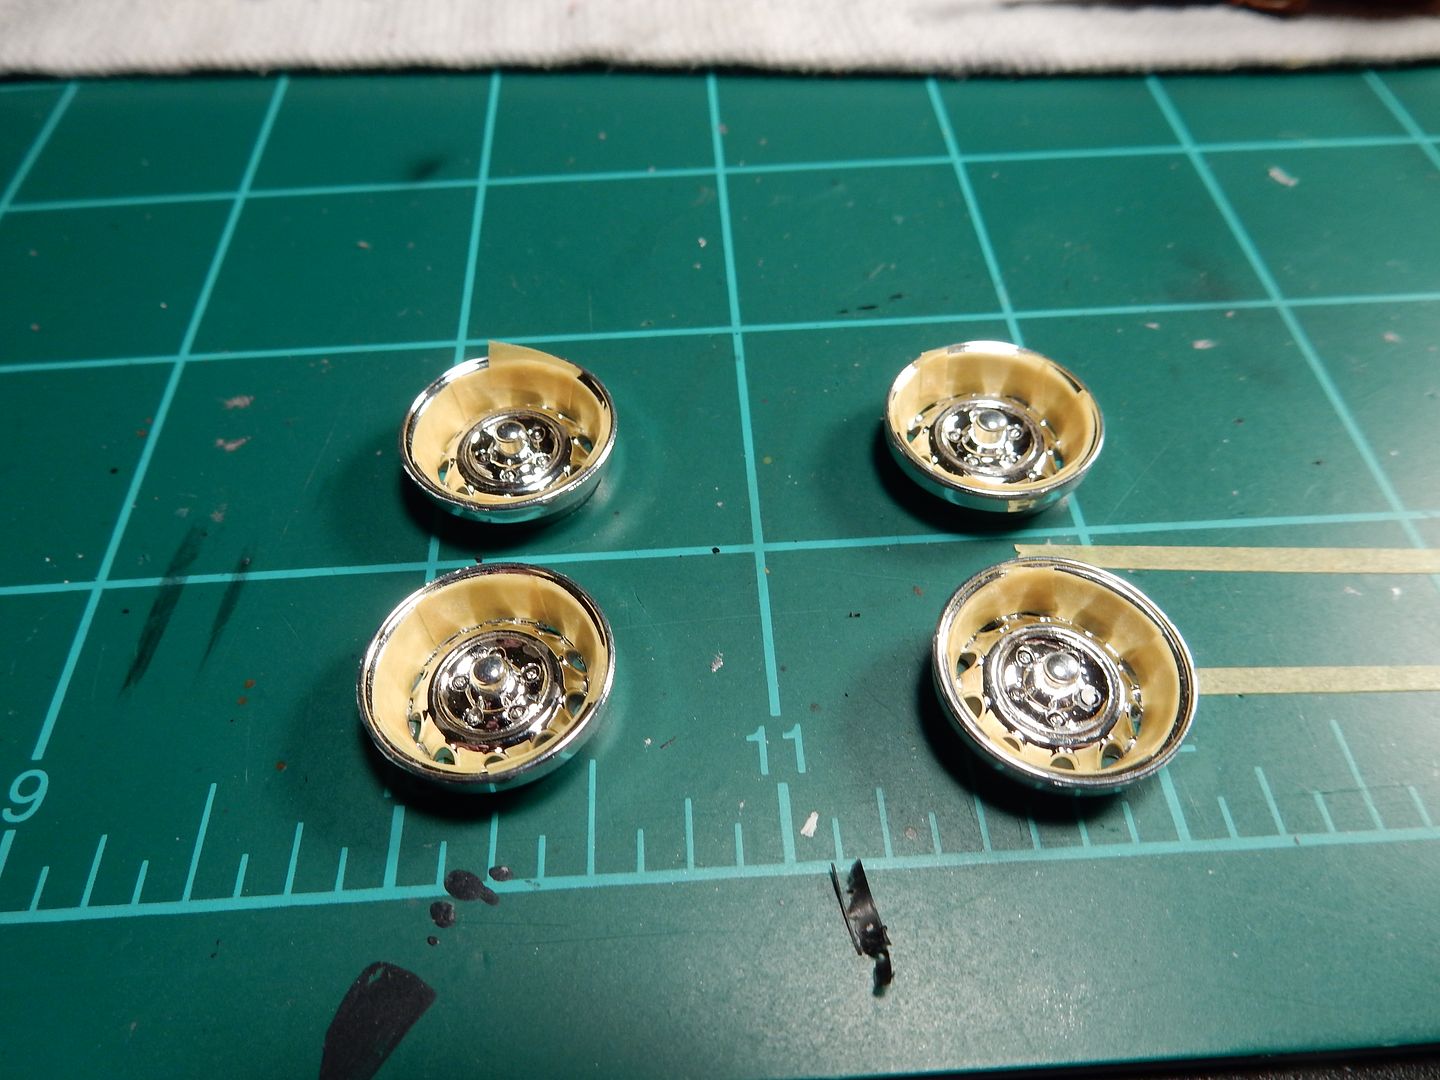
and broke out the acrylic silver paint and shot 'em:
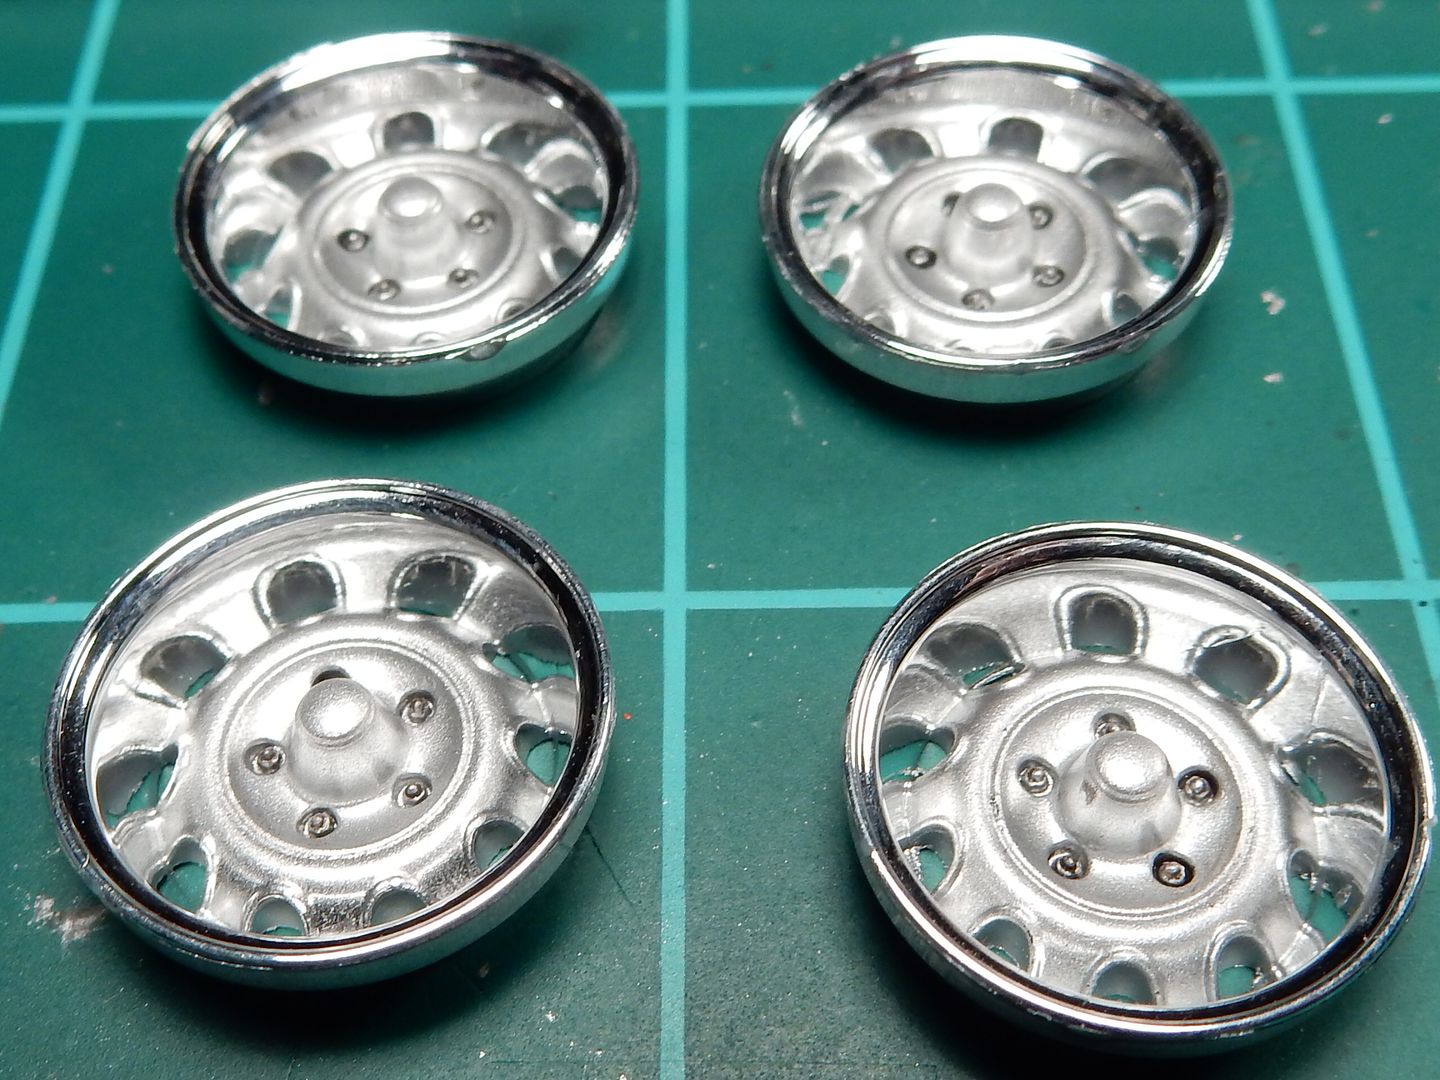
and here one of the wheels are test fitted into a rear tire. I still have to paint the white letters and weather the sidewalls at this point of the build so stay tuned for that:
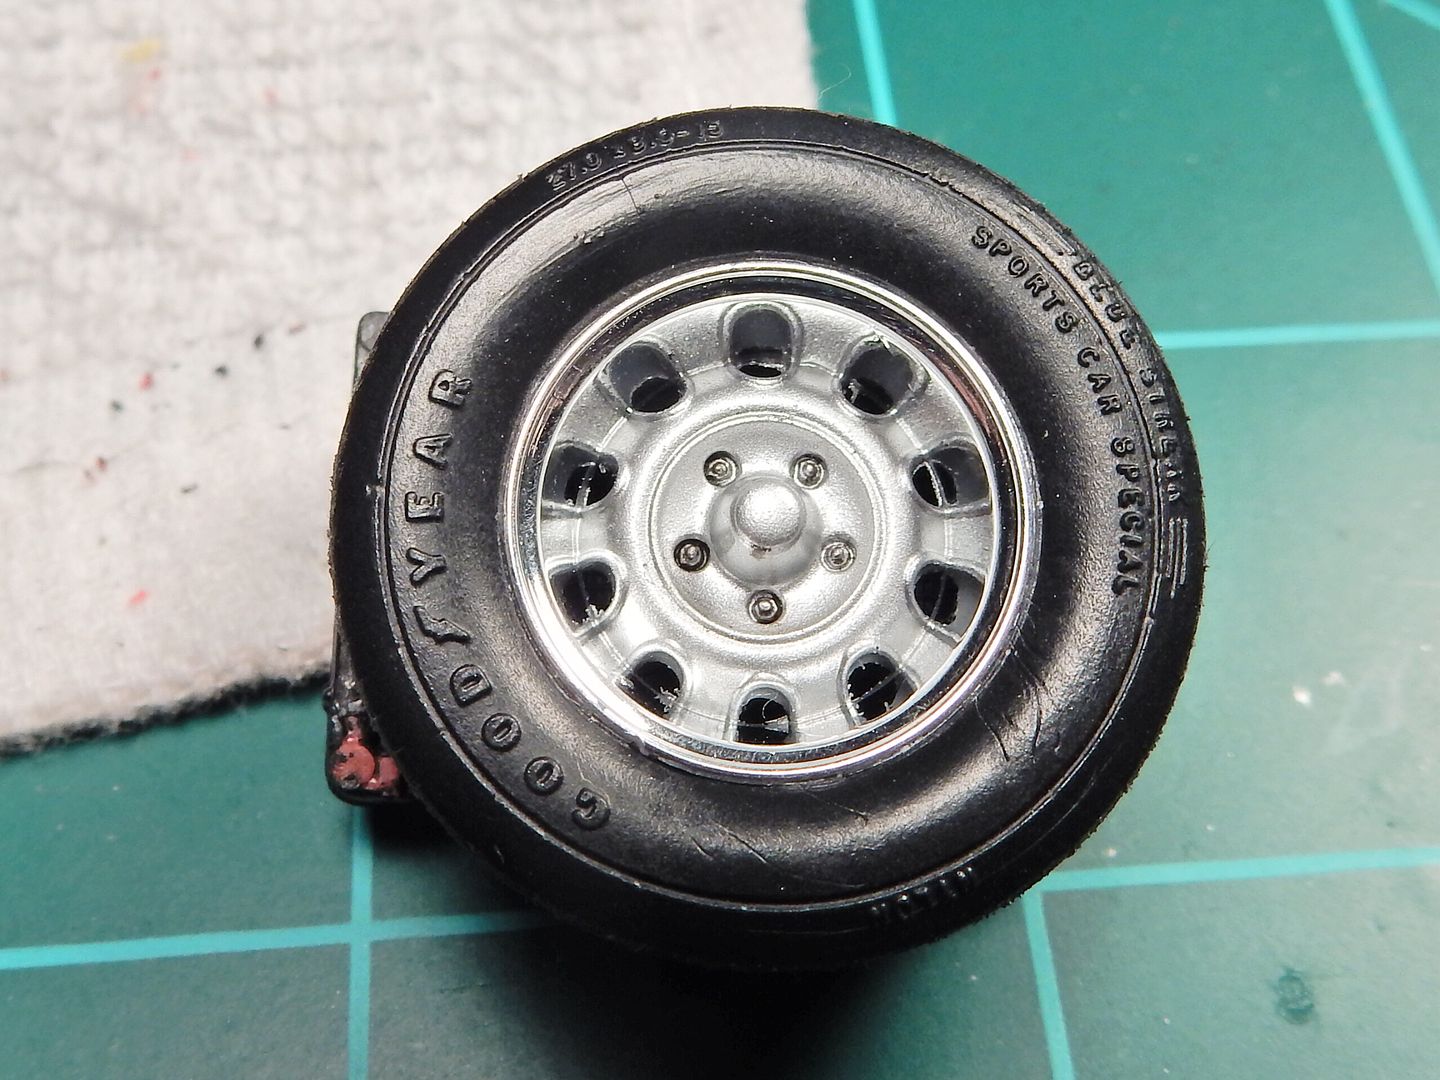
These were the original wheels. Disregard the tires on the left as they are slicks and I'm not going to use these here. The tire on the right is original from 30+ years ago. I painted only the centers of the wheels back then. I've seen 'em done like this in real life but the molded red color is bleeding through at the wheel through holes. Not cool.
First I started by sanding the back of the wheels down to the holes to add to the realism. The wheel on the left is what I started with and the one on the right is....well....you know.
Here's the before and after look:
I started the wheel beauty ring masking here:
and here:
and here:
and broke out the acrylic silver paint and shot 'em:
and here one of the wheels are test fitted into a rear tire. I still have to paint the white letters and weather the sidewalls at this point of the build so stay tuned for that:

Re: 32 year old Monogram 1970 Dodge Challenger T/A
Nice Wheels! - that's a big improvement. And the car is coming along nicely!
Stuart Templeton 'I may not be good but I'm slow...'

Re: 32 year old Monogram 1970 Dodge Challenger T/A
This just keeps getting better. Don't know how you do it.
To make each build less crappy than the last one. Or, put another way, "Better than the last one, not as good as the next one!"..
-
mustang1989
- Moderator
- Posts: 5044
- Joined: Tue Mar 18, 2014 8:35 pm
Re: 32 year old Monogram 1970 Dodge Challenger T/A
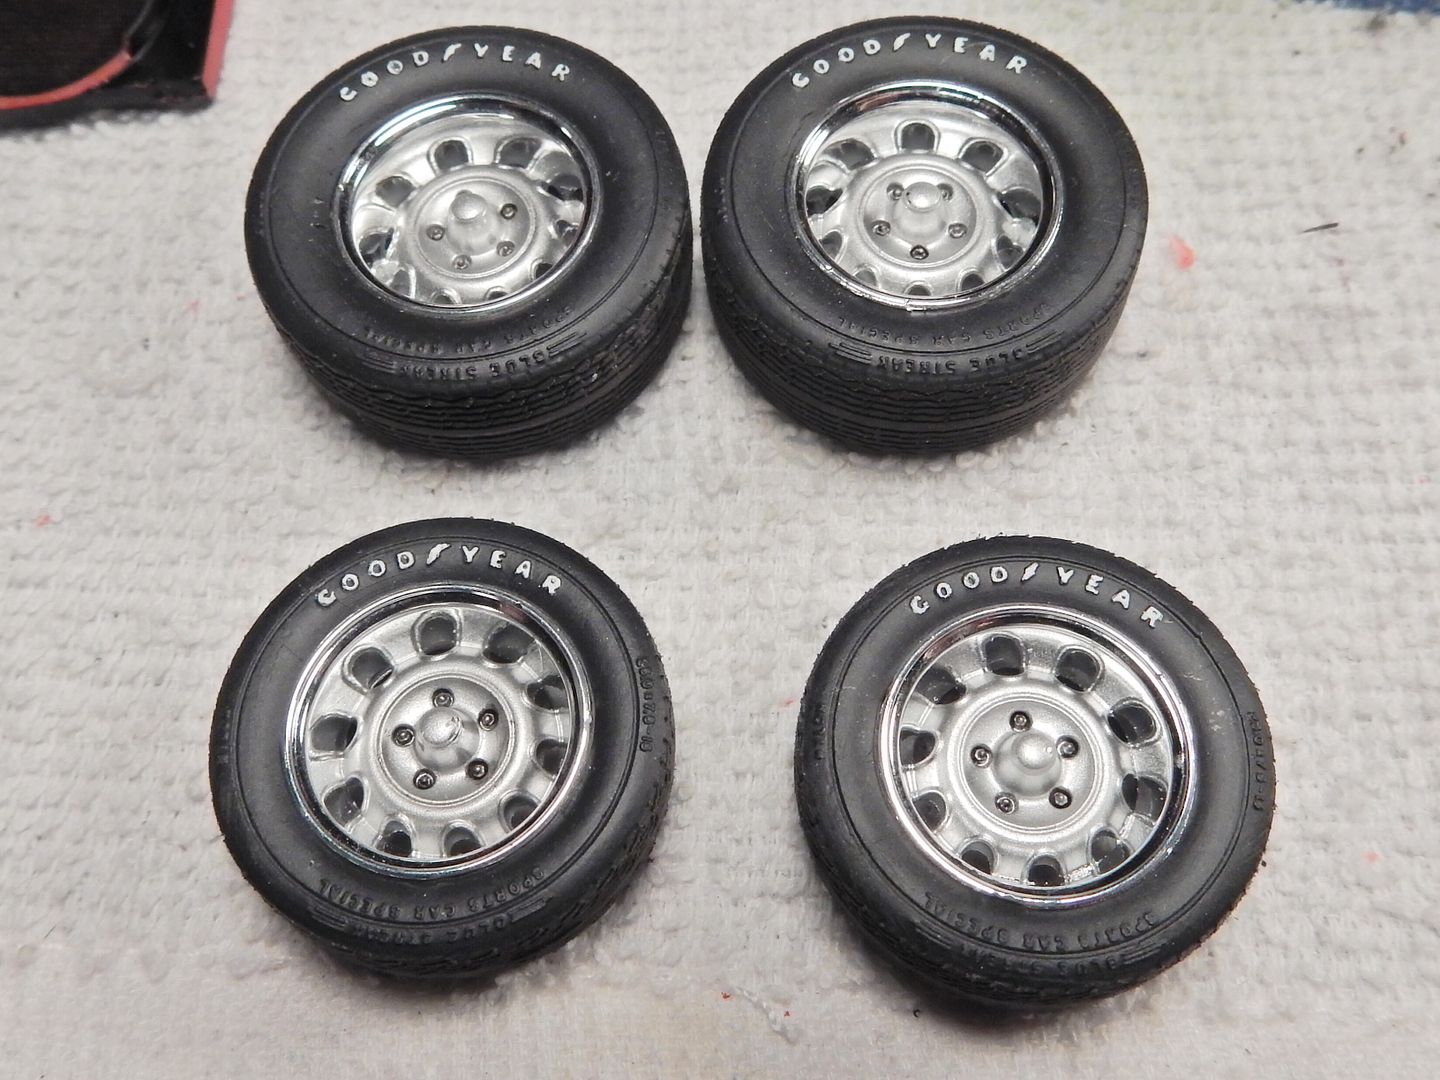
Thanks portman and Lyle! I moved on to painting the white lettering on the tires and obtained an acrylic white paint pen from HL to assist in that.
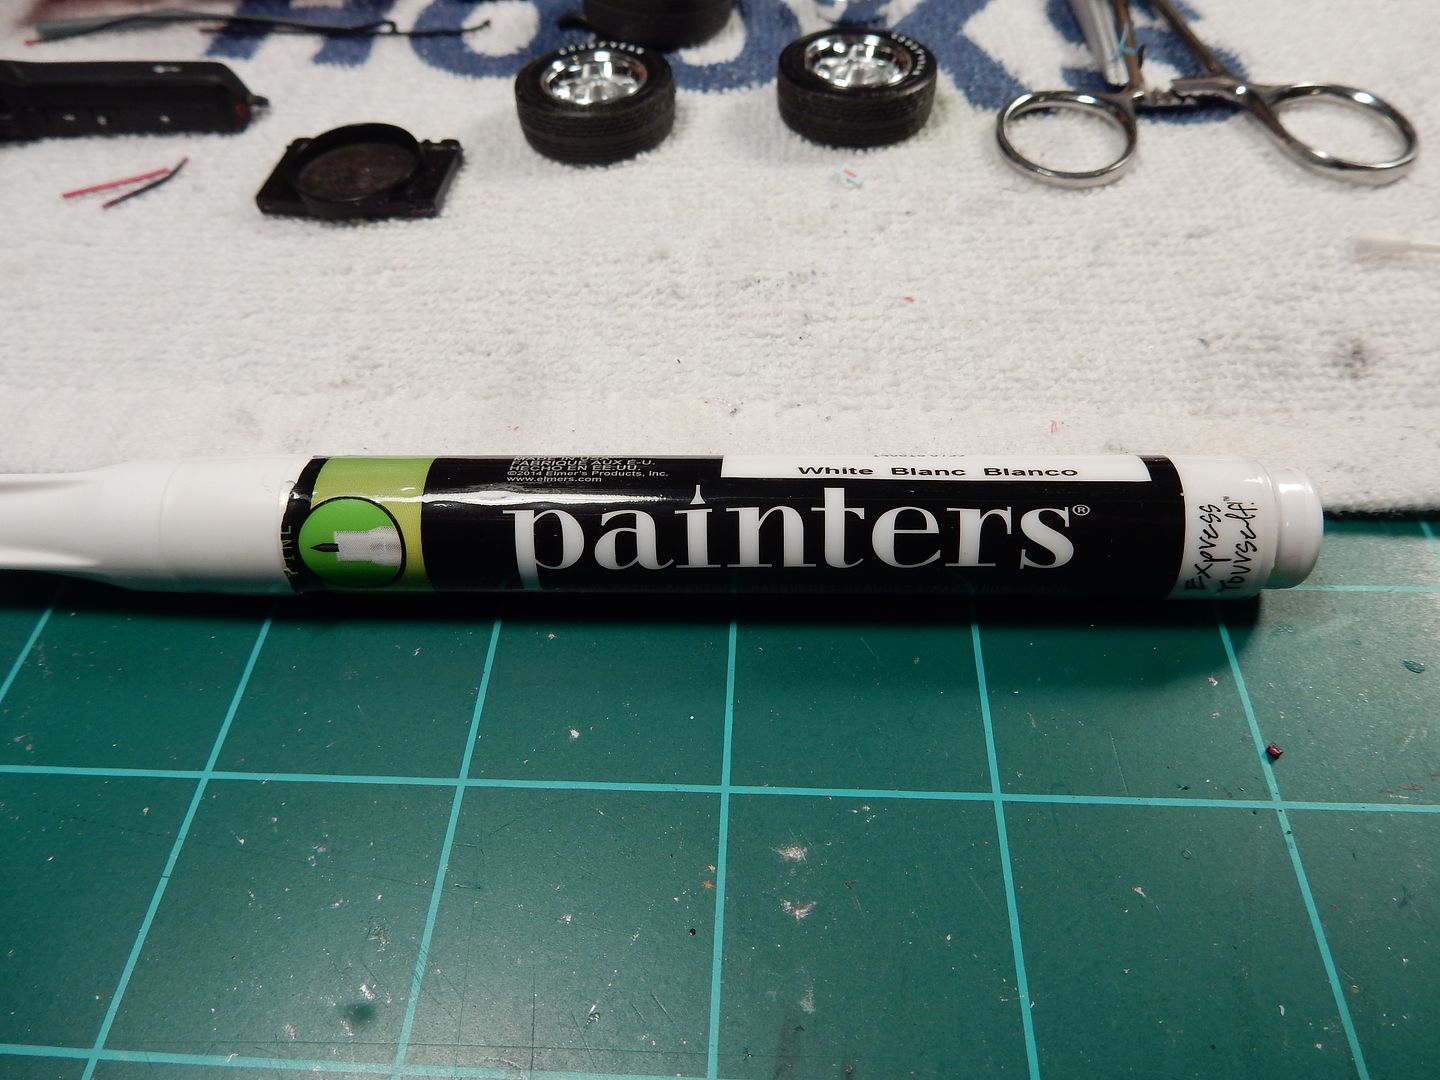
Just after painting all the white lettering:
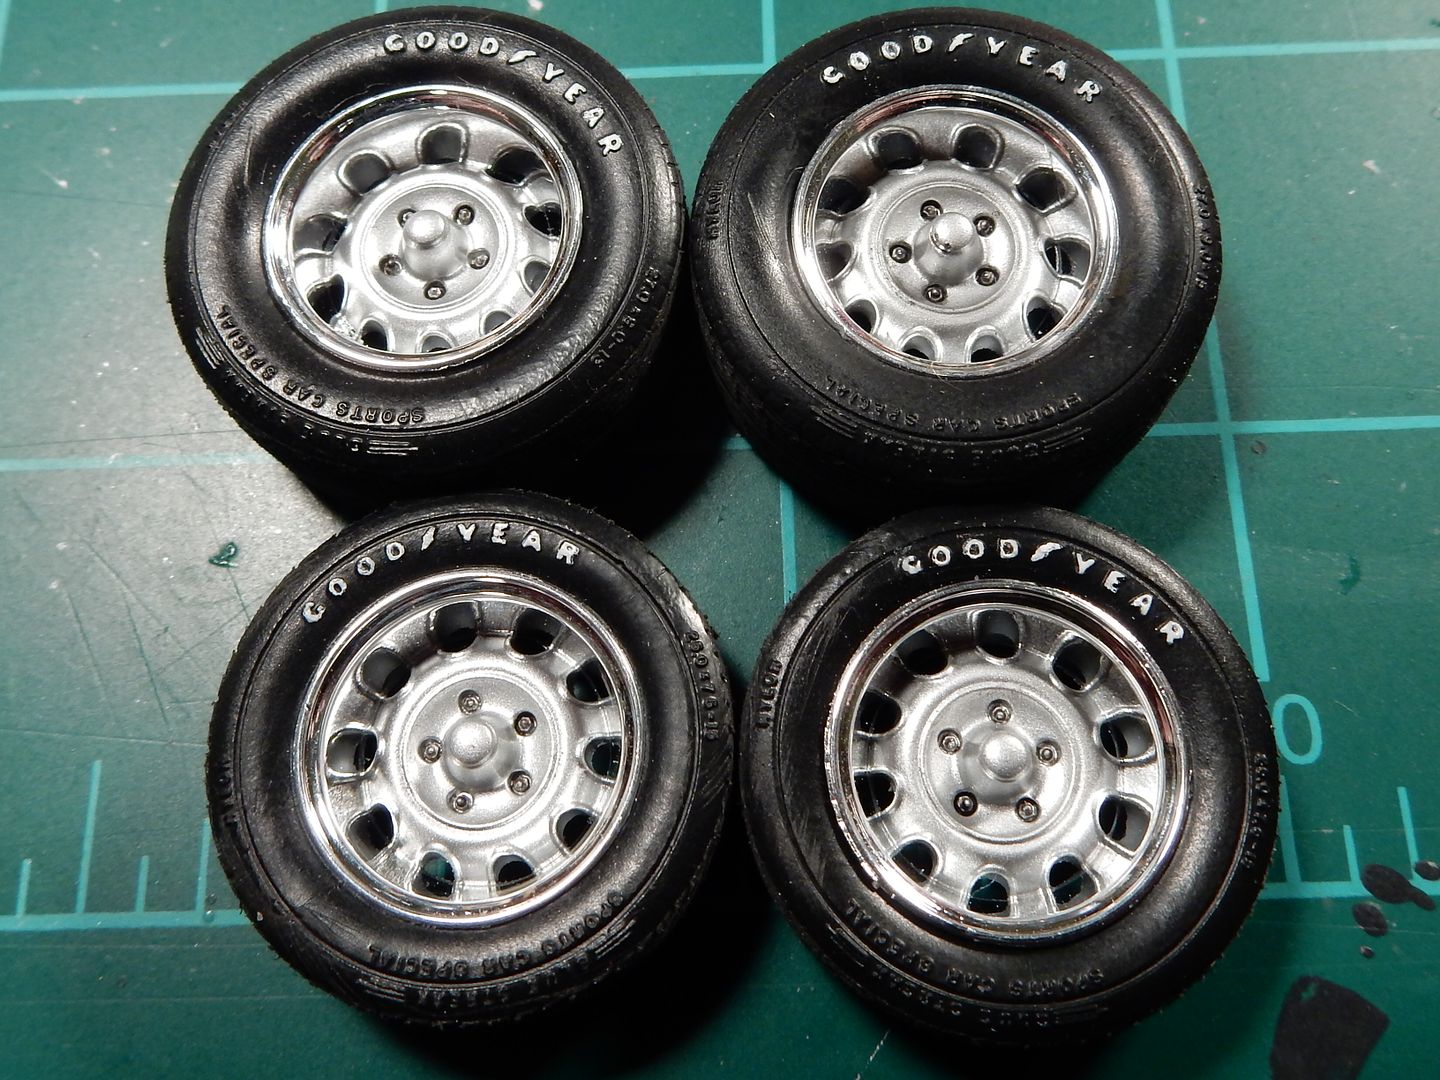
and after touching up the lettering to make it somewhat more defined and applying a clear flat coat over the sidewalls of the tires:
Here's the before and after effects of the flat coat:
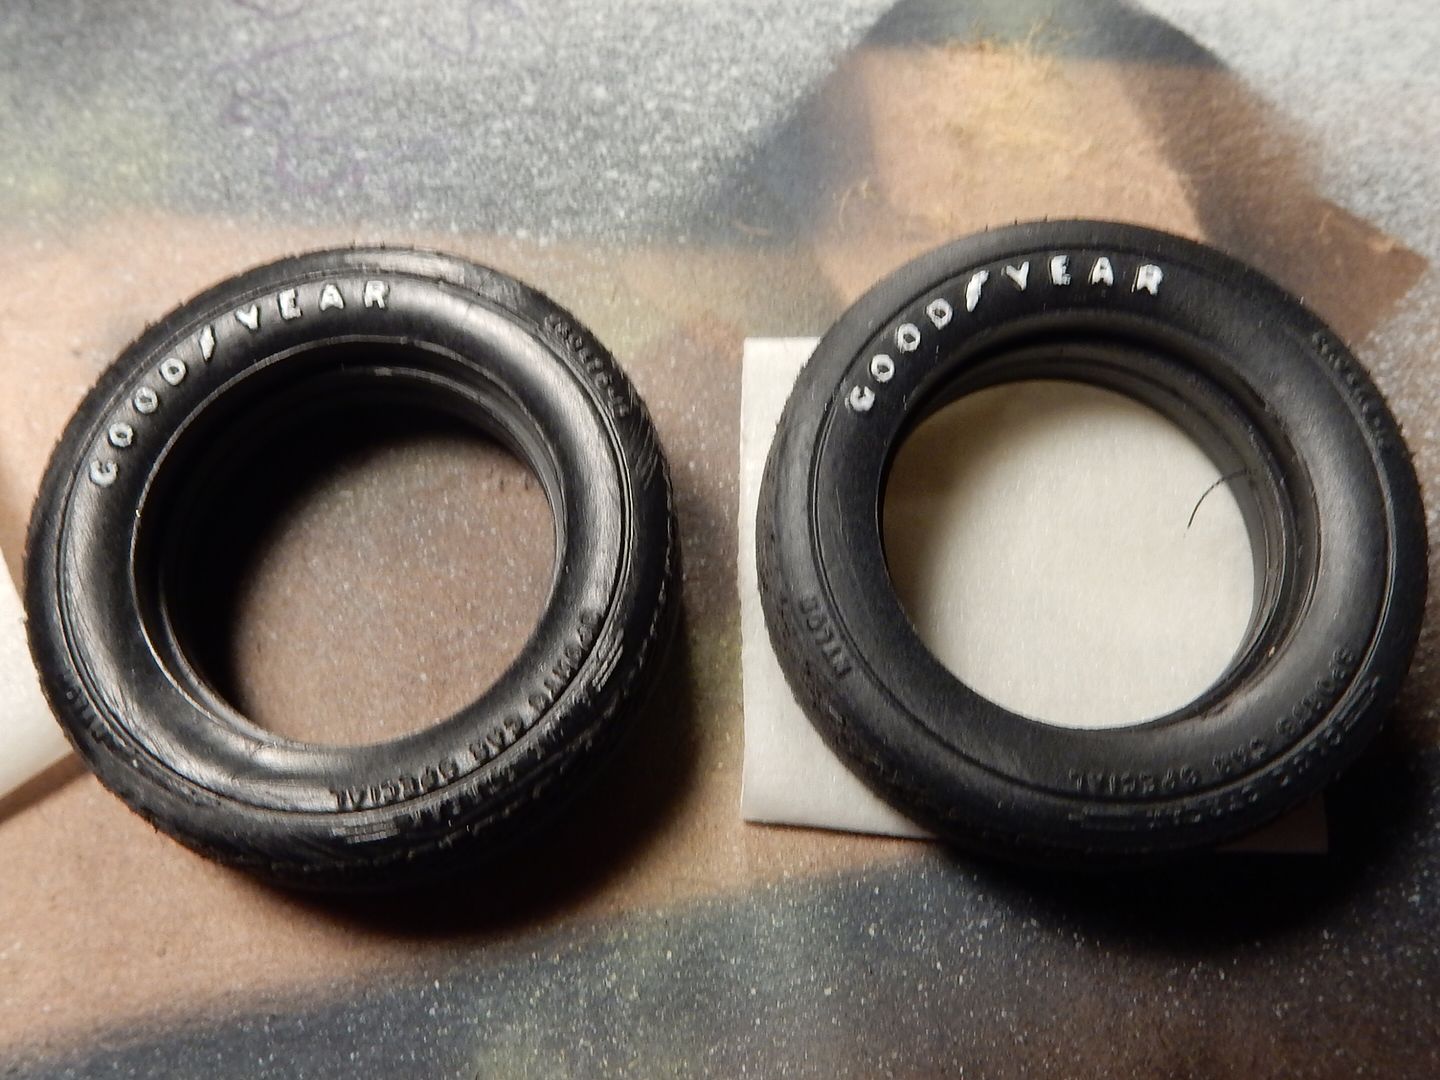
and all four wheel / tire assys:
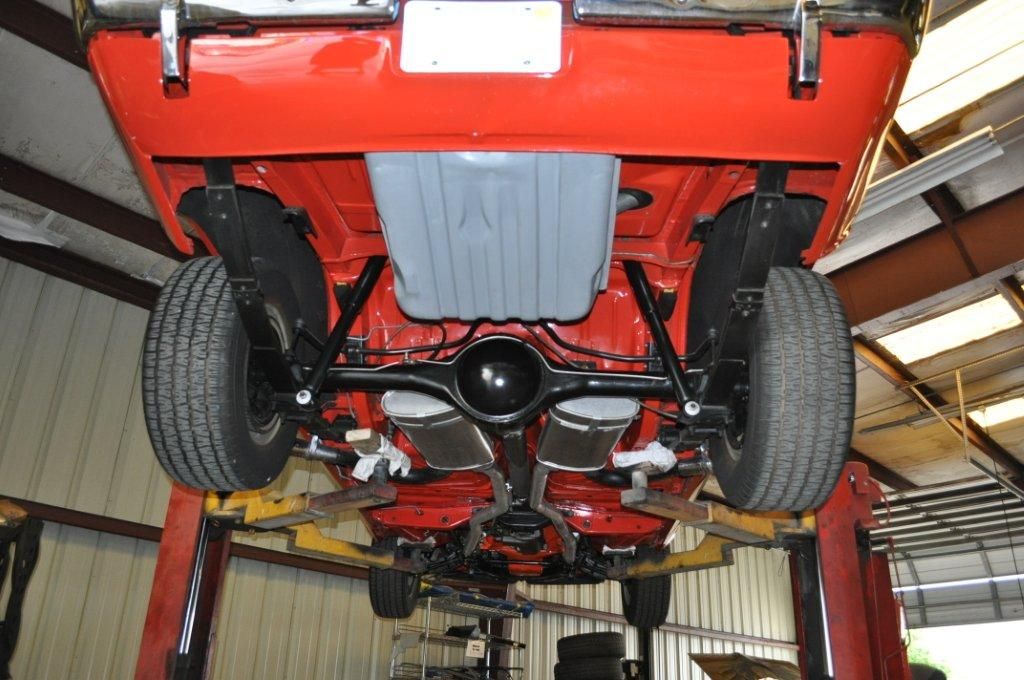
A reference shot of the undercarriage before starting on the chassis part of this build:
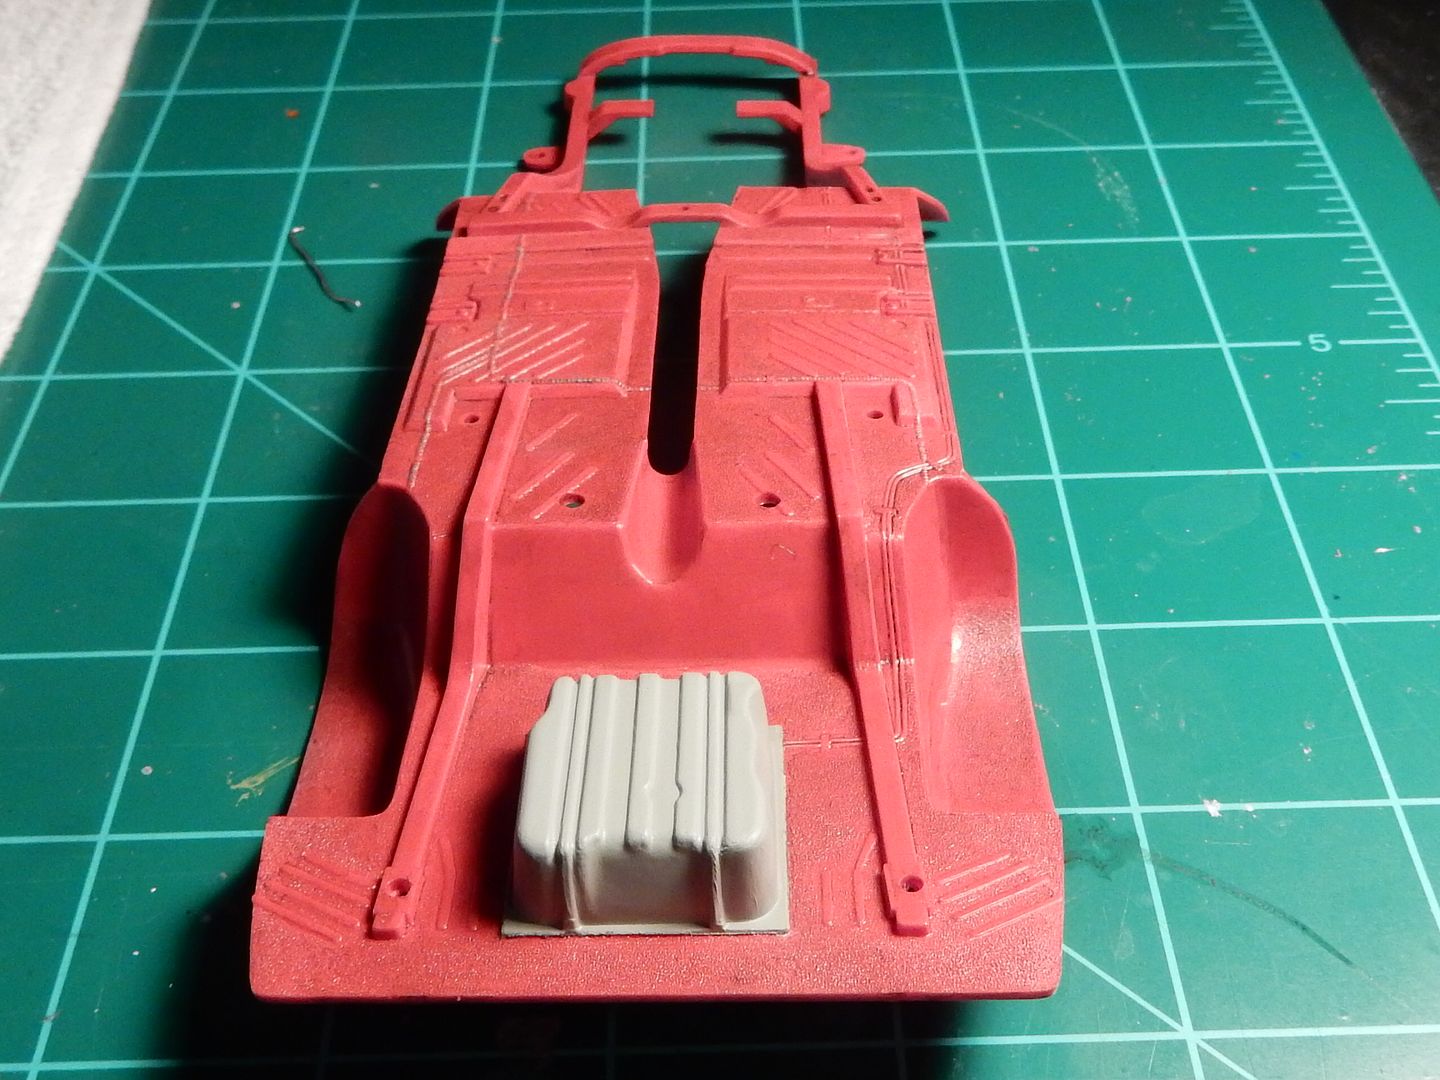
and we start the replication of the chassis. Will be back with more soon....
Just after painting all the white lettering:
and after touching up the lettering to make it somewhat more defined and applying a clear flat coat over the sidewalls of the tires:
Here's the before and after effects of the flat coat:
and all four wheel / tire assys:
A reference shot of the undercarriage before starting on the chassis part of this build:
and we start the replication of the chassis. Will be back with more soon....