Fokker D.VII OAW - 1:48 Eduard

Post your work in progress of your aircraft builds in here.
User avatar
KSaarni
Elite Member
Posts: 5742
Joined: Sun Apr 06, 2014 7:13 am
Location: Gent, Belgium
Contact:

Re: Fokker D.VII OAW - 1:48 Eduard

Post by KSaarni »

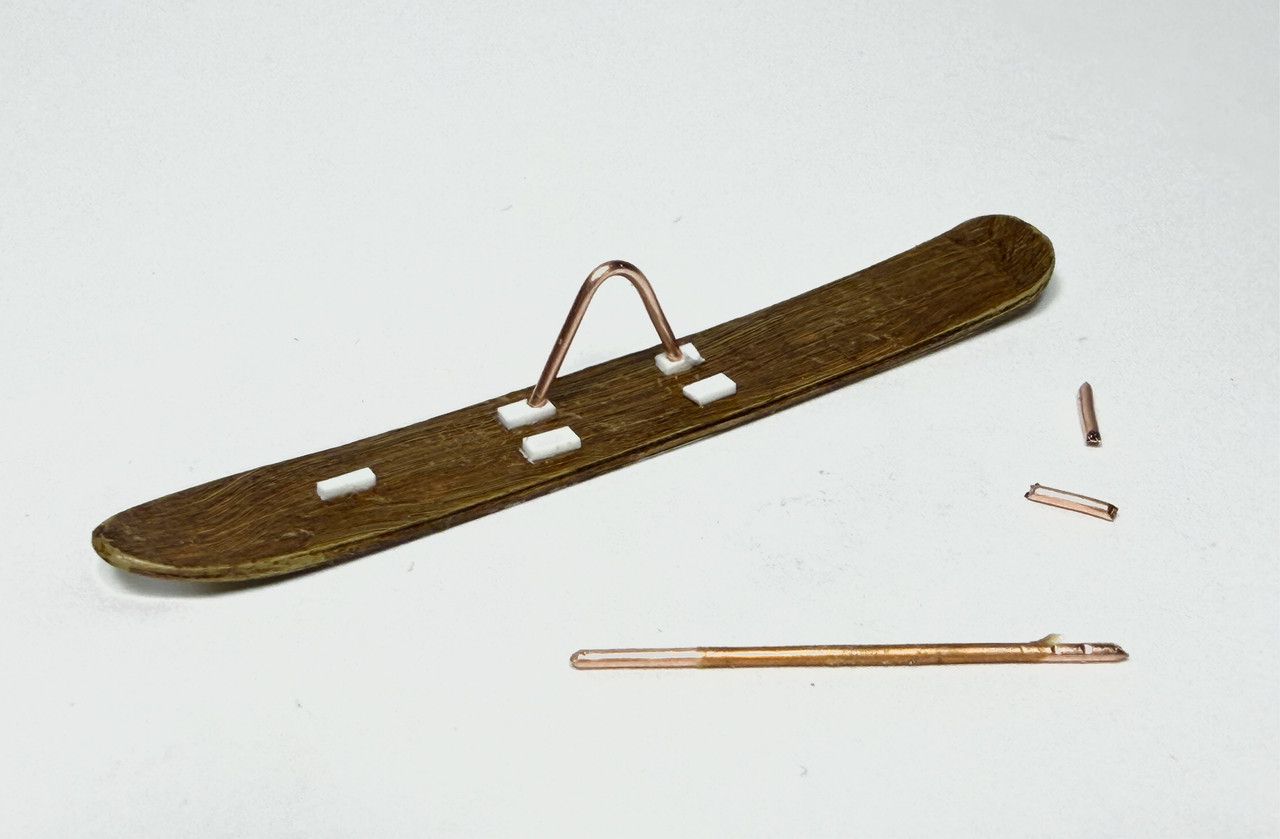
I think testing is now done with this ski. I have learned quite much, so need to make or add the second stand.
With some paint, the ski would look better I believe.

Image

But I wonder it the rod is though too thick, 0.75 mm in 1:48 equals 36 mm in reality, or 1.4 inches. Which nevertheless sounds reasonable. :hmm:

Let's see, step one anyway is to cut and make the skis from thin styrene.
Each ski will be built up from three layered styrene pieces.


- Kari
---
On the bench:

Eduard 1:48 - Fokker D.VII OAW


https://www.facebook.com/GrundAsk-Scale ... 721218708/
User avatar
FullMetal
Advanced Member
Posts: 442
Joined: Tue Apr 28, 2026 9:13 am
Contact:

Re: Fokker D.VII OAW - 1:48 Eduard

Post by FullMetal »

Sorry I missed this...
It's really à superb built...keep on give us more... :grin:
Cut...File...Glue...Paint and...Repeat :bye:

Follow me on YouTube https://www.youtube.com/@Fullmetalpainter :bye:
User avatar
Gary Brantley
Elite Member
Posts: 2792
Joined: Tue Apr 08, 2014 9:40 pm
Location: Cameron, Texas

Re: Fokker D.VII OAW - 1:48 Eduard

Post by Gary Brantley »

All your work looks great, Kari. :shoutout: That cockpit is just exquisite, my friend! :bow: You've got the ski building down, I believe, great scratchbuilding there! 👍
User avatar
speedgraflex
Moderator
Posts: 11631
Joined: Fri Feb 10, 2017 11:08 pm
Contact:

Re: Fokker D.VII OAW - 1:48 Eduard

Post by speedgraflex »

Kari!

Beautiful. Two notes if you want them:

1. Make a plastic jig to keep the supports aligned.
2. I would drill out a hole in the plastic supports first before inserting the rod. This would countersink the tip and provide stability as well as alignment.
Make more models!
User avatar
Stikpusher
Moderator
Posts: 21517
Joined: Sat Apr 05, 2014 8:37 pm
Location: Ceti Alpha 5

Re: Fokker D.VII OAW - 1:48 Eduard

Post by Stikpusher »

FullMetal wrote: ↑Thu Sep 24, 2026 9:08 am It's really à superb built...keep on give us more... :grin:
:P1: Agreed 100%
Gary Brantley wrote: ↑Thu Sep 24, 2026 9:39 am All your work looks great, Kari. :shoutout: That cockpit is just exquisite, my friend! :bow: You've got the ski building down, I believe, great scratchbuilding there! 👍
:P1: Agreed 100% pt.2 :giggles:
speedgraflex wrote: ↑Thu Sep 24, 2026 1:01 pm Kari!

Beautiful. Two notes if you want them:

1. Make a plastic jig to keep the supports aligned.
2. I would drill out a hole in the plastic supports first before inserting the rod. This would countersink the tip and provide stability as well as alignment.
Two great ideas from Bruce, particularly the holes is the support for additional strength. The butt joins will be far less strong than the rod being sunk into location holes for increased reinforcement of shear strength.
"Surely I have made my meaning plain? I intend to avenge myself upon you, Admiral. I have deprived your ship of power, and when I swing 'round, I intend to deprive you of your life."

FLSM
User avatar
KSaarni
Elite Member
Posts: 5742
Joined: Sun Apr 06, 2014 7:13 am
Location: Gent, Belgium
Contact:

Re: Fokker D.VII OAW - 1:48 Eduard

Post by KSaarni »

Thank you Greg, Gary, Carlos and Bruce!
speedgraflex wrote: ↑Thu Sep 24, 2026 1:01 pm Kari!

Beautiful. Two notes if you want them:

1. Make a plastic jig to keep the supports aligned.
2. I would drill out a hole in the plastic supports first before inserting the rod. This would countersink the tip and provide stability as well as alignment.
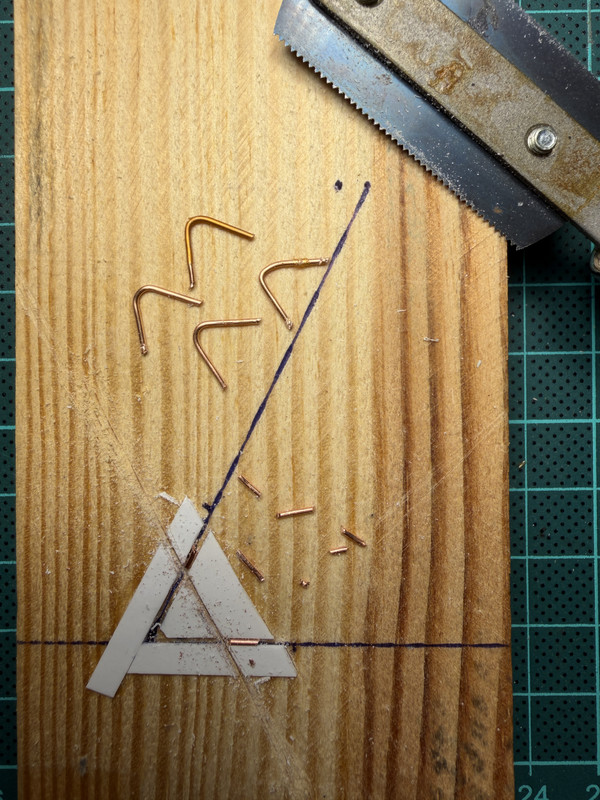
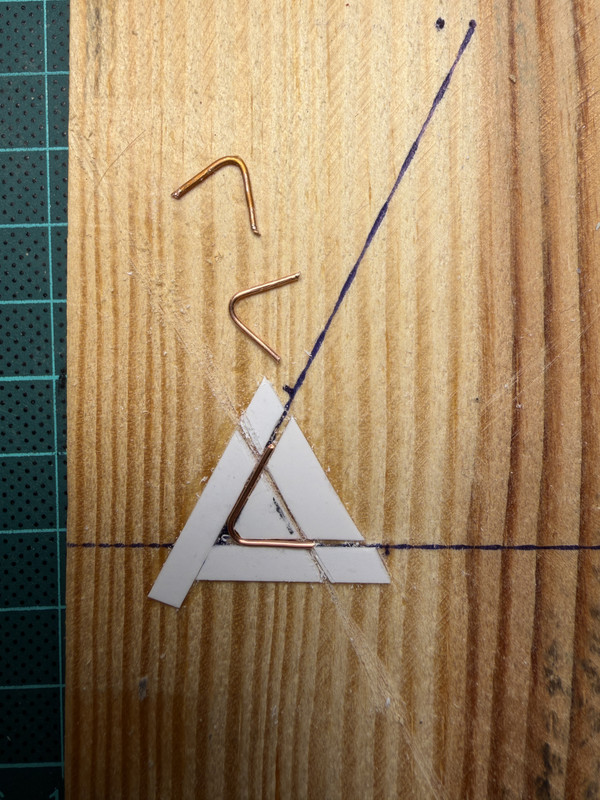
Thank you Bruce, you have read my mind! I made a very simple jig, but I think I need to look for another rod, other material that is easier to work with. This leaves some tension, does not really look.

And as a matter of fact, though not very visible in the photo above, I drilled holes in the plastic supports for the rod. It definitely helps.

I’ve also been thinking (the main reason I started with this part instead of the skis) about making the supports with the rods in a new jig first (to get them aligned and identical), and only then attaching them to the skis. This way, it would be much easier to paint them before gluing them to the skis.

Here my (disclaimer: ”my current”) jig:
Image
Image

But lets see!

- Kari
---
On the bench:

Eduard 1:48 - Fokker D.VII OAW


https://www.facebook.com/GrundAsk-Scale ... 721218708/
User avatar
KSaarni
Elite Member
Posts: 5742
Joined: Sun Apr 06, 2014 7:13 am
Location: Gent, Belgium
Contact:

Re: Fokker D.VII OAW - 1:48 Eduard

Post by KSaarni »

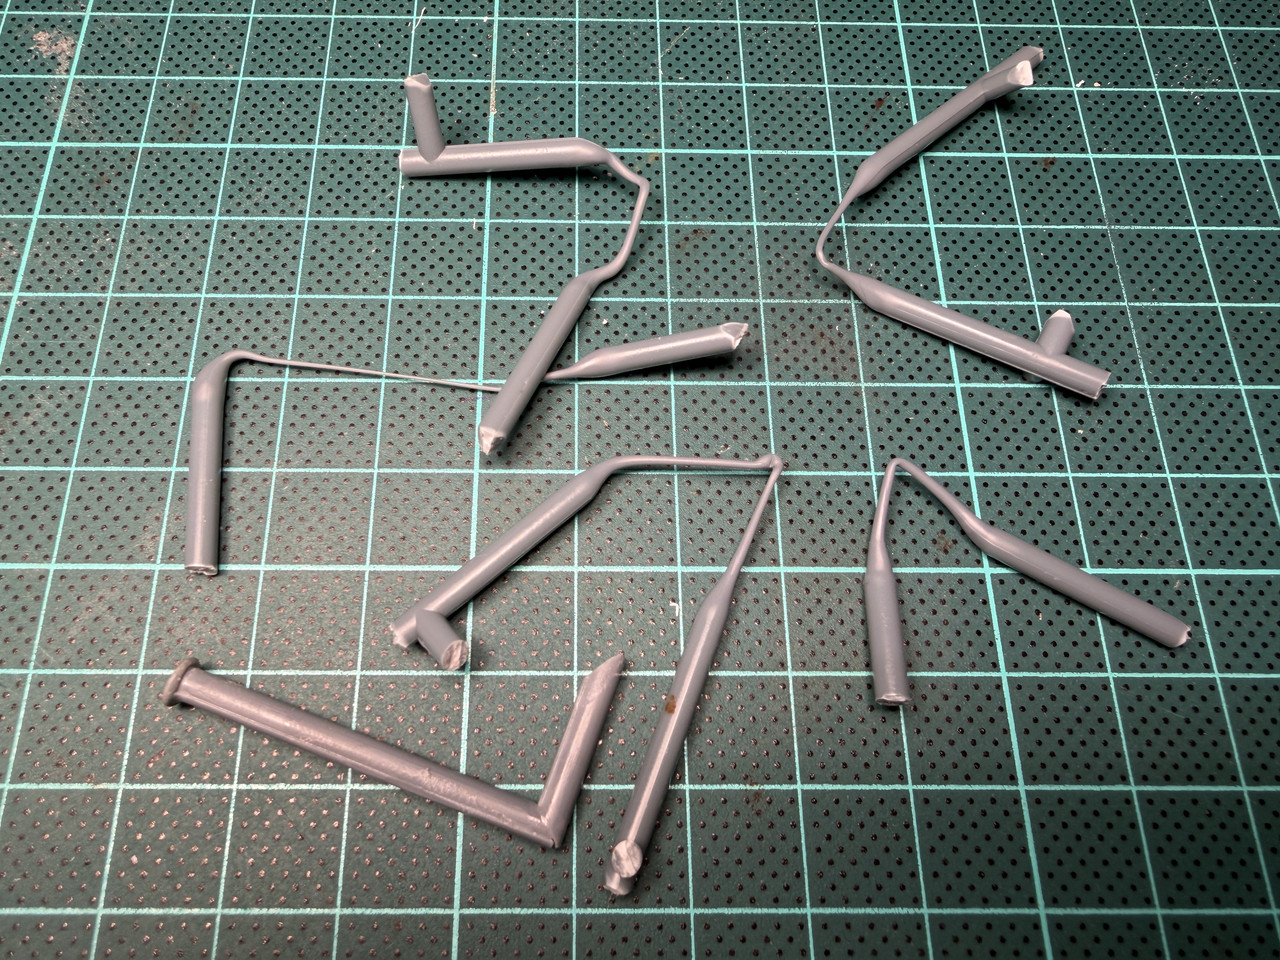
Regarding material for the support rods..

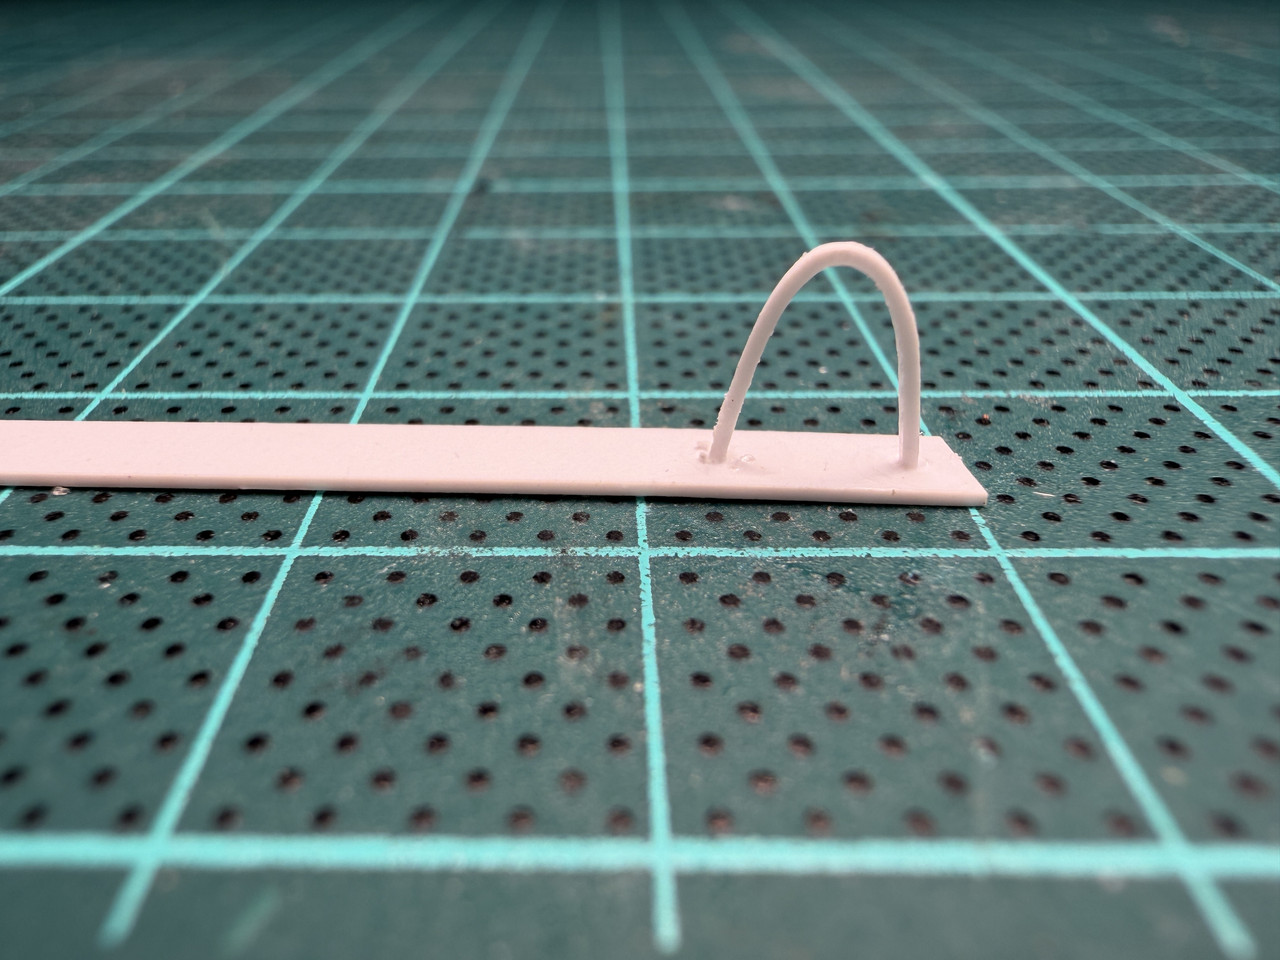
I also tried to use Evergreens thin styrene strip, which actually does not look that bad after all. Just difficult to get it in right shape. Boiling water does not make the thin strip soft enough. I soaked the styrene for several minutes. Strange, at least not this styrene type gets soft in boiling water.. :hmm:
Perhaps next time trying in boiling oil :giggles:

Image

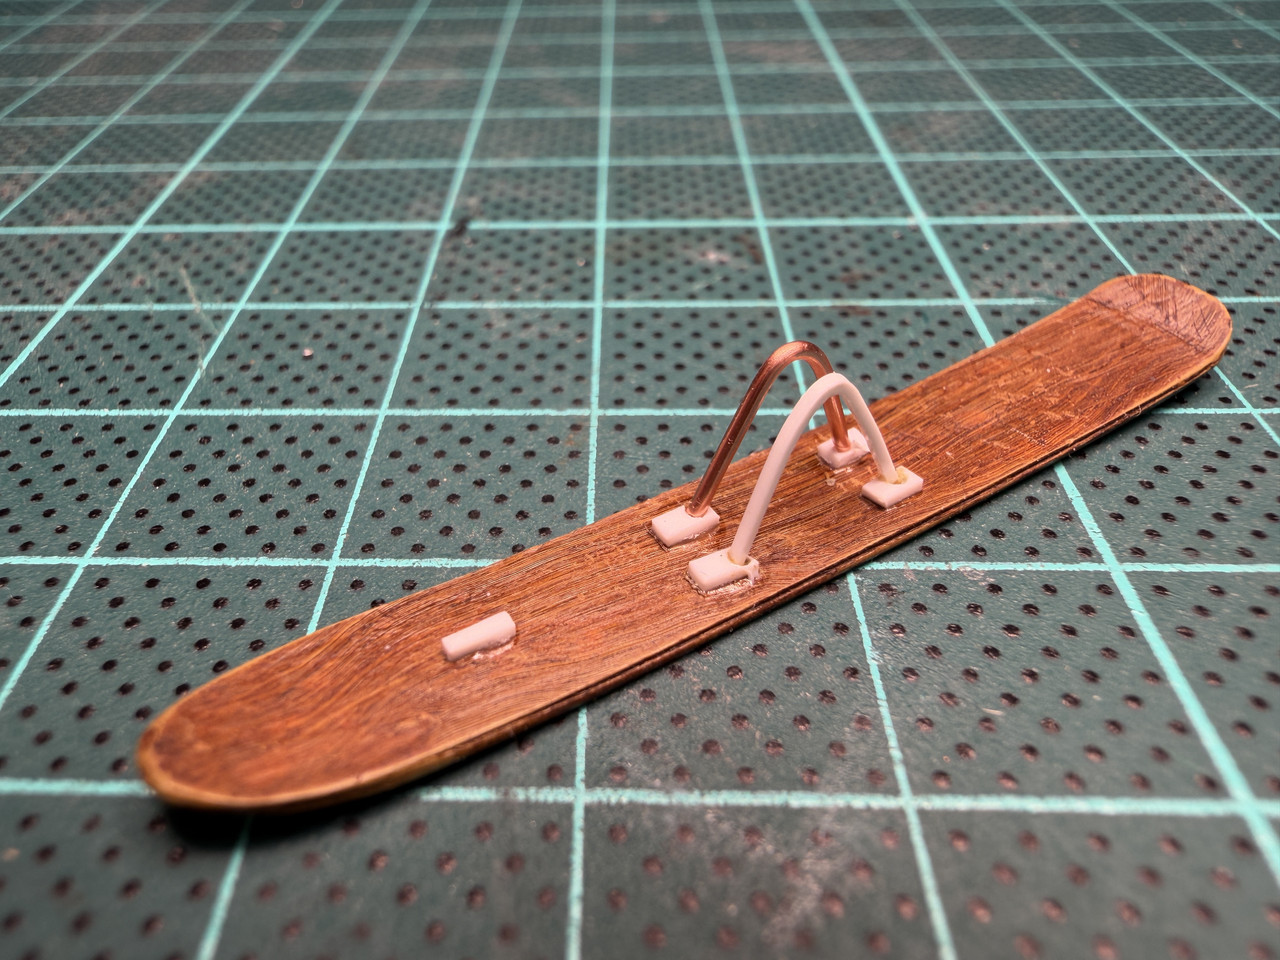
I tried the styrene strip also on my test ski, easy to compare the two different materials.

Image

I even (overly optimistically) tried stretched sprue... :bag:

Image

So, I'm still looking for the right material for the rod, perhaps styrene, perhaps something else.


- Kari
---
On the bench:

Eduard 1:48 - Fokker D.VII OAW


https://www.facebook.com/GrundAsk-Scale ... 721218708/
User avatar
speedgraflex
Moderator
Posts: 11631
Joined: Fri Feb 10, 2017 11:08 pm
Contact:

Re: Fokker D.VII OAW - 1:48 Eduard

Post by speedgraflex »

Kari,

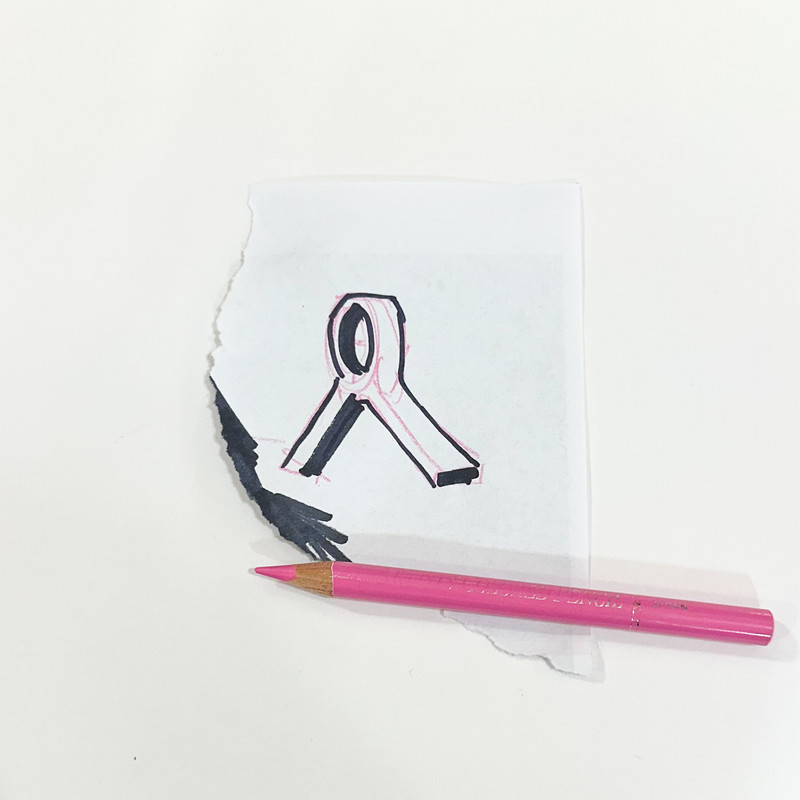
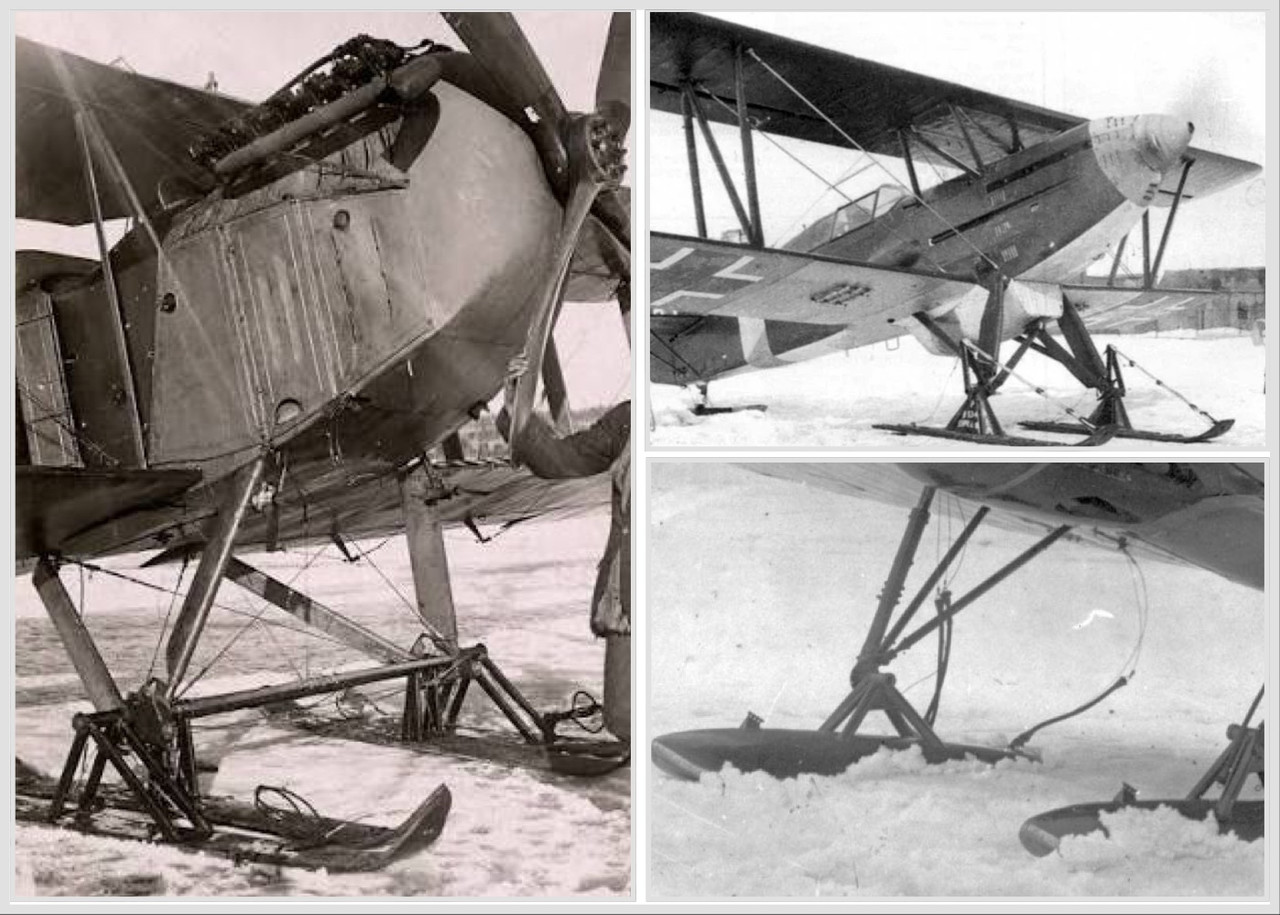
I don’t know the exact specifics of your choice, but having a look at a few basic designs they all seem to employ an inverted V shape with a mounting point where the two sides meet. Rather than add a mounting point at the base of your design, I would consider building the entire piece from plastic card with the mounting point on top, gravity, ya know, and drilling out the hole for horizontal or vertical attachment. You can assembly line construct two mounts easily.


Image

Image
Make more models!
User avatar
KSaarni
Elite Member
Posts: 5742
Joined: Sun Apr 06, 2014 7:13 am
Location: Gent, Belgium
Contact:

Re: Fokker D.VII OAW - 1:48 Eduard

Post by KSaarni »

speedgraflex wrote: ↑Fri Sep 25, 2026 3:58 pm Kari,
I don’t know the exact specifics of your choice, but having a look at a few basic designs they all seem to employ an inverted V shape with a mounting point where the two sides meet. Rather than add a mounting point at the base of your design, I would consider building the entire piece from plastic card with the mounting point on top, gravity, ya know, and drilling out the hole for horizontal or vertical attachment. You can assembly line construct two mounts easily.
Thanks Bruce, makes total sense tbh!

I start to lean on plastic card as well. Made some try-outs (again!) and one can build surprisingly sturdy construction of truly thin styrenes.

Smart Smart Smart idea with the "drilling-out-the-hole" approach!

Many thanks for the blue-print as well, very much appreciated and will be very handy !

- Kari
---
On the bench:

Eduard 1:48 - Fokker D.VII OAW


https://www.facebook.com/GrundAsk-Scale ... 721218708/
User avatar
KSaarni
Elite Member
Posts: 5742
Joined: Sun Apr 06, 2014 7:13 am
Location: Gent, Belgium
Contact:

Re: Fokker D.VII OAW - 1:48 Eduard

Post by KSaarni »

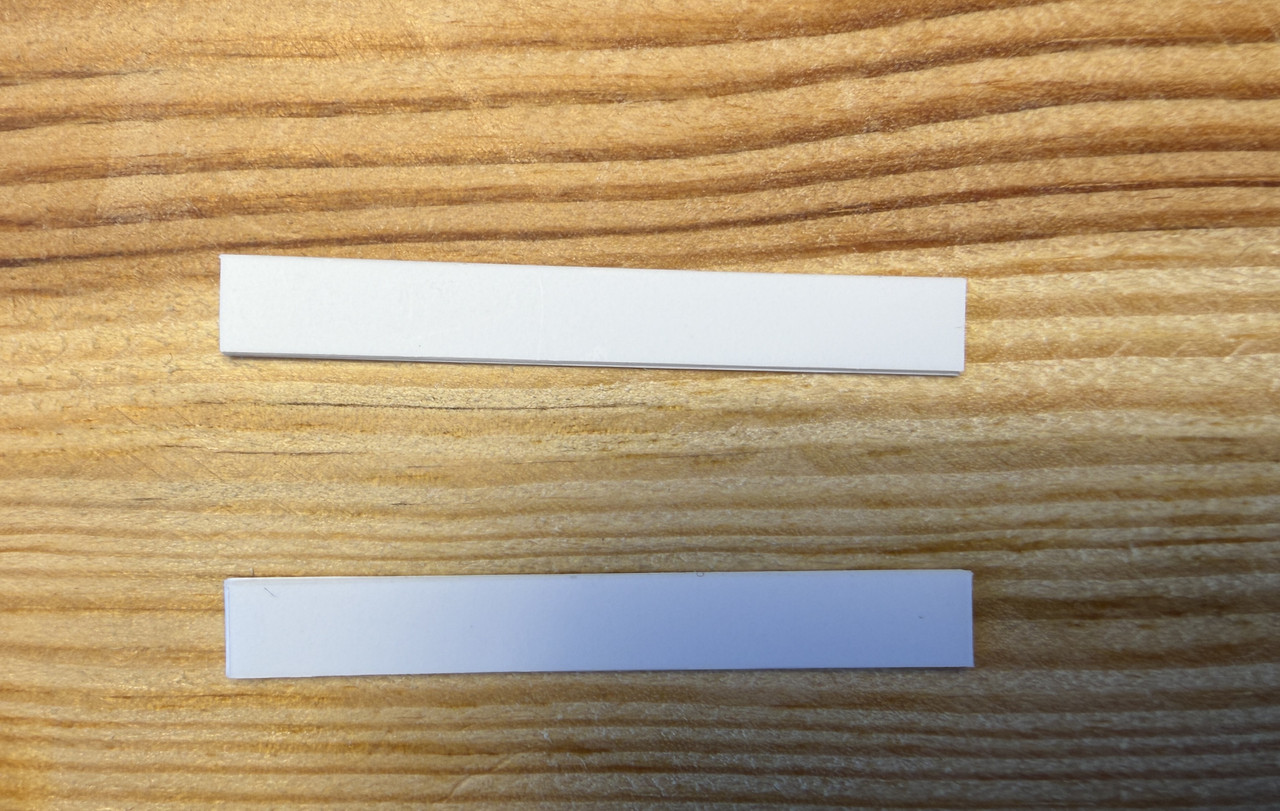
meanwhile the ski's...

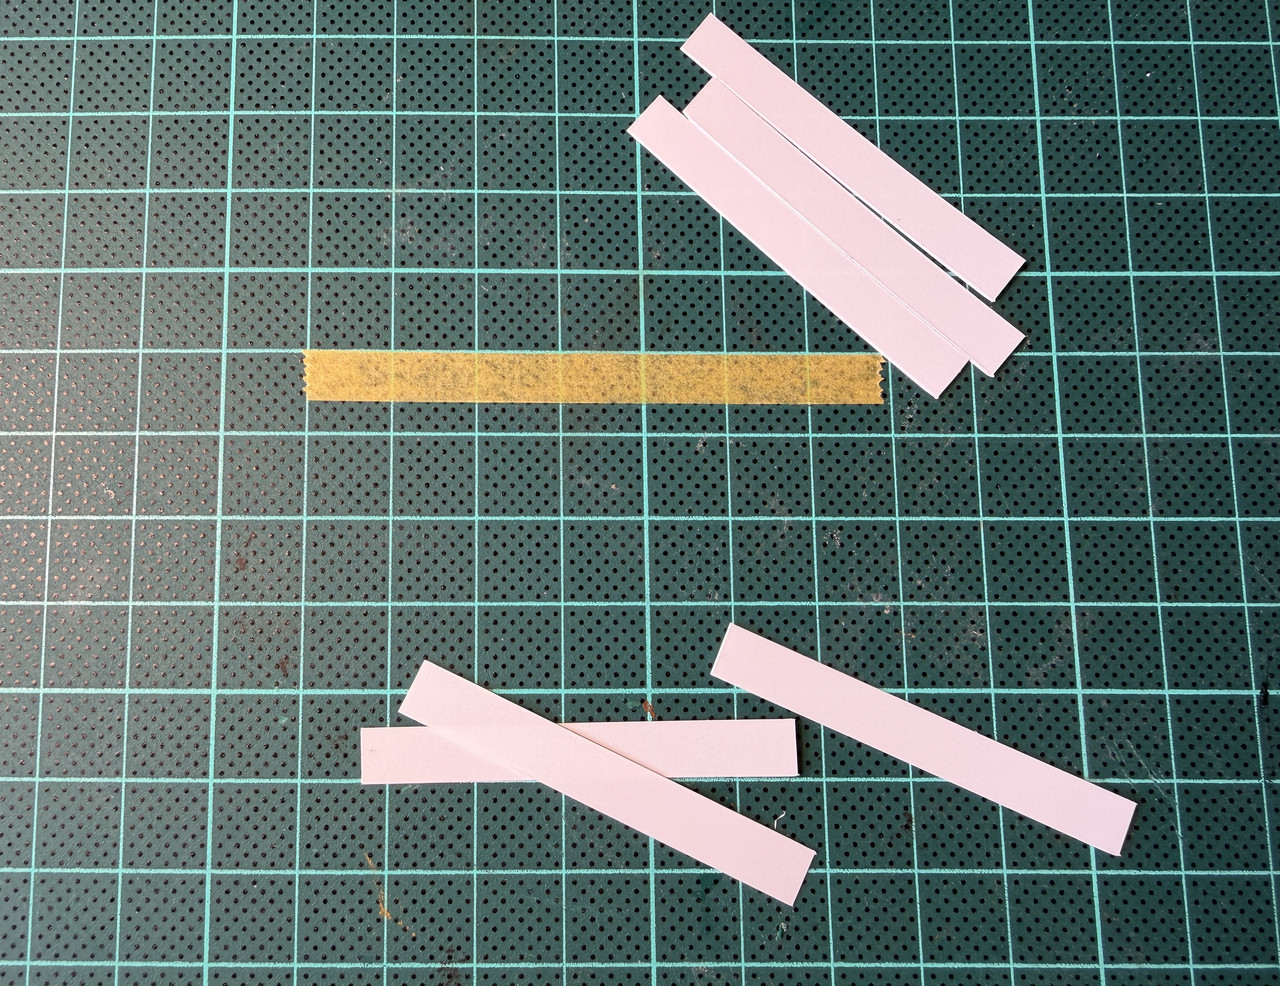
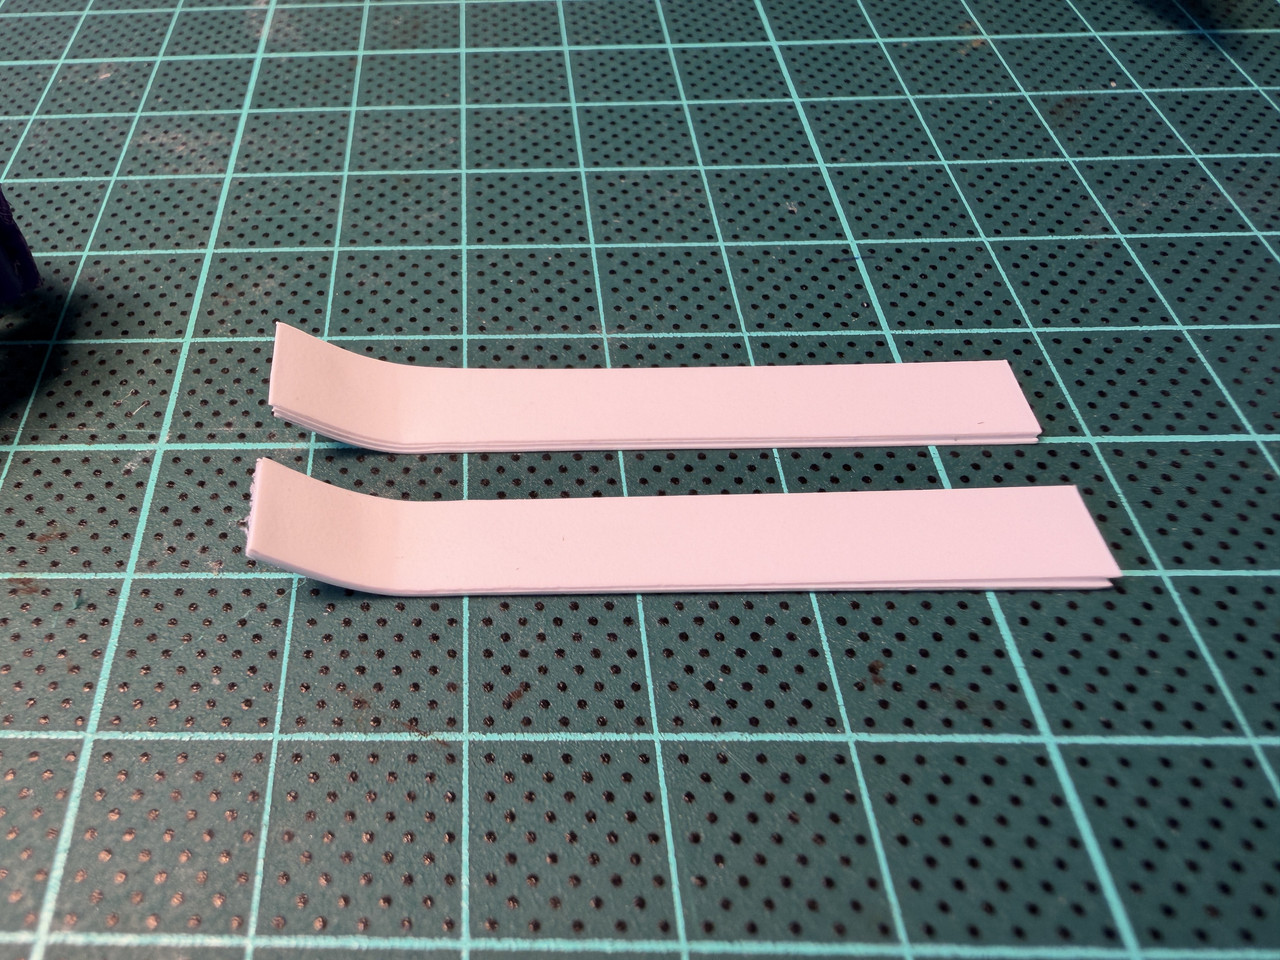
I use 3 thin styrene sheets to make one ski

Image

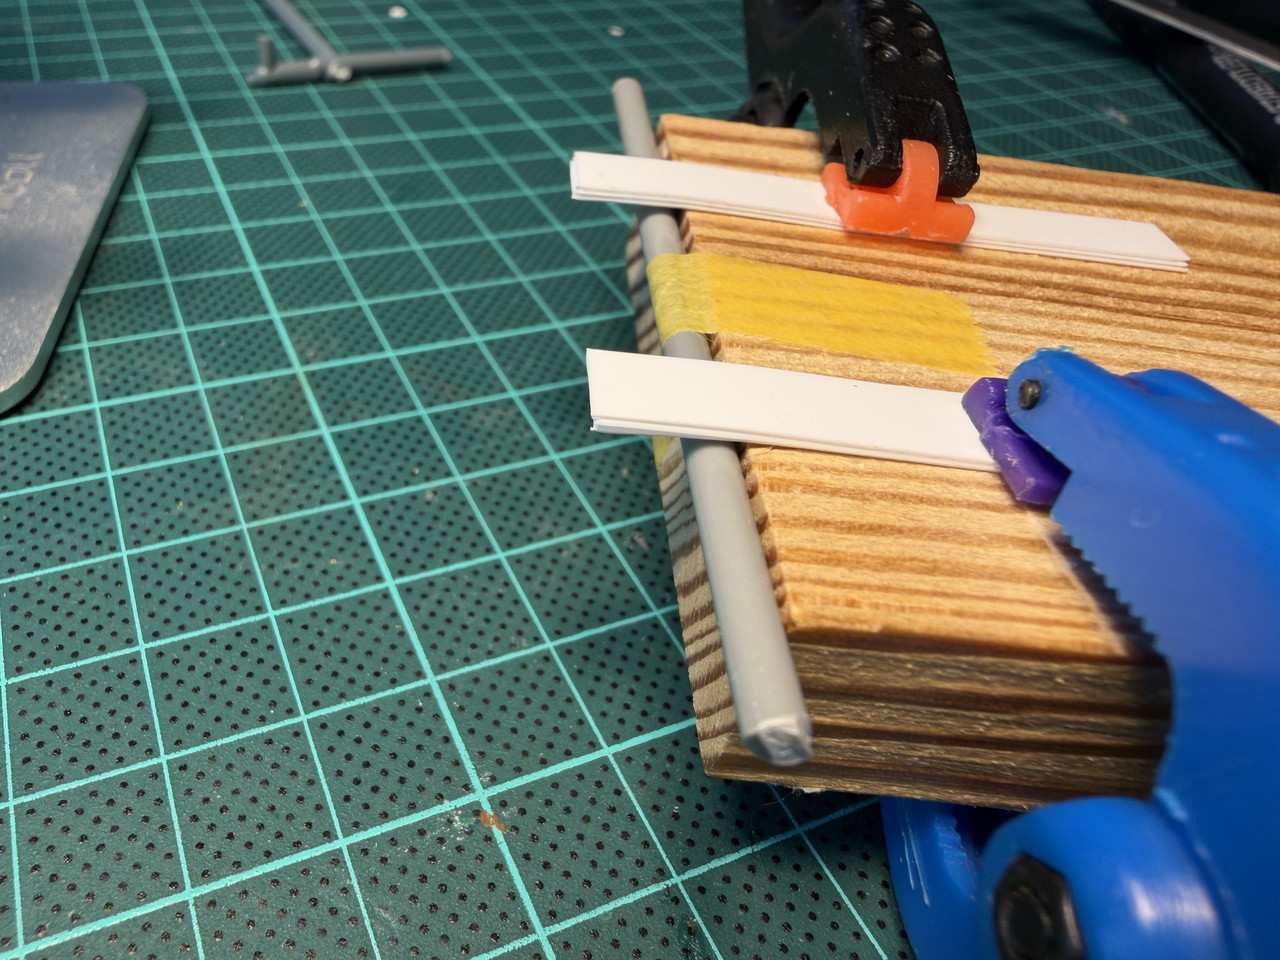
I glue them together with not too much of cement more or a less in the middle of the ski, leaving both ends unglued.

Image

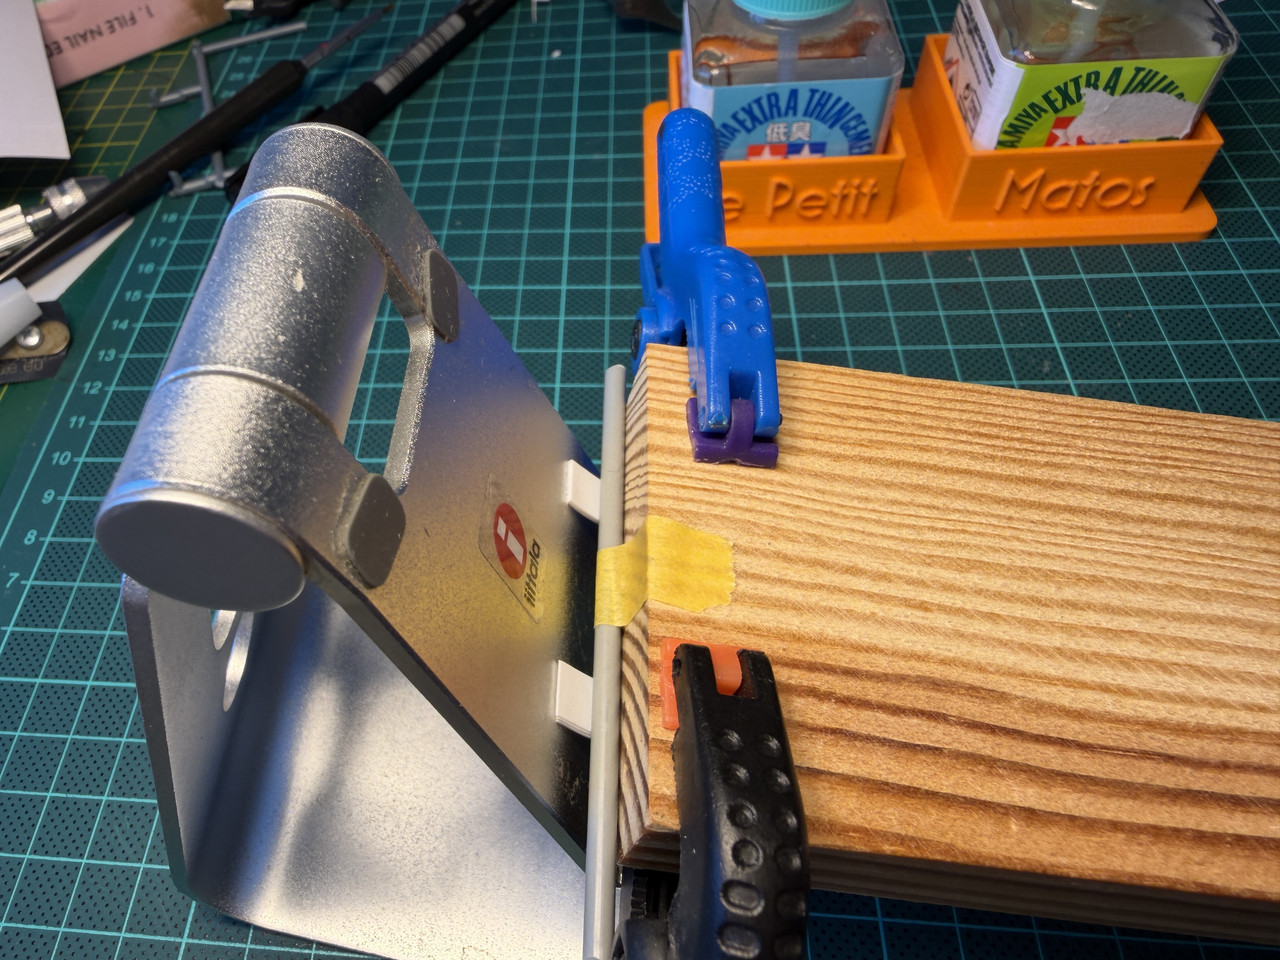
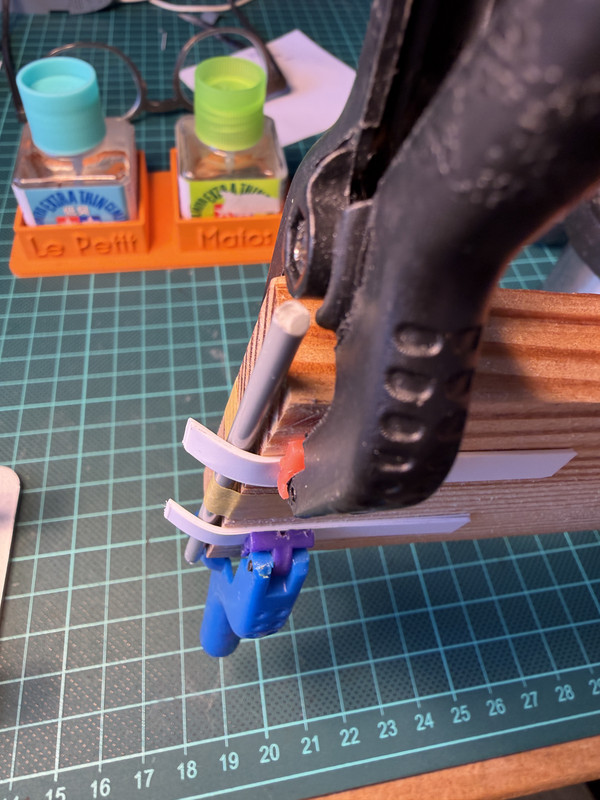
Next step is to bend the tips, using a piece of wooden and a piece of sprue (for the roundness)

Image

Image

And while in the special made bending jig, I drop a few drops of Tamiyas Extra Thin, squeezing carefully with a tweezer the 3 styrene sheets together.
Image

Result being rather satisfying, good fundament to start to work with, changing them eventually to wooden skis.

Image


- Kari
---
On the bench:

Eduard 1:48 - Fokker D.VII OAW


https://www.facebook.com/GrundAsk-Scale ... 721218708/
Post Reply

Return to “Aircraft Work in Progress”