Thanks for the comments!
BlackSheep214 wrote: ↑Wed Jun 05, 2024 7:06 pm
Model porn!

Incredible work on the cockpit. I never seen a red (or maroon, whatever the color is) seat in a Spitfire before. I like it.
The plastic (actually synthetic resin bonded paper) seats were introduced in 1940 as an alternative to metal seats.


Still working on fitting the cockpit components to the fuselage. Here is the instrument panel assembly slotted into the port fuselage side.
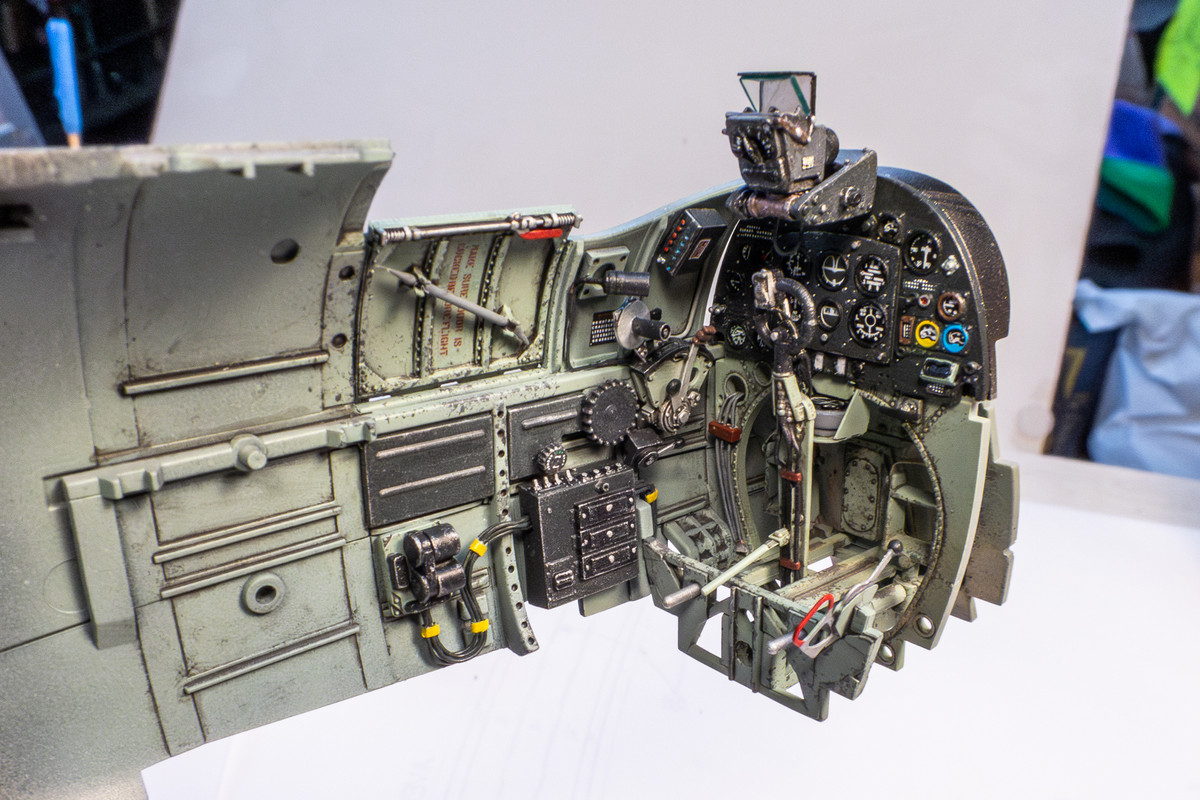
As I stated previously, the voltage regulator is in direct conflict with the seat frame. I didn't want to mess with moving the voltage regulator due to the wiring so instead, I cut a notch out of the seat frame.
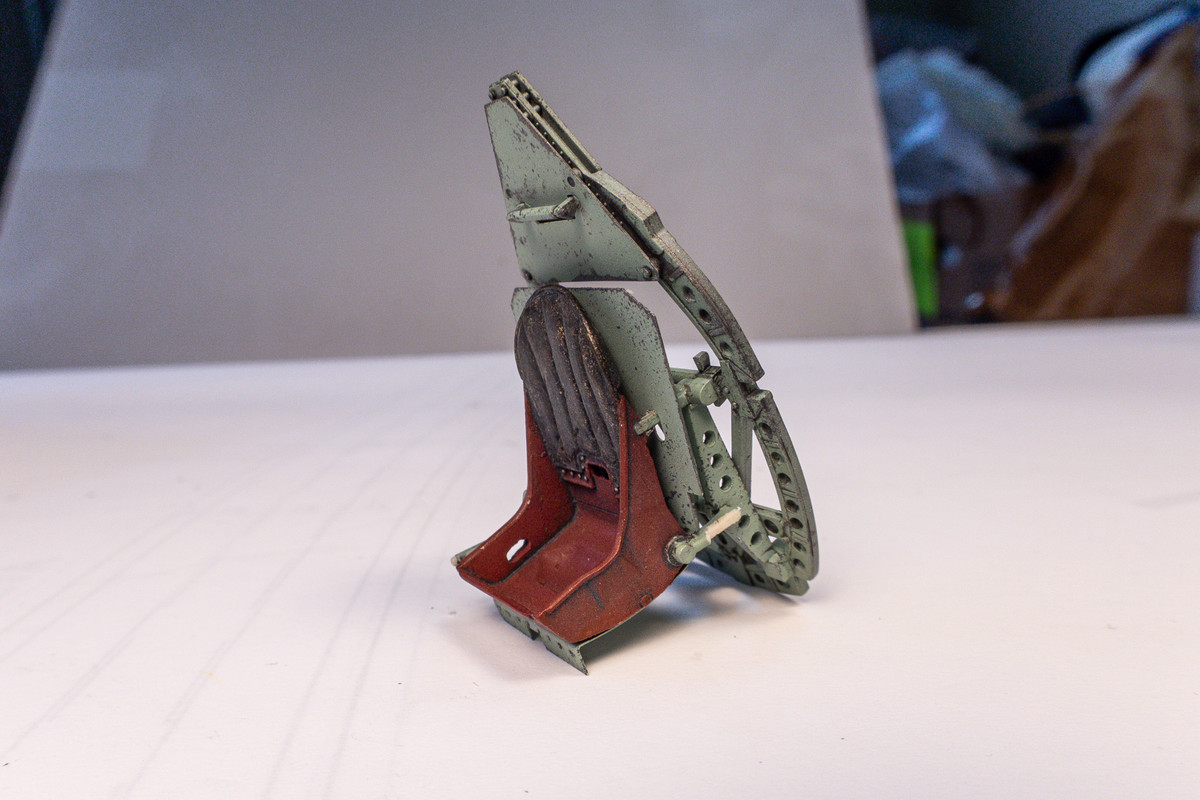
Before the cockpit is actually attached to the fuselage, I need to get the harnesses on the seat so I embarked on assembling the HGW fabric belts.

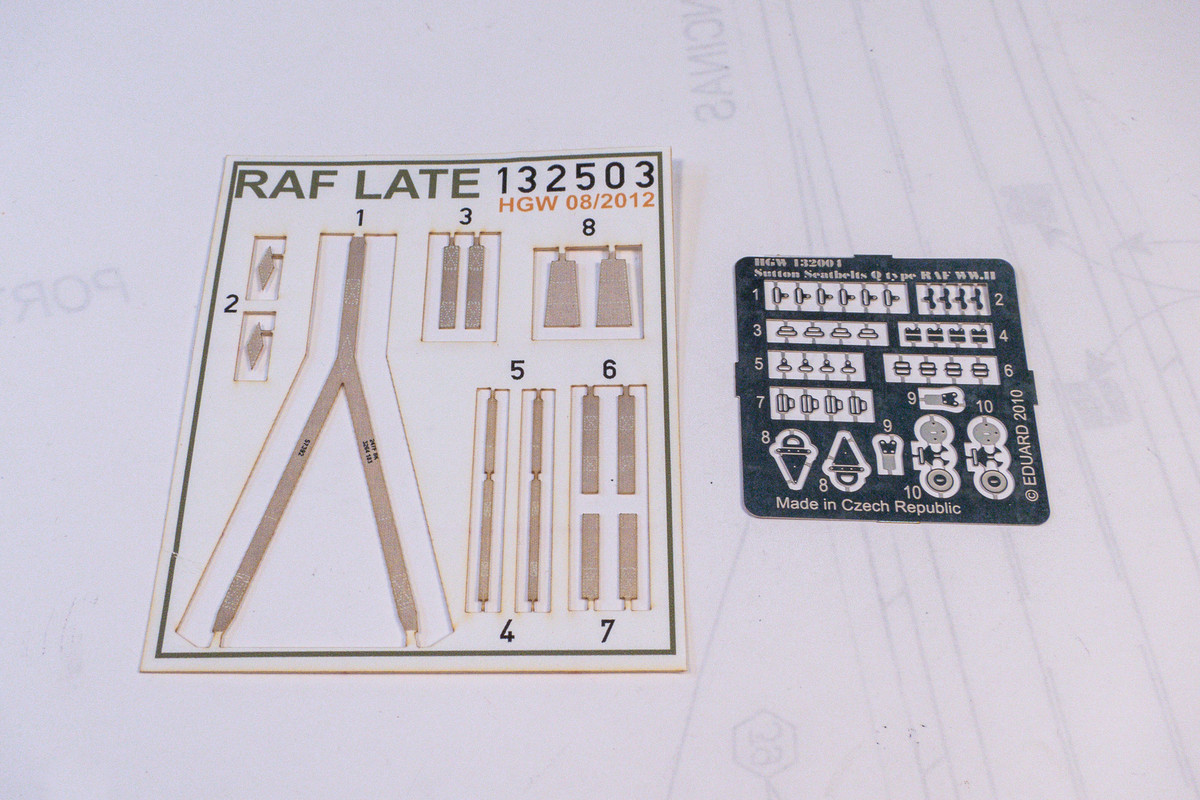
The first thing to remember about the HGW belts is that you need to remove the paper backing from each fabric piece.
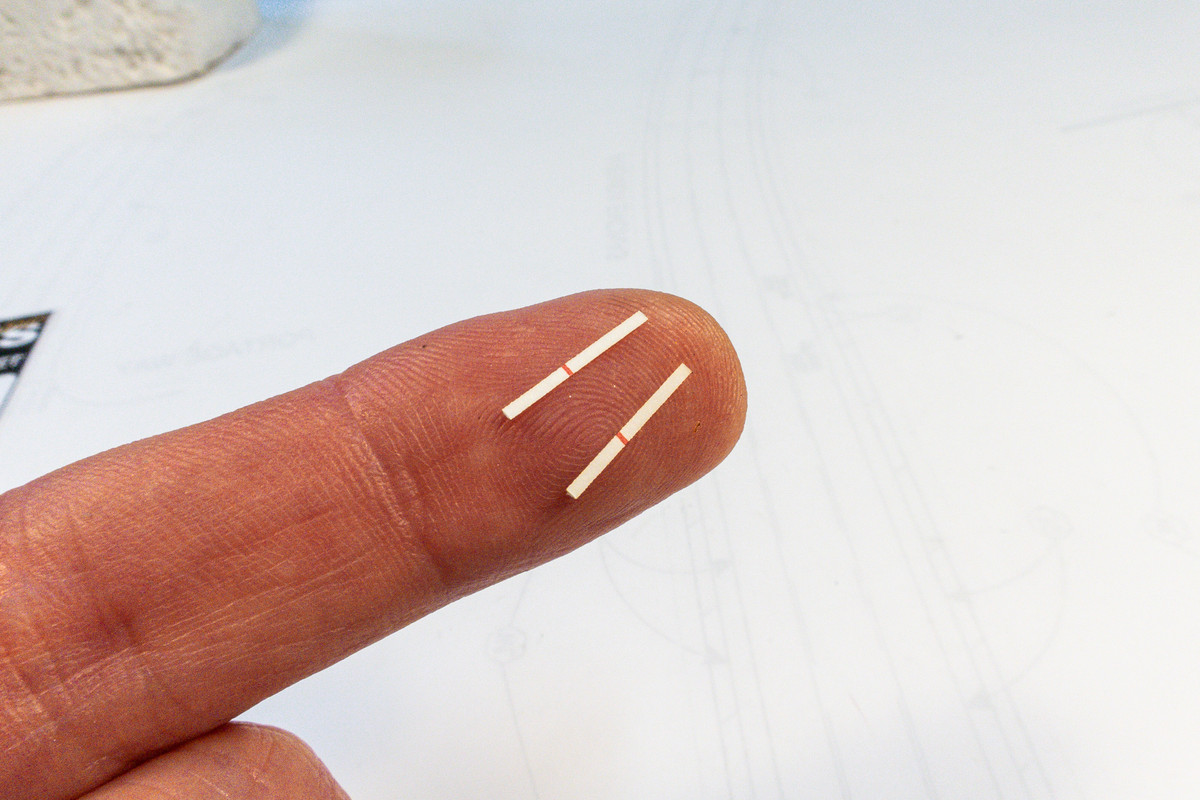
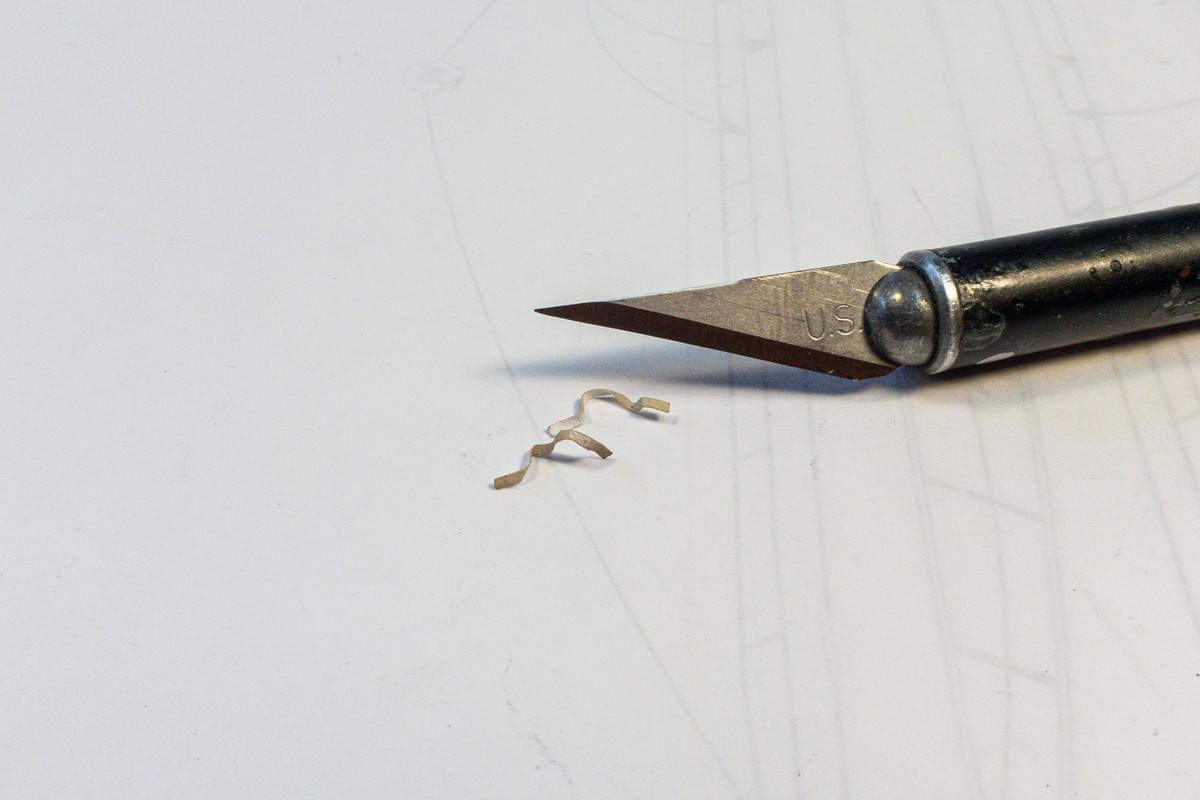
An optional step but one that I recommend is to crumple the fabric pieces gently before assembly for a more natural, distressed look.
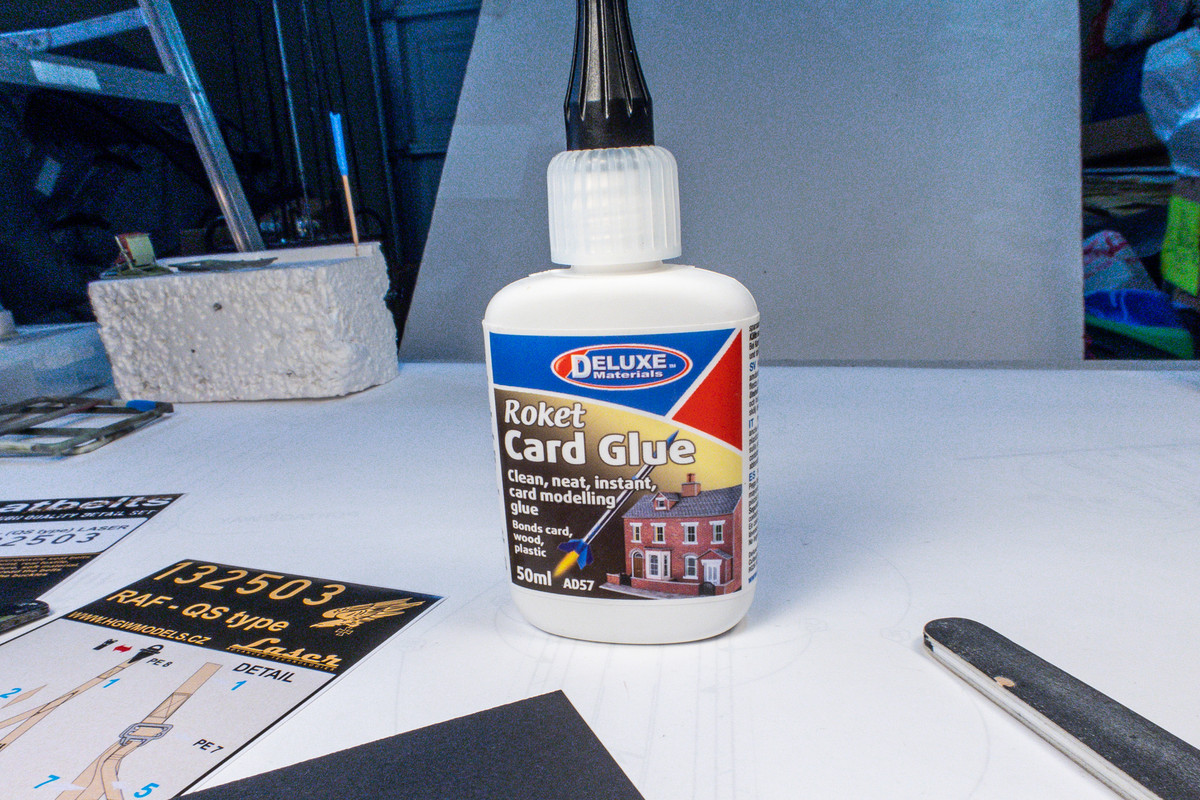
This is my glue of choice when it comes to assembling the HGW fabric belts. It's a stronger form of PVA glue (water-soluble) but much more forgiving than CA.
The harnesses are assembled per instructions. It's fiddly stuff but manageable. Another hint is when attaching the end hardware, I like to crease the harness at the fold location and then use gravity to hang the buckle at that fold. Then it is easy to add a dab of glue and complete the fold.
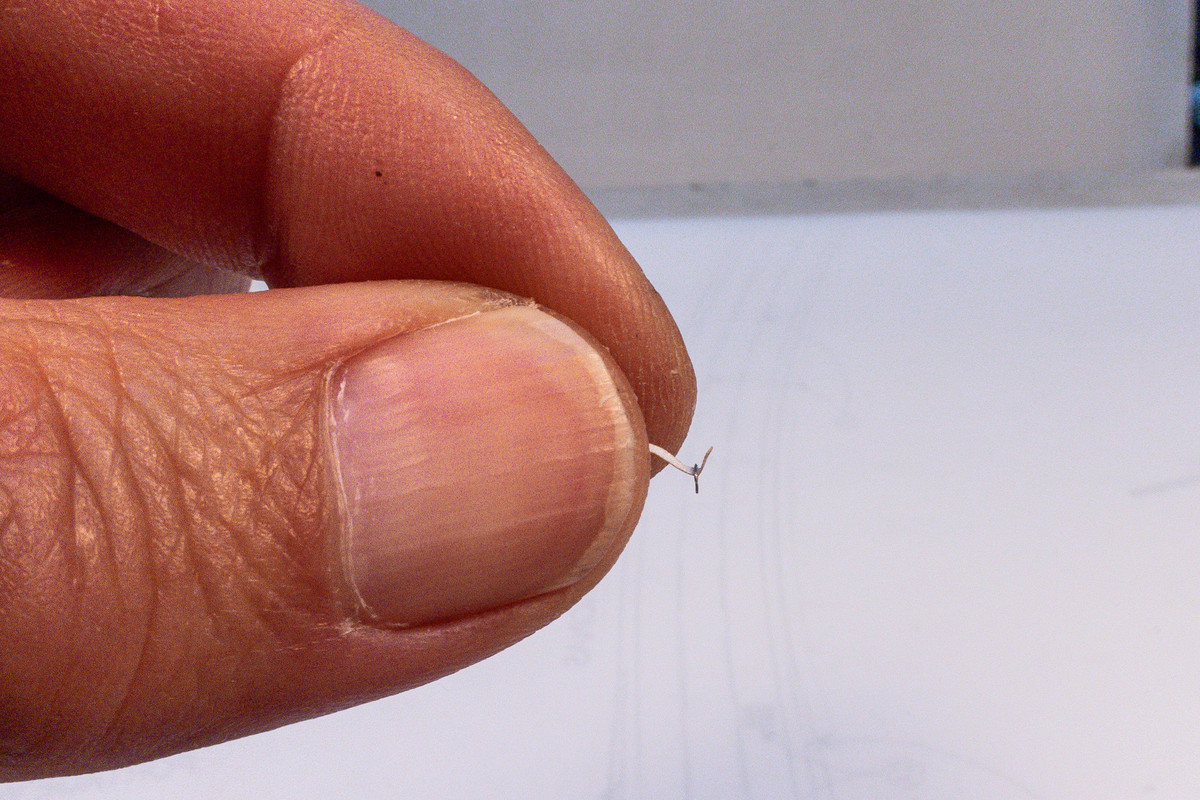
The crumpling step does make handling of the assembled harnesses more of a challenge.
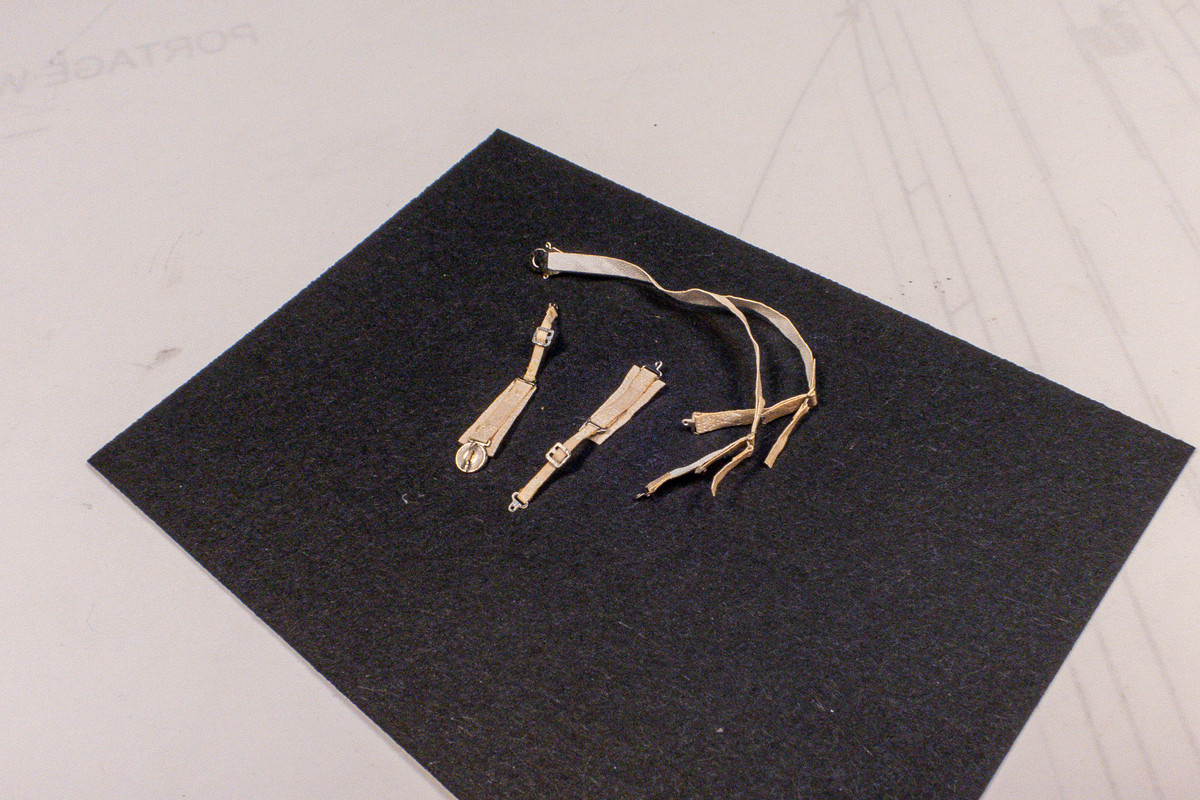
I like to use the adhesive side of a Post-It to hold down the harnesses flat. One of the most impressive things about these HGW harnesses is that there is stitching detail etched onto the surface of each belt piece. A wash brings out this detail. Typically, I've glued the harnesses onto the seat, sprayed the whole seat with clear gloss and then applied the wash to bring out the stitching. But this time, I elected to spray the harness with a clear gloss before putting them on the seat.
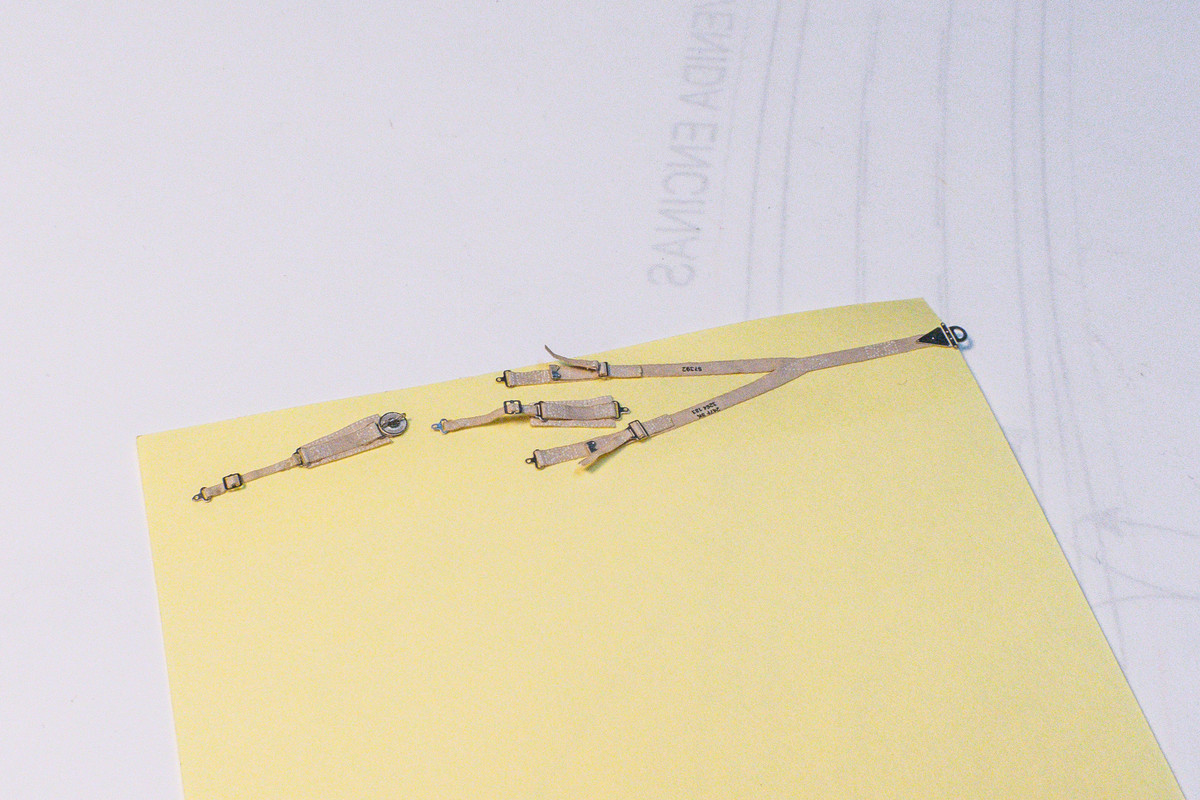
Not putting on enough clear gloss resulted in more staining from the wash that I would've liked but here are the completed harnesses glued onto the seat.
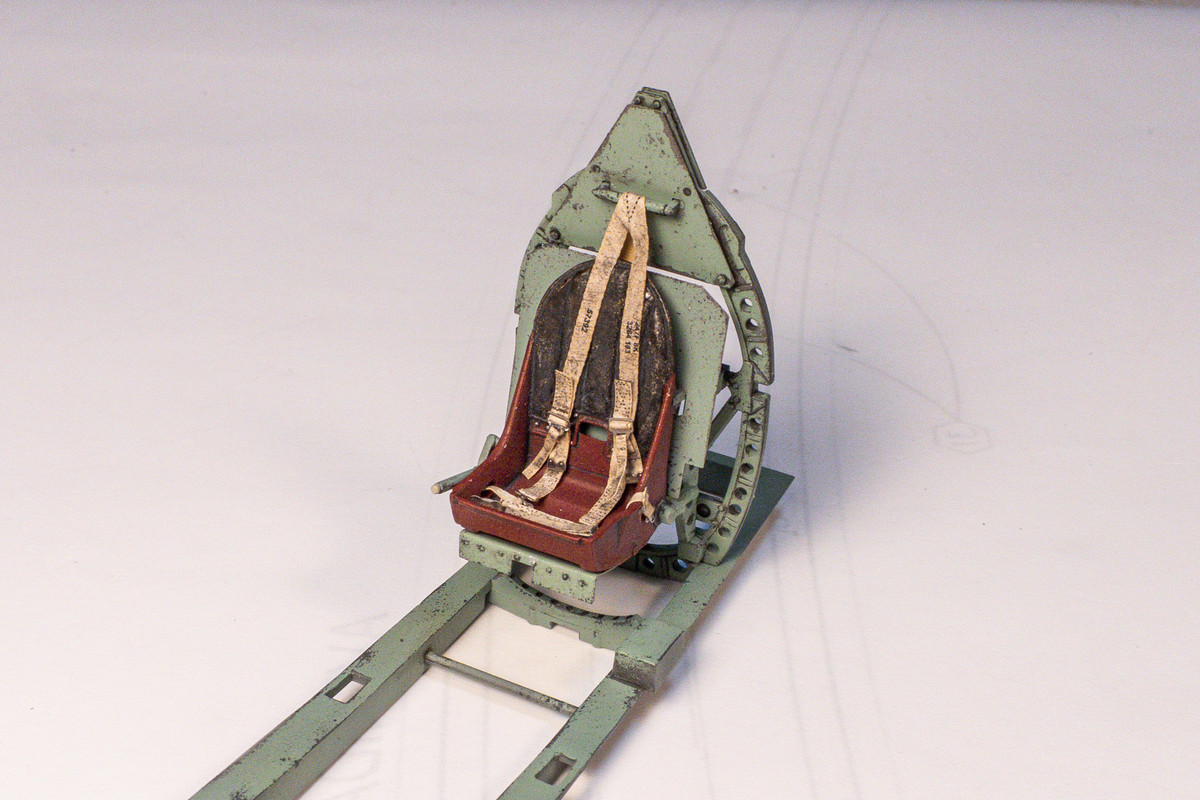
With that finished, I've elected to glue the central cockpit assemblies (instrument panel, seat, fuel tank) onto the cockpit floor and then confirm the fit of the cockpit to the fuselage. After trimming the seat frame, fit into the port fuselage half was trouble-free.
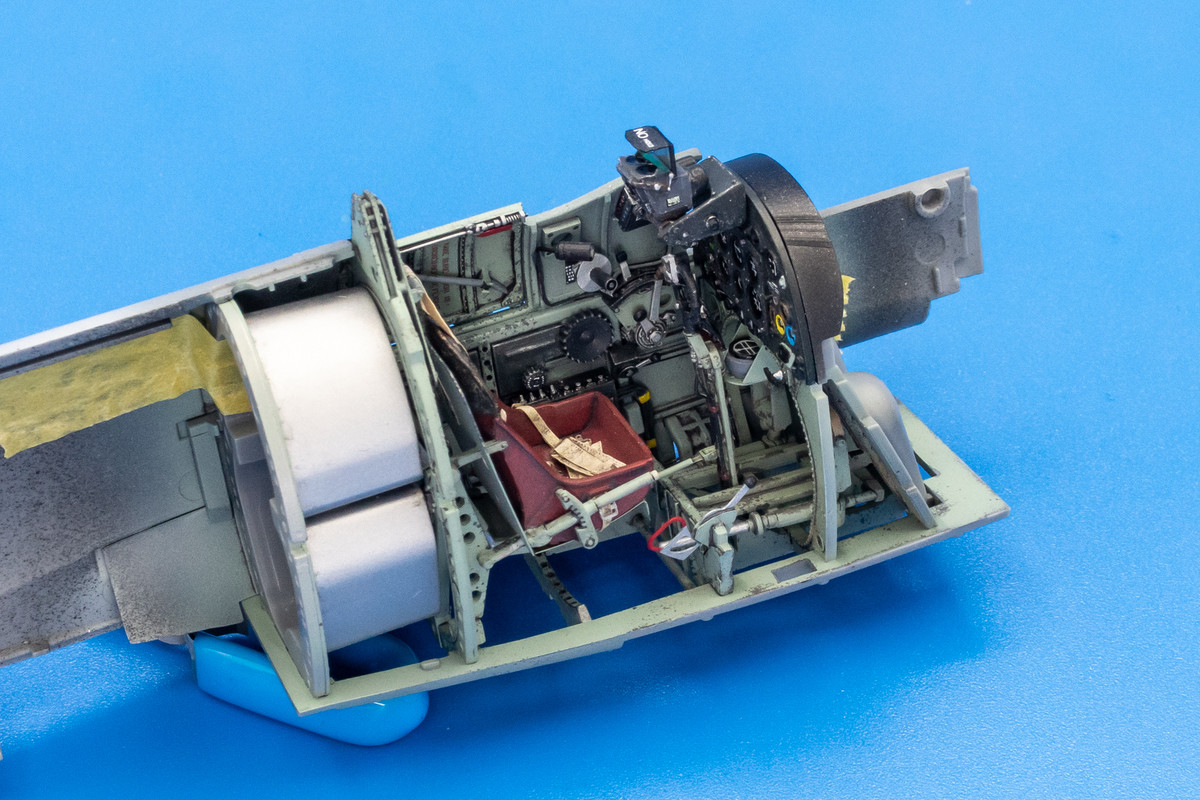
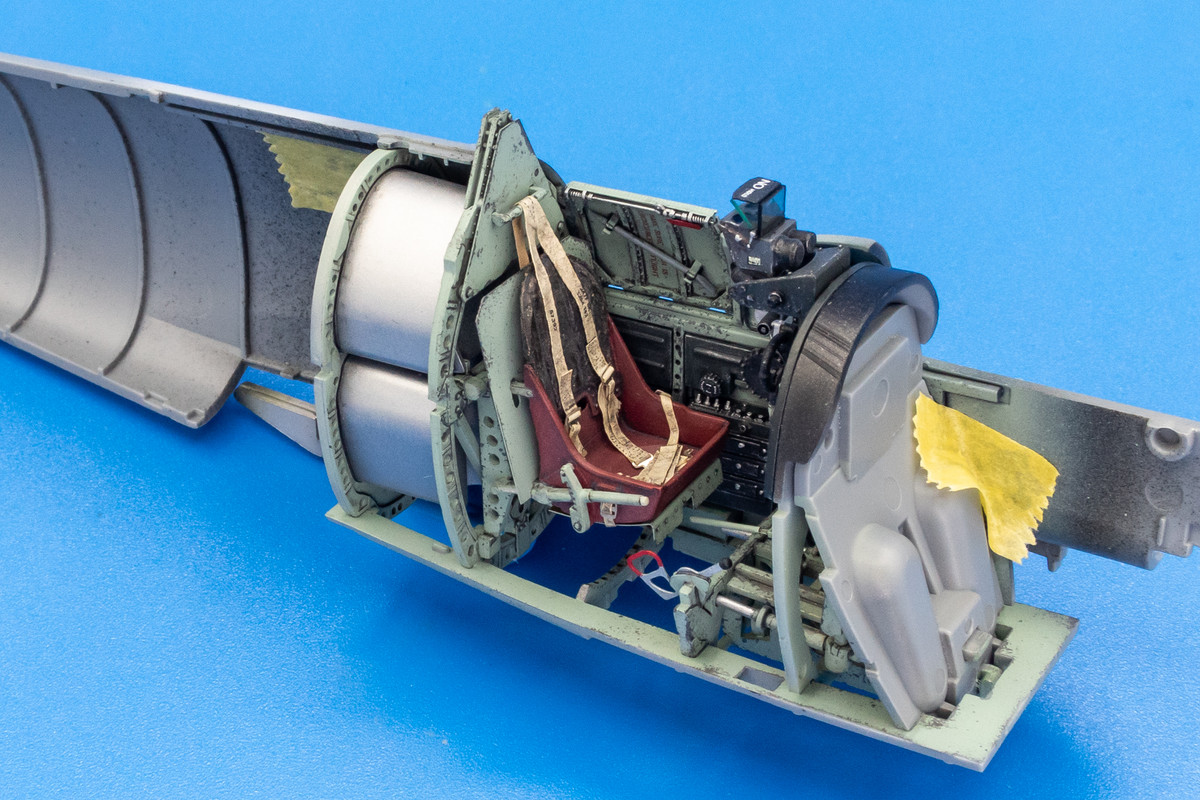
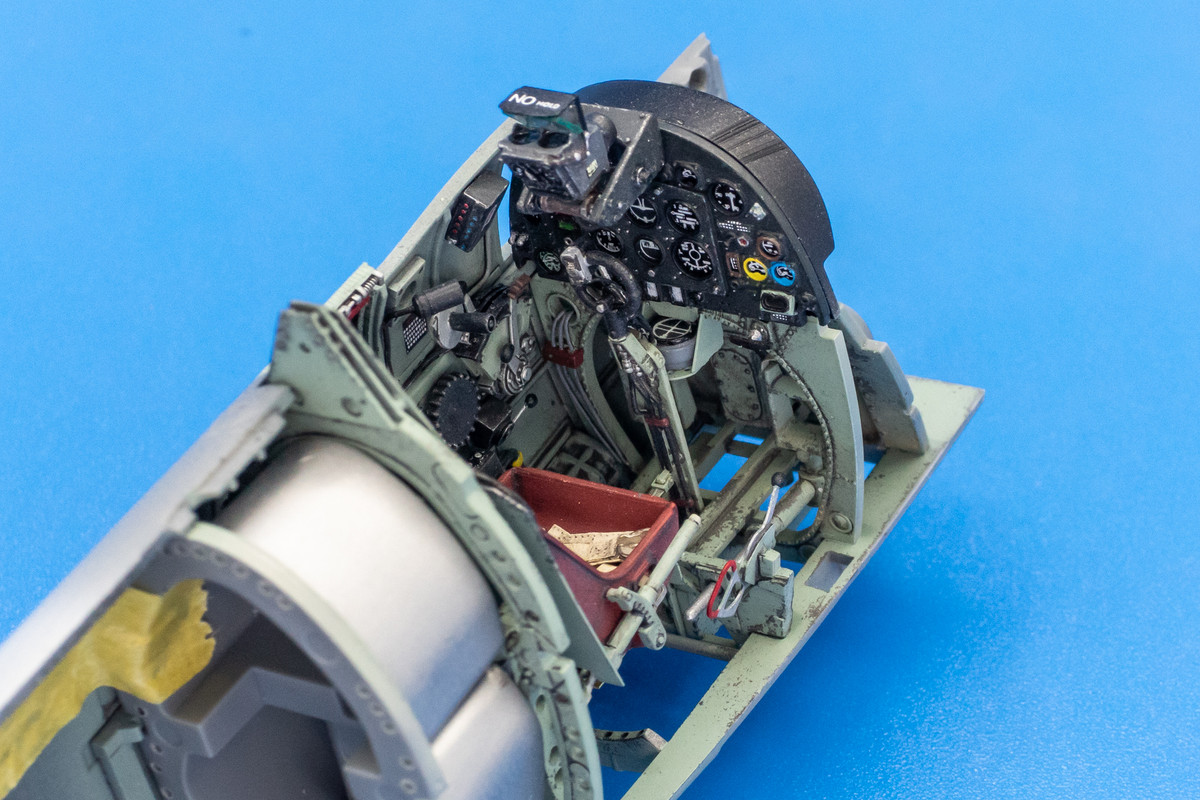
The fit of the cockpit into the starboard side was a little more complicated. First, is the issue of the wiring from the landing gear selector having to up and around the instrument panel frame. There is also an unattached wire floating near the top that comes out of the junction box that will need to be connected to the gyro gunsight frame. Lastly, a raised detail on the front portion of the Barracuda starboard sidewall needed to be shaved off so that it doesn't conflict with the front bulkhead.
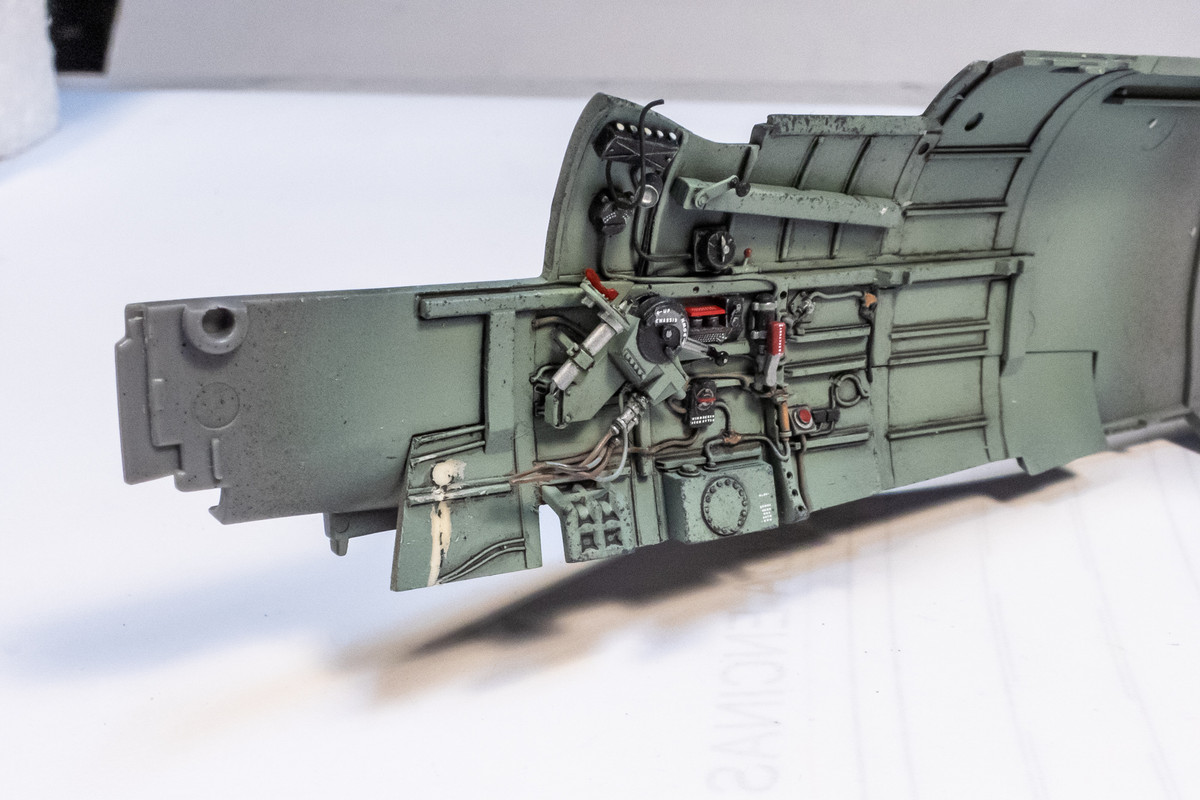
Because of these issues, I am going to place the cockpit assembly into the starboard fuselage side and secure it into place first.
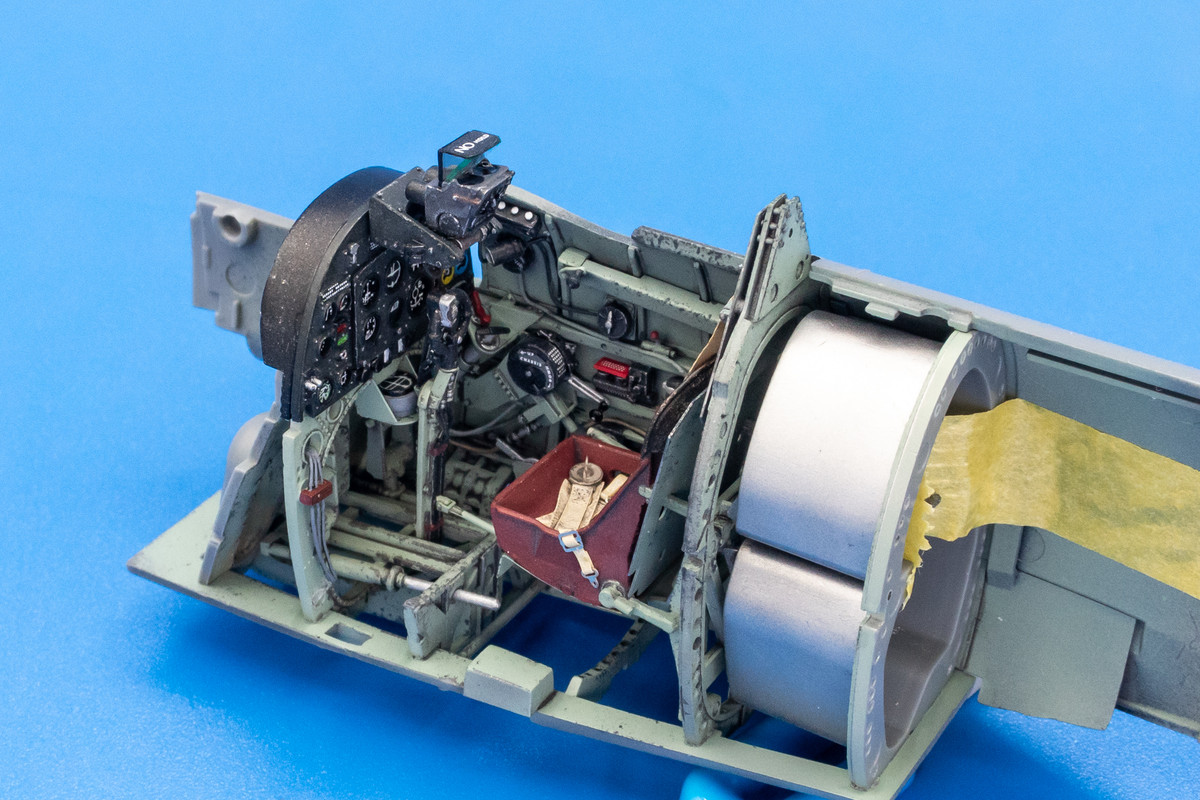

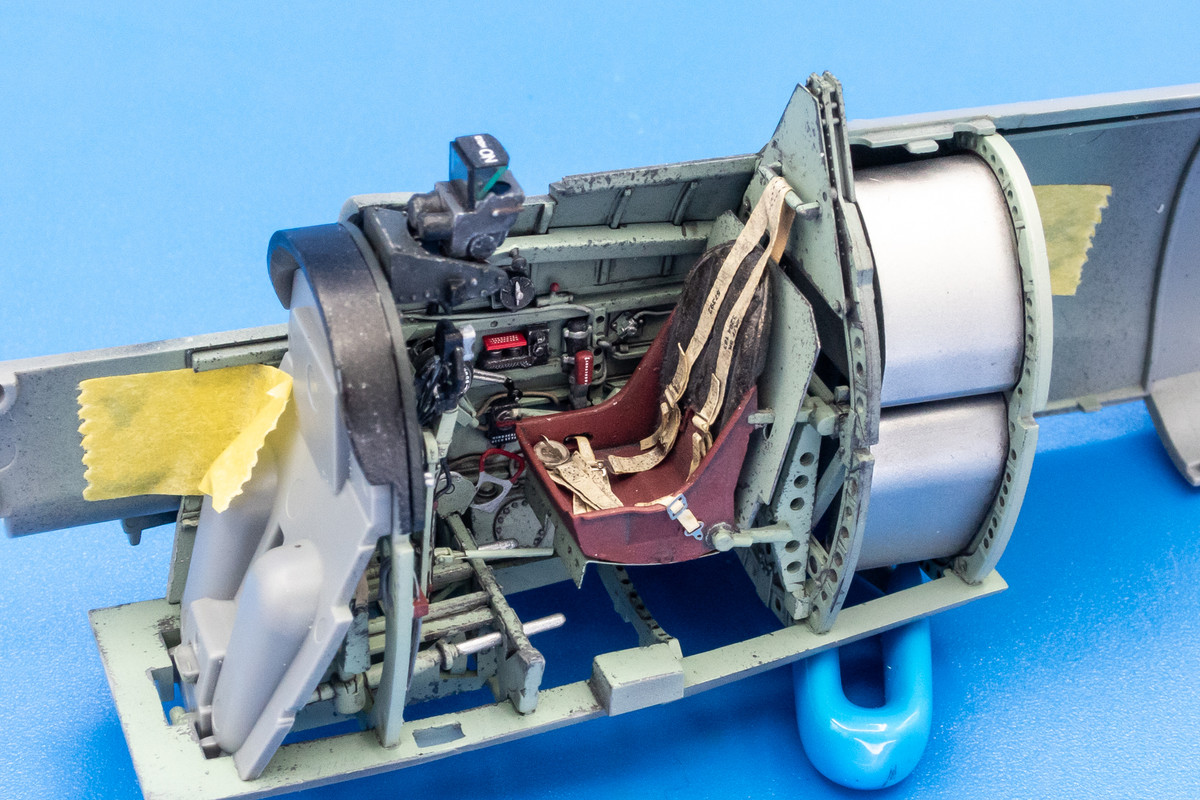
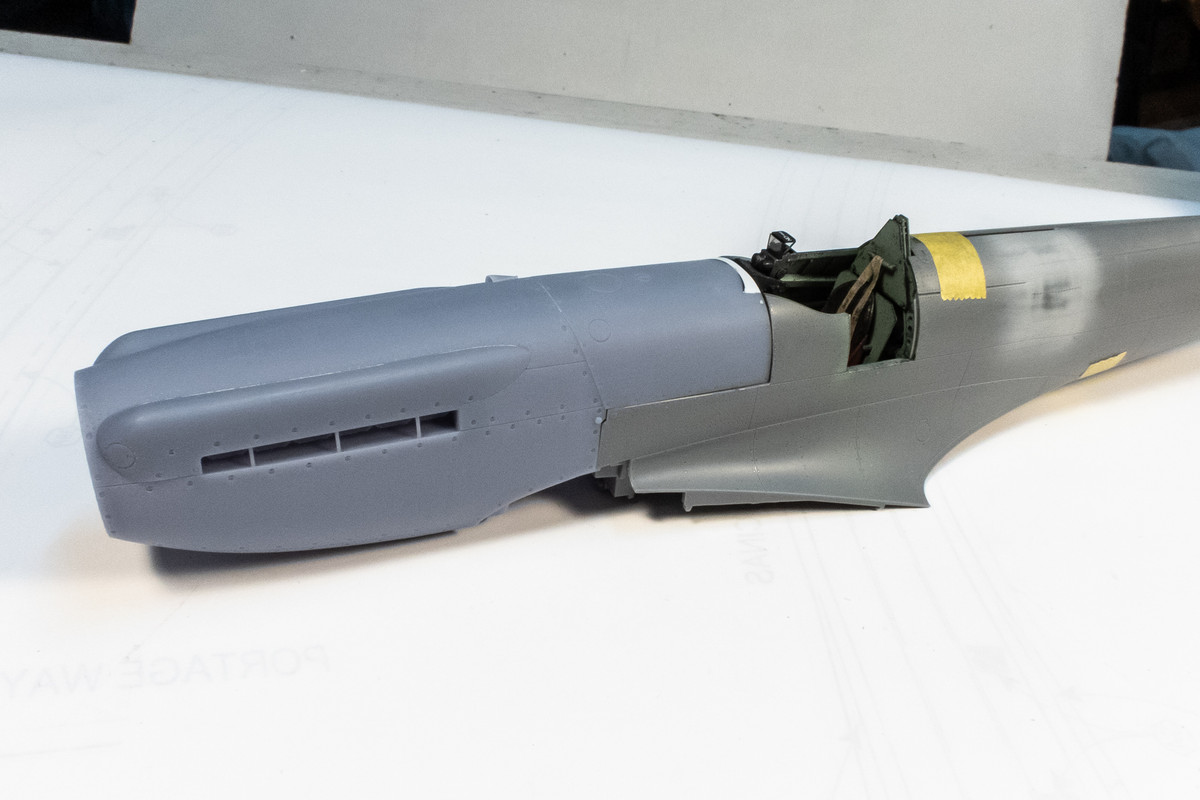
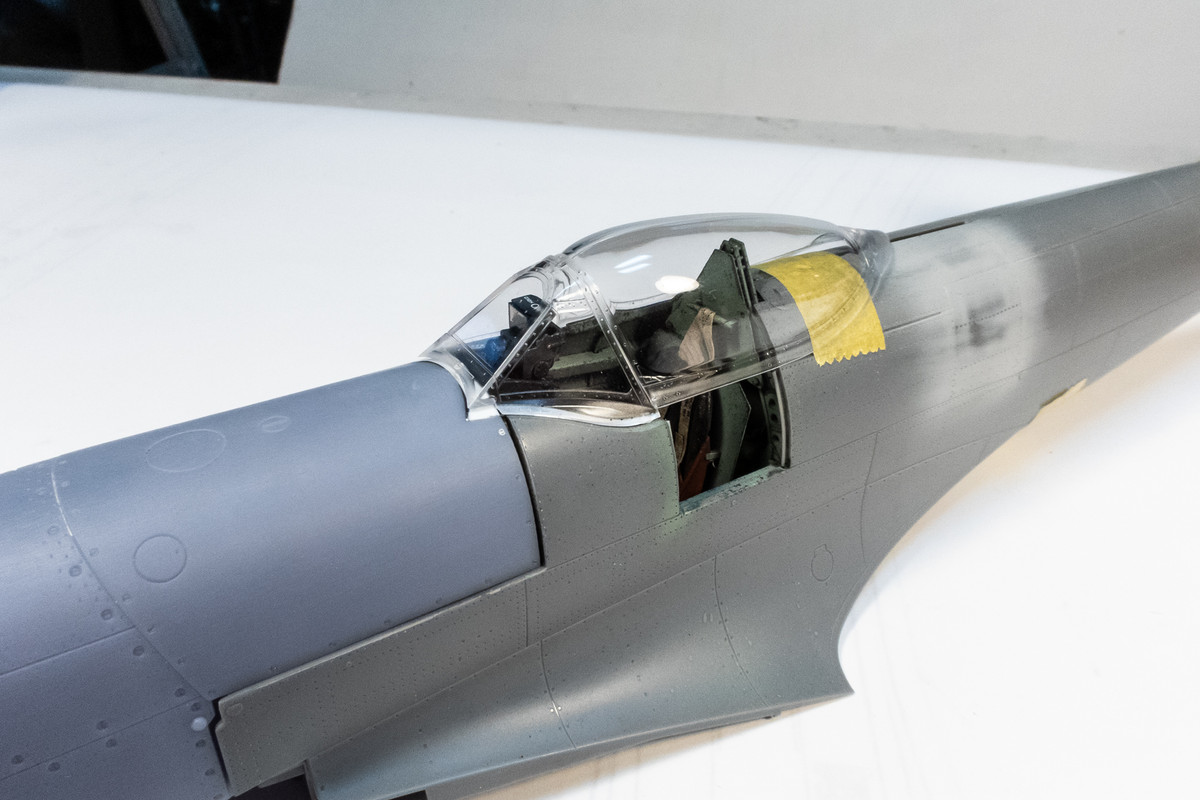
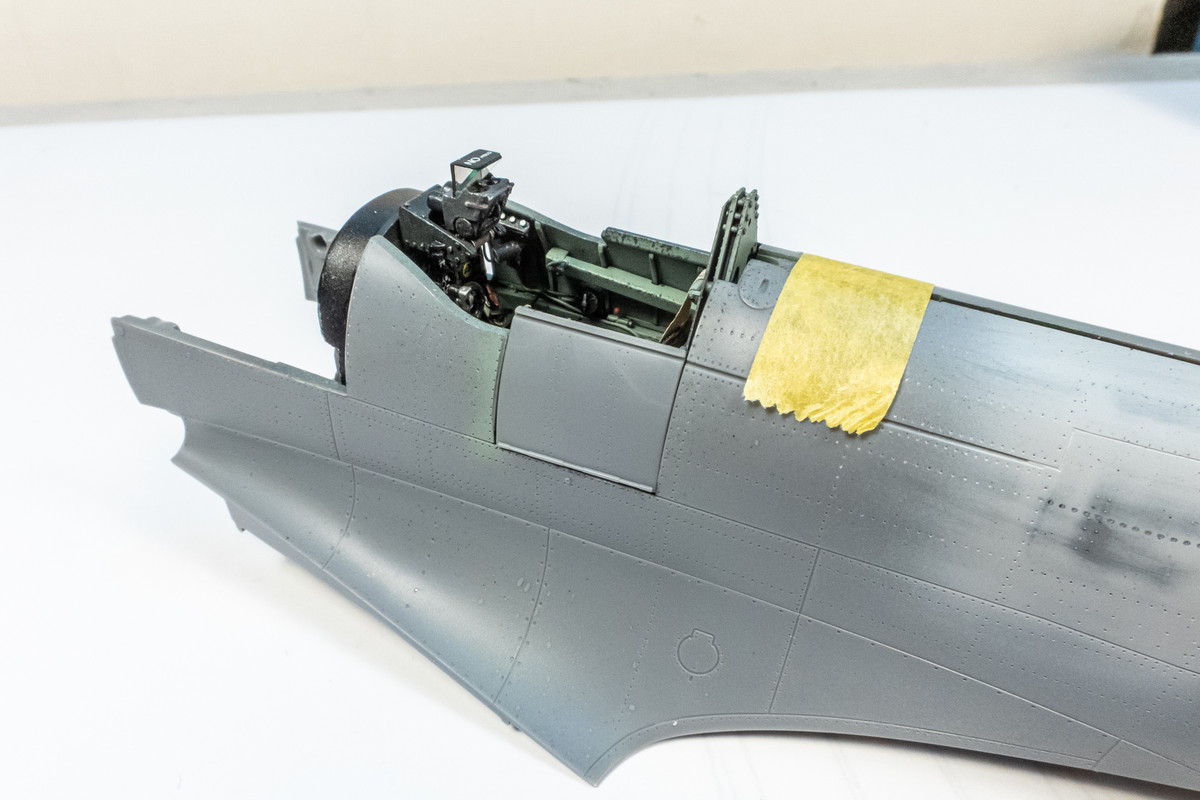
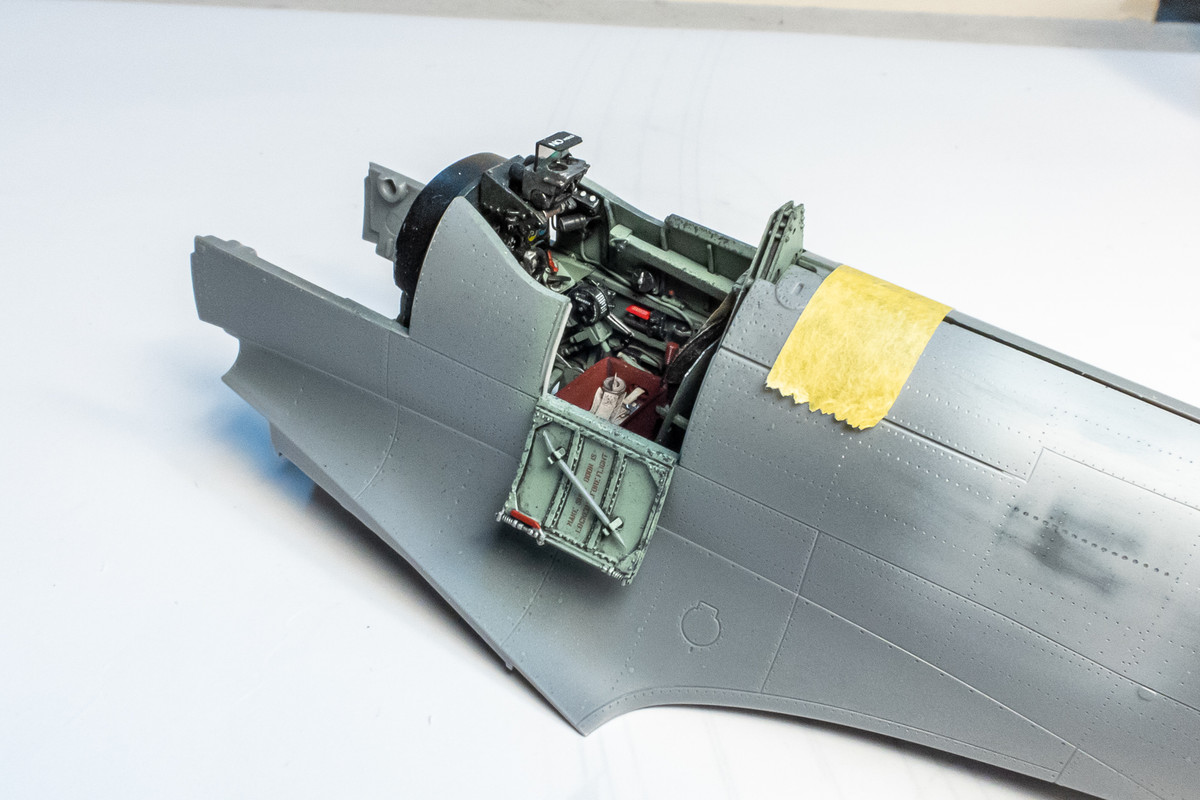
As we can see, the assembly of the cockpit parts into the fuselage starts to block our visibility into all of the detail that we've added. Closing up the fuselage blocks the view even more.
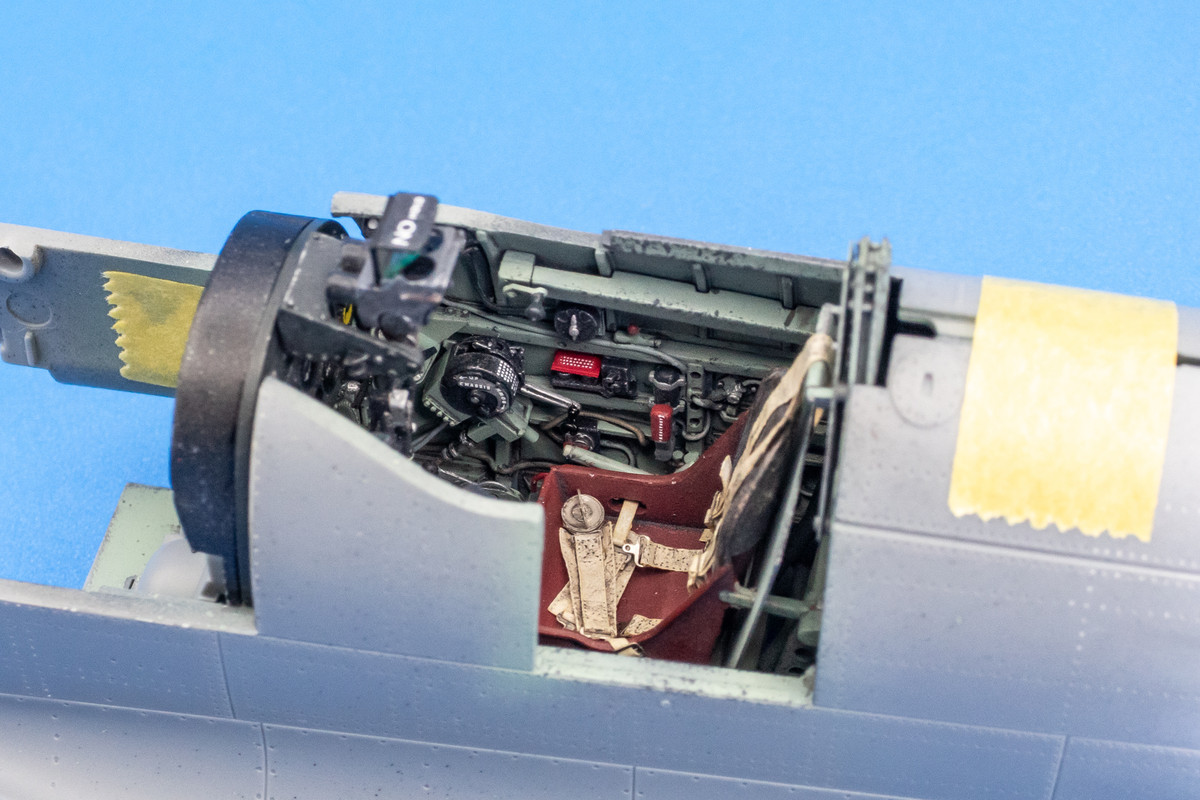
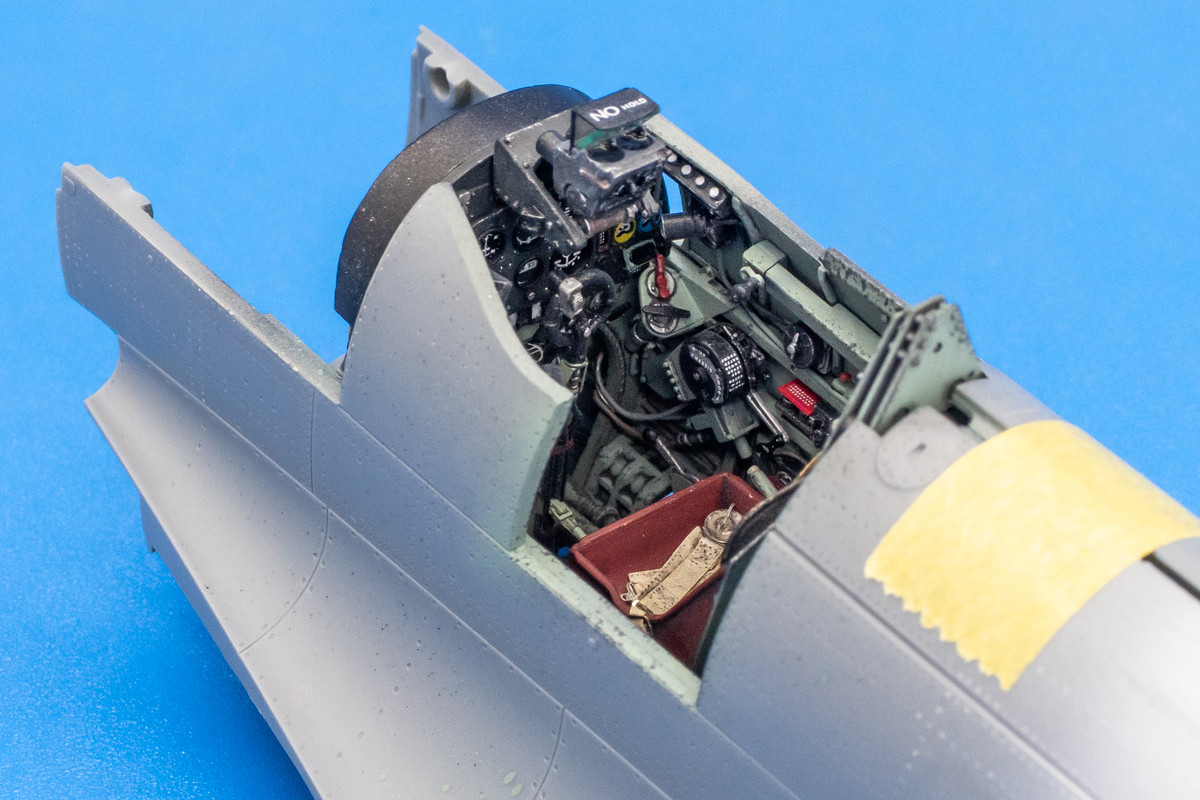
The fuselage halves are not glued together yet. I still need to figure out a few things before that.