Page 10 of 20
Re: 1/32 Hasegawa Bf109G-14 Hartmann
Posted: Wed Jun 03, 2020 3:39 pm
by Medicman71
That resin really makes a difference.
Re: 1/32 Hasegawa Bf109G-14 Hartmann
Posted: Wed Jun 03, 2020 7:38 pm
by Floki
Looks like you got yourself a lot of nice resin.
Re: 1/32 Hasegawa Bf109G-14 Hartmann
Posted: Sat Jun 06, 2020 11:31 pm
by jkim
Thanks guys! Lots of resin but that brass wheel well set is key too!
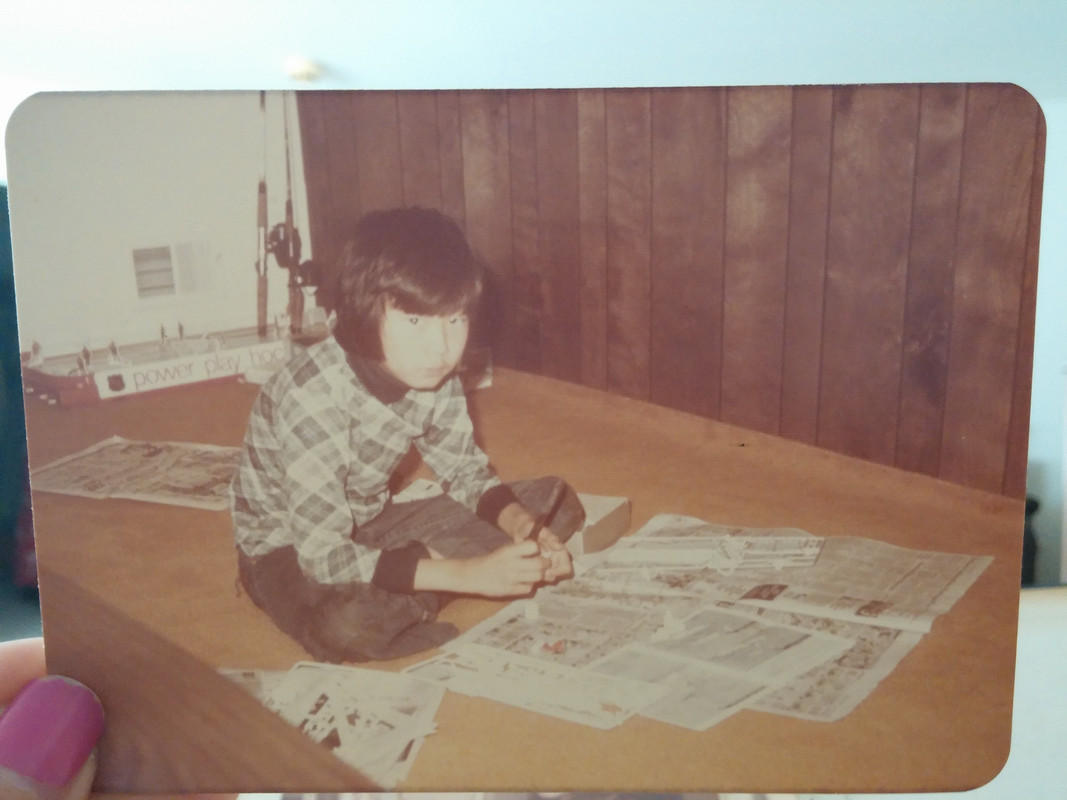
Before I give an update on this build, I wanted to share this photo that my wife had on her phone. I must be around 10-12 years old... early 70's in Virginia. Building a model with some fishing rods in waiting behind me. Some things never change!

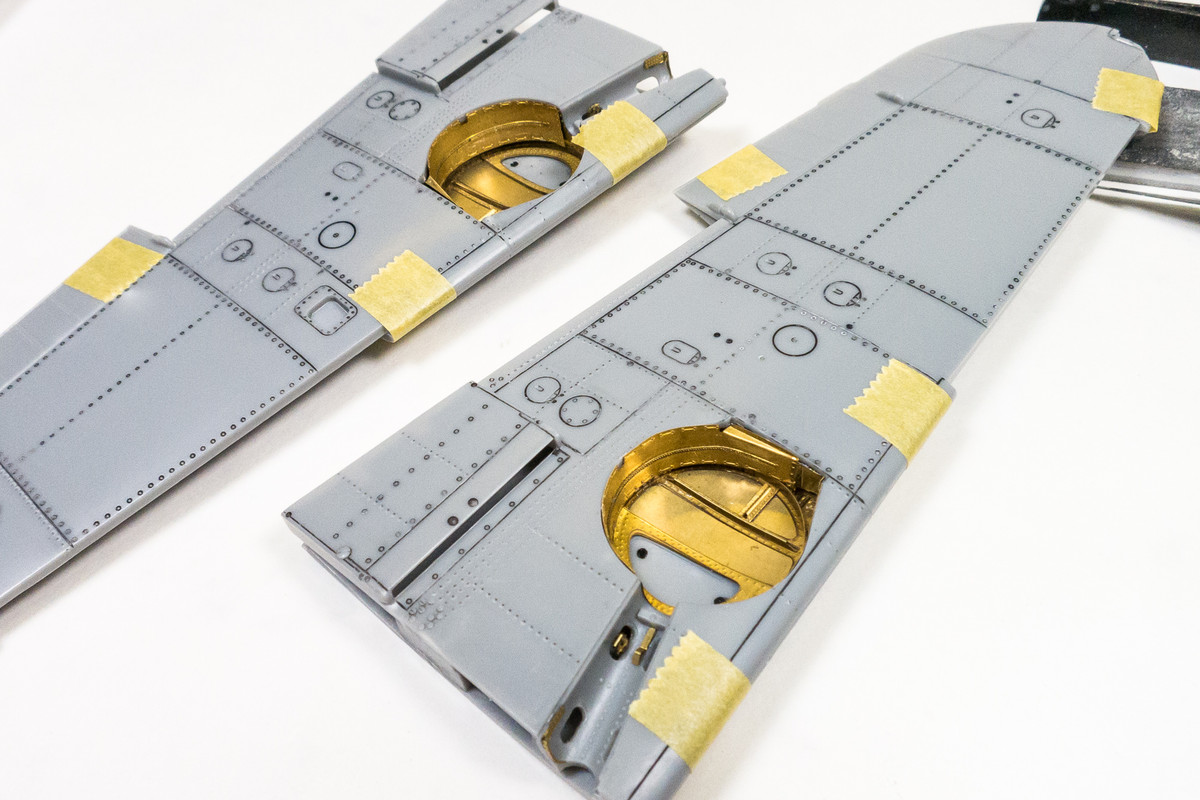
I spent the weekend wrestling the RB Productions 109G-6 wheel wells into place. First step was to glue the small wheel bumps into place and fill the locating tabs as they can be seen through the open wheel well.
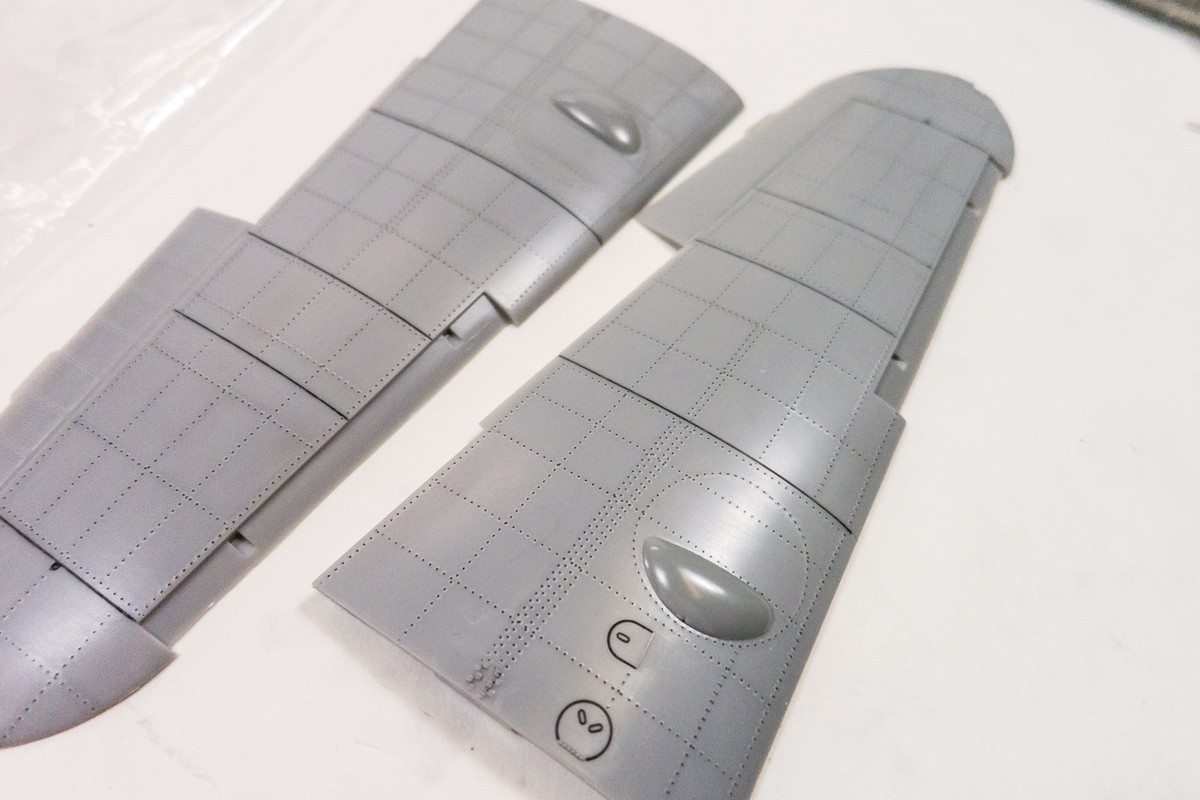
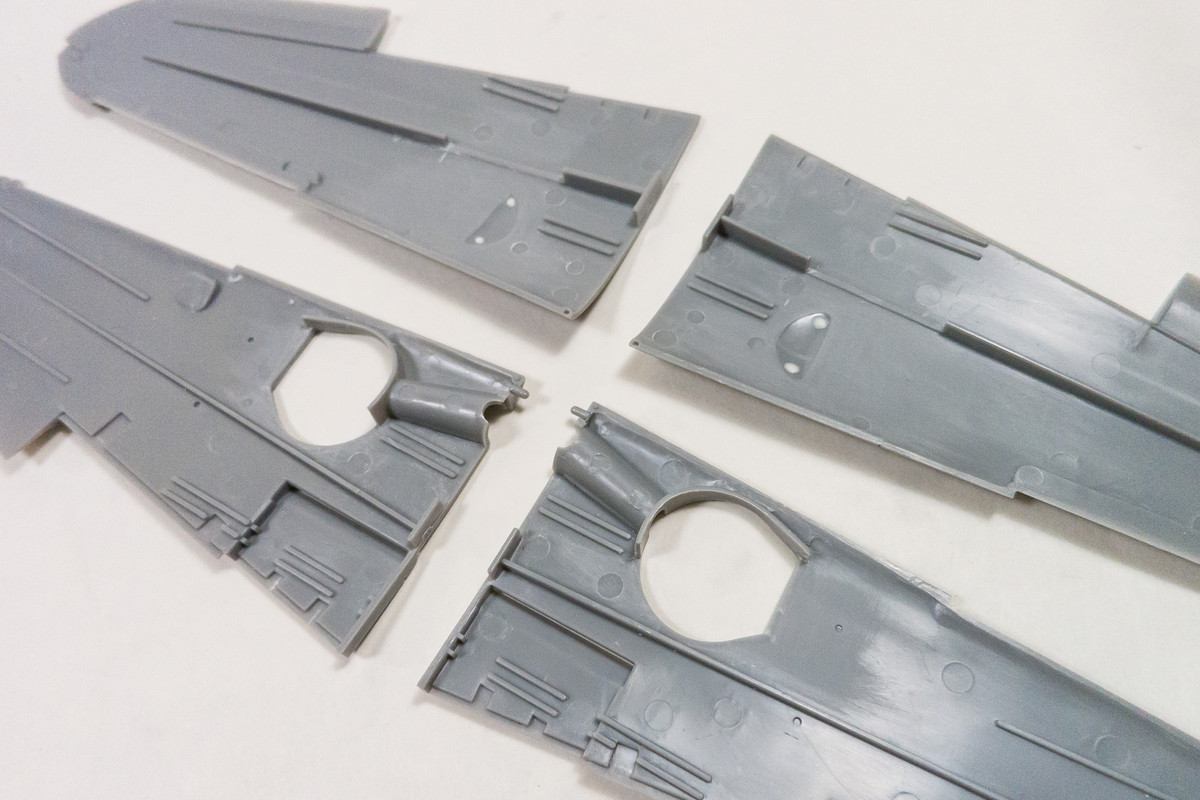
Some preliminary removals were in order... the raised wheel well detail on the inside surface of the top wing and the wheel well walls from the wing bottoms. The removals are described in detail on the RB Productions instruction sheet, which is very detailed but the details in the photos, which are probably copies of copies of copies, are sometimes difficult to discern.
A bending tool like this Small Shops Bug isn't absolutely necessary but is very useful in making folding easier and more uniform.

Some bends take a little creativity and for this tricky u-bend, I used a strand of stiff plastic from a hairbrush to form the "u" around.
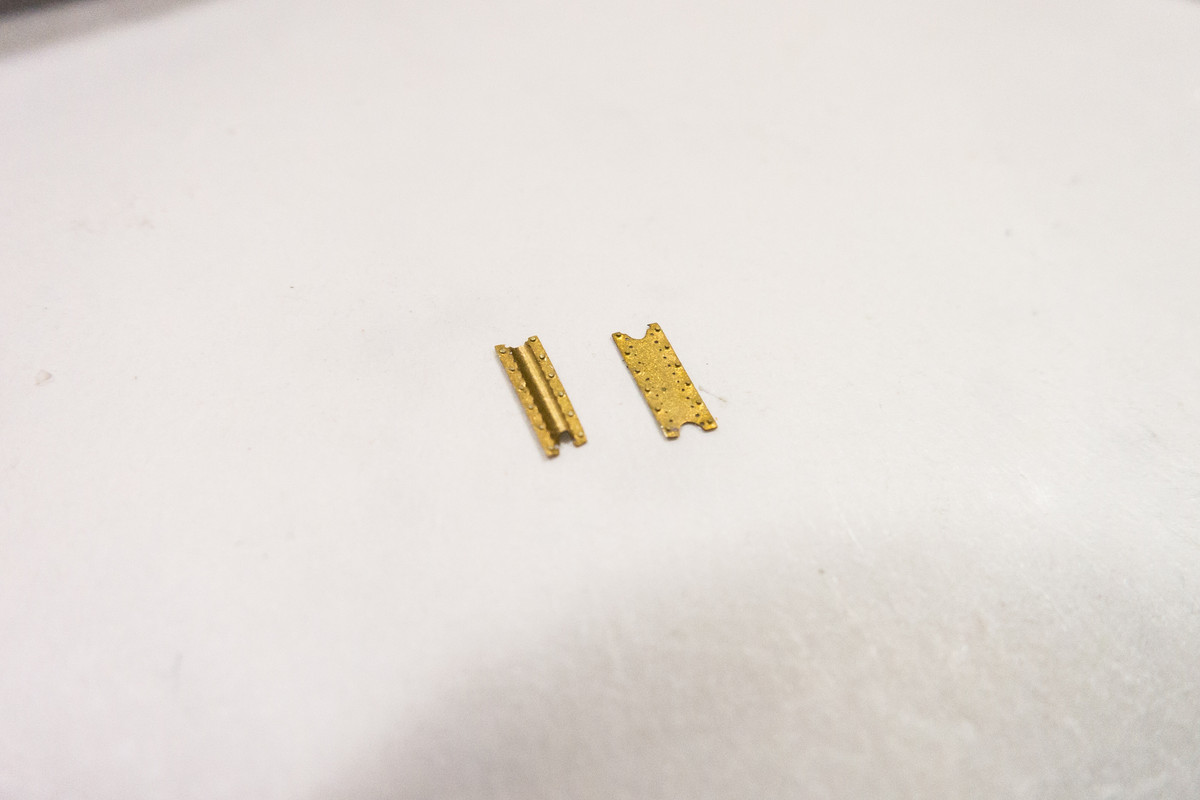
The roof of the wheel well features several layers of brass to help increase the visual depth of the enhancement set.
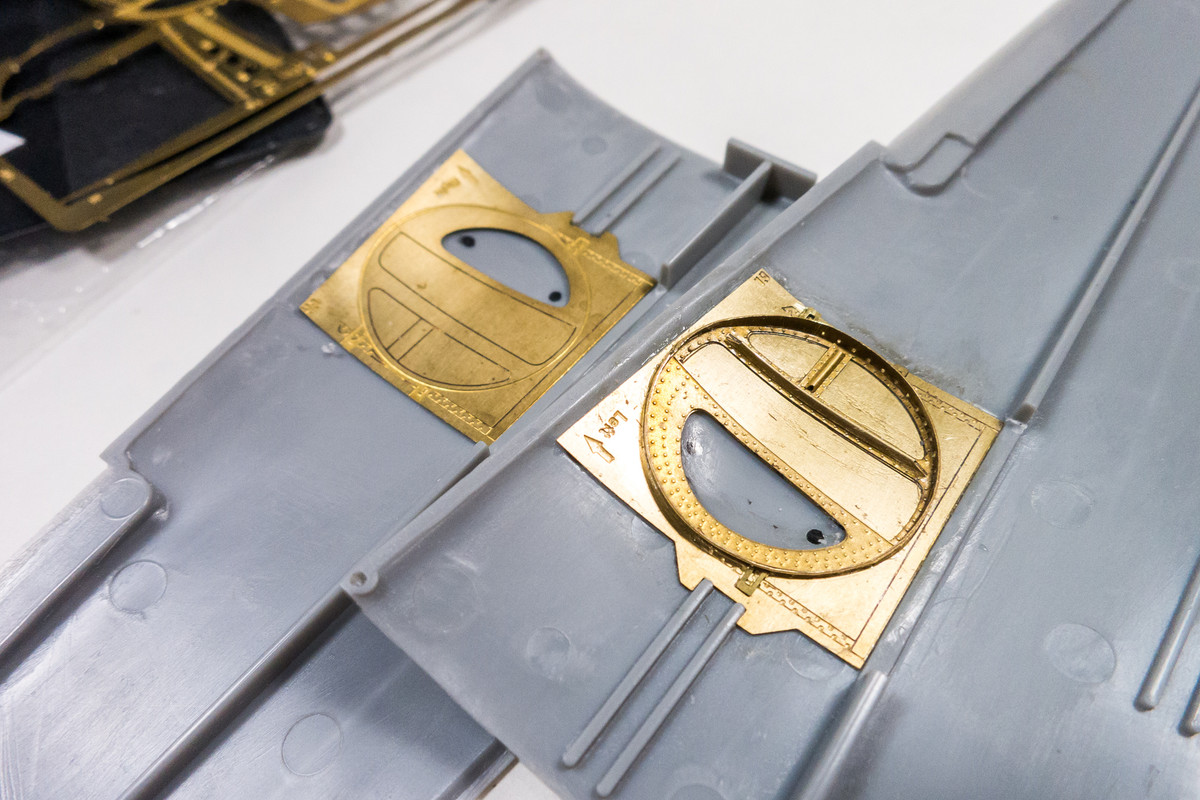
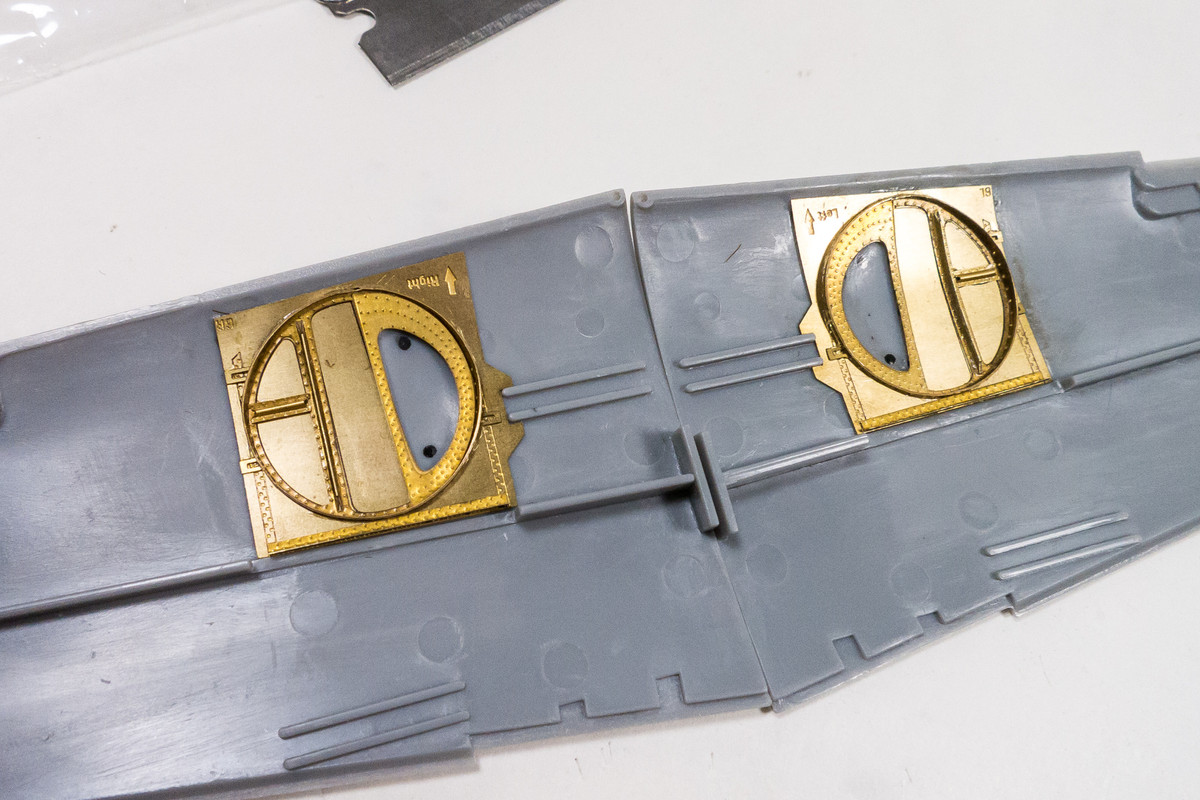
It usually takes a few iterations of fitting and shaving plastic to get these things into place properly. The main thing is to take your time and not force the brass since the pieces are quite thin and delicate.
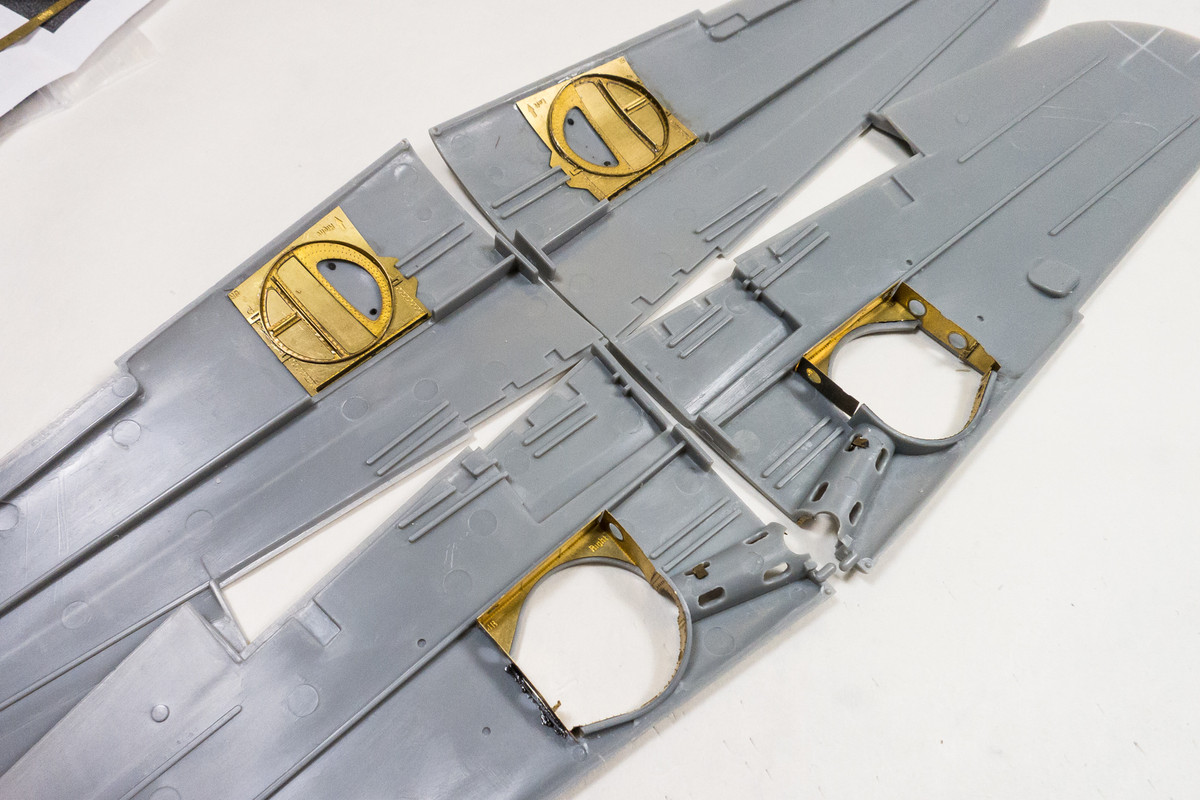
Once the fit is figured out, you can see how the new wheel wells look in place. I've elected to keep the u-shaped trough that houses the landing gear legs in plastic rather than using the brass piece. The oval openings were drilled out.
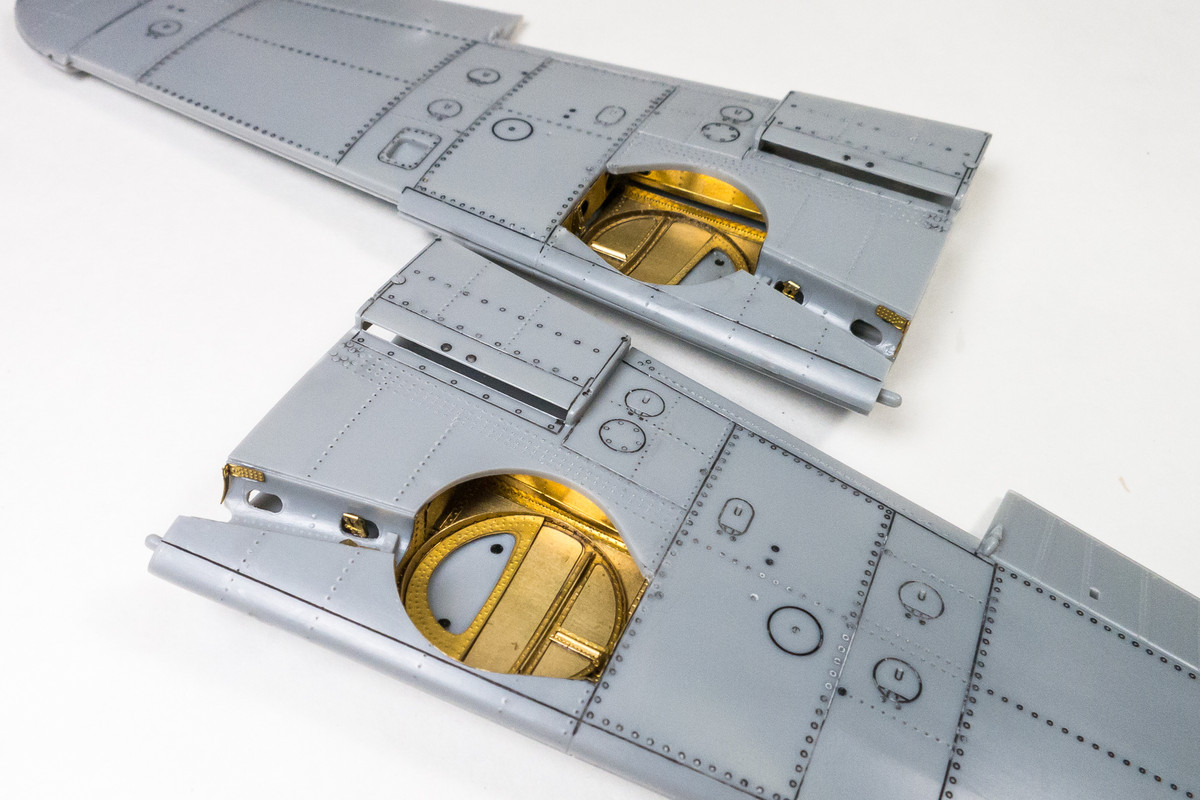
The PE set provides an optional canvas covering that you sometimes see in the wheel wells of the Bf109. I think I'm going to use them, if I can work them into place. There is some inconsistency with the fit of the rear wheel well wall that the canvas cover will conveniently hide.
Re: 1/32 Hasegawa Bf109G-14 Hartmann
Posted: Sun Jun 07, 2020 1:40 am
by keavdog
That hair cut deserves an award! I just bought a PE bender, we will see how that goes, but your PE work looks fantastic!
Re: 1/32 Hasegawa Bf109G-14 Hartmann
Posted: Sun Jun 07, 2020 6:22 am
by LyleW
That looks really good. I am in awe of those of you that nave mattered PE. I barely got through PE in high school
Re: 1/32 Hasegawa Bf109G-14 Hartmann
Posted: Sun Jun 07, 2020 6:33 am
by BlackSheep214
That is a great photo of you as a kid hard at work on a model kit. I spy the hockey table there too. How bad I wanted one as a kid. Begged my parents for that for Christmas. We should start a thread of us working on model kits or benches in our youth.
Re: 1/32 Hasegawa Bf109G-14 Hartmann
Posted: Sun Jun 07, 2020 11:44 am
by Floki
Wheel wells are looking really good.
Re: 1/32 Hasegawa Bf109G-14 Hartmann
Posted: Sun Jun 07, 2020 2:00 pm
by Duke Maddog
Brilliant work once again. I love the pic of you working on the model when you were ten. I also lived in Virginia in my youth; but in the years 1968-1969 when my father was stationed at Langley. I love to fish as well.
I'd love to participate in a thread showing us all building models in our childhood, but I have no pics of me at the bench back then!
Re: 1/32 Hasegawa Bf109G-14 Hartmann
Posted: Sun Jun 07, 2020 9:44 pm
by jkim
The photo came up randomly in conversation last night and I just had to share it with you all! Fun trip in the time machine. Can't make out the plastic enough to tell what model it is.
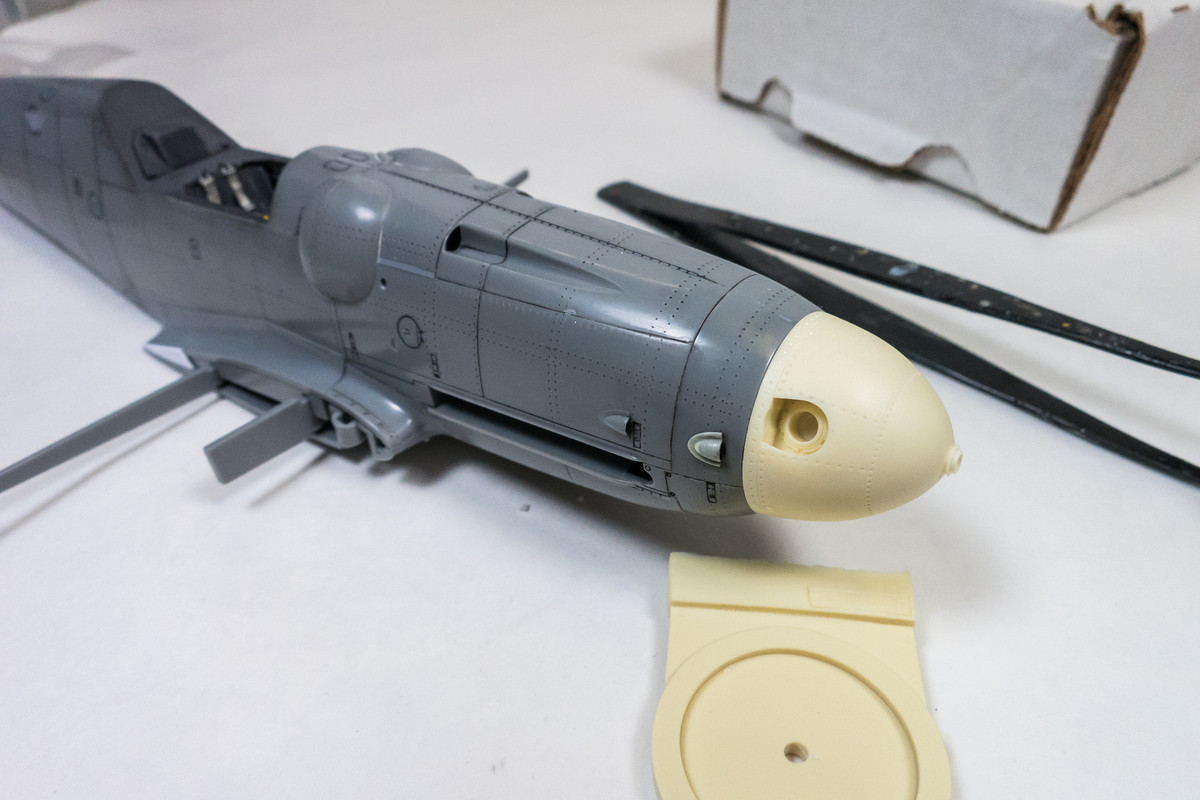
I fiddled with the resin prop yesterday. I used a piece of aluminum tube to serve as the prop shaft.
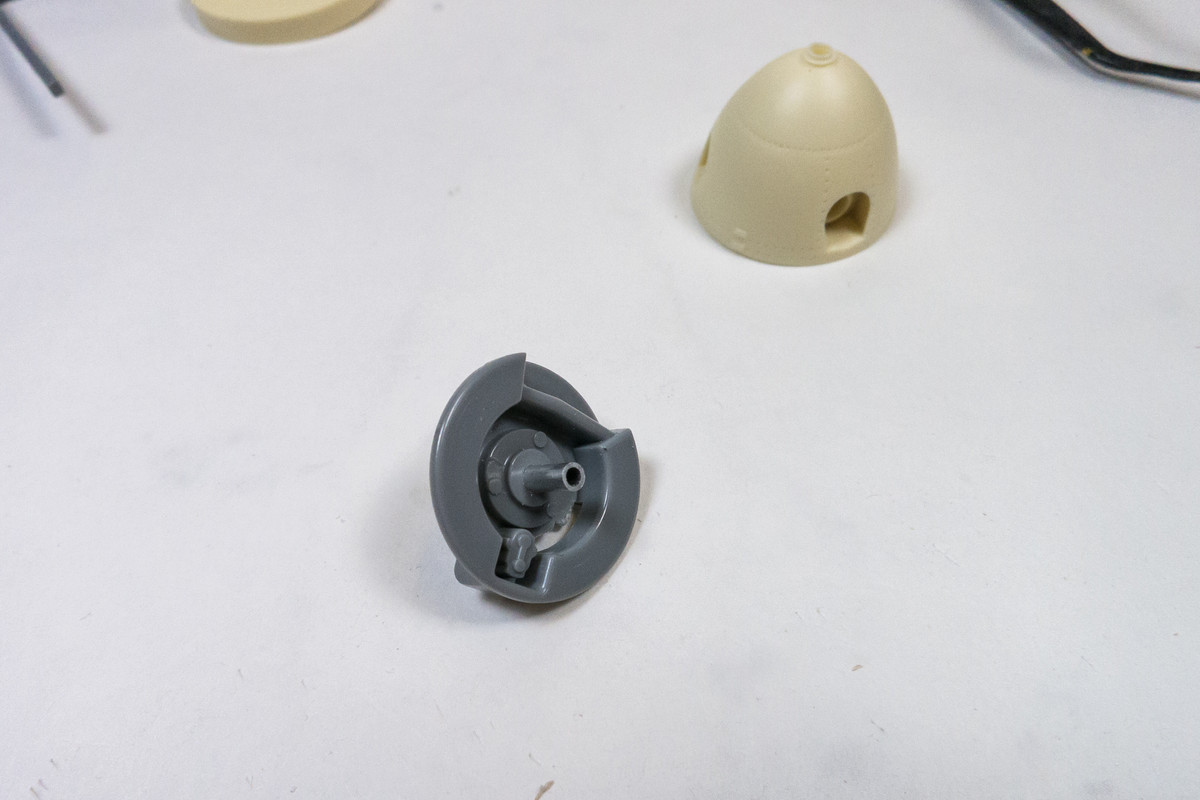
The Barracuda jig that helps line up the prop blades to spinner also comes with a guide to center the hole in the back of the prop. The hole came out a little messy but it is centered.
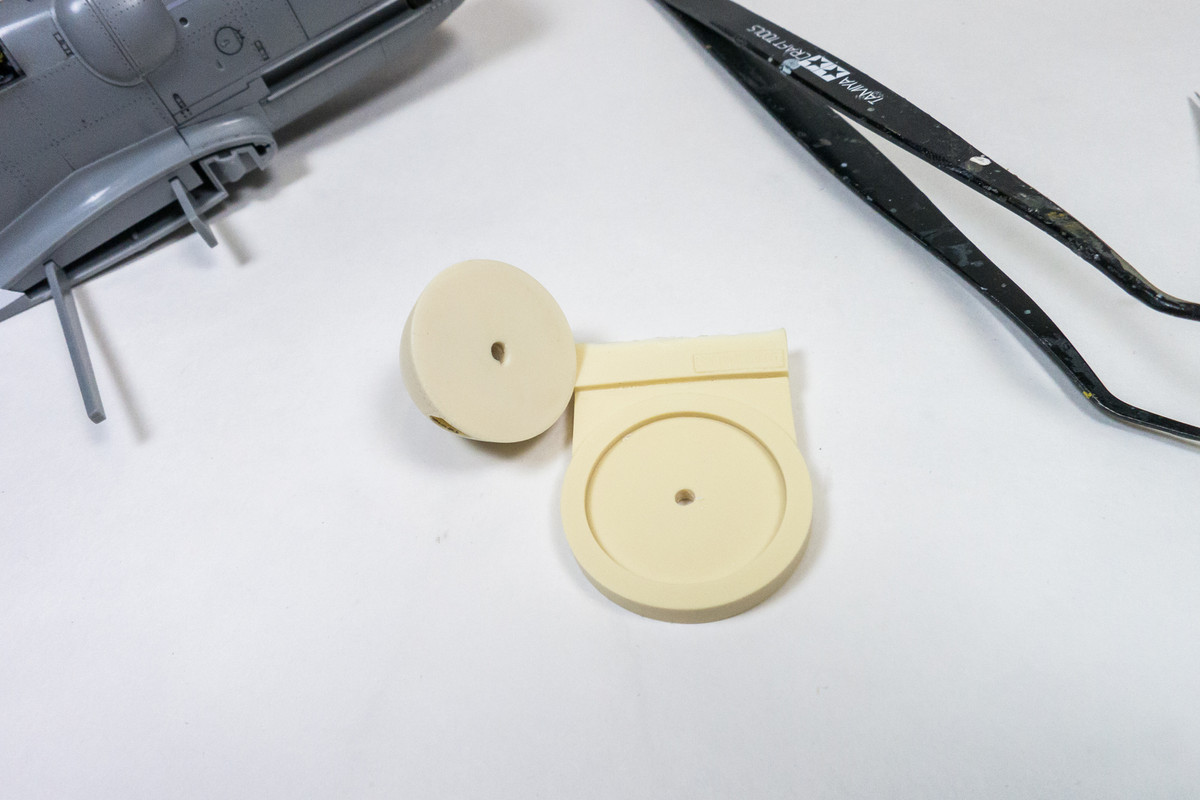
The prop assembly is a friction fit so that I can remove it for shipping.
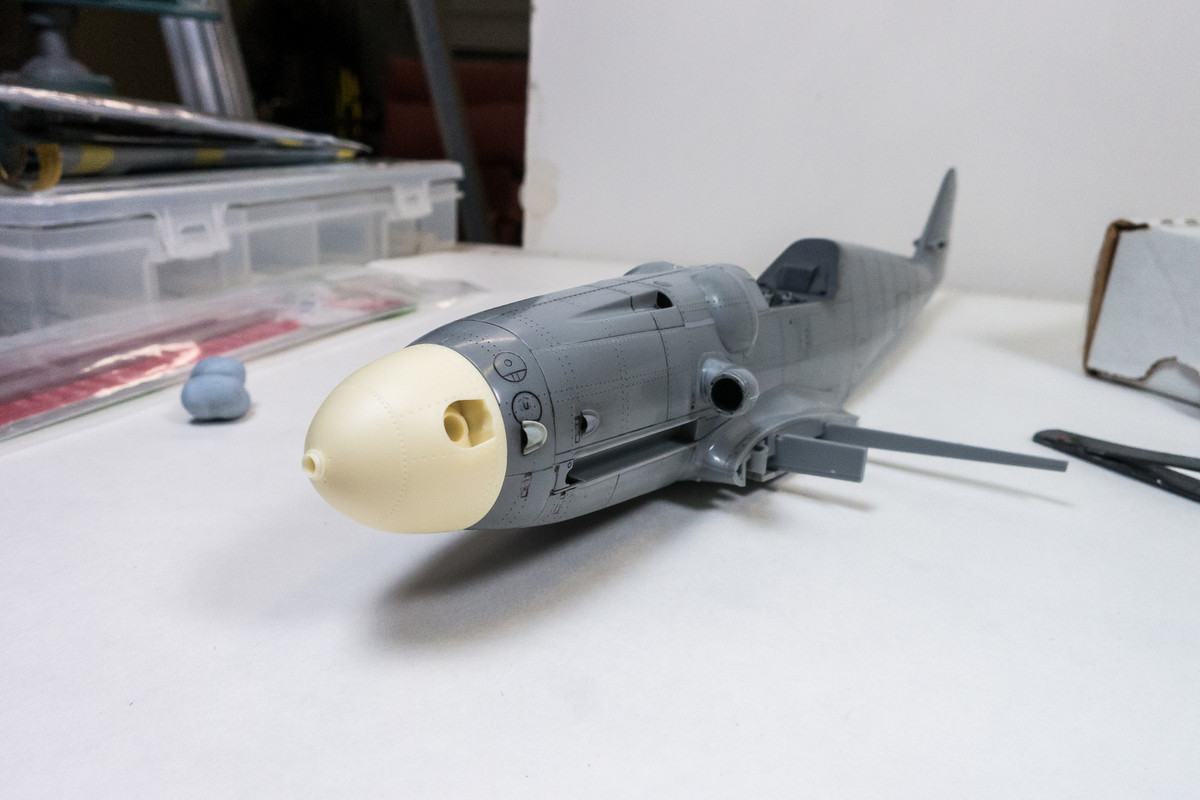
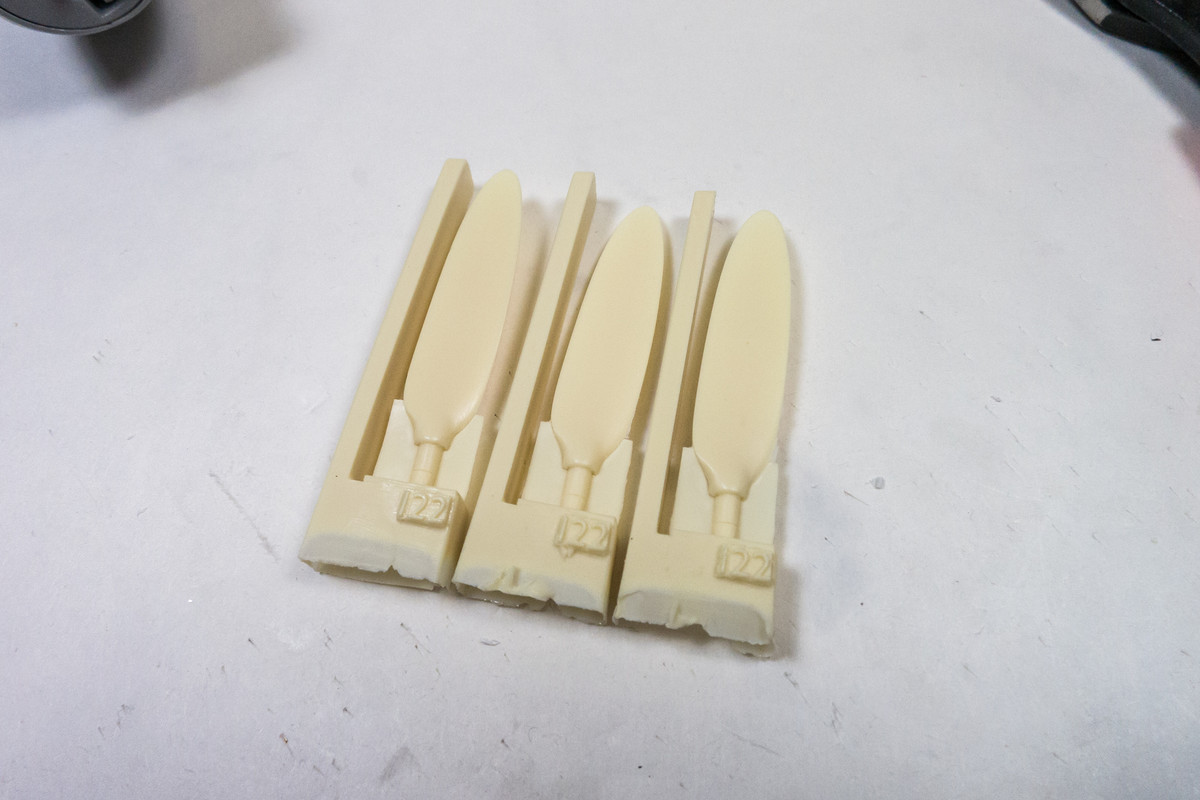
The blades still need to be removed from their casting blocks and cleaned up.
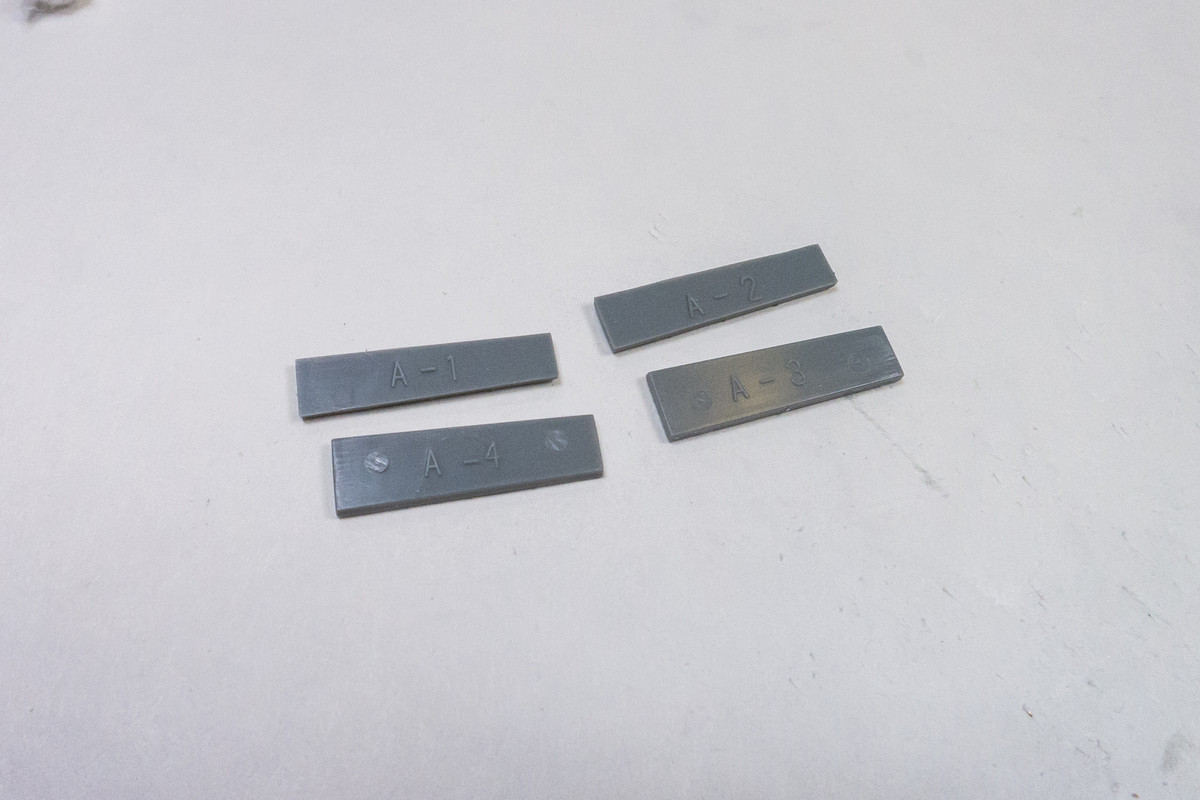
Jumping over to the wings, I noticed a nice manufacturing touch... Hasegawa thoughtfully prints the part number on the back of the radiator faces. Saves me the trouble of scratching them on myself.
The wheels wells were primed using Mr Primer Surfacer 1000. The packaging states that it can be used on metal surfaces.
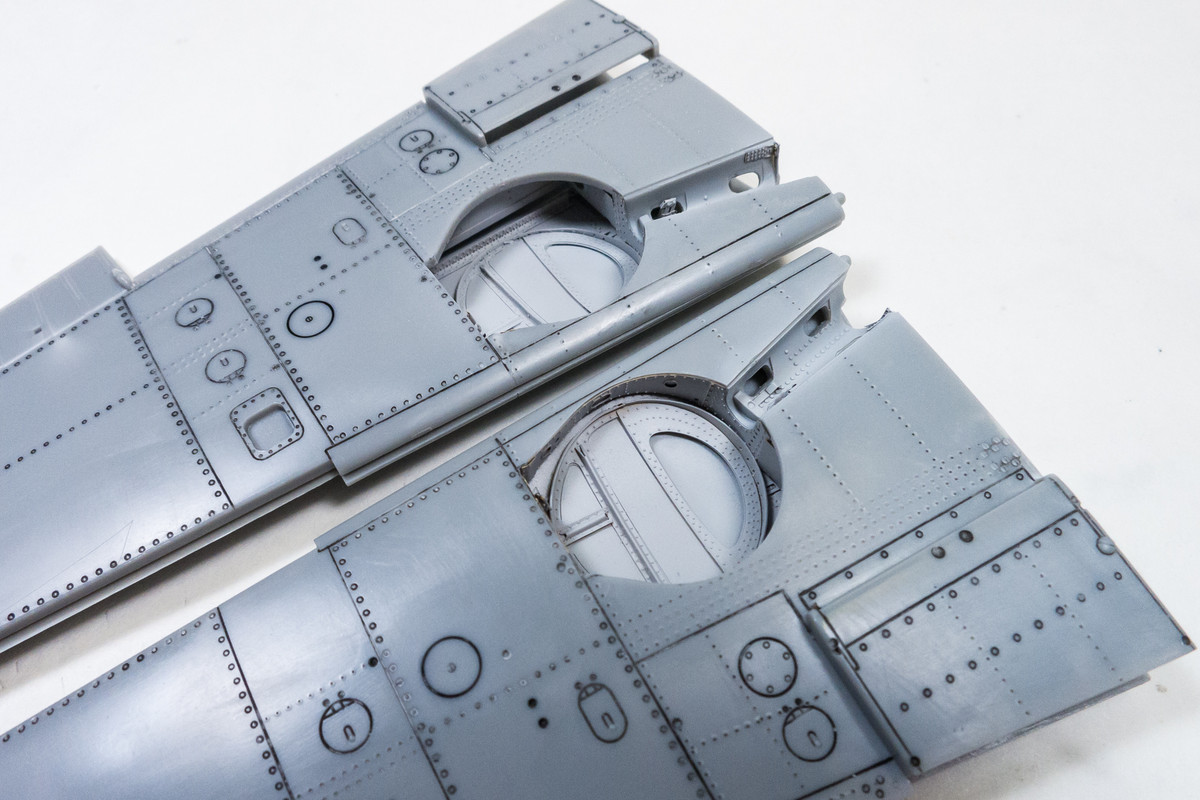
I then sprayed the wheel wells RLM 02 Grey over a black base just to try and get some tonal depth.
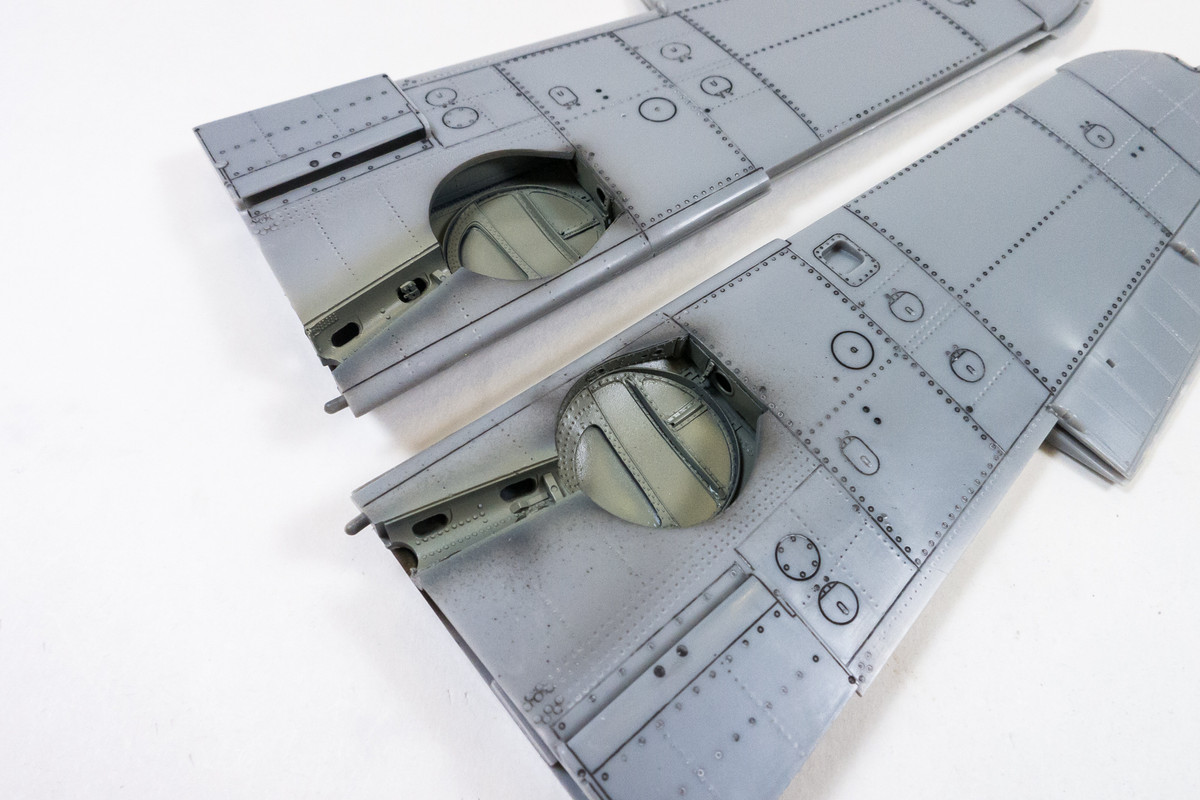
I added a small drainage pipe to the front edge of the oil cooler intake. The intake has been riveted.

Re: 1/32 Hasegawa Bf109G-14 Hartmann
Posted: Tue Jun 09, 2020 1:14 am
by speedgraflex
Your photo reminds me of a photo of me taken at the piano in our home. I loved to play the piano, but I was pretty camera shy. I think your expression reminds me of that moment. I was hoping the white sprues were from an X-Wing but I think they are from an earlier model kit, probably a plane. Does any of this matter? What does matter is the beautiful assembly, John. All the best.