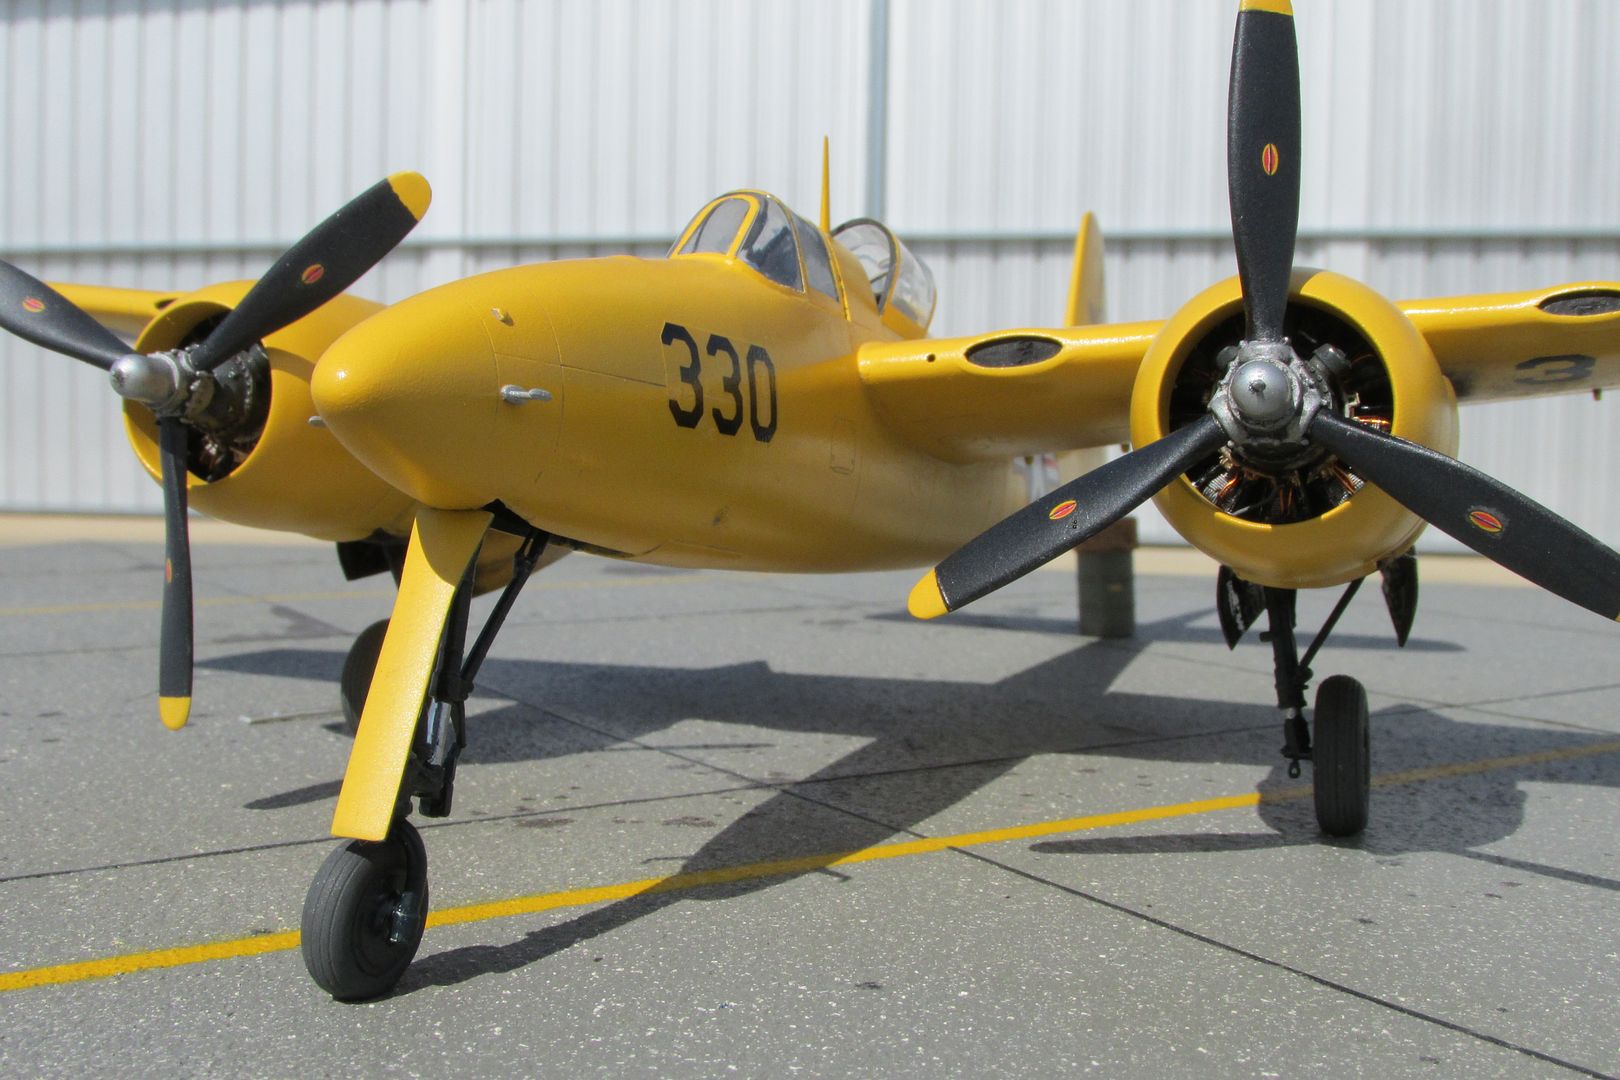
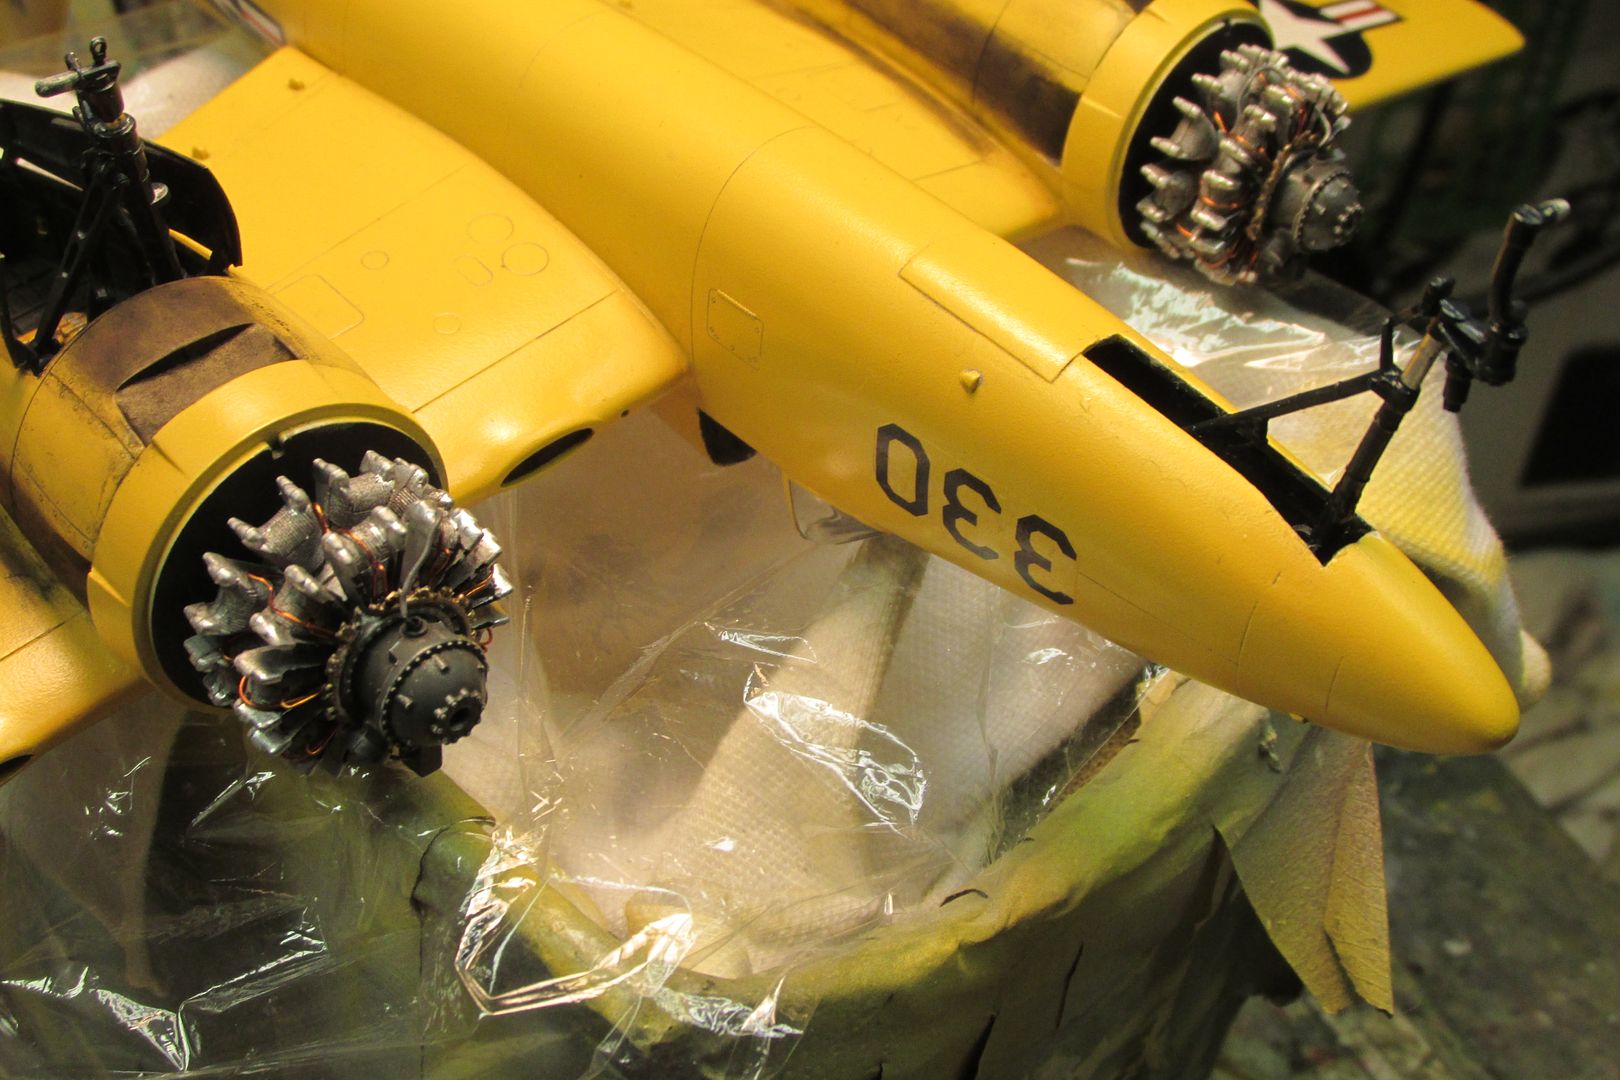
I deviated from the instructions a little. The main landing gear has five attachment points and the directions would have you finagle that assembled, multi-part landing gear up through the wheel well opening. I couldn’t see me getting that done without some big problems. So, the assembled gear were installed through the top of the engine nacelles (much easier! ) and then the nacelles were installed on each wing before they were attached to the fuselage. Of course, that meant they were in the way for the rest of the build. I did cover them with protective “spats” that I made from paper towel tube, and they made it through without any issues.
I really wanted the model to sit on her three wheels without the support of the kit-provided barrel and crate, used in real life Tigercat service to keep the front tire on the ground when fuel tanks were empty. So, I added a lot of ballast into the fuselage, all forward of the main gear centerline. I knew that much weight would surely stress the plastic kit landing gear, so I used a set of white-metal gear instead. The total weight of the ballast was over 75 grams and I just knew it would be enough. I was so wrong.
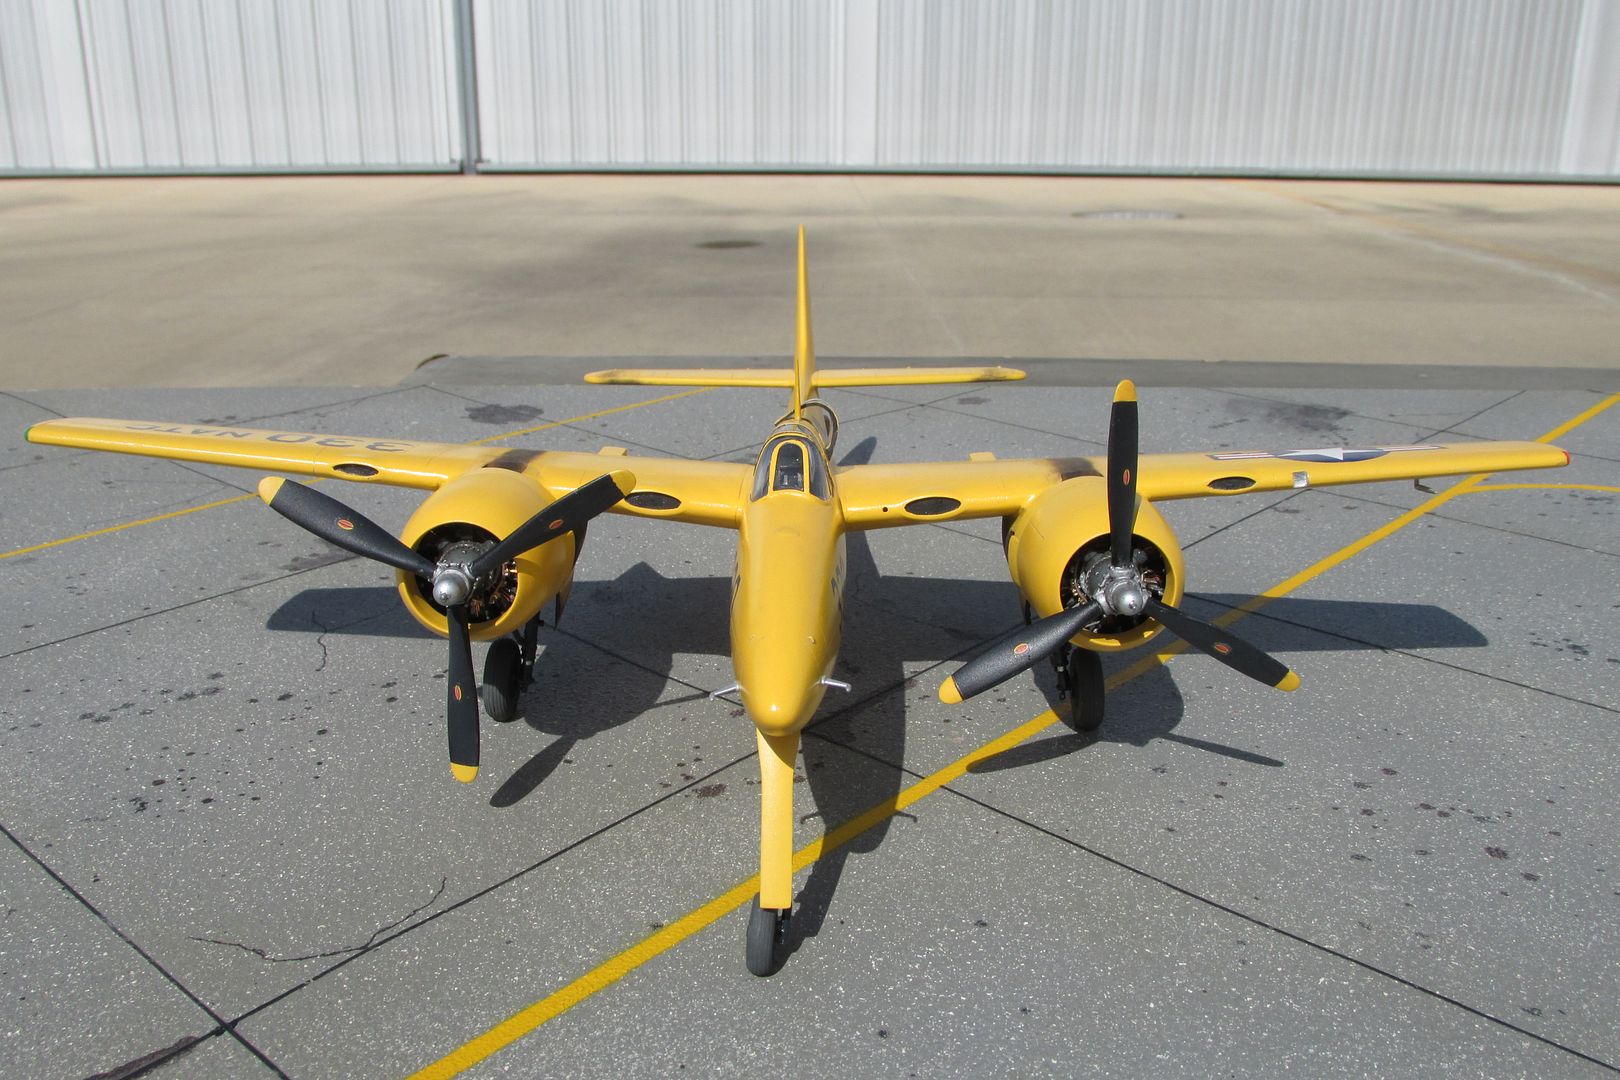
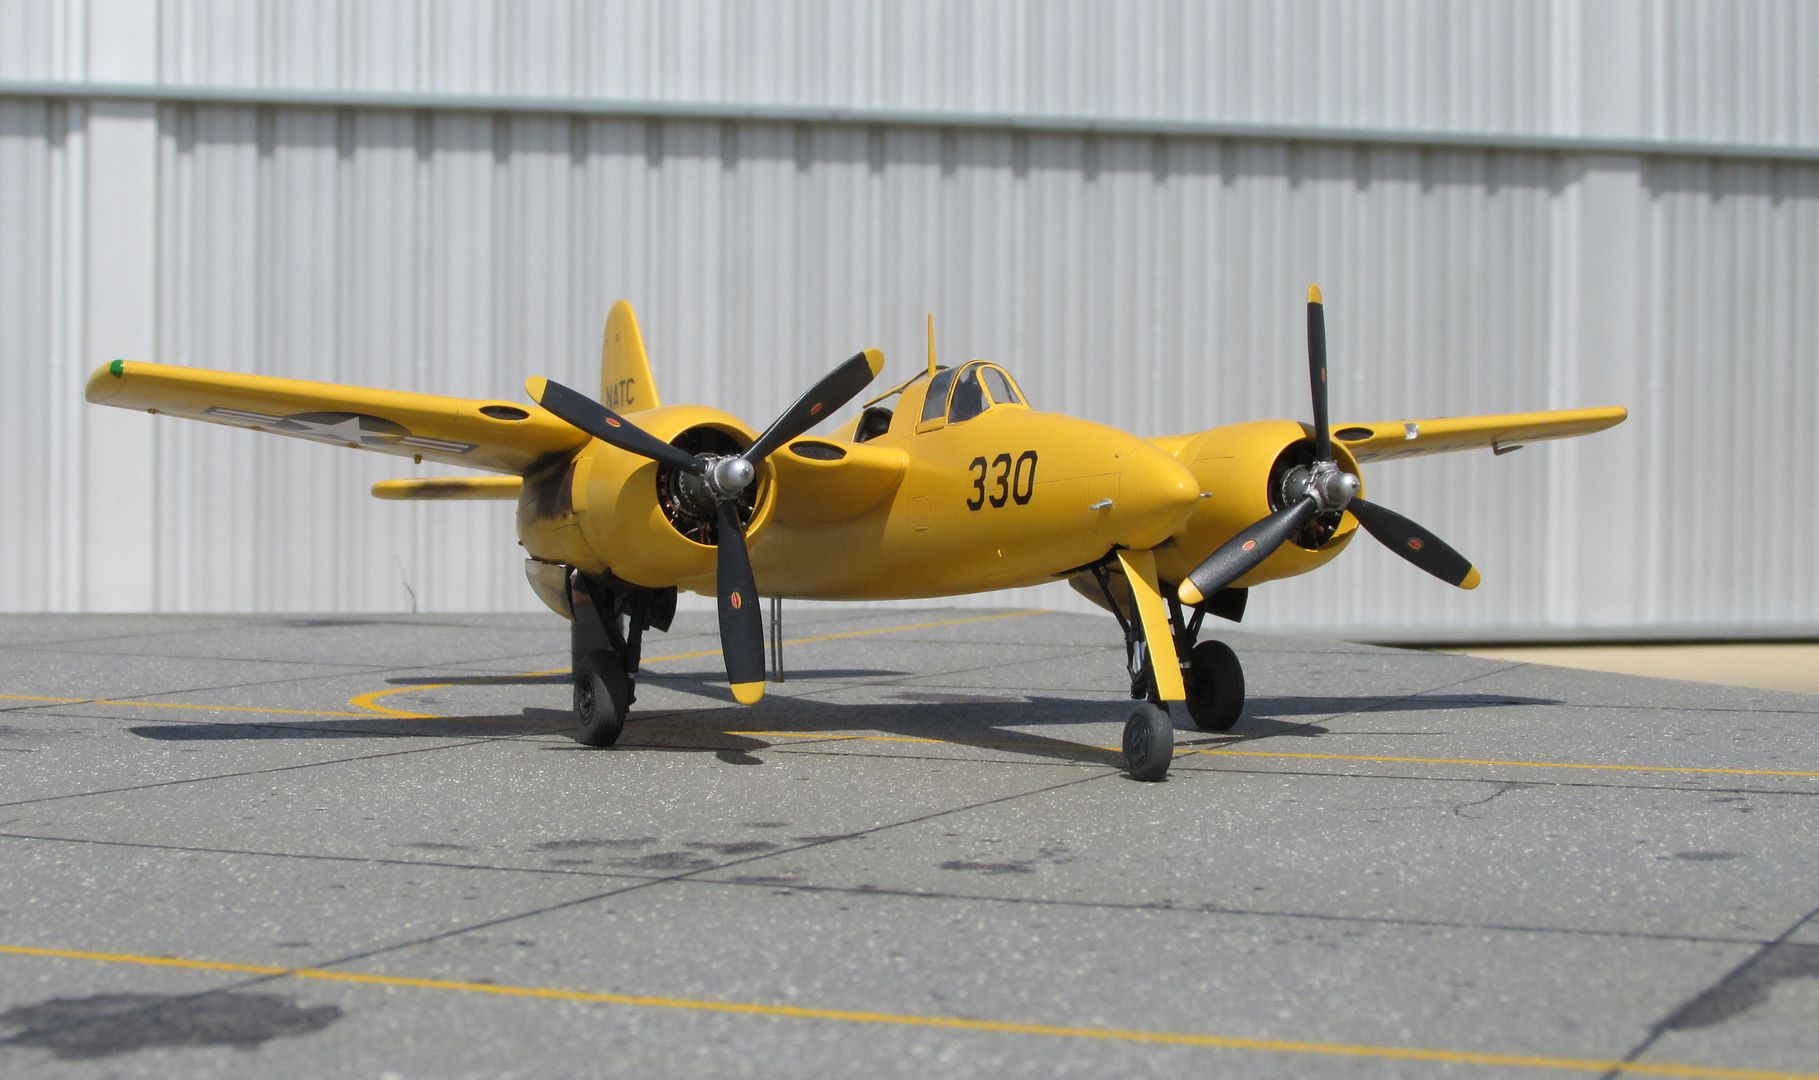
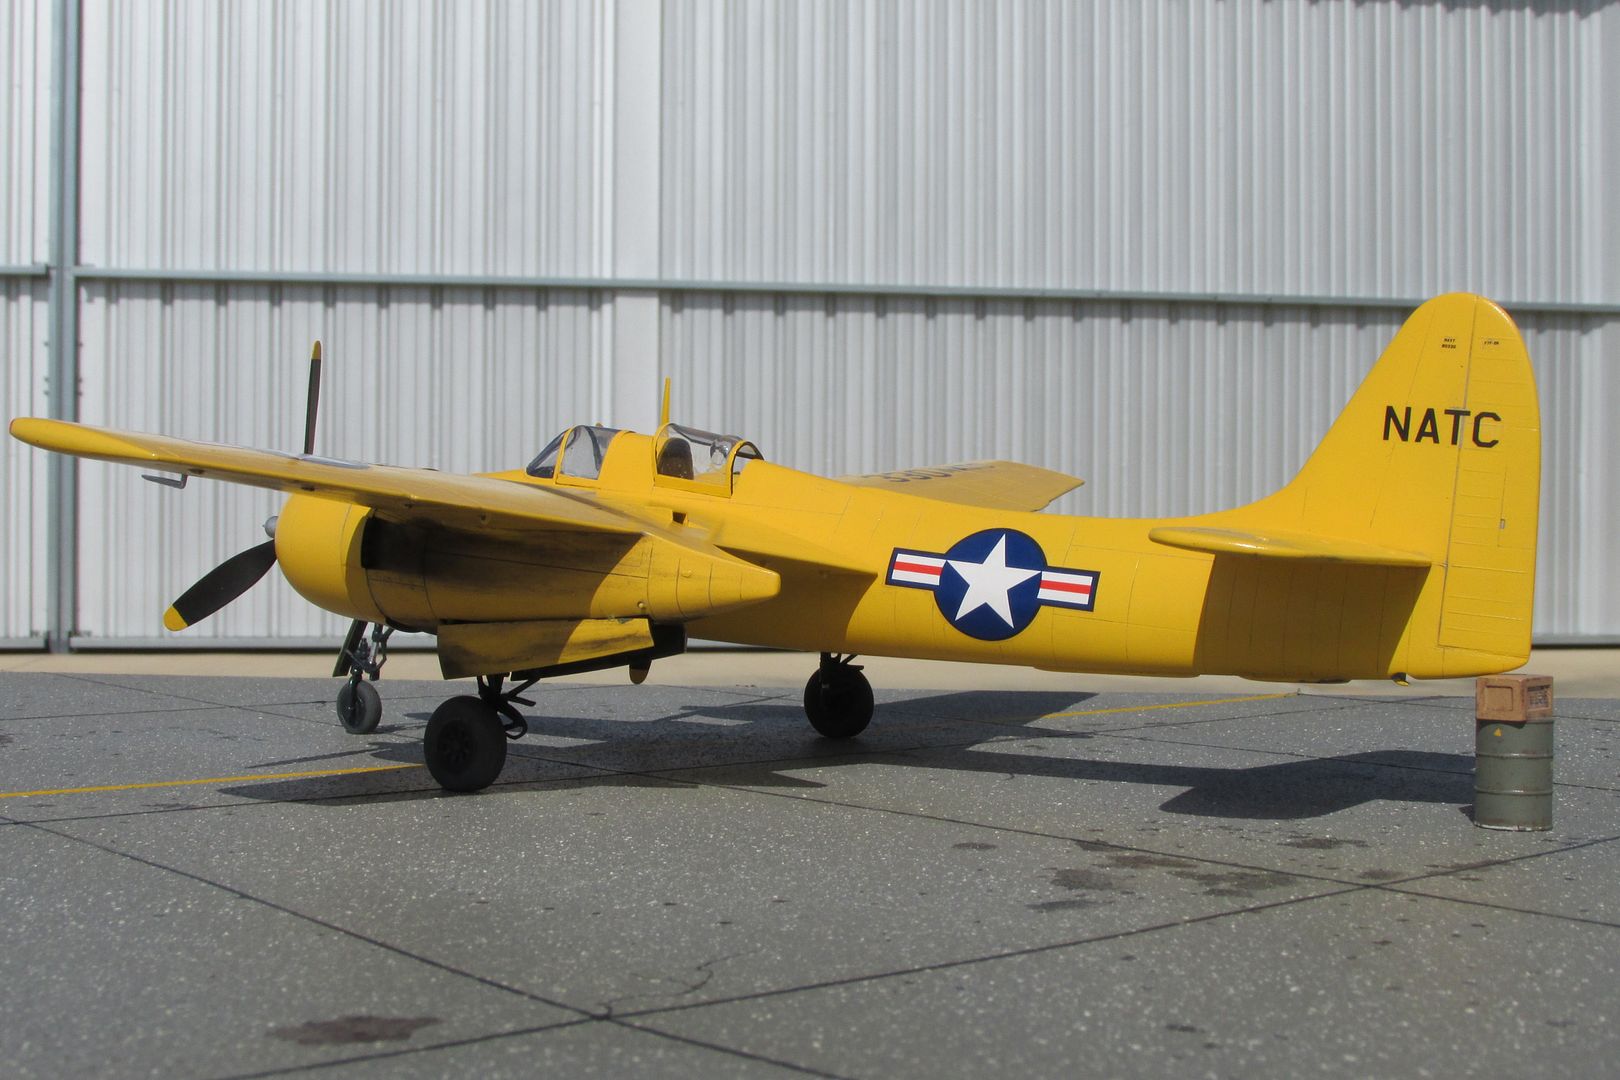
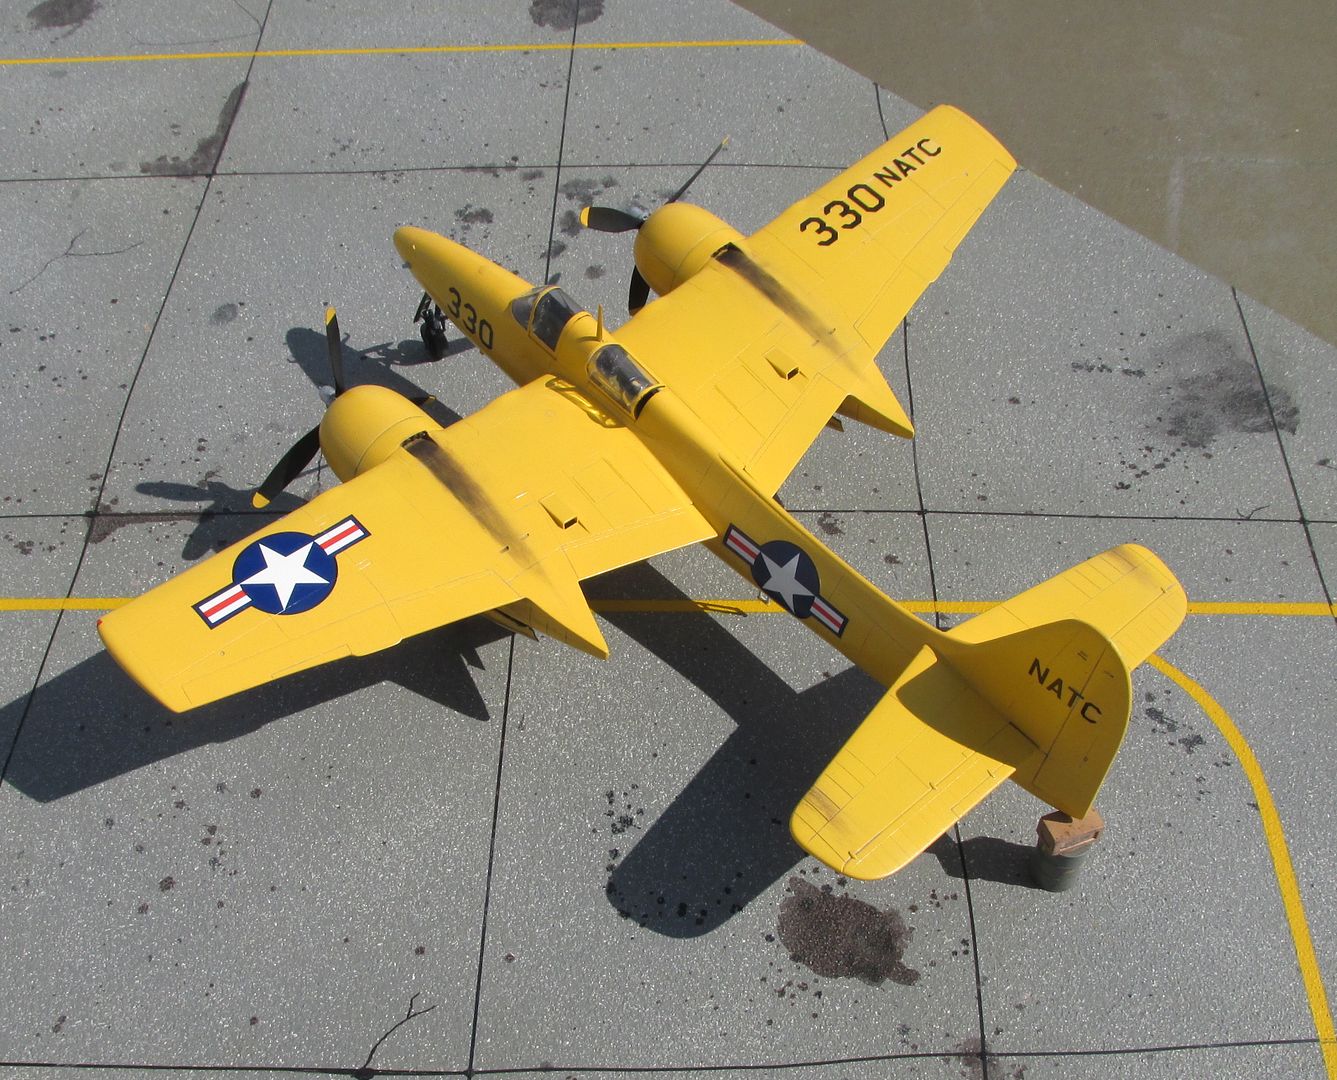
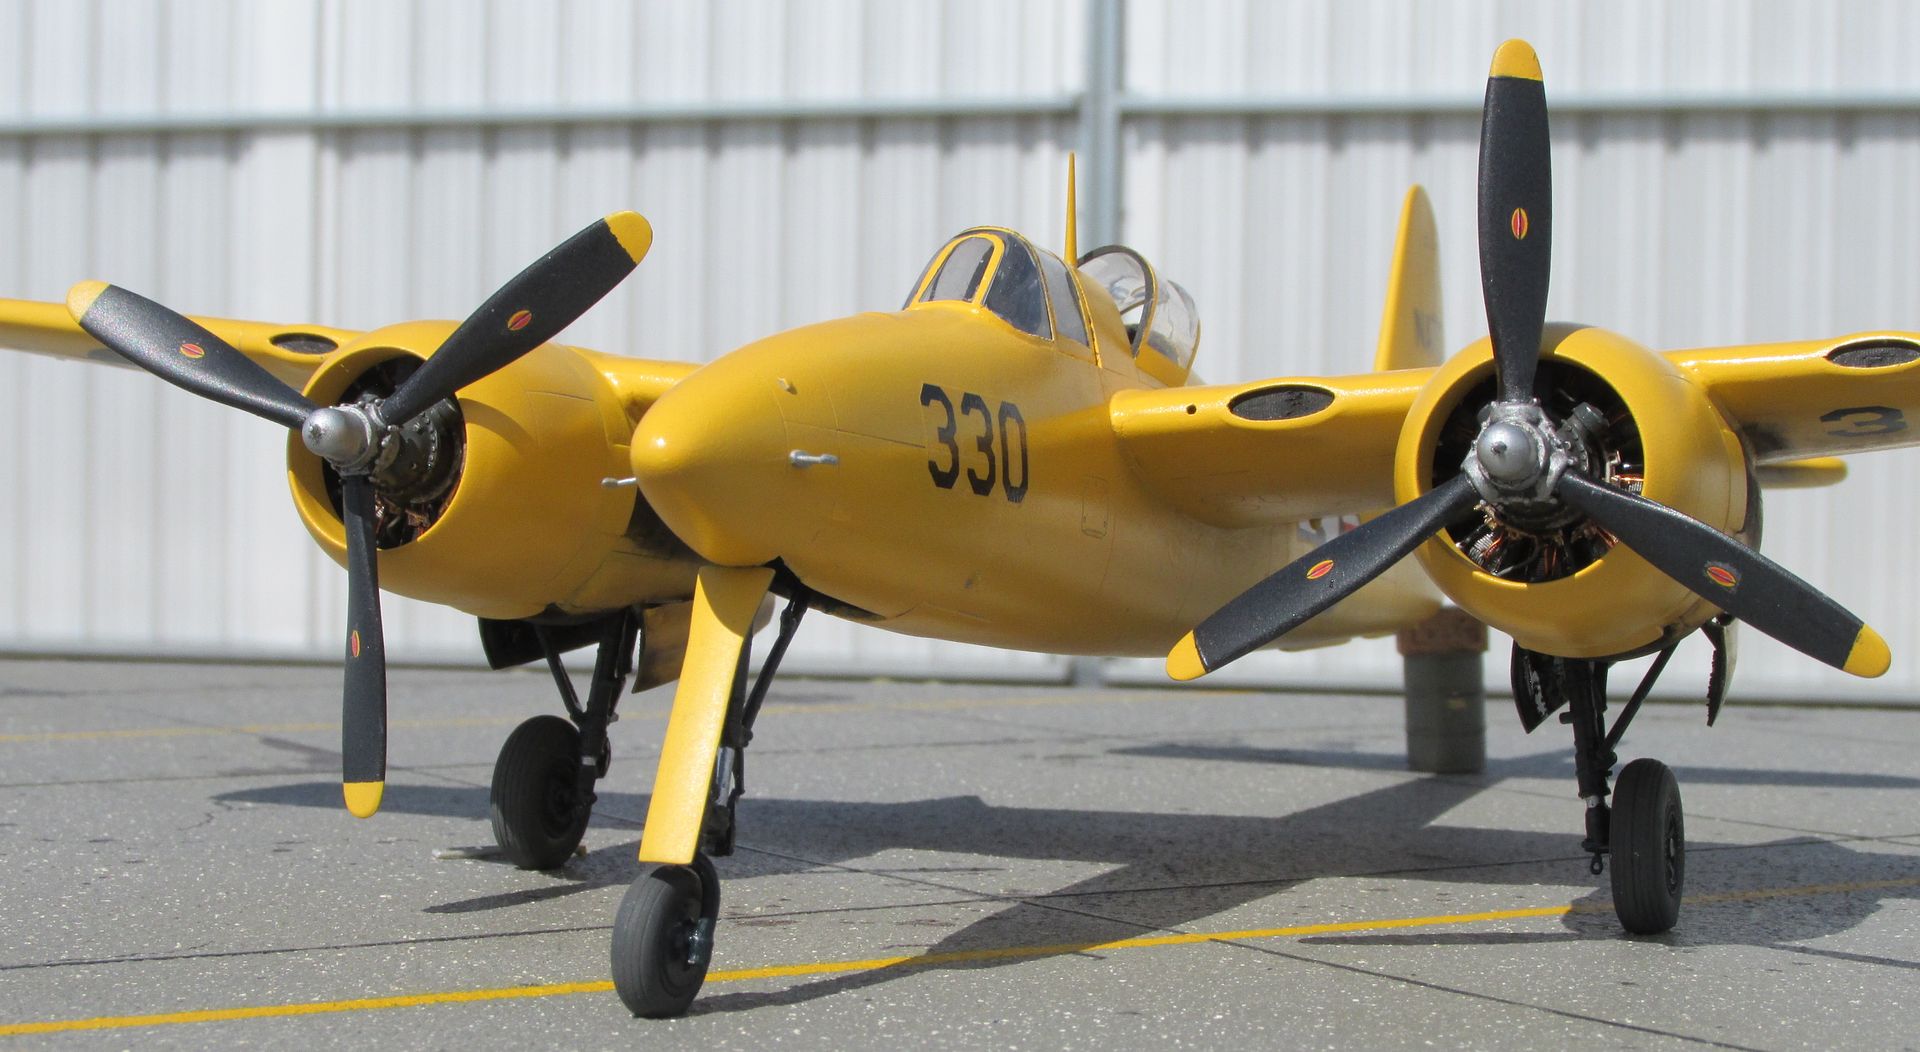
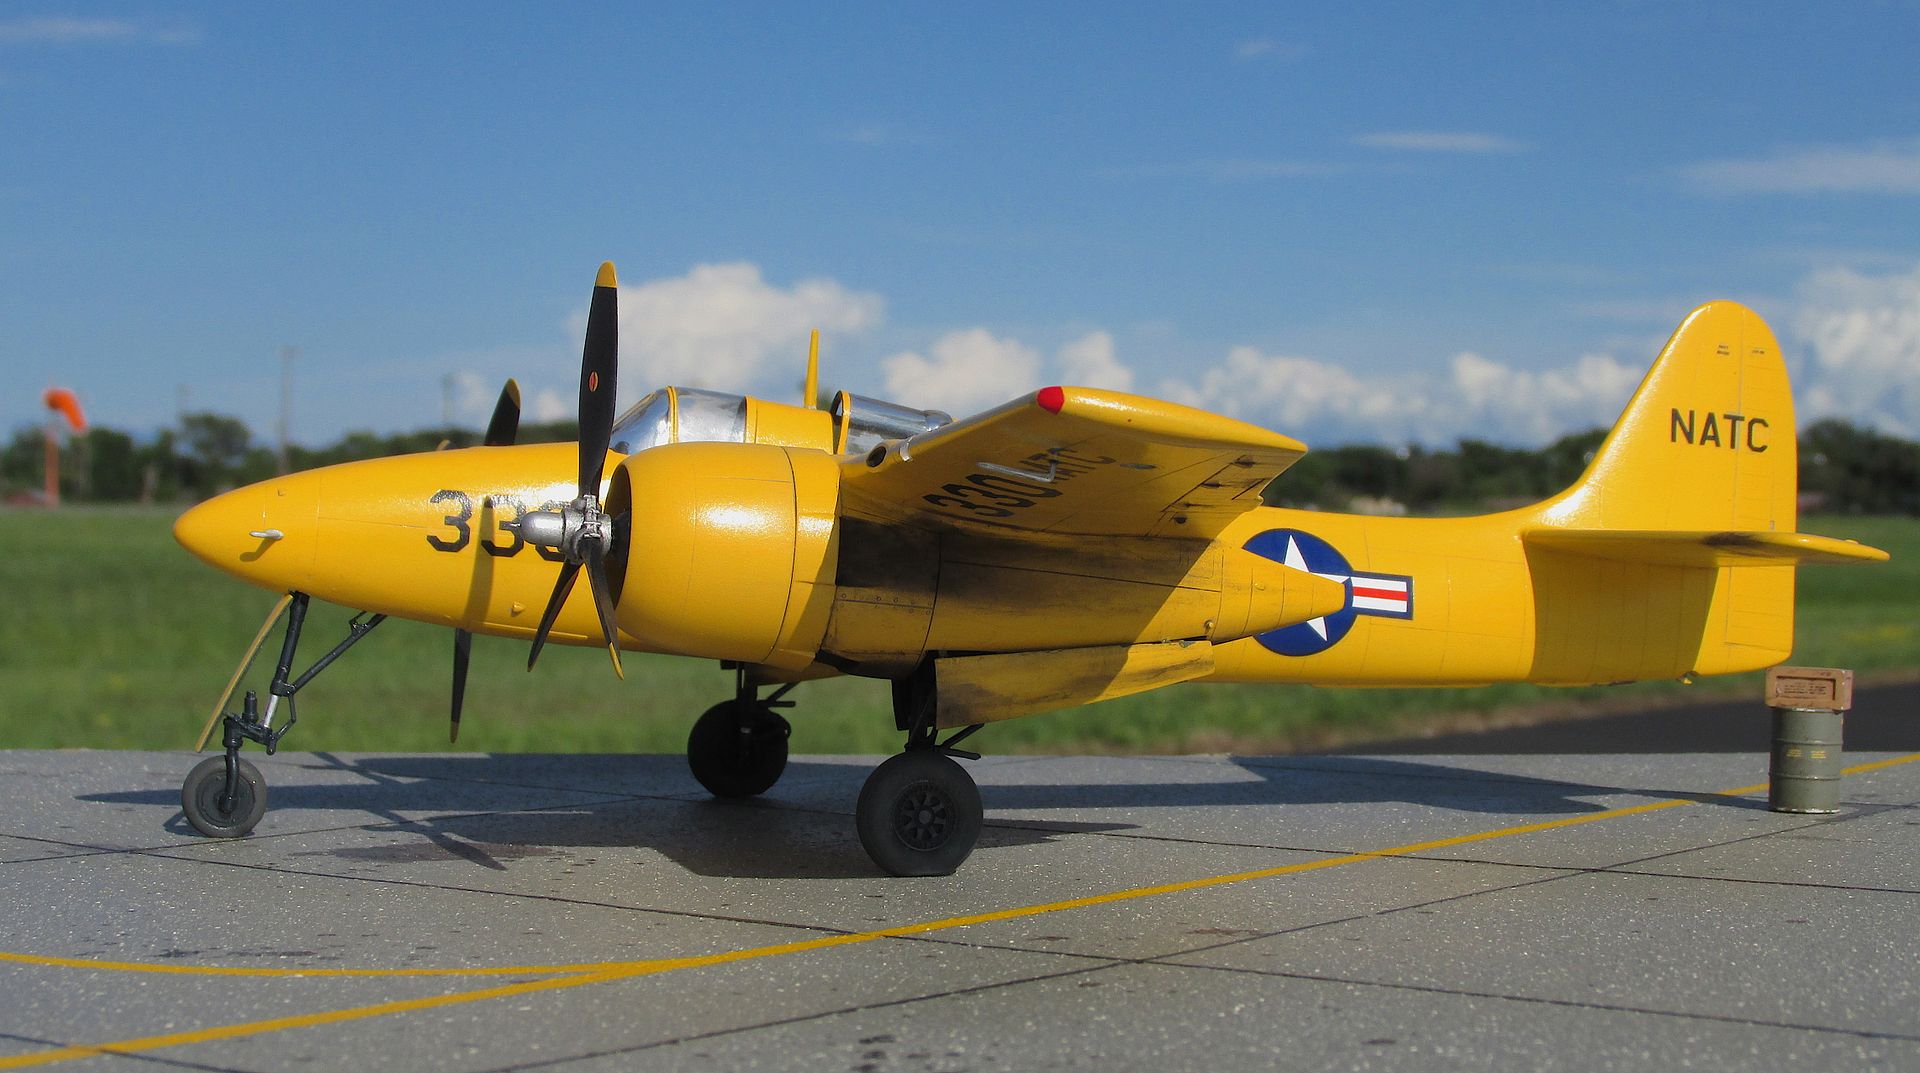
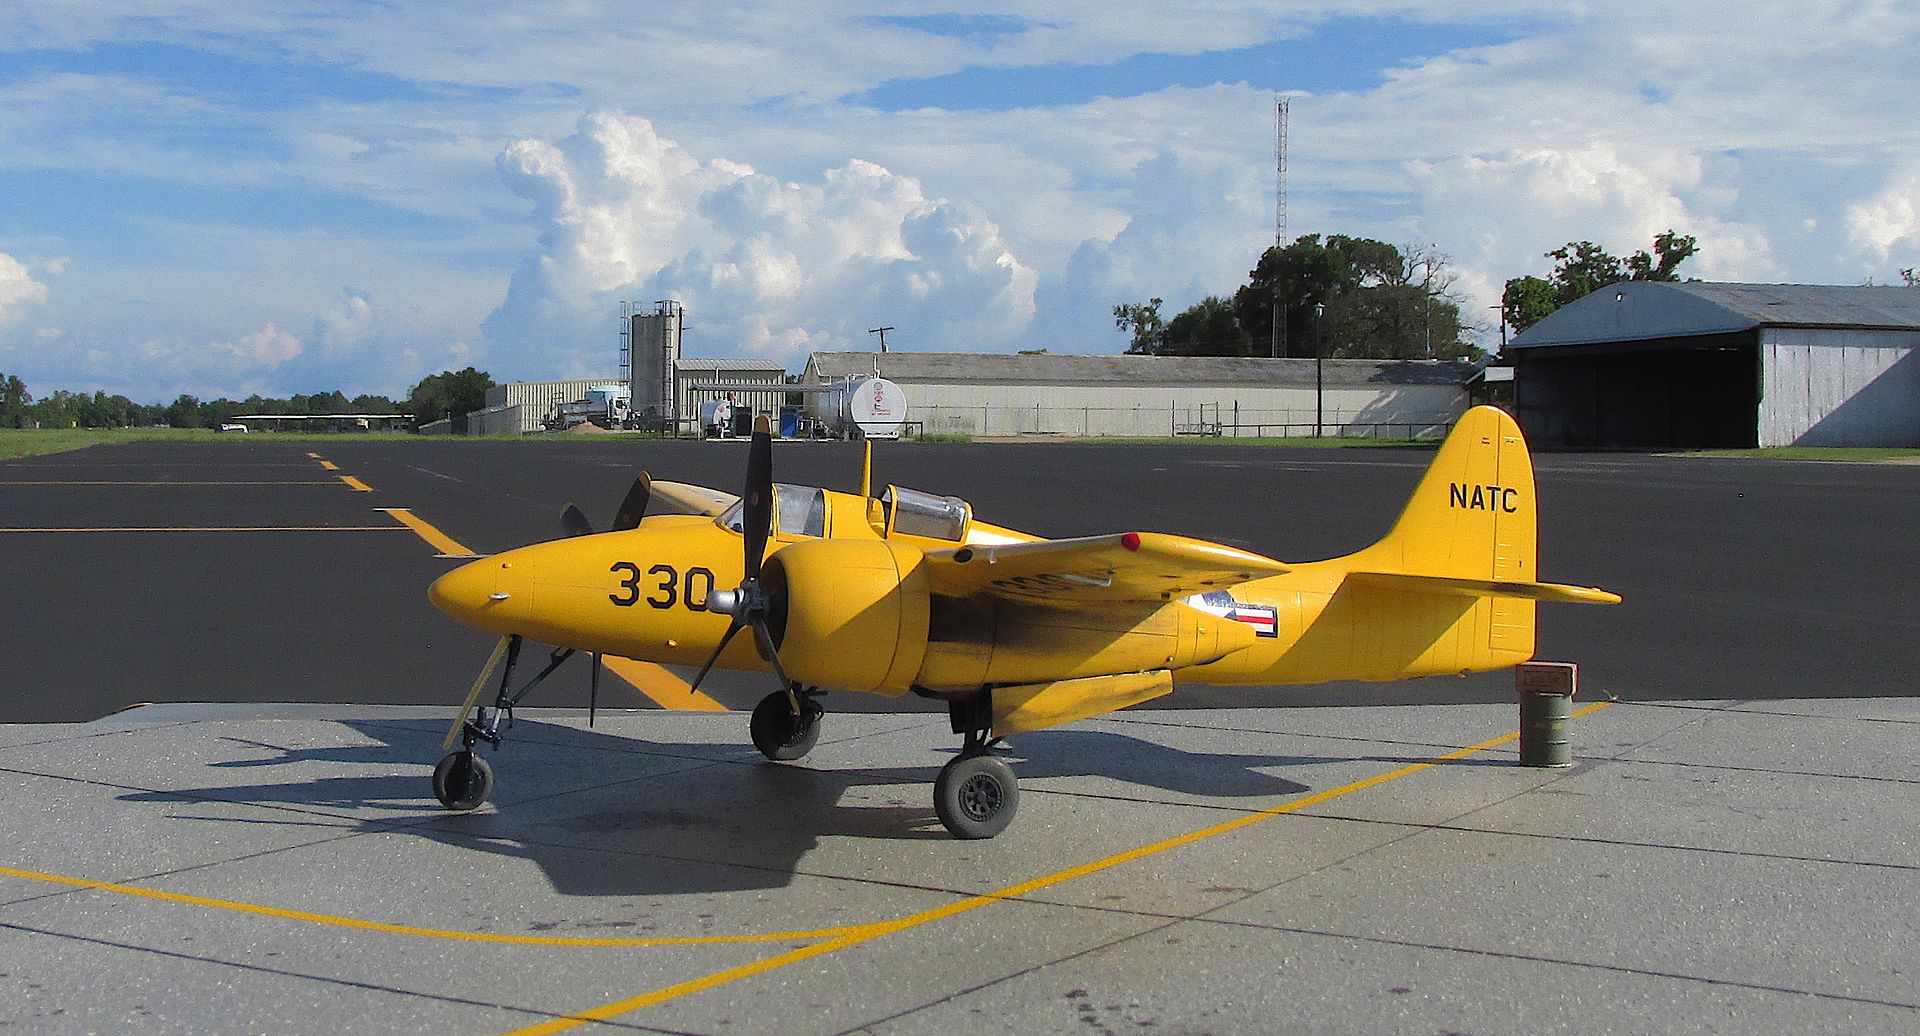
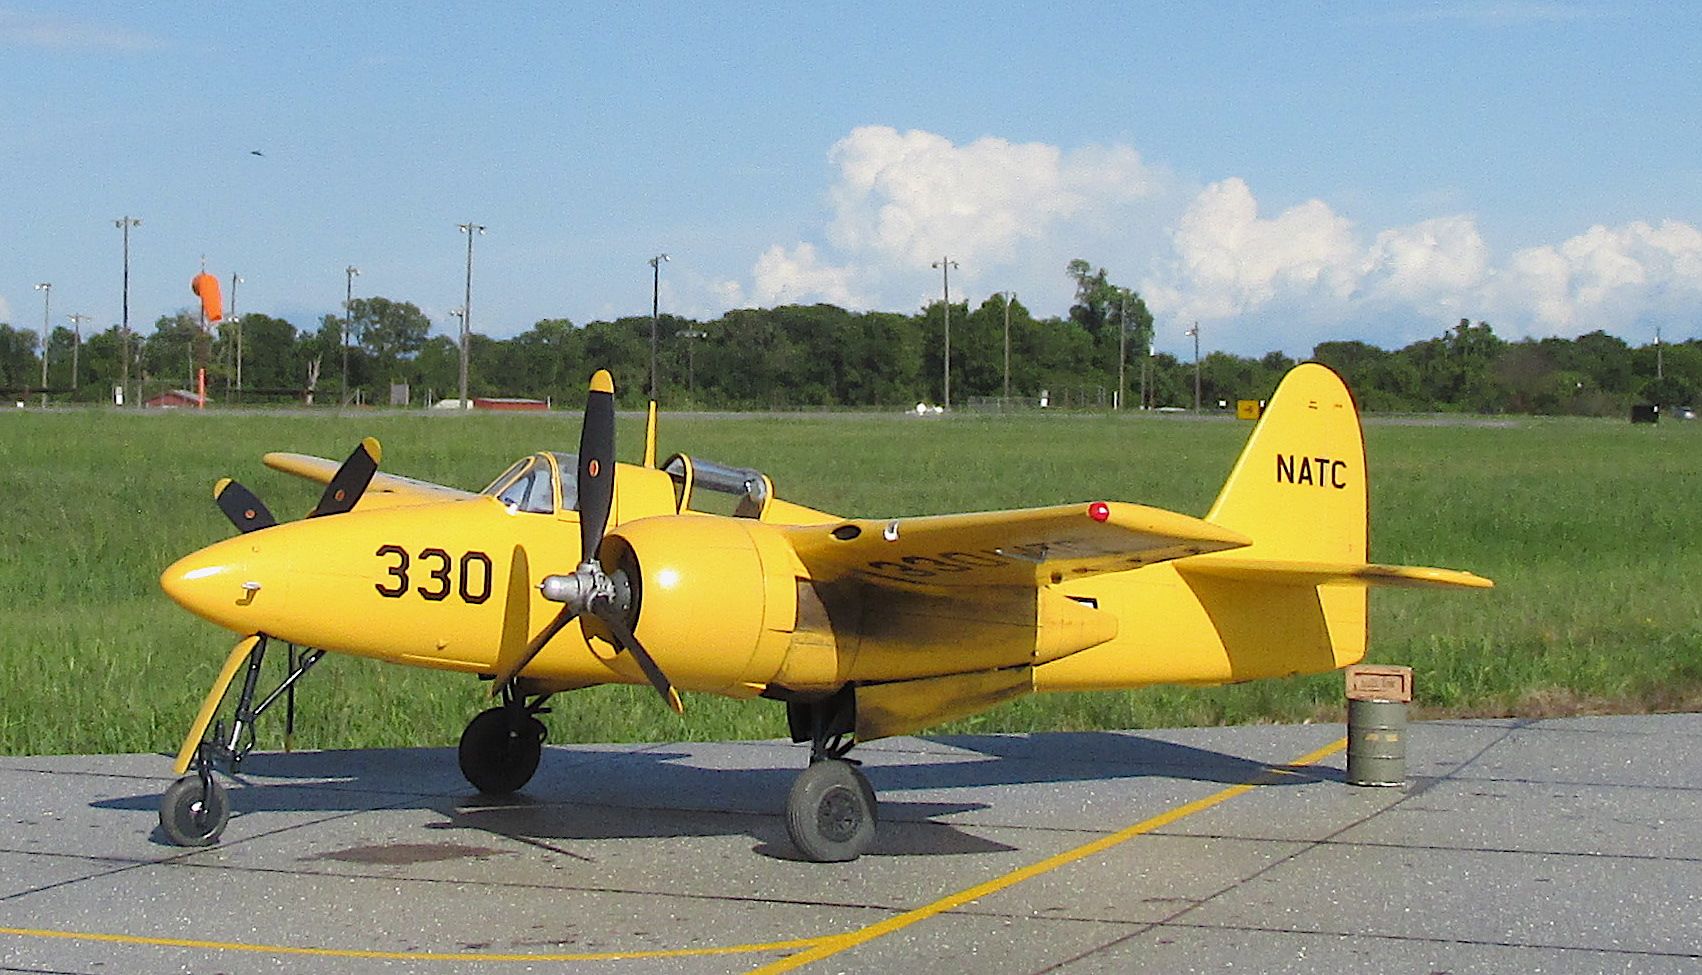
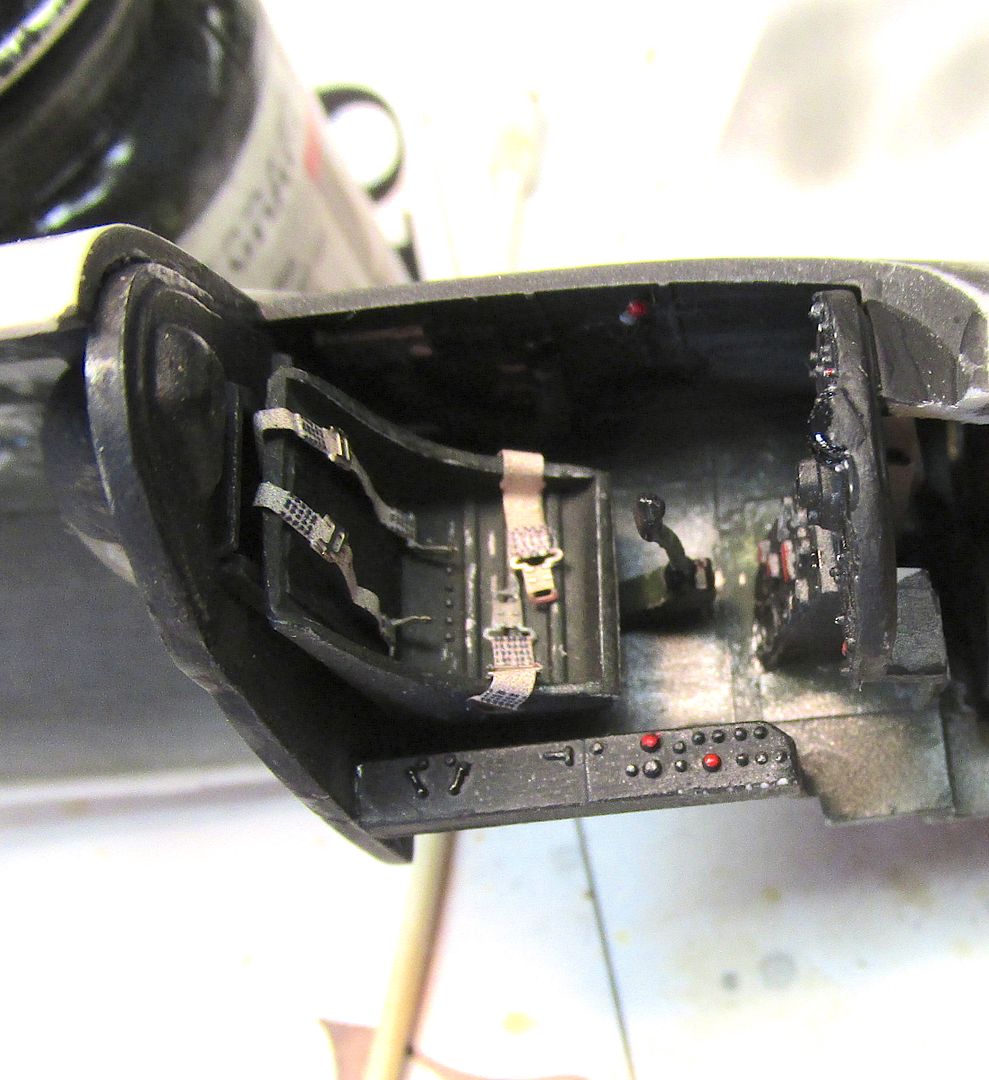
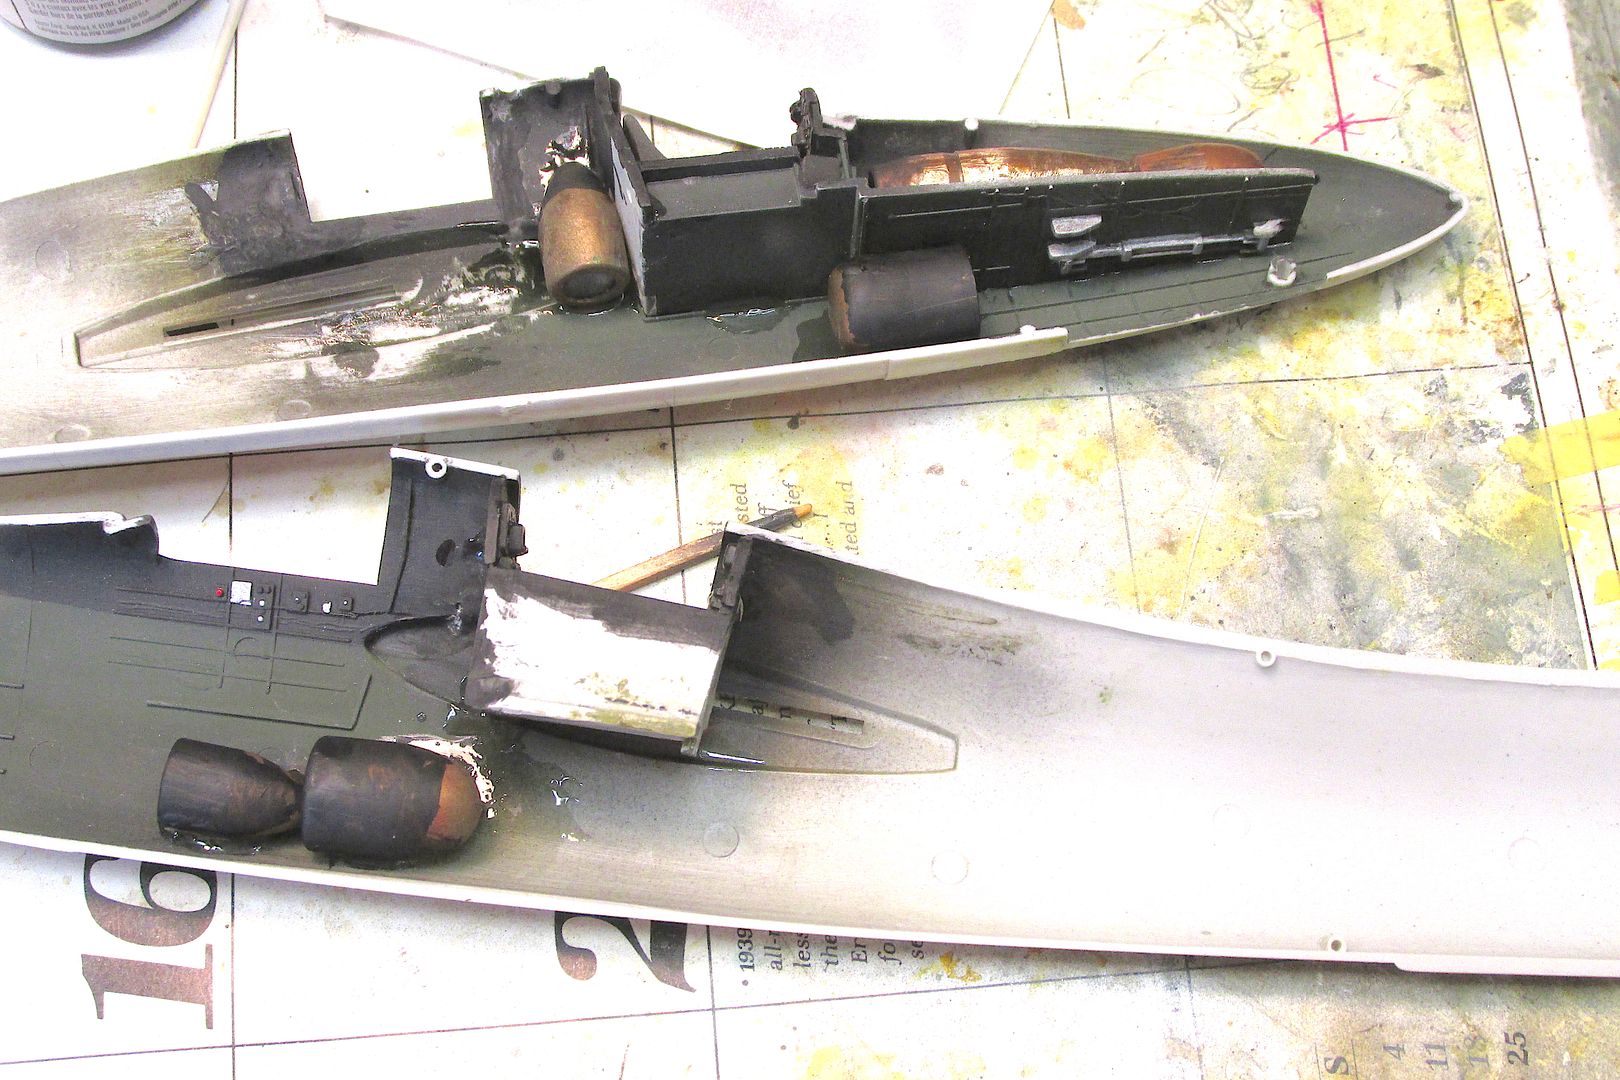
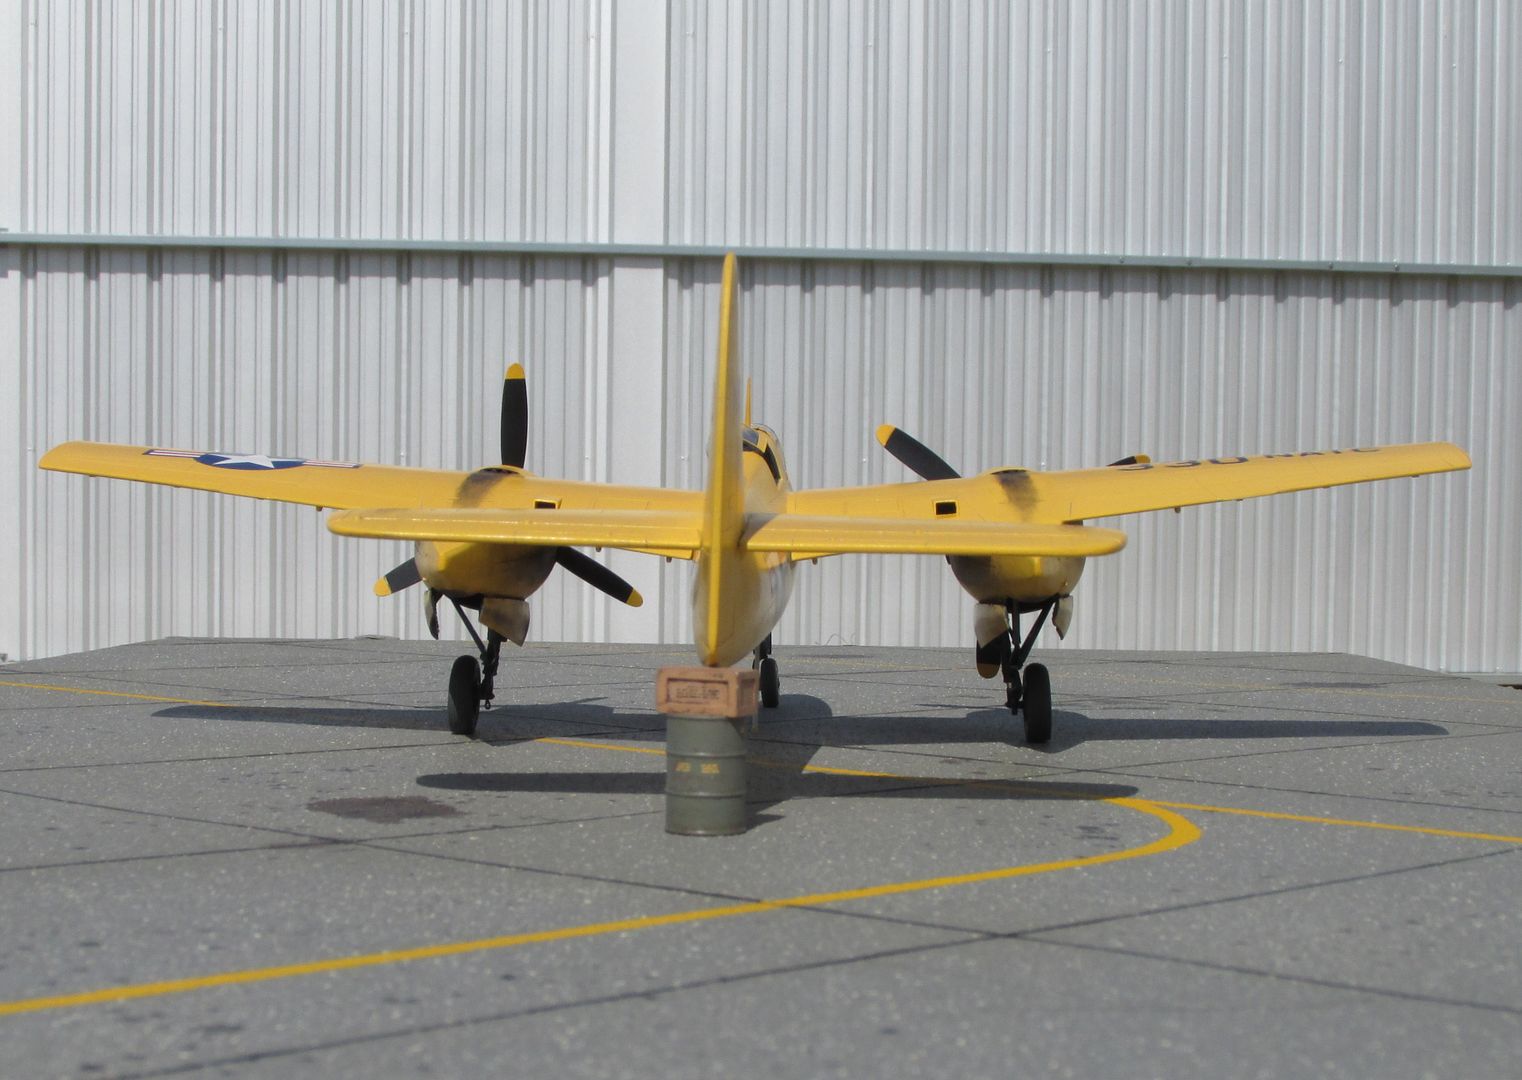
The P&W R-2800s supplied in the kit were pretty nice and I added spark-plug wiring and few other small parts that are pretty hard to see now. I didn’t use the notorious wheel-eating, rubber tires that came in the kit, instead using a resin set. Eduard PE seat belts were used and I scratch-made the canvas “sling” that served as the rear cockpit seat.(Oh, the hemorrhoids those poor guys must've incurred sitting in those! )The kit props are widely known to be badly misshaped, so I robbed old Monogram Hellcat and Avenger kits which would never get built of their props and used them. Paint was ModelMaster Insignia Yellow matte, and I used a semigloss clear-coat over that to replicate the somewhat glossy yellow paint used on the Naval Air Test Center bird from 1947 that I was trying to recreate.
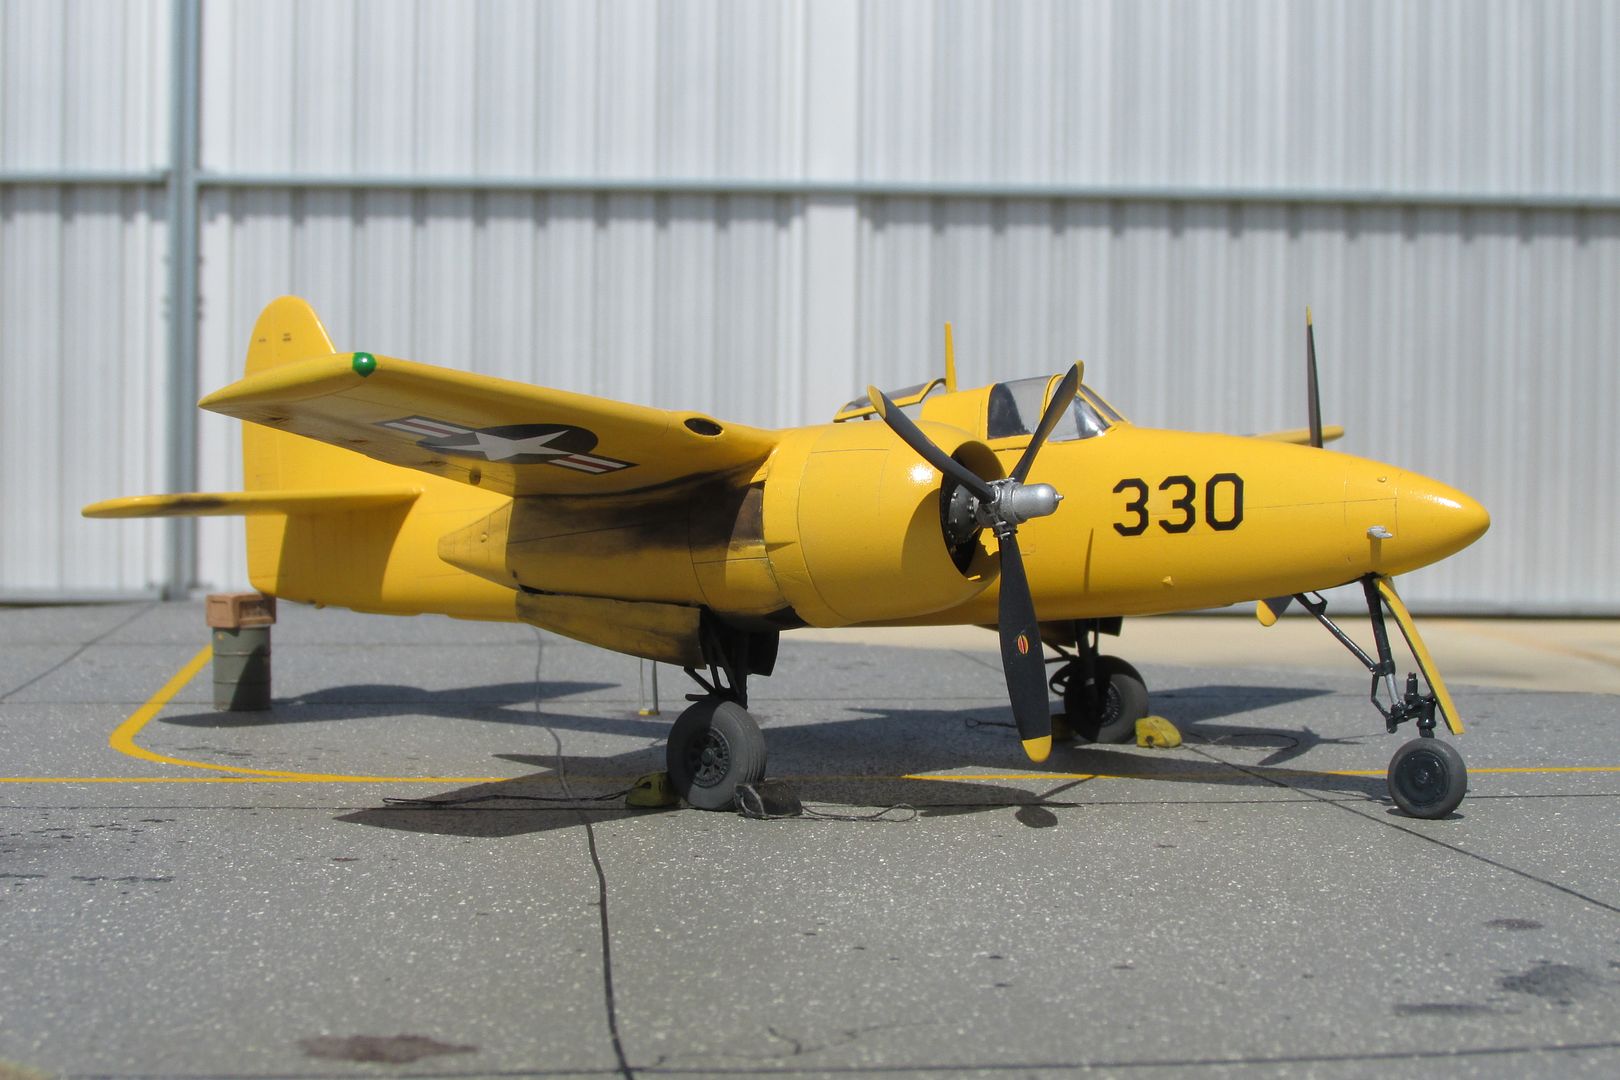
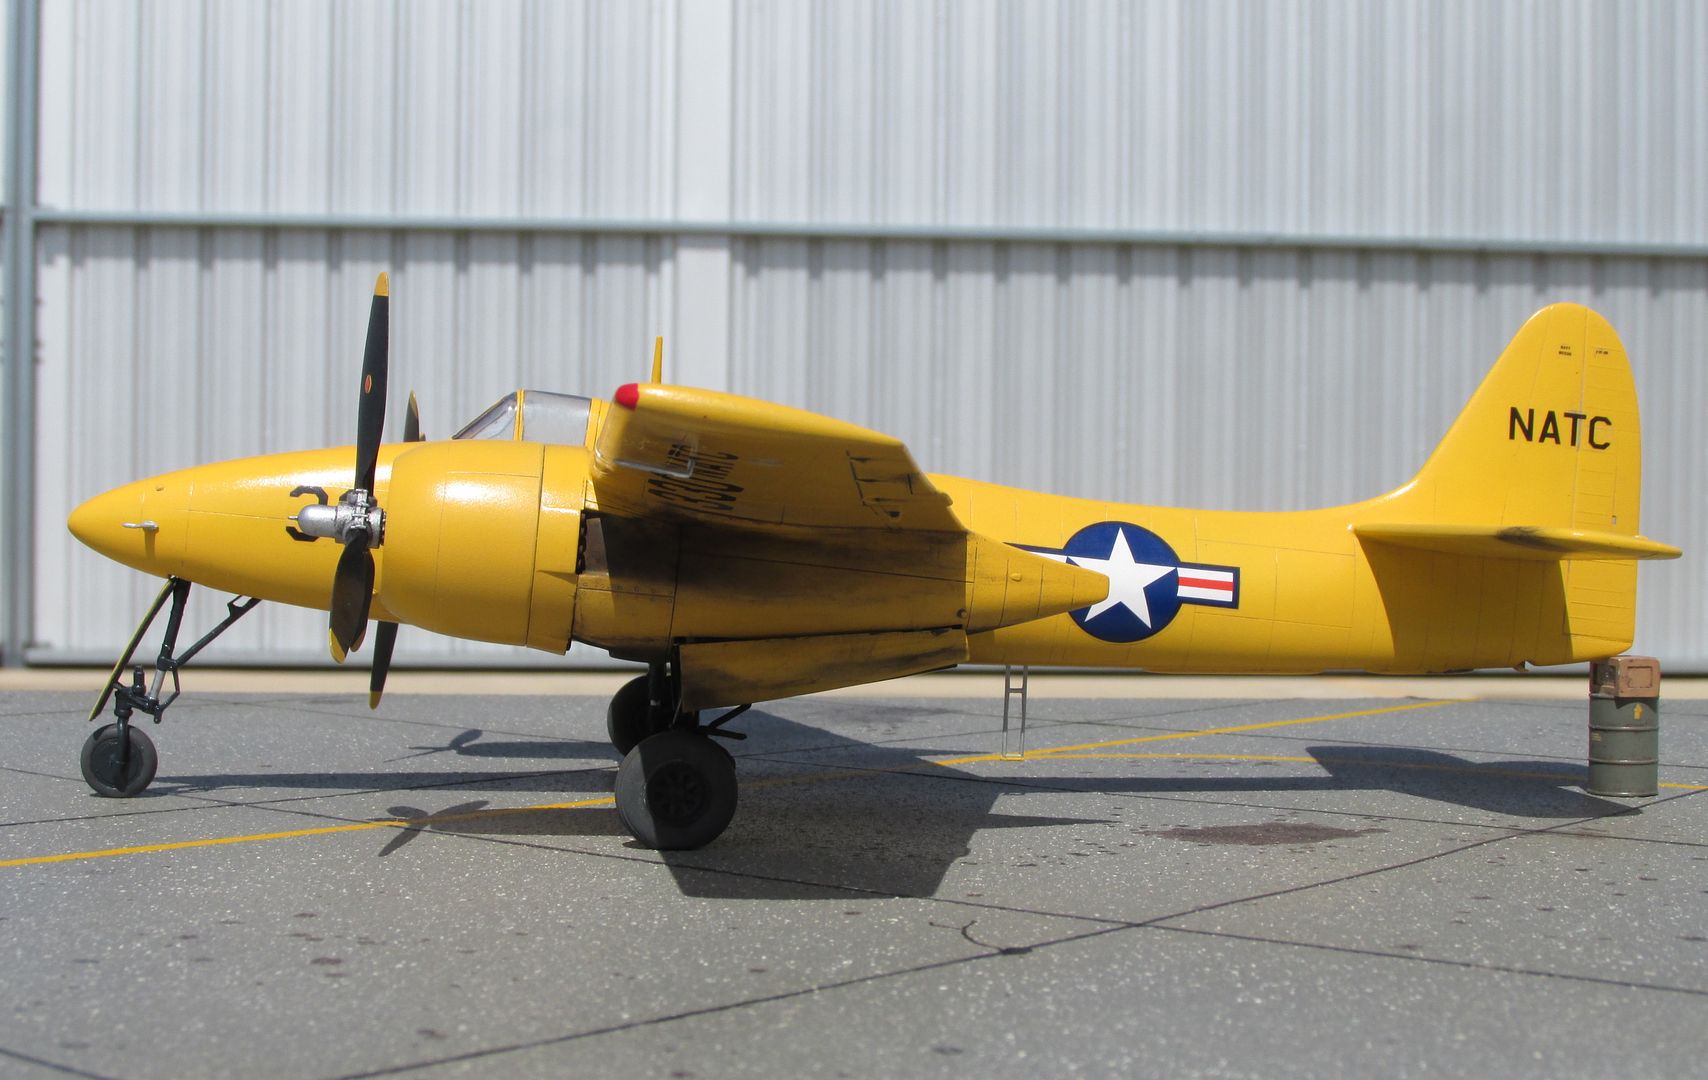
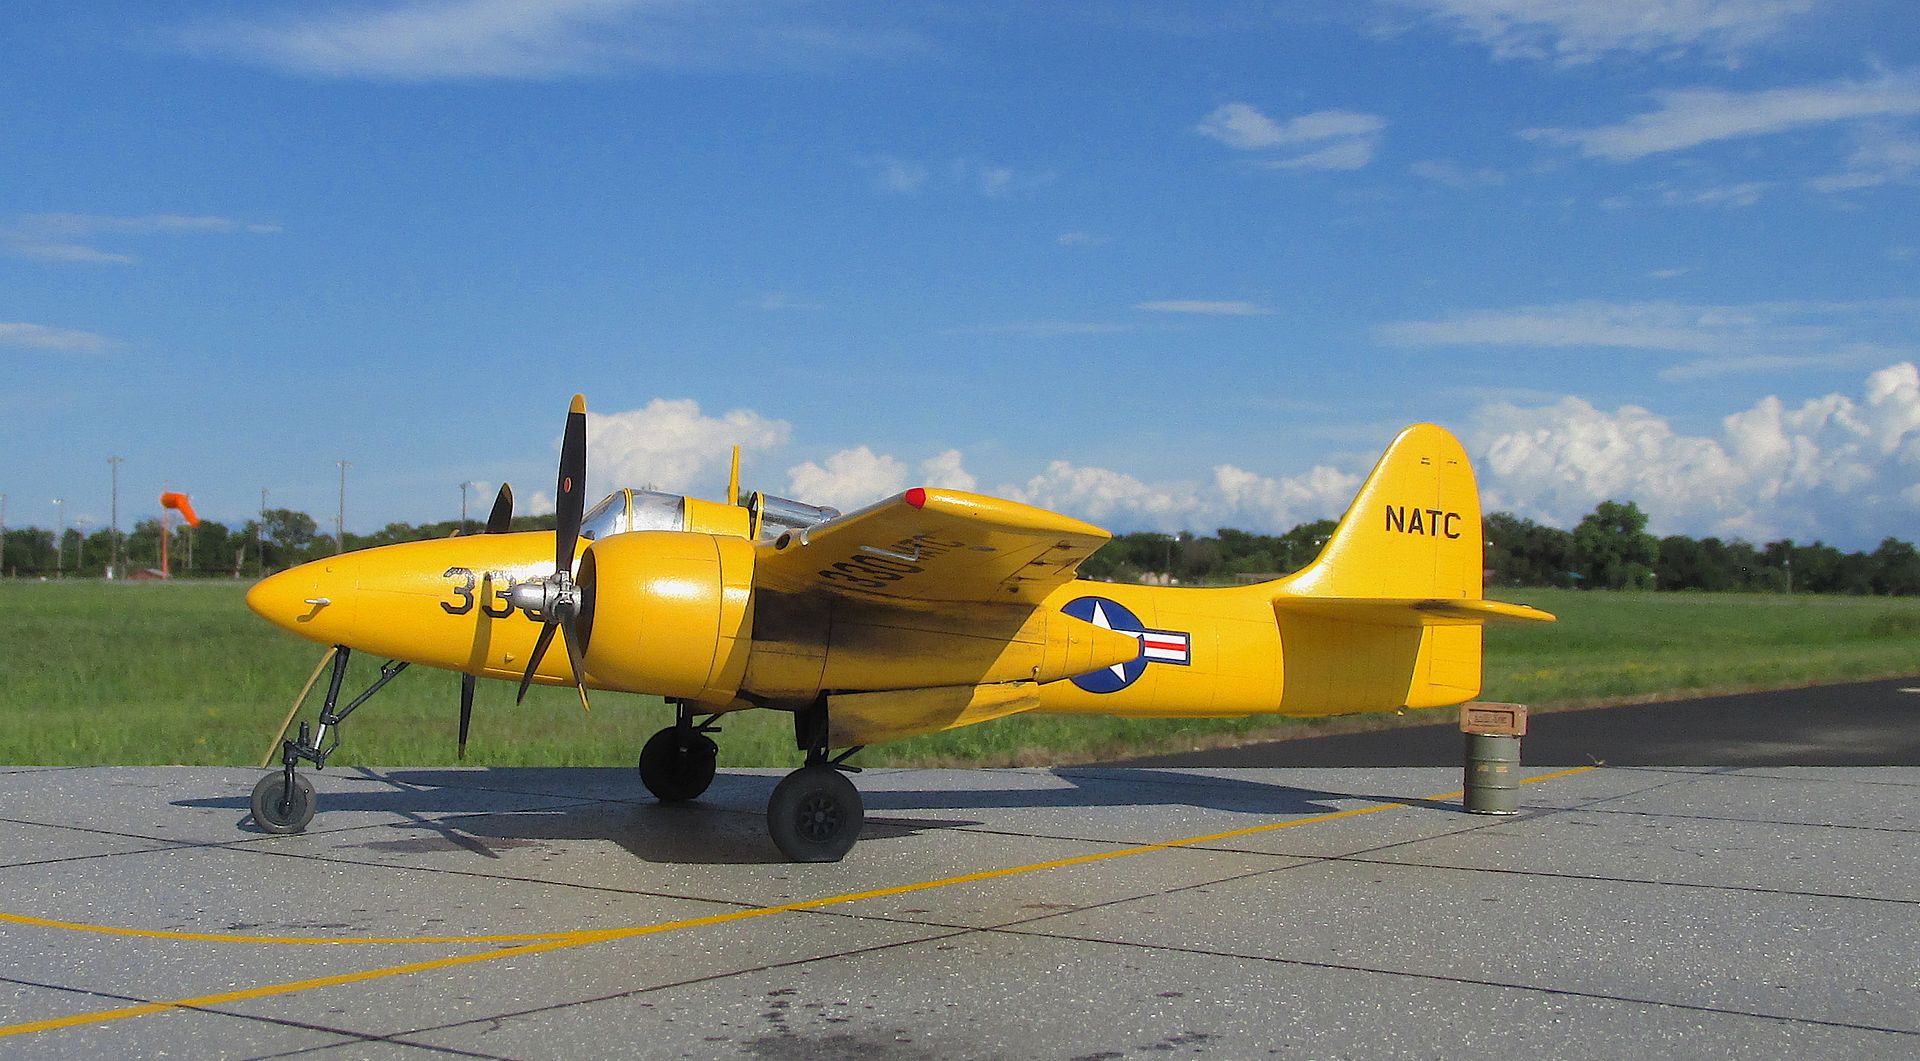
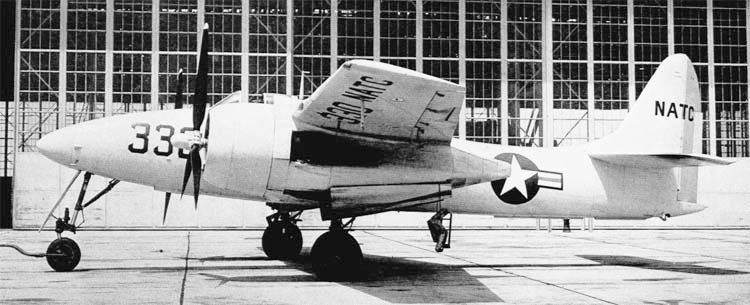
I've found only one photograph of this NATC aircraft and it shows heavy exhaust staining, with black soot blown back along the nacelles and wings. Man, they must’ve been running those R2800s mighty rich! I wish I could have airbrushed that soot, but I just didn’t trust myself to do that without messing up the paint work, so it was done with pastel chalks. I was hesitant to seal the chalk staining with a clear-coat, so it was left unsealed, being careful not to touch it after application. I also used some Flory wash to highlight a few panel lines. I deleted all the guns as the reference photo shows none and I added two, small sensors/probes seen in that pic to the sides of the nose.
I worried about getting the tires all installed with the flat bottoms actually on the bottom, and still keeping them plumb. It's a difficult model to handle, so I laid her upside down on a jig and used 30-minute 2-part epoxy to attach them to the metal gear stubs. Turning her over and setting it over the table, I adjusted and checked them several times and felt they were good to go. Next morning, I sat her on her “feet’ for the first time ever and found that all three weren’t plumb. Their flats were on bottom but there was no way at that point to adjust them vertically without catastrophic consequences so they are what they are. And even with all that weight, she's still a tail-setter without support under her rear-end. Since I ended up needing the barrel and crate anyway, I shouldn't have used any weight at all! Live and hopefully learn.
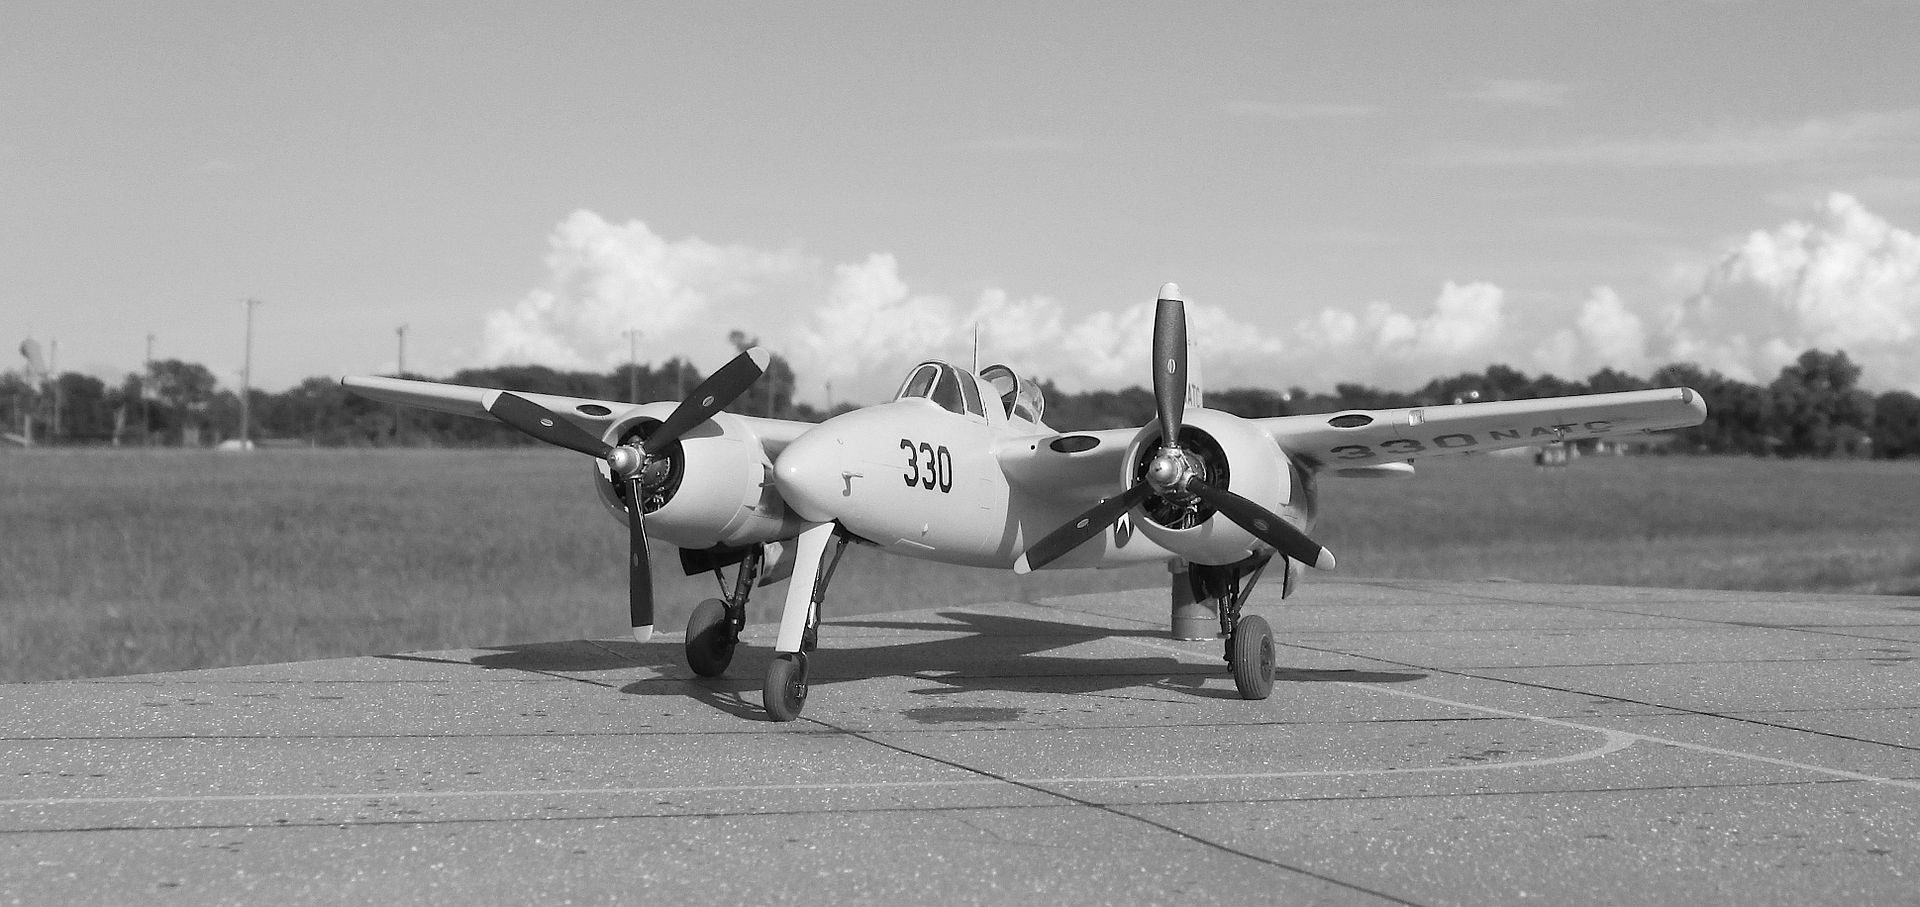
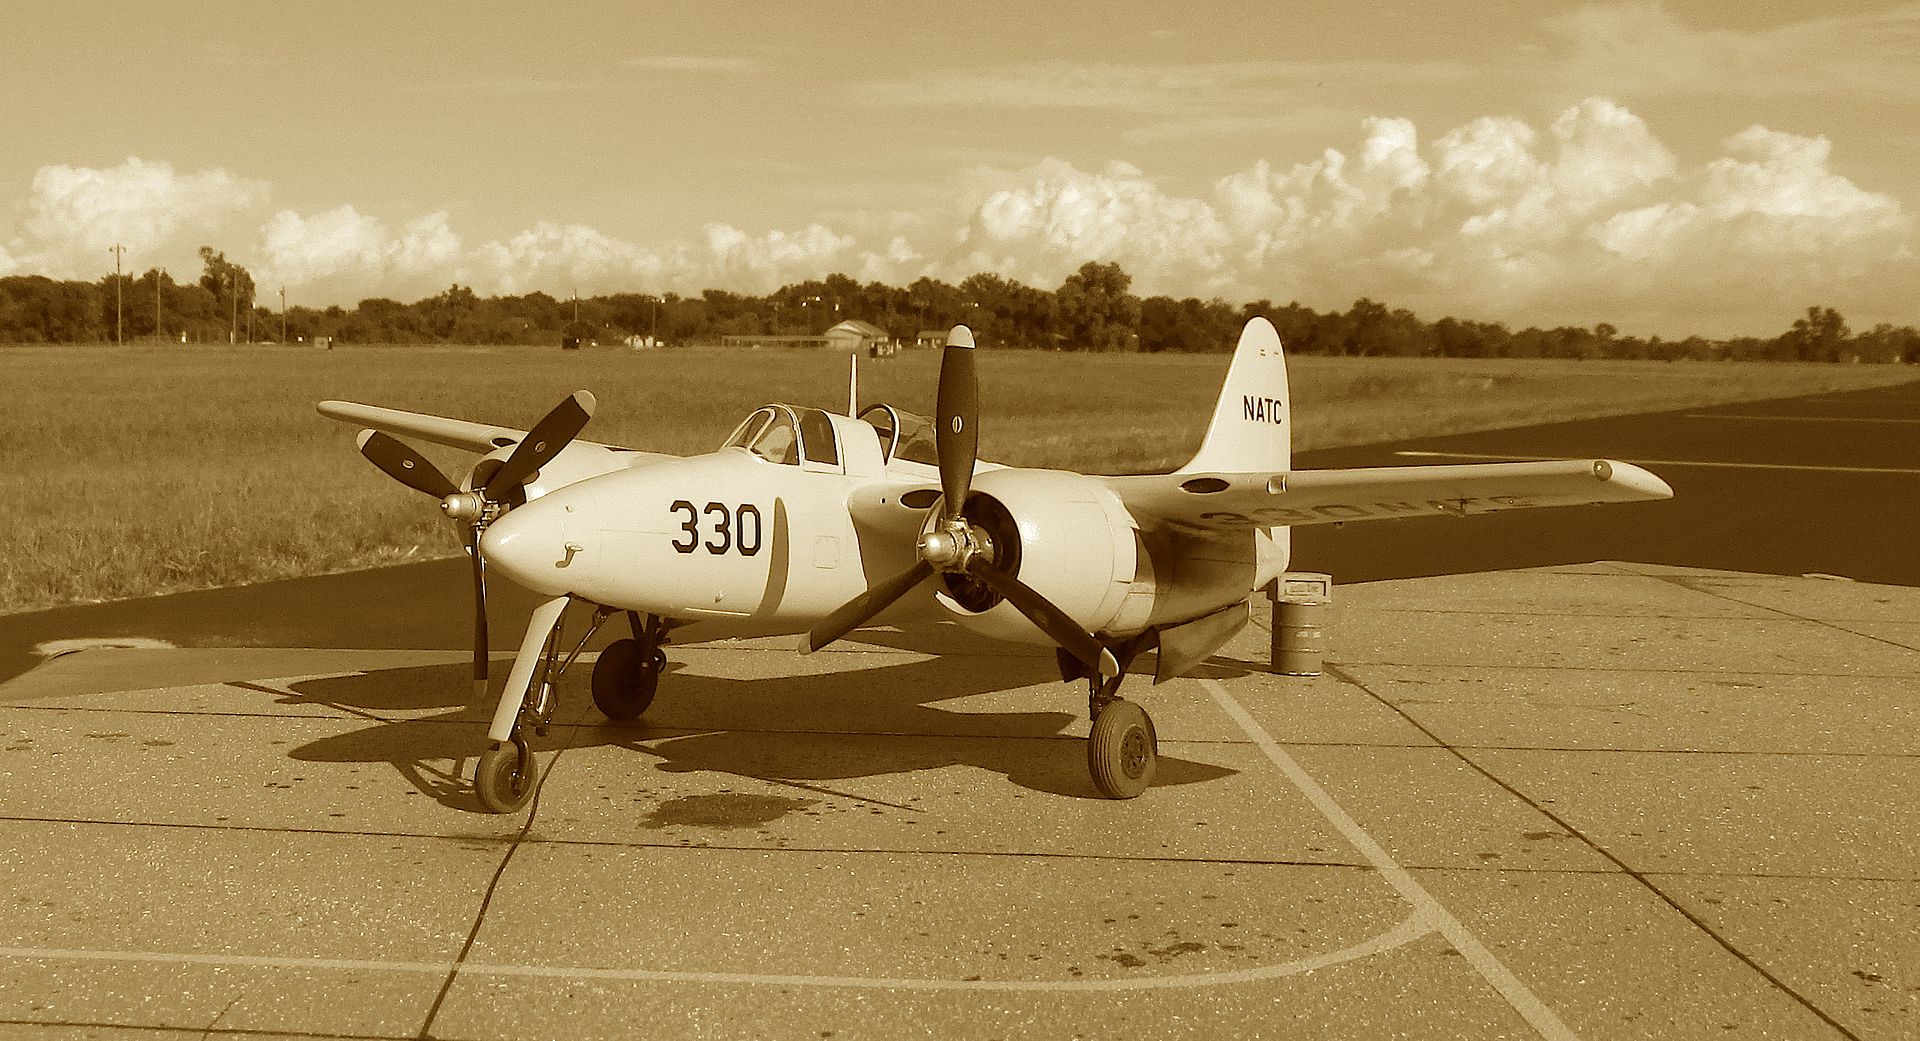
I took her to the Cameron airport on Tuesday, July 6, for a photo session. There was a brief "dry" window in between showers and I had the place to myself. Except for a nice Cameron policeman who kindly provided me with the gate code (a new and somewhat ominous development out there) so I could get out of there when I finished. All in all, I guess she looks okay; not as nice as I wanted but it’ll have to do. Thanks for hanging in this far, and thanks for your interest too. As always, I welcome your comments! Have a great day folks!
As always, please click on the photo for a full view.
Cockpits before closing them up:
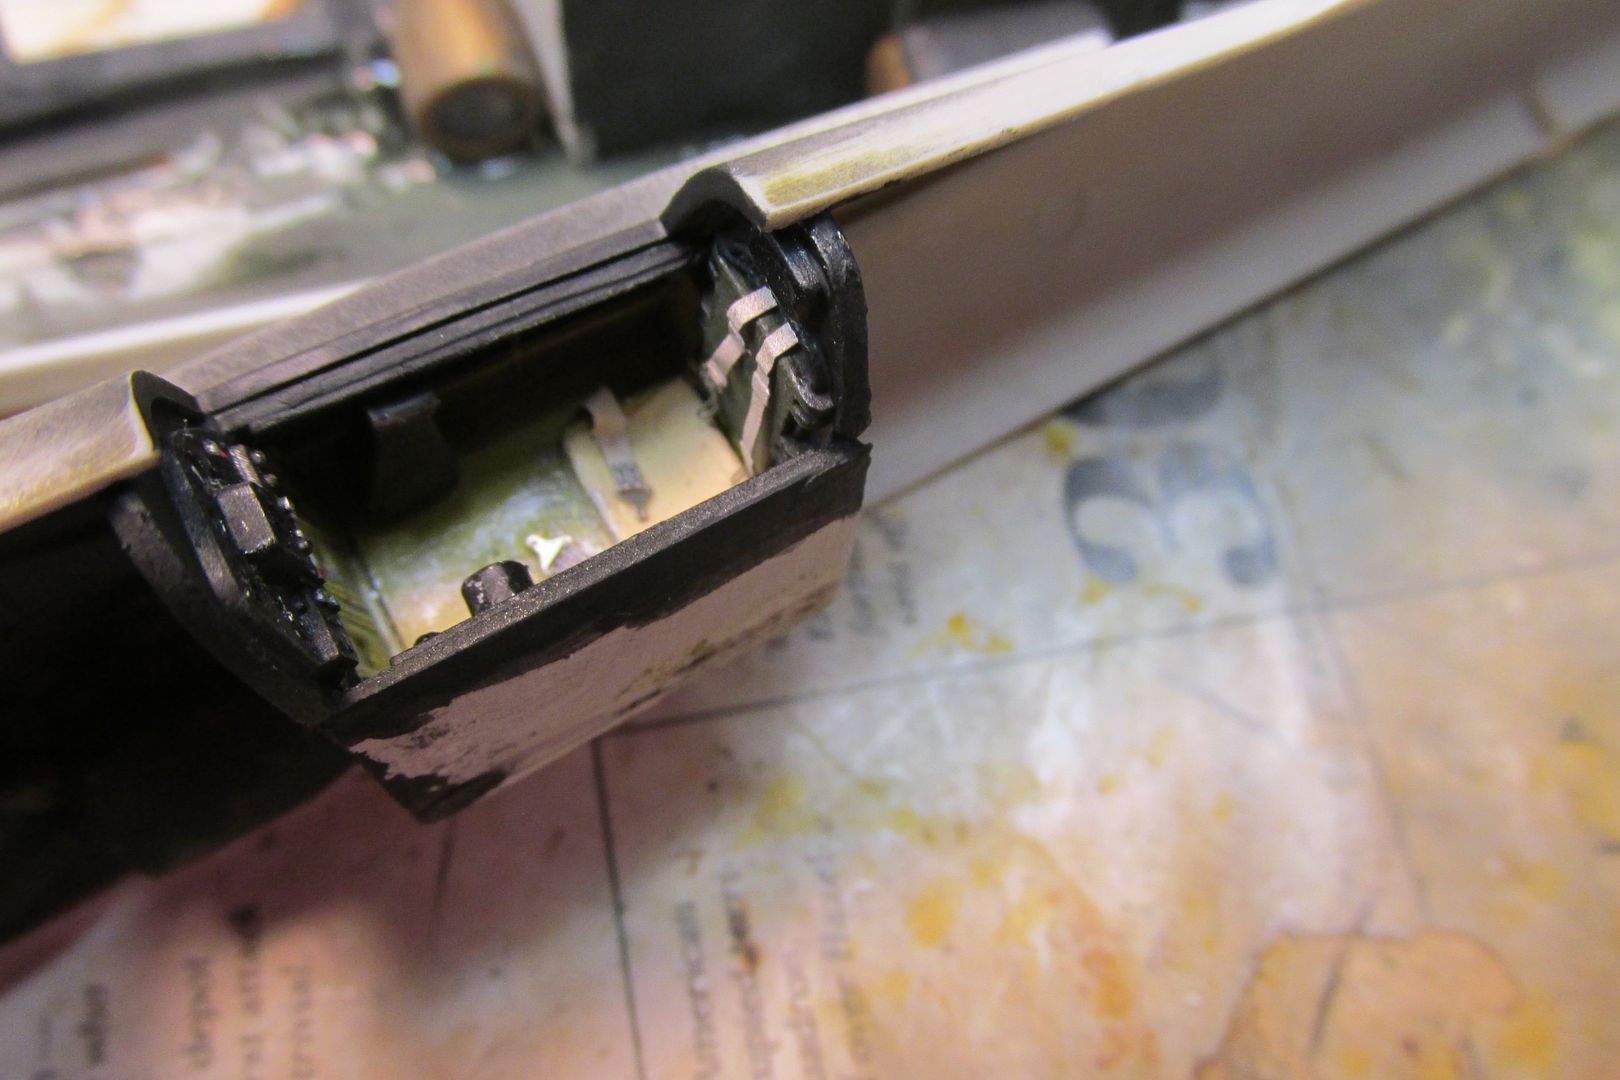
Ballast weight:
Actual NATC bird:
Model in similar pose:
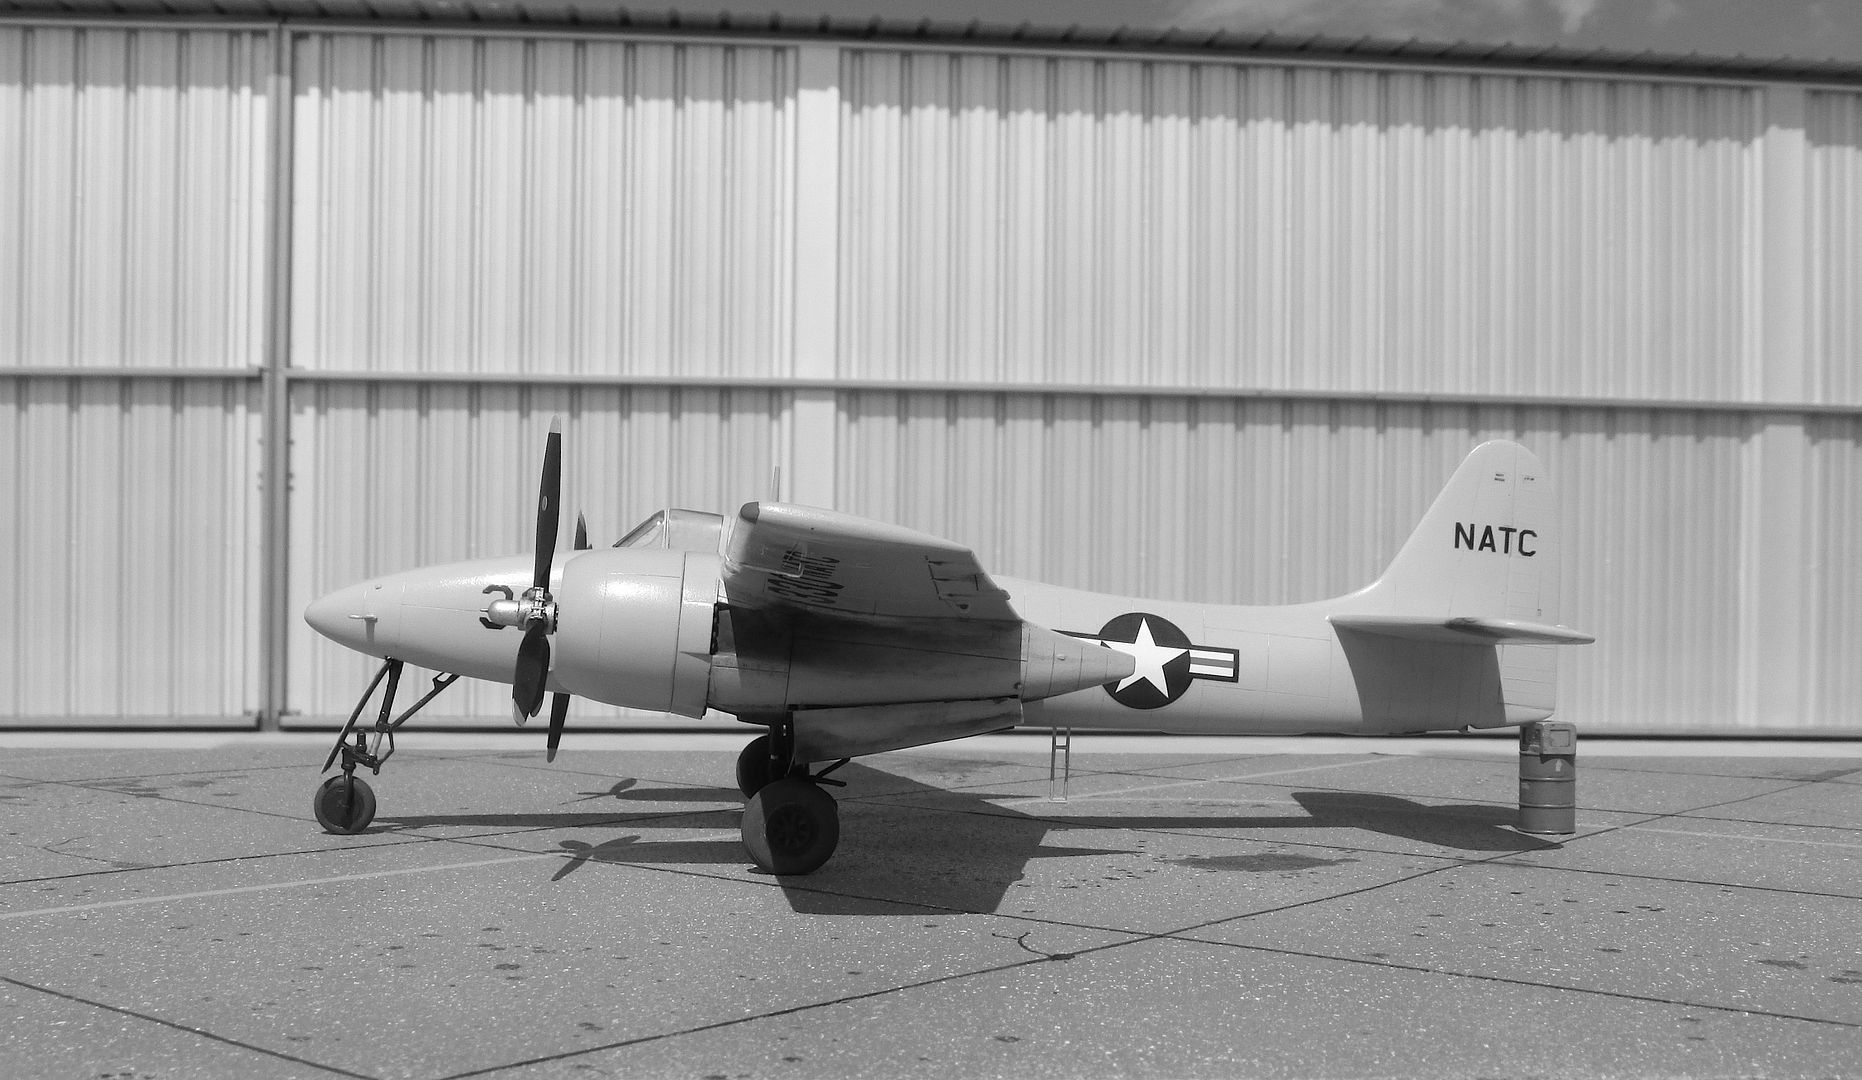
The end:


 . Really nice finish and detail work. I'm a big fan of this airplane. Built the AMT green stripe/white cowl bird back in highschool and watched the rubber tires slowly melt the landing gear :/. I have another in the stash I'm doing as a fire bomber. Funny, all the build logs of this kit I've read never seem to get her to sit on her nose gear.