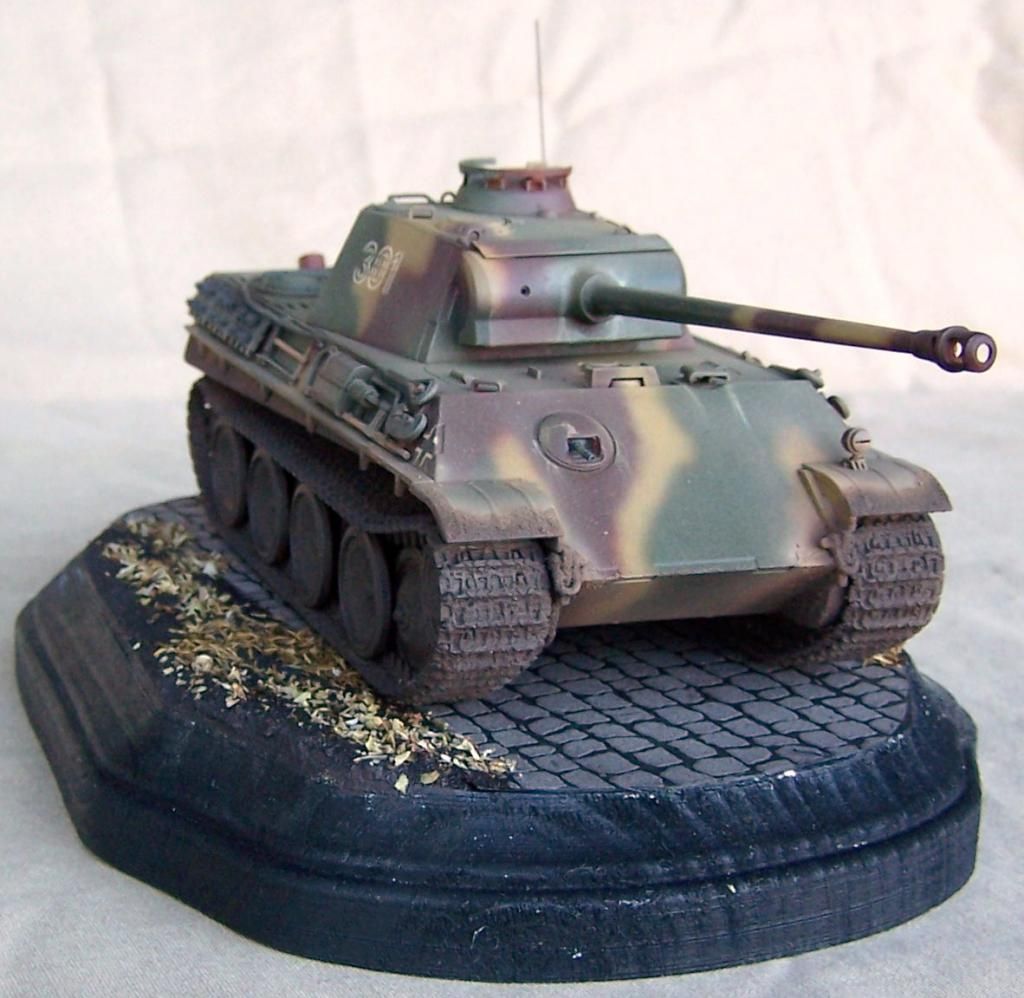
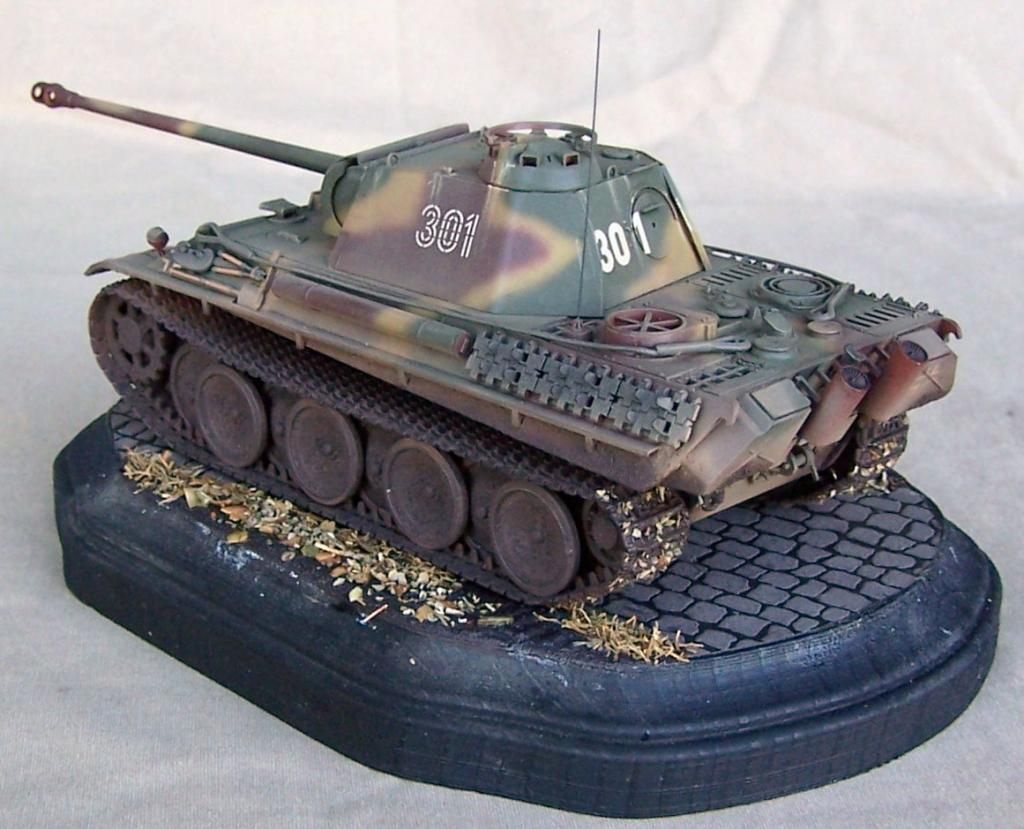
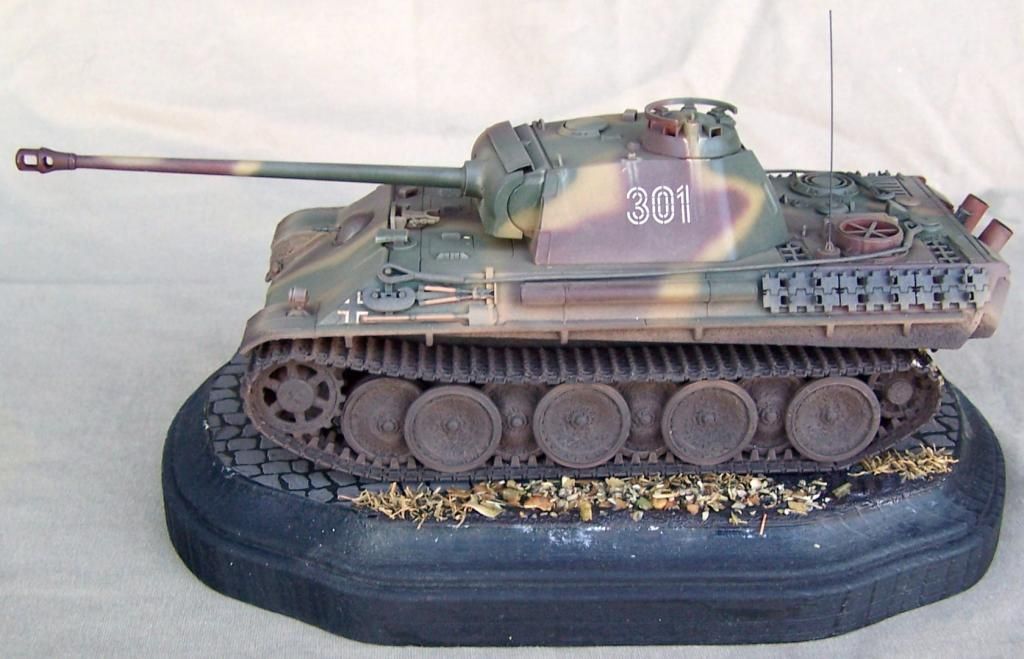
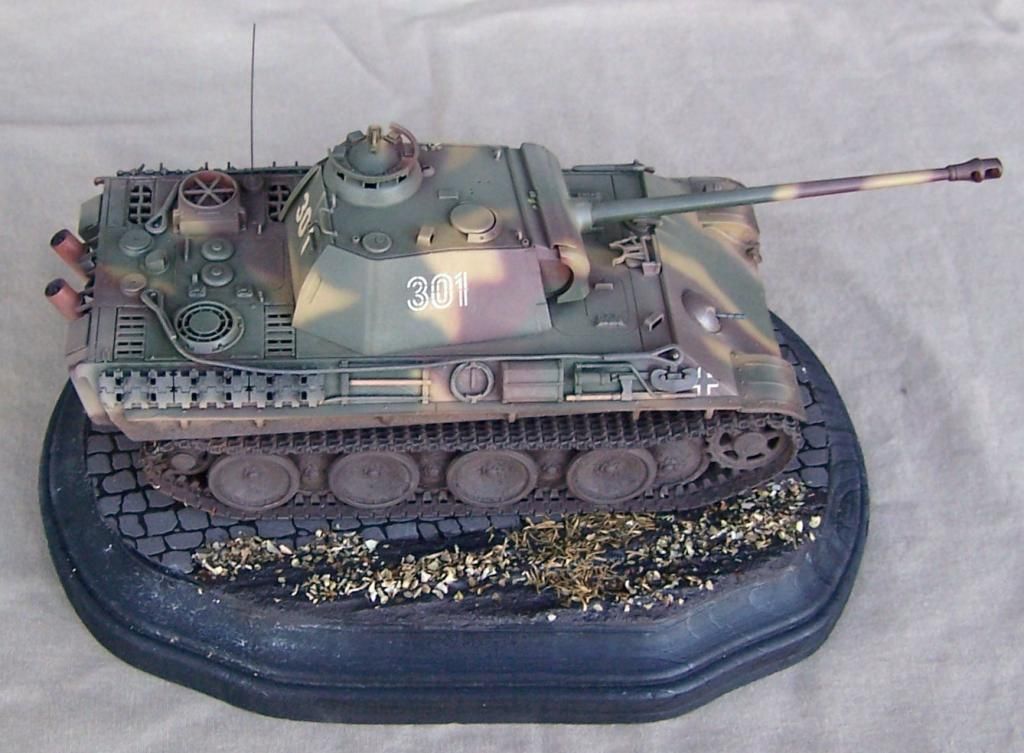
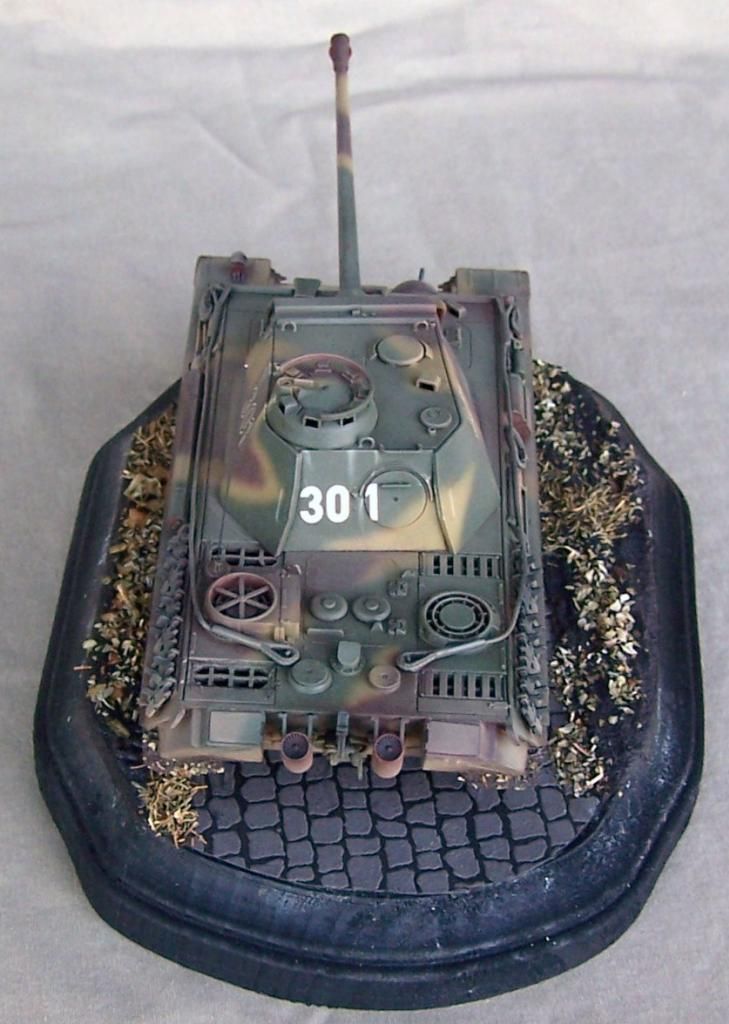
This is Tamiya's 1/48 Panther G kit that I built as part of a GB project with the local AMPS chapter. I was supposed to be completed about 6 weeks ago, but other things got in the way. This afternoon I finally finished her up. and am calling this one done. I finally got the weathering put on today. Not my best work as the flash revealed some spots that I missed, but the Mk.I eyeball missed those completely...
From the Ardennes, this is Tamiya's 1/48 Panther G, straight OOB.
Hey, at least I finally finished something
"Surely I have made my meaning plain? I intend to avenge myself upon you, Admiral. I have deprived your ship of power, and when I swing 'round, I intend to deprive you of your life."
I finished a Grumman Panther around 3 years ago... also in 1/48 Thank you sir for the kind words...
"Surely I have made my meaning plain? I intend to avenge myself upon you, Admiral. I have deprived your ship of power, and when I swing 'round, I intend to deprive you of your life."
"Surely I have made my meaning plain? I intend to avenge myself upon you, Admiral. I have deprived your ship of power, and when I swing 'round, I intend to deprive you of your life."
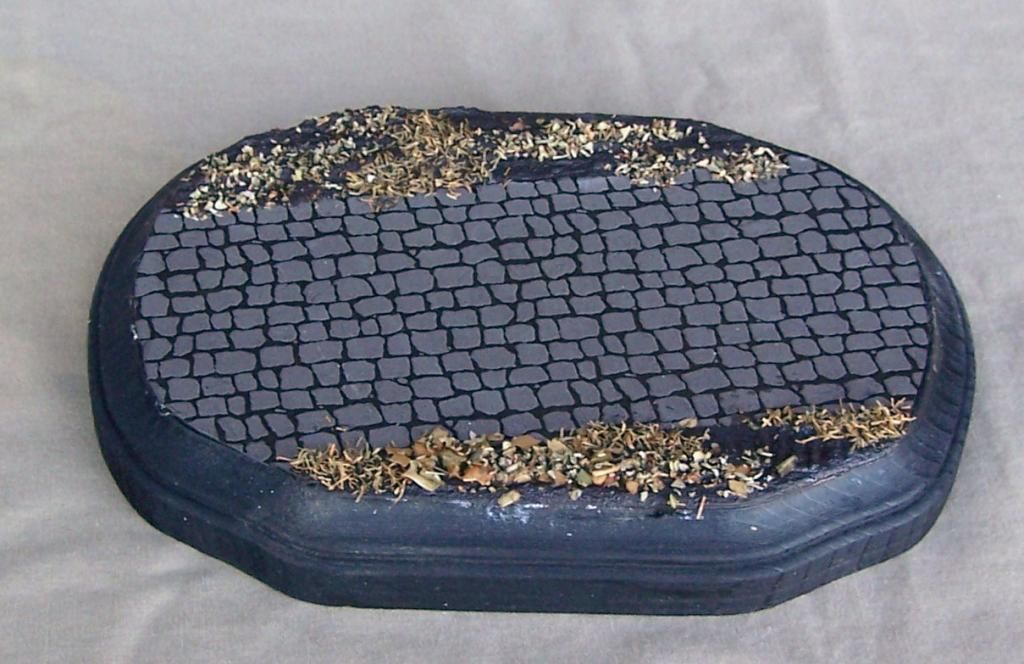
Ok, I finally got the stand one... nothing major, just a little plaque that I bought at Michaels last night, some acrylic craft paint for the edging, Tamiya cobblestone cemented down, then spackle, sifted dirt attached with Future for texture, Burnt Umber paint for color, and some spices/seasonings for the foliage... it adds a huge element of atmosphere to the setting now I think...
On to the Meuse!!!
"Surely I have made my meaning plain? I intend to avenge myself upon you, Admiral. I have deprived your ship of power, and when I swing 'round, I intend to deprive you of your life."
I'm not sure how familiar you are with model railroad scenic work and some of the tricks associated with it. But in a nutshell, you paint a background/base color similar to your groundwork. Then apply white glue evenly with a brush. Liberally sprinkle on your ground cover. In my case, I have about 30 different shades and textures, (my "Saved By Blind Faith" dio shows a bunch of them). Then you use what's known as "wet" water. It's a 50/50 mix of water and rubbing alcohol with a drop of dish soap. This is applied liberally. It breaks down the surface tension so the glue won't "float" the ground cover. Then you apply diluted white glue. I usually go with either a 50/50 or 75 water 25 glue ratio. Once you start to apply the wet water, it's best to apply the glue almost immediately. After the whole thing has dried, usually a day or two, I turn it over a trash can so all the excess falls off. Then shoot it with a flat laquer to seal it.
Maybe, one of these days, I'll do a quick "how-to" on a dio base.
Yes, I have been eyeballing the stuff in the RR section of Hobby Lobby. Plus there is a RR real close to my home, and I occasionally pop in there
"Surely I have made my meaning plain? I intend to avenge myself upon you, Admiral. I have deprived your ship of power, and when I swing 'round, I intend to deprive you of your life."


 Thank you sir for the kind words...