1/32 Revell Me262B-1/U1 Nachtjager

Post your work in progress of your aircraft builds in here.
User avatar
mustang1989
Moderator
Posts: 5035
Joined: Tue Mar 18, 2014 8:35 pm

Re: 1/32 Revell Me262B-1/U1 Nachtjager

Post by mustang1989 »

This is looking really good John. And you're right about LSP.....they are ON IT!! LOL

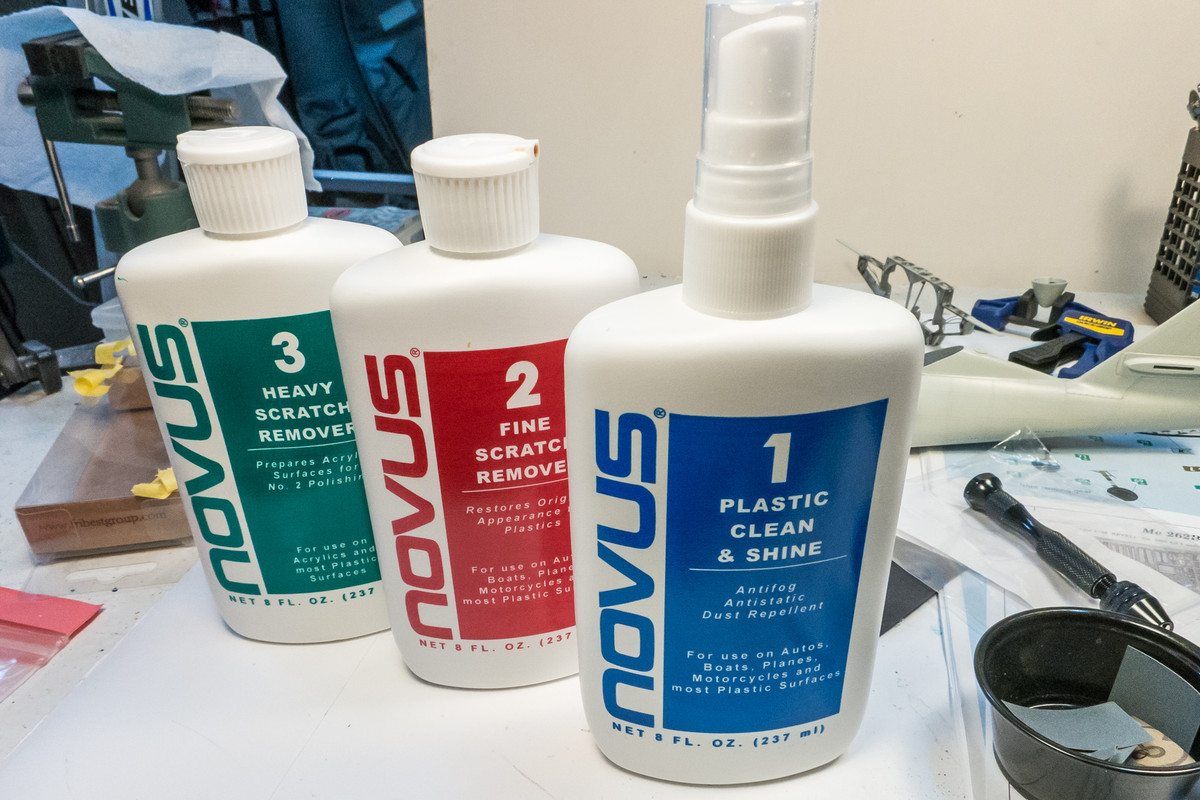
And this stuff right here....
Image

Works GREAT on scale automotive paint finishes as well.....just sayin'..... :whistle:
User avatar
BlackSheep214
Elite Member
Posts: 13418
Joined: Sun Apr 06, 2014 8:47 pm

Re: 1/32 Revell Me262B-1/U1 Nachtjager

Post by BlackSheep214 »

:shoutout: :shoutout: :shoutout: I agree Future does wonders on clear parts. On a ‘57 Flip nose Vette I did earlier this year my windshield became frosted from using CA glue. Apparently, the fumes frosted it. Someone mentioned use Future. It cleared it up nice and clear again.
“Who controls the skies, controls the fate of this Earth”

Author unknown- 352nd Fighter Group, Blue-Nosed Bastards of Bodney

“Send one plane it’s a sortie; send two planes it’s a flight; send four planes it’s a test of airpower. - Richard Kohn
User avatar
jkim
Elite Member
Posts: 4073
Joined: Mon Apr 10, 2017 4:03 pm

Re: 1/32 Revell Me262B-1/U1 Nachtjager

Post by jkim »

A smattering of small details to share today while the main job of cleaning up the nose continues.

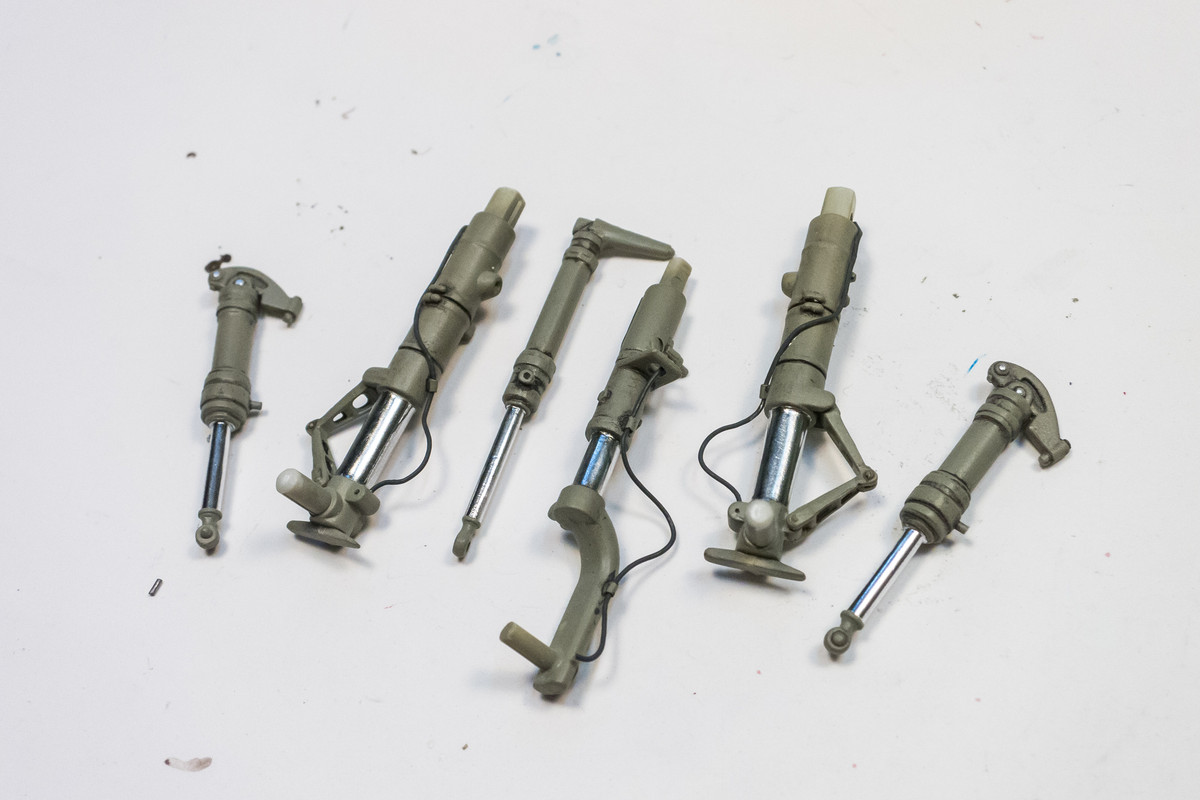
The landing gear has been painted. I've put some wiring on to simulate the brake lines. Nothing too earth-shattering here. Will probably perform some more weathering on these but for the most part, they are complete.
Image

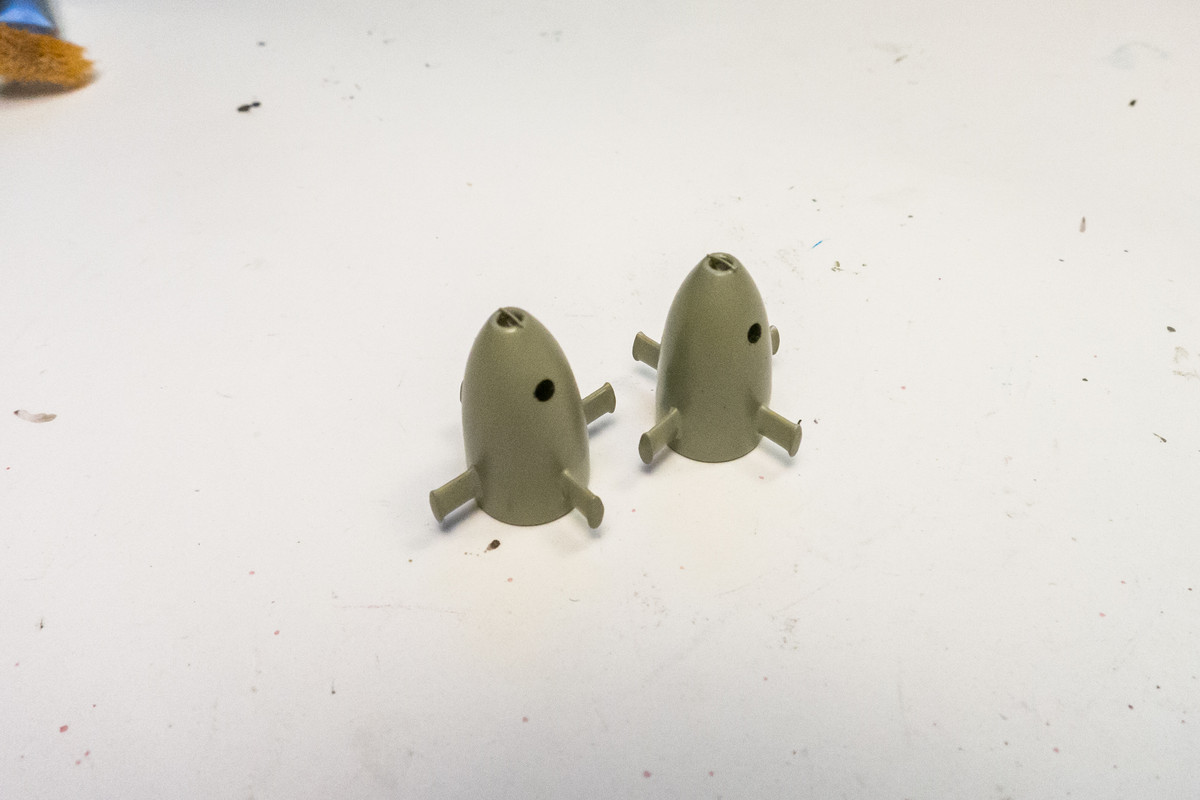
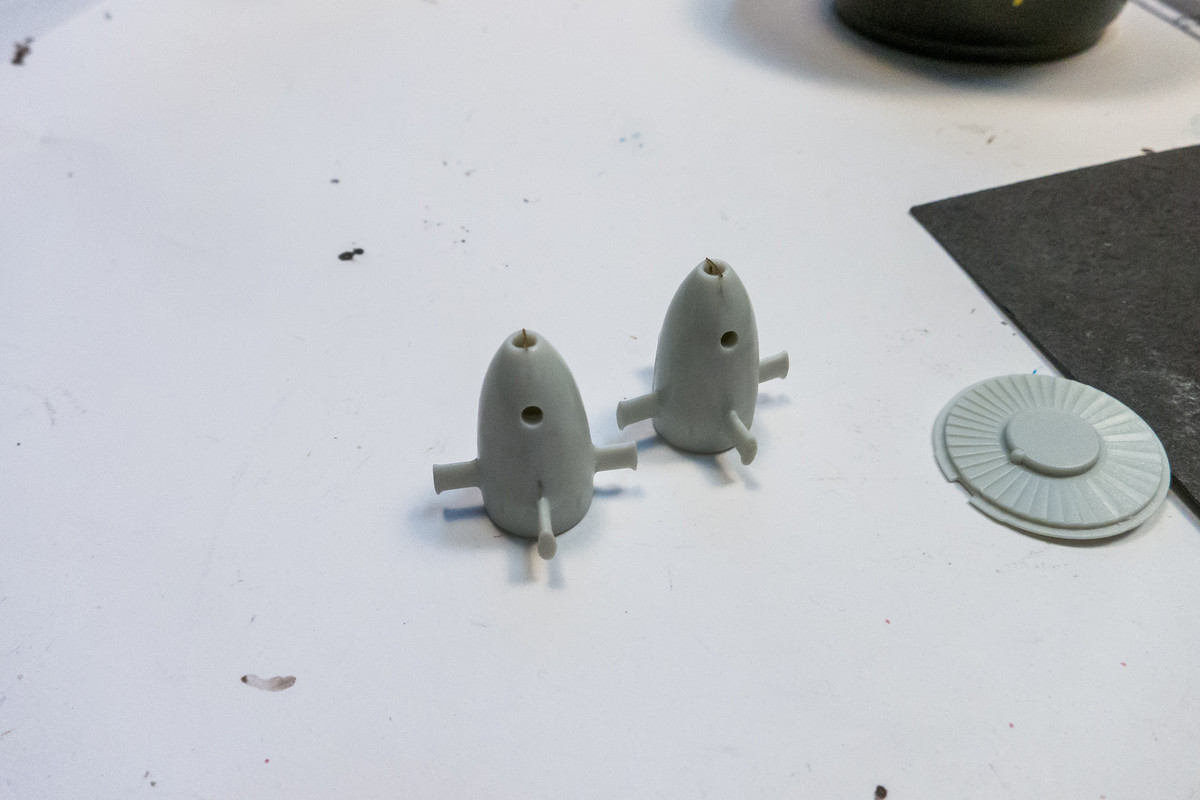
I drilled out holes in the nose cones of the jet engines. These are exhausts from the Riedel starter motor, of which the pull rings also belong.
Image

These nose cones have been painted in RLM 02 Grey Green. The instructions call out some sort of bright green but I think this looks better. Since these will be viewed from a frontal angle, I wanted to hide the thickness of the plastic so I've painted the inside of the drilled holes in black.
Image

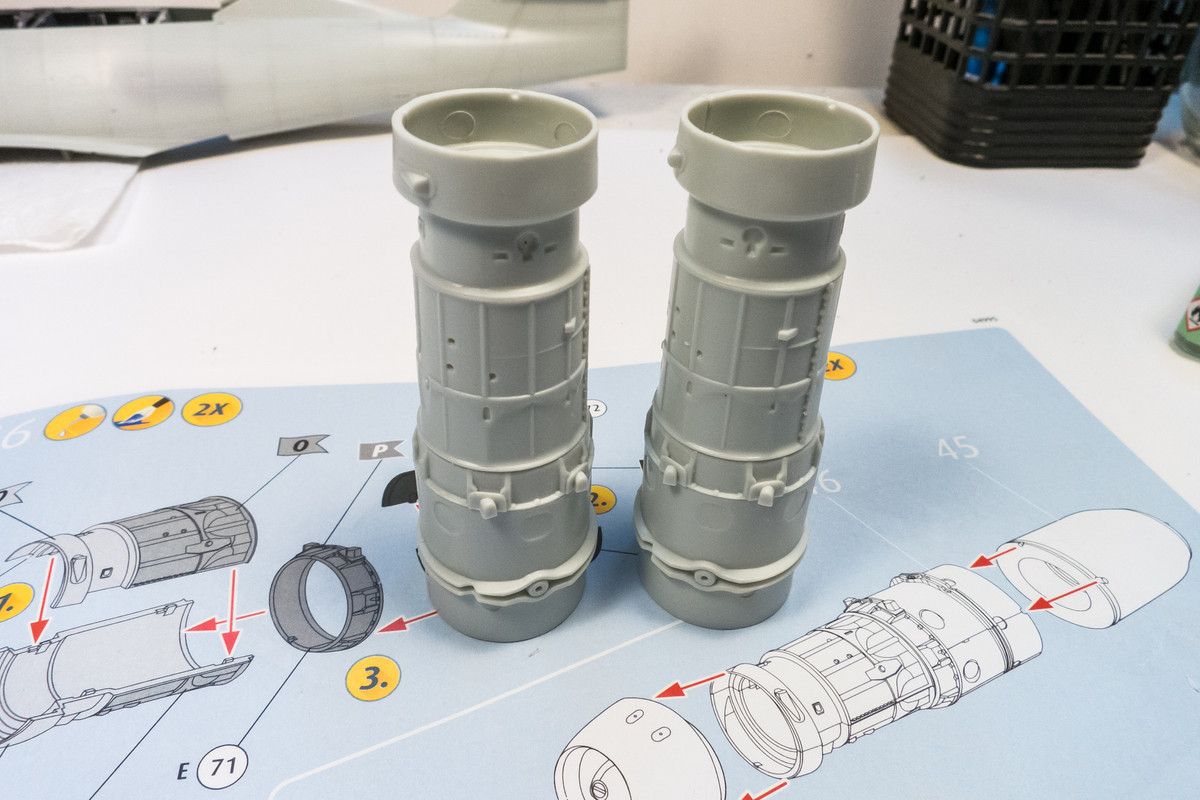
The engine bodies have been glued together. These will not be painted as there is a limit to my obsessive compulsive behavior.
Image

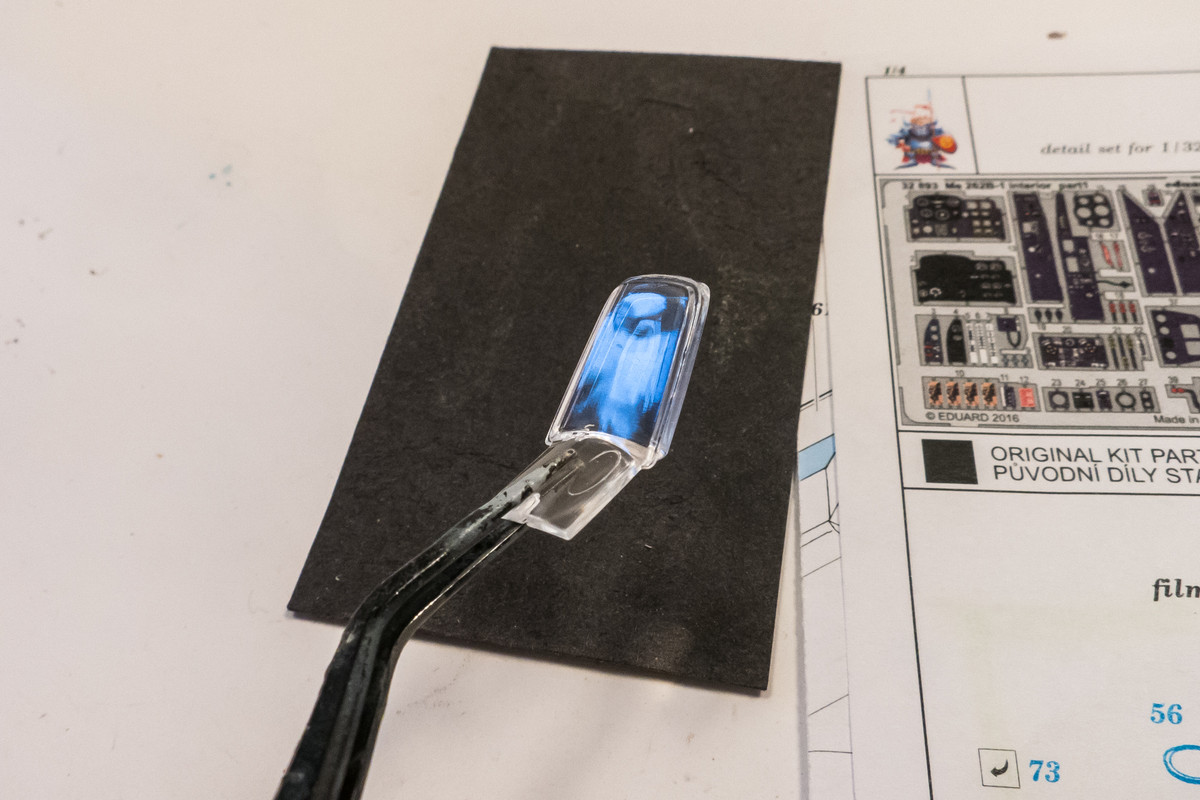
As Johnie Hopper (over at LSP) observed, the armor glass behind the windshield exhibits some distortion due to surface imperfections.
Image

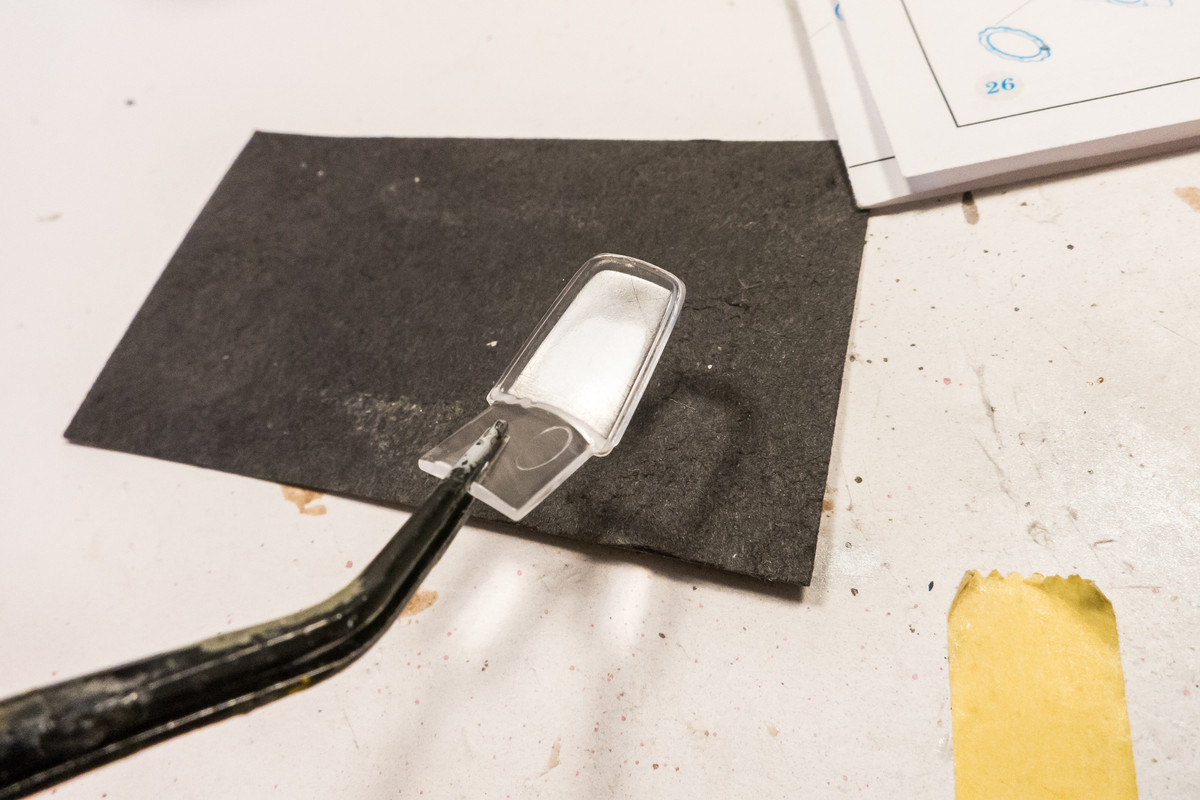
Both faces were sanded flat and then given the same polishing routine I gave the windscreen.
Image

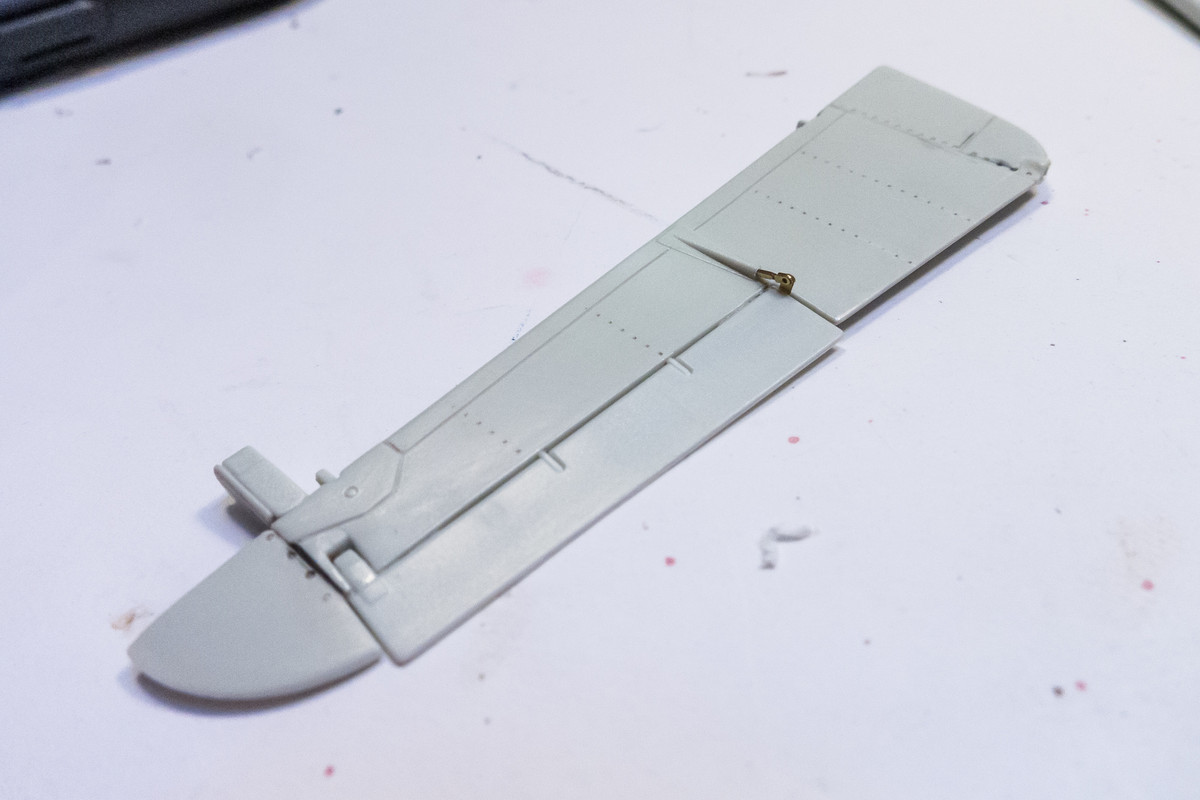
The rudder trim tab actuator was enhanced using the Eduard PE set.
Image

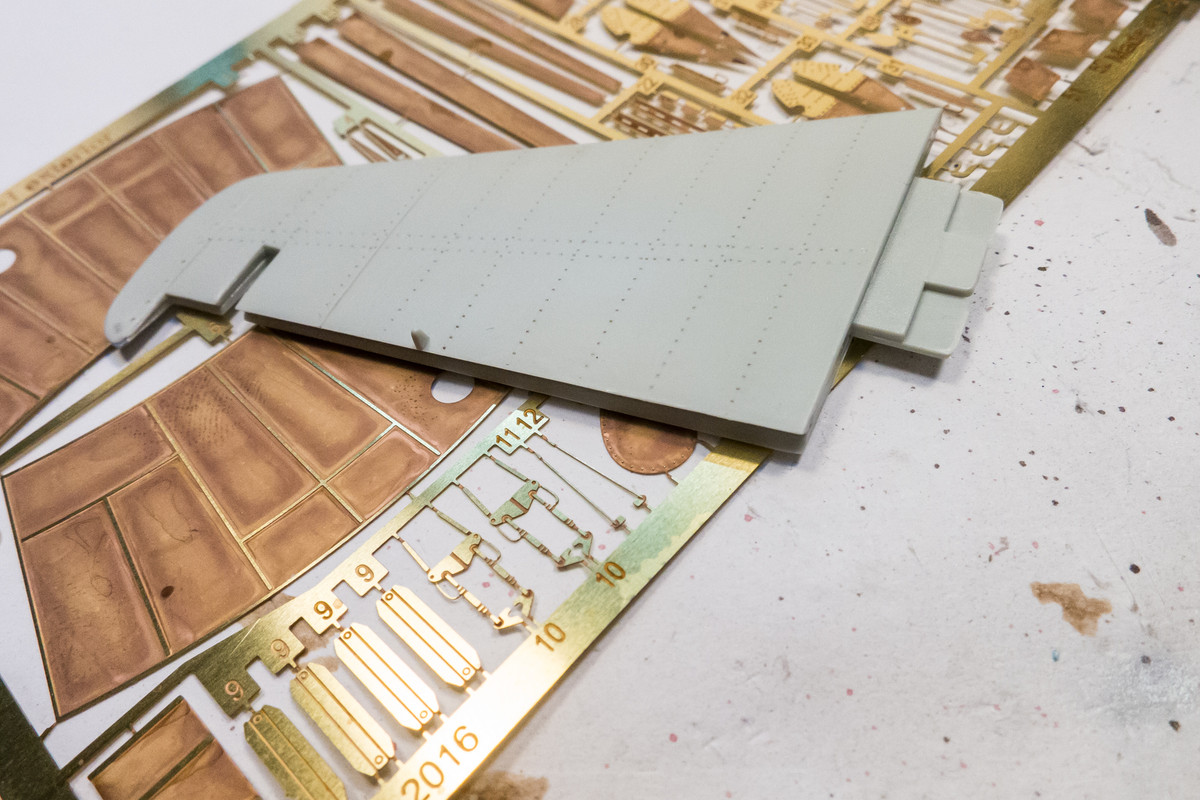
The Eduard actuators for the horizontal trim tabs are looking too delicate. I'll have to either augment them with sturdier bases or come up with something else.
Image

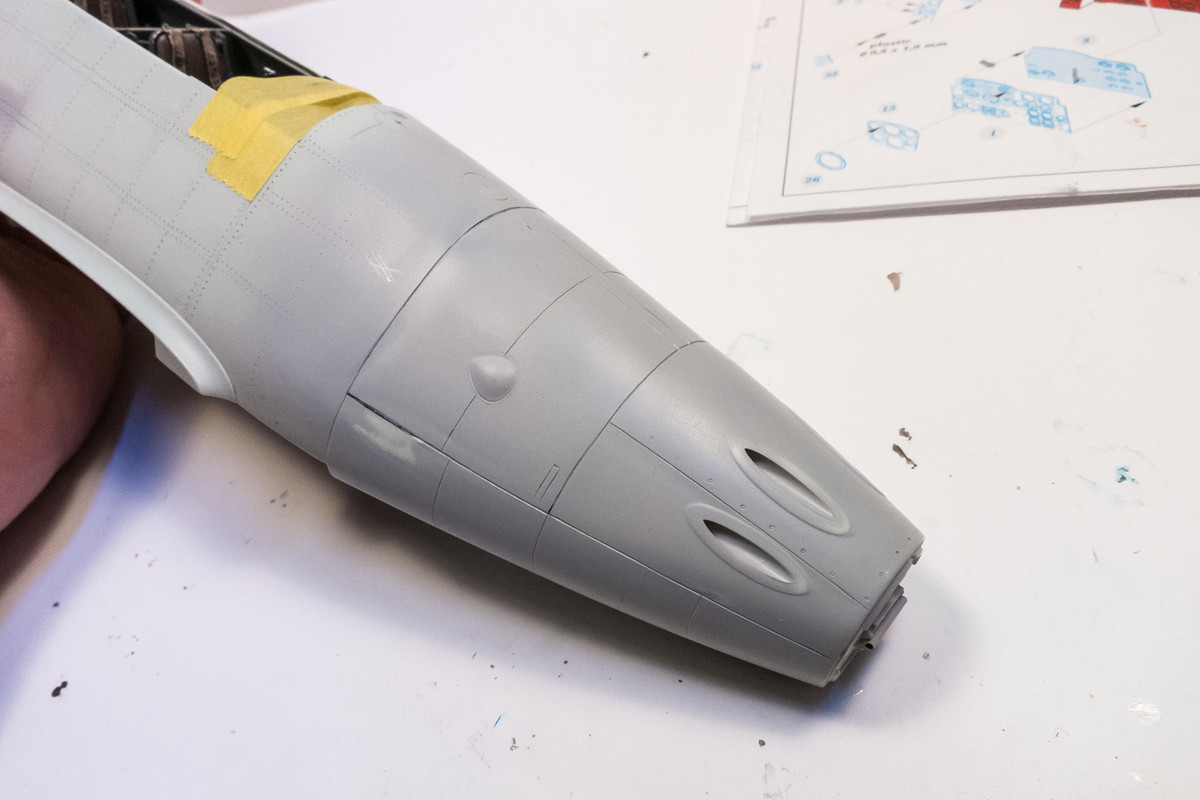
The starboard side of the nose is closer to completion than the port. We are getting there slowly!
Image
John aka JKim
-----------<><
Image
User avatar
KSaarni
Elite Member
Posts: 5621
Joined: Sun Apr 06, 2014 7:13 am
Location: Gent, Belgium
Contact:

Re: 1/32 Revell Me262B-1/U1 Nachtjager

Post by KSaarni »

Besides again excellent work John (the windscreen fix, wouh!) but the satisfaction to follow this very visual build of the 262, is entertainment times 1000 !
At least!

- Kari
---
On the bench:

MiniArt 1:48 - Junkers F13 Float Plane


https://www.facebook.com/GrundAsk-Scale ... 721218708/
User avatar
Stuart
Elite Member
Posts: 11911
Joined: Sun Apr 06, 2014 1:06 pm
Location: North Wales

Re: 1/32 Revell Me262B-1/U1 Nachtjager

Post by Stuart »

That is fantastic work on those clear parts John :shoutout: :shoutout: :shoutout: :shoutout:

Excellent detail work all around - this is going to be another cracking build when you've finished.
Stuart Templeton 'I may not be good but I'm slow...'
User avatar
Duke Maddog
Elite Member
Posts: 7669
Joined: Tue Jun 03, 2014 11:22 am
Location: Rowland Heights, CA

Re: 1/32 Revell Me262B-1/U1 Nachtjager

Post by Duke Maddog »

Wow, magnificent work John! For claiming to be poor at scribing, your scribe work is far better than mine! Sensational John!
The Duke
Virtuoso of Miniatures

"Do you know what the chain of command is? It's the chain I get and beat you with 'till you understand who's in ruttin' command!"
-Jayne Cobb, Firefly Episode 2 "The Train Job"

We are modelers - the same in spirit, in hunger to insanely buy newly released kits, hustlers in hiding our stash from our better halves and experts in using garbage as replacements for after-market parts.
User avatar
jkim
Elite Member
Posts: 4073
Joined: Mon Apr 10, 2017 4:03 pm

Re: 1/32 Revell Me262B-1/U1 Nachtjager

Post by jkim »

Thanks guys! Work on the 262B went a little sideways today as I popped some glue seams while scribing one of the fuel ports in front of the windscreen. Which means the work I spent on some of the bigger seams went out the window. :bye: But the good news is... I didn't really like said work on the bigger seams anyway! So good riddance! Half joking and half serious. It sets me back a bit but maybe I CAN get some of those seams to turn out a little better. I always try to look at these types of events as opportunities and not setbacks.
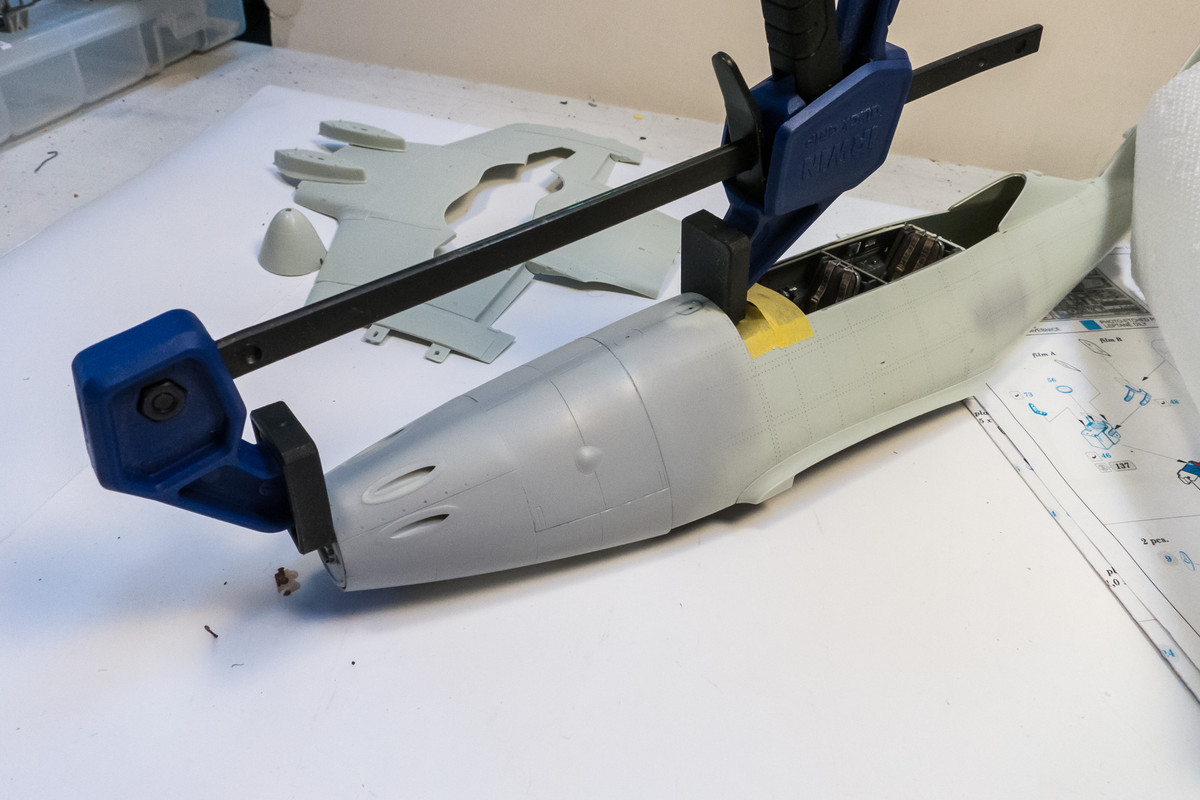
I'm trying to re-fuse the glue seams with the help of Tamiya Extra Thin. We'll know more about the status of these joints tomorrow.
Image
John aka JKim
-----------<><
Image
User avatar
jkim
Elite Member
Posts: 4073
Joined: Mon Apr 10, 2017 4:03 pm

Re: 1/32 Revell Me262B-1/U1 Nachtjager

Post by jkim »

A small update that I forgot to post...

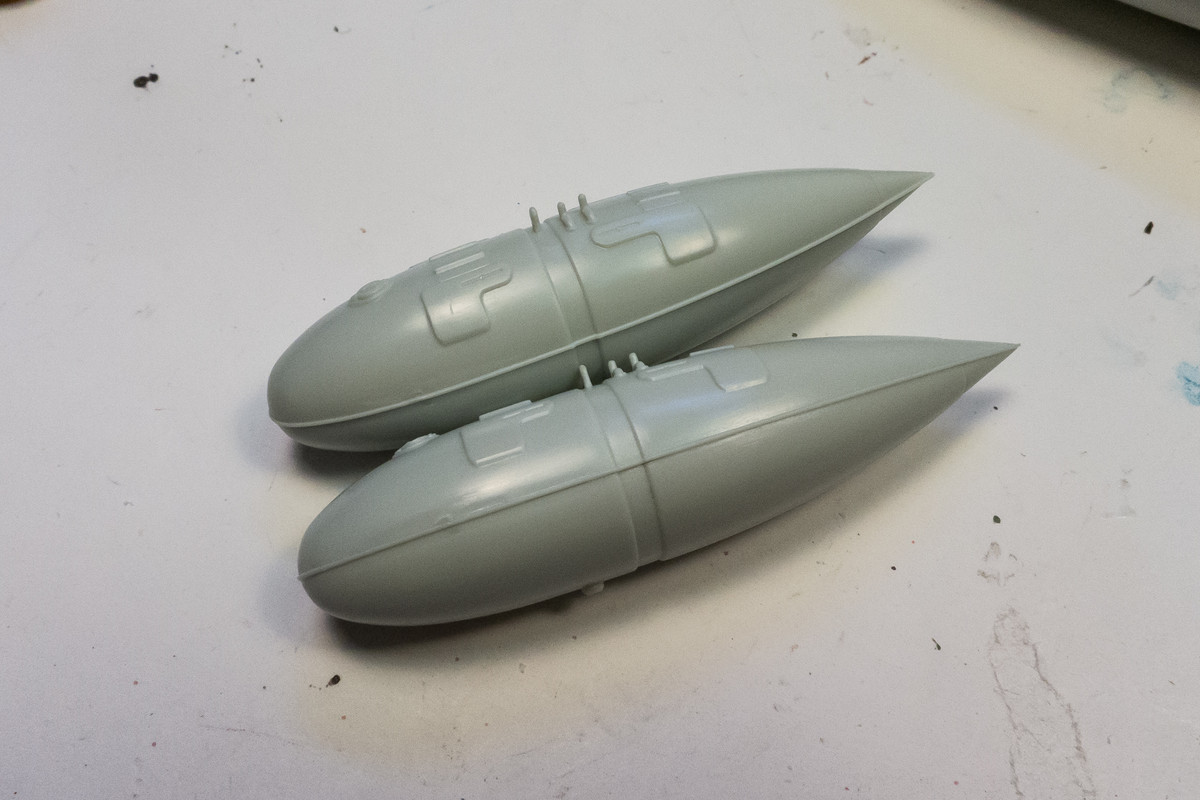
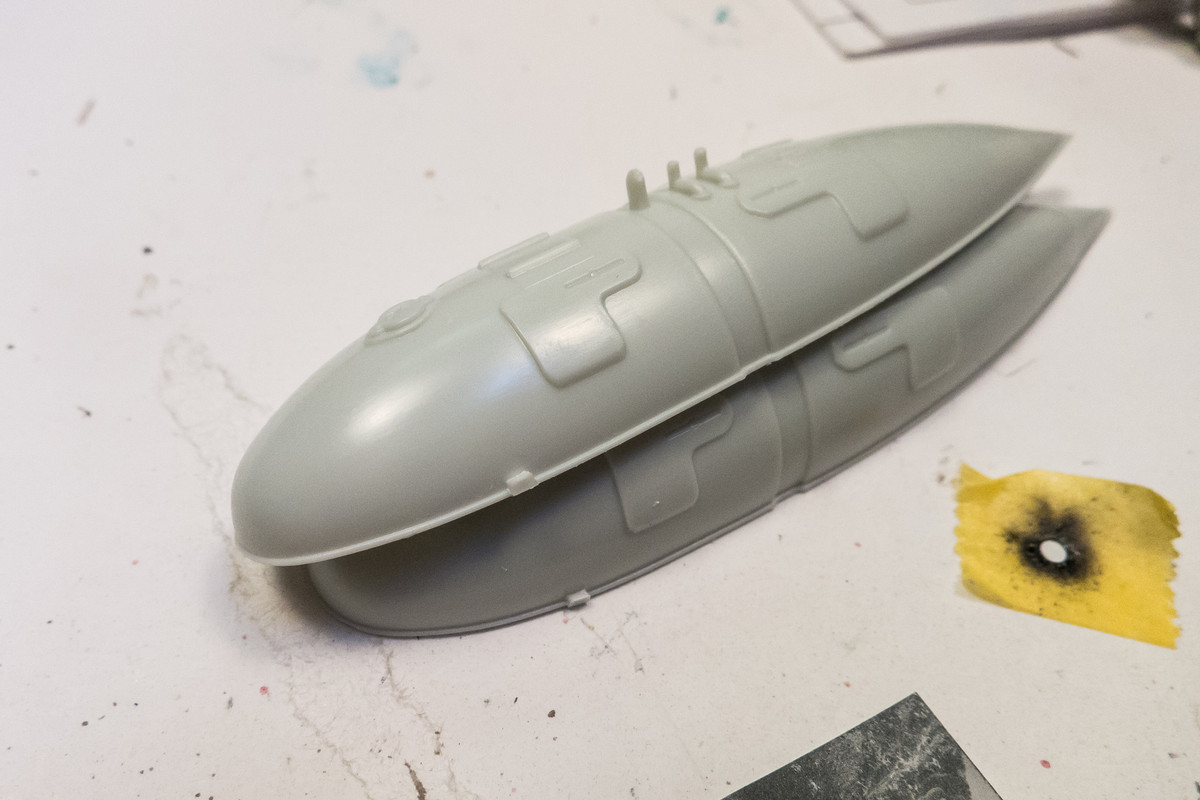
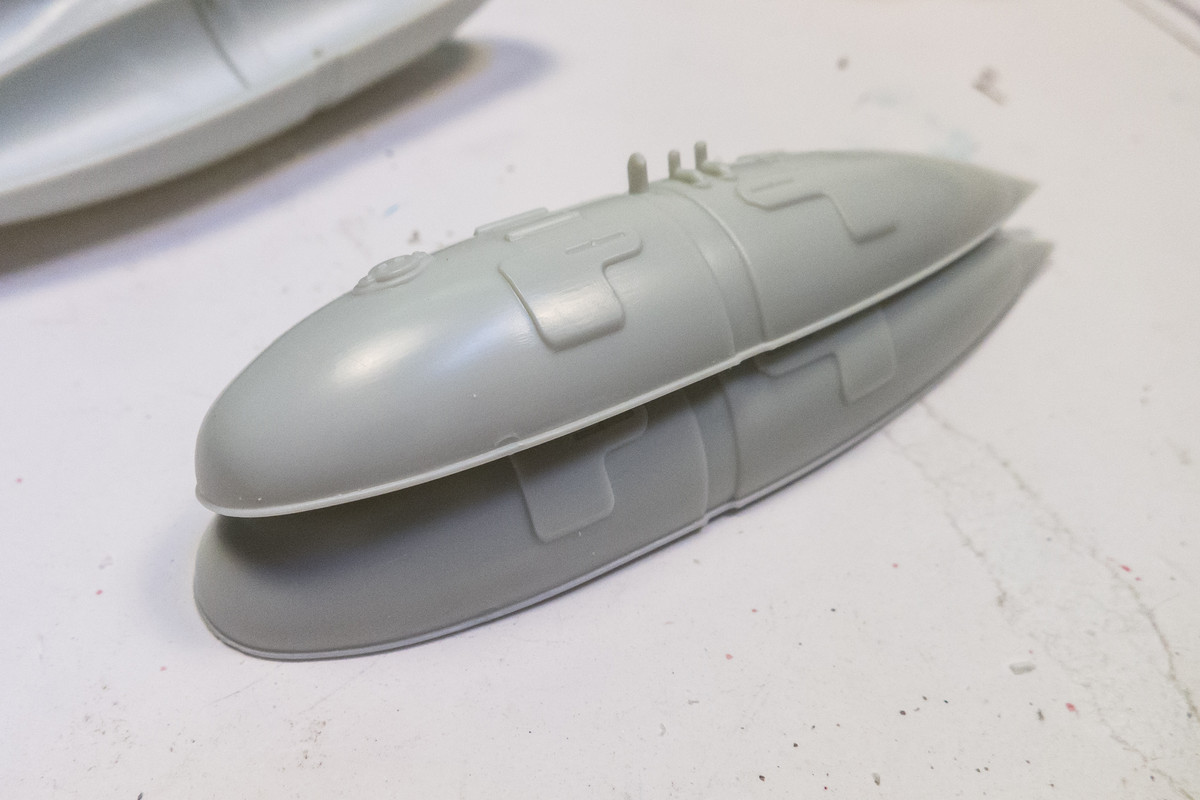
The twin drop tanks are molded in halves (top and bottom). There is a rib or flange that goes all the way around the tank which will hide the glue seam. But the position and size of the sprue attachment is awkward and requires very carefully trimming to keep the flange uniform.
Image

Since the sprue gate extends beyond the flange and onto the tank body itself, a series of stair-step cuts need to be made to remove the sprue but leave the flange intact. New sandpaper, which can be folded to a sharp edge, and my scribing tool helps to smooth things out and re-establish the continuity of the flange/tank joint.
Image

Other than that issue, the tank parts fit very well together.
Image
John aka JKim
-----------<><
Image
User avatar
LyleW
Admin
Posts: 15035
Joined: Fri Dec 13, 2013 7:25 am
Location: Mt. Washington KY

Re: 1/32 Revell Me262B-1/U1 Nachtjager

Post by LyleW »

Where do out of work automotive engineers go to work? Designing the sprue attachment points for models!

That is a nice clean repair/fix. Awesome.
To make each build less crappy than the last one. Or, put another way, "Better than the last one, not as good as the next one!"..
User avatar
Stuart
Elite Member
Posts: 11911
Joined: Sun Apr 06, 2014 1:06 pm
Location: North Wales

Re: 1/32 Revell Me262B-1/U1 Nachtjager

Post by Stuart »

It always amazes me where they put those attachment points... Actually no, having worked in the plastics industry it doesn't surprise me at all! A great bit of clean up work though John!

Sorry to hear about your seam popping, but glad to hear you've turned it into an opportunity.
Stuart Templeton 'I may not be good but I'm slow...'
Post Reply

Return to “Aircraft Work in Progress”