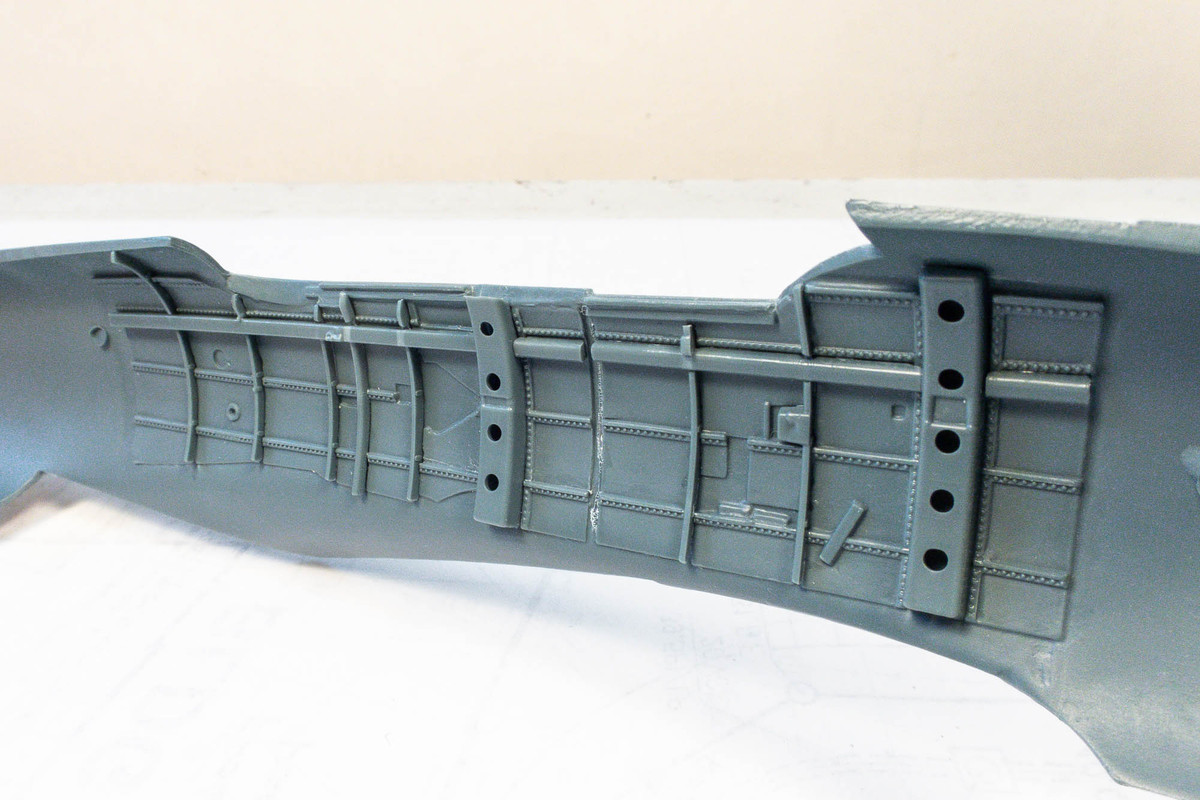
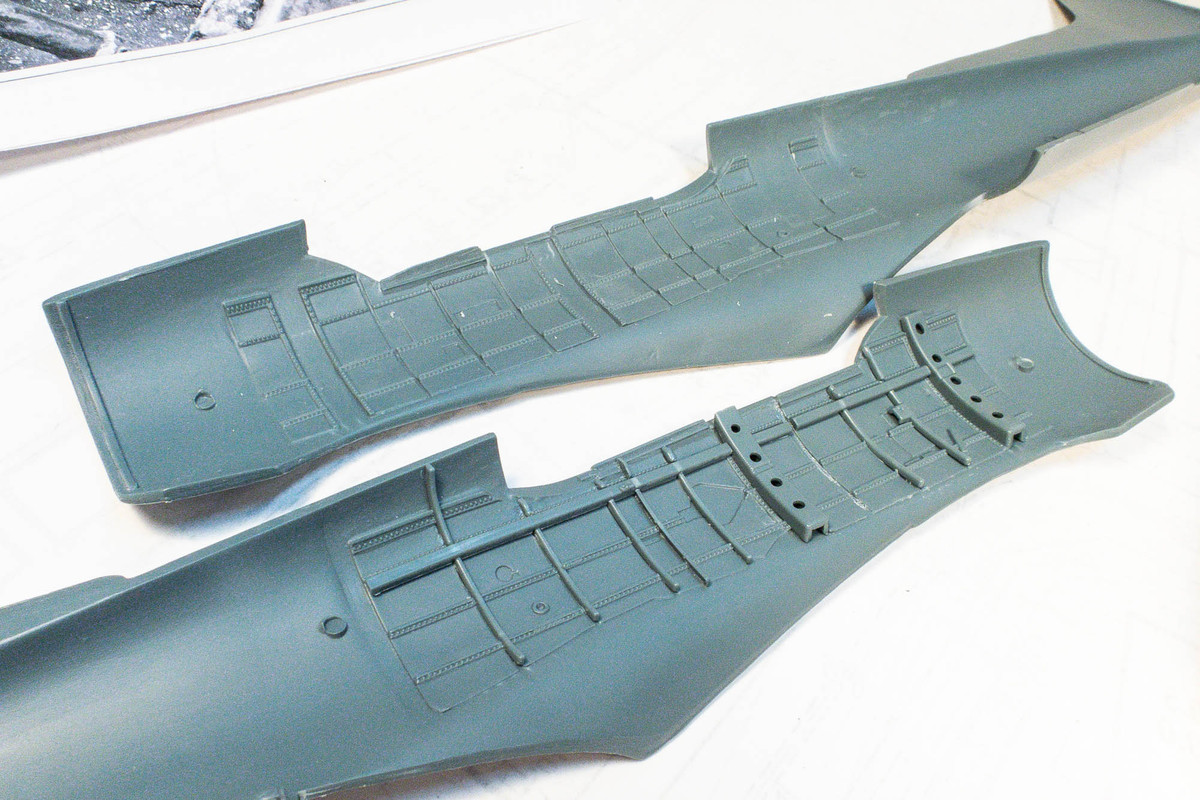
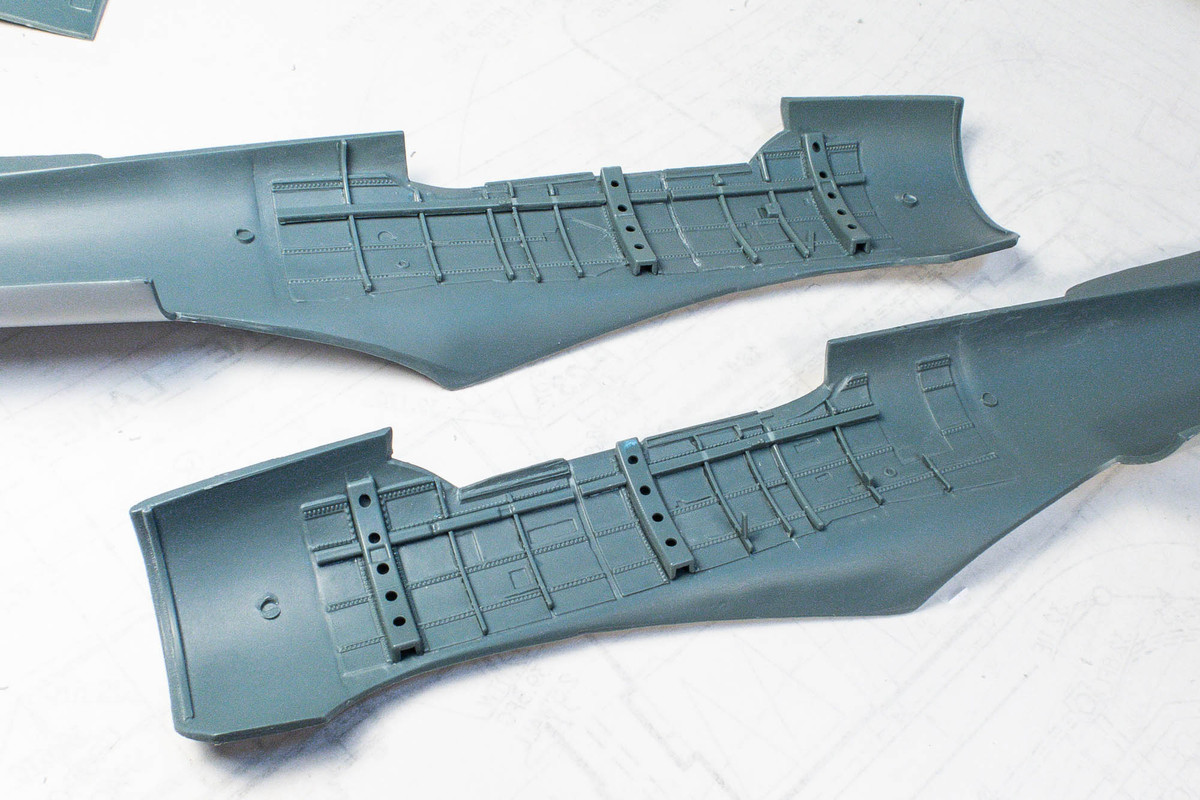
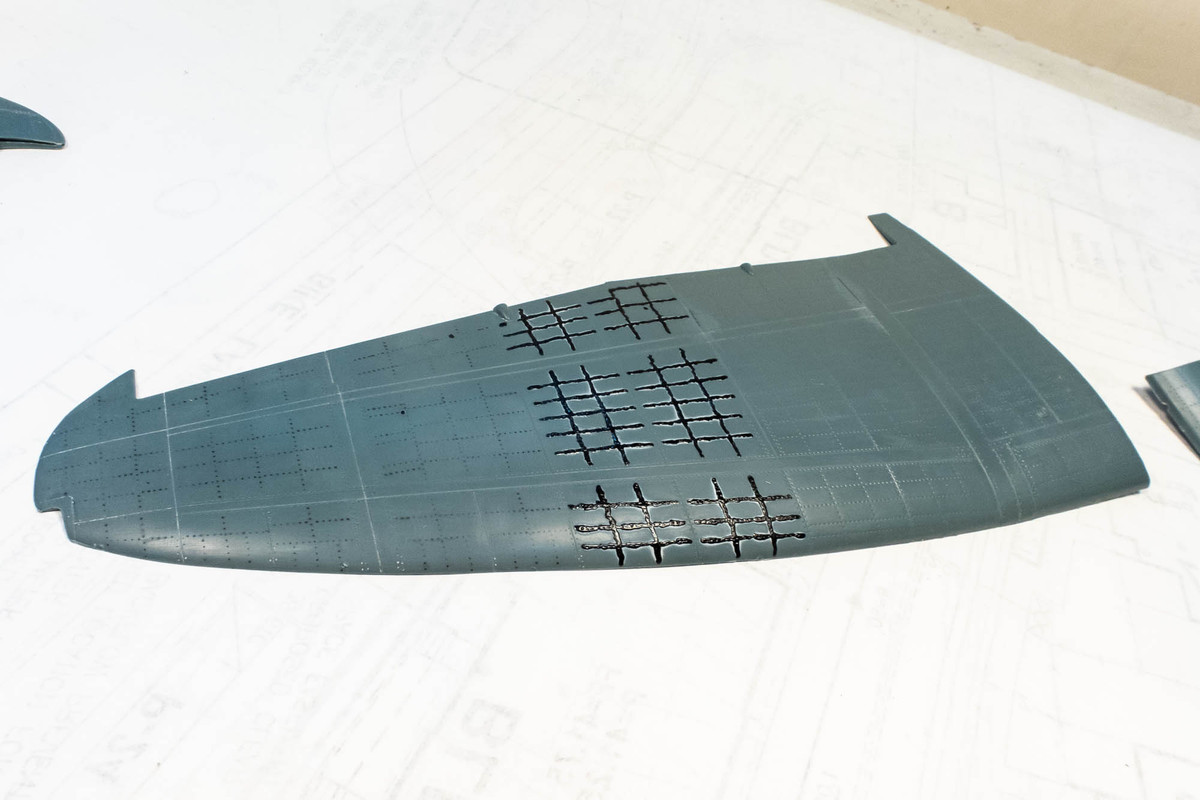
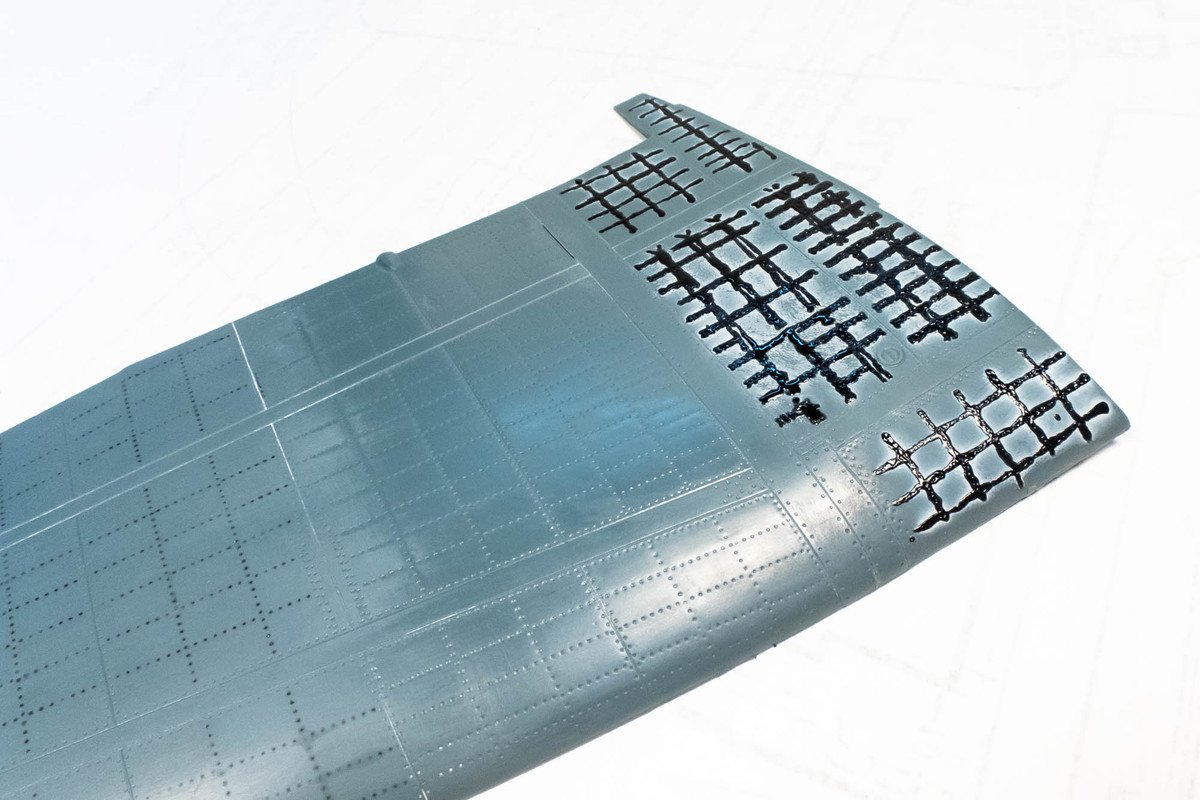
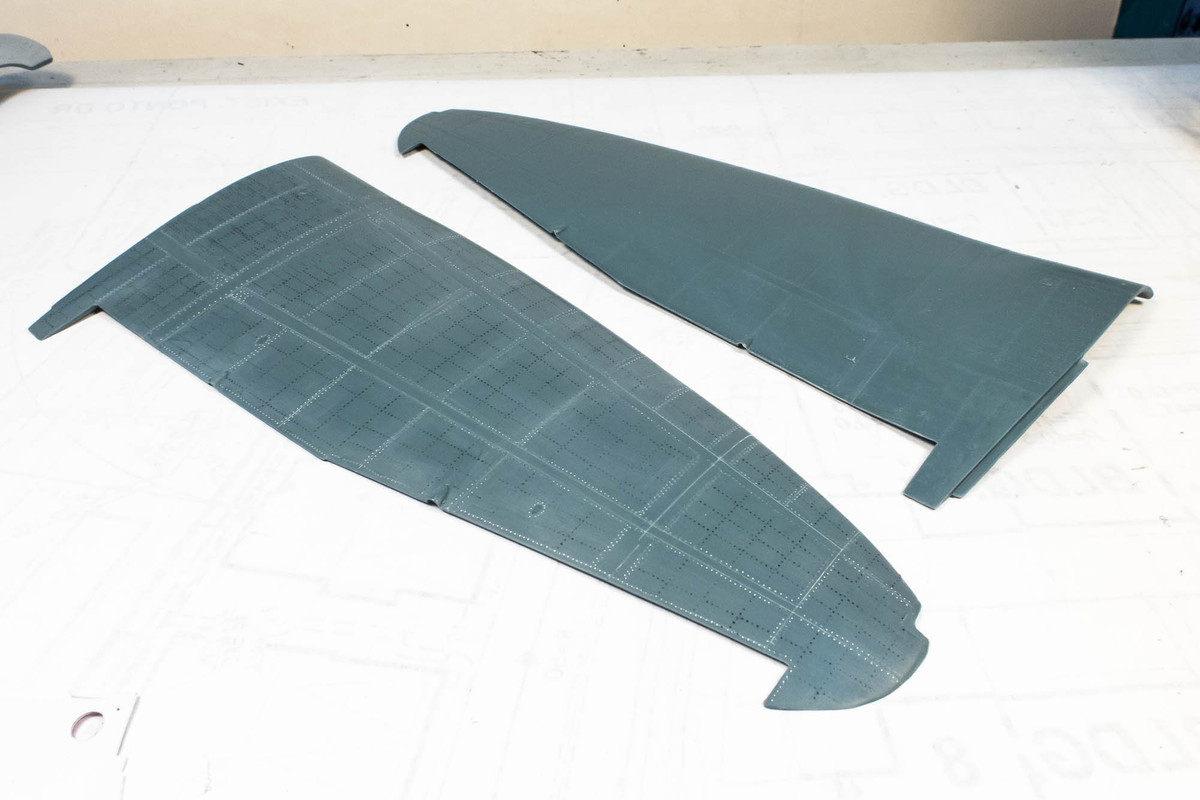
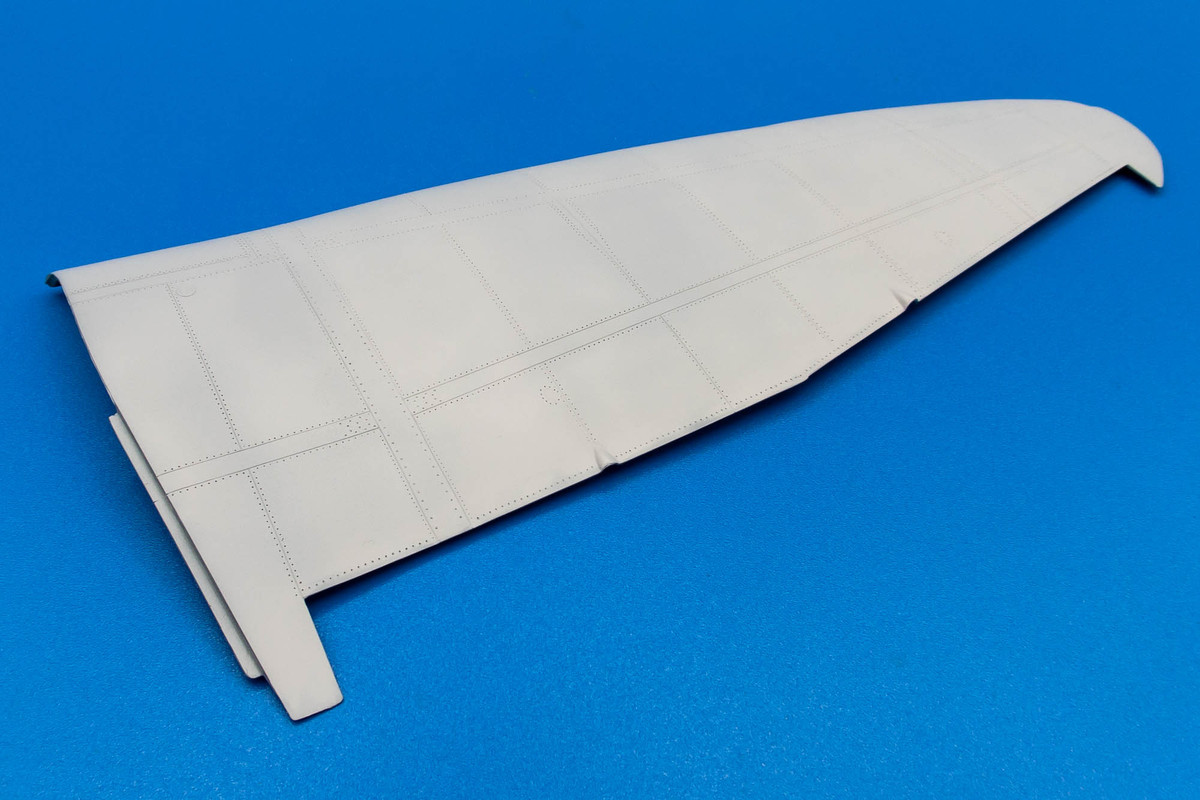
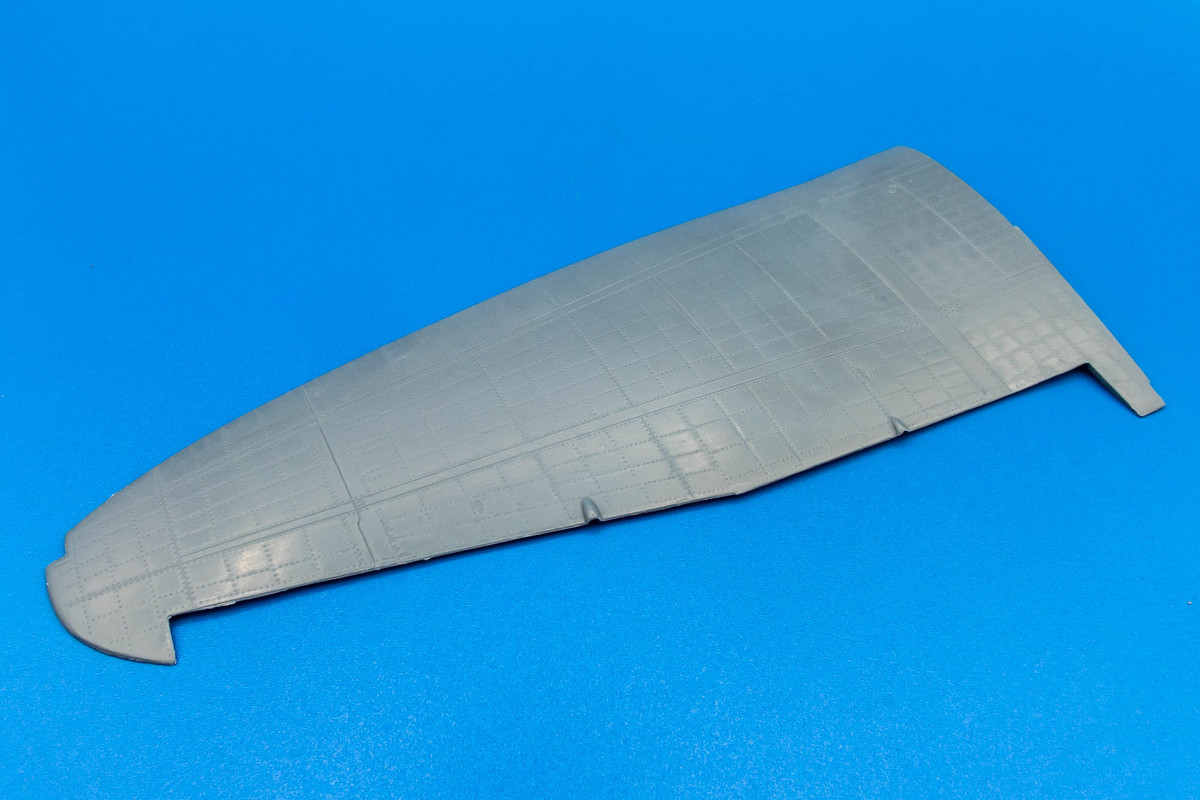
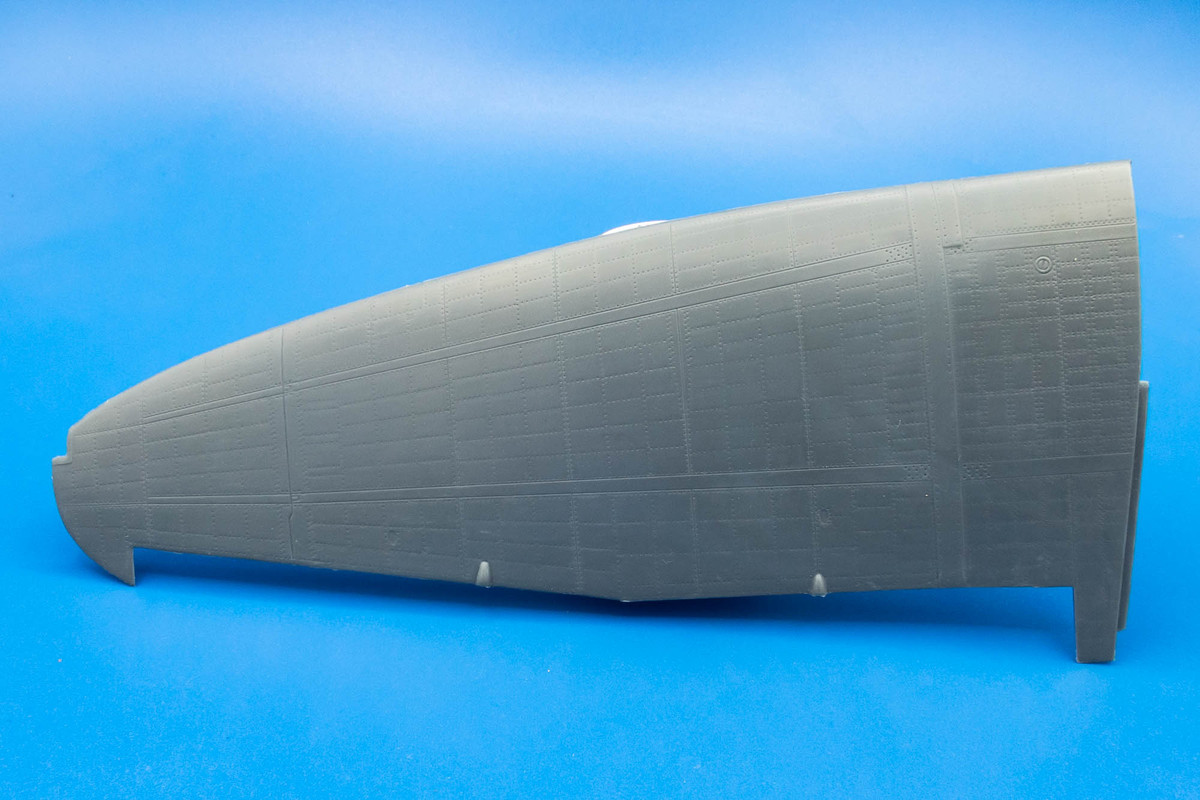
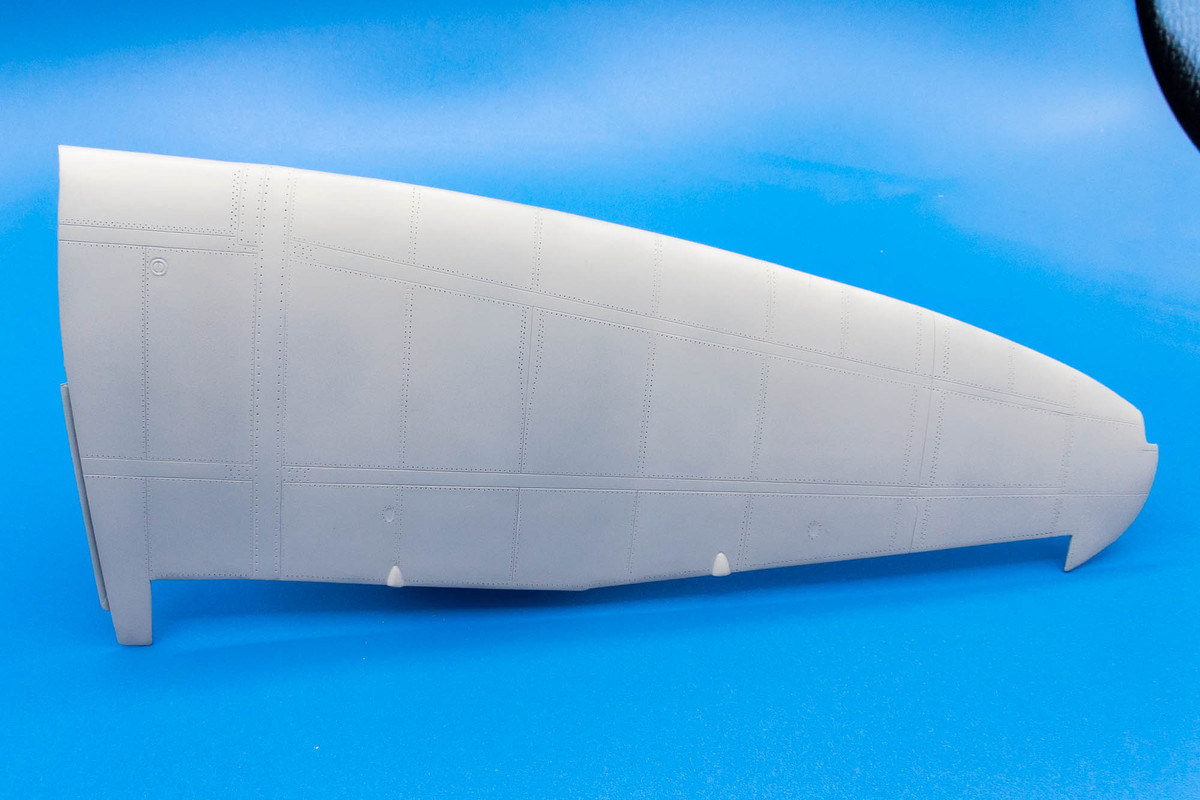
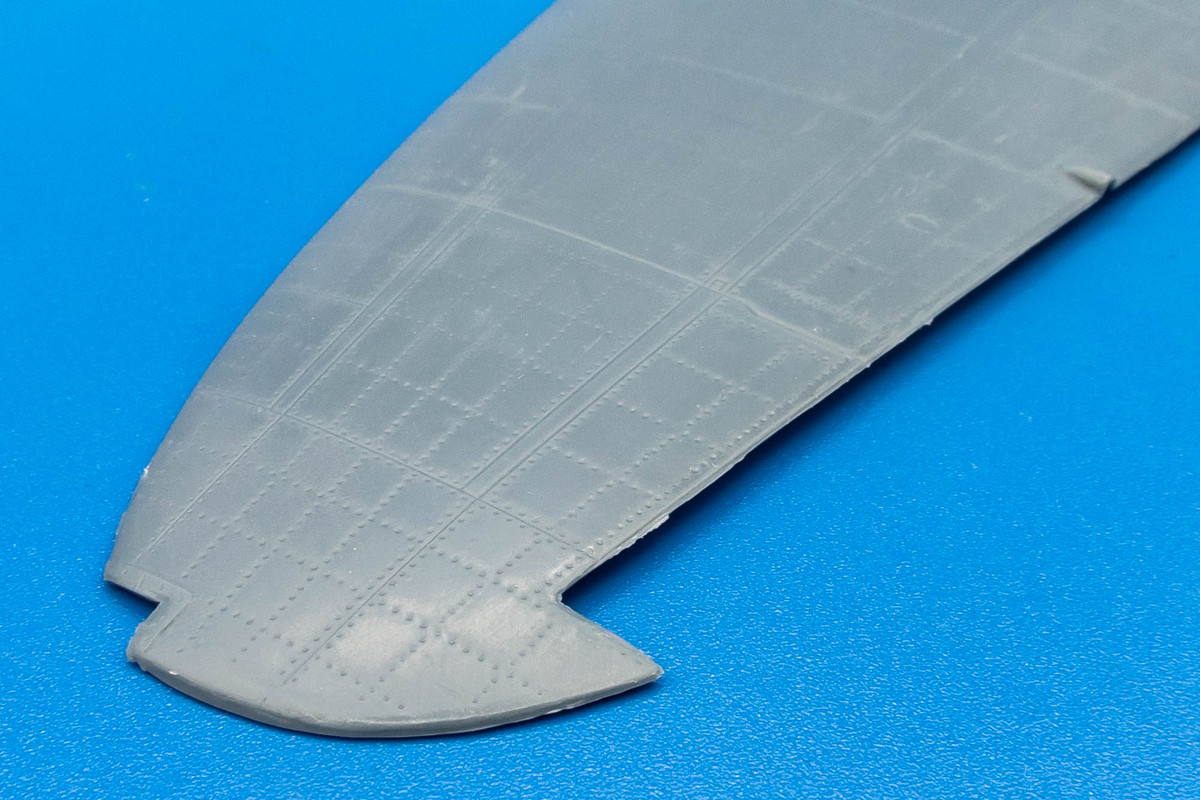
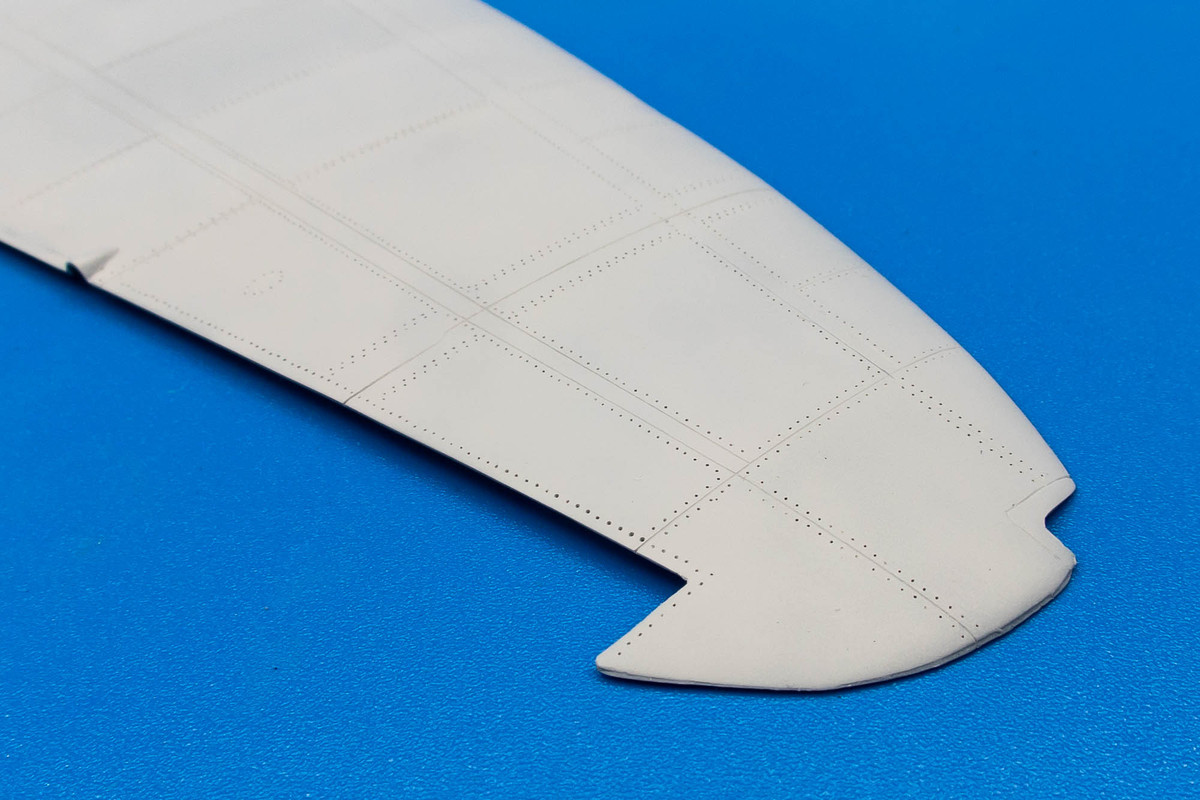
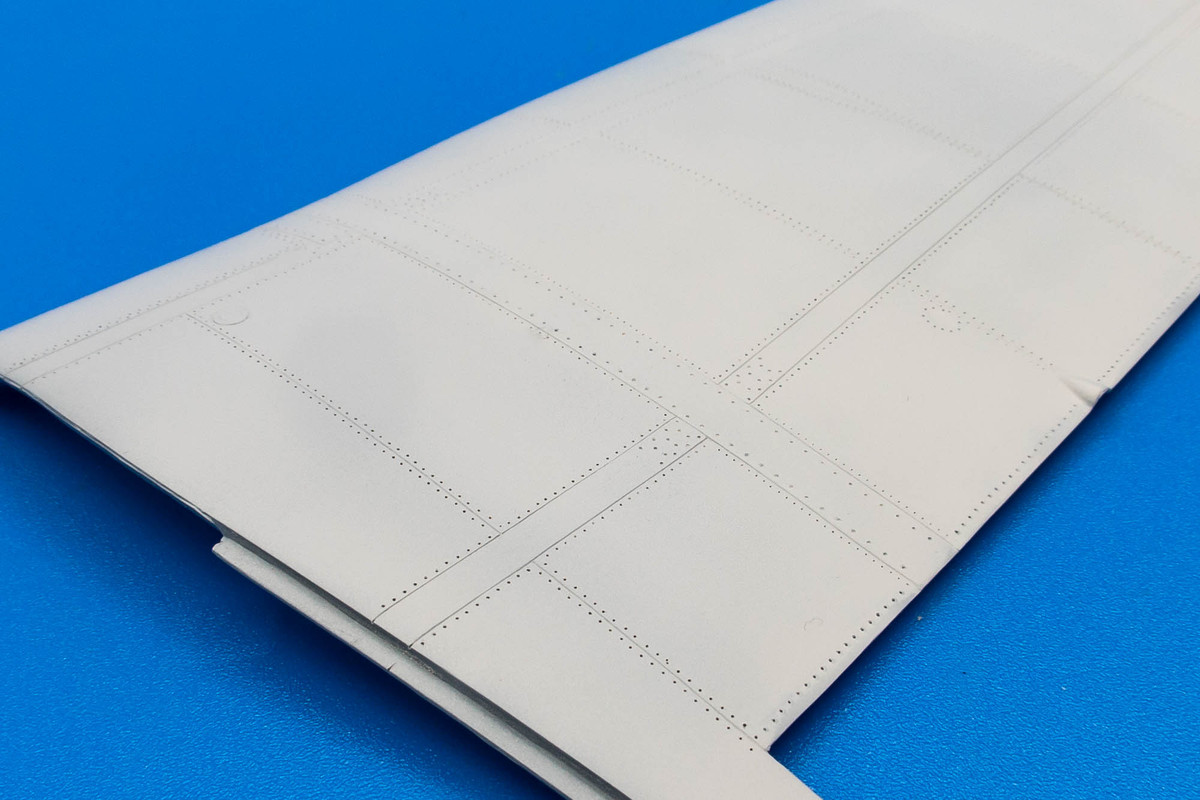
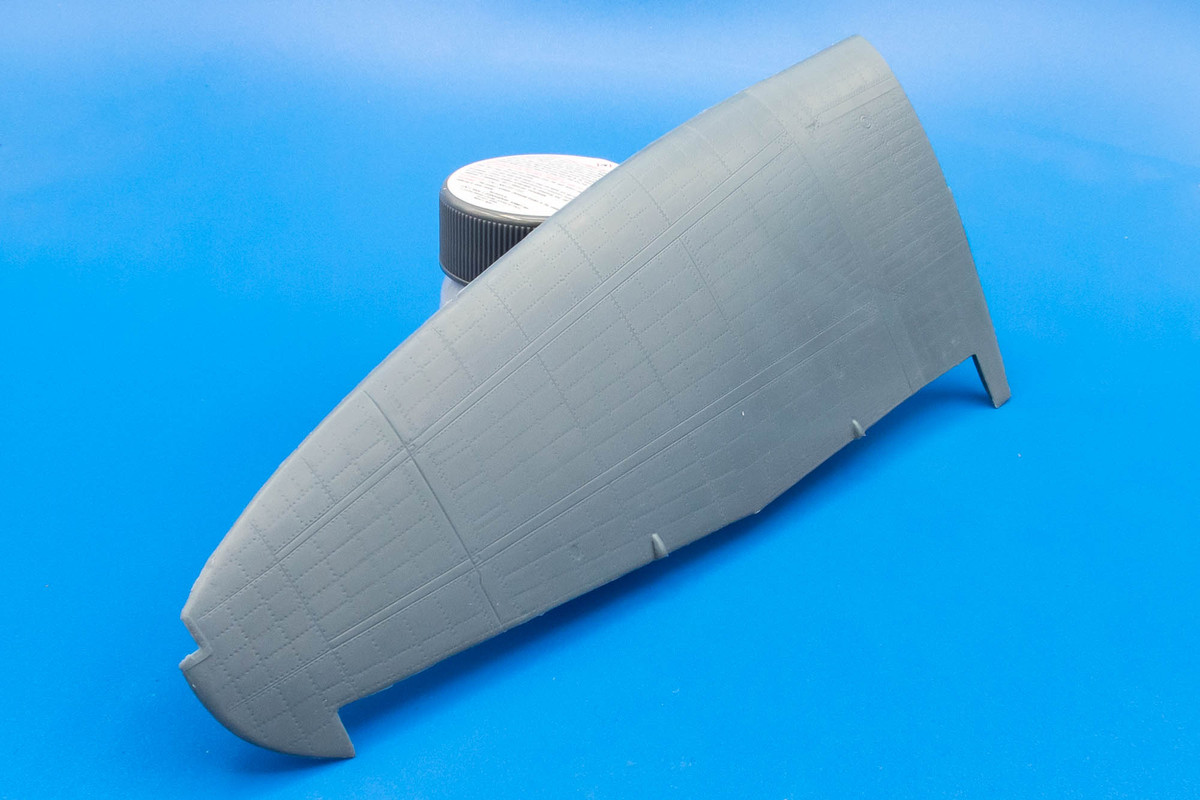
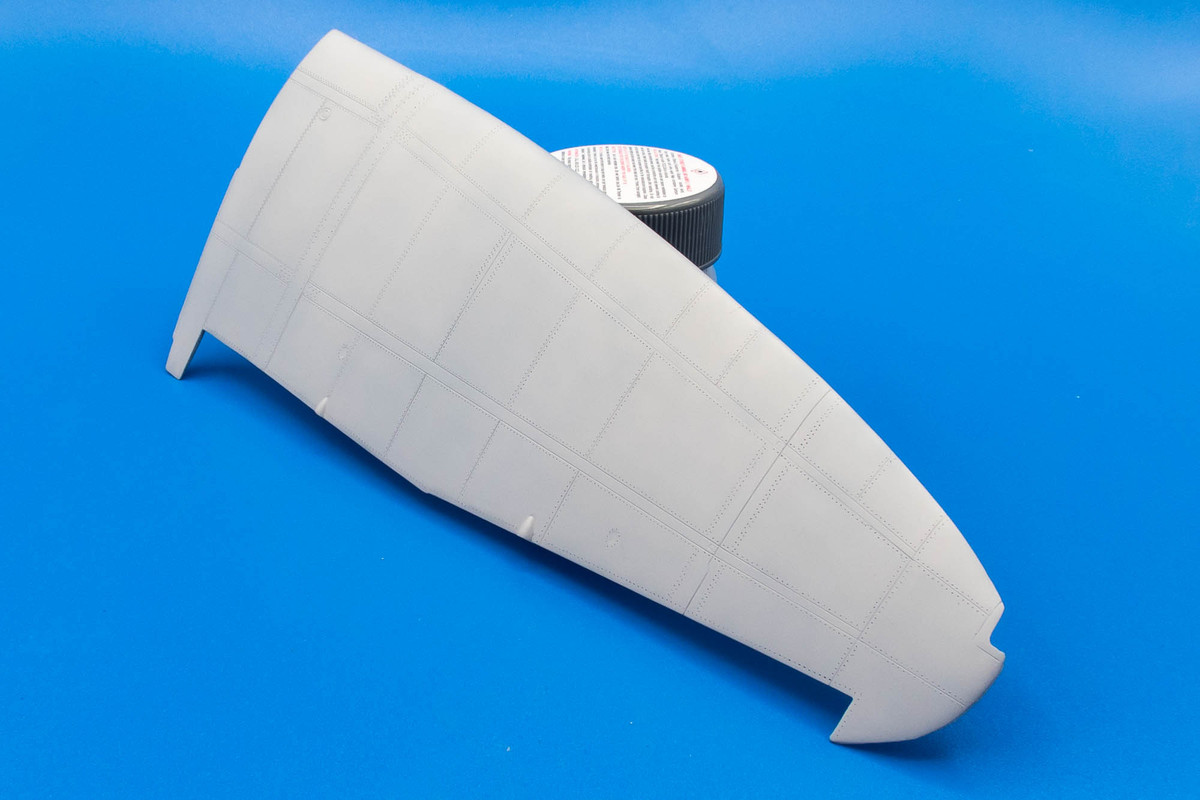
Thanks Carlos! The original rivets would probably look much better under a primer and several coats of paint but I've committed to this route so I'll have to see it through!
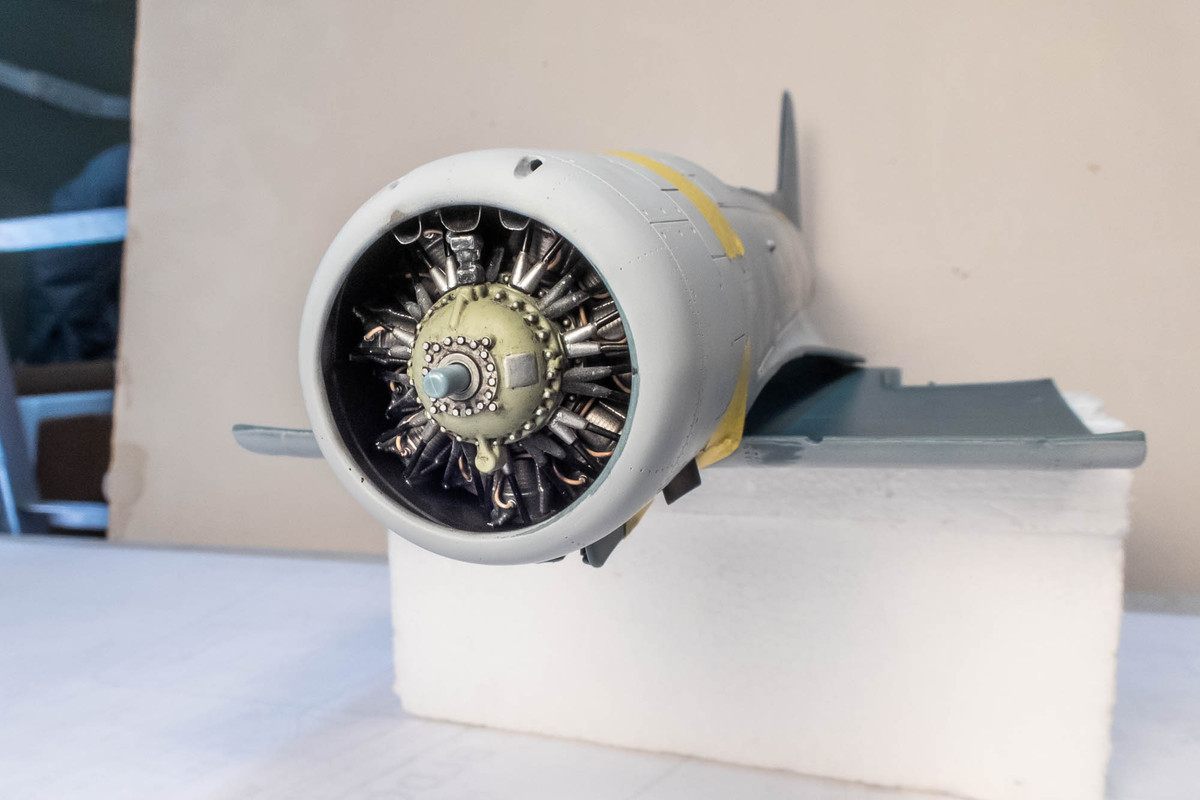
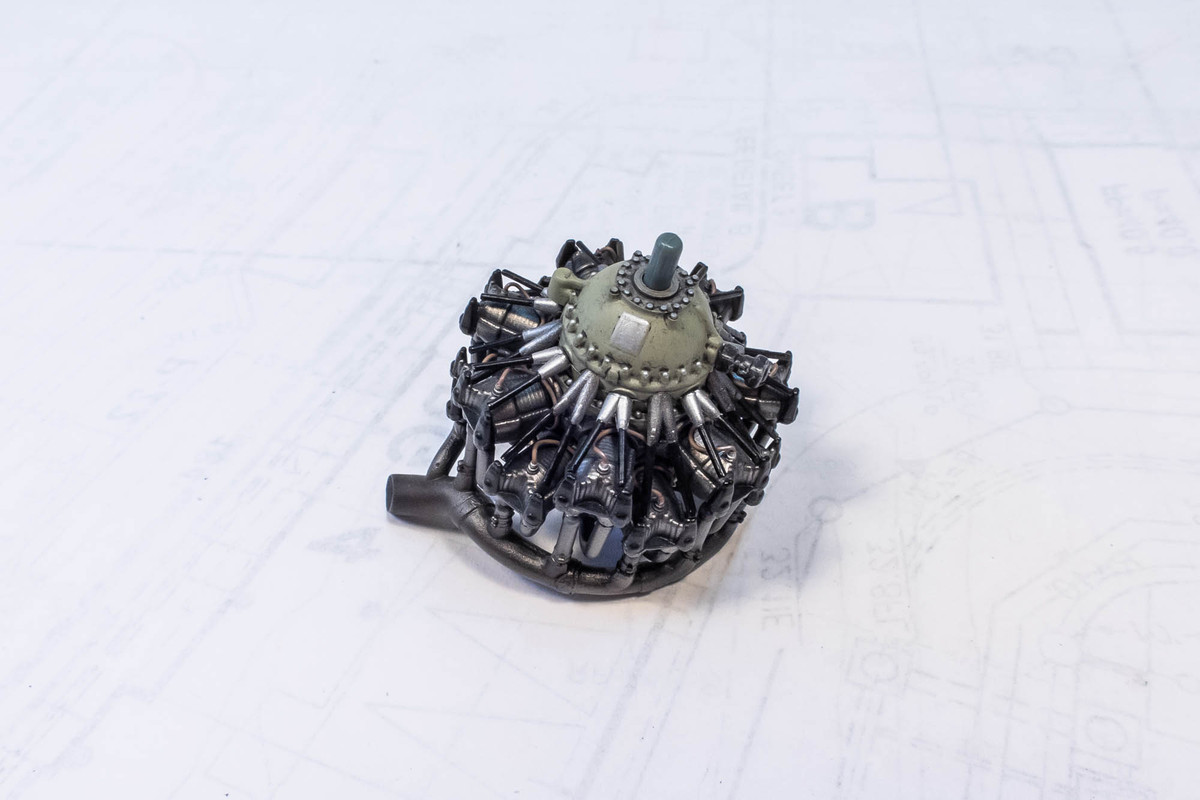
Jumping over to the engine, I've painted the components separately.
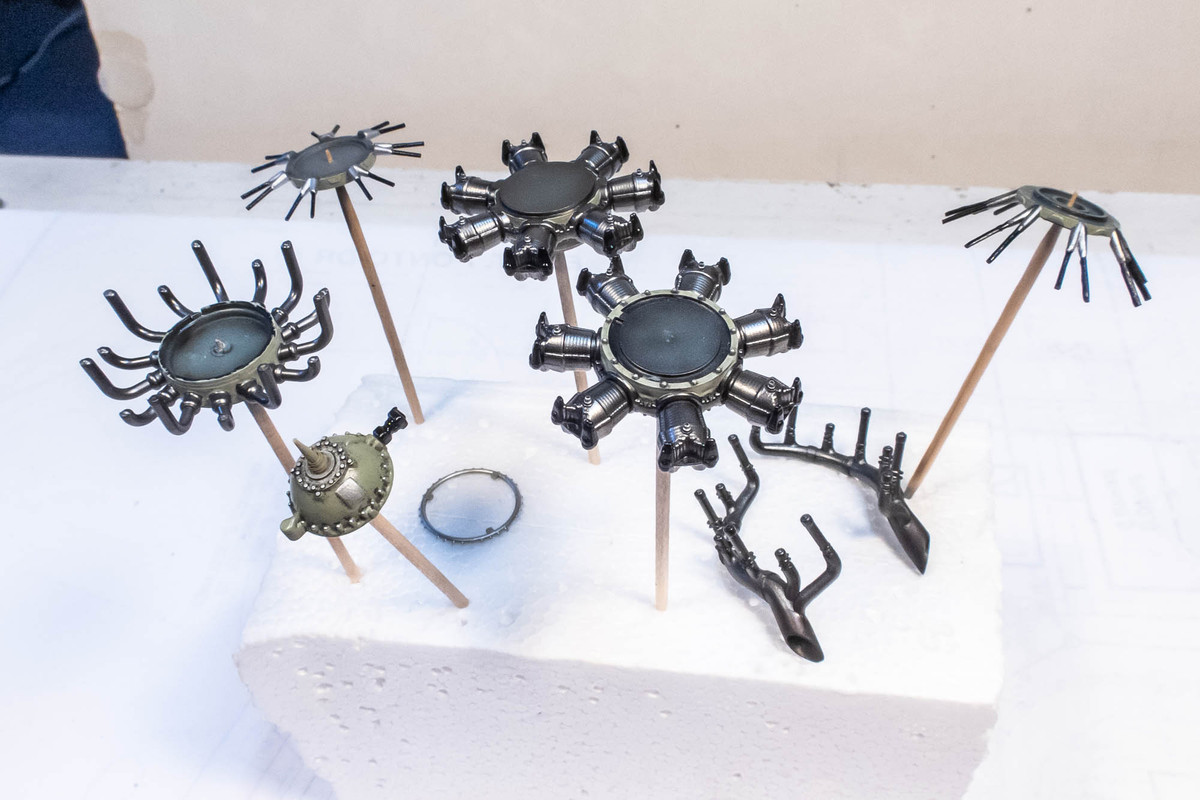
The main shades were airbrushed and then details were picked out with brush painting. The parts were covered with a clear gloss, given a pastel wash and then sealed with a flat coat.
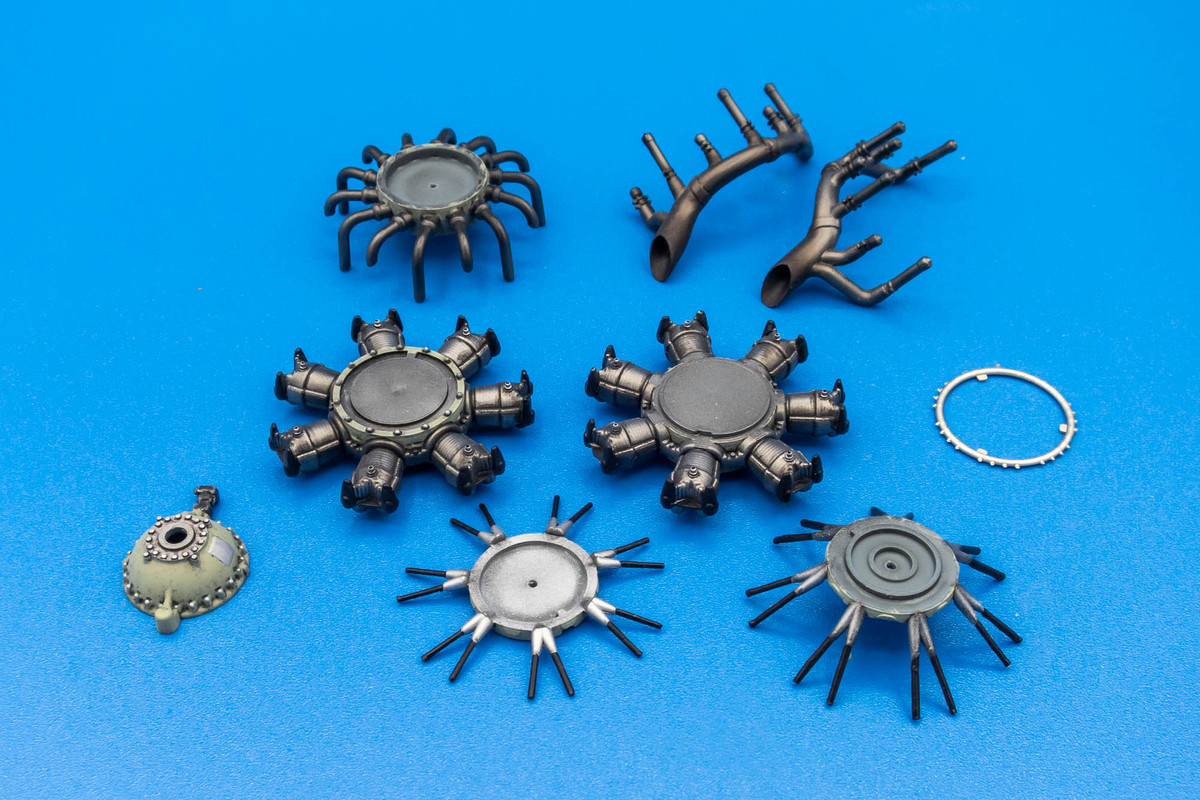
Before I assemble the engine, I use short strands of lead wire for the ignition wires. These will be painted brown and then oriented to the back of the cylinders. Since the view is blocked, I won't go through the trouble of connecting the terminal ends to the ignition ring in the rear of the engine.
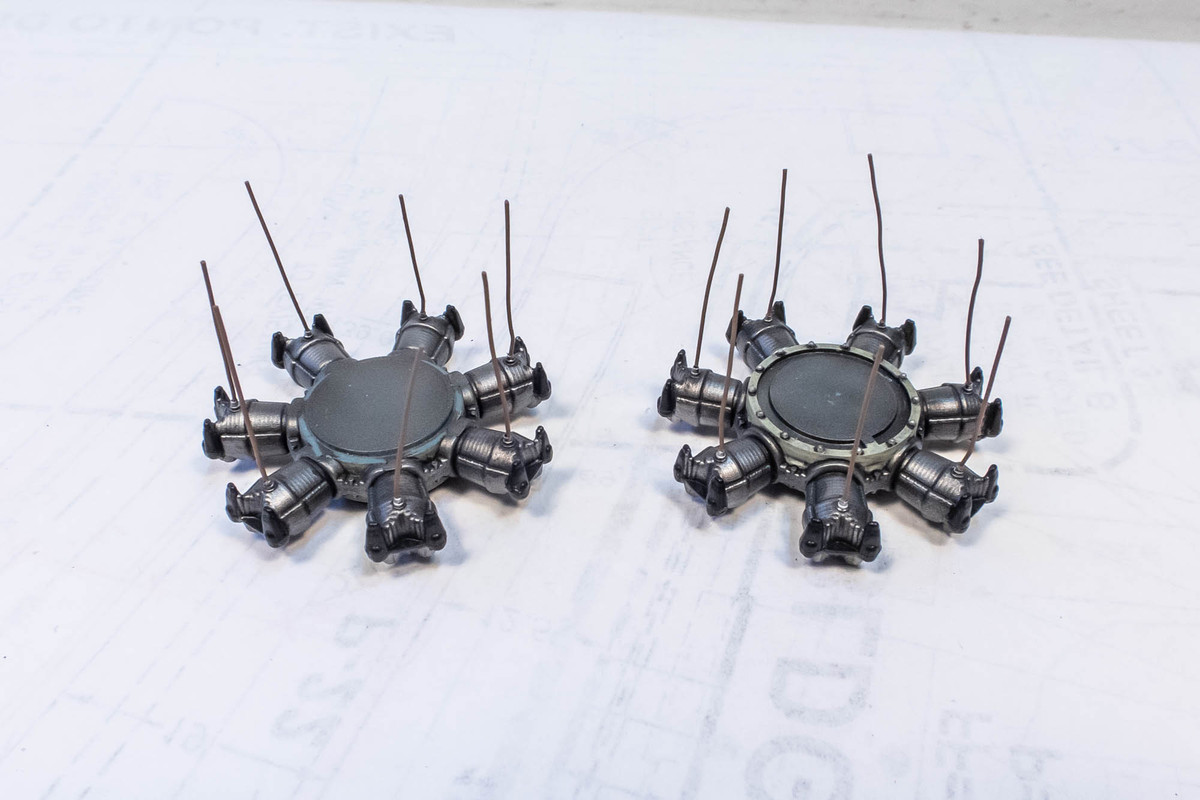
The engine components are glued together. It took a bit of futzing to get the exhaust tubing to attach to the back of the cylinders but the glue joints were soft enough to gently adjust the stems to fit.
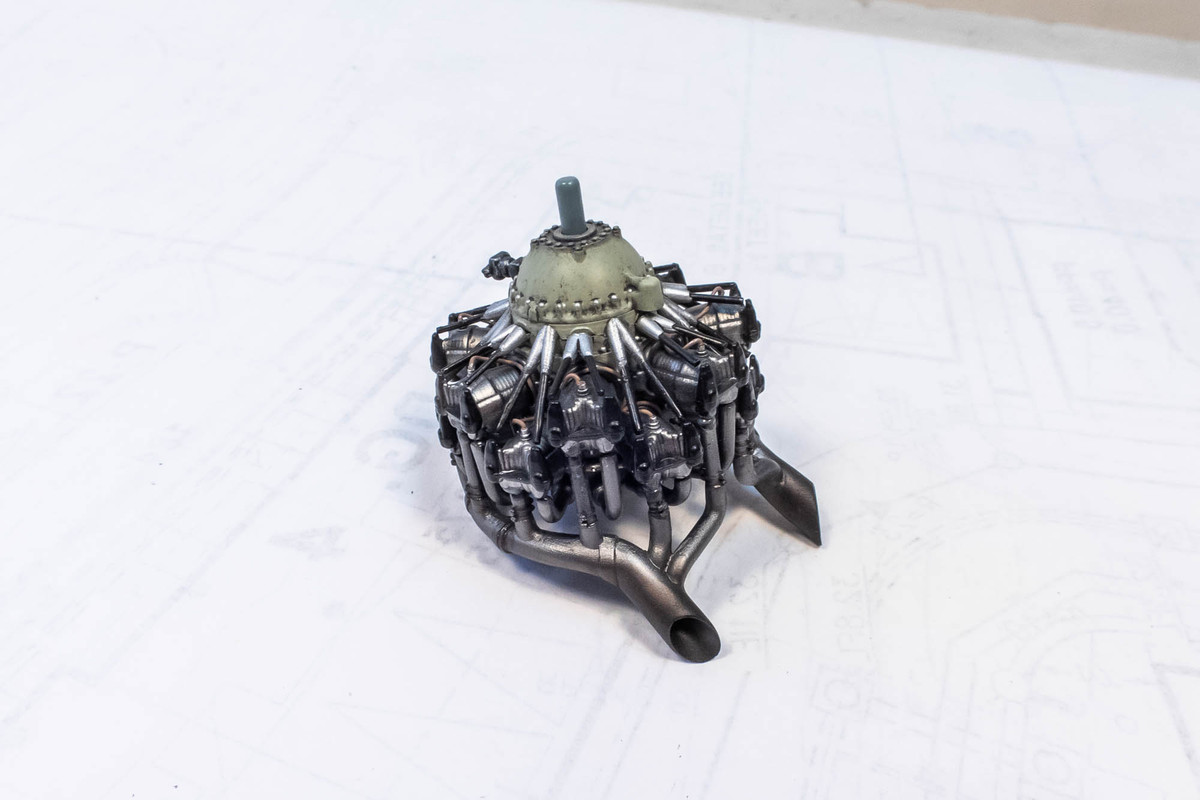
I want to check the position of the engine to the fuselage. It looks ok so far but care will be need to taken when gluing the engine in place since orientation is not rock solid. I plan on gluing the engine after the painting stage.
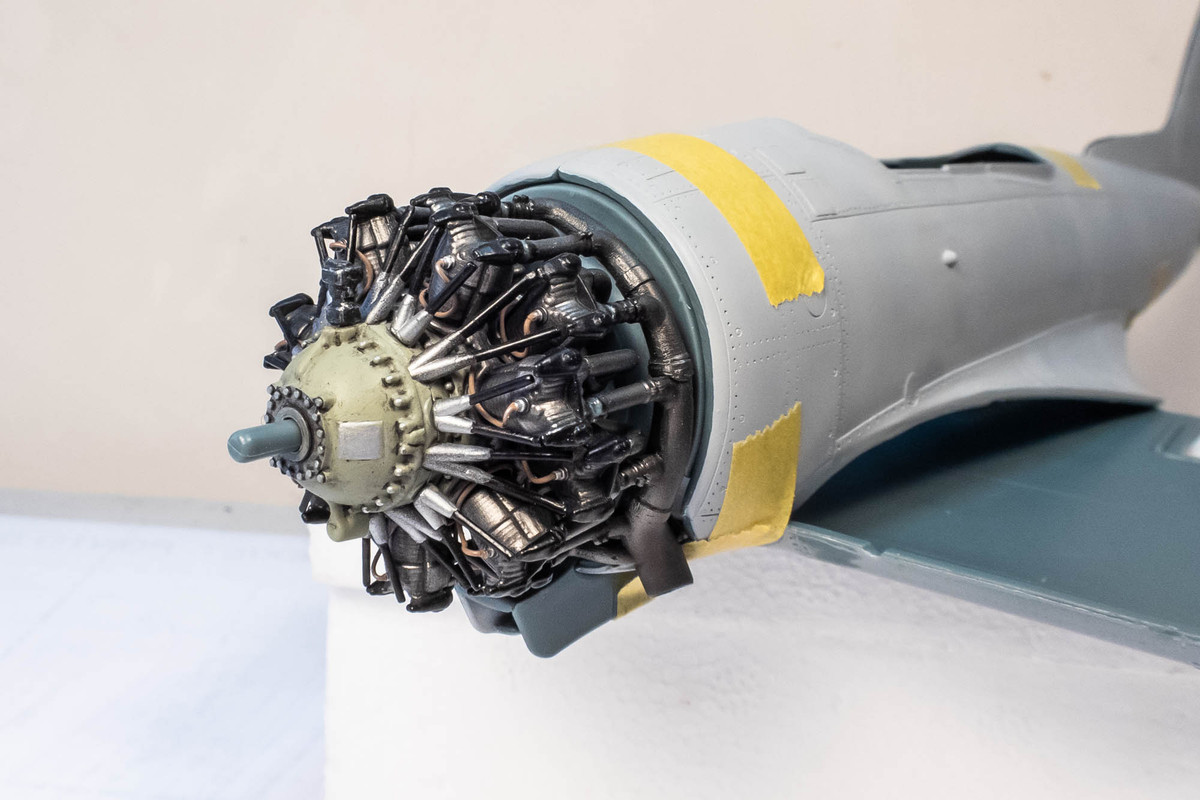
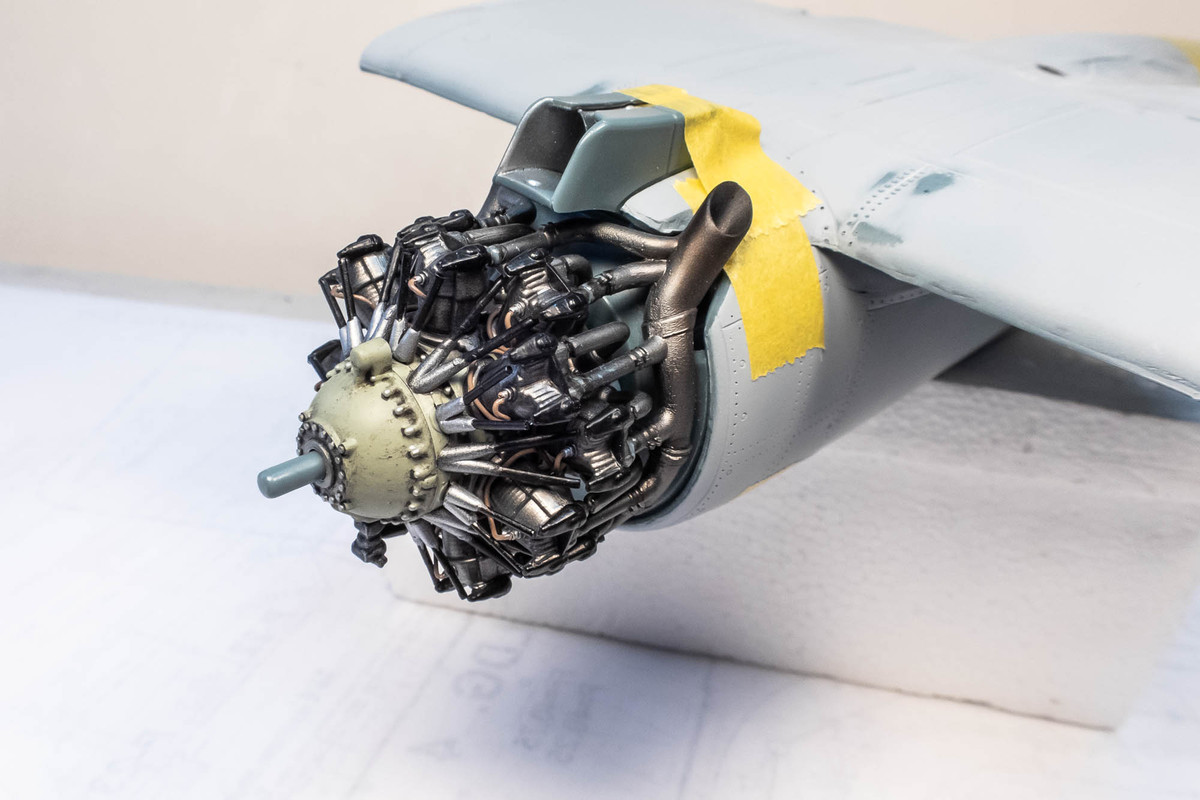
The engine cowling attaches to the bottom of the fuselage so I checked that fit as well. Luckily, the exhaust stubs exit in the correct location.
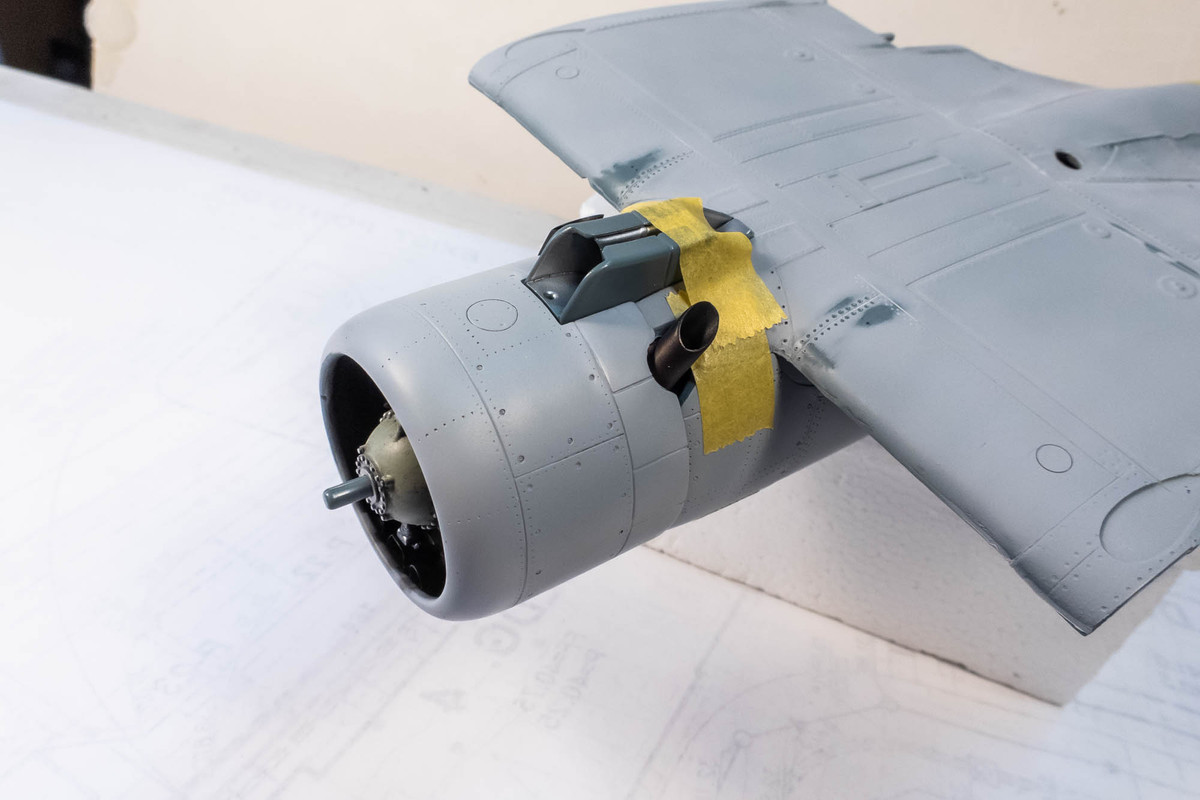
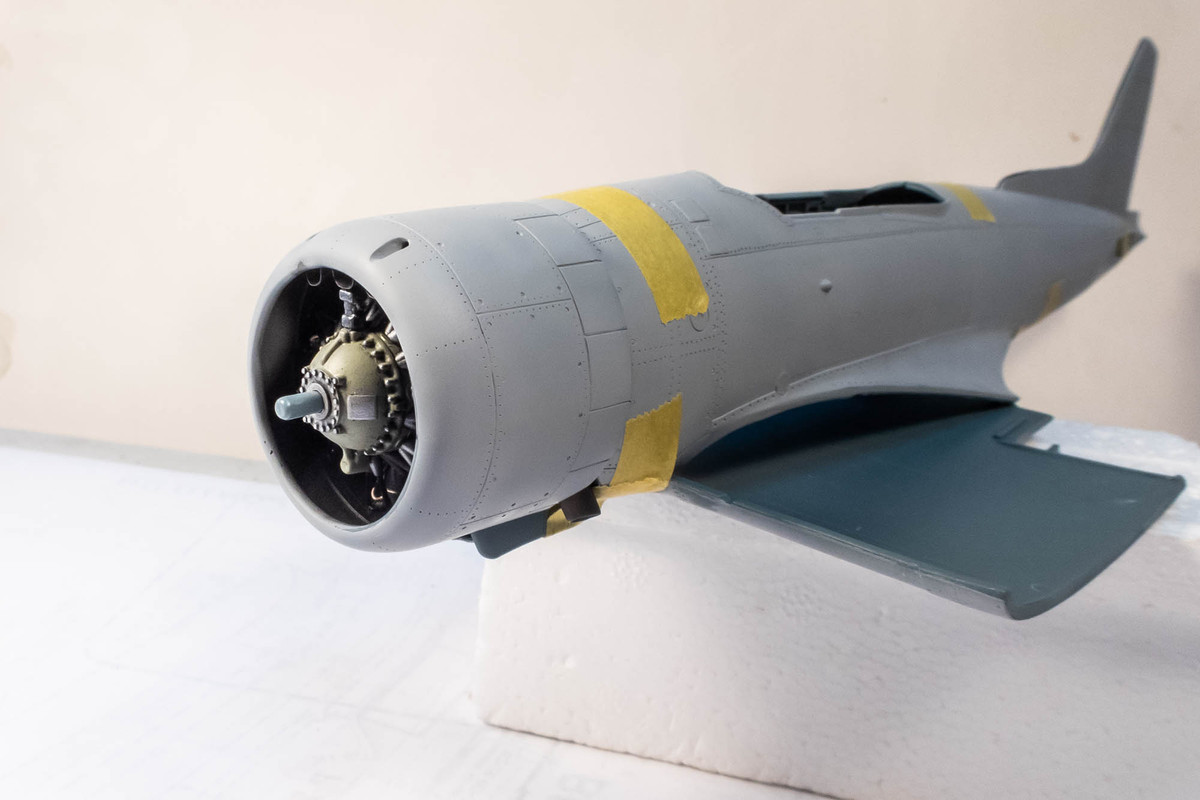
The cowling opening is very big so there is a nice view into the engine compartment from the front.