
Tamiya 1/32 Spitfire XIVe Conversion
-
Gary Brantley

- Elite Member
- Posts: 2771
- Joined: Tue Apr 08, 2014 9:40 pm
- Location: Cameron, Texas
Re: Tamiya 1/32 Spitfire XIVe Conversion
That's some very nice, neat work, John!

Re: Tamiya 1/32 Spitfire XIVe Conversion
The new light location has been established so now I have to remove the old one. In some situations, I would be able to slice off the raised portions of the light ring with a sharp x-acto blade but here it was difficult to position the blade without scraping the surrounding areas.
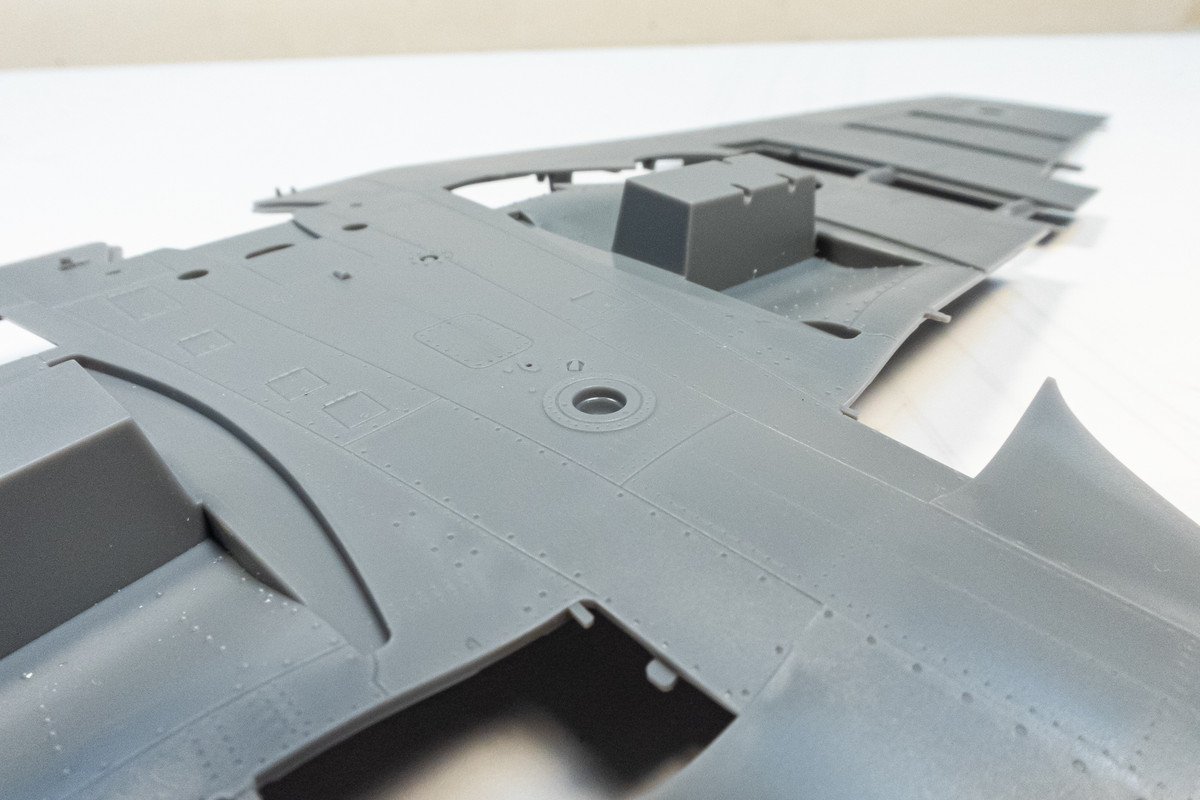
I turned to the David Union D400 sander, which has a linear, back and forth stroke and is great for this type of application. After the D400 got rid of most of the raised stuff, I was able to complete the sanding manually.

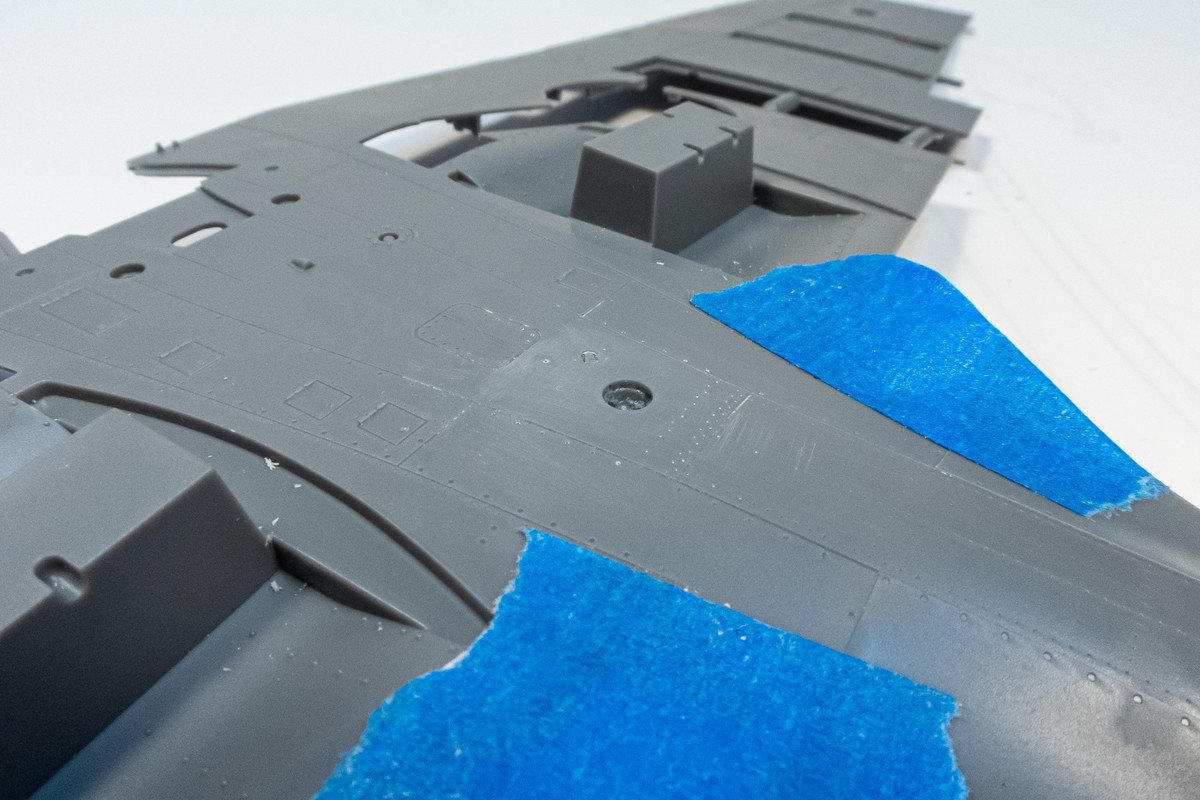
I elected to fill the depression using three layers of CA glue, adding Instaset CA accelerator at each level to ensure that it was solid before adding the next level.
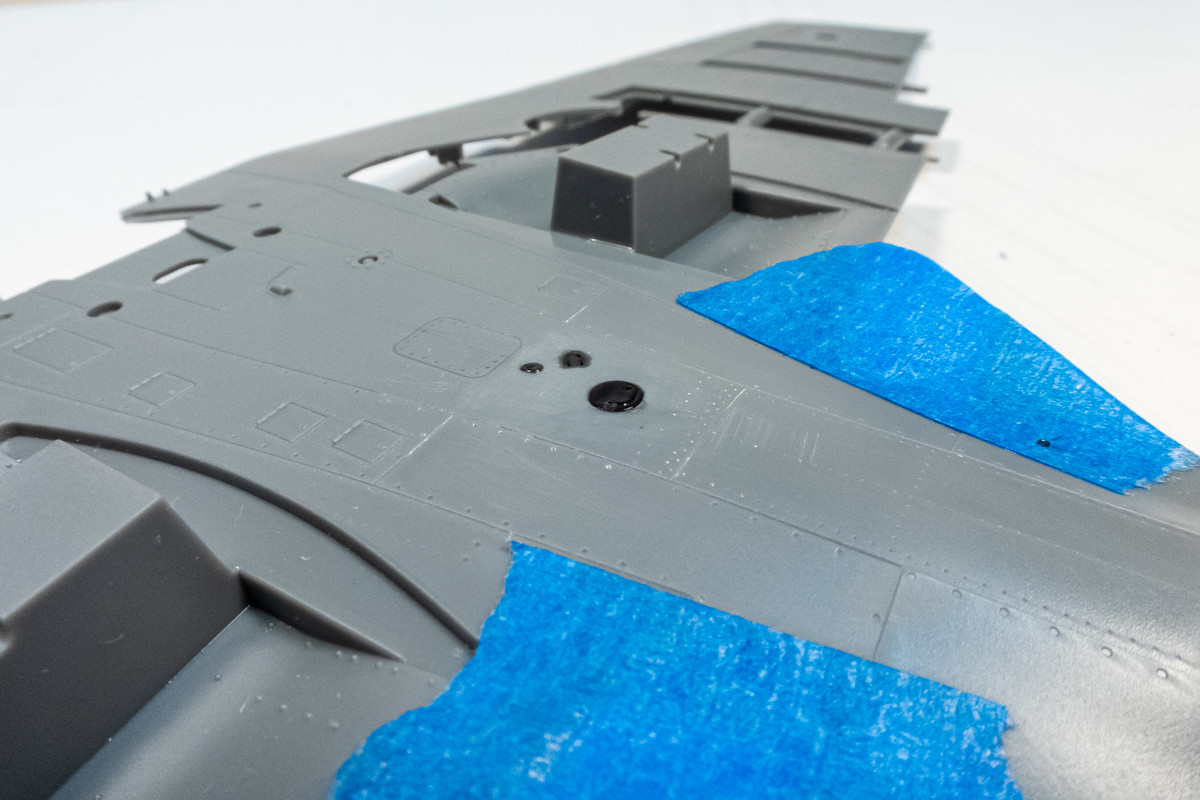
The fill work was topped off with some Mr Surfacer 1000.
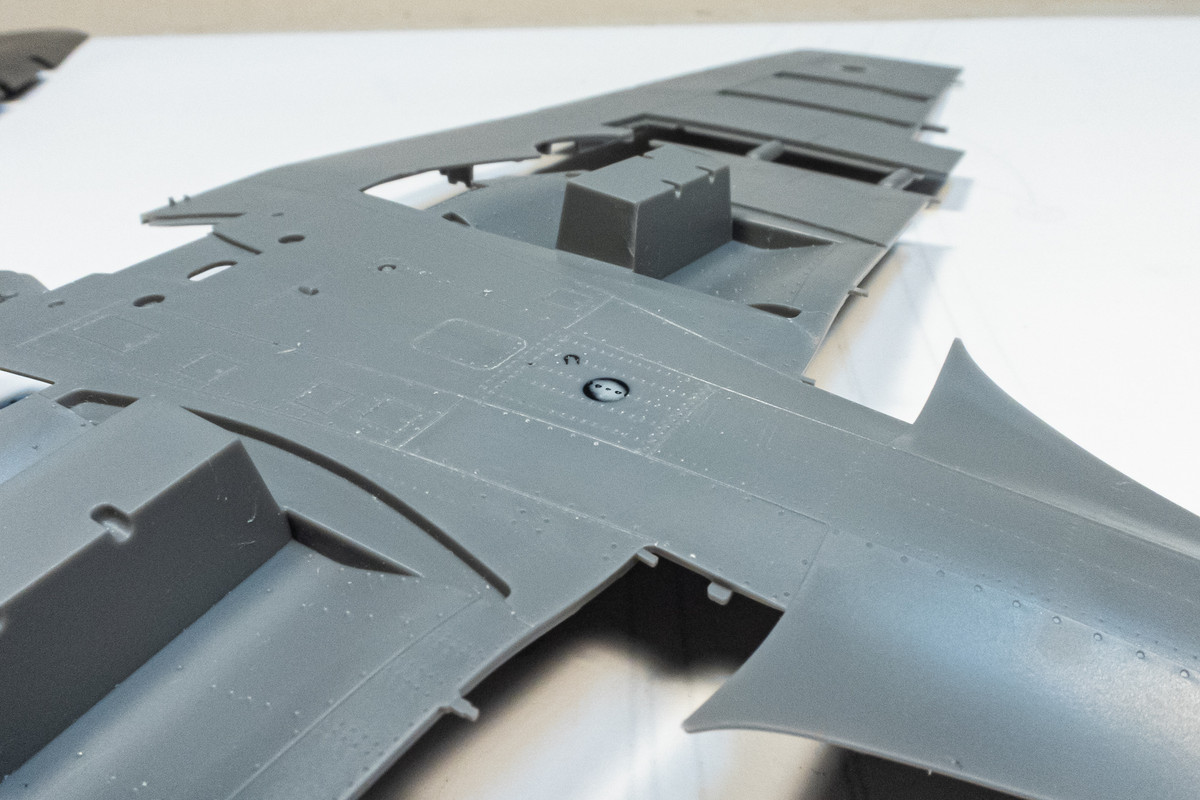
I elected to added rivets to the area per Jumpei Temma's drawing. A quick spray of Mr Primer Surfacer 1000 to check the work.
I turned to the David Union D400 sander, which has a linear, back and forth stroke and is great for this type of application. After the D400 got rid of most of the raised stuff, I was able to complete the sanding manually.
I elected to fill the depression using three layers of CA glue, adding Instaset CA accelerator at each level to ensure that it was solid before adding the next level.
The fill work was topped off with some Mr Surfacer 1000.
I elected to added rivets to the area per Jumpei Temma's drawing. A quick spray of Mr Primer Surfacer 1000 to check the work.
John aka JKim
-----------<><

-----------<><
-
BlackSheep214

- Elite Member
- Posts: 13595
- Joined: Sun Apr 06, 2014 8:47 pm
Re: Tamiya 1/32 Spitfire XIVe Conversion
I got that sander for Christmas last year. Love it! Worth every penny of it. Came just in time before Christmas too.
“Who controls the skies, controls the fate of this Earth”
Author unknown- 352nd Fighter Group, Blue-Nosed Bastards of Bodney
“Send one plane it’s a sortie; send two planes it’s a flight; send four planes it’s a test of airpower. - Richard Kohn
Author unknown- 352nd Fighter Group, Blue-Nosed Bastards of Bodney
“Send one plane it’s a sortie; send two planes it’s a flight; send four planes it’s a test of airpower. - Richard Kohn
Re: Tamiya 1/32 Spitfire XIVe Conversion
Did you get it from Troy? He's a good guy... avid fisherman too!BlackSheep214 wrote: ↑Tue Jun 11, 2024 2:05 pm I got that sander for Christmas last year. Love it! Worth every penny of it. Came just in time before Christmas too.
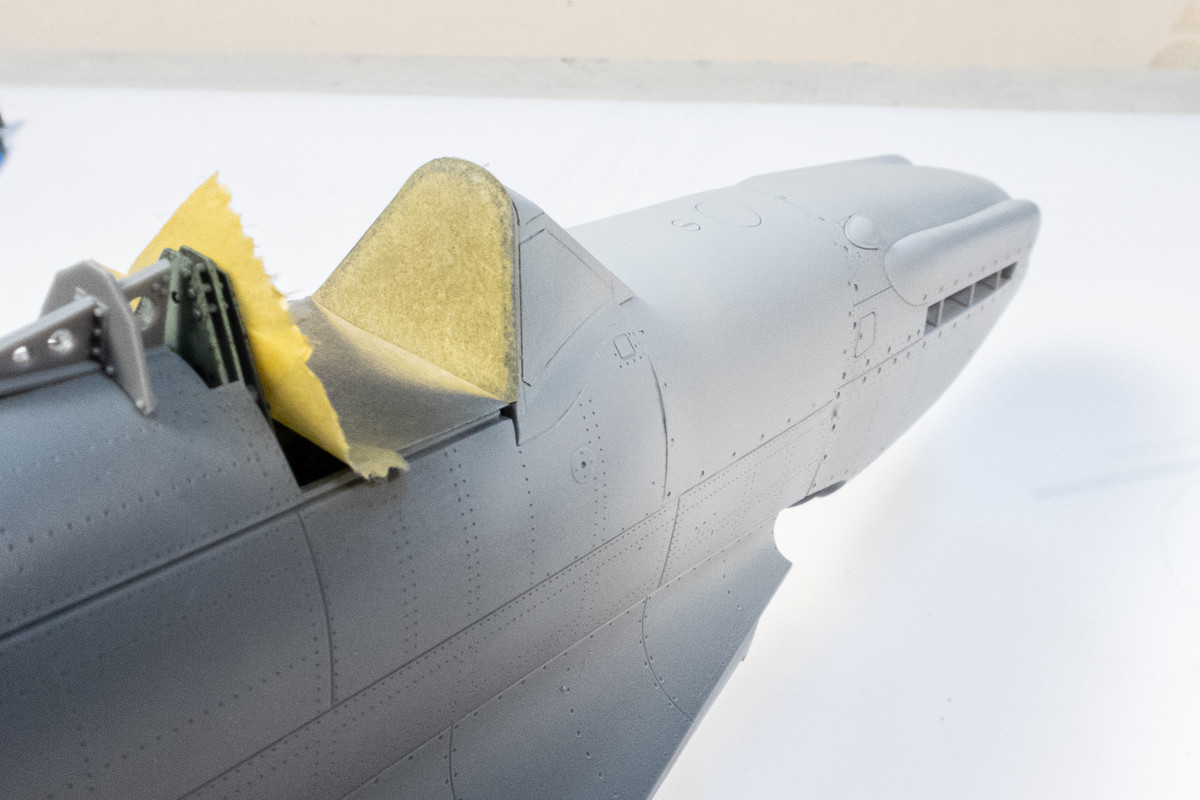
I want to get a coat of primer on the nose so I can assess the joint between the LFD nose and kit fuselage. It looks good but looks can sometimes be deceiving and you need a coat of paint/primer to know for sure. So I need to get the windscreen on first to protect the cockpit from the overspray. Tamiya provides masks but they are uncut. You're supposed to cut these out yourself but instead, I scanned them and produced my own set of custom masks using the Silhouette Portrait cutter.
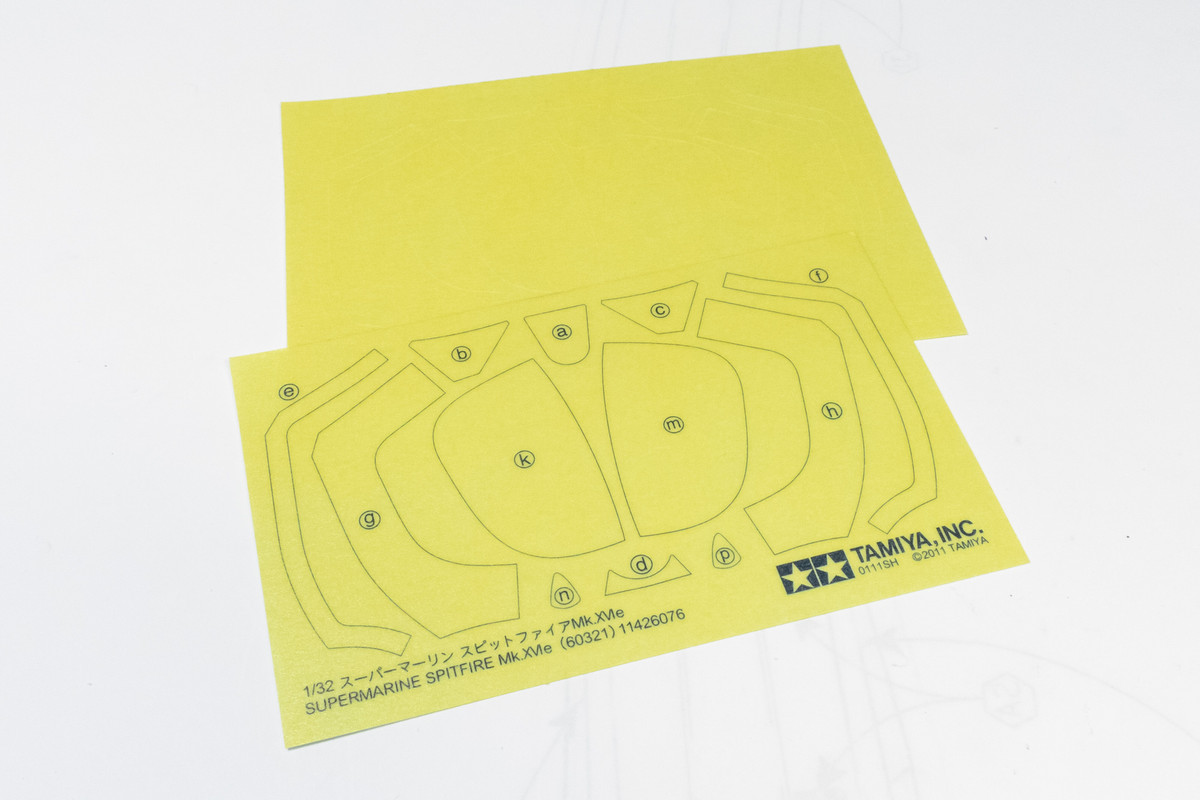
The custom masks worked great. Not Eduard-perfect but pretty close!
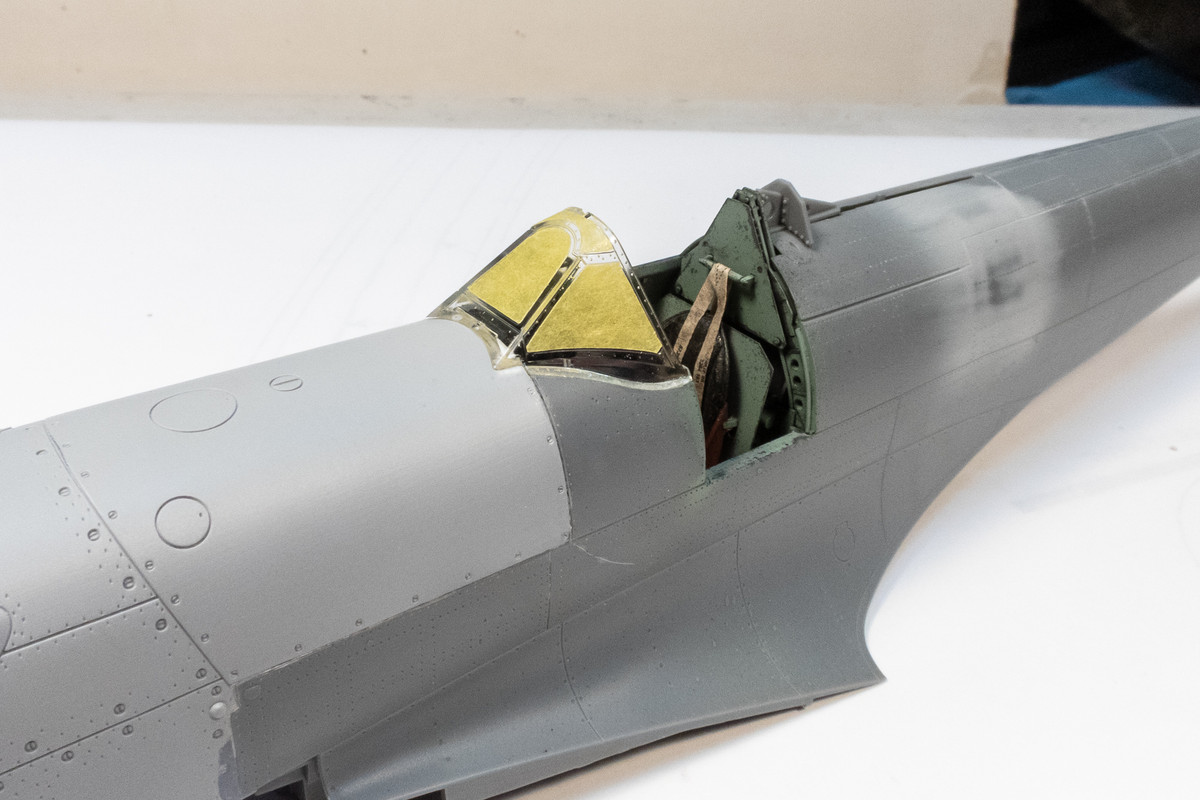
With the cockpit masked off, I sprayed the windscreen frames black.
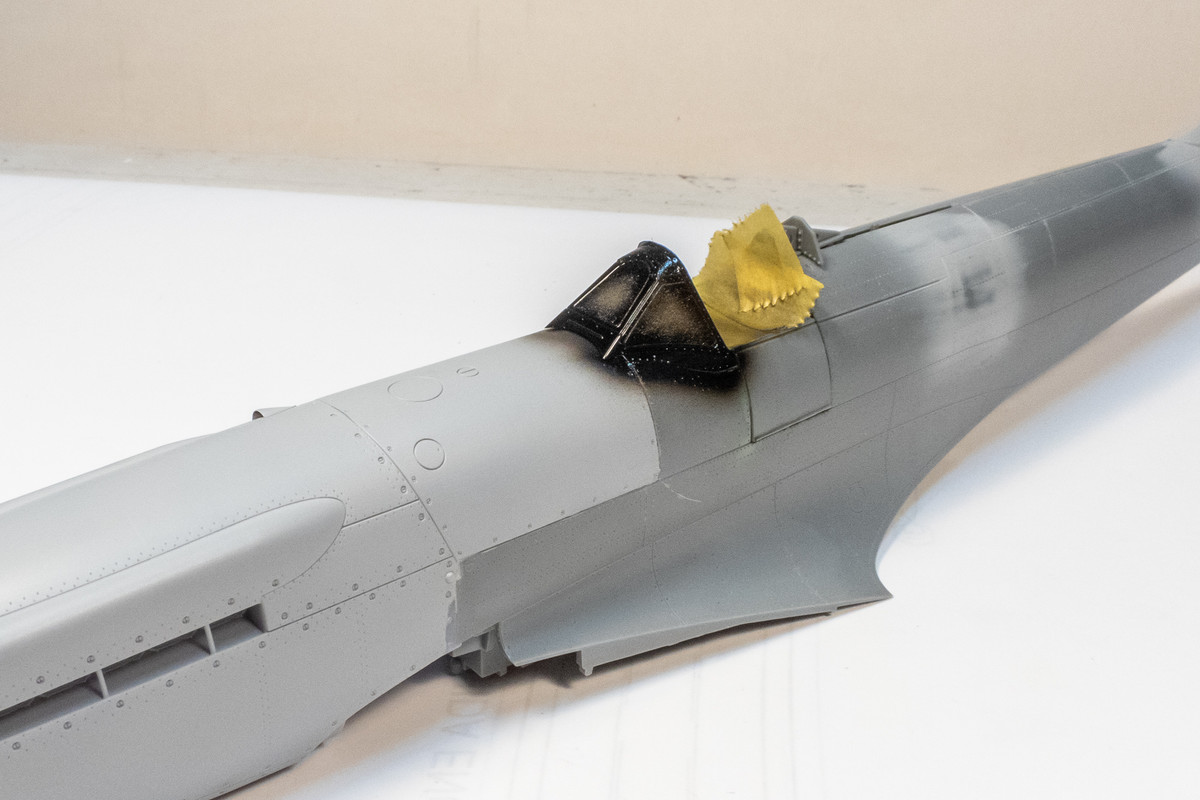
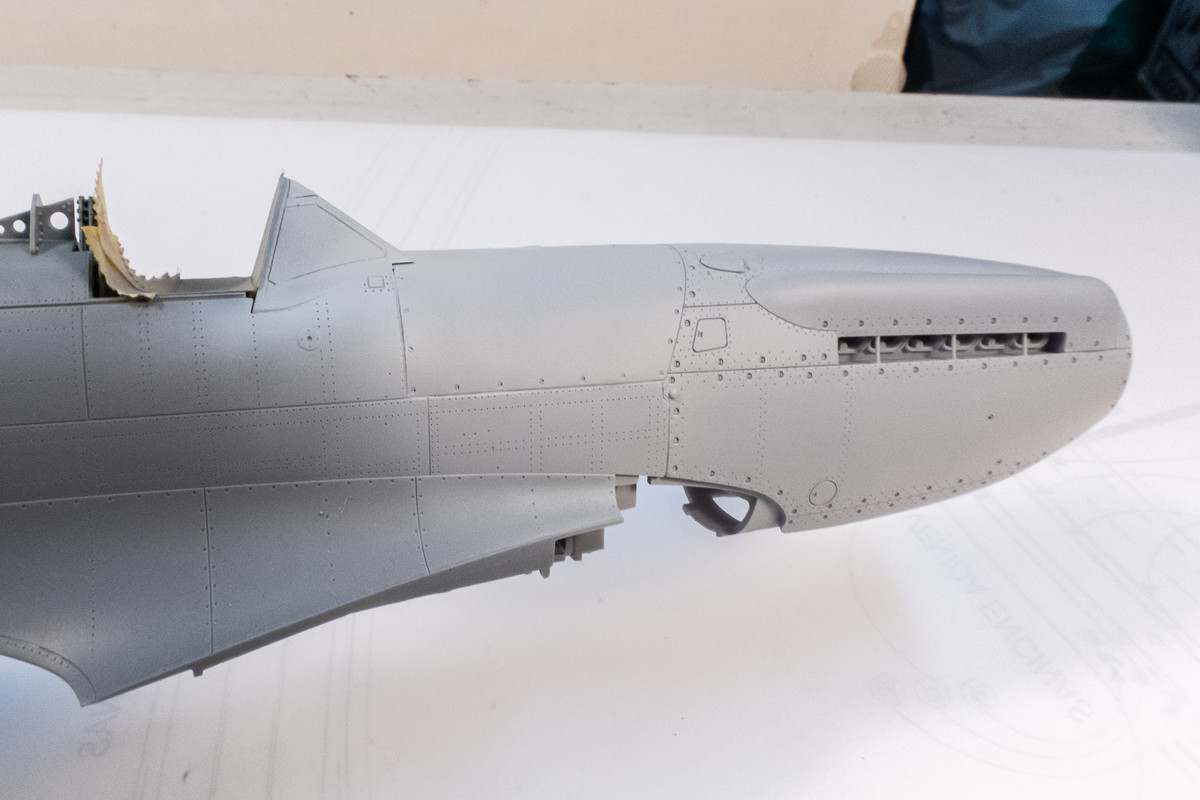
The primer coat showed some imperfections that I can clean up but generally speaking, the joints are in excellent shape.
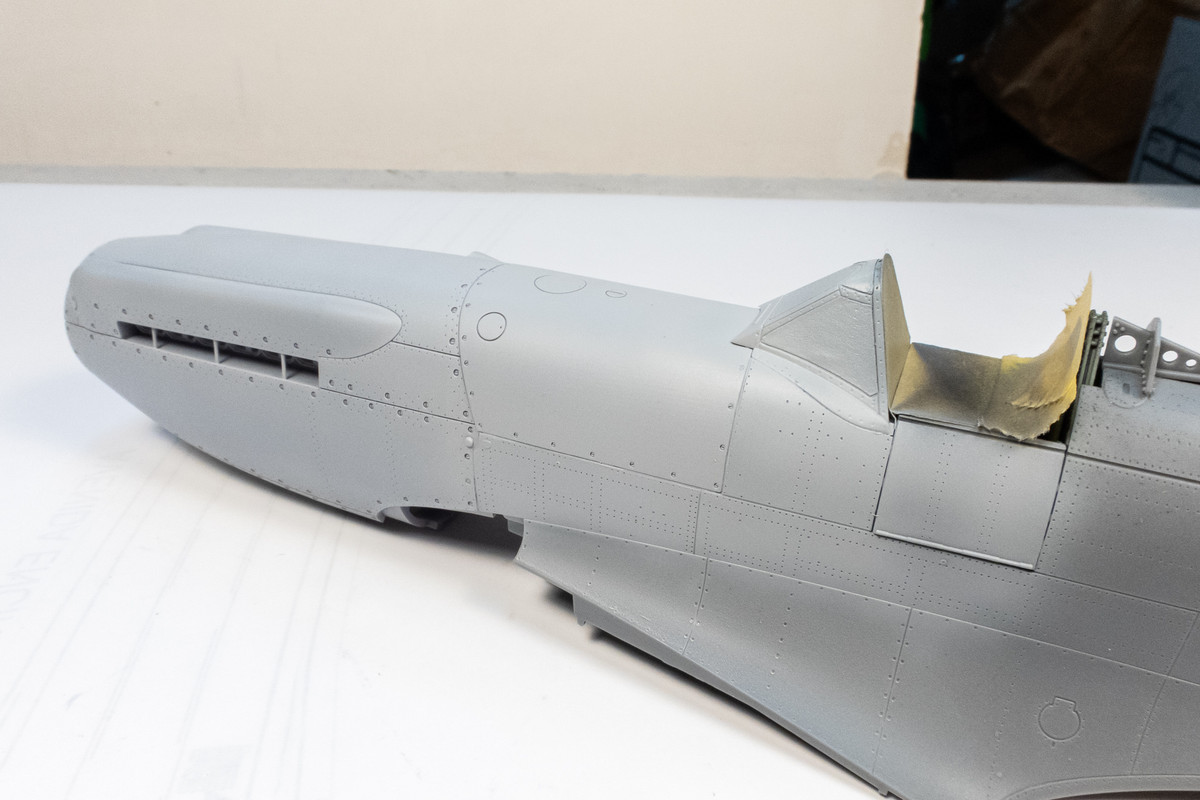
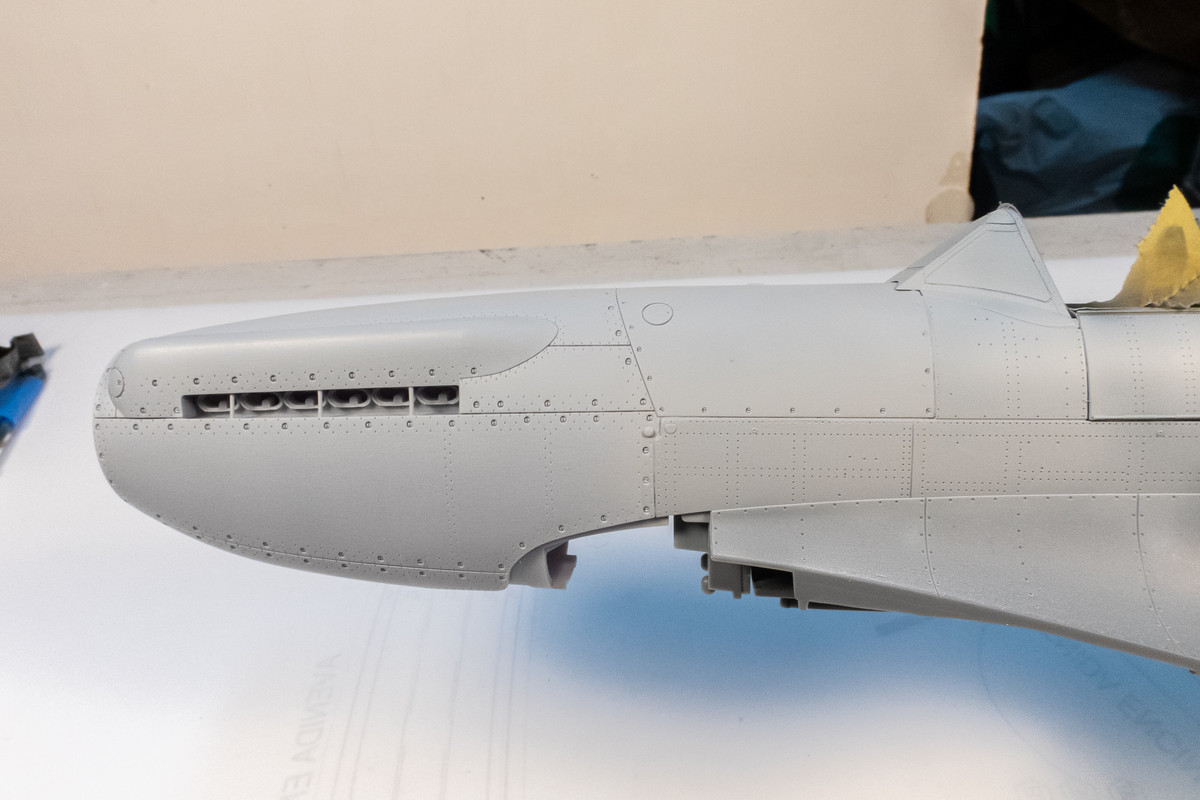
There is a wee bit of overhang on the rear edge of the cowling on the starboard side that I can shave down.
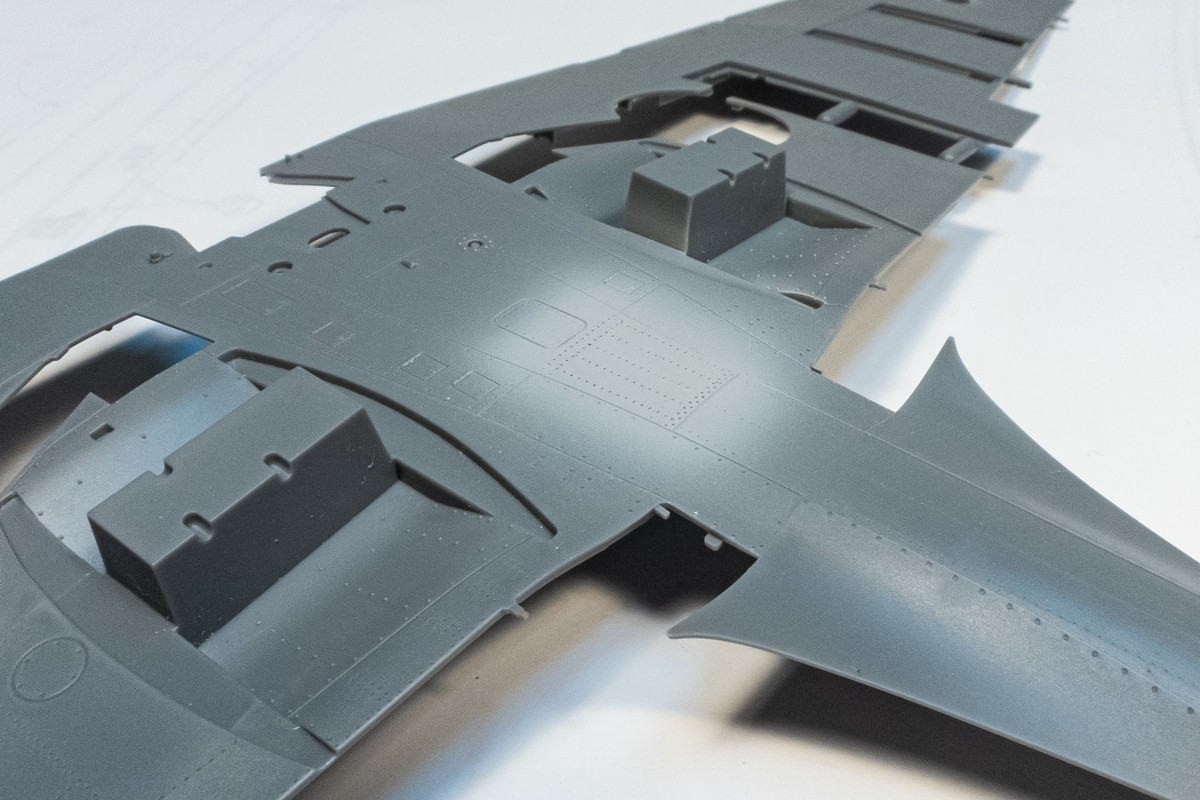
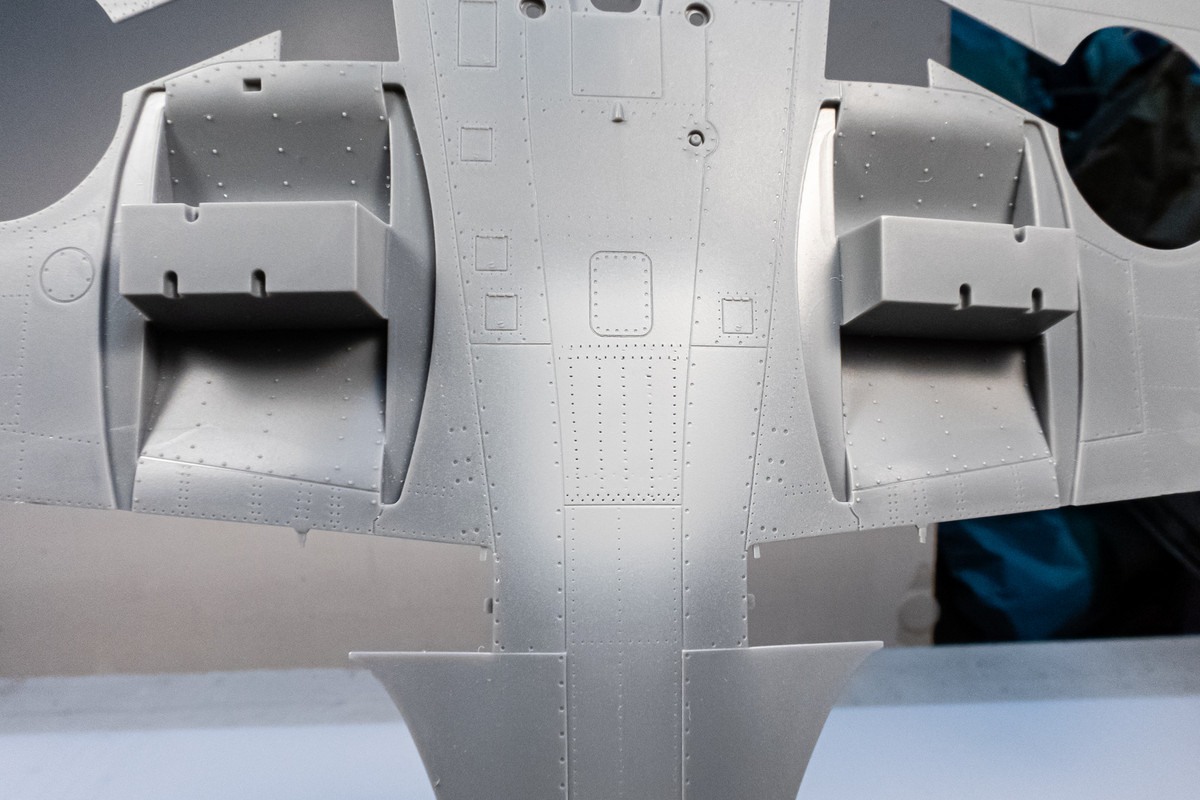
I've also been moving forward on the wing assembly. There are a lot of inserts, both top and bottom. The bottom has seven.
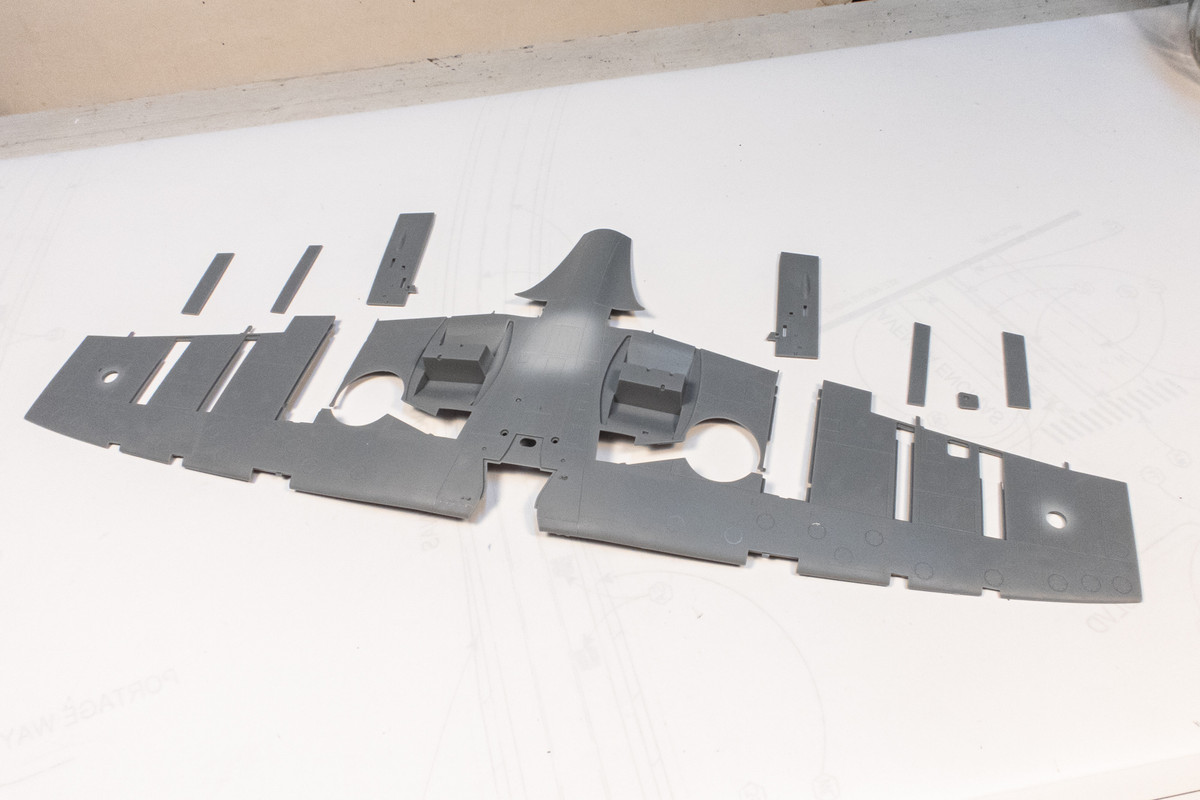
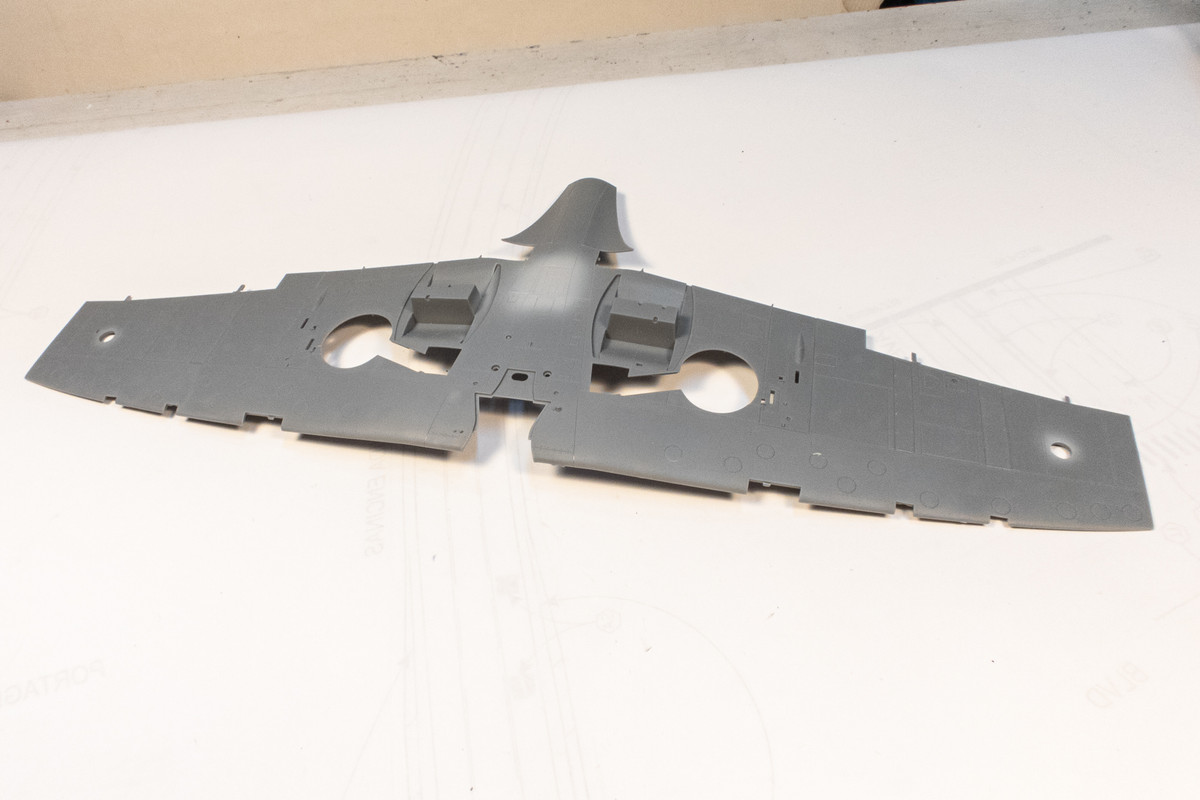
The fit of these panels is fantastic. Tamiya is only company that can pull off these joints along panel lines so perfectly.
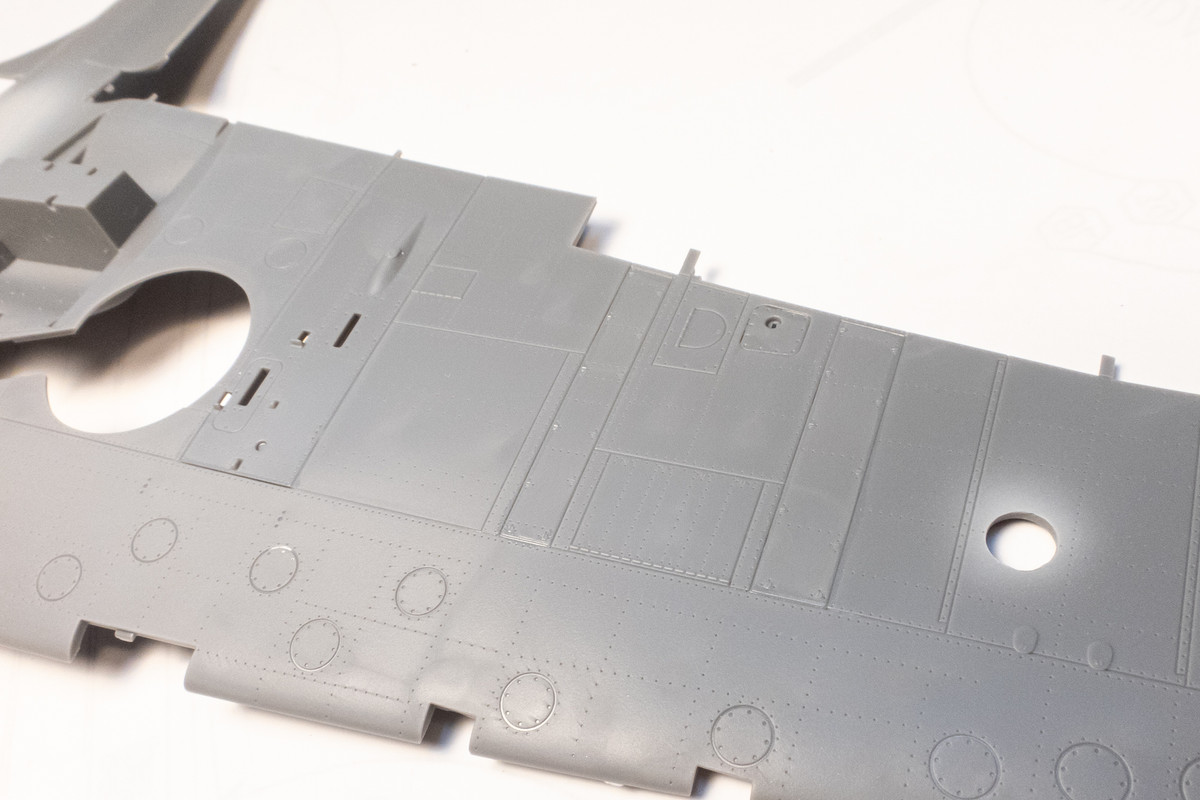
The wing tops have four inserts.
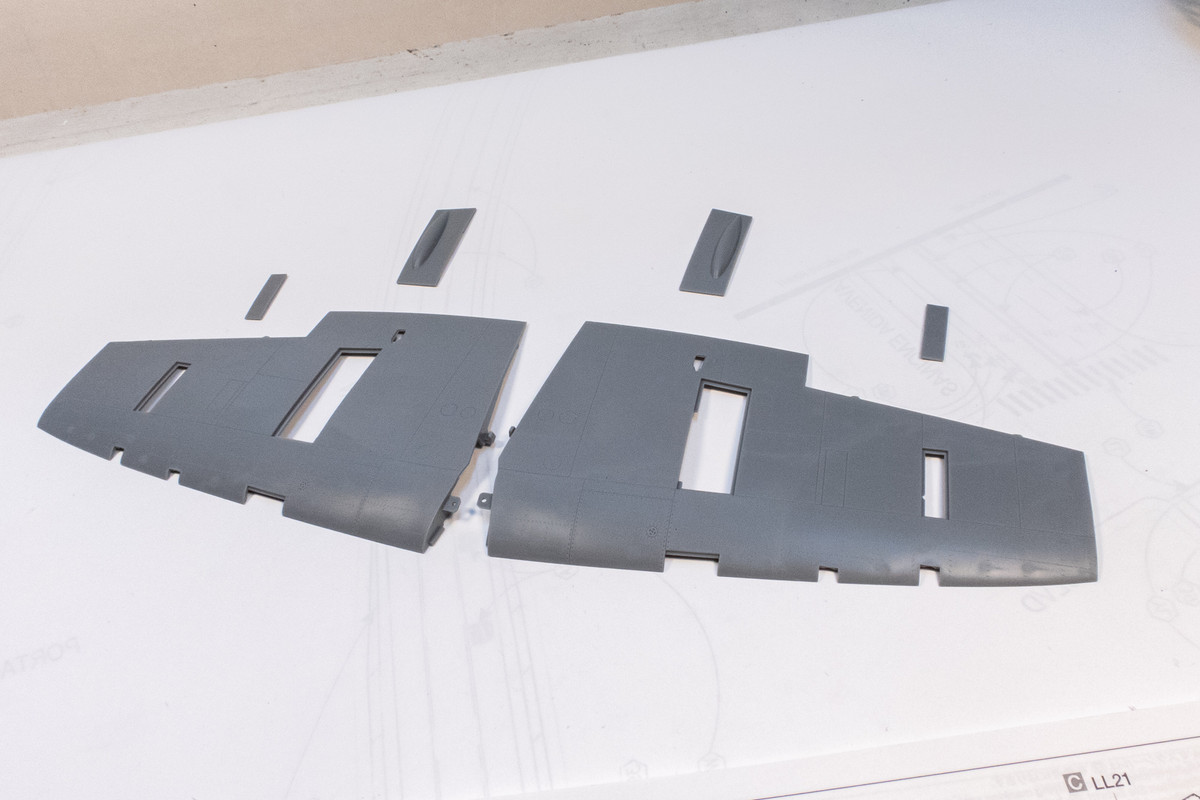
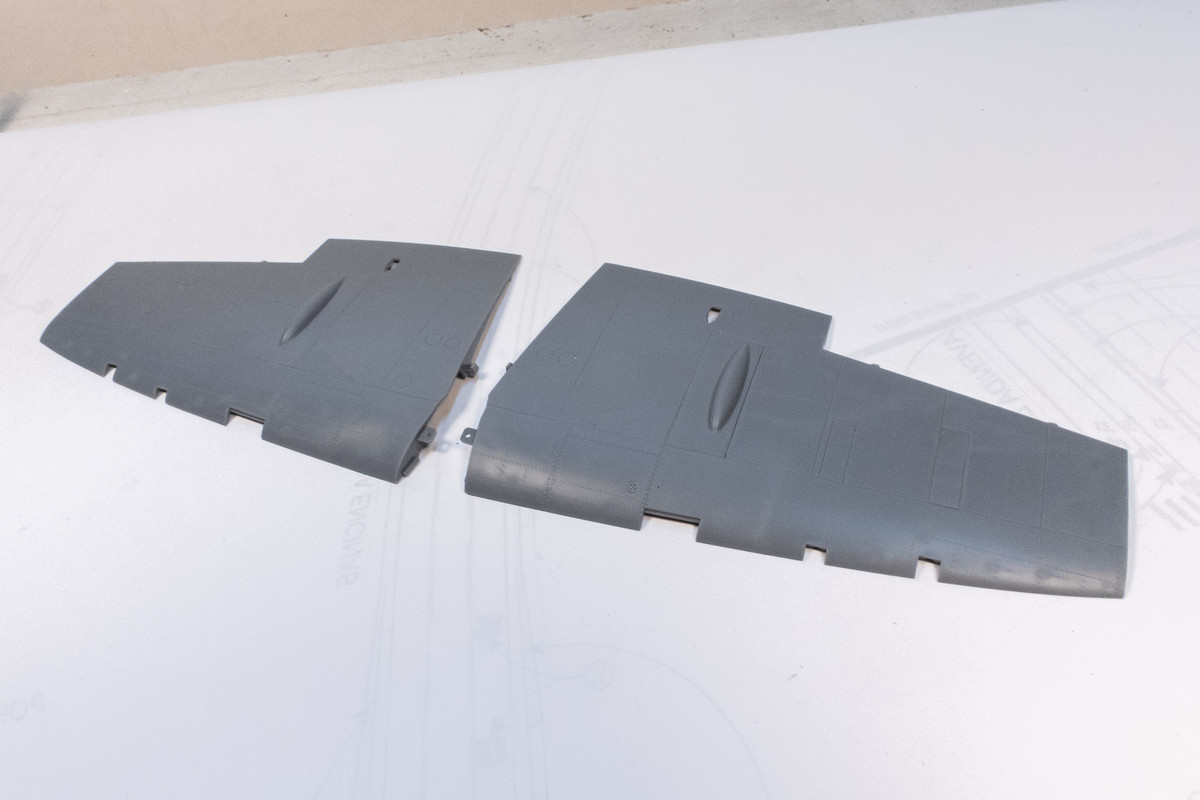
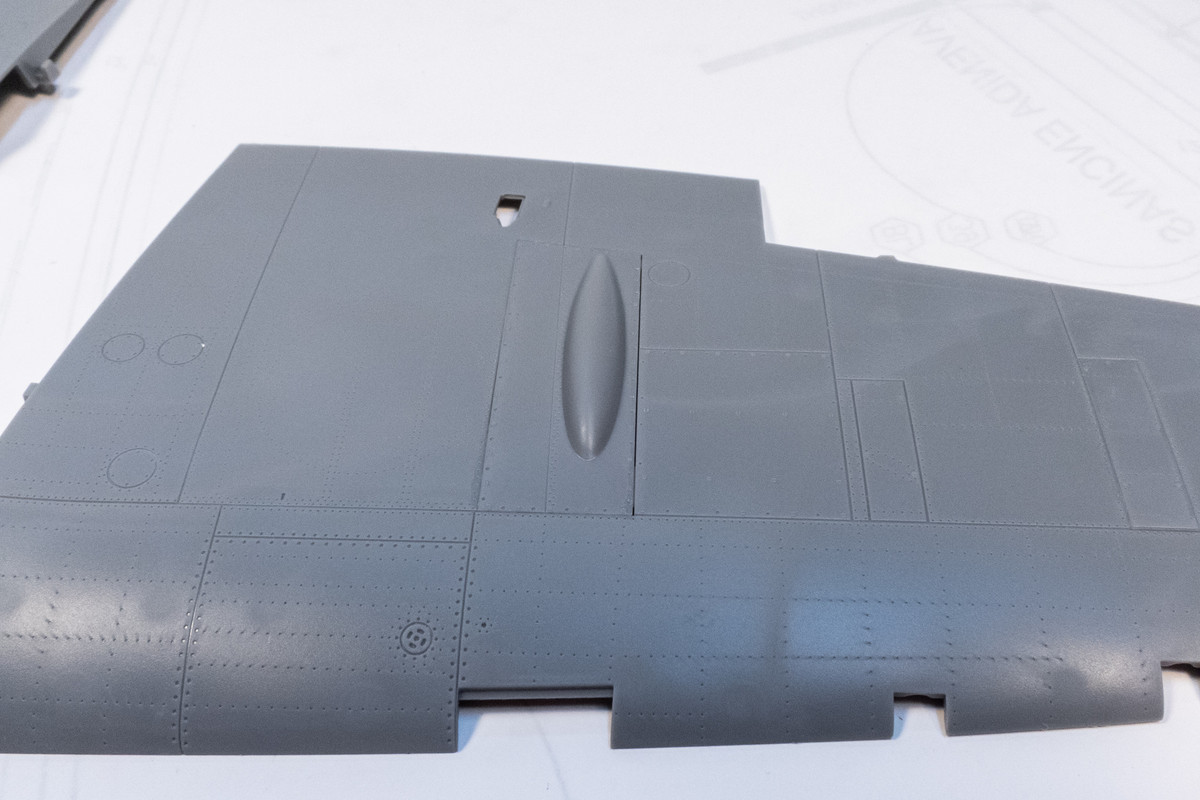
Very surprised to see this ever so slight gap! One out of eleven ain't bad.
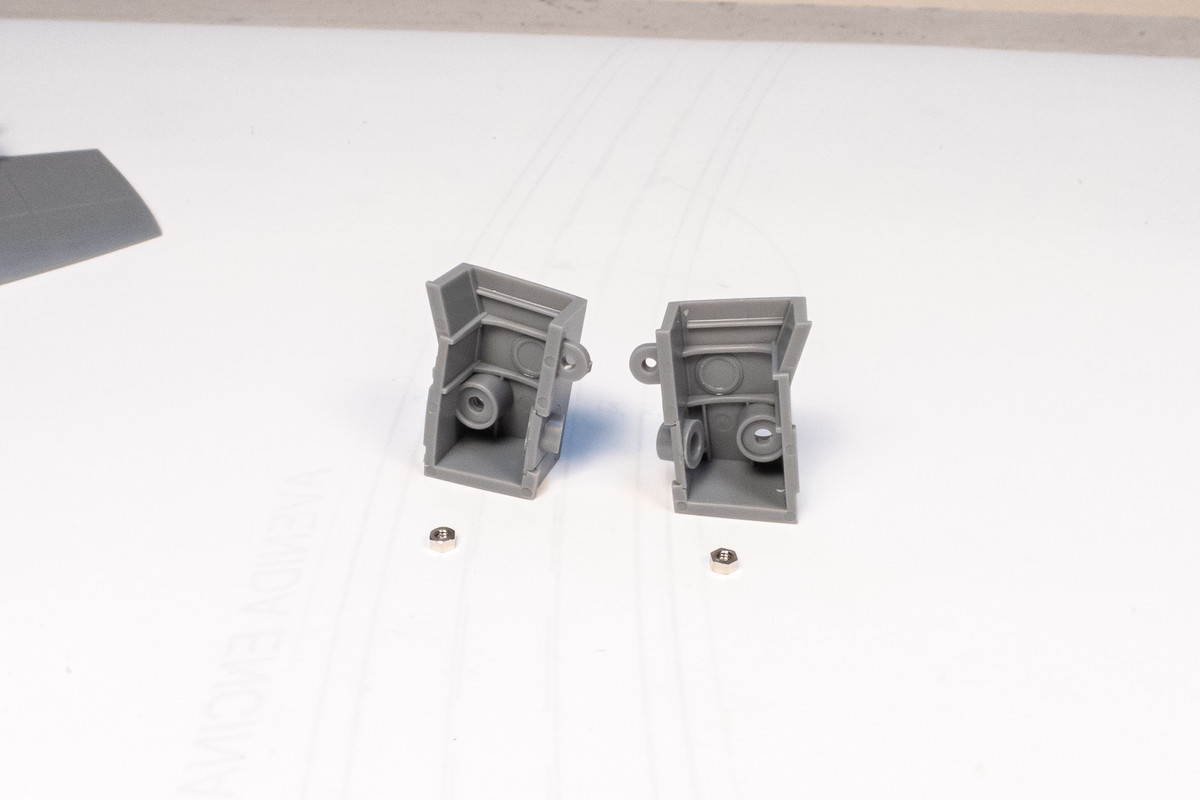
Before the wing halves can go together, the wheel wells need to be assembled. In typical Tamiya fashion, these go together like clockwork.
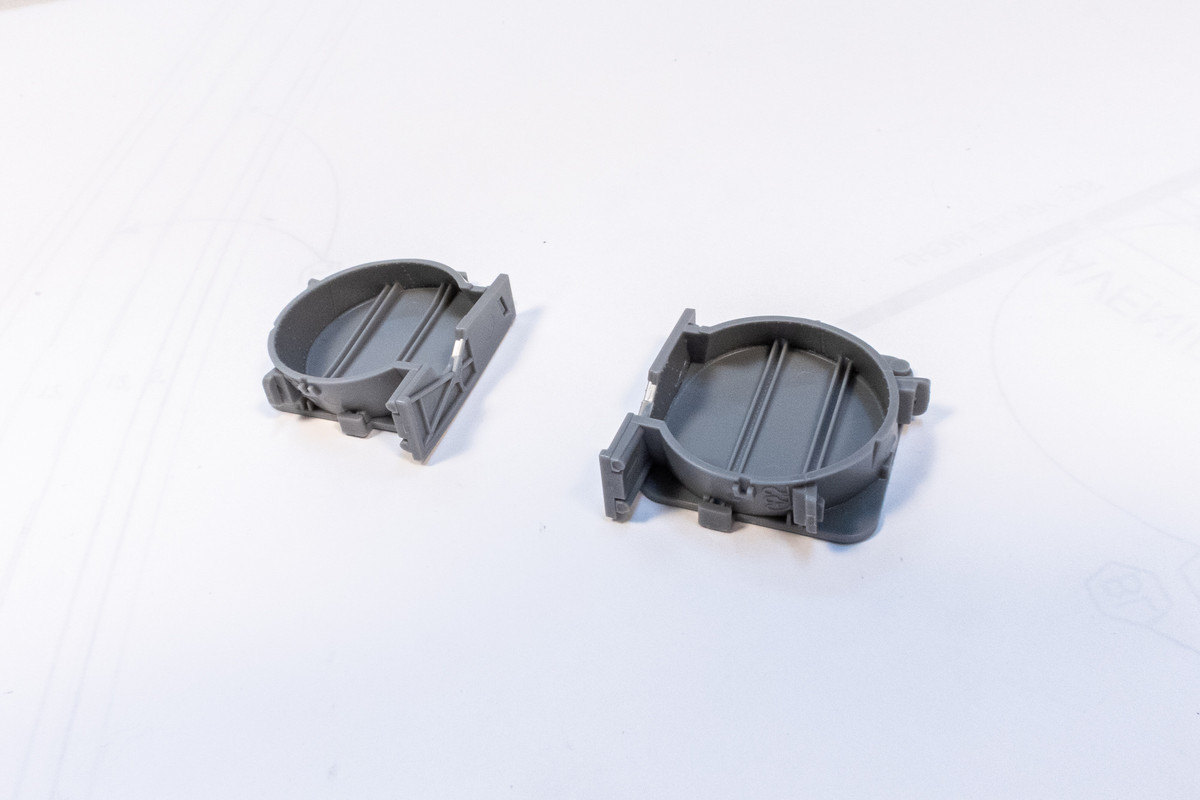
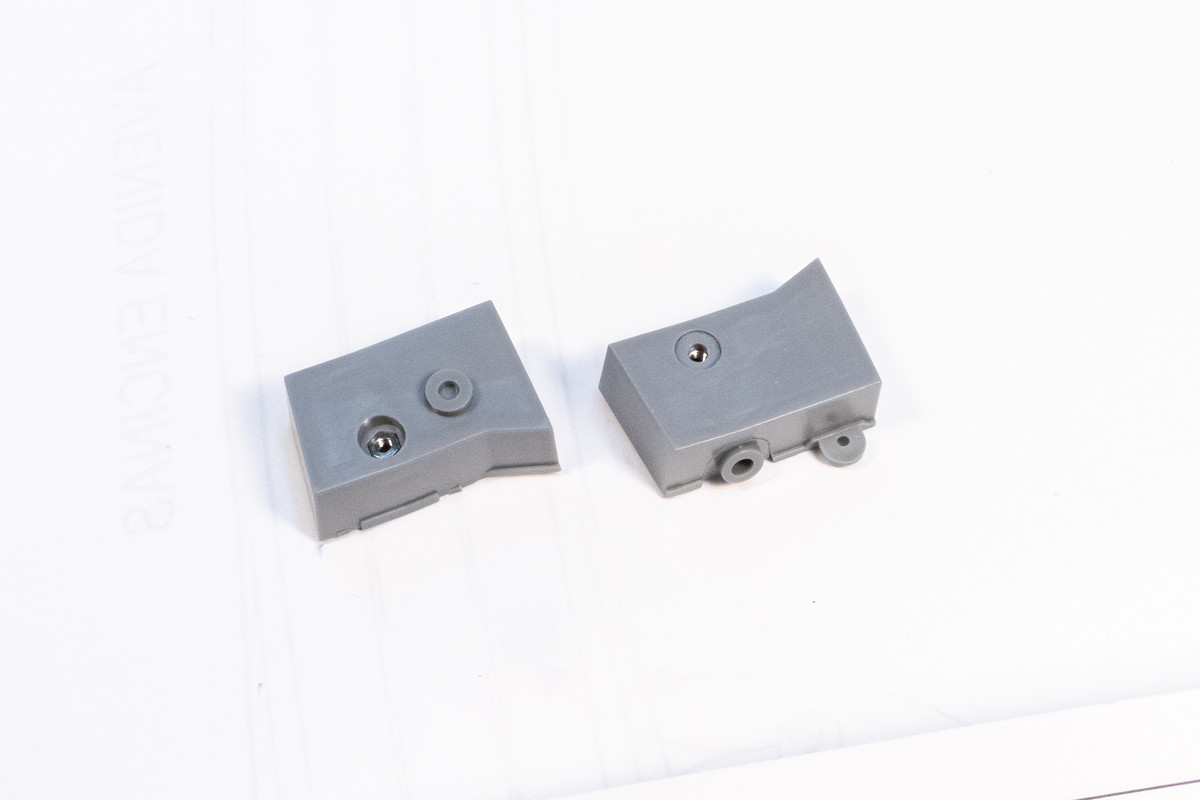
The base of the wheel wells feature tiny nuts, which I suppose will be used to attach the landing gear? From what I can tell, Spitfire wheel wells are very clean, wiring-wise so I don't think I'll be adding anything to this area. But I'll be painting them before installation.
Another incremental progress shot...
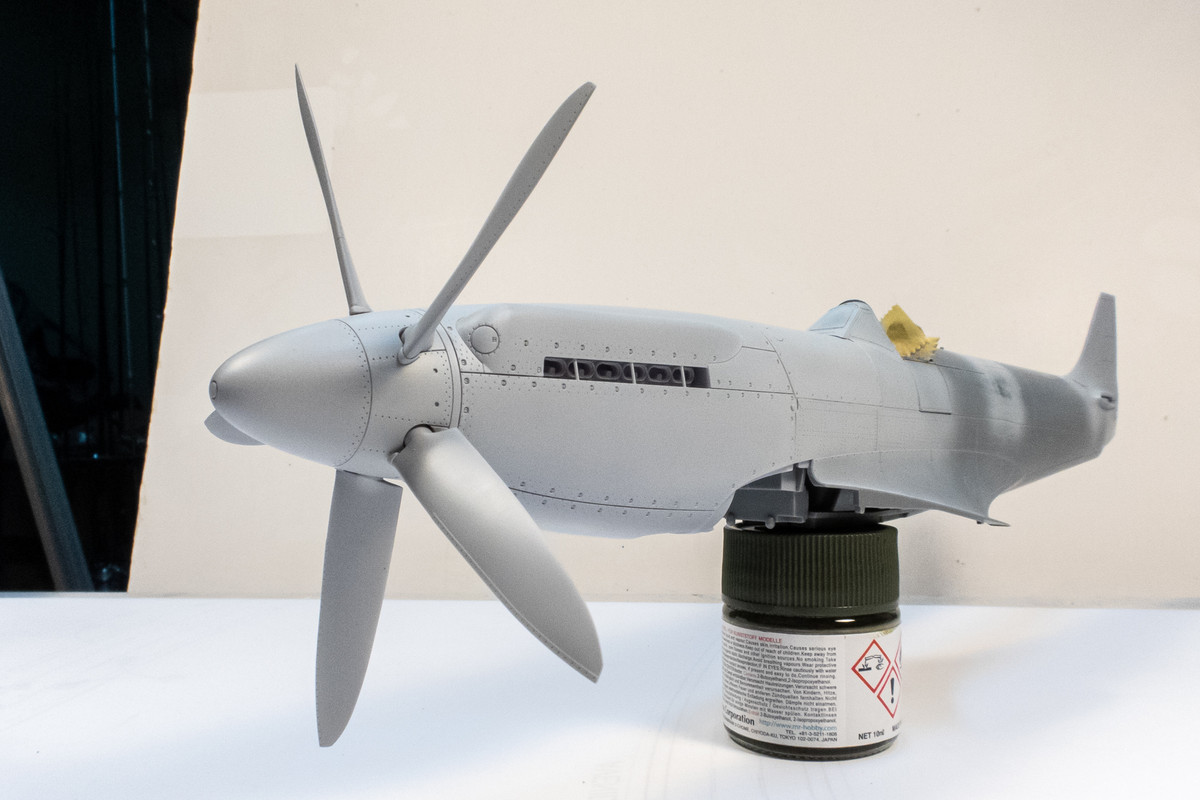
John aka JKim
-----------<><
-----------<><
Re: Tamiya 1/32 Spitfire XIVe Conversion
DUDE!
You do not need a noob like me (see join date and post count) to tell you this is an AMAZING work of art.
Every time I start thinking I have talent, I see stuff like this and know my place. Doesn't stop me from trying though.
You do not need a noob like me (see join date and post count) to tell you this is an AMAZING work of art.
Every time I start thinking I have talent, I see stuff like this and know my place. Doesn't stop me from trying though.


-
BlackSheep214
- Elite Member
- Posts: 13595
- Joined: Sun Apr 06, 2014 8:47 pm
Re: Tamiya 1/32 Spitfire XIVe Conversion
I quit…. ROFLMAO!
“Who controls the skies, controls the fate of this Earth”
Author unknown- 352nd Fighter Group, Blue-Nosed Bastards of Bodney
“Send one plane it’s a sortie; send two planes it’s a flight; send four planes it’s a test of airpower. - Richard Kohn
Author unknown- 352nd Fighter Group, Blue-Nosed Bastards of Bodney
“Send one plane it’s a sortie; send two planes it’s a flight; send four planes it’s a test of airpower. - Richard Kohn
Re: Tamiya 1/32 Spitfire XIVe Conversion
Hey, we're all brothers in this cool fraternity! I sometimes get funny looks from people when I tell them that I like to build plastic models. So I'm thankful to communities like this where I can share this crazy passion with people who can relate.
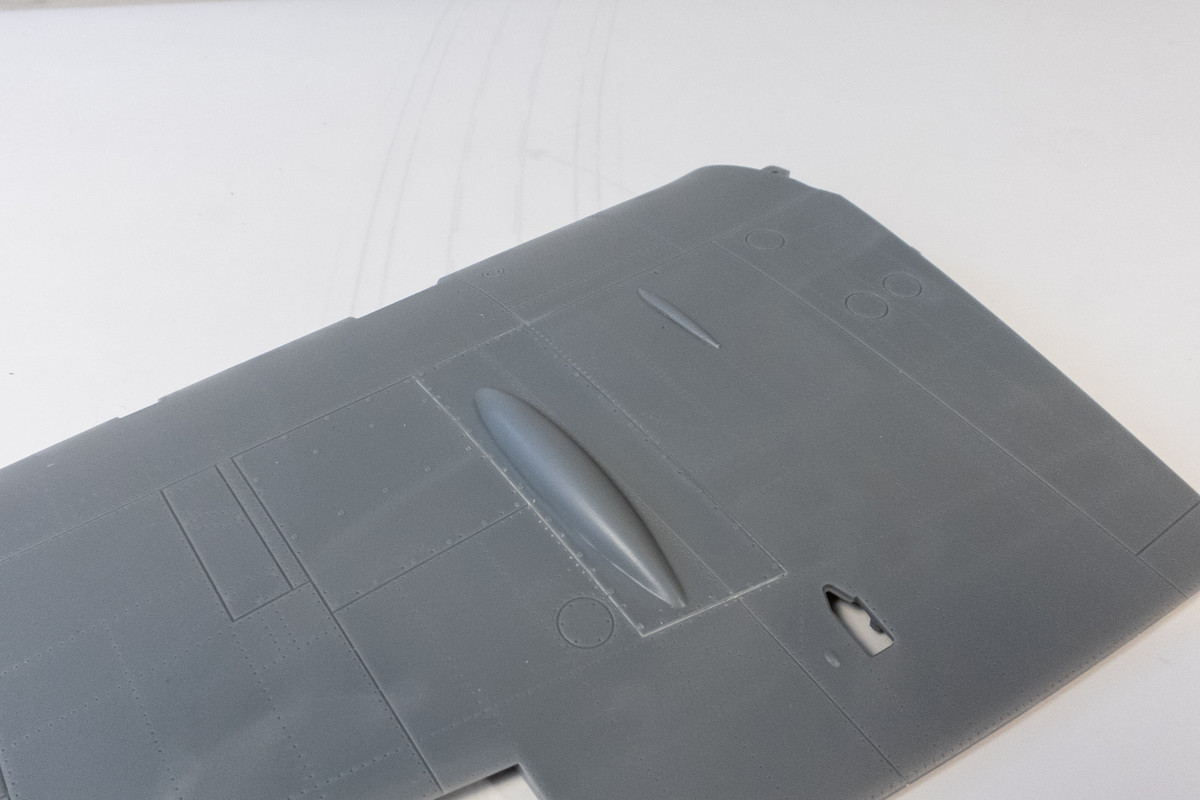
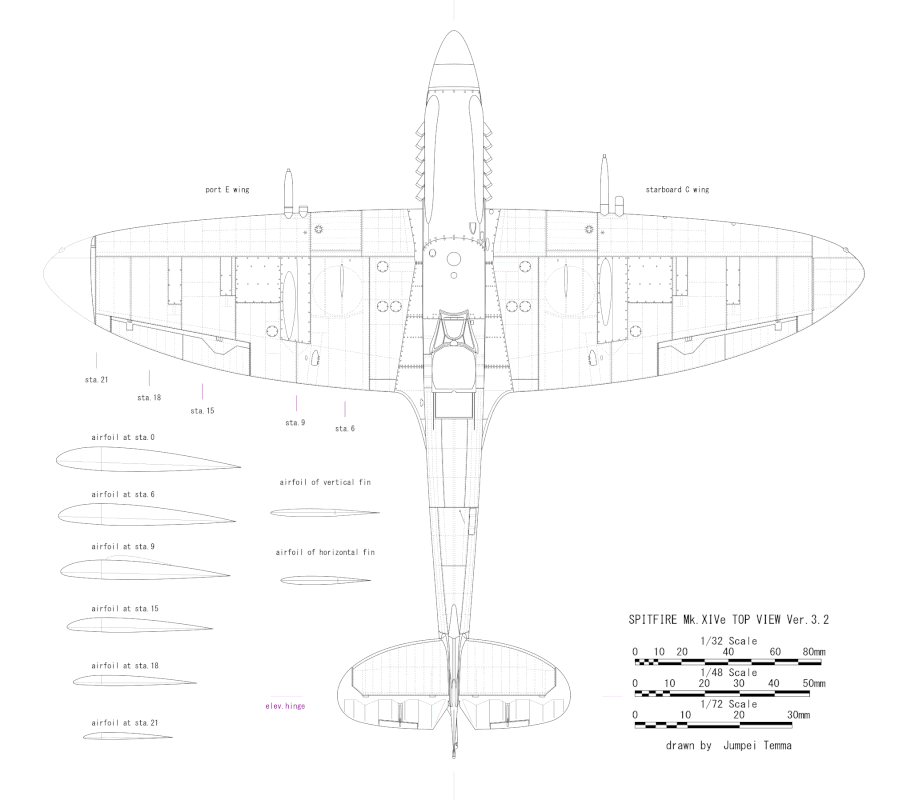
I added one more set of bulges to the upper wings. A small thin one inboard of bigger gun fairing. I have no idea what it is for or if it is accurate for my particular machine (NH745) but it appears on Jumpei Temma's XIVe drawing and I've seen photos of restored XIVe's with it so I'm going with it.

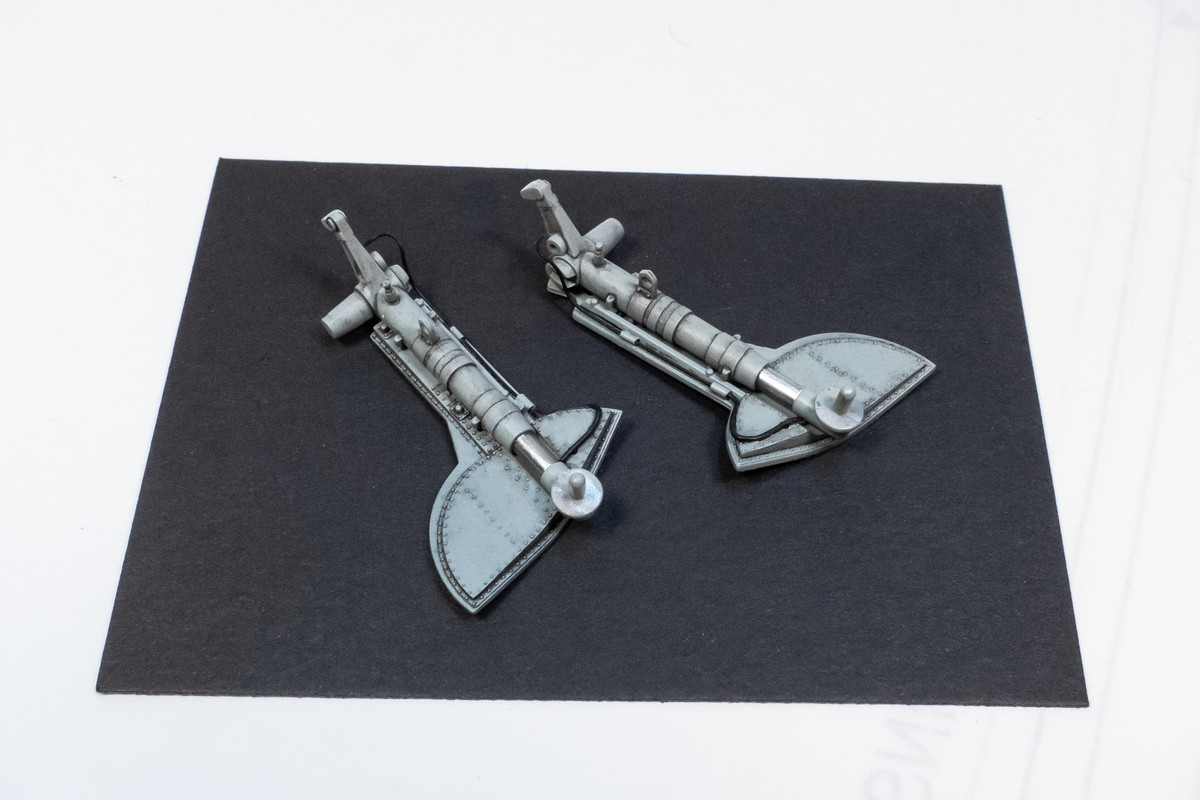
The landing gear legs have been painted, for the most part. But... I lost one of the oleo scissors so I've got to address that somehow.
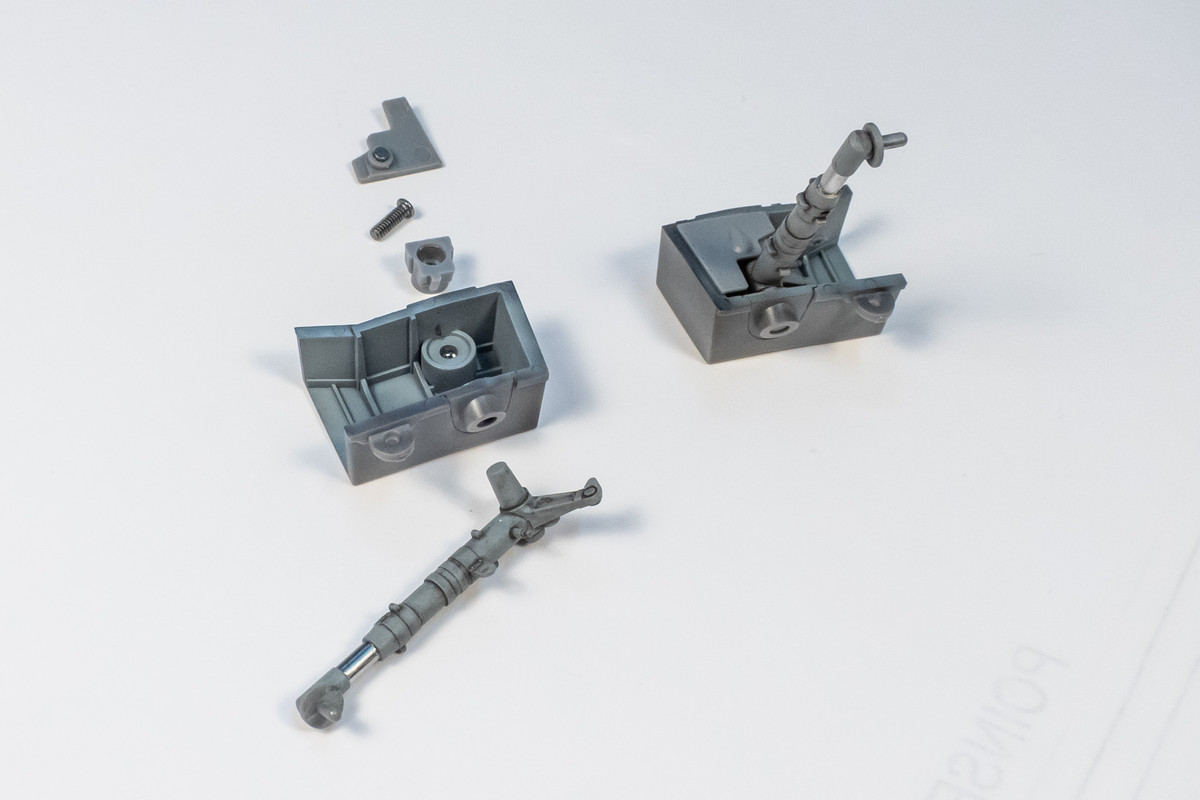
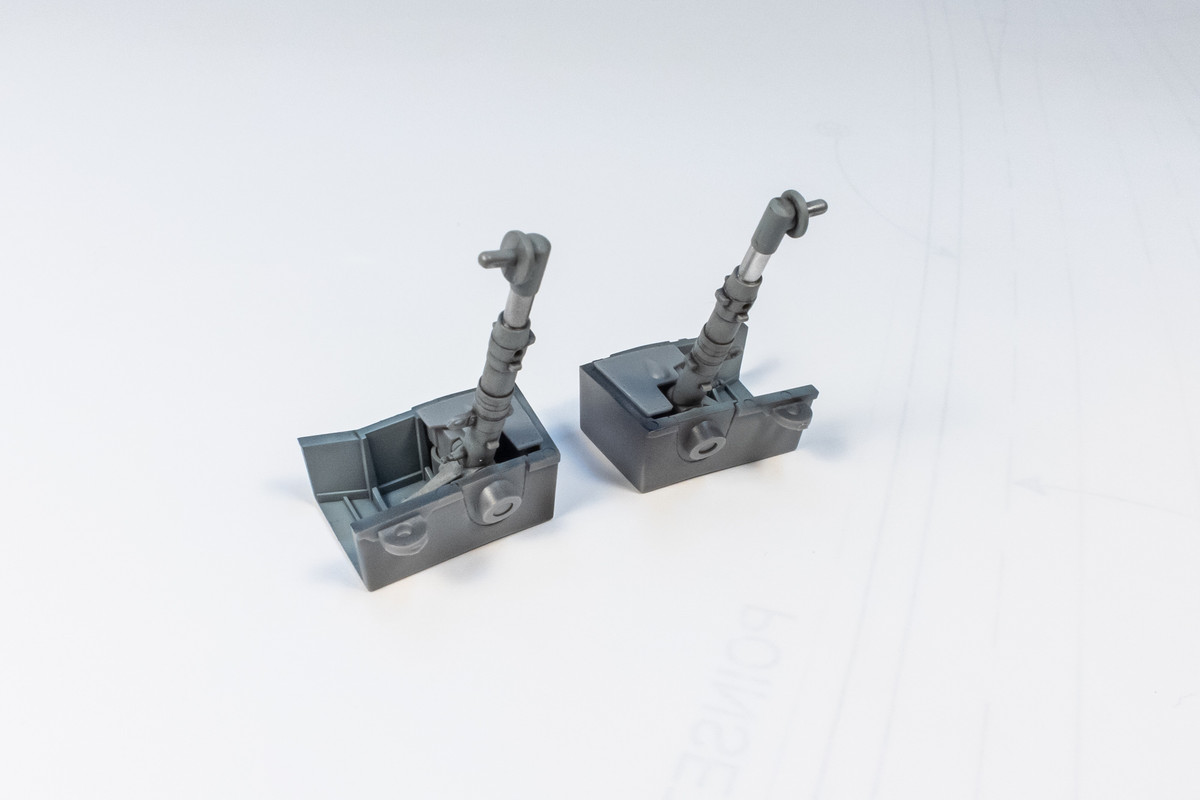
The landing gear attachment is pretty interesting. It involves screws and magnets because Tamiya intended them to be removable for some odd reason. I don't think I'll have any reason to detach the landing gear but in order to understand how it may impact my build, I took a looksee. Cute but unnecessary, like the moveable control surfaces, IMO.
The engine cowling joints have been refined to the almost finished stage.

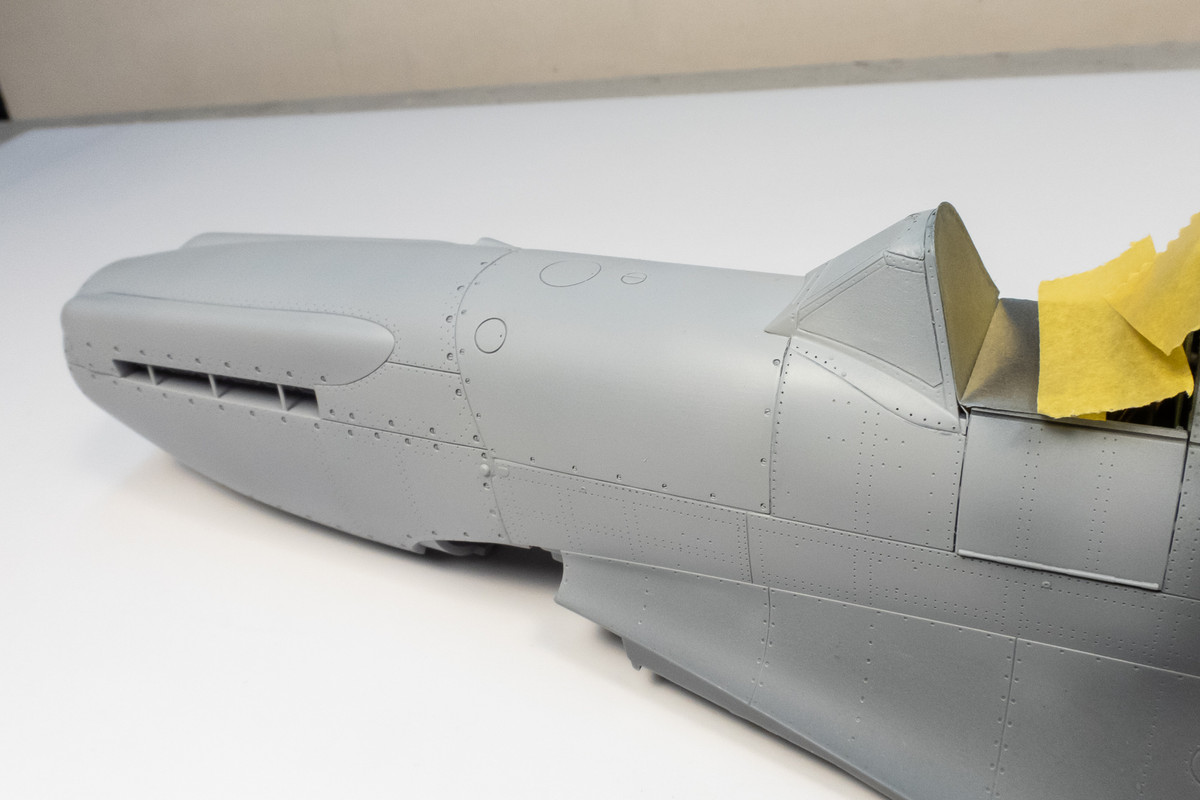
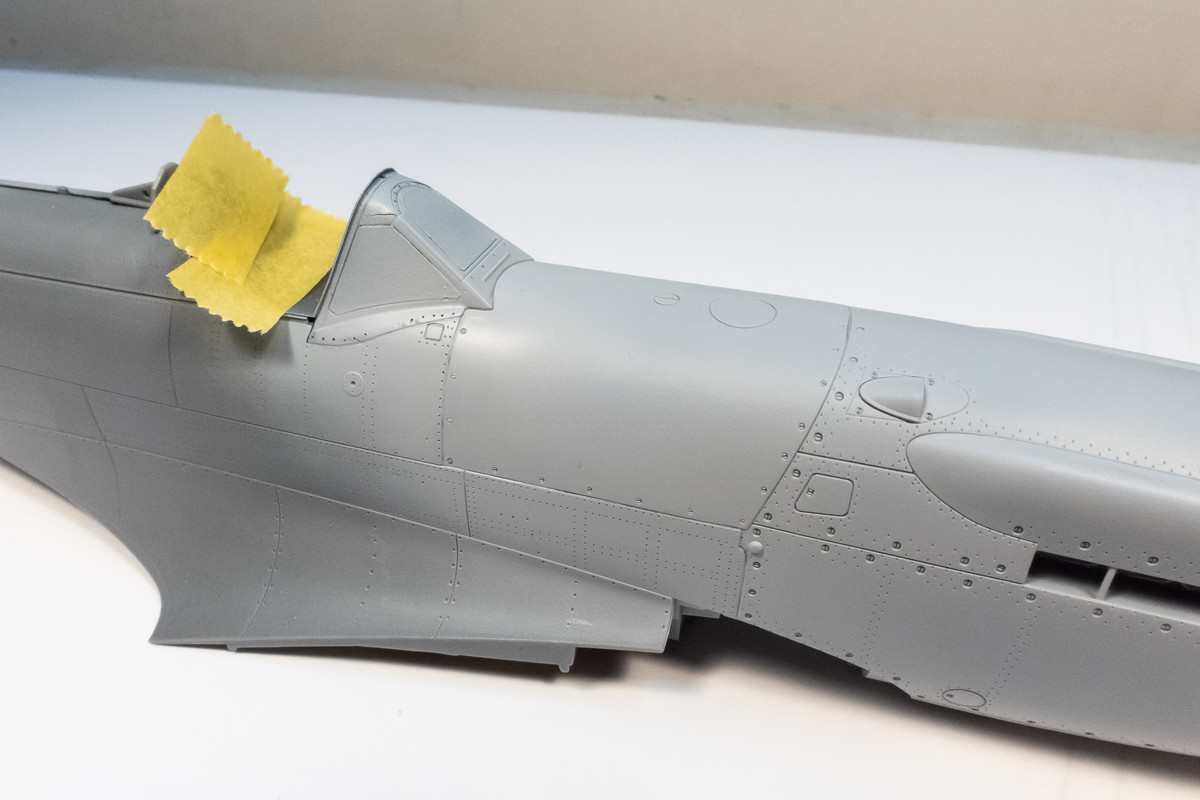
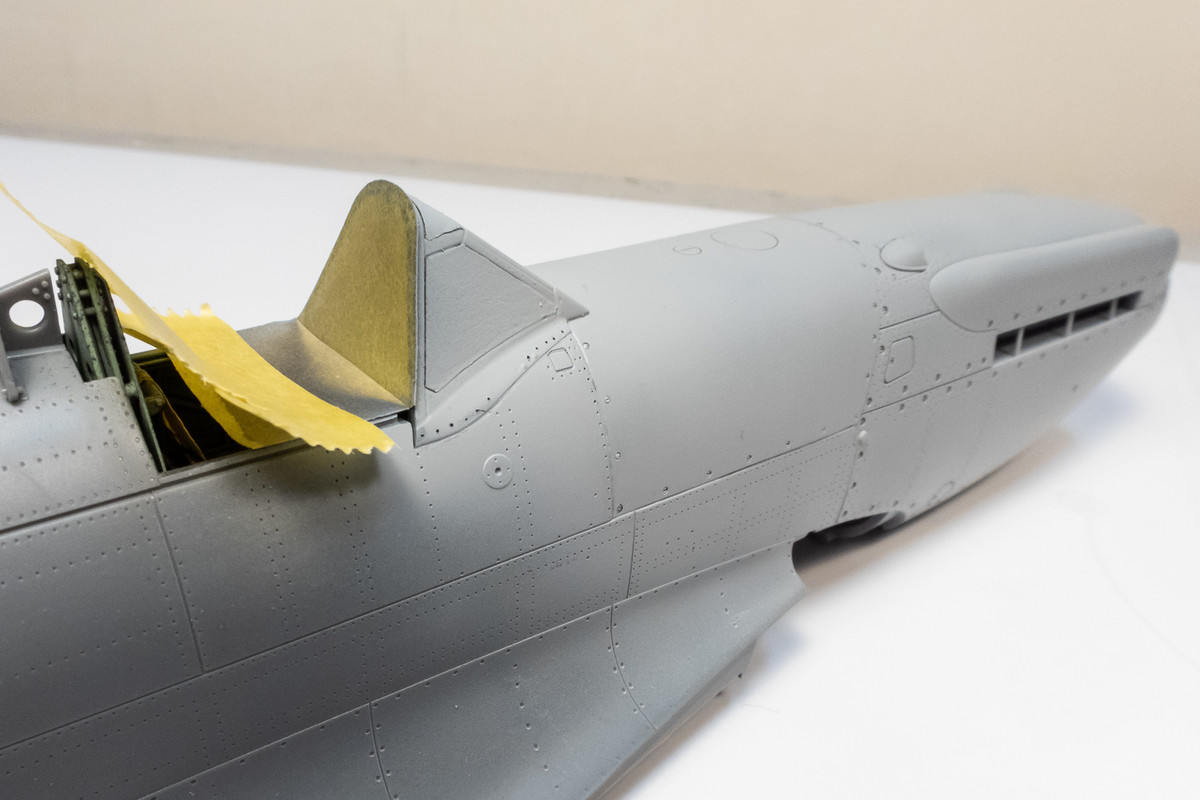
What do about the missing oleo scissor? I have a few options. I dug through my spares and found some scissors from the Hasegawa D-9 kit but they need to be chopped down a bit to work. Another idea is to cast a new part. I have this blue stuff called... well, Blue Stuff. It's thermoplastic material that softens in boiling water and hardens as it cools. Just press the part into the softened Blue Stuff and let it harden.
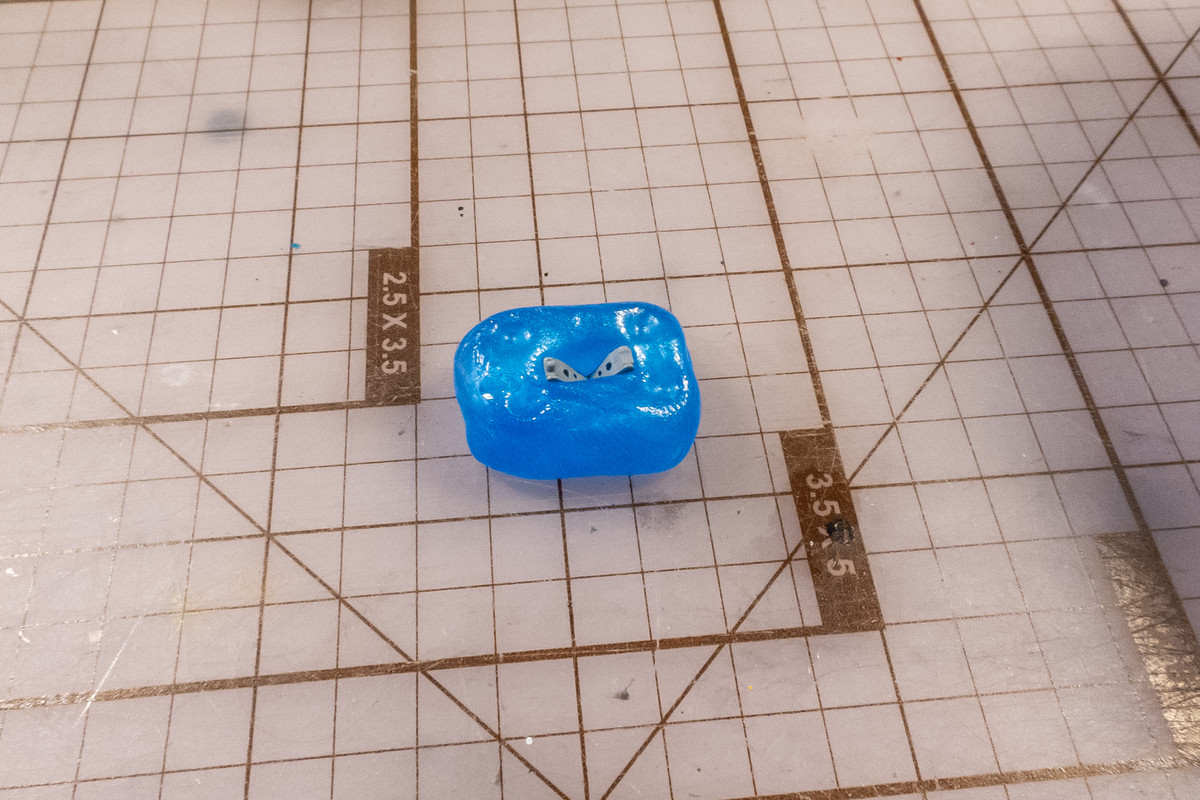
Press a second piece of Blue Stuff on top and let that harden.
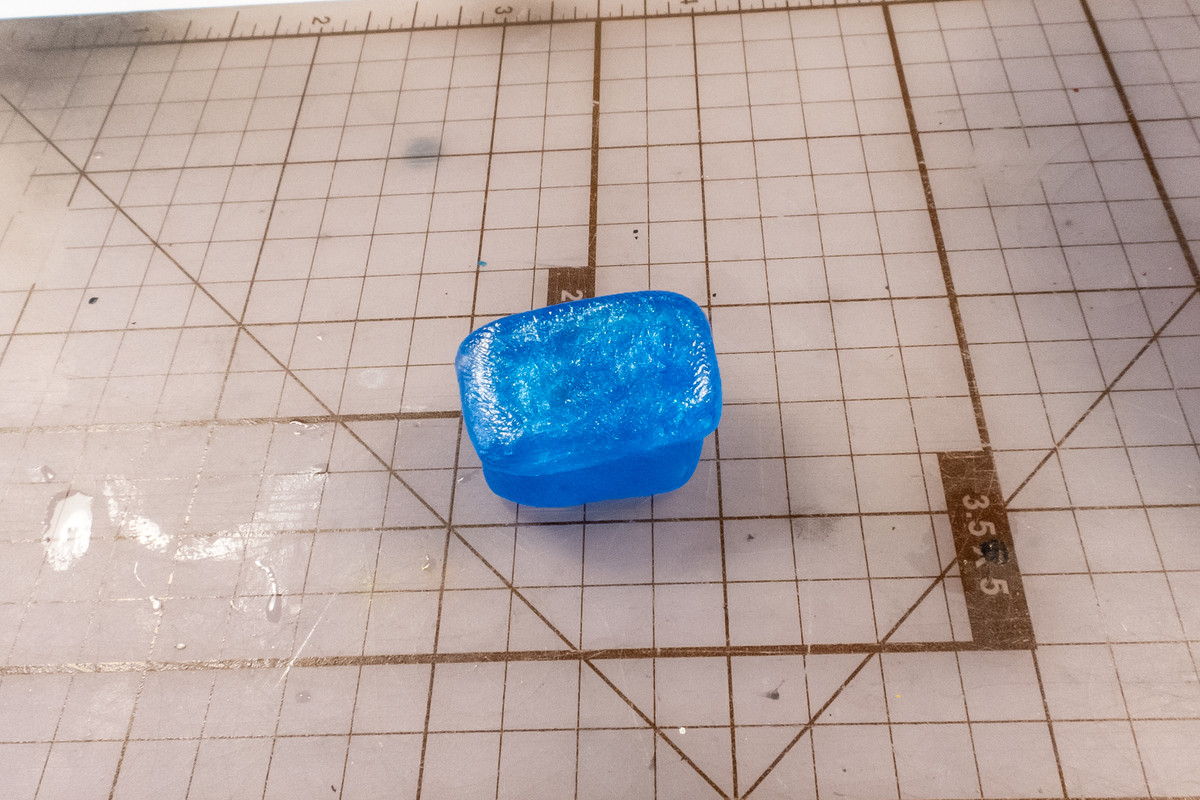
The two pieces don't stick together and neither does putty so once you separate the two halves and remove the original part, you have a mold.
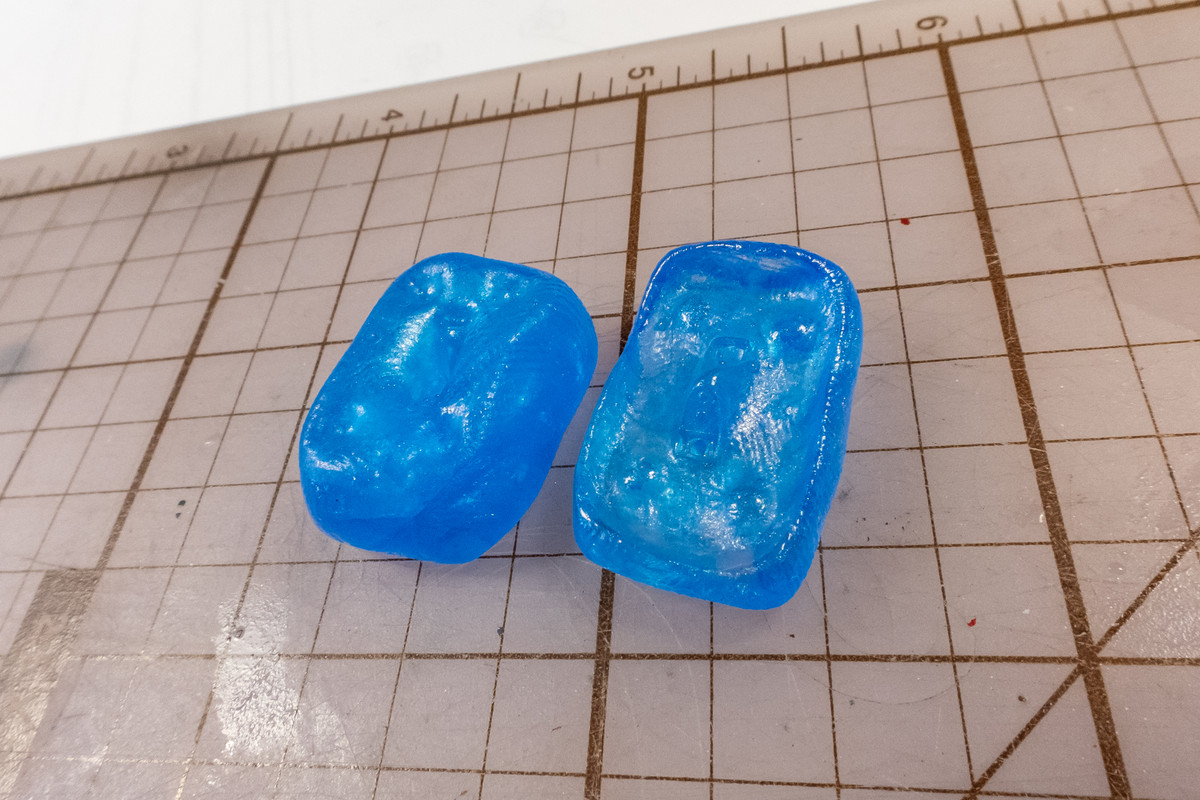
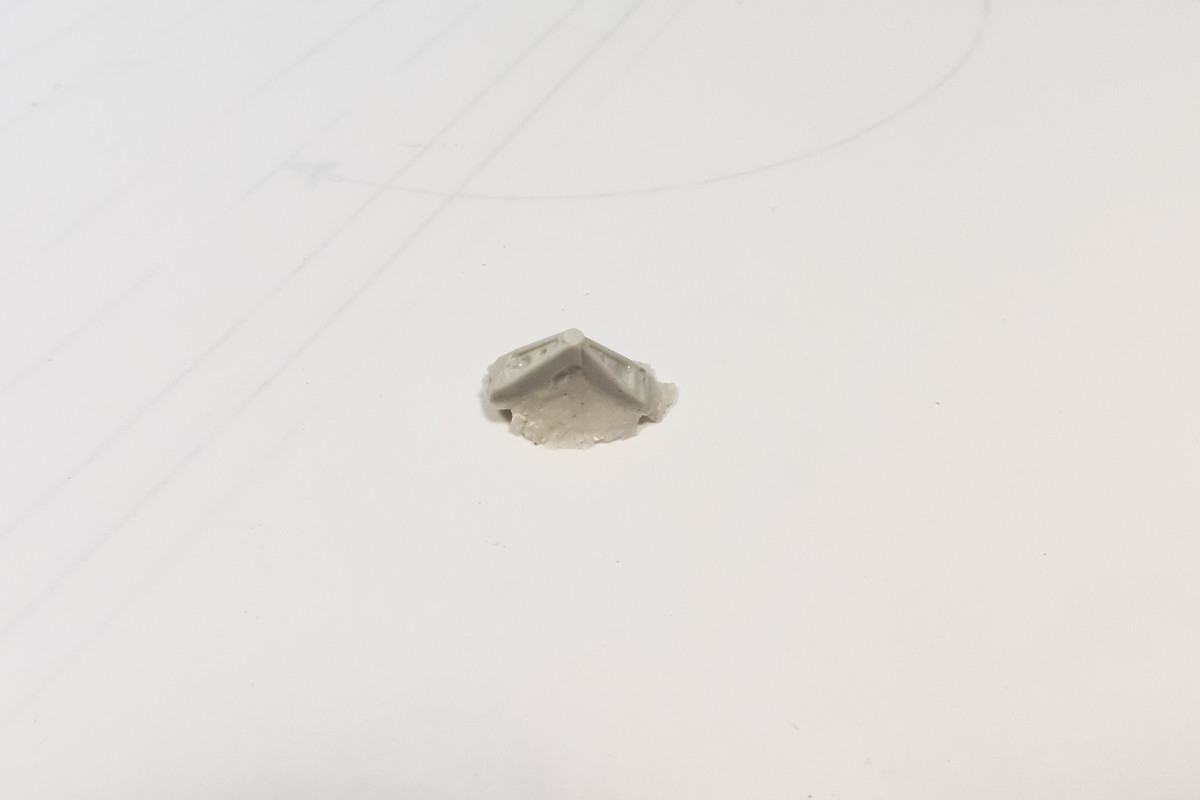
I used Apoxie Sculpt 2-part epoxy to create the new part. I was so excited to see the results that I took it out while it was still flexible and not fully cured. Lots of flash but if I can manage to drill lightening holes without breaking it, this might work out. I cast a few more samples so let's see how they work out tomorrow.
I added one more set of bulges to the upper wings. A small thin one inboard of bigger gun fairing. I have no idea what it is for or if it is accurate for my particular machine (NH745) but it appears on Jumpei Temma's XIVe drawing and I've seen photos of restored XIVe's with it so I'm going with it.
The landing gear legs have been painted, for the most part. But... I lost one of the oleo scissors so I've got to address that somehow.
The landing gear attachment is pretty interesting. It involves screws and magnets because Tamiya intended them to be removable for some odd reason. I don't think I'll have any reason to detach the landing gear but in order to understand how it may impact my build, I took a looksee. Cute but unnecessary, like the moveable control surfaces, IMO.
The engine cowling joints have been refined to the almost finished stage.
What do about the missing oleo scissor? I have a few options. I dug through my spares and found some scissors from the Hasegawa D-9 kit but they need to be chopped down a bit to work. Another idea is to cast a new part. I have this blue stuff called... well, Blue Stuff. It's thermoplastic material that softens in boiling water and hardens as it cools. Just press the part into the softened Blue Stuff and let it harden.
Press a second piece of Blue Stuff on top and let that harden.
The two pieces don't stick together and neither does putty so once you separate the two halves and remove the original part, you have a mold.
I used Apoxie Sculpt 2-part epoxy to create the new part. I was so excited to see the results that I took it out while it was still flexible and not fully cured. Lots of flash but if I can manage to drill lightening holes without breaking it, this might work out. I cast a few more samples so let's see how they work out tomorrow.
John aka JKim
-----------<><
-----------<><
-
BlackSheep214
- Elite Member
- Posts: 13595
- Joined: Sun Apr 06, 2014 8:47 pm
Re: Tamiya 1/32 Spitfire XIVe Conversion
Nice save. That's what would MacGuyver do... 
“Who controls the skies, controls the fate of this Earth”
Author unknown- 352nd Fighter Group, Blue-Nosed Bastards of Bodney
“Send one plane it’s a sortie; send two planes it’s a flight; send four planes it’s a test of airpower. - Richard Kohn
Author unknown- 352nd Fighter Group, Blue-Nosed Bastards of Bodney
“Send one plane it’s a sortie; send two planes it’s a flight; send four planes it’s a test of airpower. - Richard Kohn
Re: Tamiya 1/32 Spitfire XIVe Conversion
Here is the cast piece after it has been cleaned up and painted.
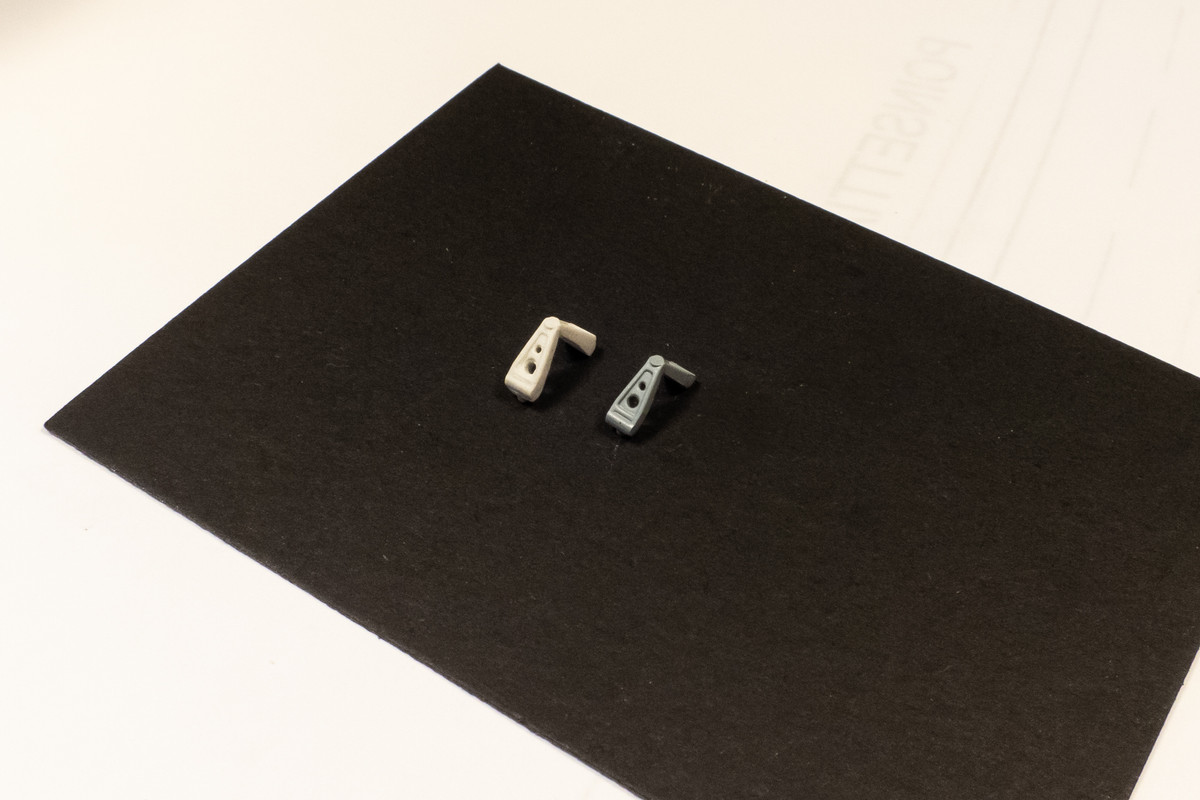
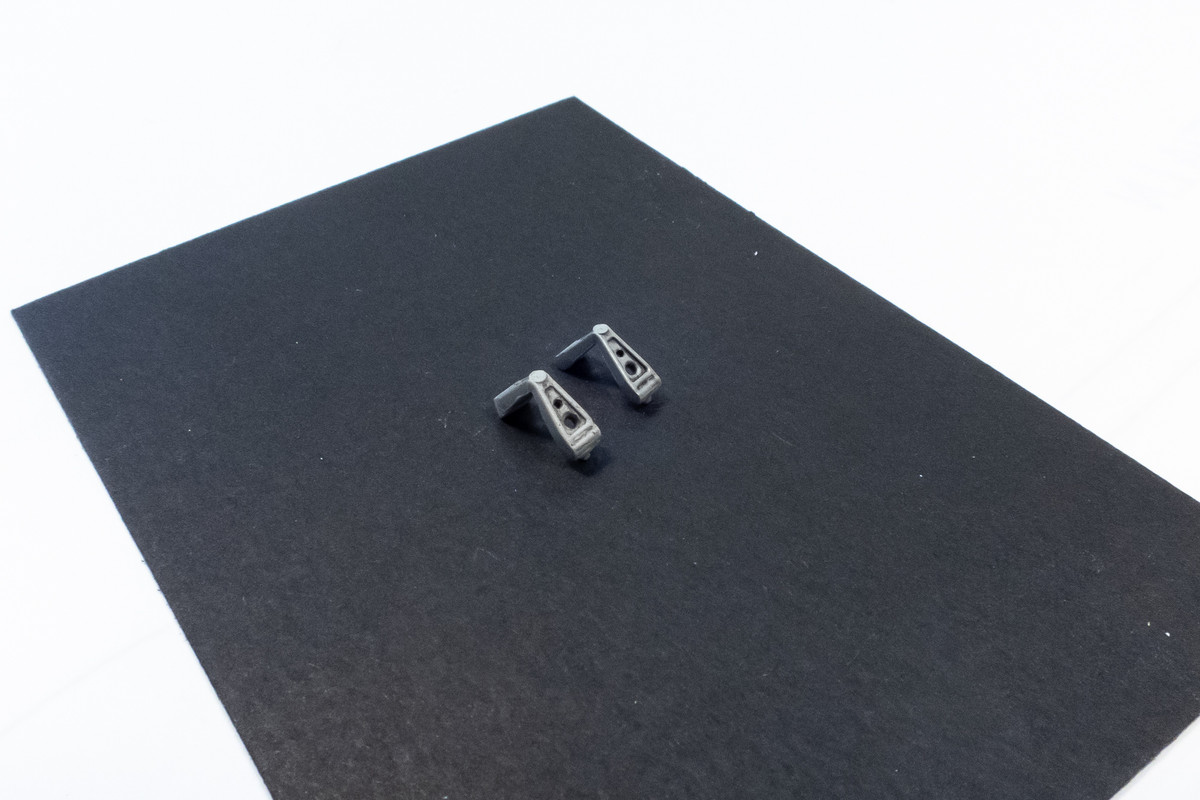
It's a bit clunkier than the original piece but it shall have to pass!

The majority of the landing gear components have been completed so it is almost time to glue the wing parts together.
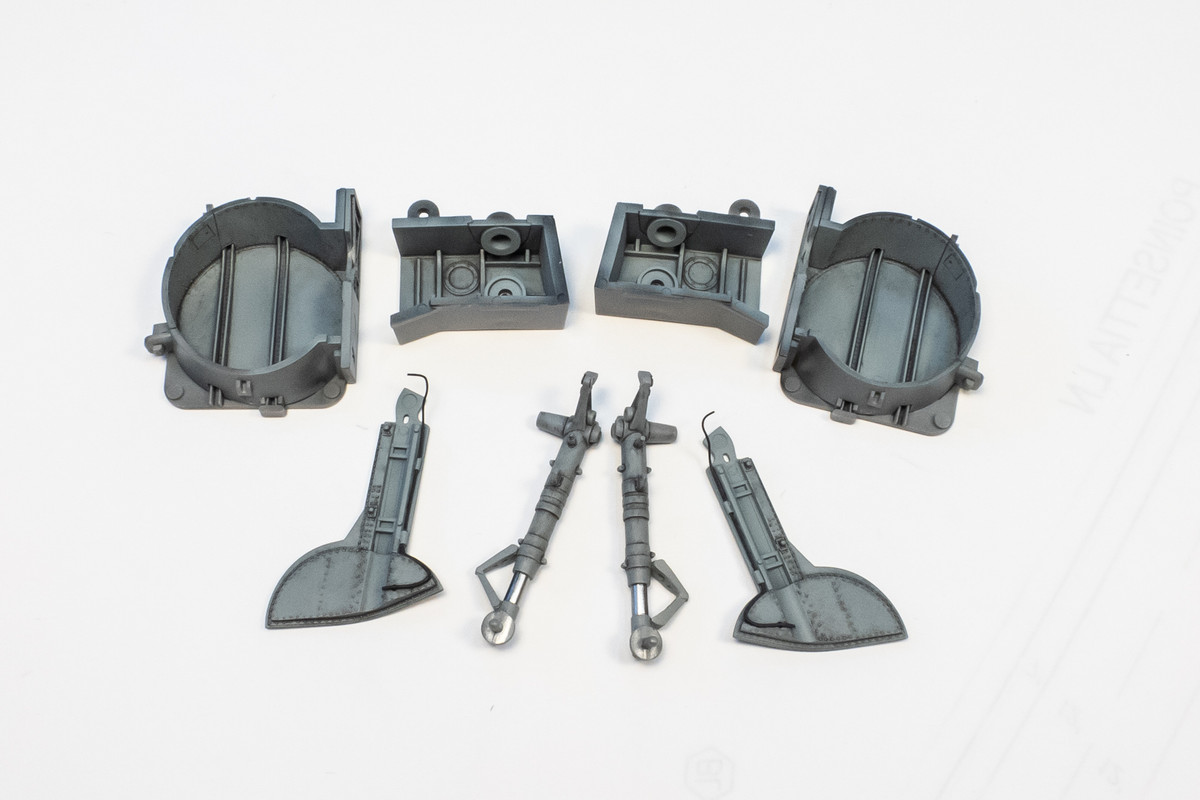
It's a bit clunkier than the original piece but it shall have to pass!
The majority of the landing gear components have been completed so it is almost time to glue the wing parts together.
John aka JKim
-----------<><
-----------<><