
 Are you ready for something completely different from me?
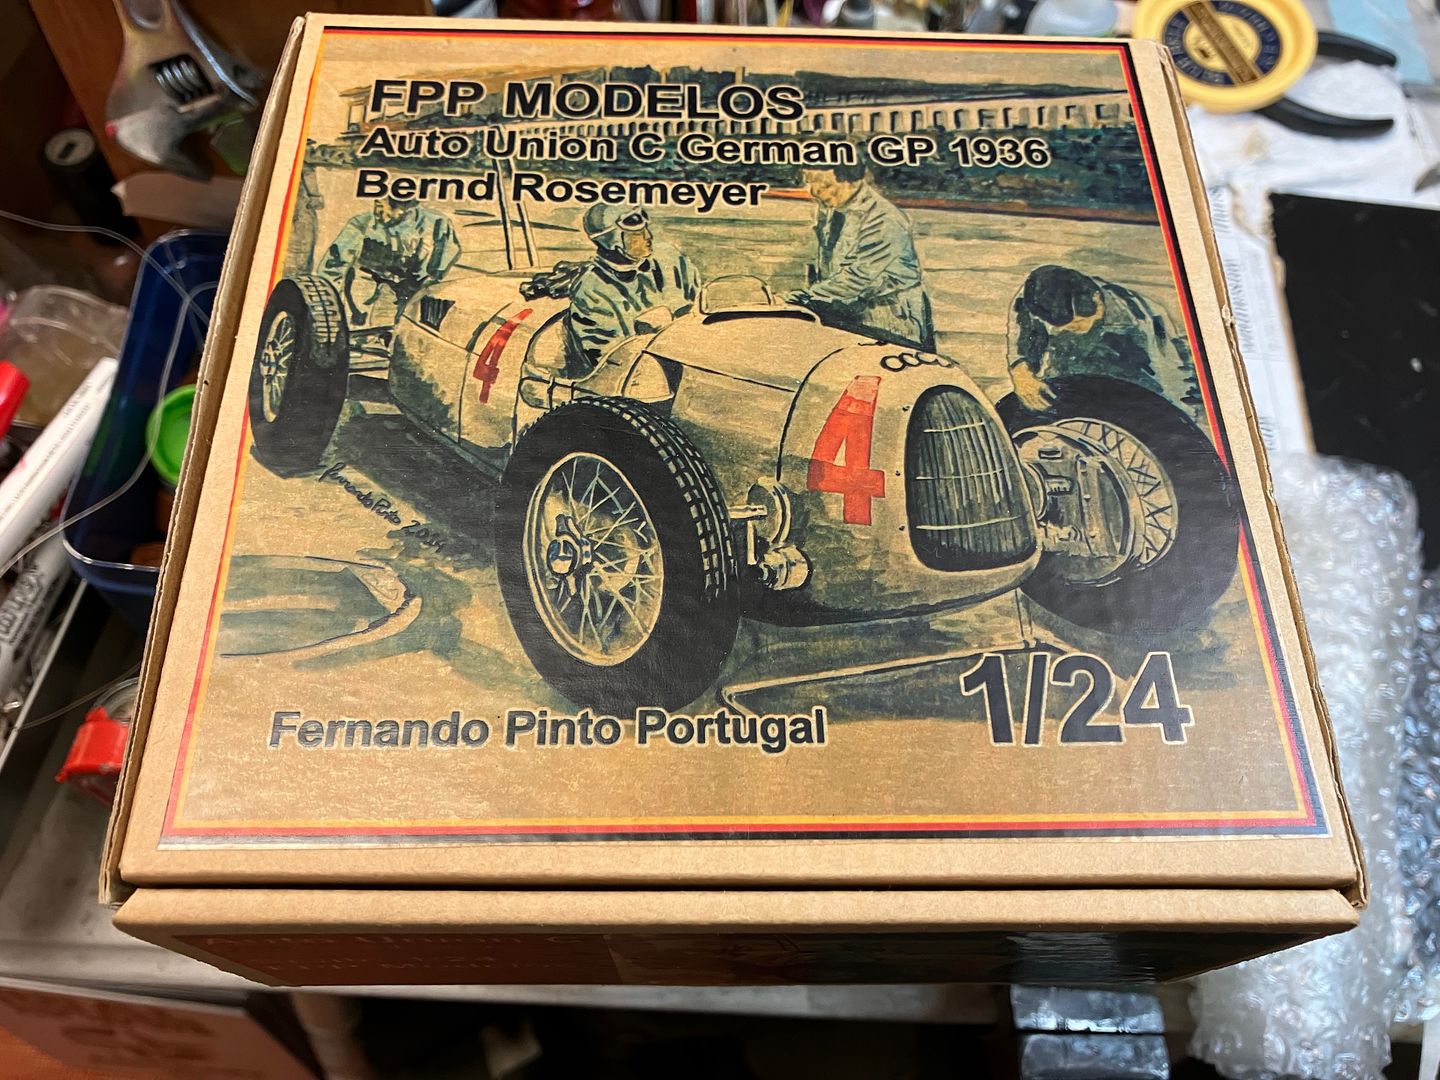
  I bought this all-resin kit probably 10 years ago at least and paid more for it (and another Pinto kit) than any two or three injection kits together! But, after all that time I've finally had a detailed look at the kit. It is a 1/24 version of the Auto Union Type C Grand Prix racer driven by Bernd Rosemeyer in the 1936 German Grand Prix at Nürburgring, made by Fernando Pinto of Portugal. I hope to enter the kit in the upcoming "open-wheel" group build over at MSC. I haven't built a car model since 1976 and the Monogram Bugatti 35 and I've never built any resin kit at all so it will be interesting and unusual, to say the least! But I believe I can do it...with a little luck and a sportin' chance!
I've taken some quick photos of the contents and will show most of it. I have some questions too about working with resin and will address those as we go.
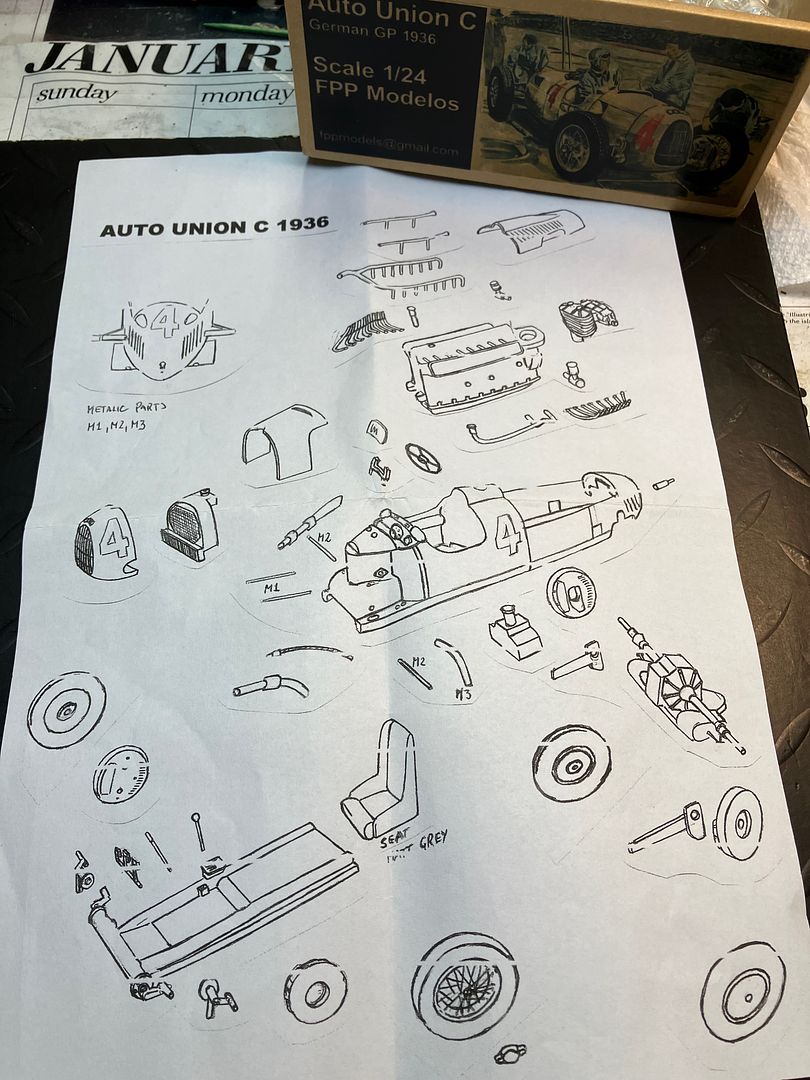
Box, followed by the "instructions":
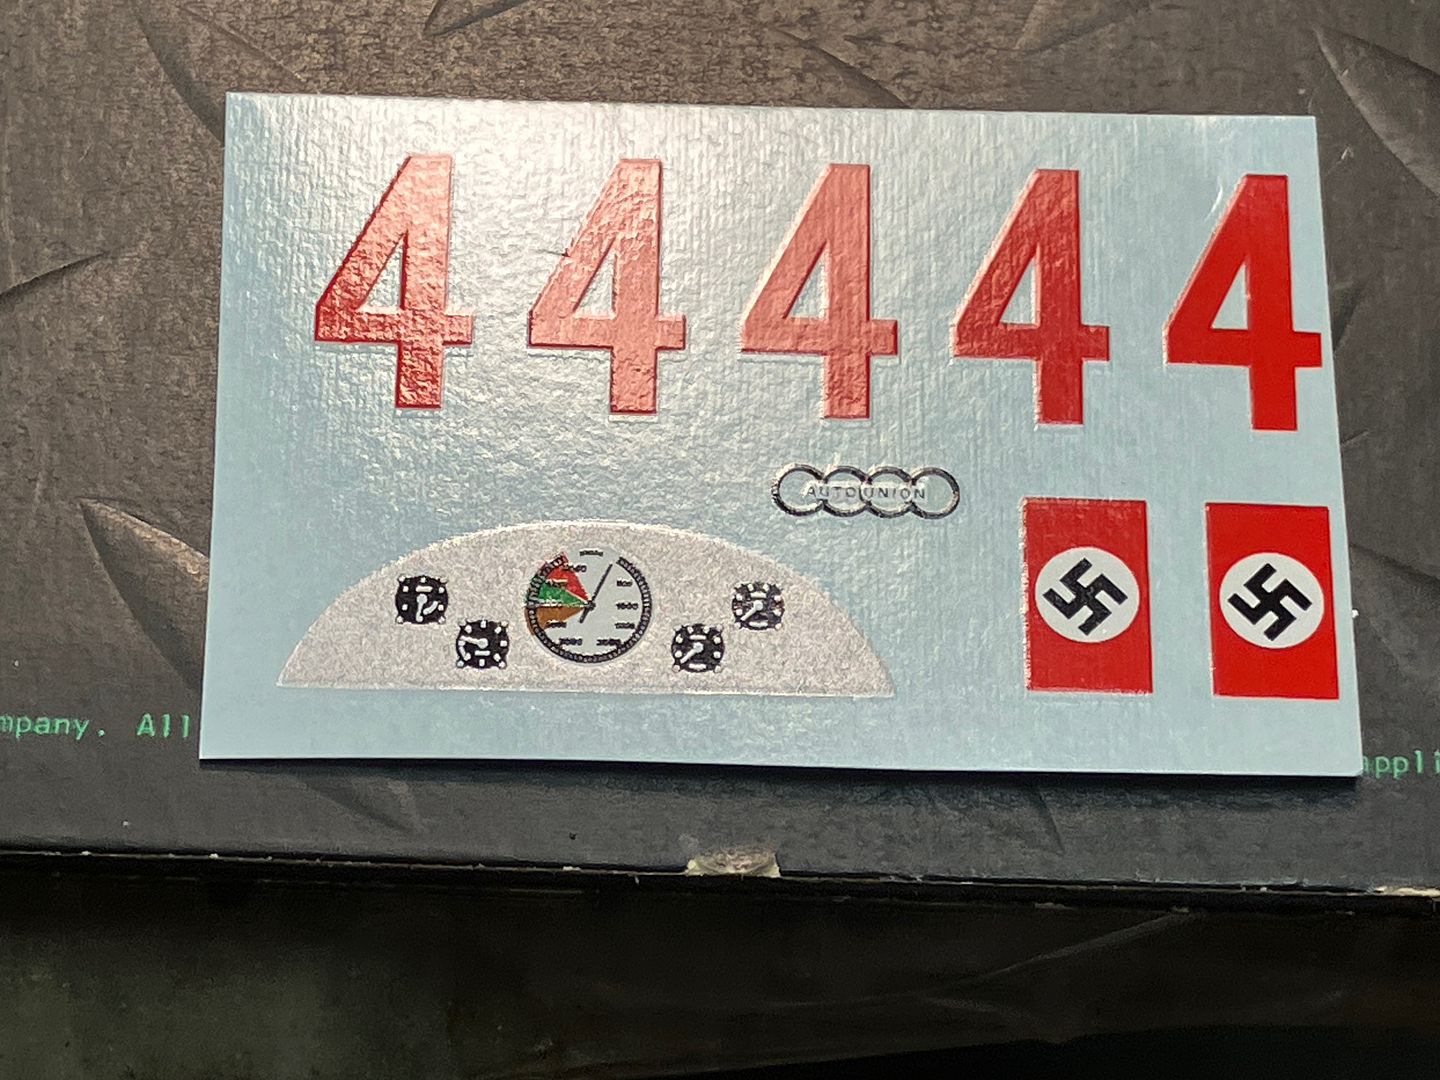
The decal sheet:
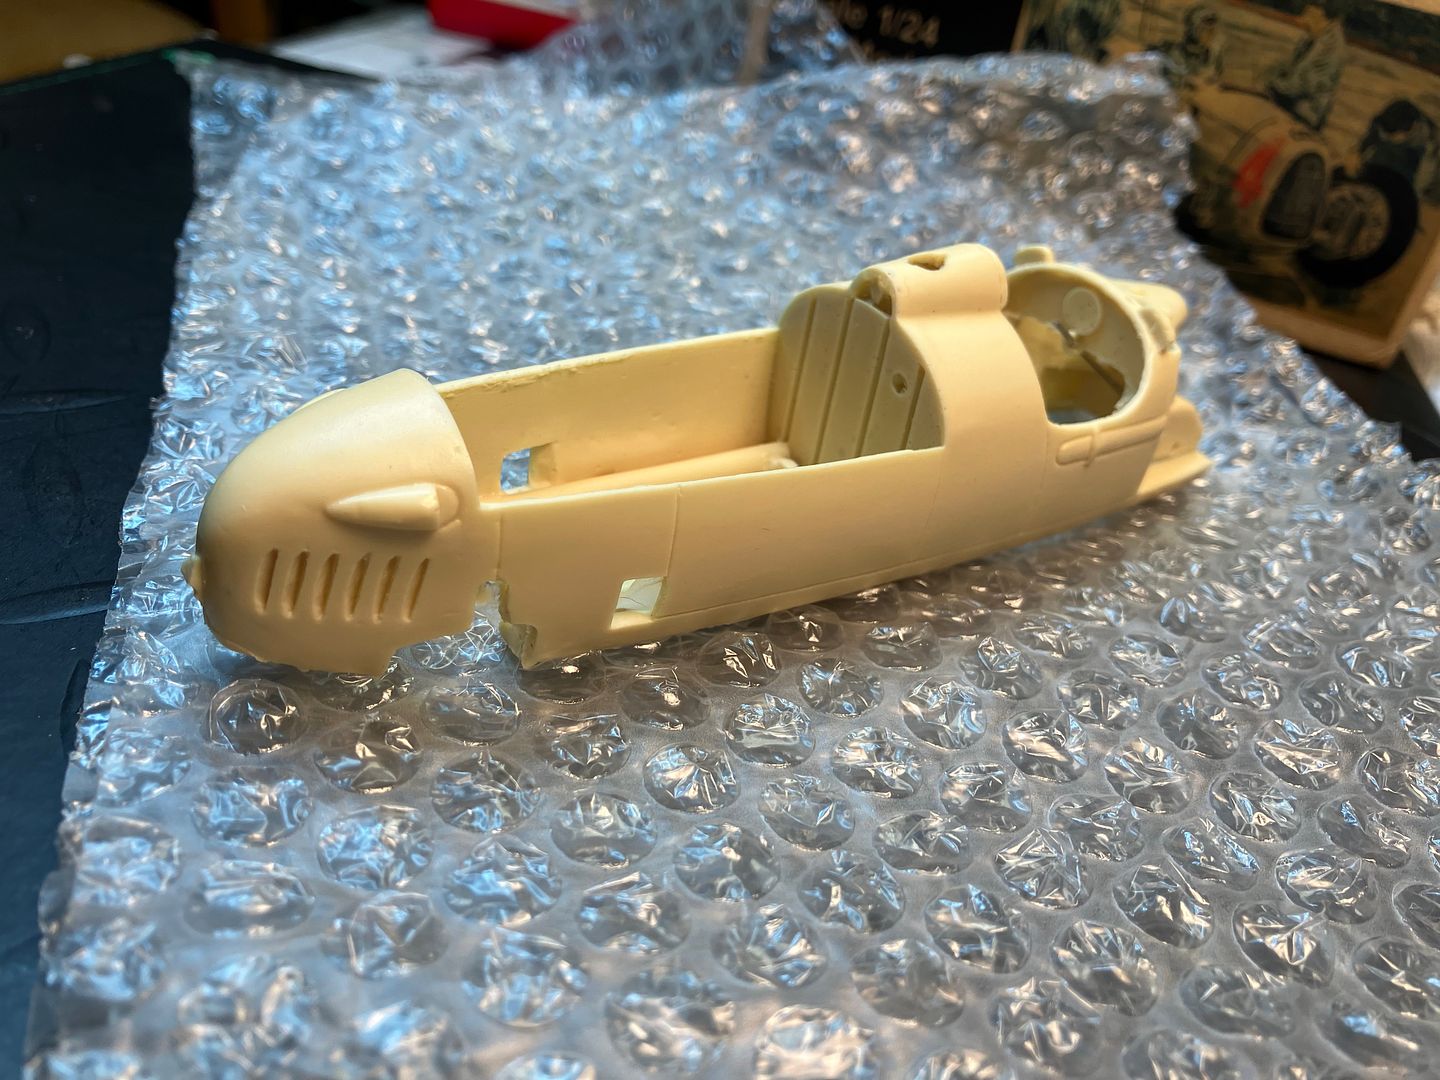
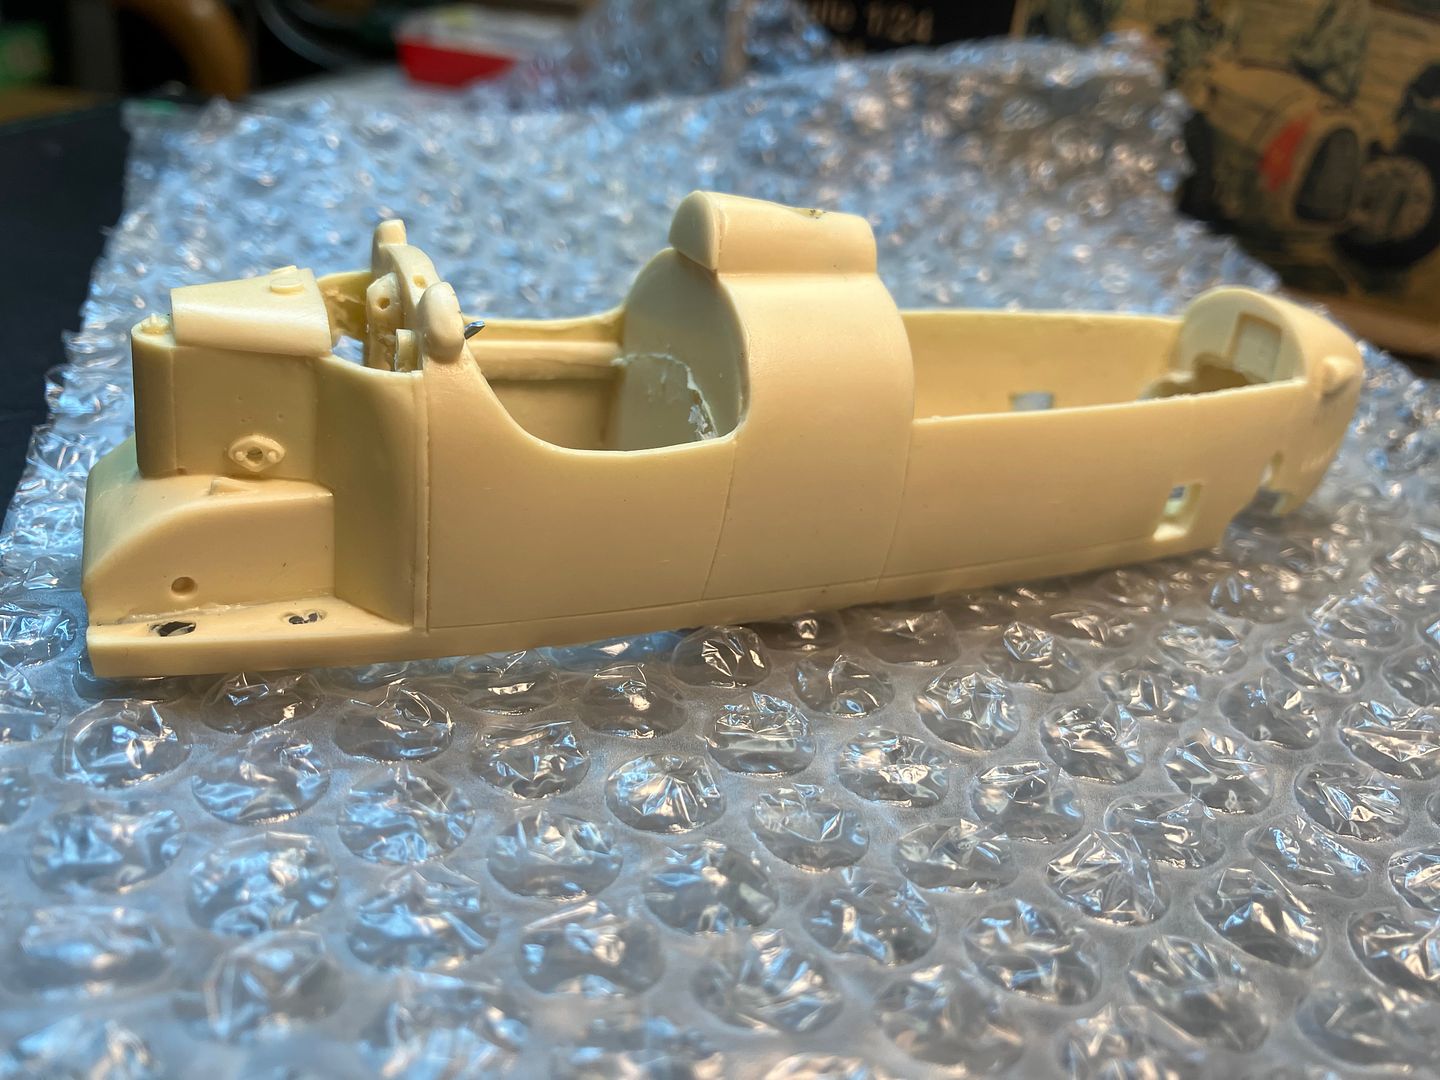
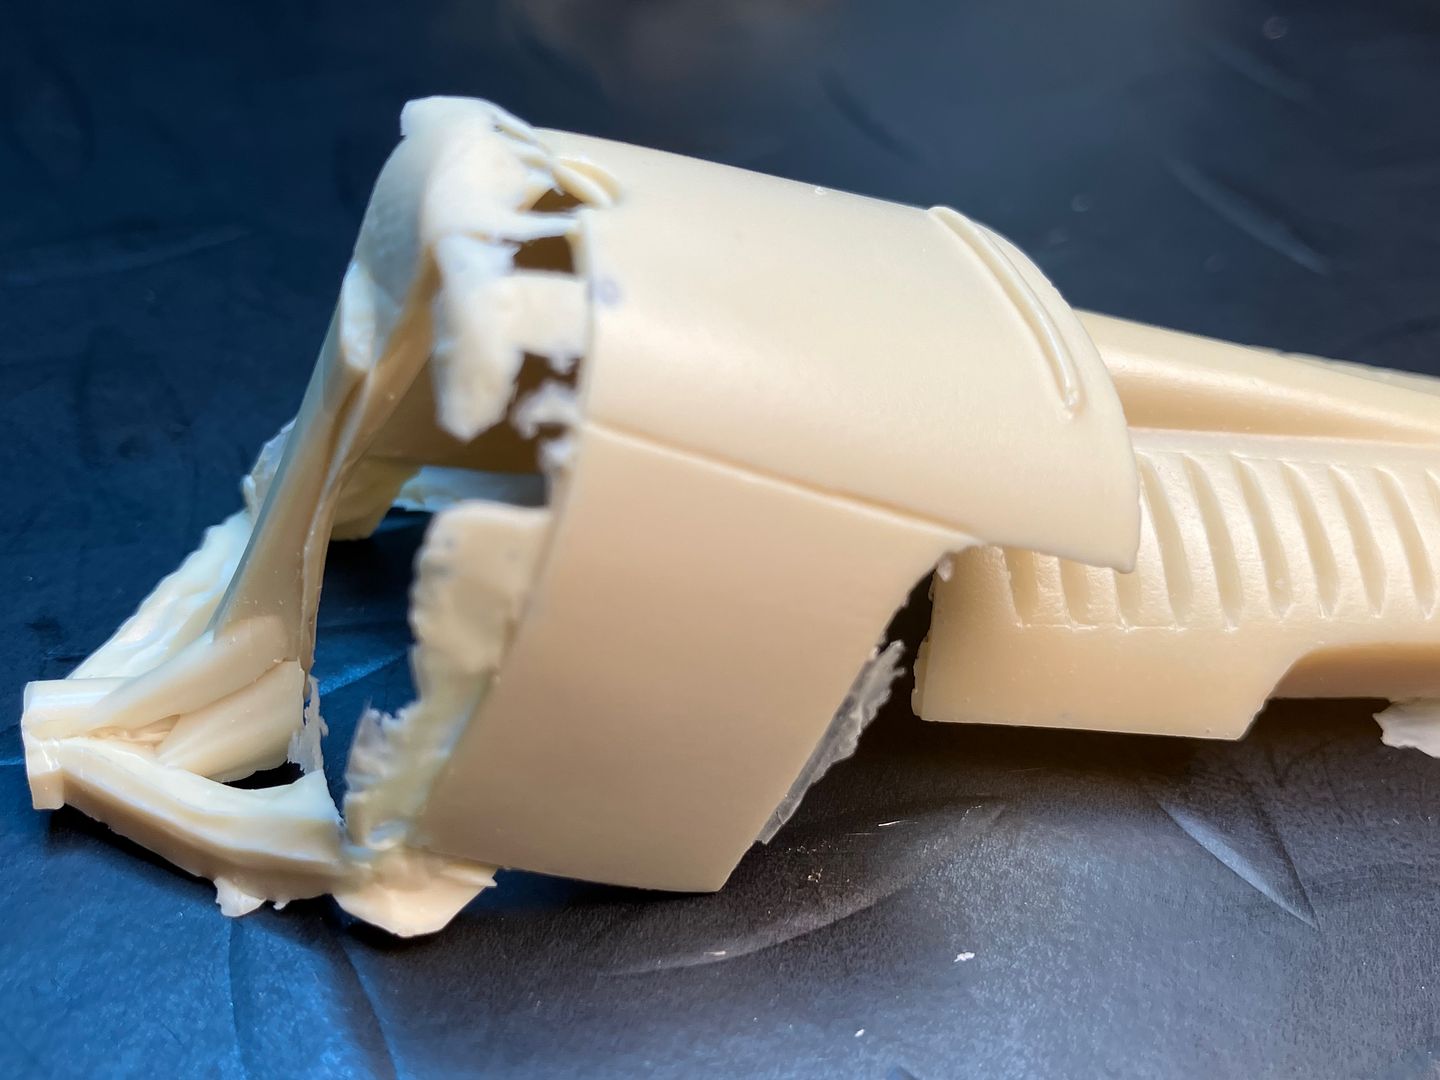
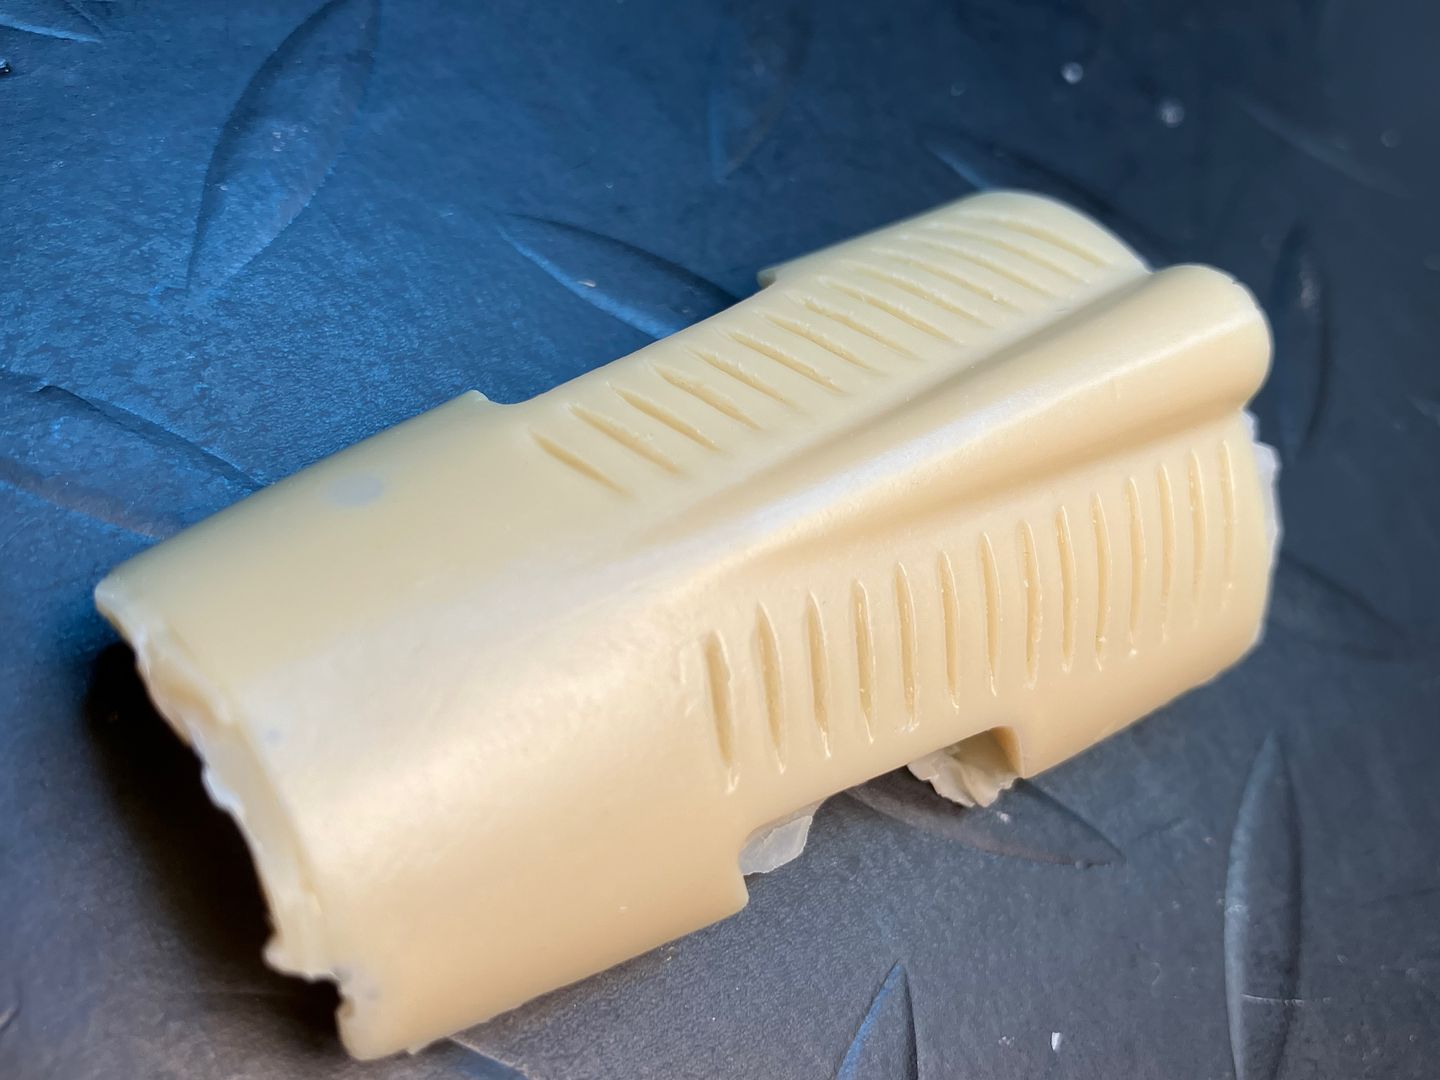
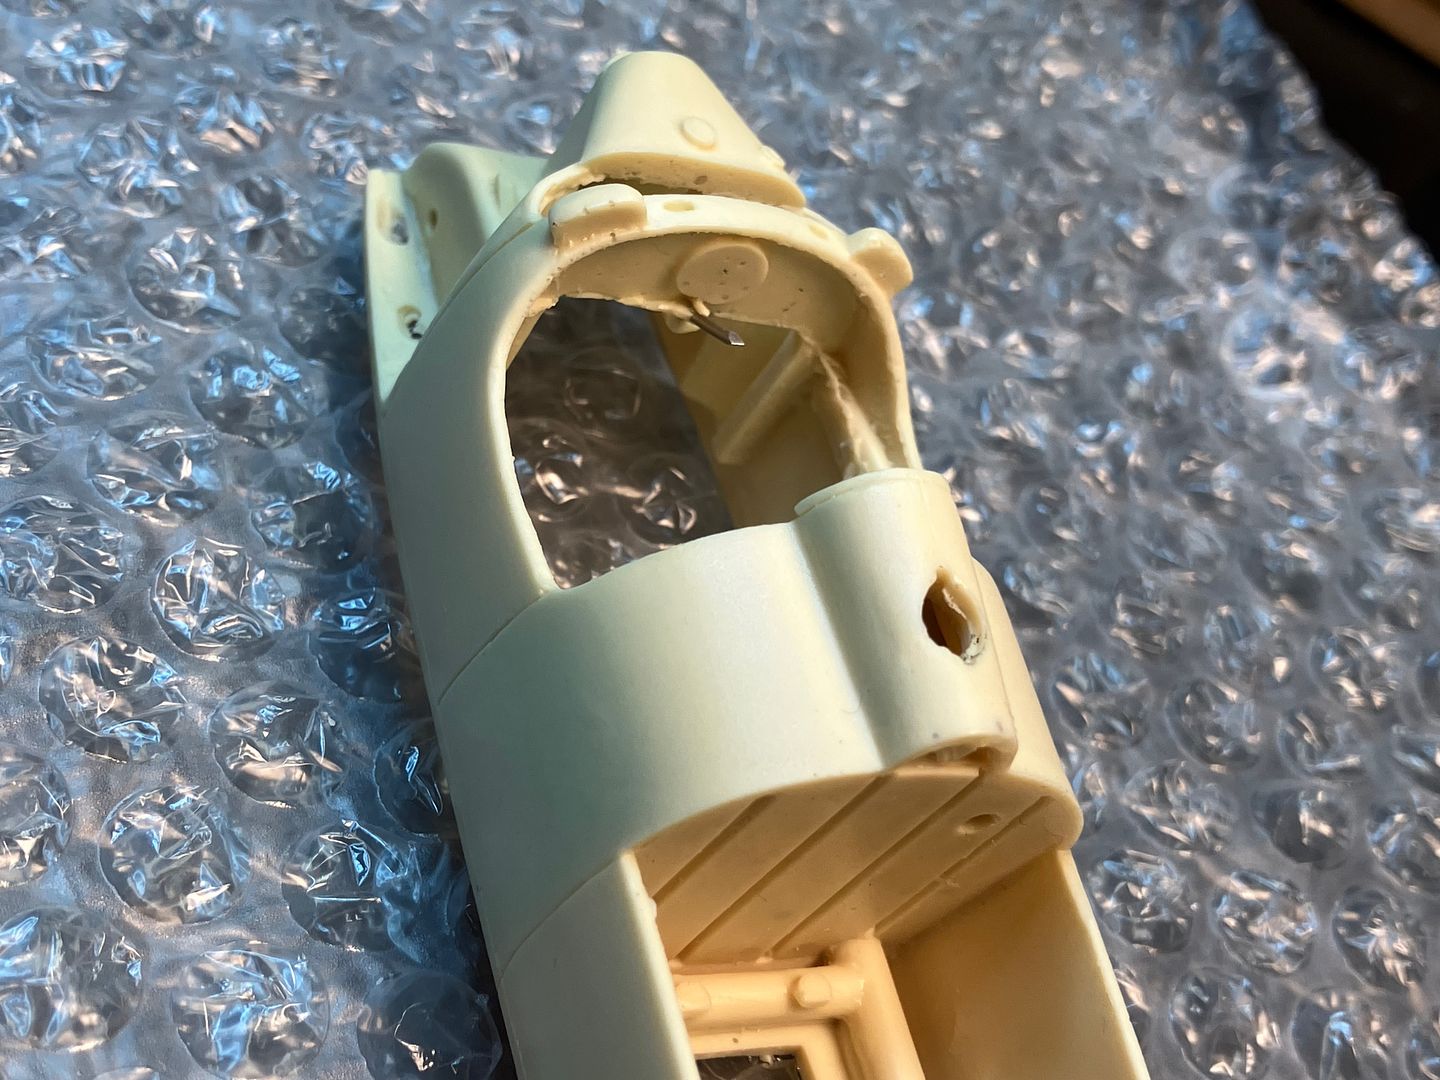
Some shots of the body sections. One can see a lot of flash in some places; I need to wear a dust mask when sanding or grinding that resin, correct?
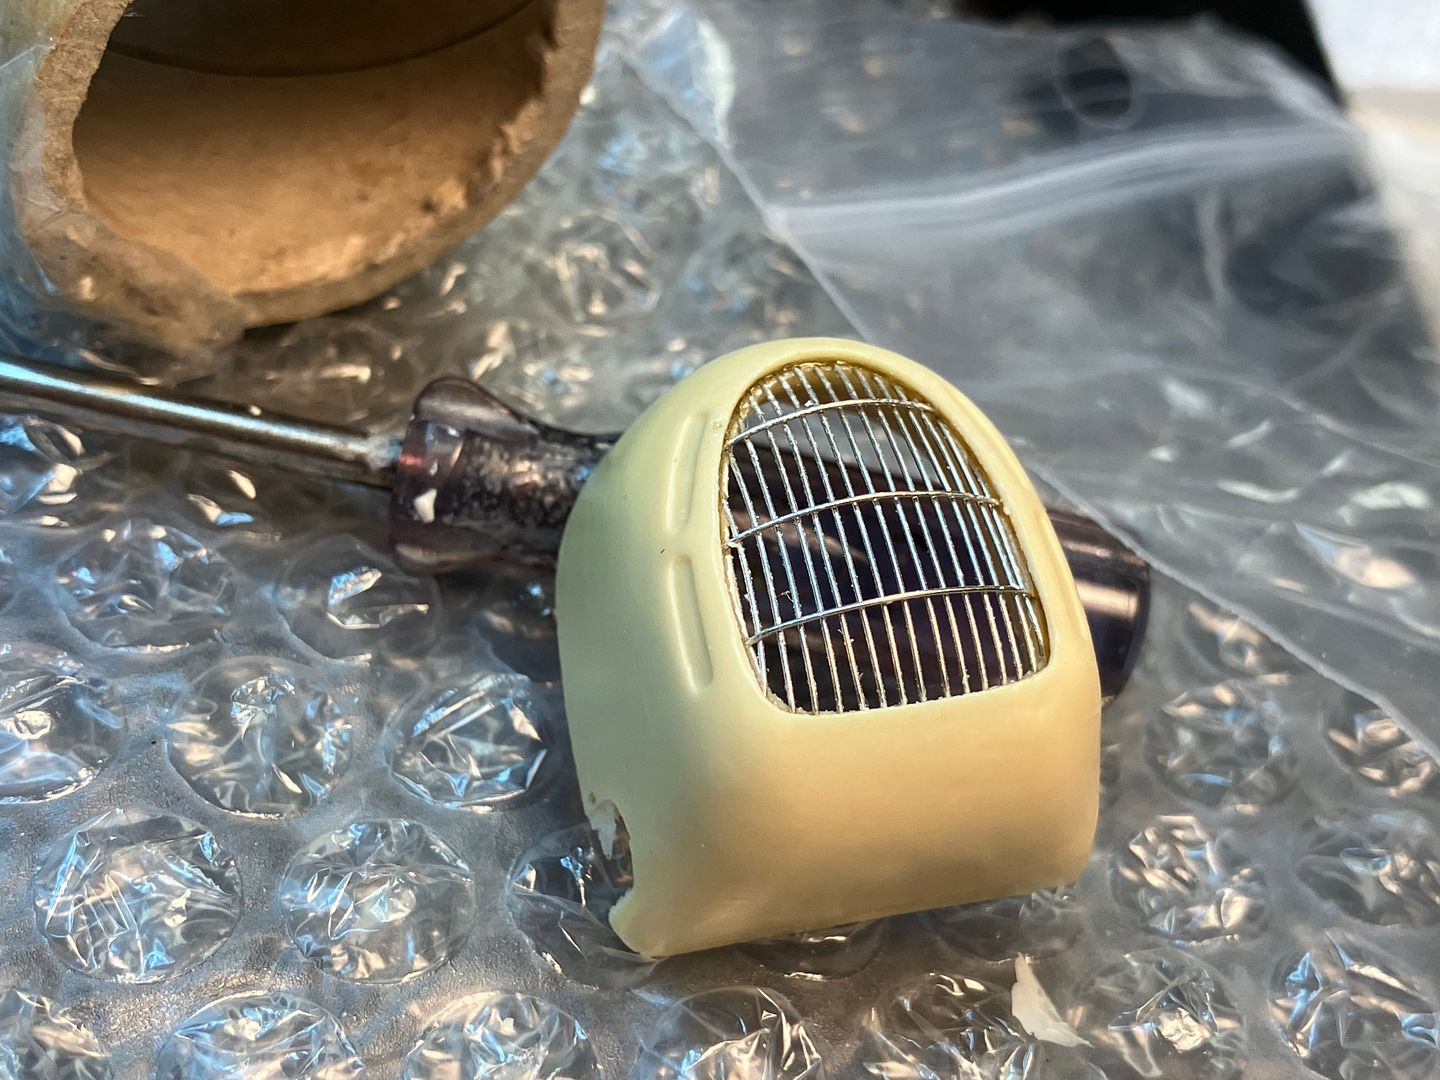
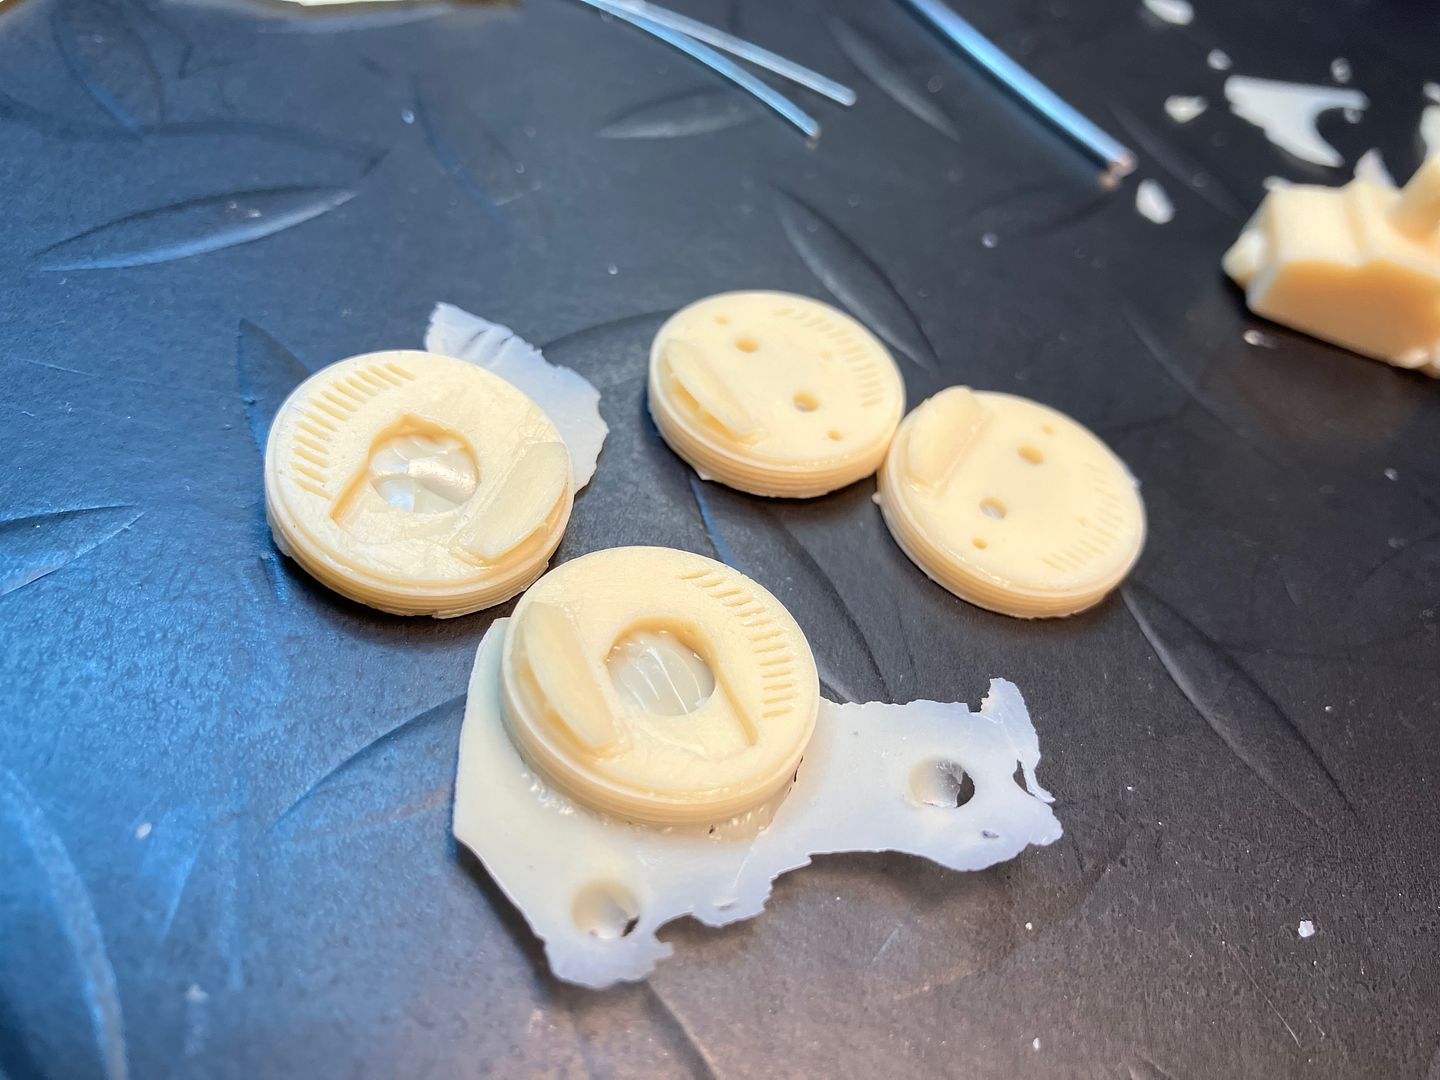
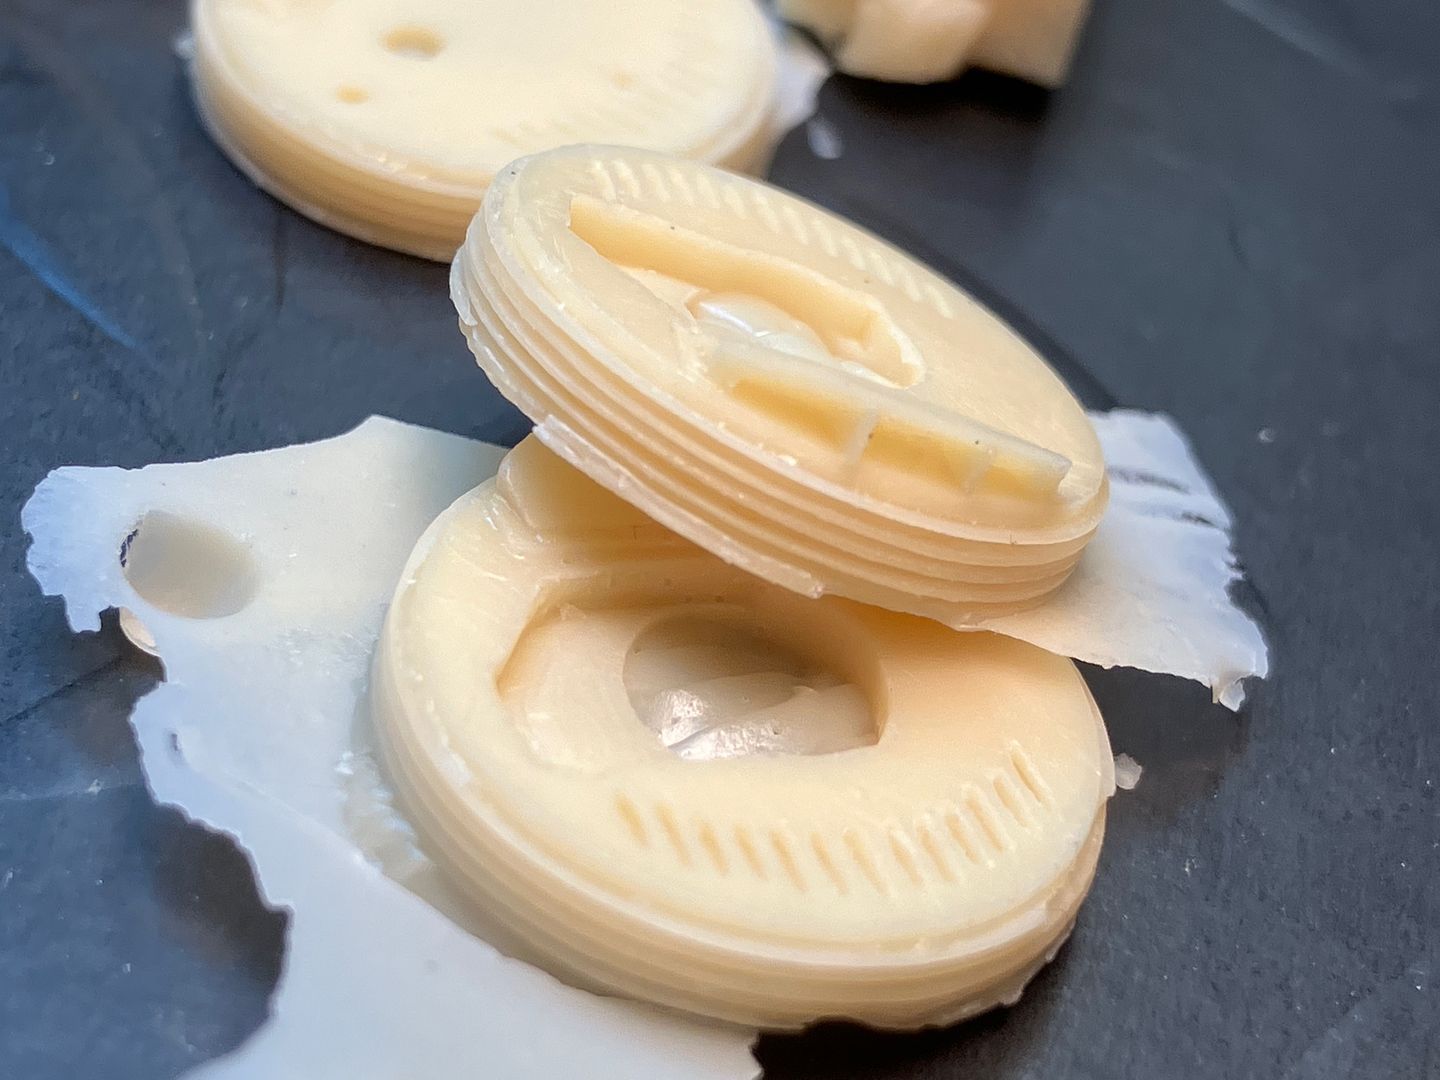
The car had large Lockheed drum brakes on each corner and Pinto has pretty nice copies. The front-facing airscoop is opened on each and the two front brakes are drilled in five places for the upper and lower suspension arms, upper/lower brakes lines and tie-rod attachment. He provides small metal rods for the tie-rods but I have some old 1/24 pieces from model cars of my past that can be adapted. I believe lead wire will work for brake lines.
The lower front suspension is cast with a crossmember and belly-pan arrangement while the two upper arms glue into holes on top of both sides of the lowers. It seems a might "fiddly" to me now but may not be when done.
In this pic, one can just barely see the reinforcement wire that Pinto has embedded into the resin:
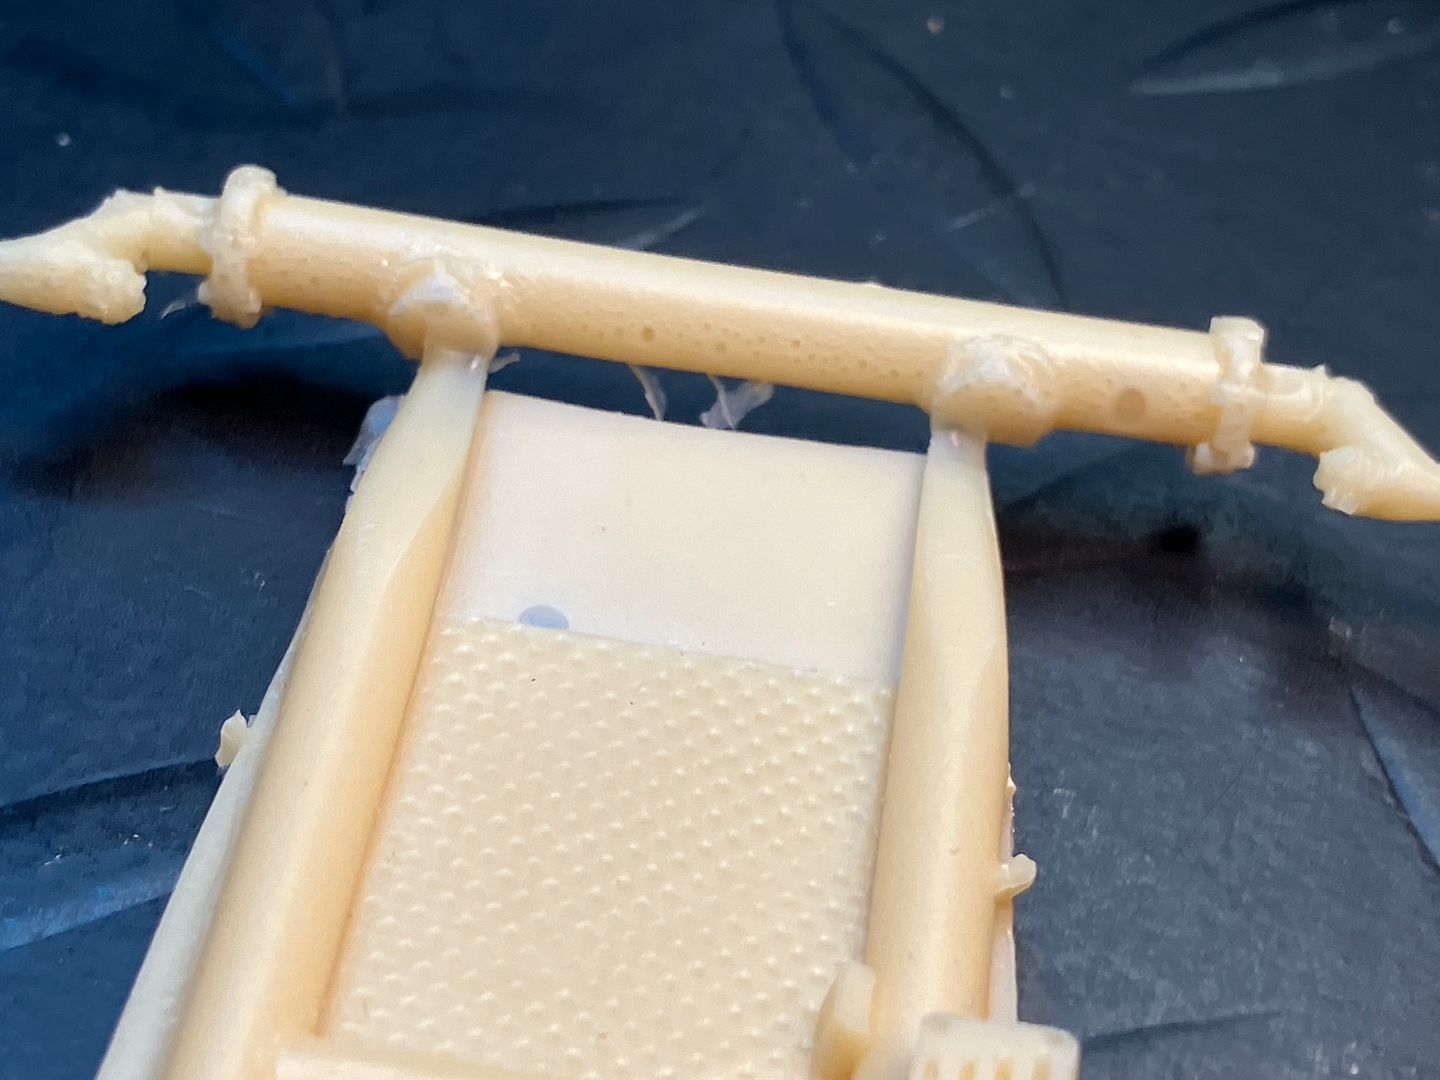
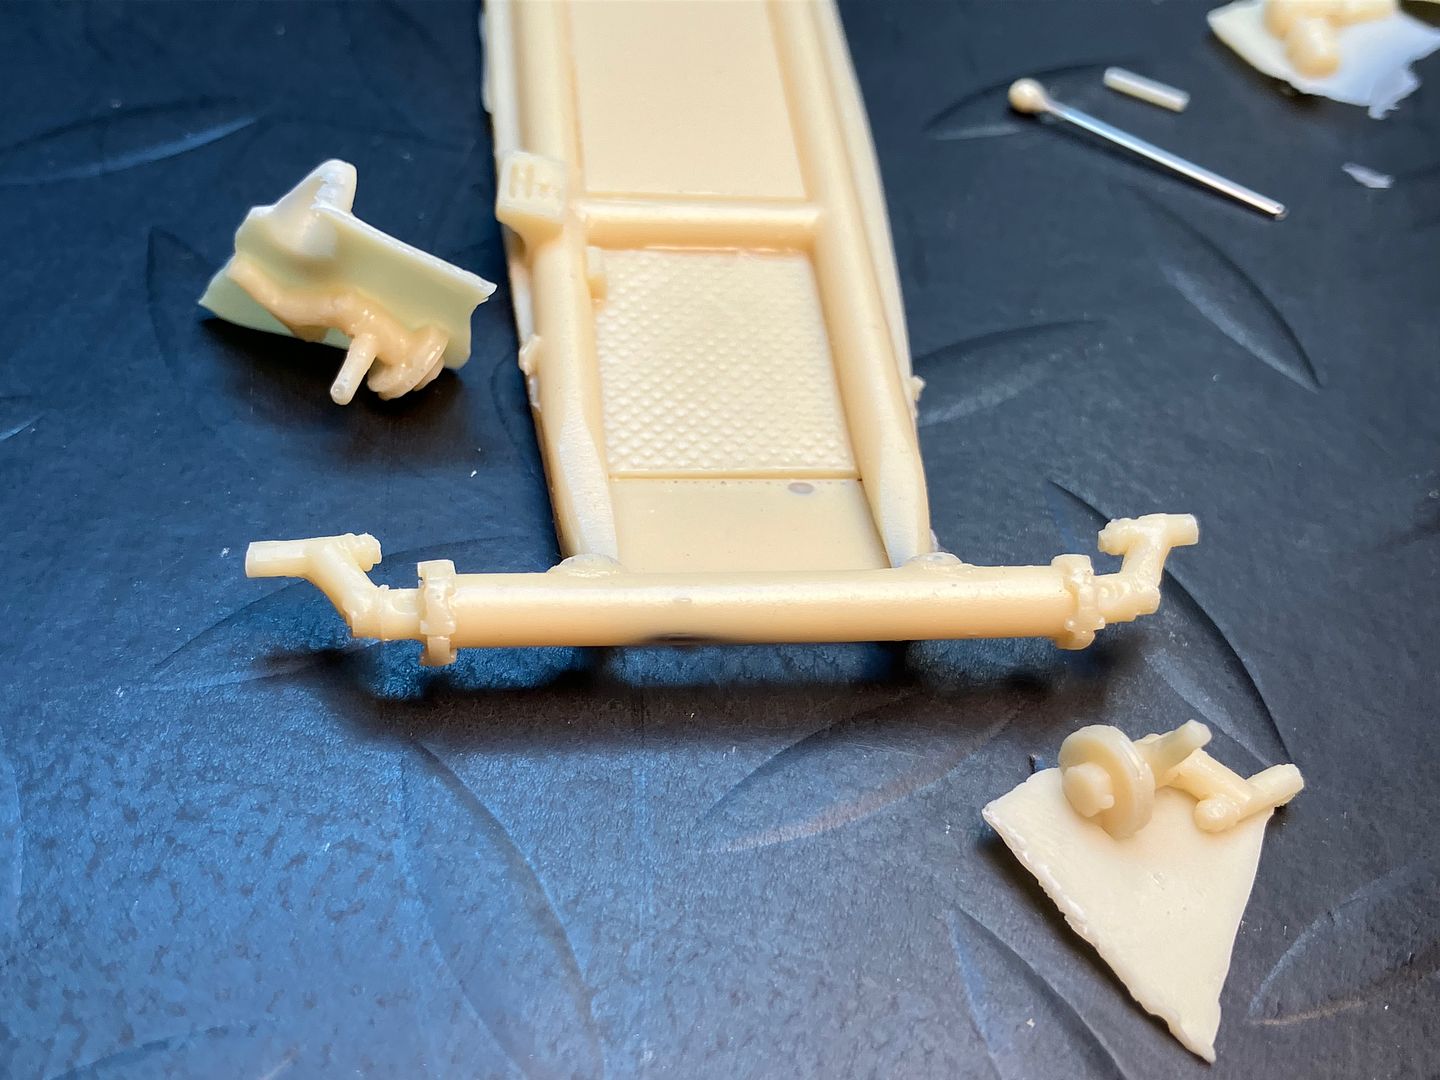
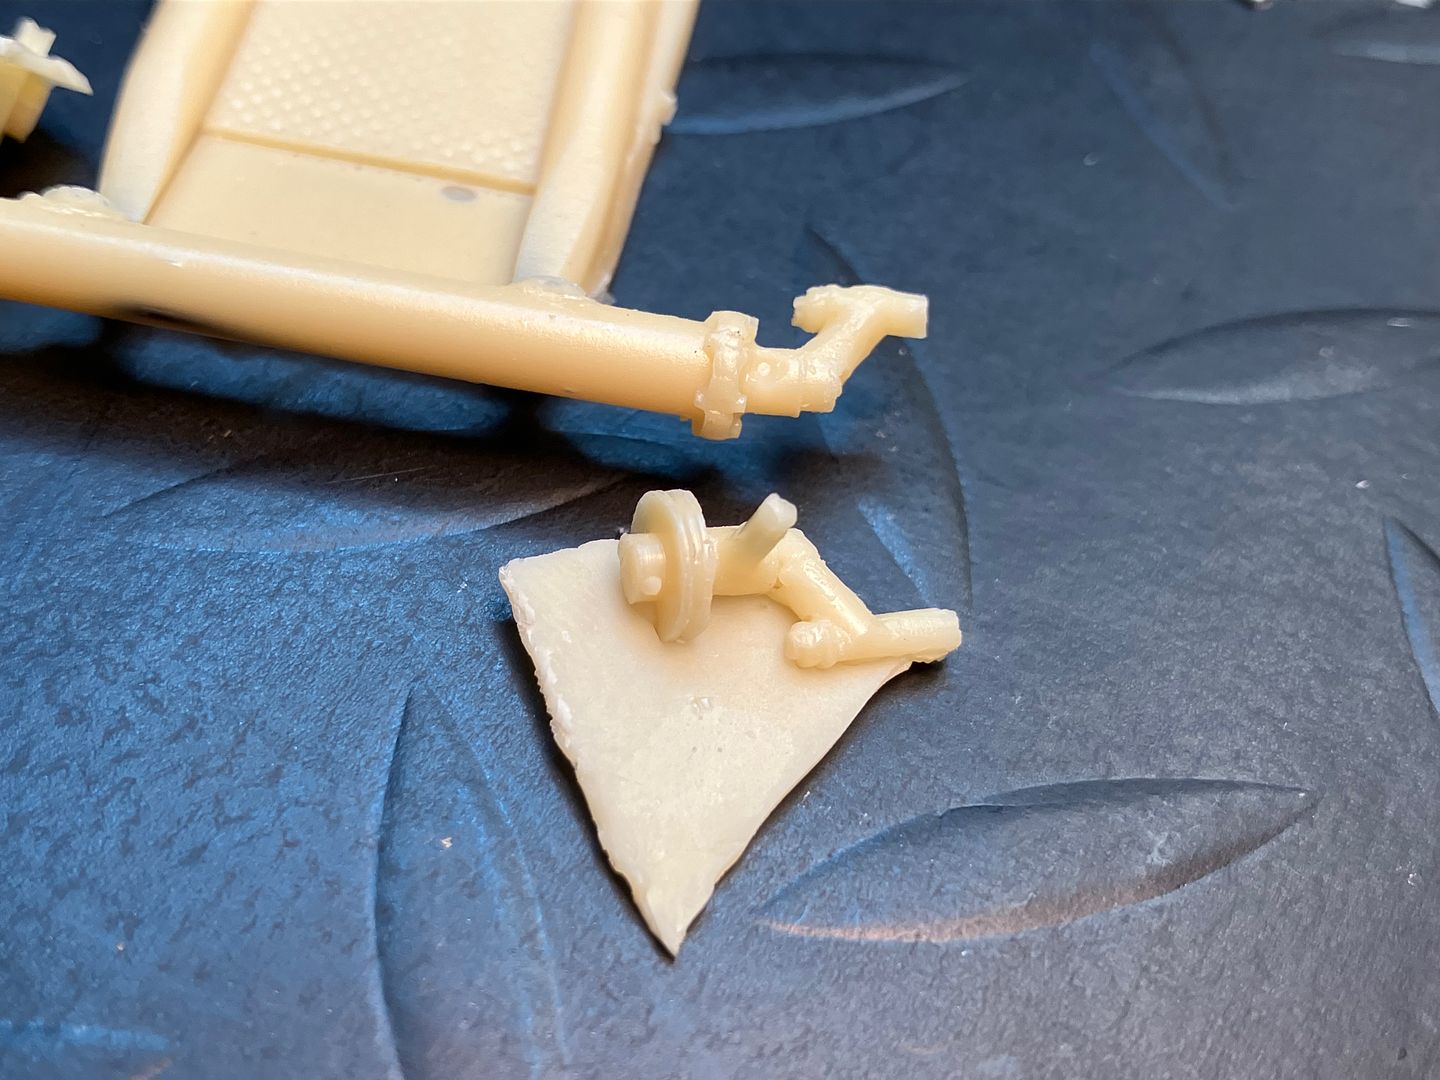
The assorted small parts all have thin flash around them. What is the best way to cut those parts away from the sheet surrounding them? I suspect they are quite fragile, but I'd like to avoid beginner's mistakes if possible.
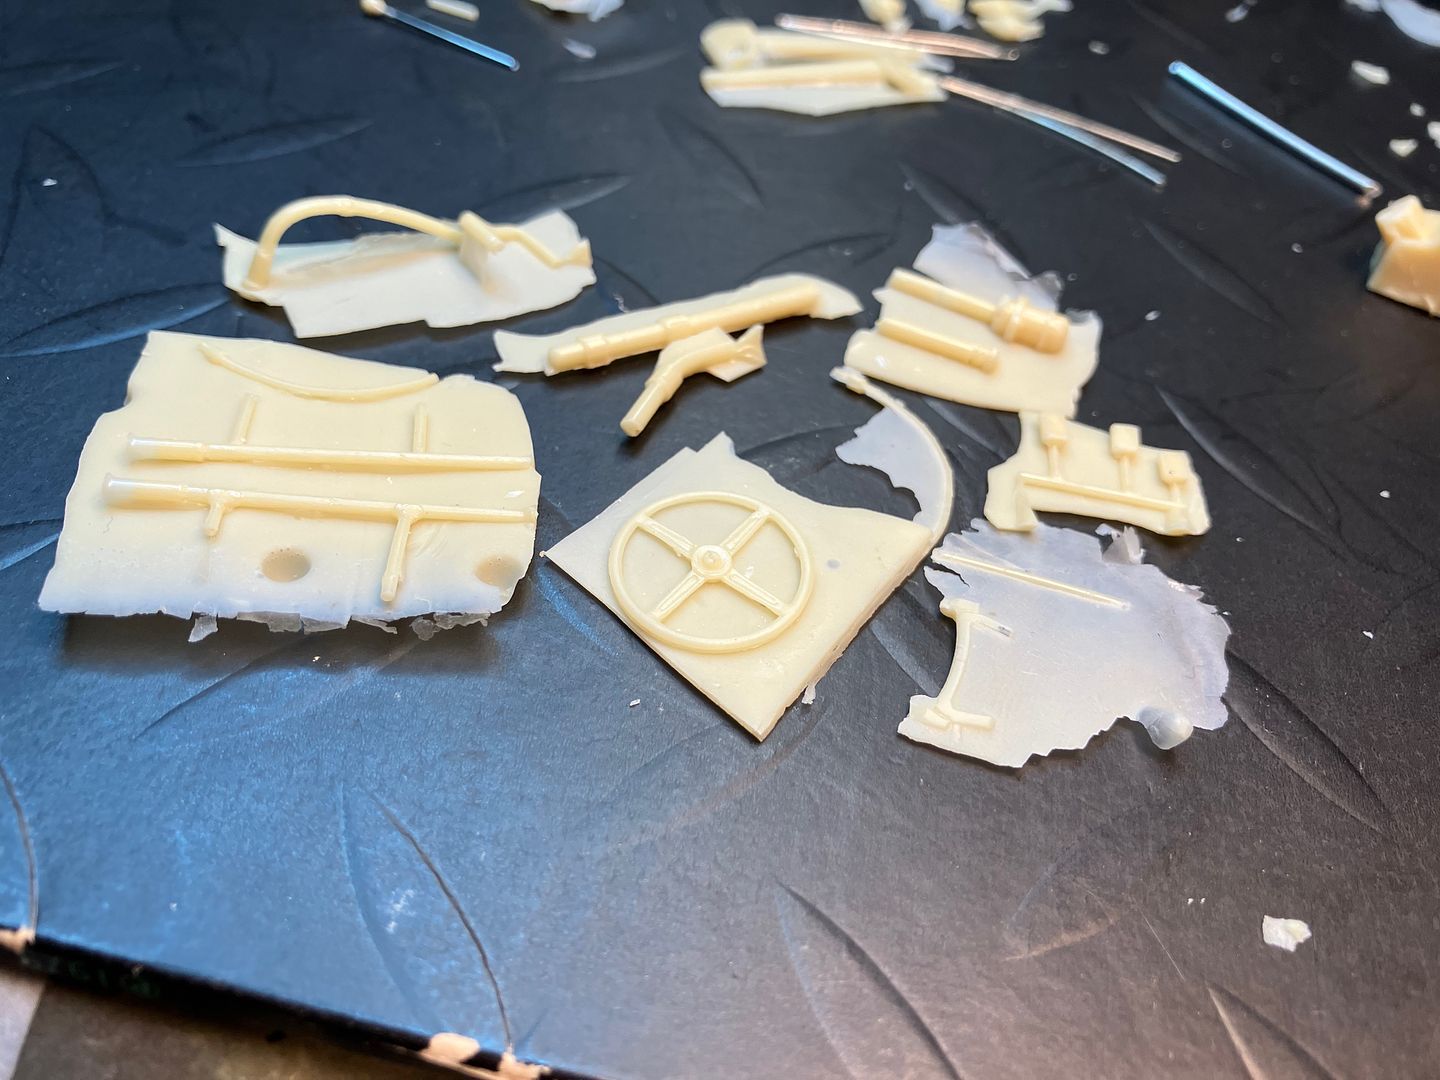
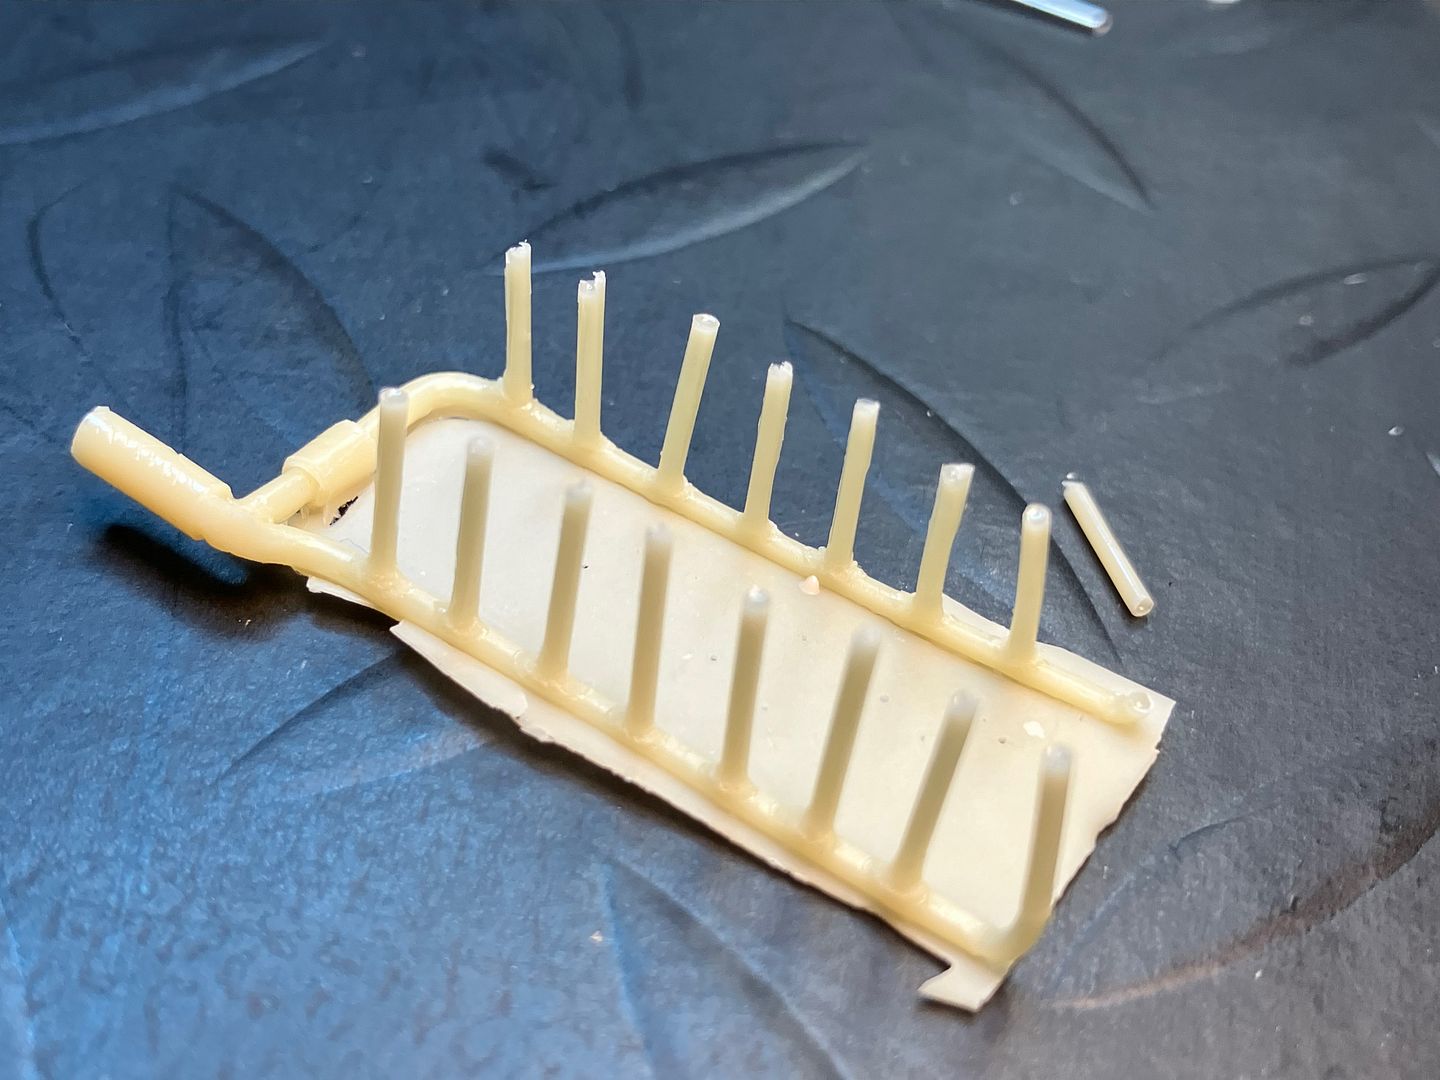
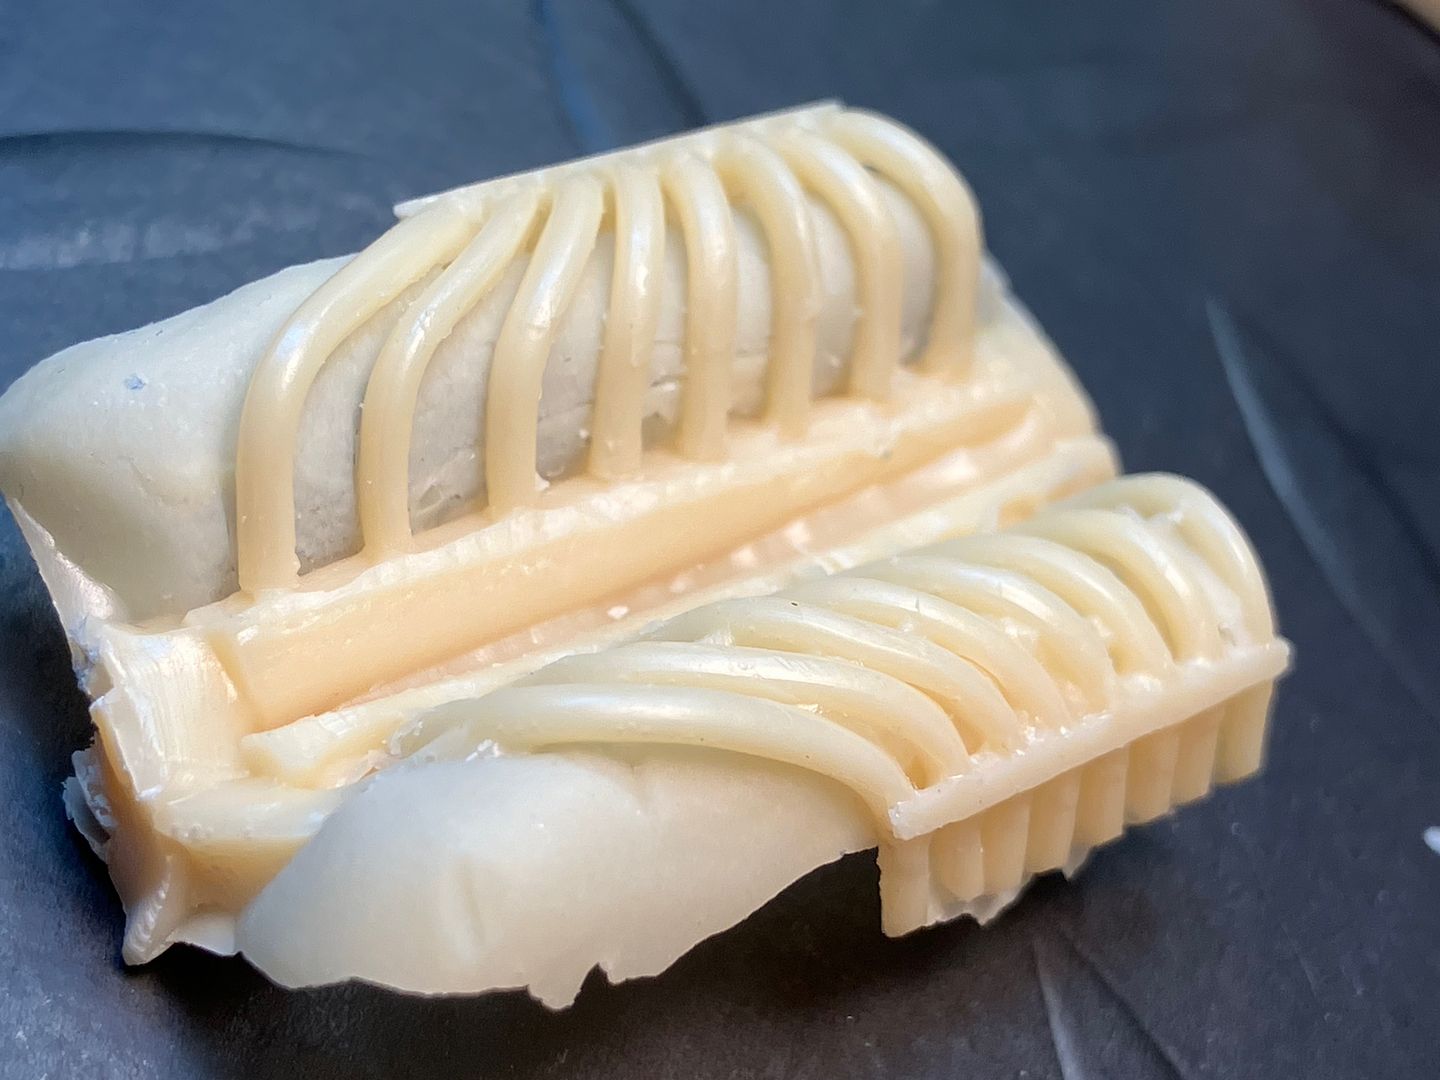
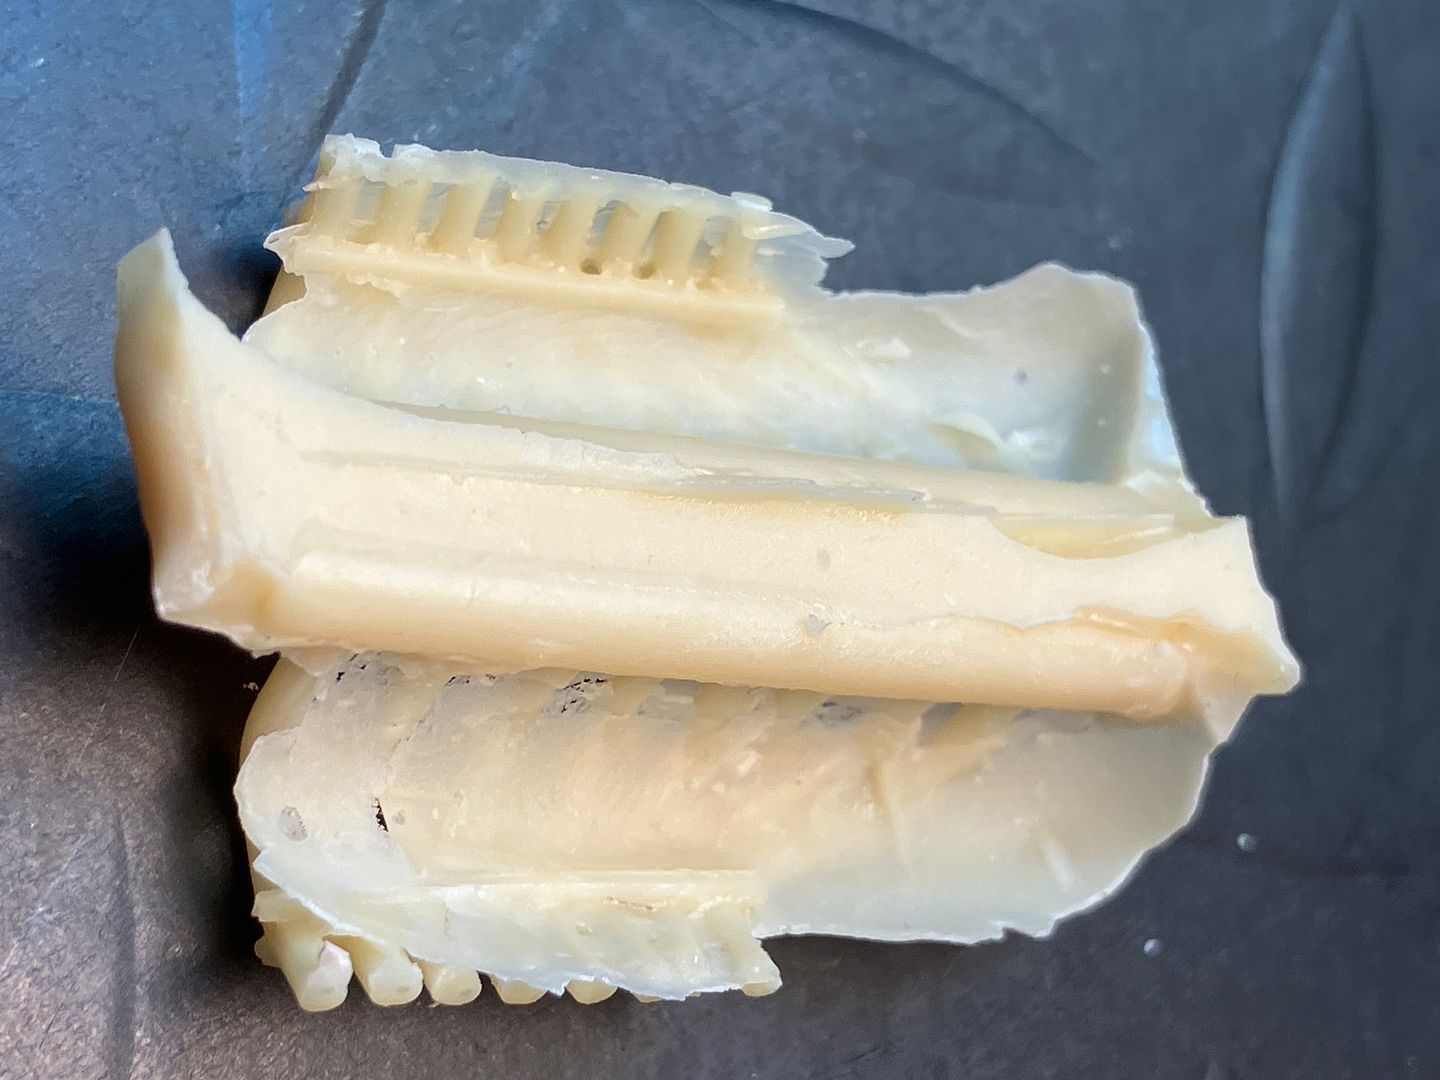
The V16 engine is fairly well detailed, with those very cool metal pushrod-tubes cast into it. The Roots-type supercharger and carb aren't that great but I think they'll be okay. The exhaust headers are cast together, for each side, and will need drilling out. Again, I have to ask, how do I clean up those exhausts pipes without breaking them?!?
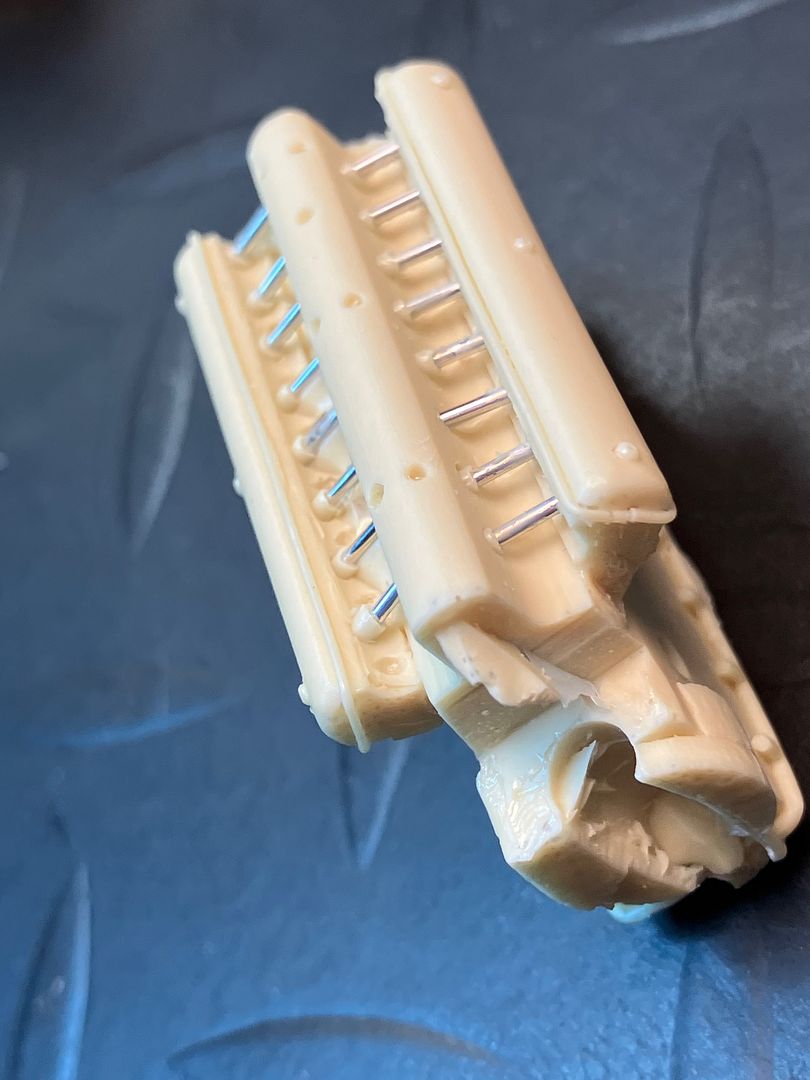
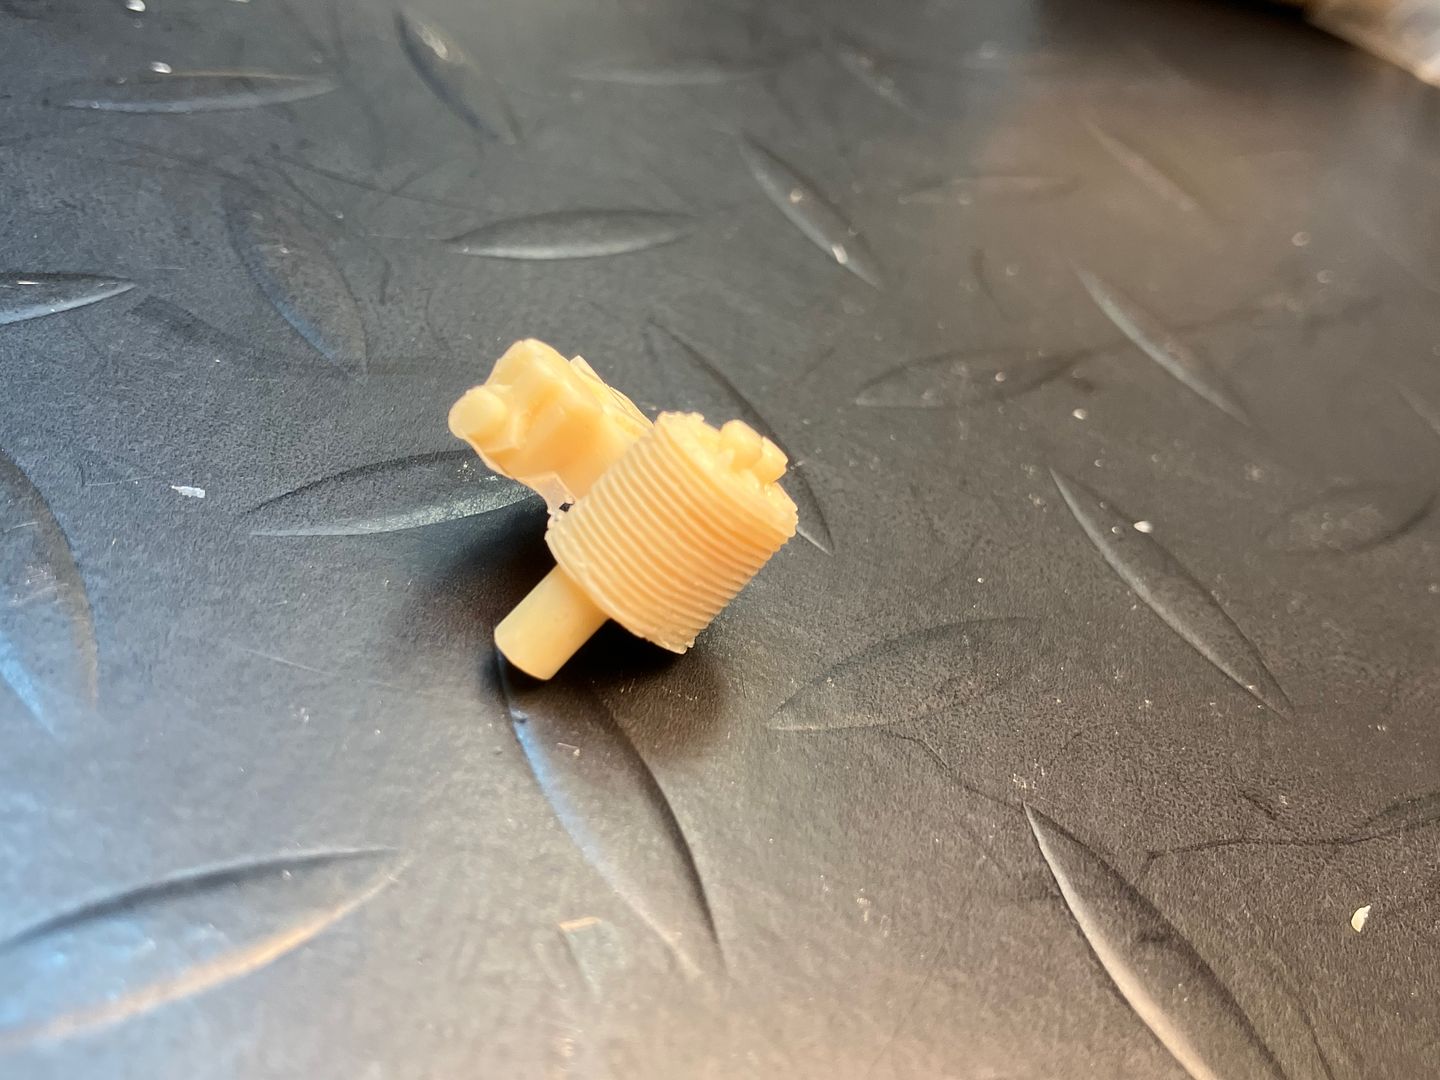
Engine coolant lines. Yep, one has already broken off!
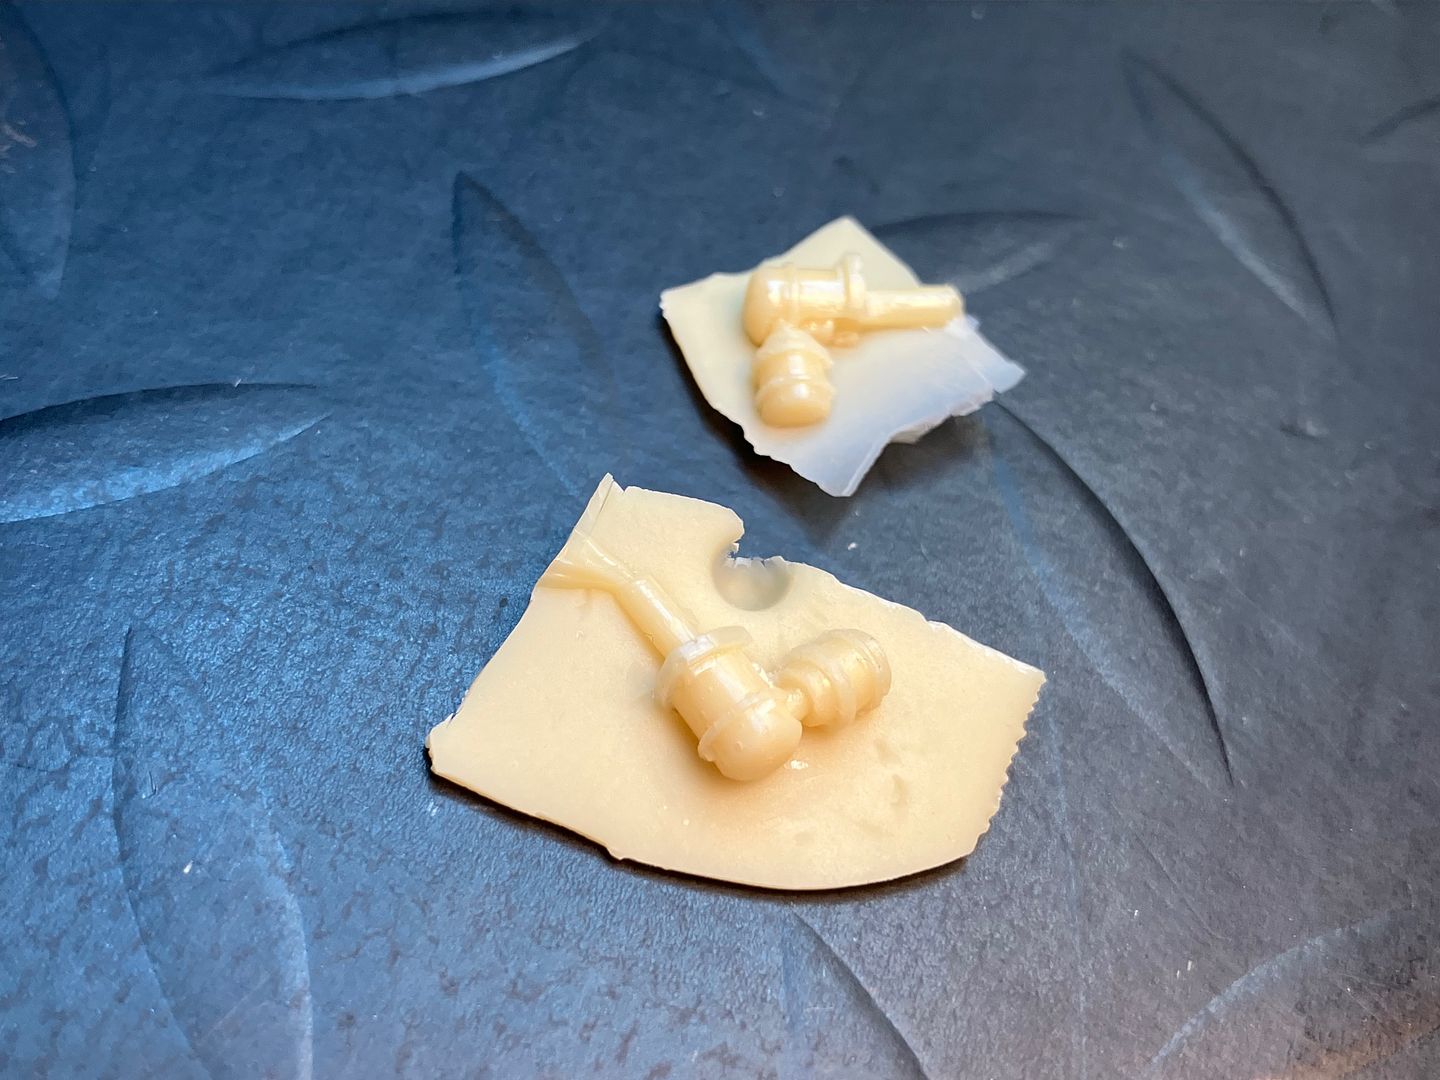
magnetos/distributors:
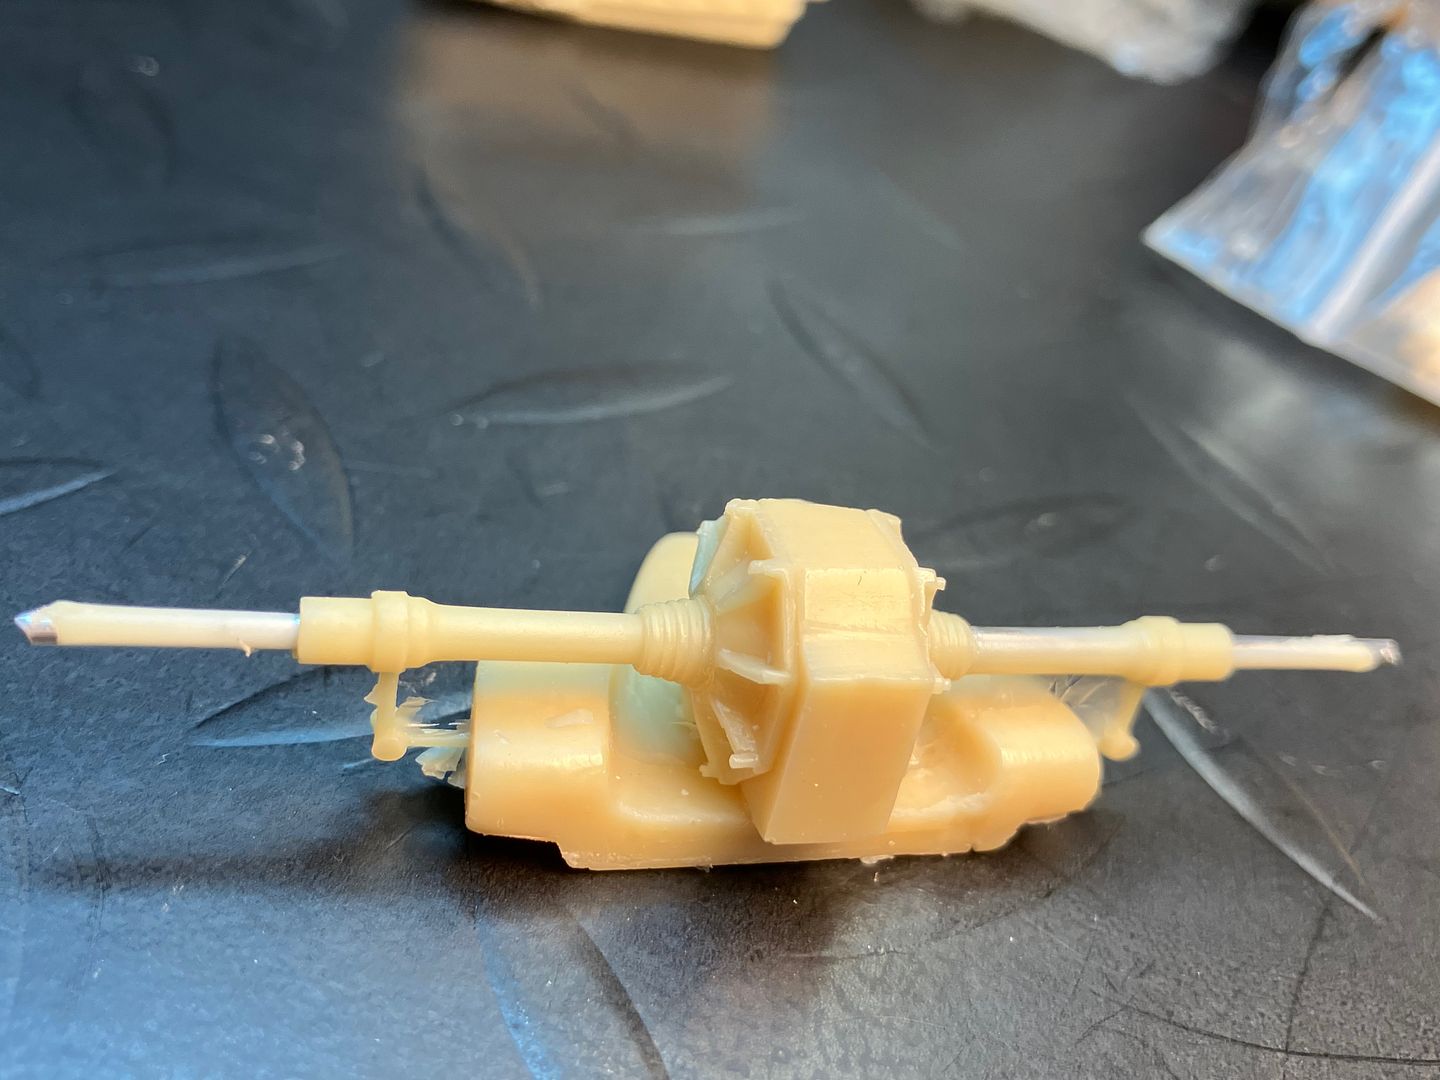
The differential and axles, along with the trailing arms for each side:
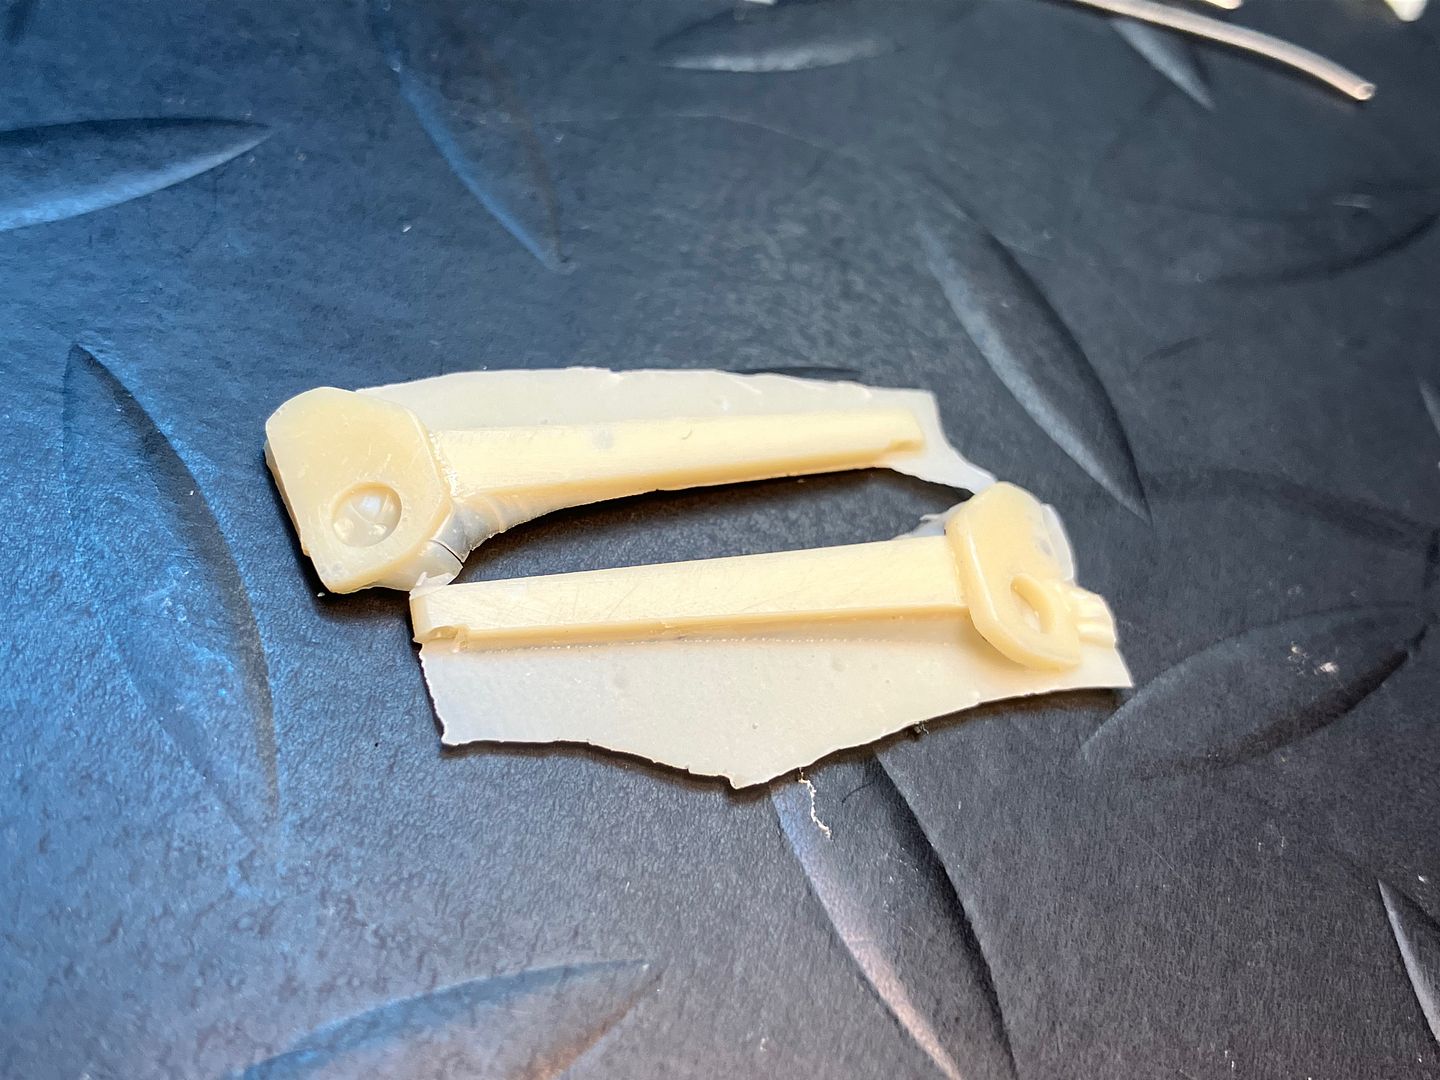
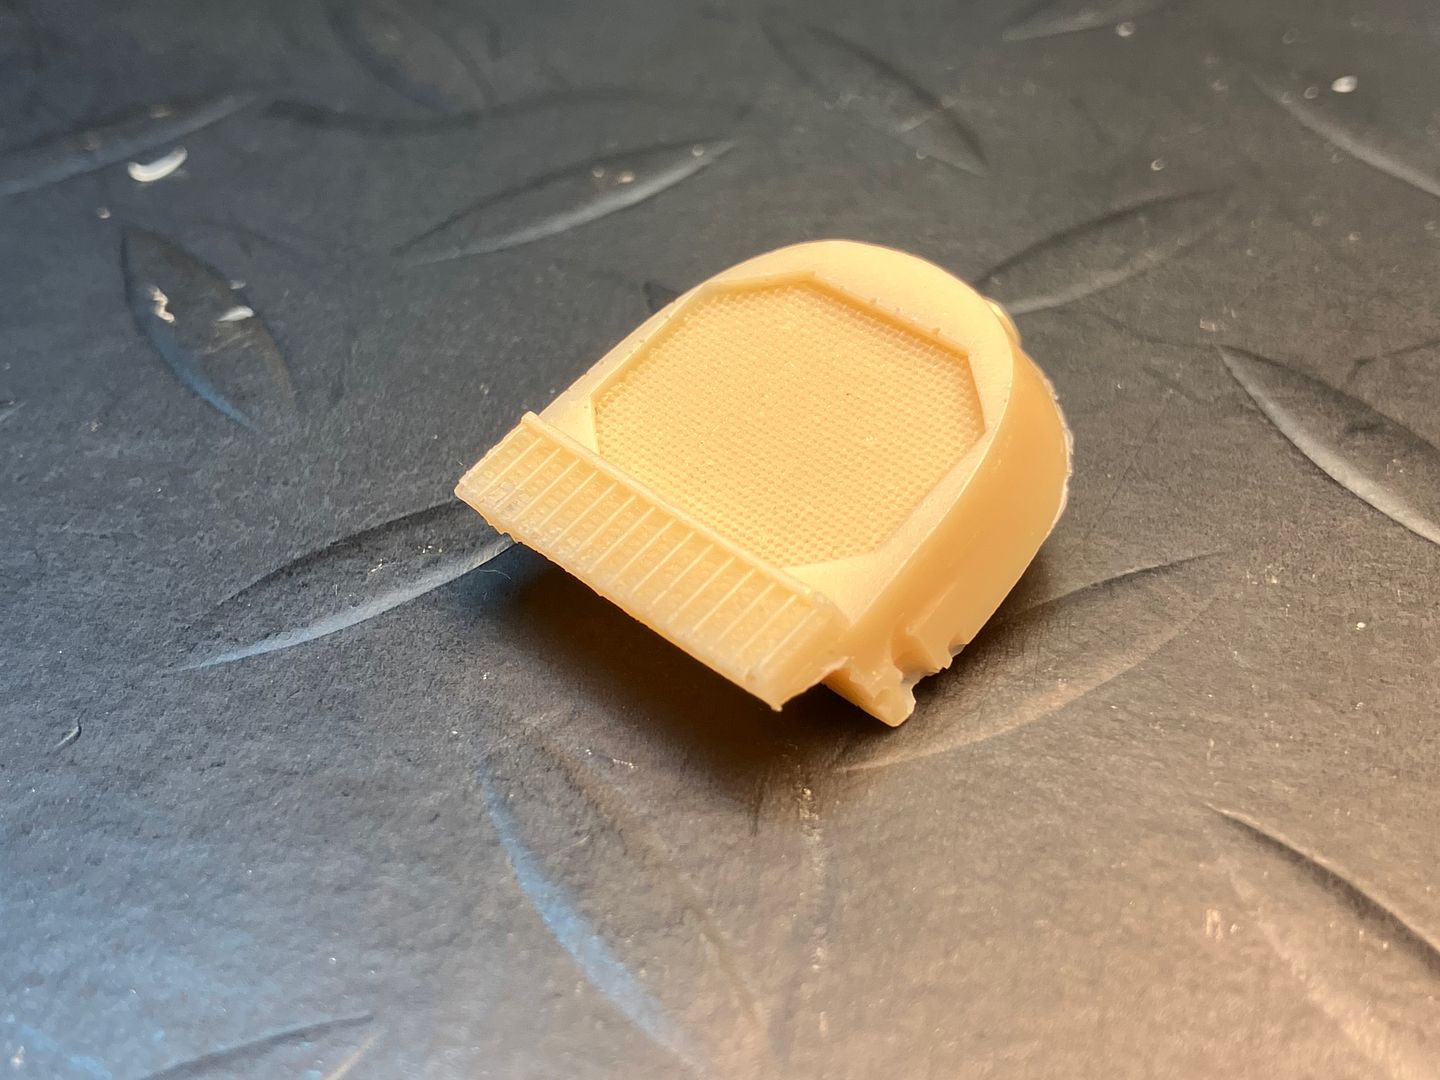
Radiator:
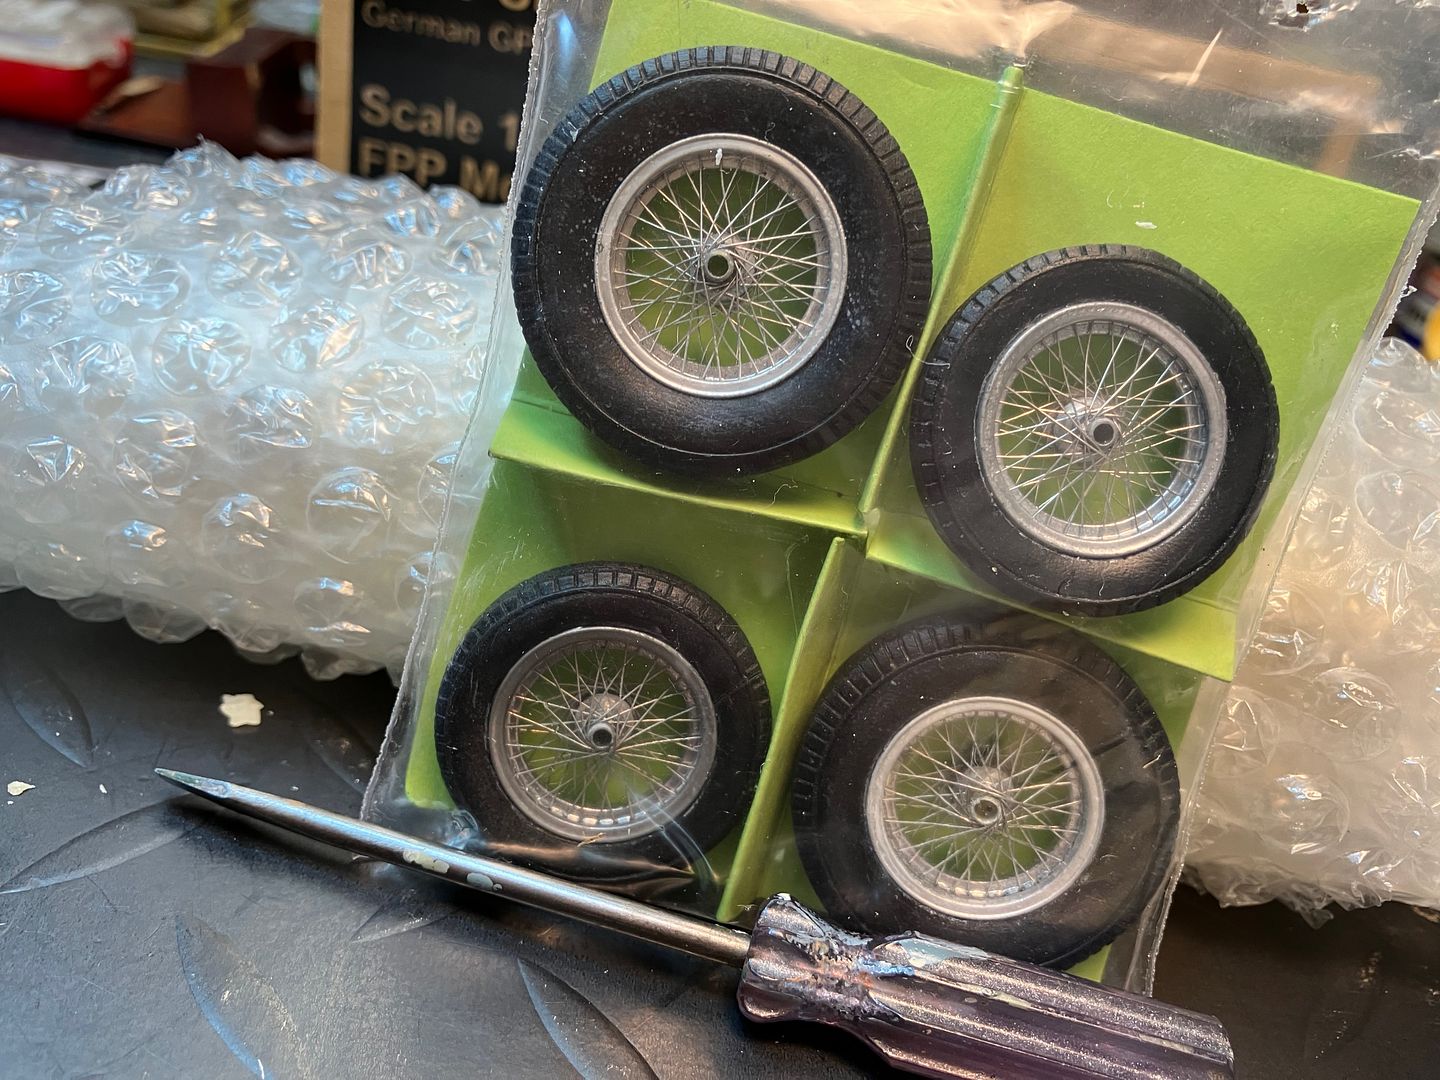
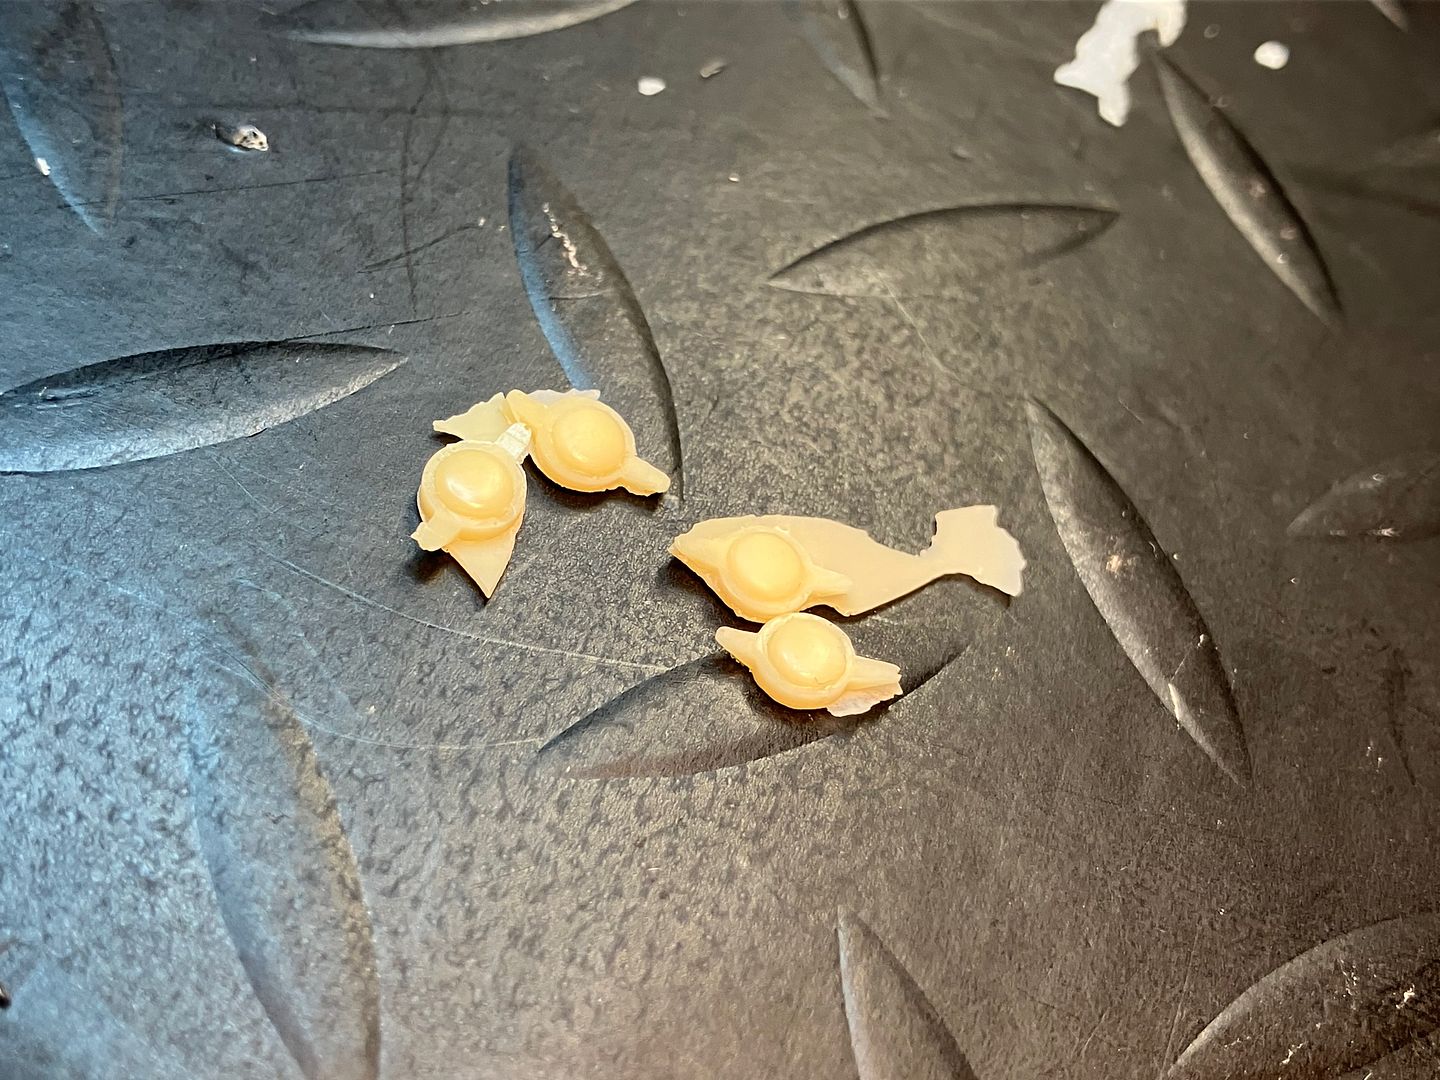
Pinto includes these beautifully made wire-wheel/tire sets. Also seen are the four knockoffs:
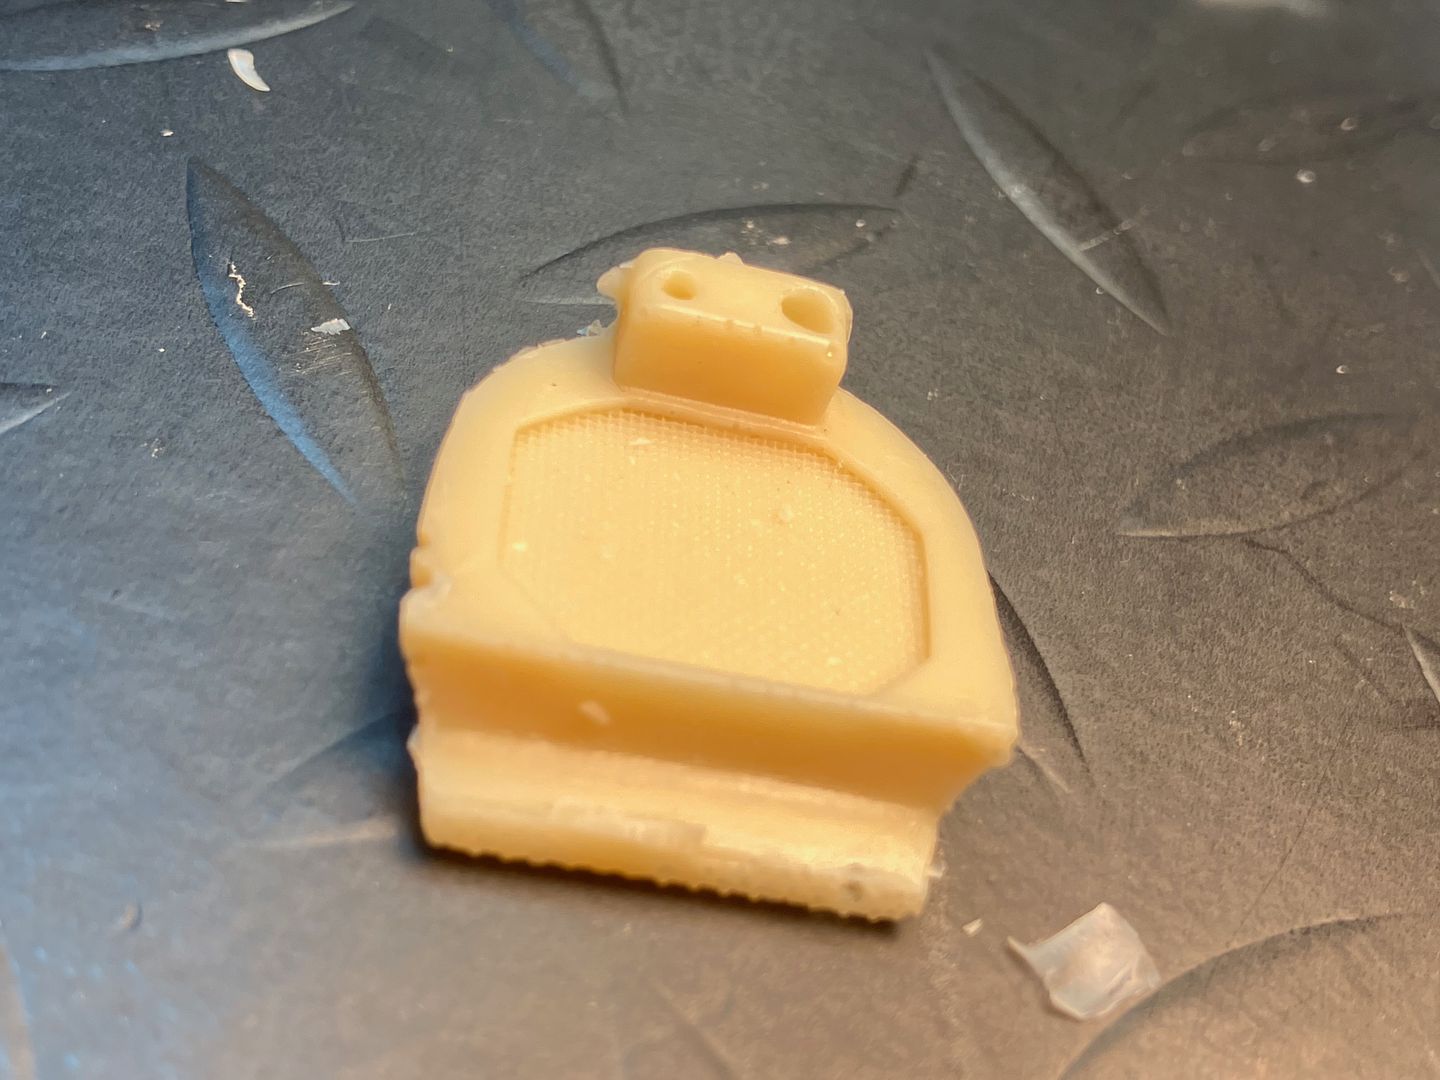
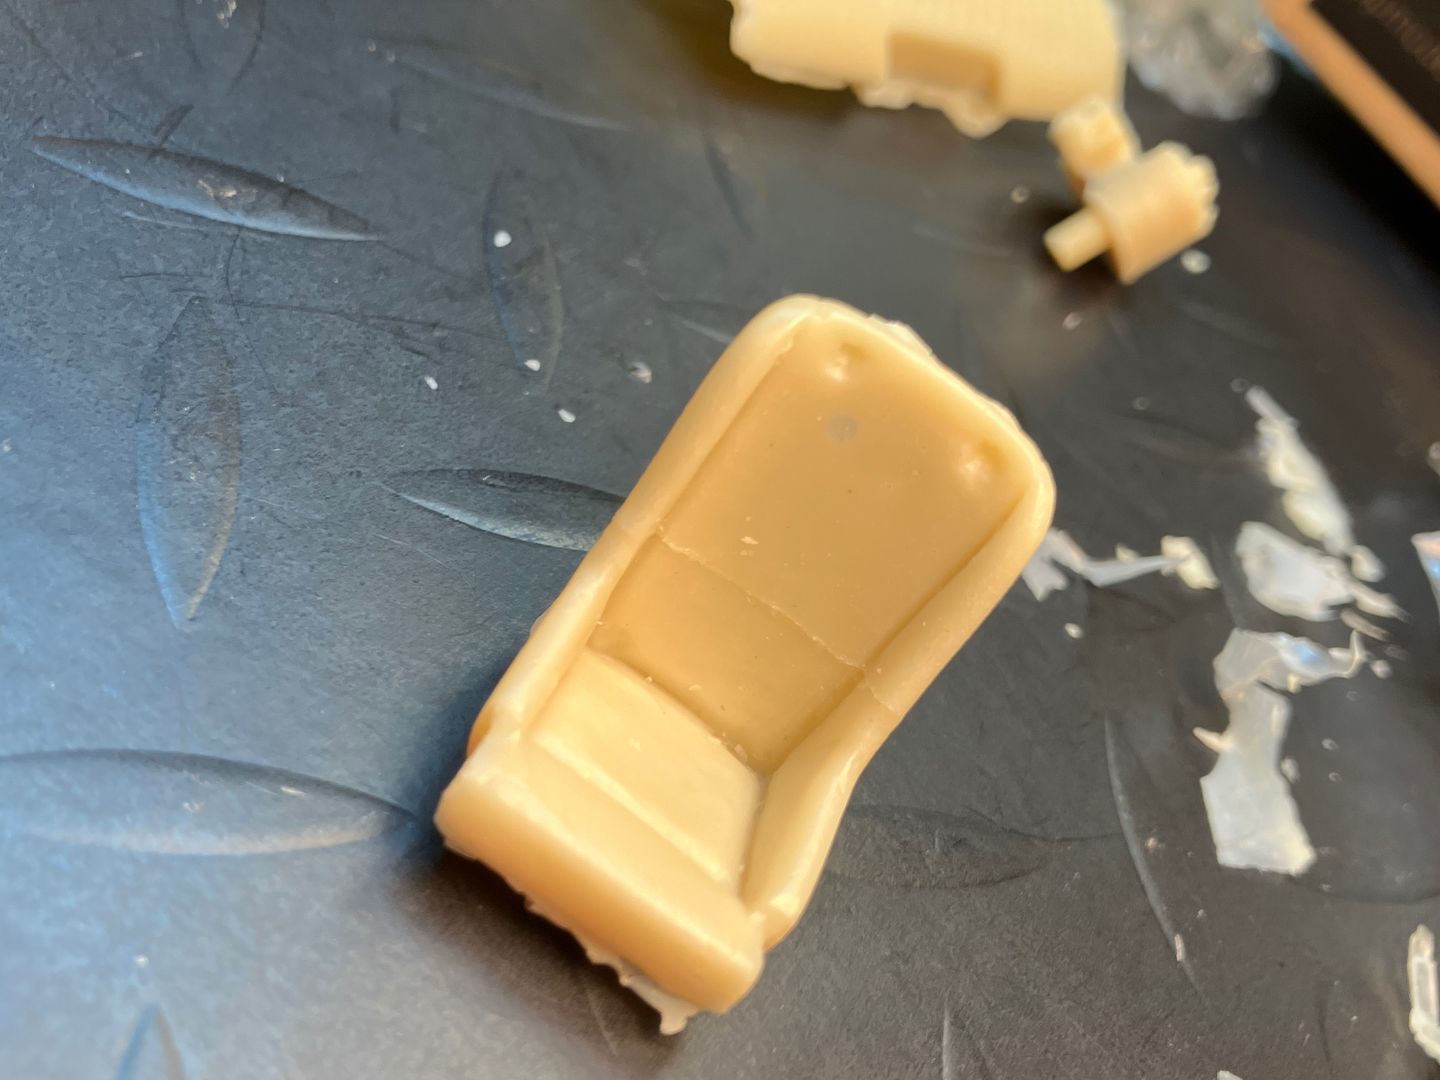
The seat: you'll notice two "sink-holes" at the top. Can I use any sort of filler, like Bondo or Mr. Surfacer, on resin parts?
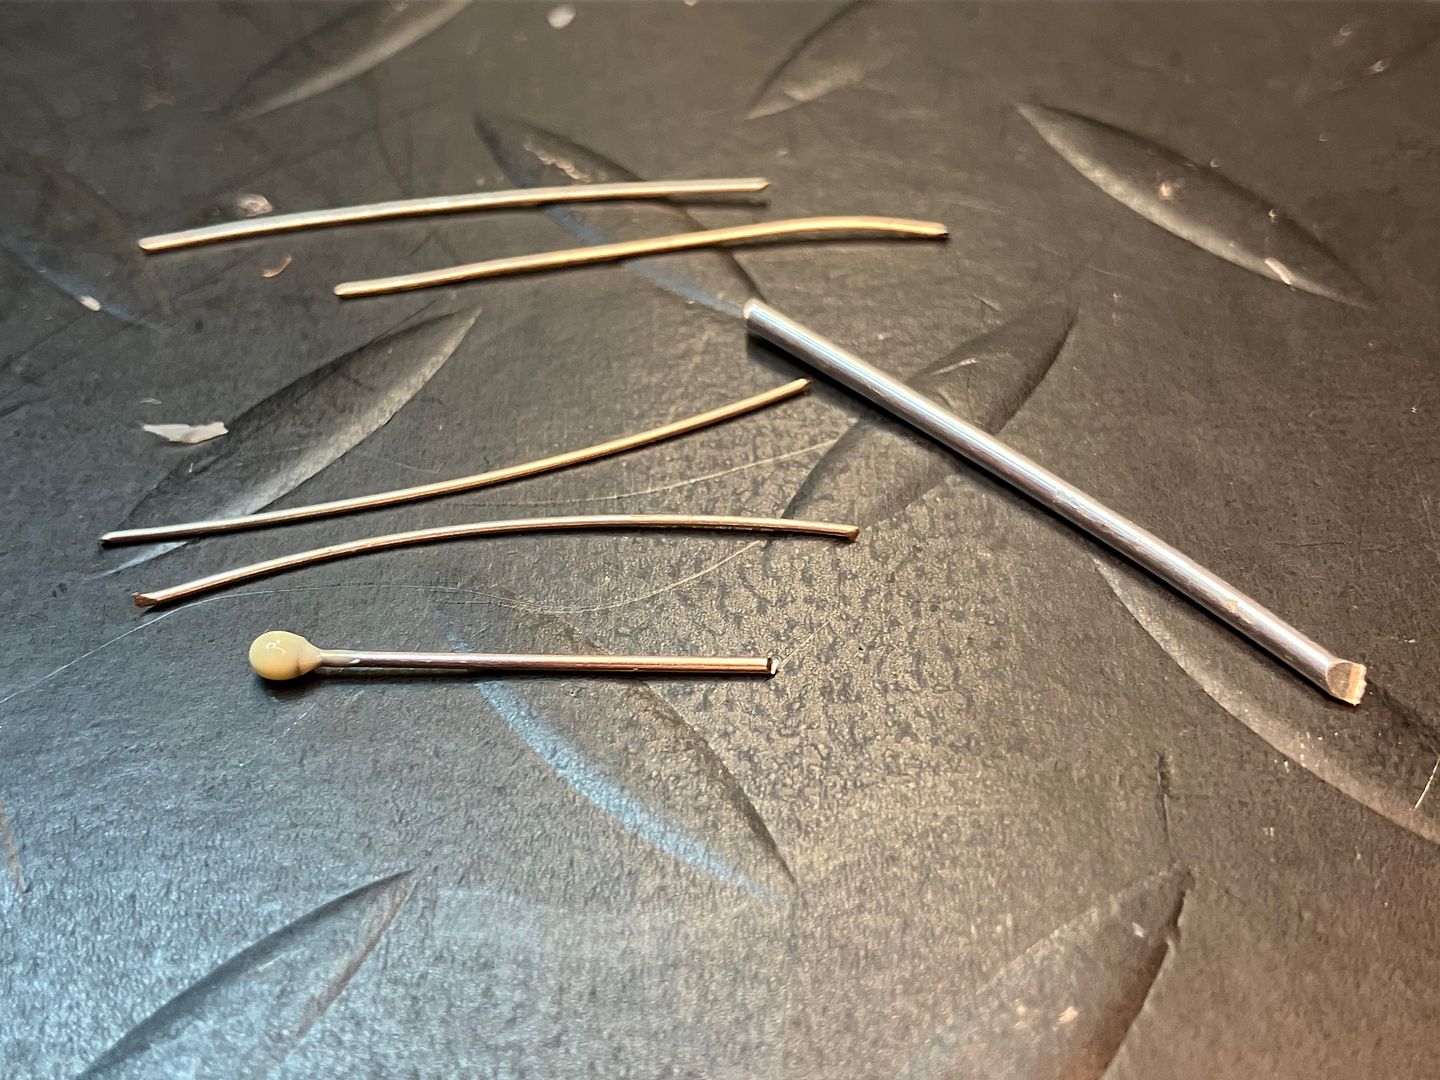
Bagged parts and the metal pieces (the one with a knob is the gear shift):
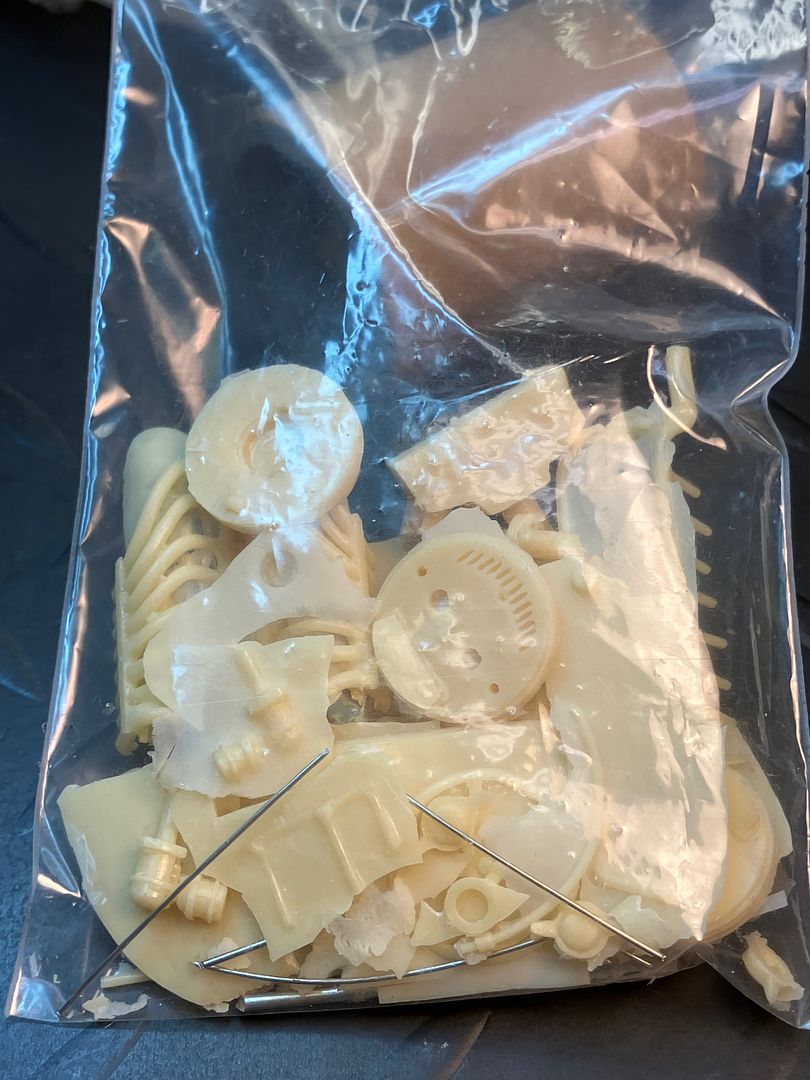
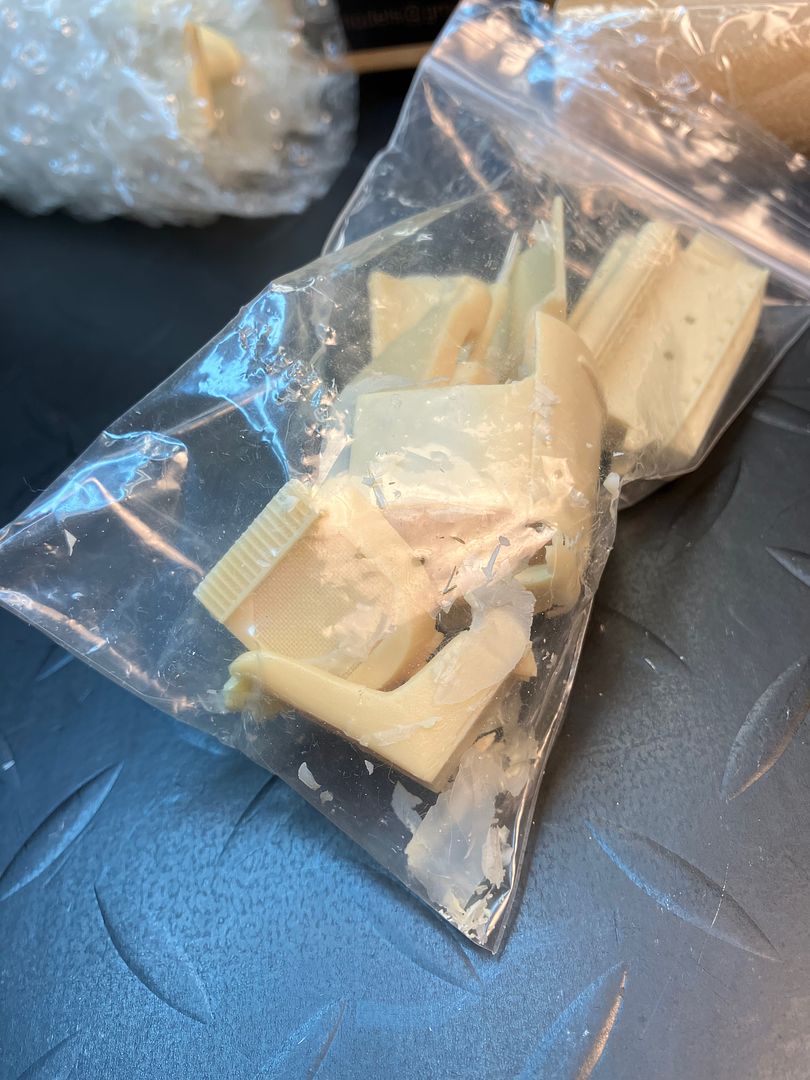
And there you have it, folks. A lot of clean-up will be required before much can happen. I assume all parts need a thorough washing too. Can I use any sort of paint on this resin? I have found some excellent drawings, vintage film footage and photos of the actual Type C and they will be indispensable for this build.
As seen, there are really no instructions and would be almost impossible to get it close to right without the walk-arounds and other detail photographs. I can add a lot of detail and features with those! As a total resin noob, I'm seeking any and all suggestions, advice, warnings and encouragement! If you've got them, please let me hear them! I am really sort of intimidated by this expensive, unusual (for me) kit but by golly, like Chief Lone Wattie, I'll endeavor to persevere!






 Is this the saw of which you speak?