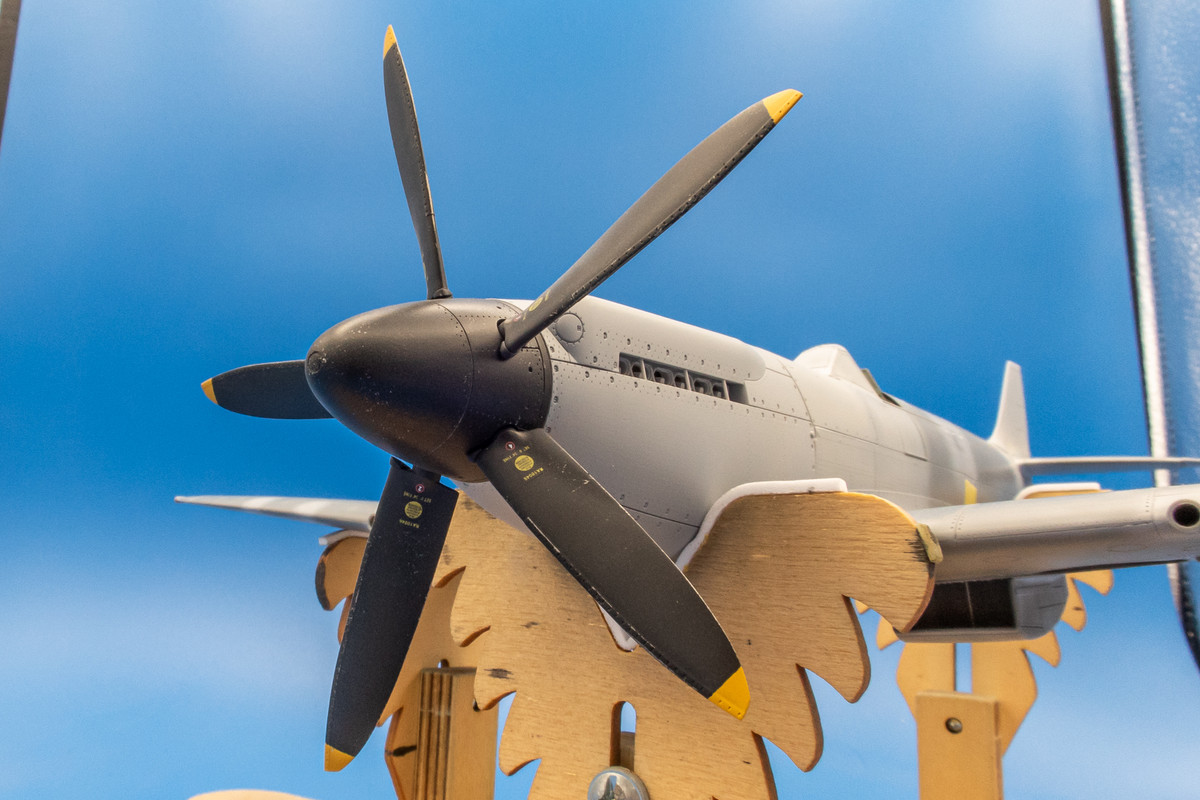
Tamiya 1/32 Spitfire XIVe Conversion

Post your work in progress of your aircraft builds in here.
User avatar
jkim
Elite Member
Posts: 4073
Joined: Mon Apr 10, 2017 4:03 pm

Re: Tamiya 1/32 Spitfire XIVe Conversion

Post by jkim »

Thanks guys!

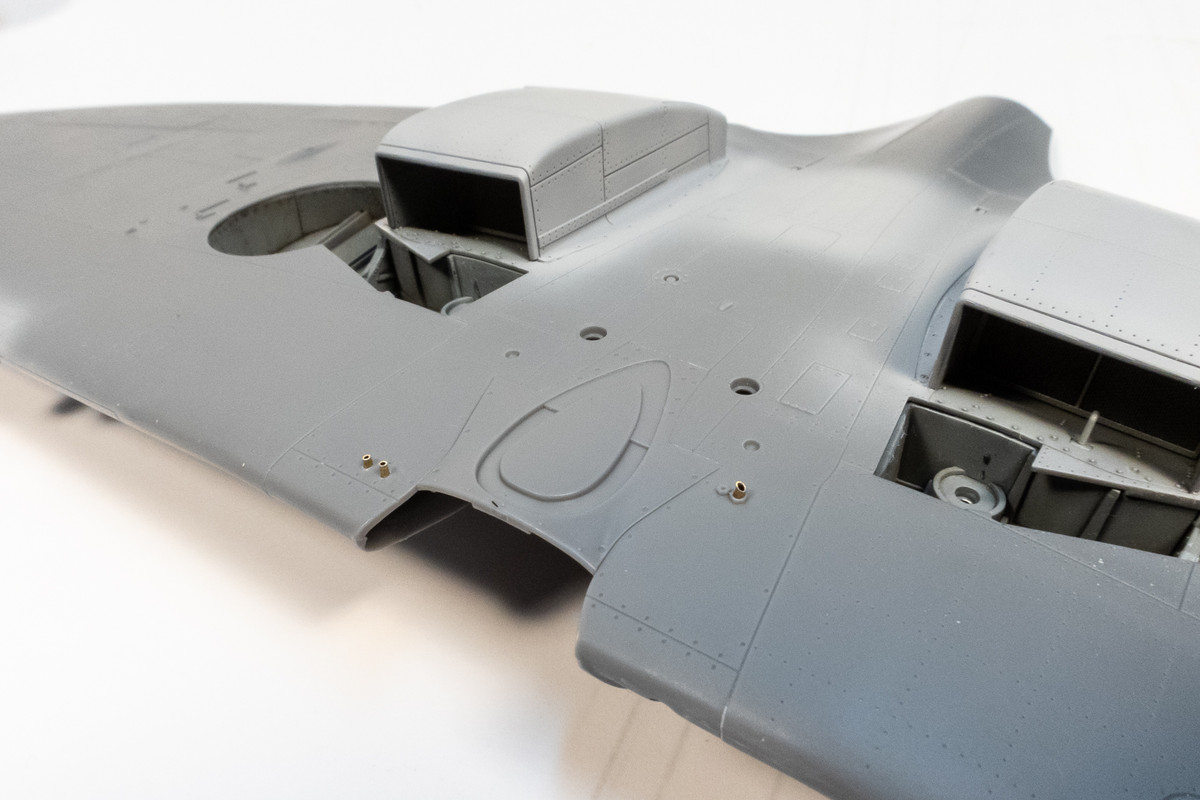
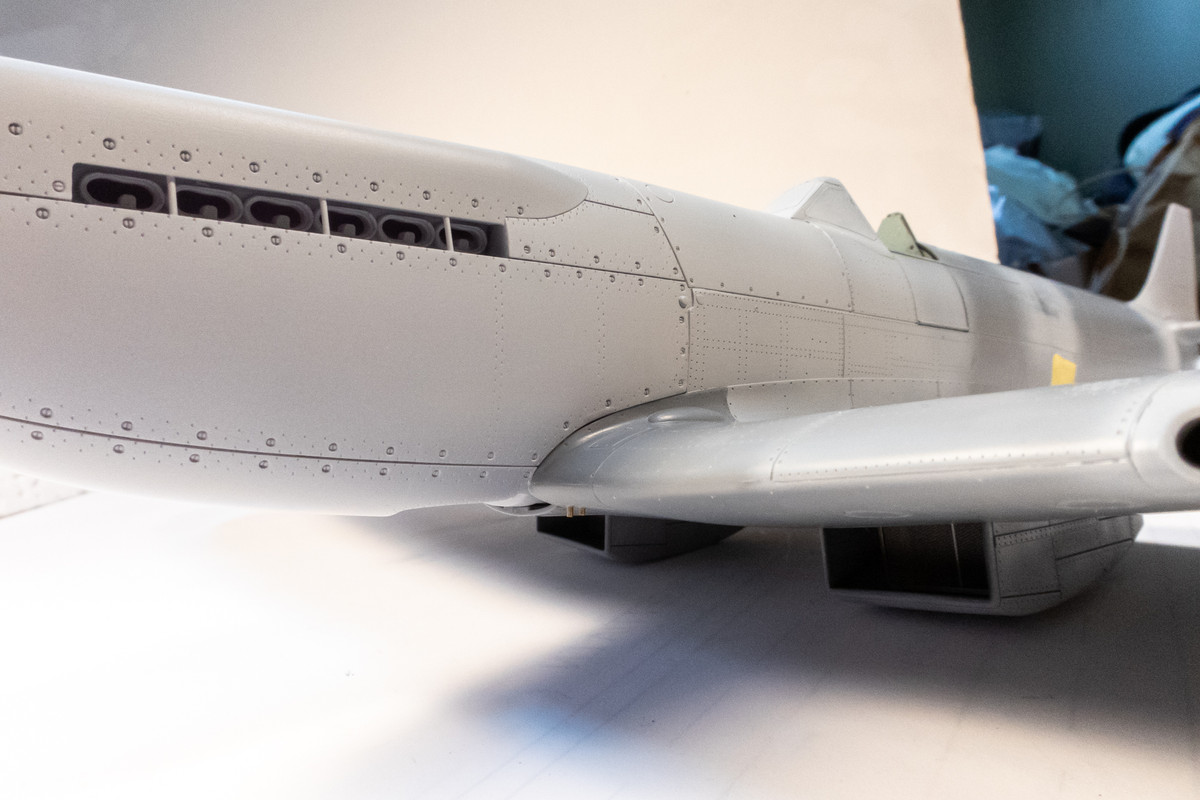
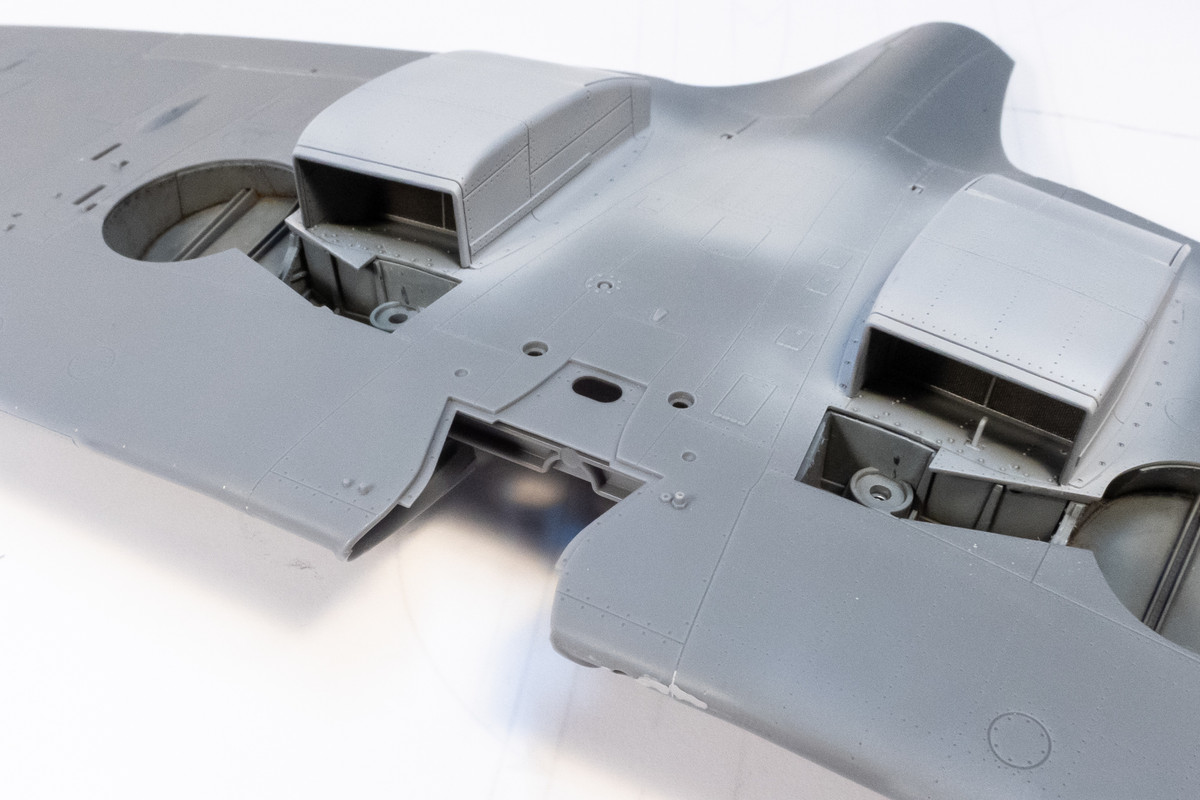
With the new LFD rudder expected next week, I am attending to a few details here and there. There are small vents under the engine that I've cut off and replaced with brass tubing. Also, the center wing bottom insert has been glued into place.
Image
Image

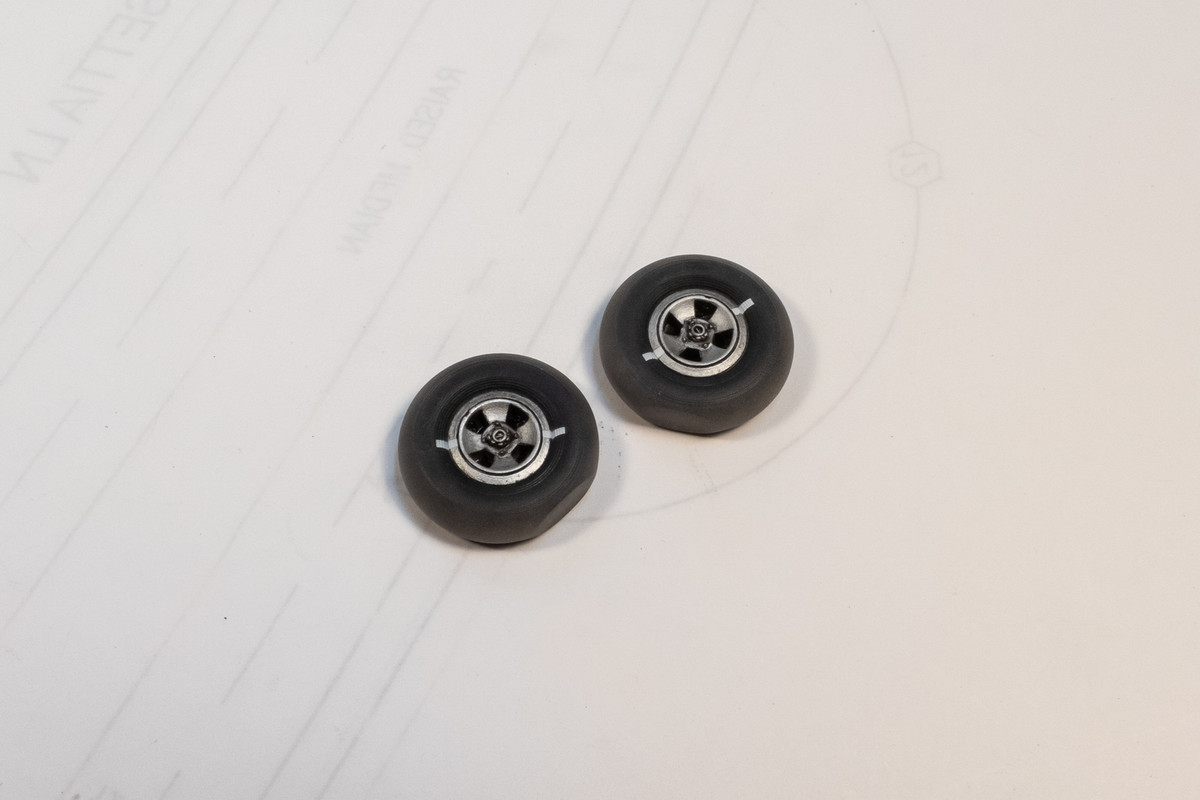
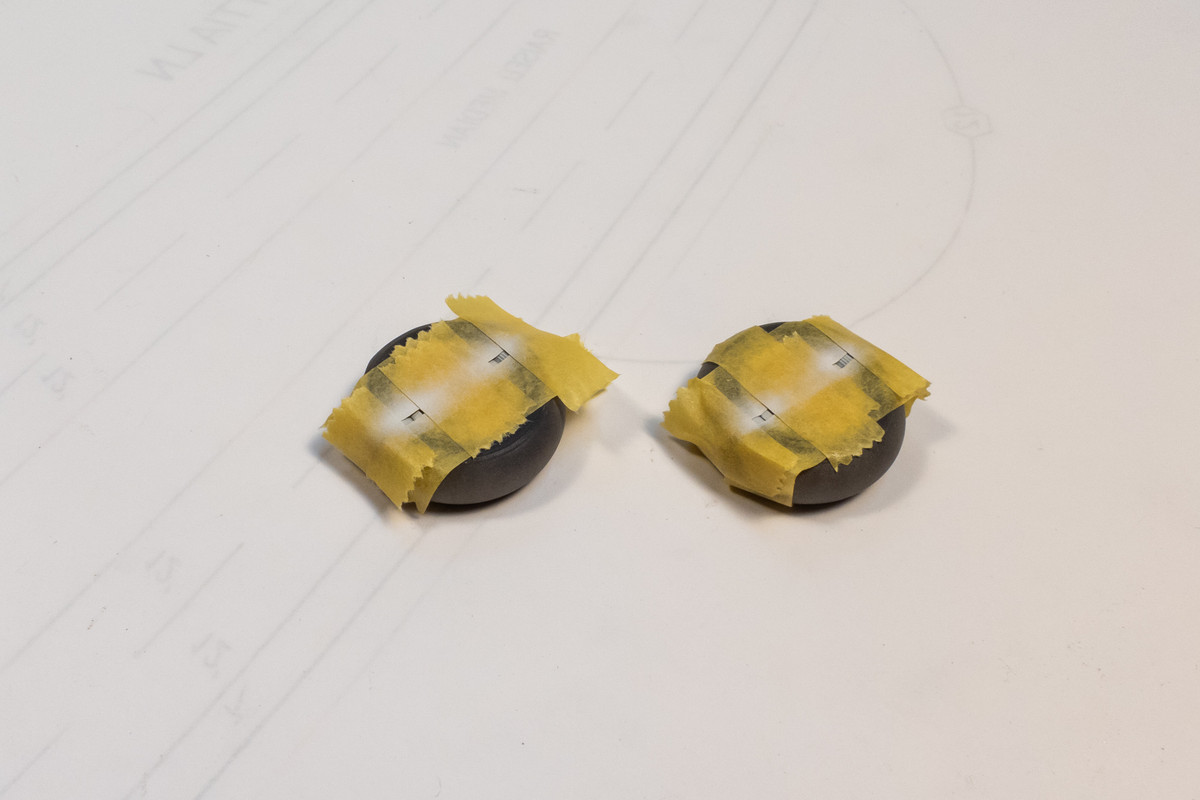
Alignment stripes have been added to the tires/wheels.
Image
Image

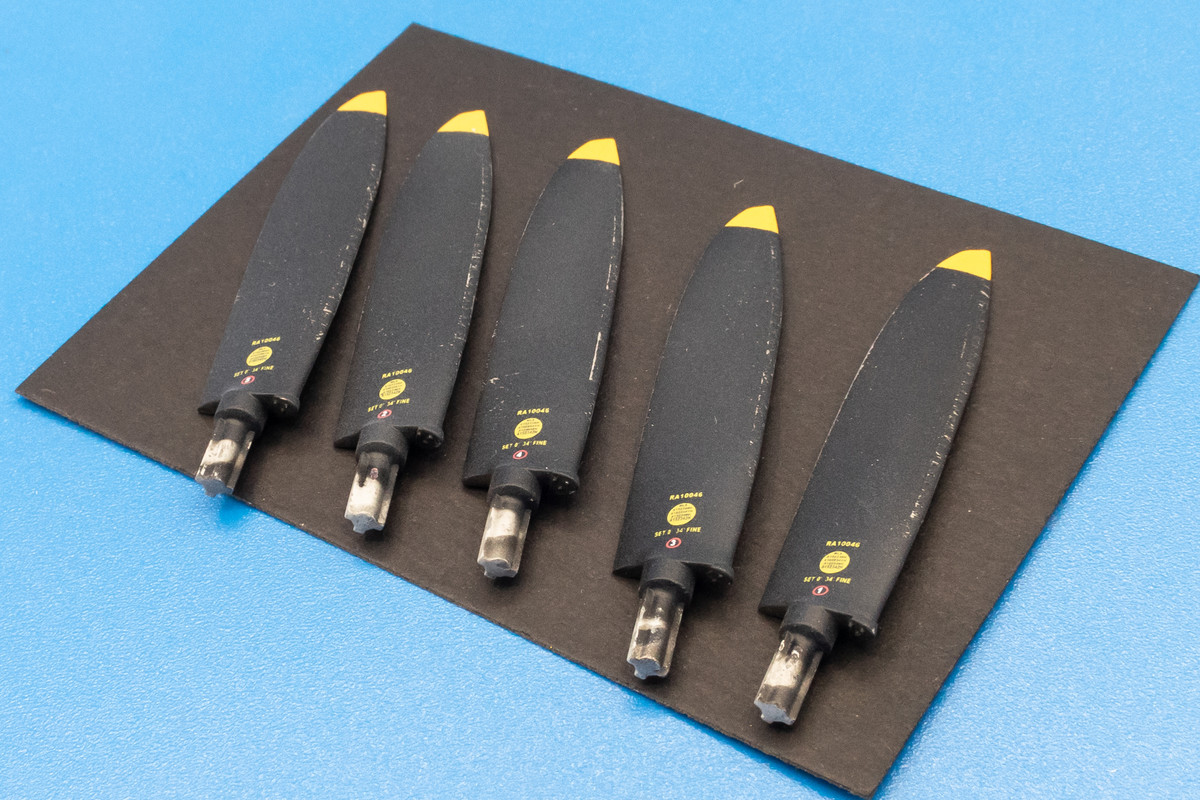
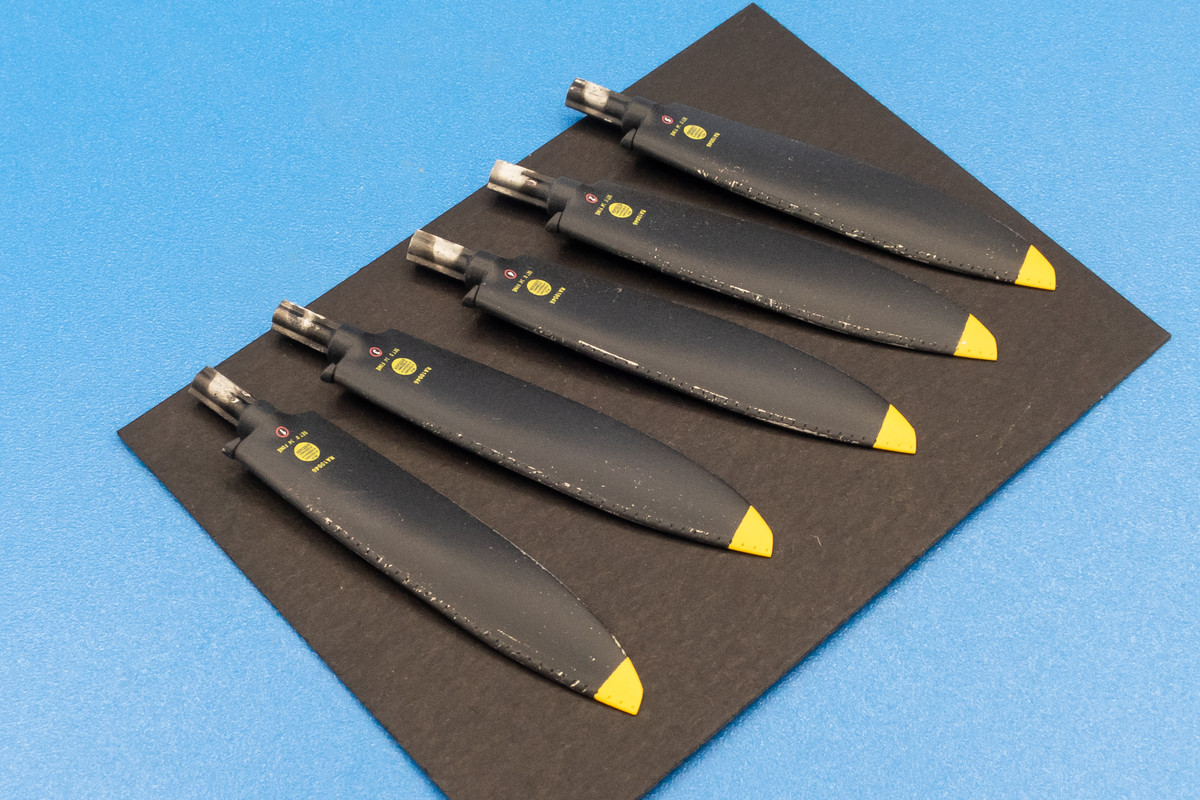
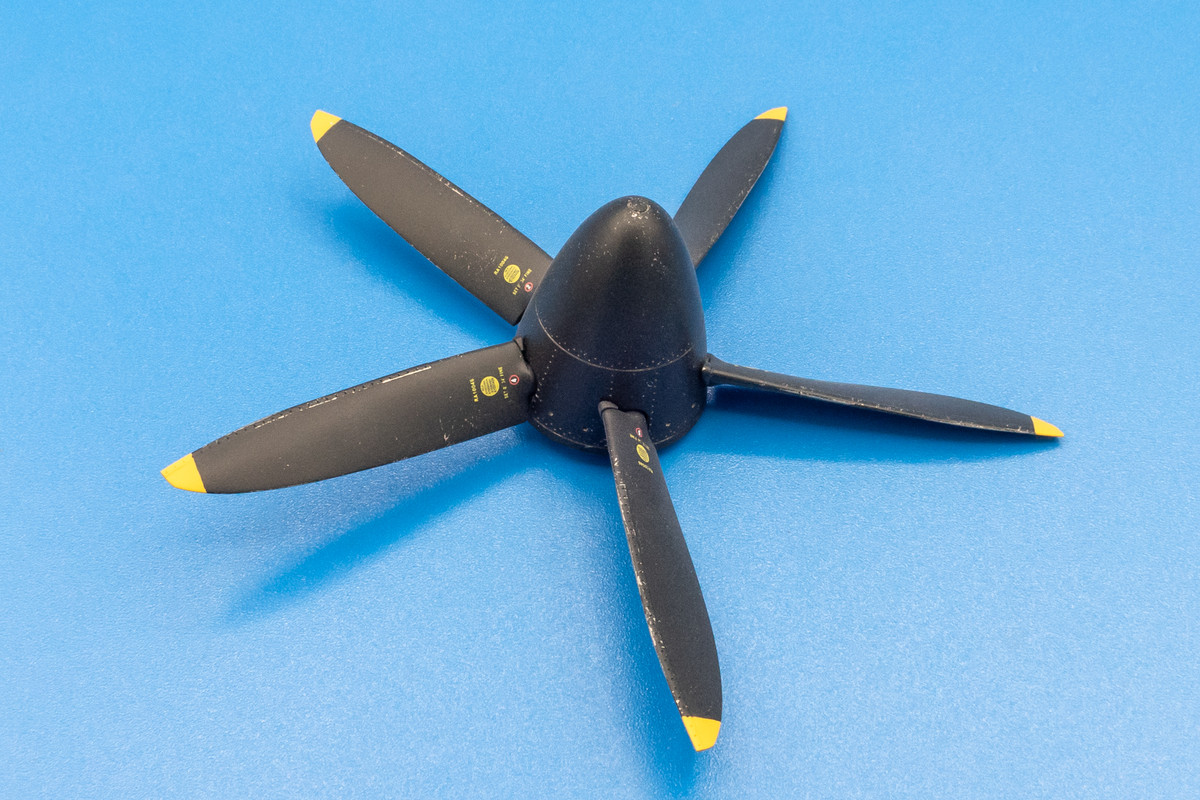
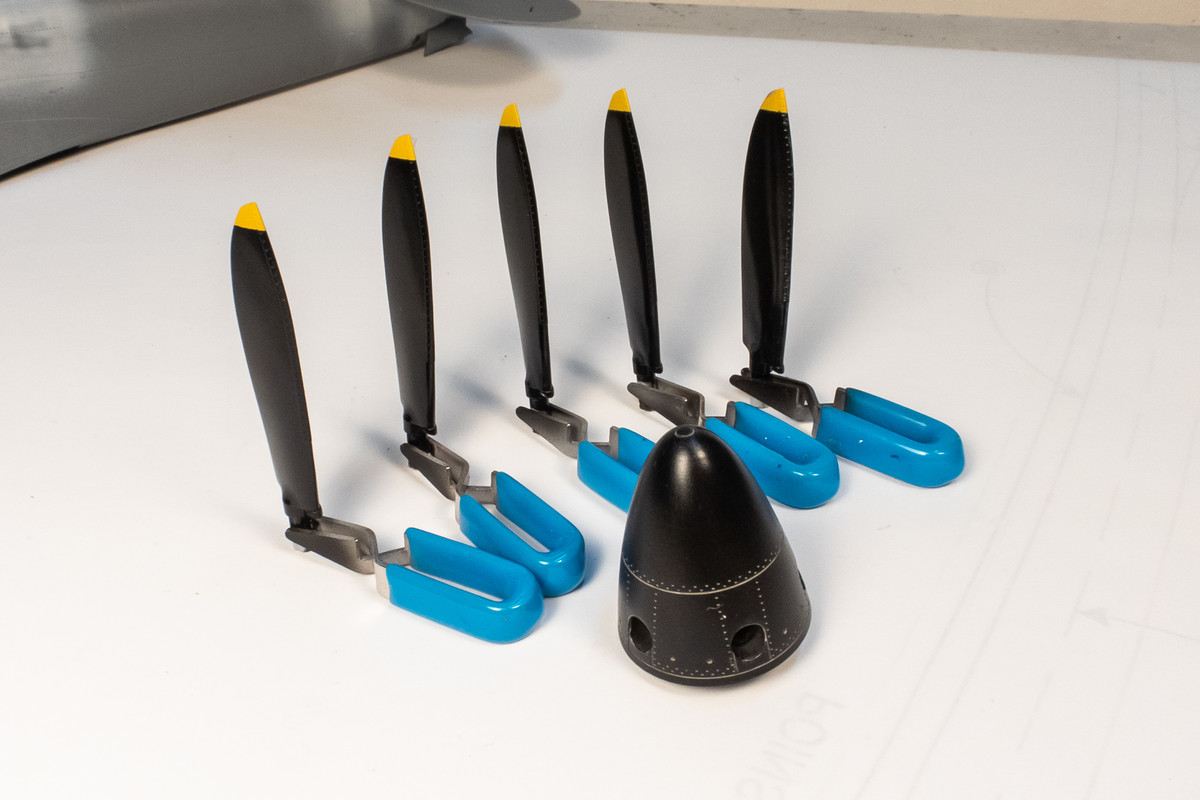
I've started painting the spinner and the five prop blades.
Image

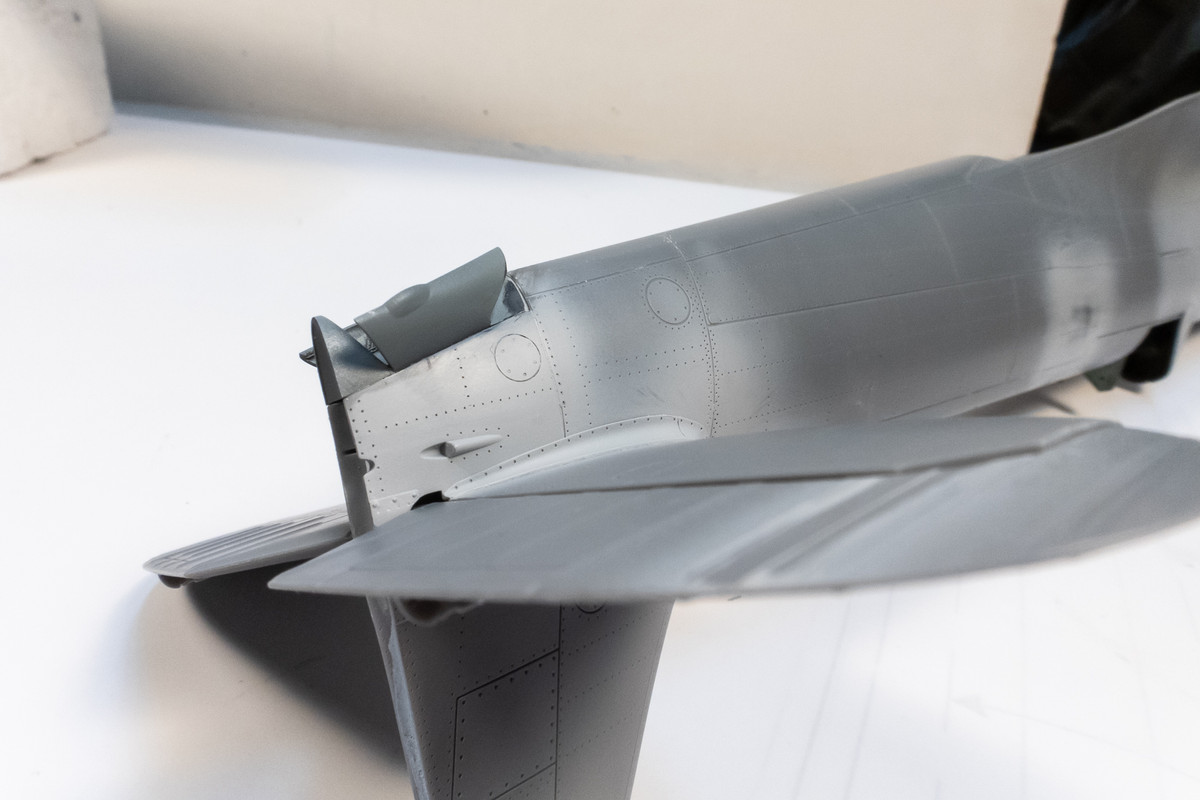
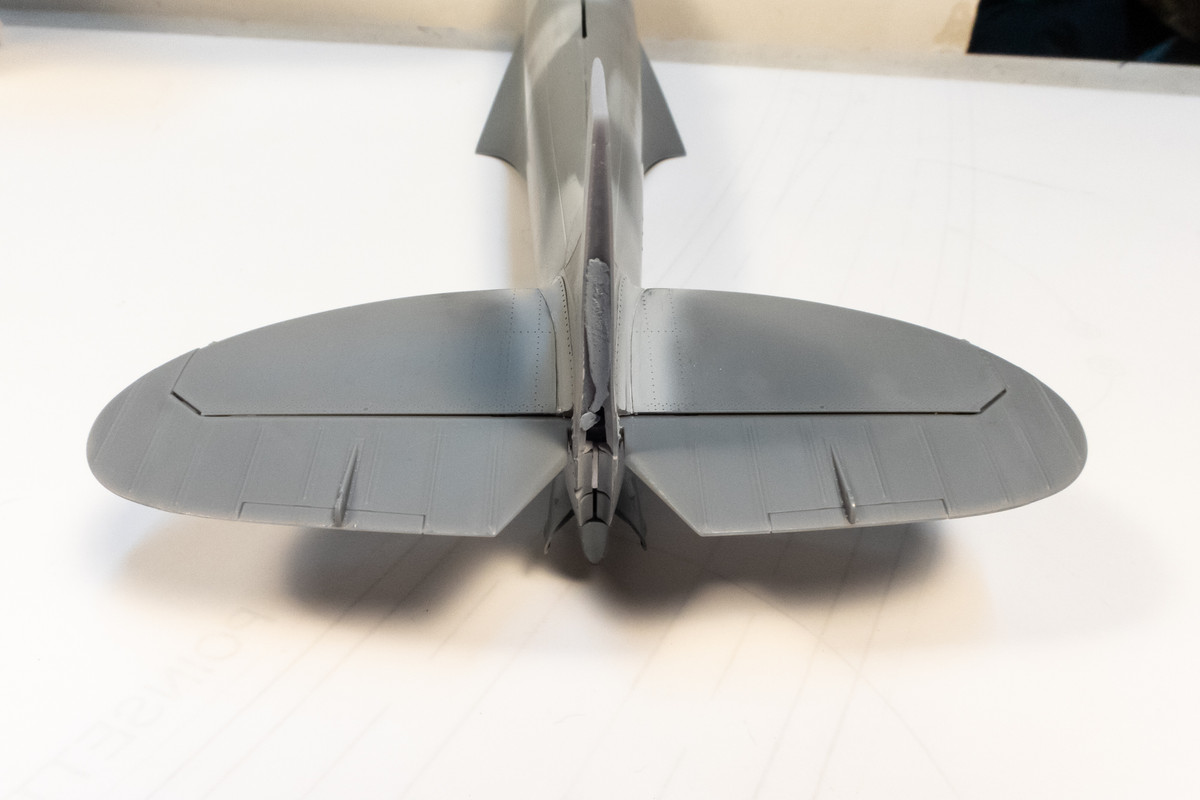
The horizontal stabs have been glued into place in the neutral position.
Image

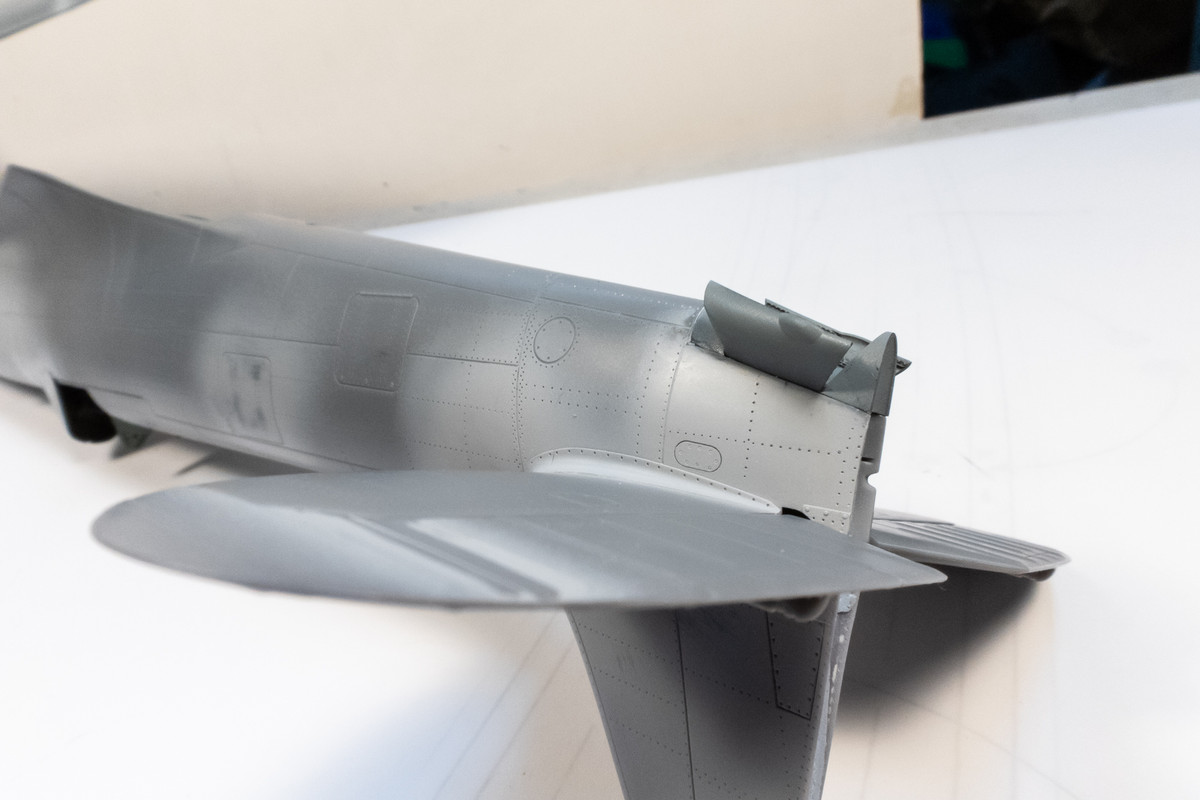
The wheel well has been glued in as well.
Image
Image

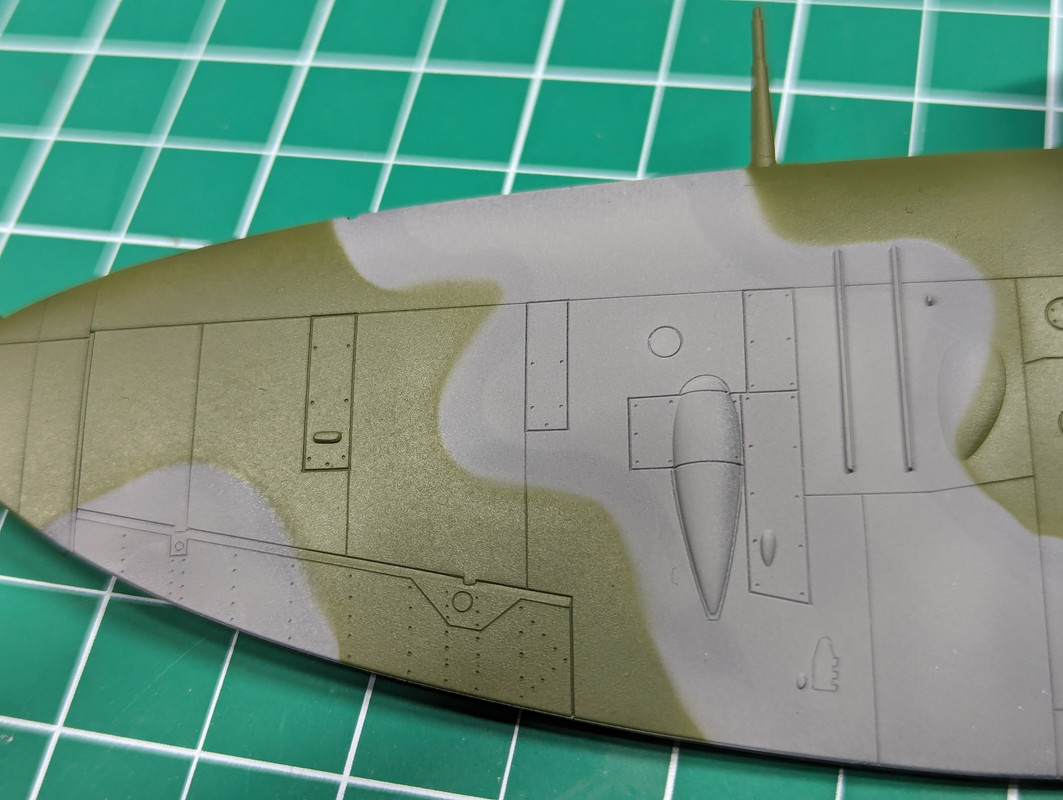
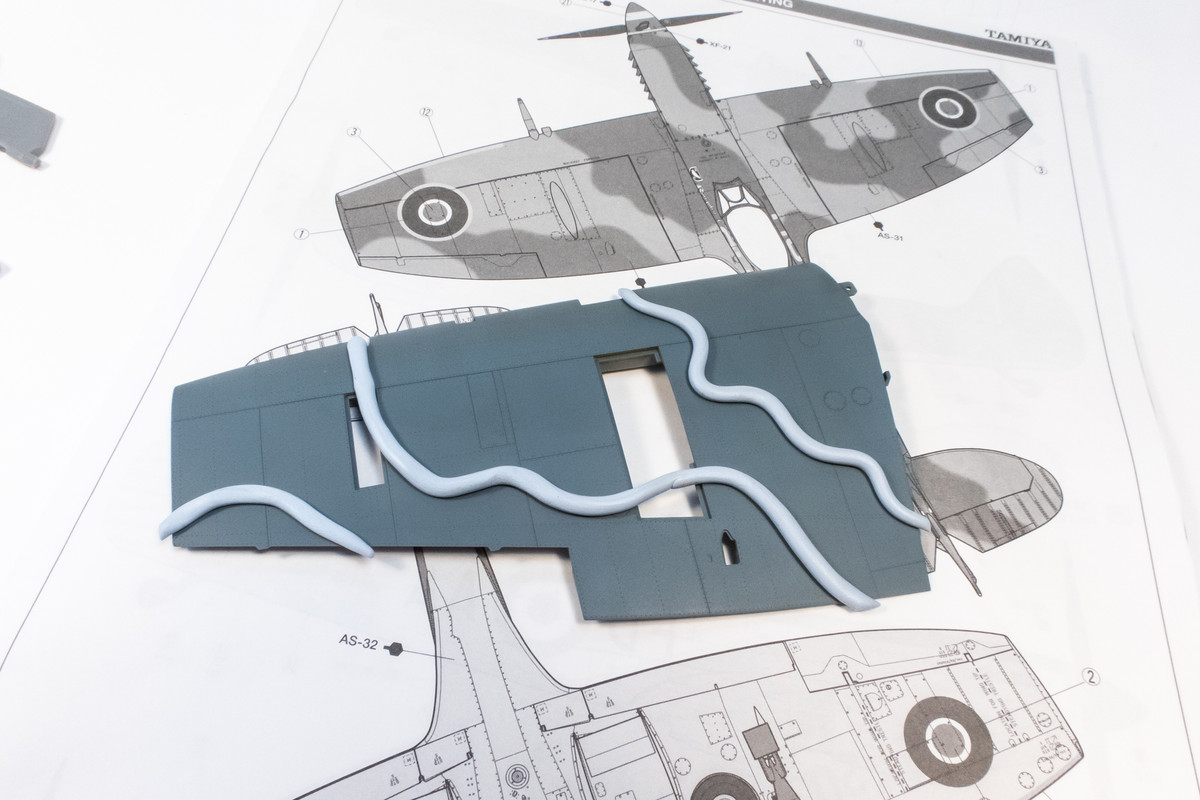
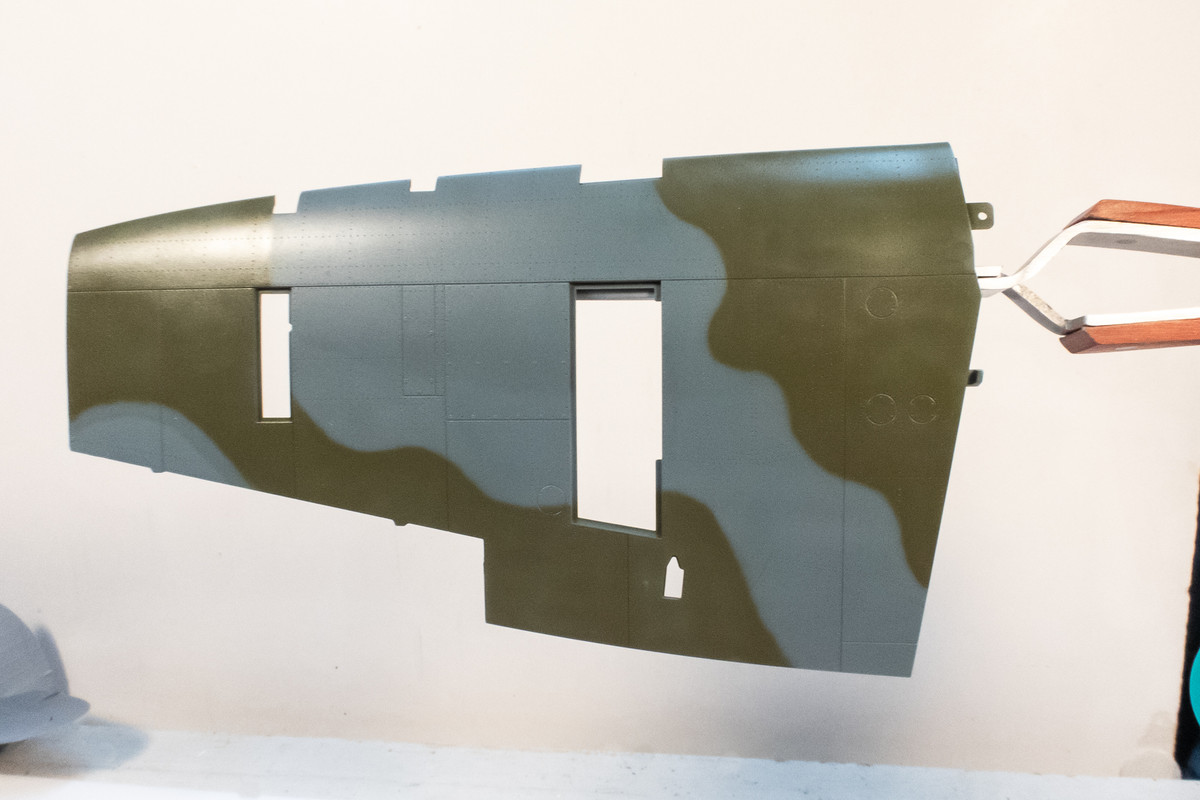
I've started to think about how I want to paint the camo. I want a very hard, yet sprayed demarcation. On the Special Hobby Tempest, I used paper masks to get this effect, which worked ok but it was time consuming and I got some weird effects from paint getting under the masks that needed additonal corrective work. So I wanted to try another method I've seen others use to get similar results... long rolls of Blue Tack.
Image

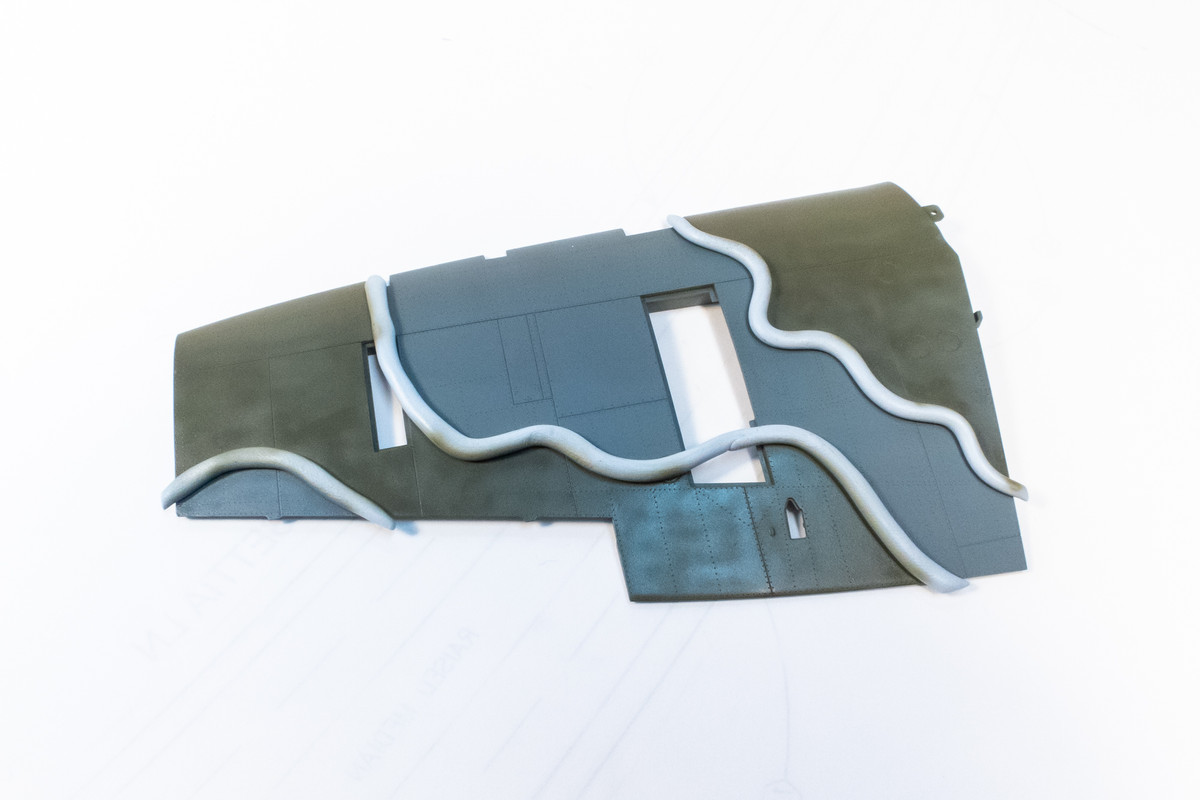
As long as you don't spray directly underneath the roll, the curvature of the roll creates a soft demarcation.The paints I'm using for this test and probably for the camo are Mr Hobby Aqueous RAF Dark Green H-73 and Tamiya Ocean Gray XF-82 (and Tamiya Medium Sea Gray 2 XF-83 for bottom color).
Image

The result was mixed so I traced over all edges with the Dark Green and got this. Essentially, free-handed camo but I like the use of the Blue Tack as a rough tracing guide for the camo pattern. Don't mind the double-edge effect in the lower left, that was simply my mistake of spraying that area green first and then shooting the Grey back on.
Image
John aka JKim
-----------<><
Image
User avatar
BlackSheep214
Elite Member
Posts: 13409
Joined: Sun Apr 06, 2014 8:47 pm

Re: Tamiya 1/32 Spitfire XIVe Conversion

Post by BlackSheep214 »

Looks good.
“Who controls the skies, controls the fate of this Earth”

Author unknown- 352nd Fighter Group, Blue-Nosed Bastards of Bodney

“Send one plane it’s a sortie; send two planes it’s a flight; send four planes it’s a test of airpower. - Richard Kohn
User avatar
jkim
Elite Member
Posts: 4073
Joined: Mon Apr 10, 2017 4:03 pm

Re: Tamiya 1/32 Spitfire XIVe Conversion

Post by jkim »

Thanks Tom!

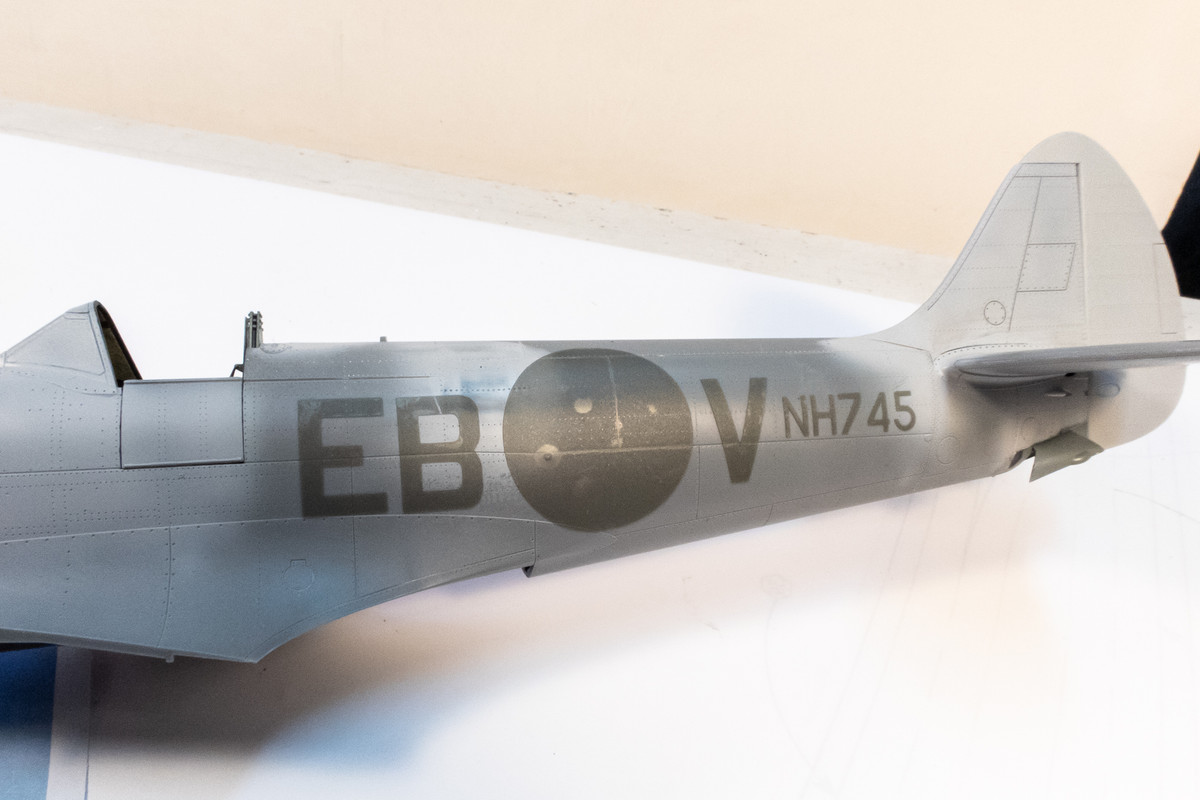
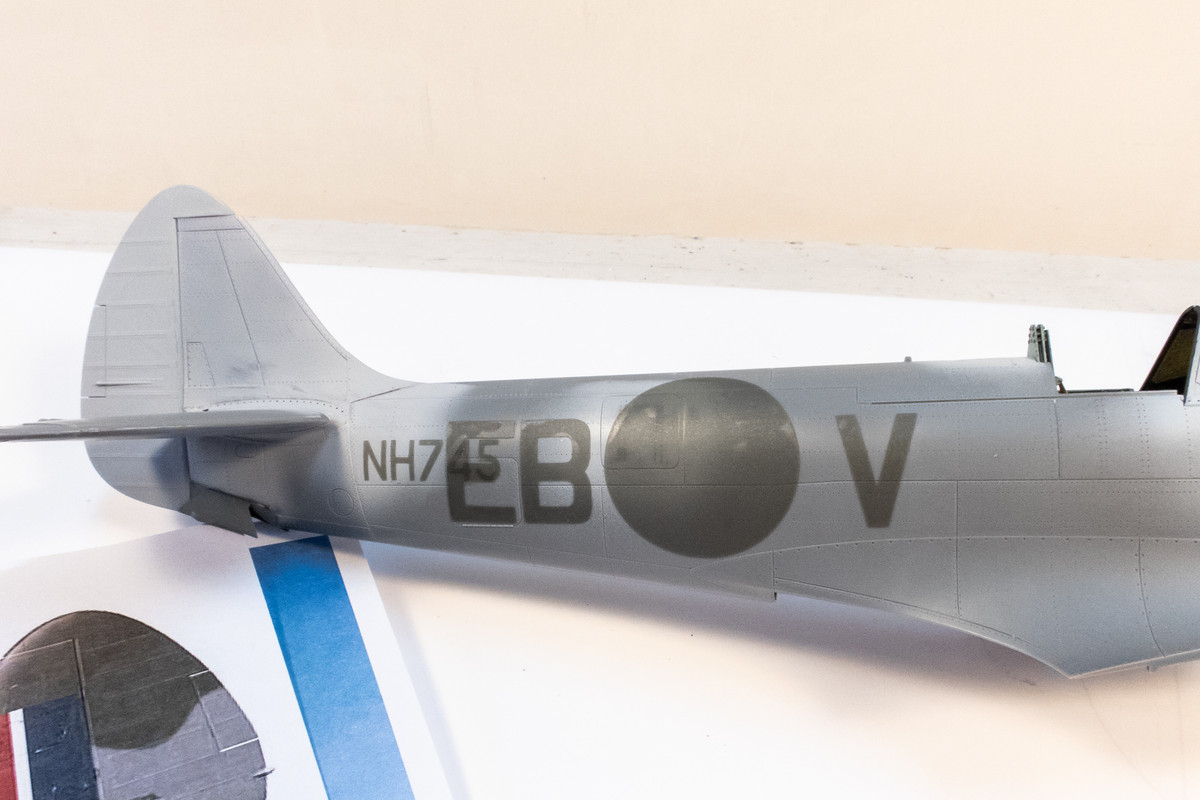
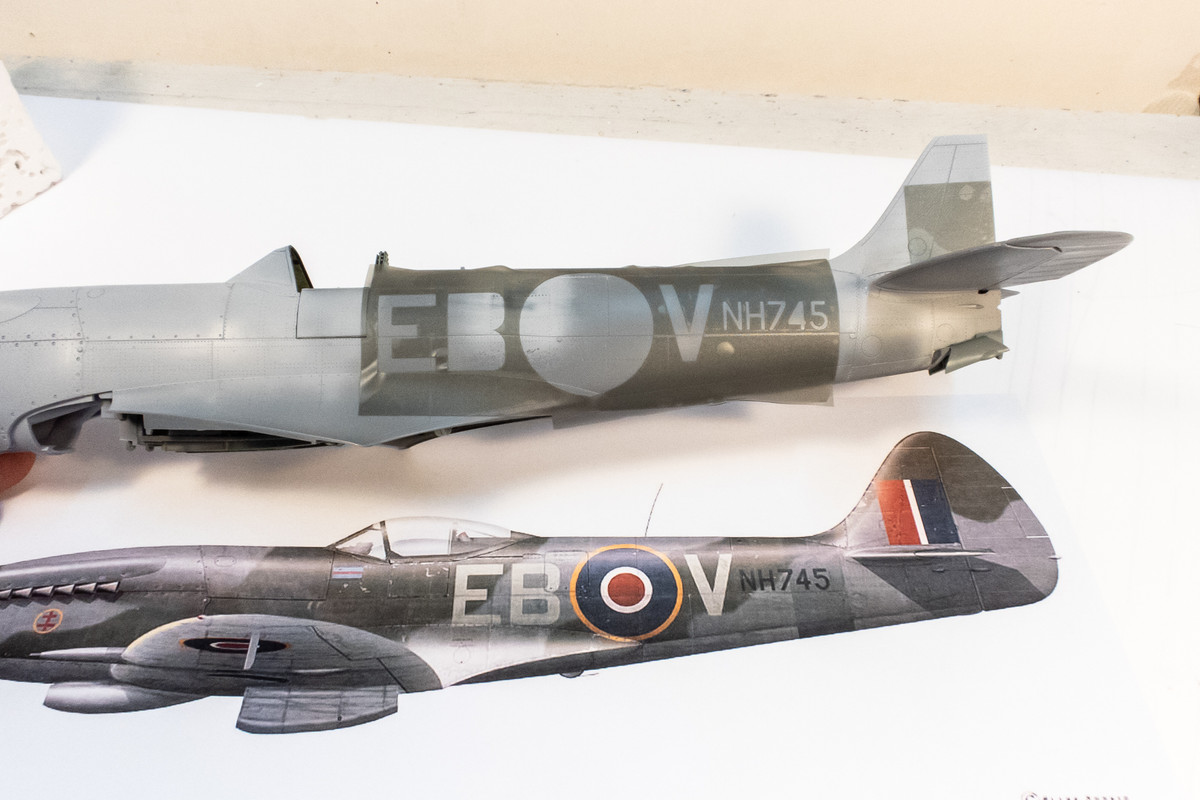
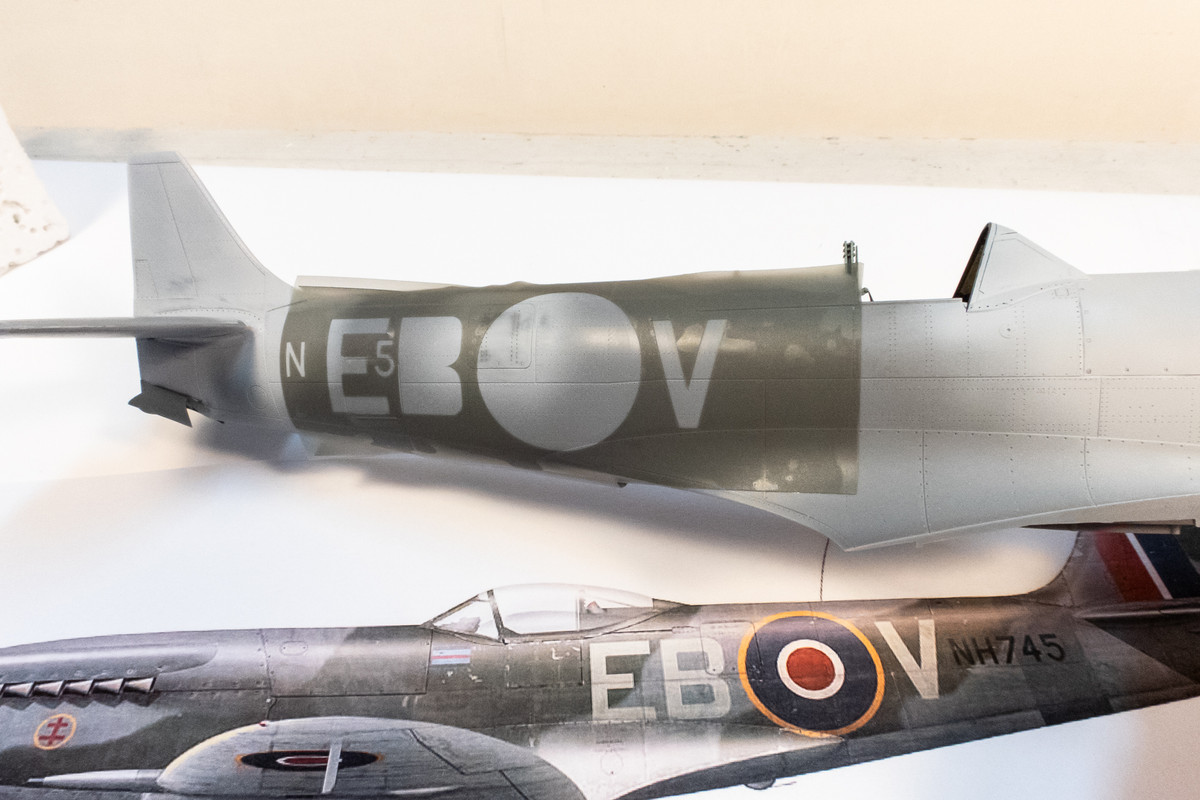
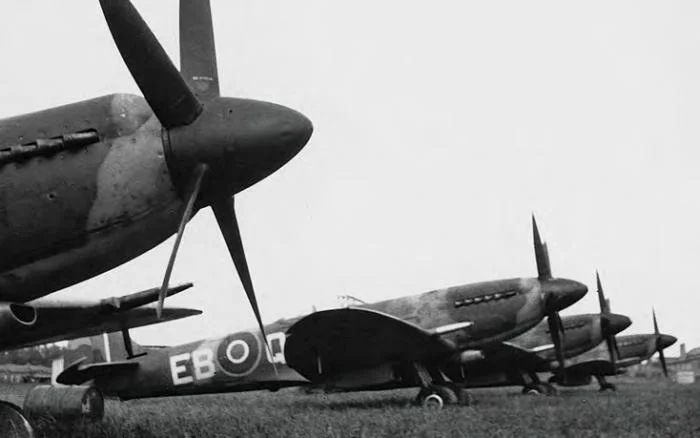
Since I am creating the markings from scratch, I thought I needed to test out placement of the letter codes, roundels and serial number. This first mask set was created using a scan of the Tamiya decals for the roundel size and online image of a 1/48 decal sheet from DK Decals for the letter and serial codes. I'm planning to have the unit code EB painted OVER the serial number on the starboard side.
Image
Image

The spacing didn't look quite right compared to the photo of NH745, so using the photo and the Claes Sundin profile of NH745, I adjusted the letter and serial codes. I am thinking about keeping the letter, roundel and serial numbers on a single mask to help alignment. The downside is getting the mask to lay down flat and possibly causing some distortion.
Image
Image

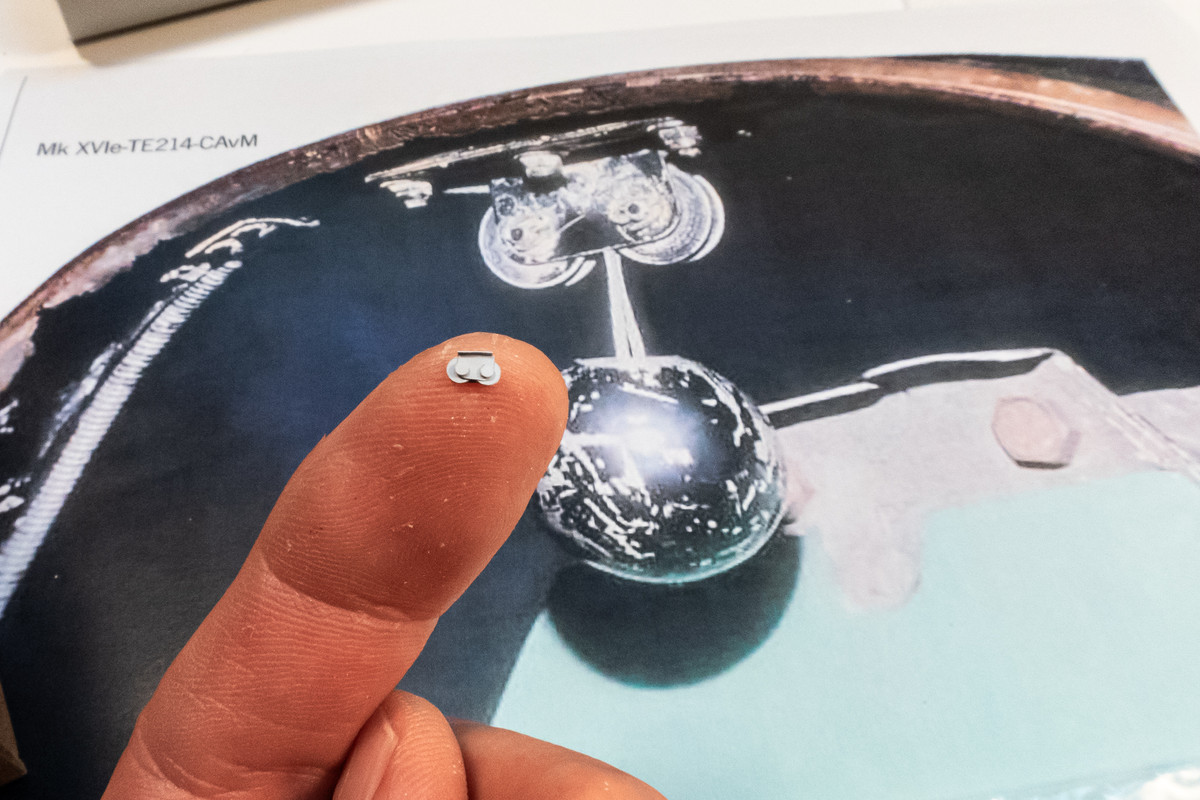
The emergency release on the XIVe bubble canopy is different from highback Spitfires so I am attempting to scratch something up. I'm making two copies... one for the temp canopy that is cracked and one for the final canopy that I'll get from Tamiya eventually.
Image
John aka JKim
-----------<><
Image
Edbert
Newbie
Posts: 6
Joined: Sun May 26, 2024 5:38 pm

Re: Tamiya 1/32 Spitfire XIVe Conversion

Post by Edbert »

jkim wrote: Mon Jun 17, 2024 12:54 am Don't mind the double-edge effect in the lower left, that was simply my mistake of spraying that area green first and then shooting the Grey back on.

I'm so good at this I was able to get the same effect by pulling the blue-tack off unprotected Tamiya acrylic Gray. The green part looked fine, much like your example, but ALL of my gray areas had that sorta drop-shadow effect.

:headbang:

Still learning, so I stripped the whole thing and redid it with frisket paper.
User avatar
BlackSheep214
Elite Member
Posts: 13409
Joined: Sun Apr 06, 2014 8:47 pm

Re: Tamiya 1/32 Spitfire XIVe Conversion

Post by BlackSheep214 »

Elbert…. I’ve never heard of experiencing drop shadow effect working with blue tack. Methinks the oils from a newly used blue tack is the cause? I usually knead the crap out of it til it’s pliable to use.
“Who controls the skies, controls the fate of this Earth”

Author unknown- 352nd Fighter Group, Blue-Nosed Bastards of Bodney

“Send one plane it’s a sortie; send two planes it’s a flight; send four planes it’s a test of airpower. - Richard Kohn
User avatar
jkim
Elite Member
Posts: 4073
Joined: Mon Apr 10, 2017 4:03 pm

Re: Tamiya 1/32 Spitfire XIVe Conversion

Post by jkim »

Well, there are different manufacturers of blue adhesive putty out there. I have two variations. One is lighter blue, which is the one that I used for the paint test. The other one is darker blue and is noticeably softer and tackier. I suspect that it also may have some residual oils and I'm hesitant on using it for paint masking. The lighter blue stuff doesn't leave any residue or react with the paint that I'm using (Tamiya and Mr Hobby Aqueous acrylics). I'll verify the different manufacturers if I still have the packaging.

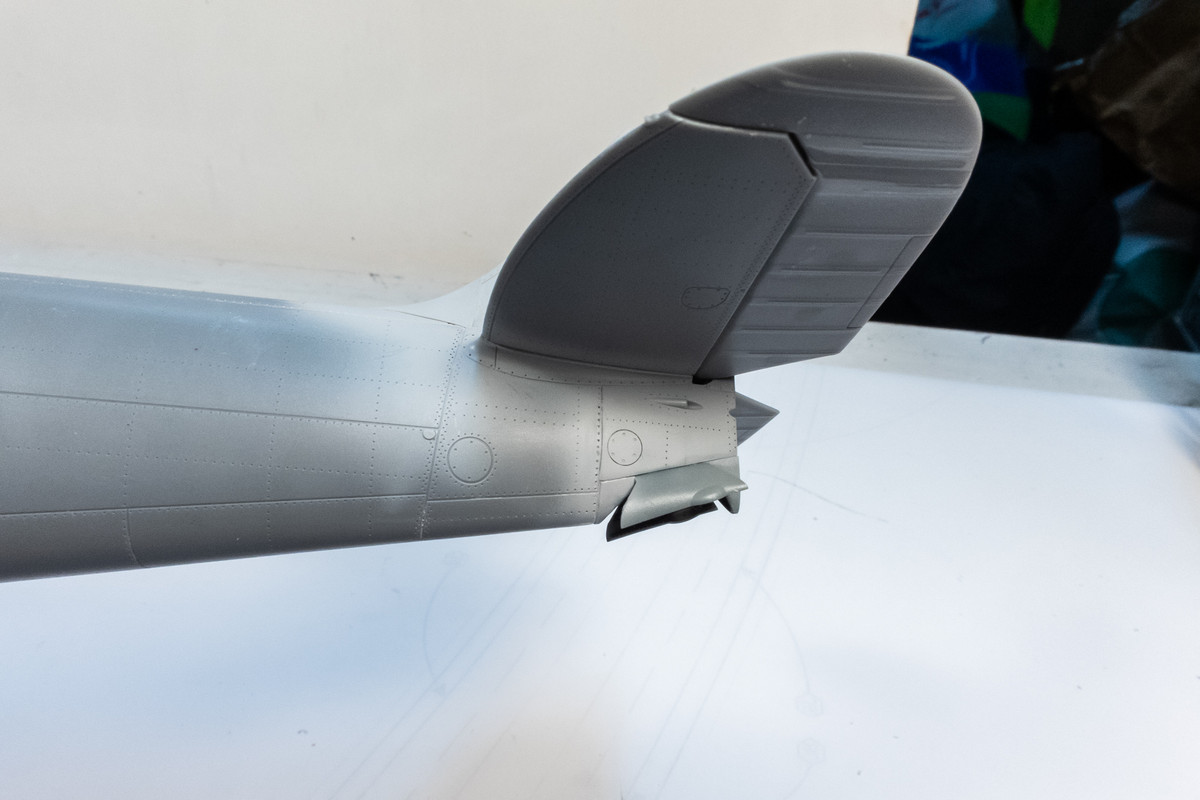
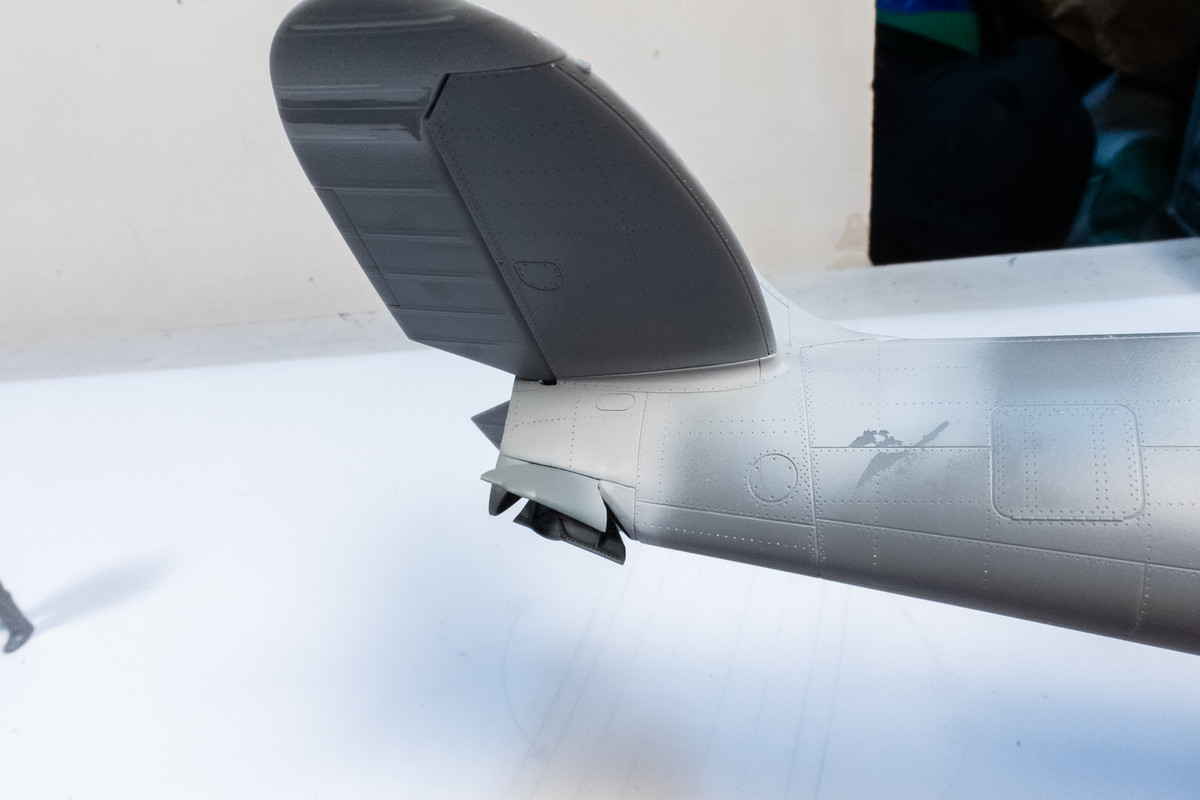
I've performed some clean-up work on the tail wheel well joints.
Image
Image

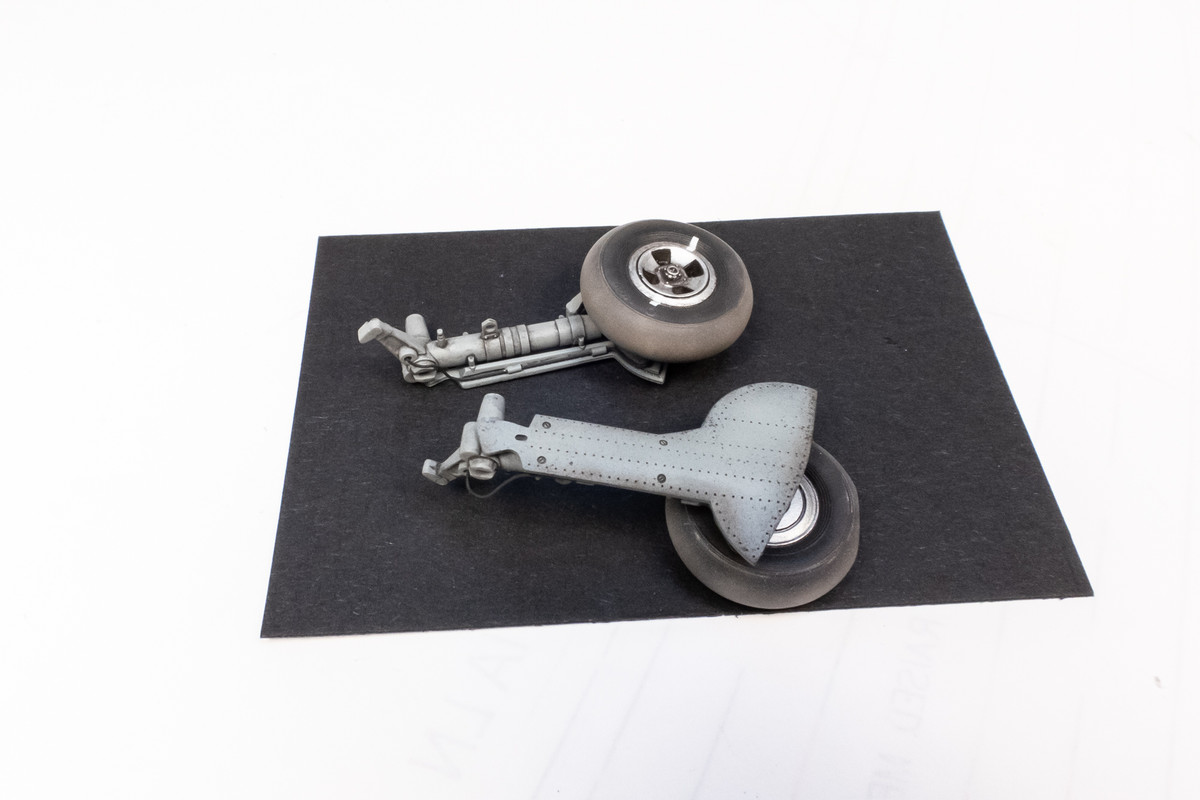
The outer sides of the landing gear covers have been painted using Tamiya Medium Sea Gray 2 (XF-83), which I'll be using for the bottom camo color. I can now glue the landing gear legs into the covers. The wheel will be glued on when I can properly locate the flat spots.
Image

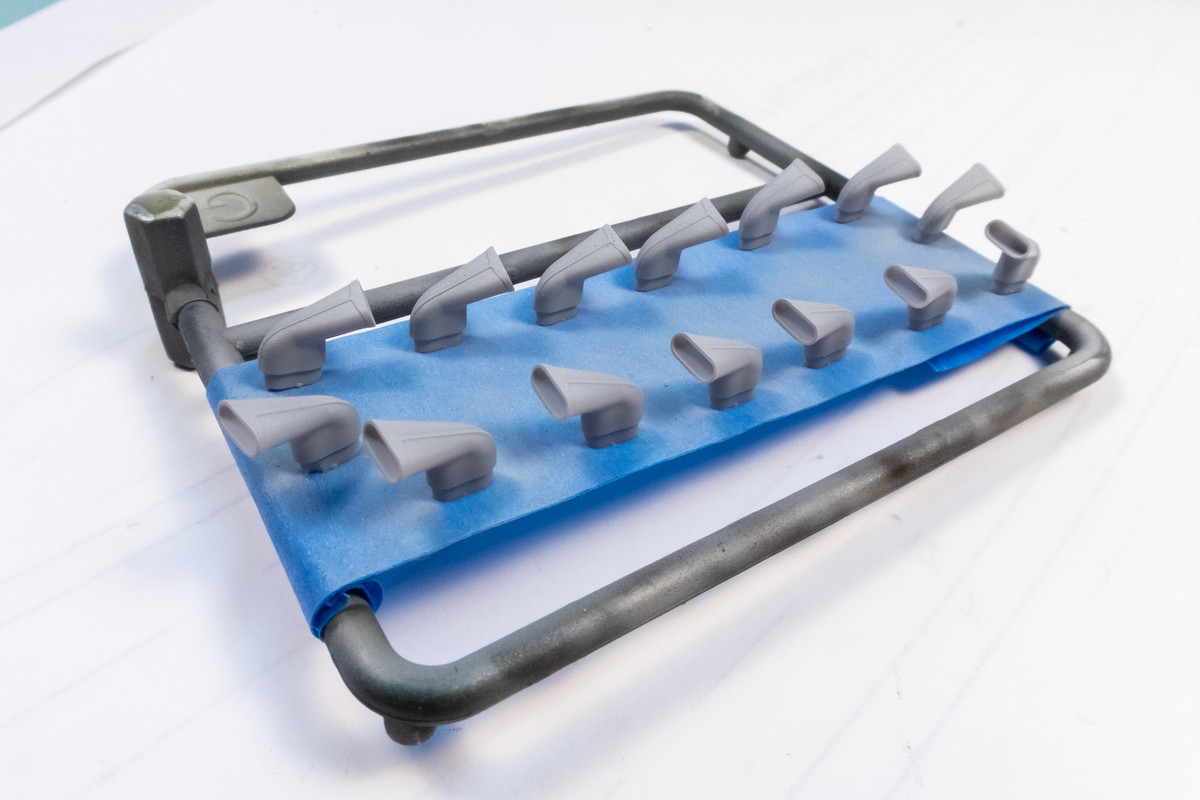
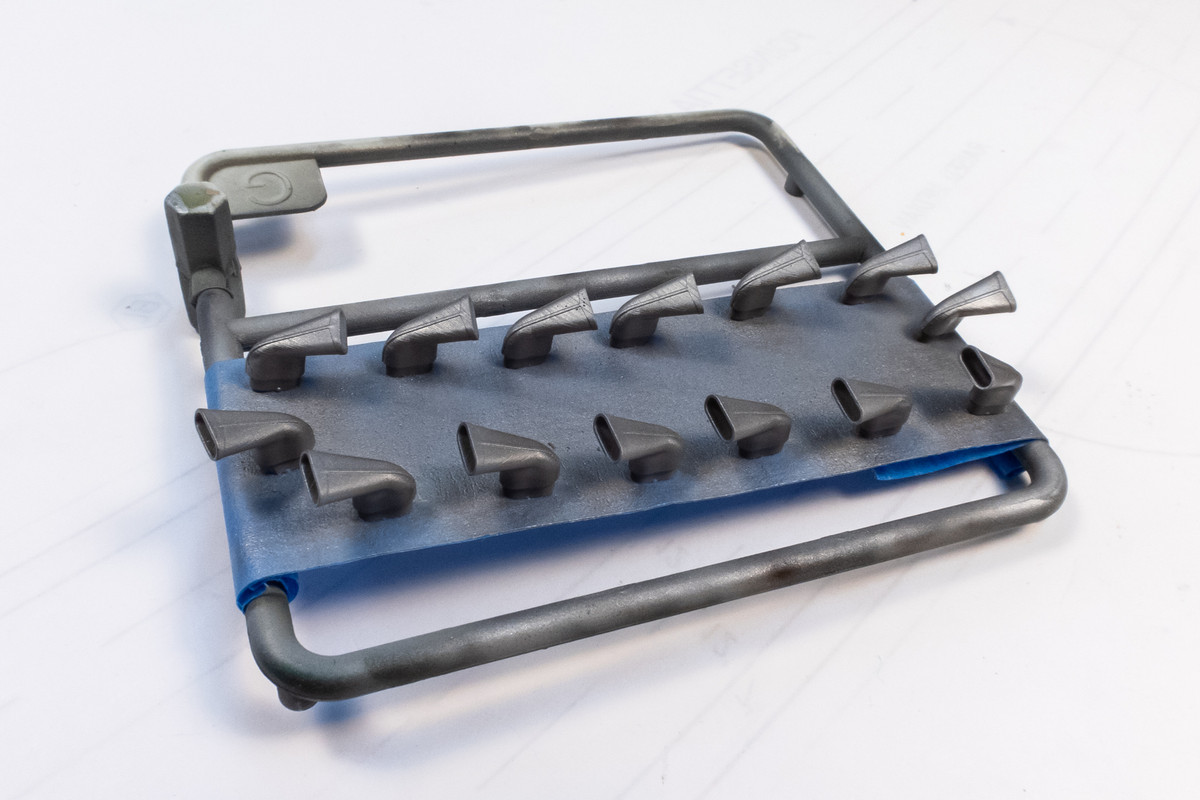
Time to paint the LFD fishtail exhausts. First, I give them a primer coat (Mr Primer Surfacer 1000).
Image

The base coat is Alclad Dark Aluminum.
Image

Alclad Exhaust Manifold is then applied. I try to make this layer non-uniform... lighter at the base and heavier at the exhaust ends. This helps to give each exhaust tip a slightly unique look.
Image

A highly thinned black is then sprayed into the exhaust openings and around the tips of each exhaust.
Image

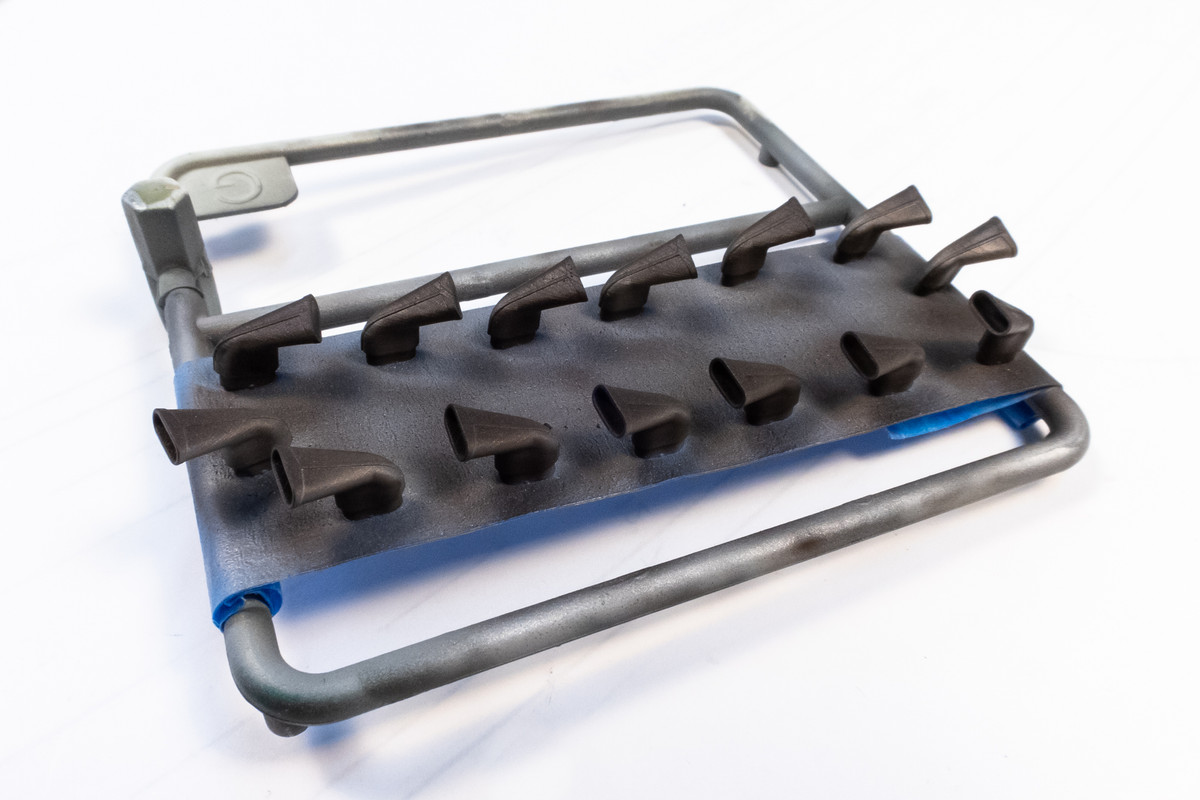
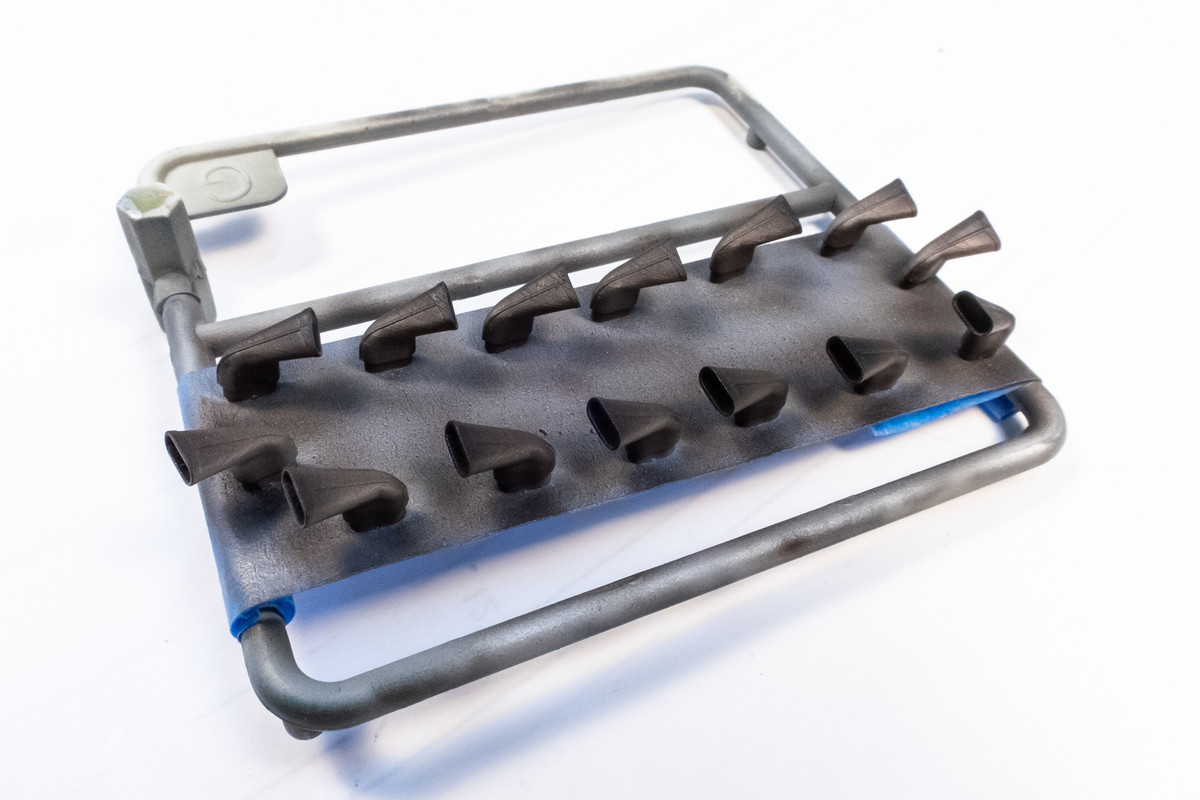
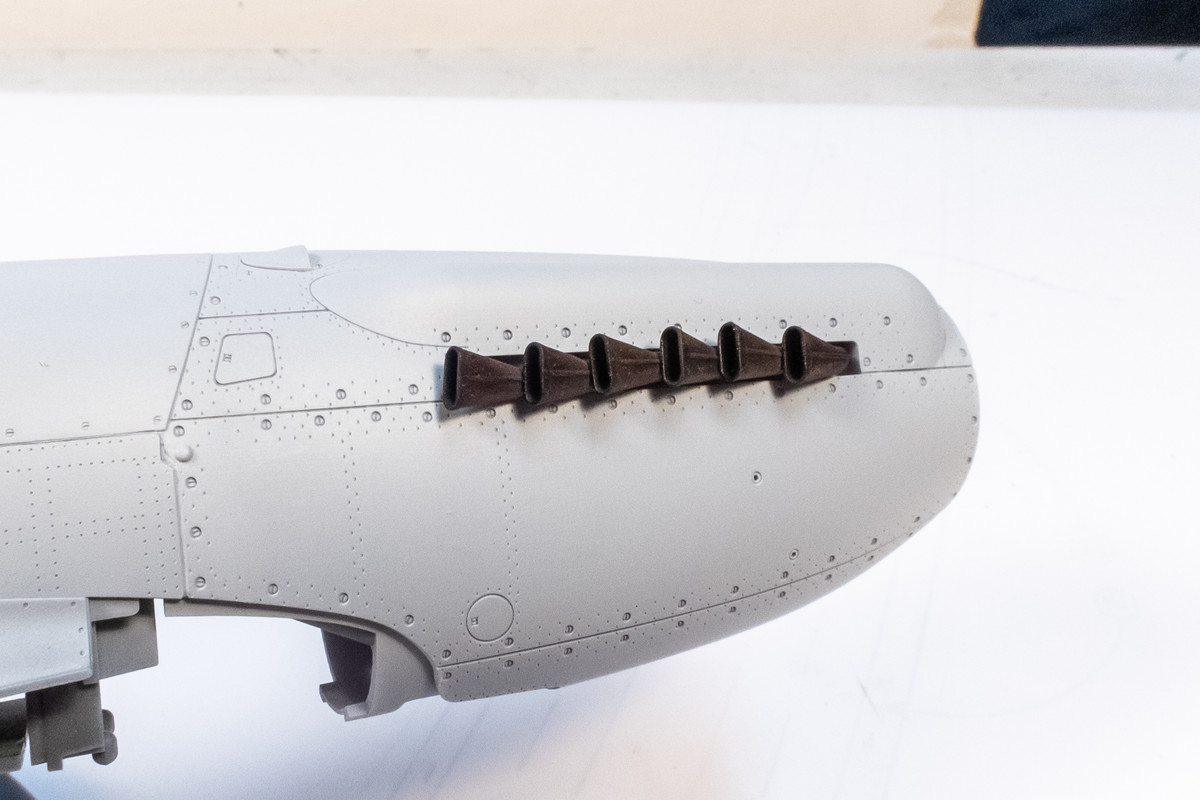
The last step is to dry-brush a custom mix of brown and red onto each exhaust part.
Image
Image

I've added completed the emergency canopy release and inserted Copy #1 into the sliding canopy.
Image
John aka JKim
-----------<><
Image
Edbert
Newbie
Posts: 6
Joined: Sun May 26, 2024 5:38 pm

Re: Tamiya 1/32 Spitfire XIVe Conversion

Post by Edbert »

BlackSheep214 wrote: Thu Jun 20, 2024 6:26 am Elbert…. I’ve never heard of experiencing drop shadow effect working with blue tack. Methinks the oils from a newly used blue tack is the cause? I usually knead the crap out of it til it’s pliable to use.
I assumed the putty pulled off some paint, the layer was very thin. But you may be right about the oils. This was my 1st attempt at using the product, and it was brand new from the package. I did a bit of kneading, I mean rolling out the worms and all.

Here's what I meant about the drop-shadow.

Image
User avatar
keavdog
Elite Member
Posts: 4778
Joined: Thu Jan 10, 2019 1:14 am
Location: Earth

Re: Tamiya 1/32 Spitfire XIVe Conversion

Post by keavdog »

I had that issue using elmers orange tack for a 1/48 KFir camo - just about ruined the model.
Thanks,
John
User avatar
BlackSheep214
Elite Member
Posts: 13409
Joined: Sun Apr 06, 2014 8:47 pm

Re: Tamiya 1/32 Spitfire XIVe Conversion

Post by BlackSheep214 »

Took me a couple minutes then I saw what you were talking about. I never saw anything like that before.
“Who controls the skies, controls the fate of this Earth”

Author unknown- 352nd Fighter Group, Blue-Nosed Bastards of Bodney

“Send one plane it’s a sortie; send two planes it’s a flight; send four planes it’s a test of airpower. - Richard Kohn
User avatar
jkim
Elite Member
Posts: 4073
Joined: Mon Apr 10, 2017 4:03 pm

Re: Tamiya 1/32 Spitfire XIVe Conversion

Post by jkim »

Edbert wrote: Thu Jun 20, 2024 4:42 pm
BlackSheep214 wrote: Thu Jun 20, 2024 6:26 am Elbert…. I’ve never heard of experiencing drop shadow effect working with blue tack. Methinks the oils from a newly used blue tack is the cause? I usually knead the crap out of it til it’s pliable to use.
I assumed the putty pulled off some paint, the layer was very thin. But you may be right about the oils. This was my 1st attempt at using the product, and it was brand new from the package. I did a bit of kneading, I mean rolling out the worms and all.

Here's what I meant about the drop-shadow.

Image
I'm guessing oils from the putty too. The two adhesive putties that I have are: 1) Blu Tack by Bostick and 2) Blue Stik by DAP. Blu Tack is light blue and is the one that I used on my test and didn't leave any stains. The Blue Stik is darker, tackier and I haven't used it as a paint mask. Regardless of the staining, that's a good paint job and could be corrected pretty quickly with some minor touchups.

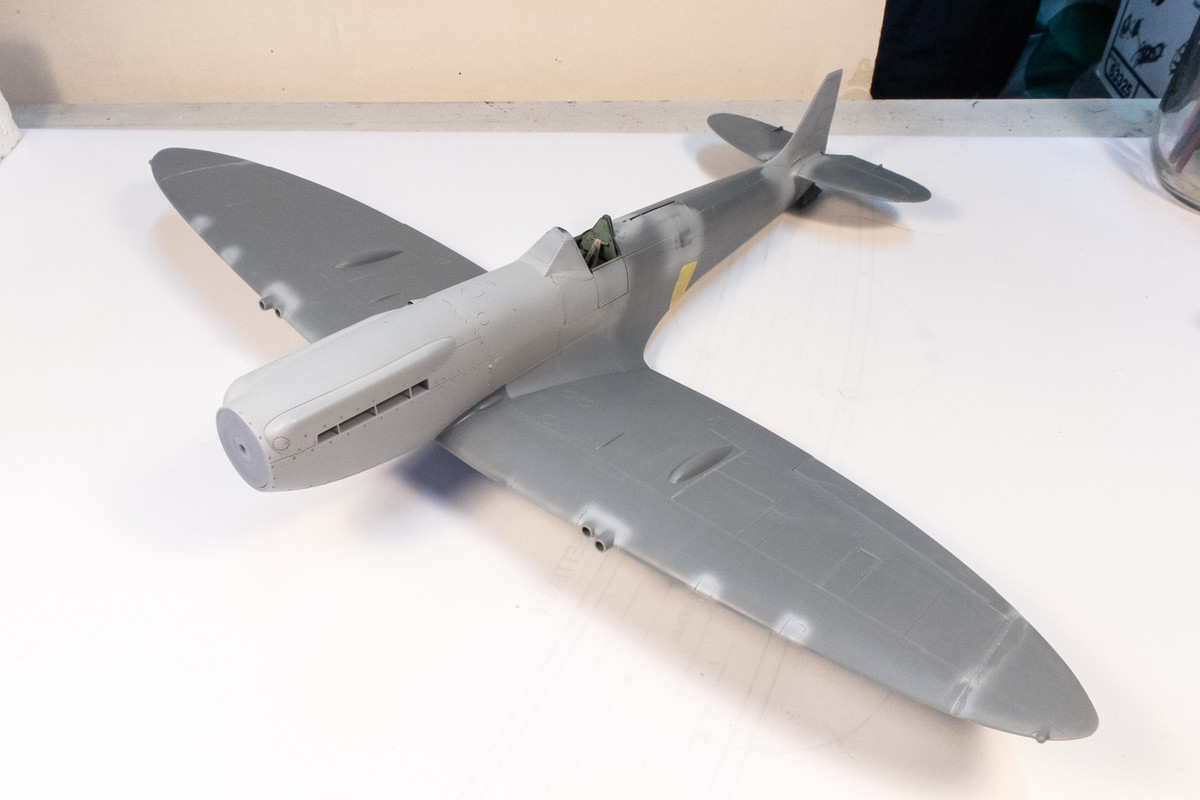
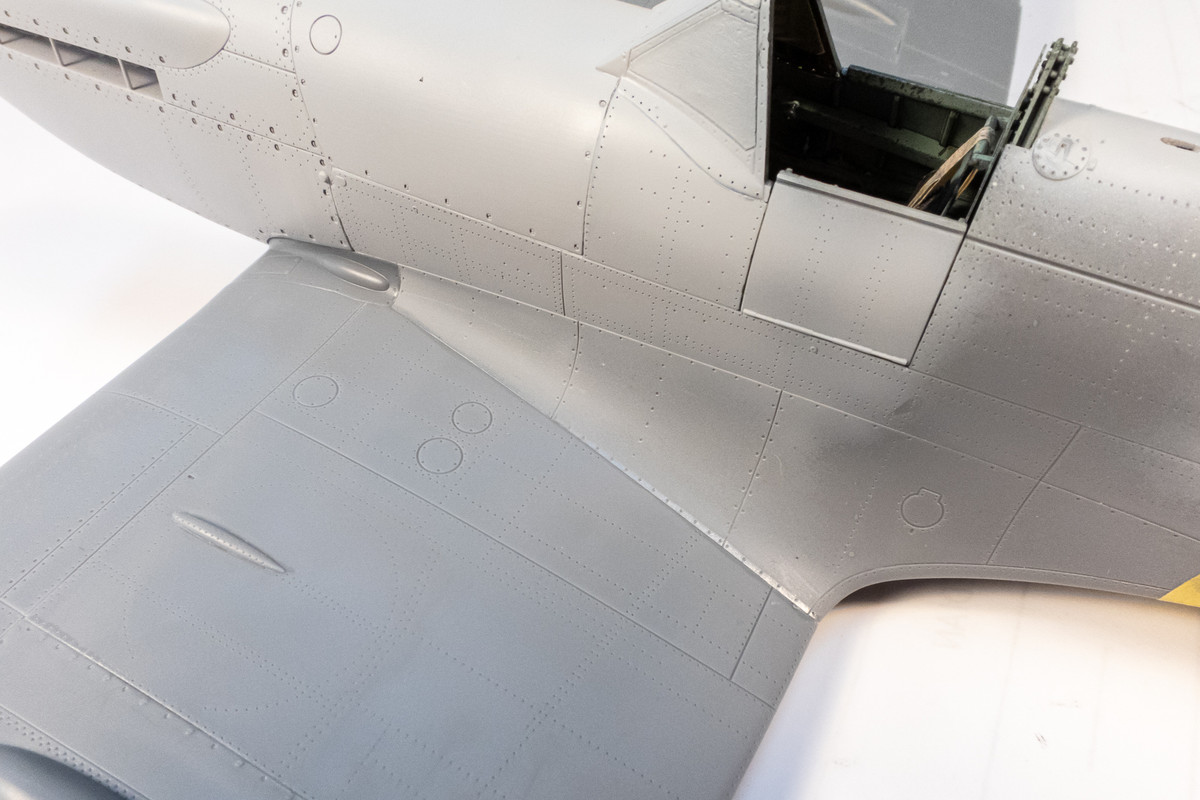
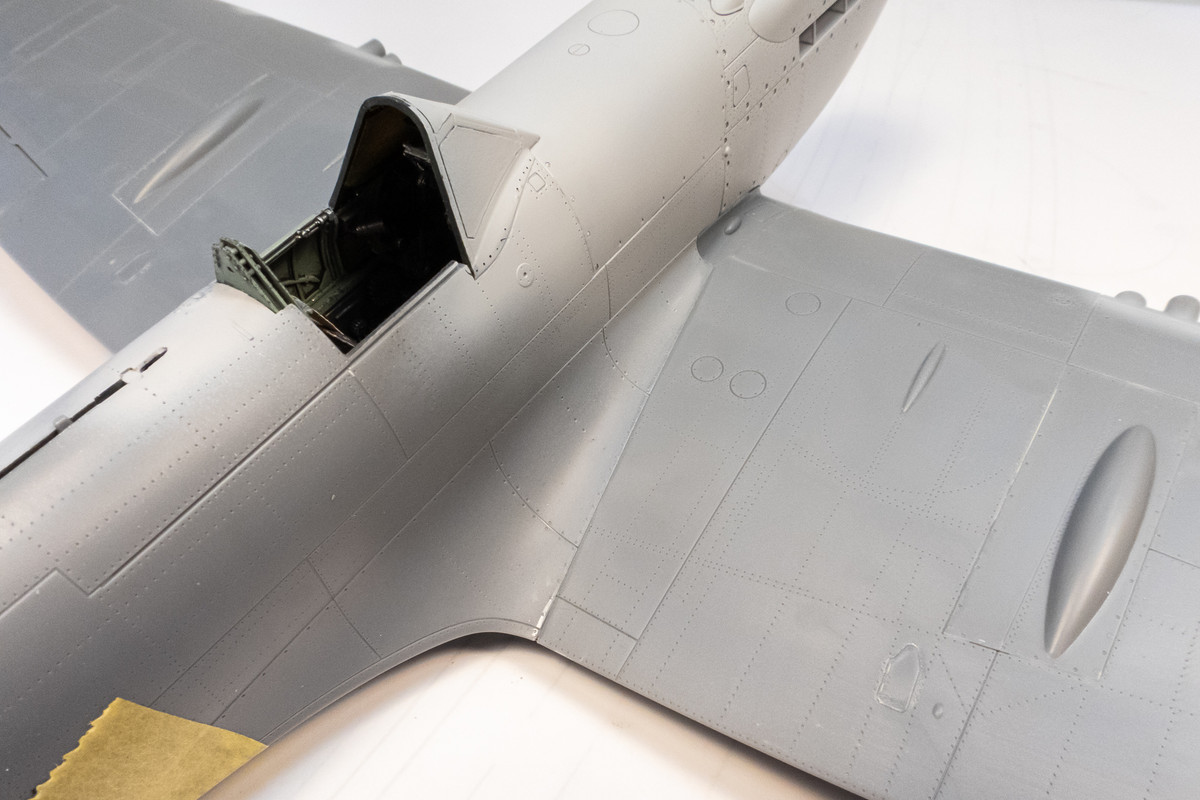
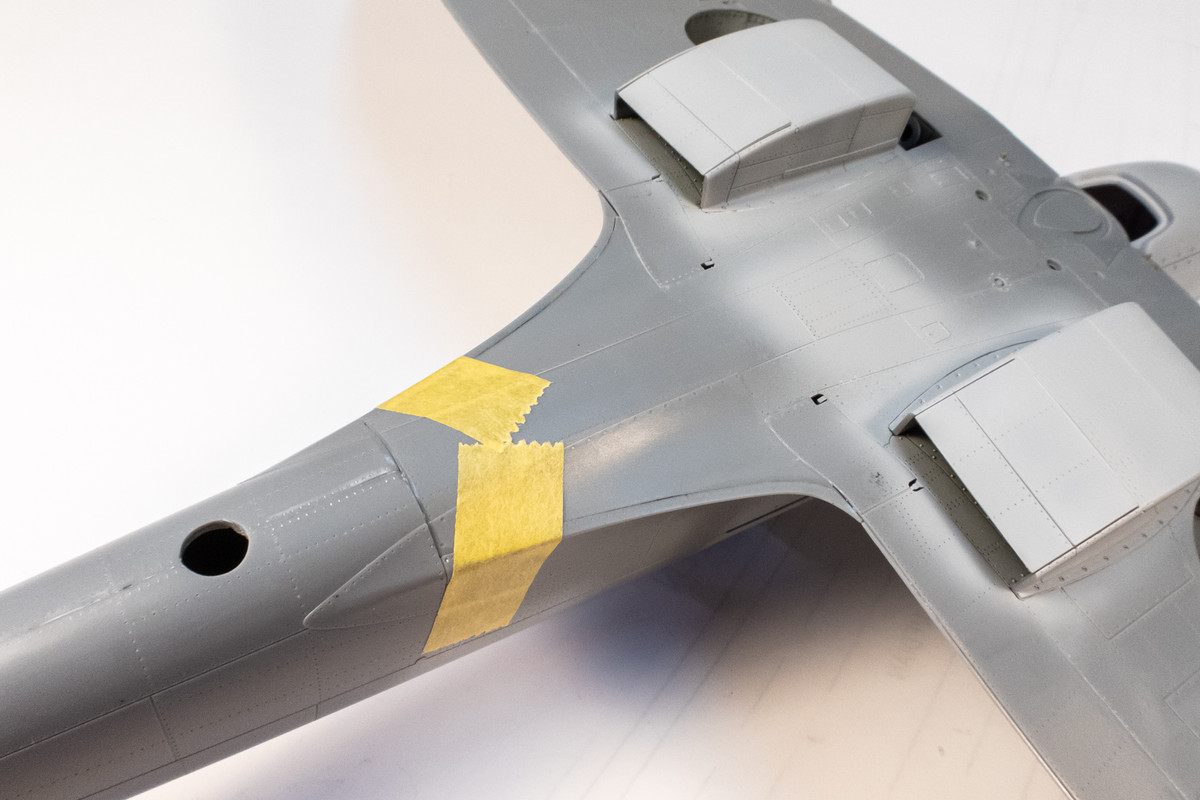
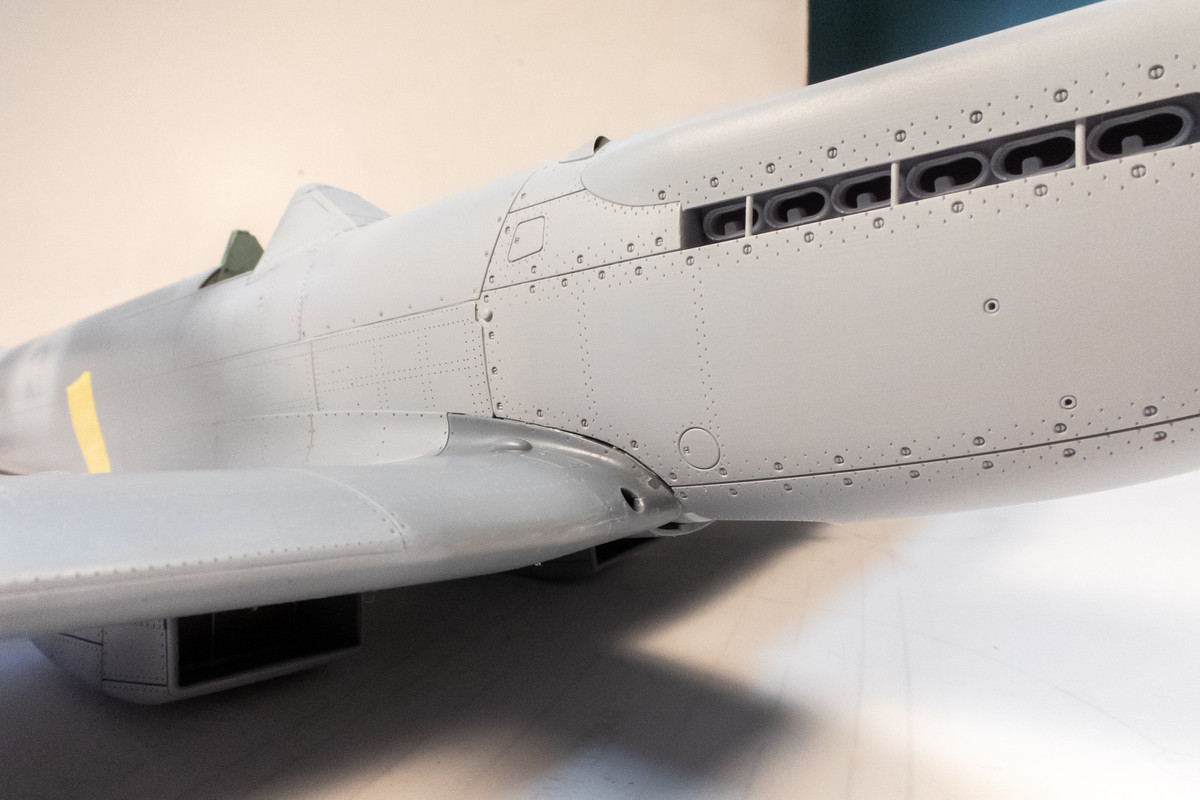
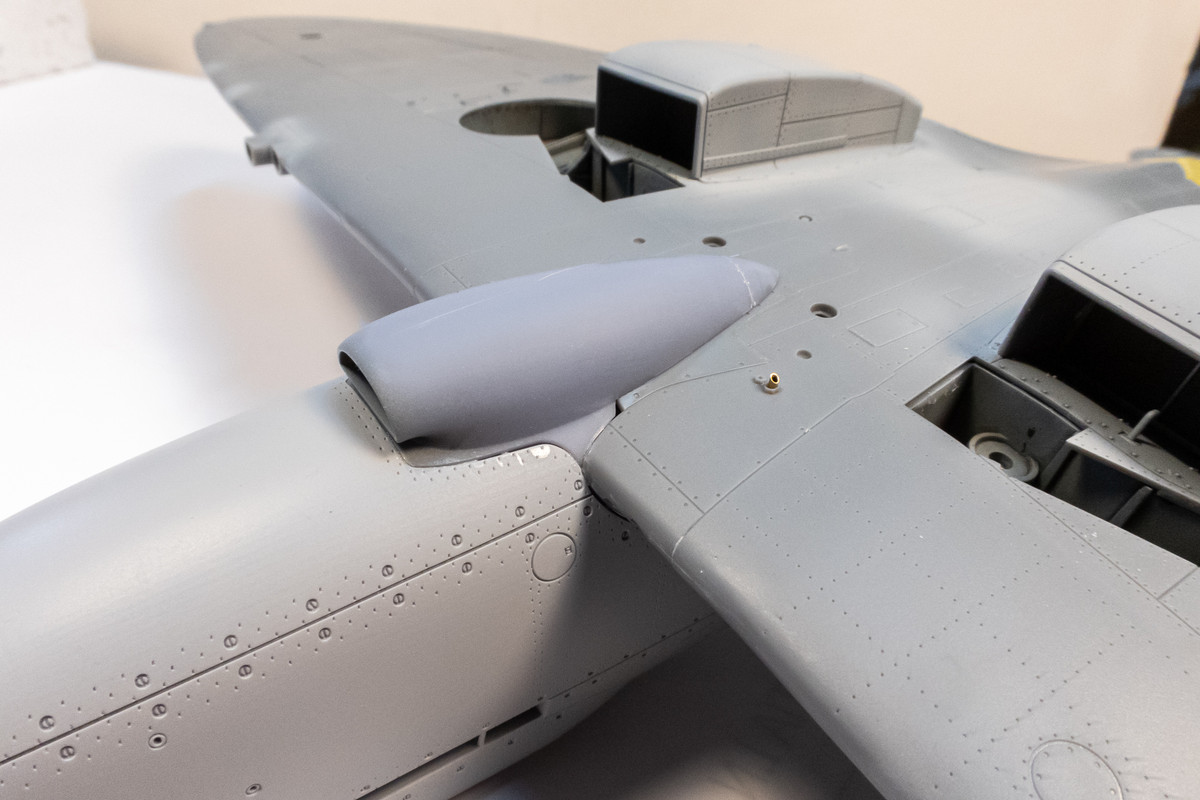
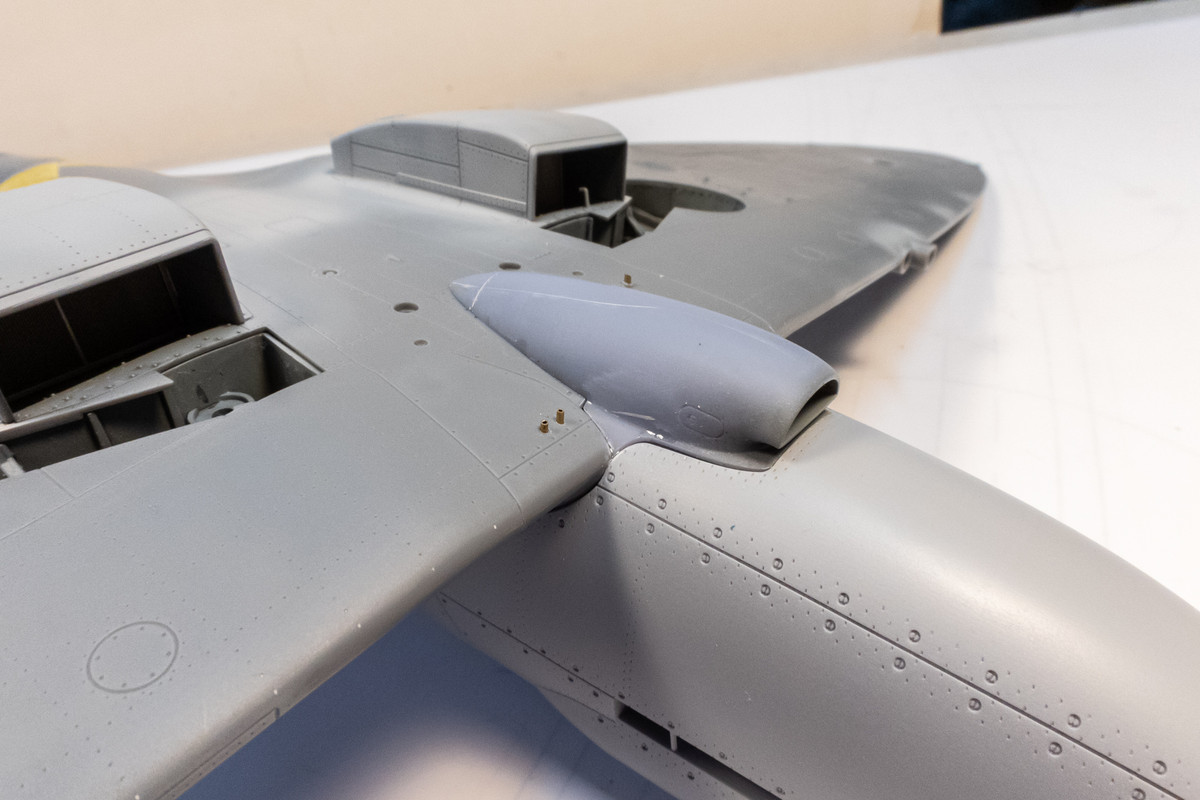
I've gone ahead and glued the wings onto the fuselage.
Image

The back half is plastic to plastic so I used Tamiya Extra Thin on those areas. Fit along the wing root is superb.
Image
Image

The joint on bottom will need some putty work.
Image

The front half is plastic wing to resin nose and the fit is not as good, although it is darn good for an aftermarket piece. I used thin CA glue liberally seeped into the joints.
Image
Image

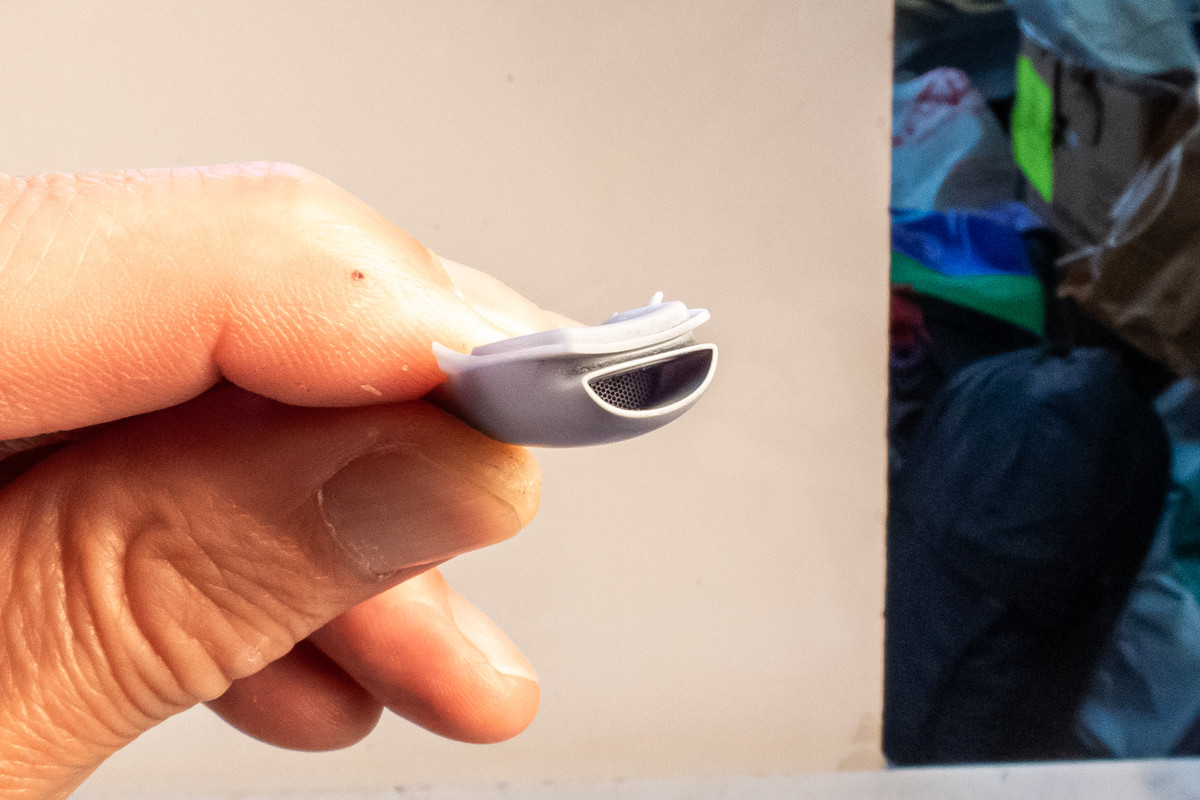
Before I attach the chin intake, I wanted to show the fine grating inside the piece because we'll probably never see it again.
Image

I will fill the gaps with Apoxie Sculpt and begin the clean up work after it cures.
Image
Image

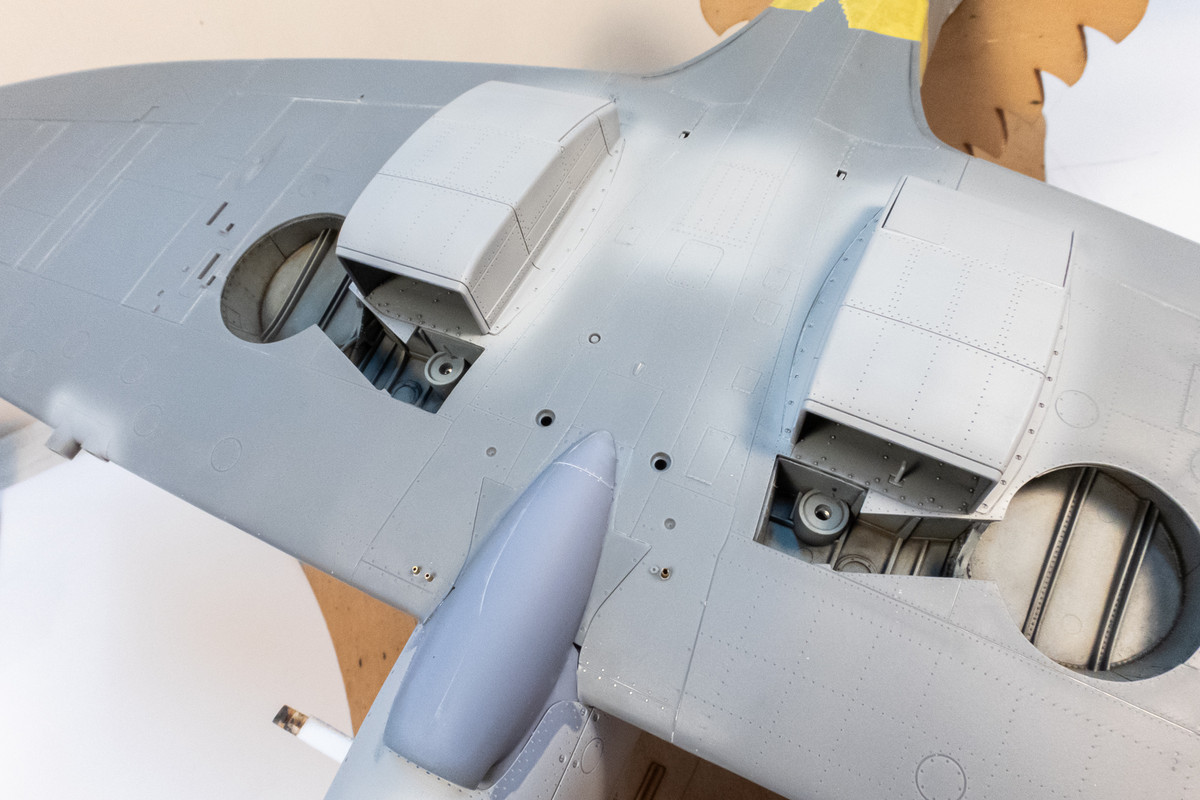
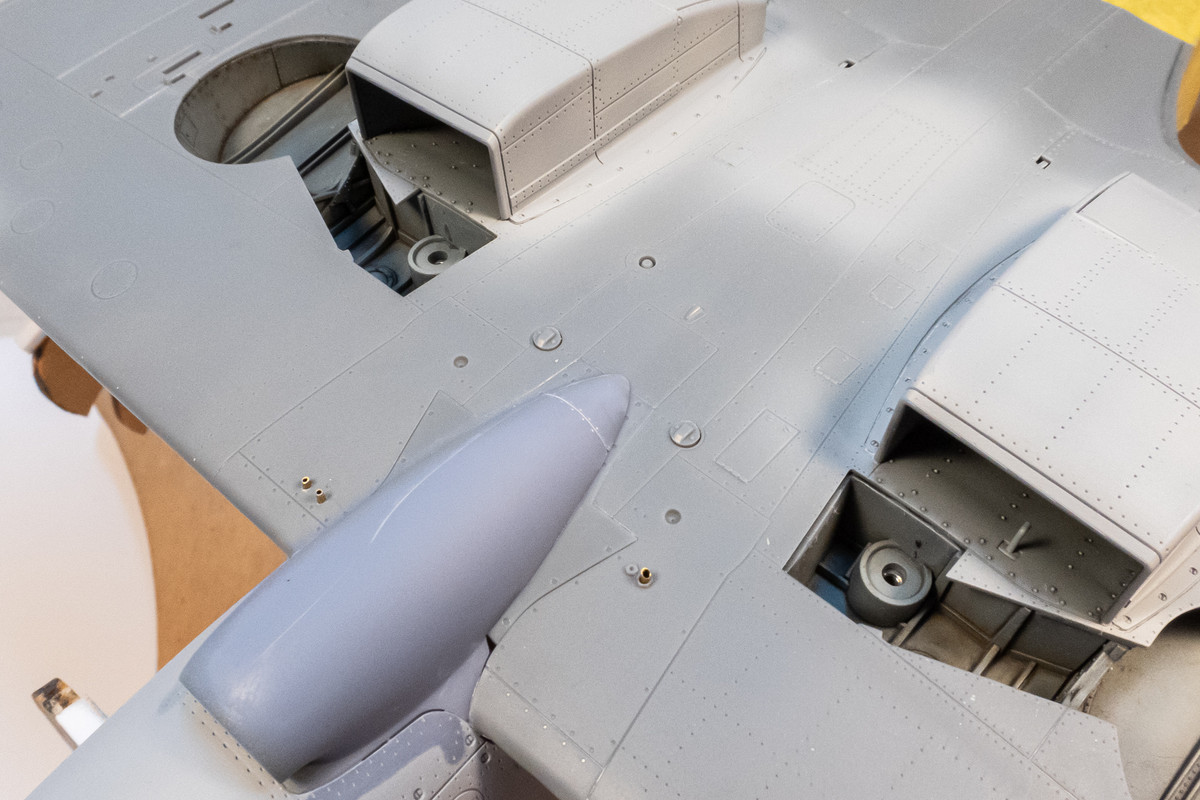
A question for those that have built a Tamiya 1/32 Spitfire... what to do about the two holes just aft of the chin intake?
Image

The instructions show these holes as the attachment point of the external fuel tank, which in turn has mounts for wheels-up display on a stand. But it doesn't give us any info for those that don't want to use the tank. I fished around the parts and found two small plugs that seem to fit exactly in these holes. Does this look right?
Image

The five prop blades have been painted and decaled. I opted to use only part of the decal that Airscale provided to match the archive photo of a 41 Squadron XIVe. After initial painting, I wiped it and started again because I wanted to incorporate a bit of hairspray chipping on the blades.
Image
Image
Image

The spinner and blades are not quite done. I'm going to do a little more weathering on them.
Image
Image
John aka JKim
-----------<><
Image
Post Reply

Return to “Aircraft Work in Progress”