Tamiya 1/32 Spitfire XIVe Conversion

Post your work in progress of your aircraft builds in here.
User avatar
jkim
Elite Member
Posts: 4073
Joined: Mon Apr 10, 2017 4:03 pm

Re: Tamiya 1/32 Spitfire XIVe Conversion

Post by jkim »

I didn't think about that but you're right John. Very comfortable with worms, whether real, plastic or putty!

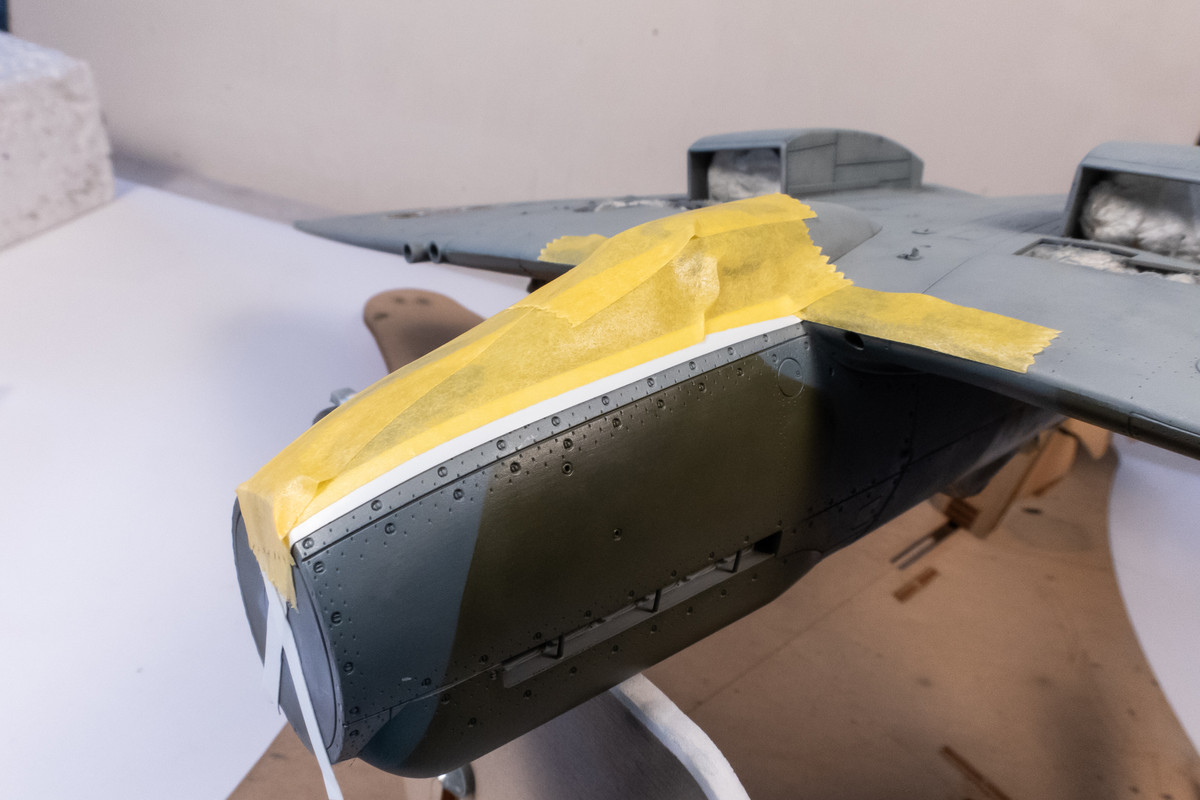
I adjusted the demarcation line on the nose today. Pretty simple. Masked off the new line parallel to the panel line.
Image

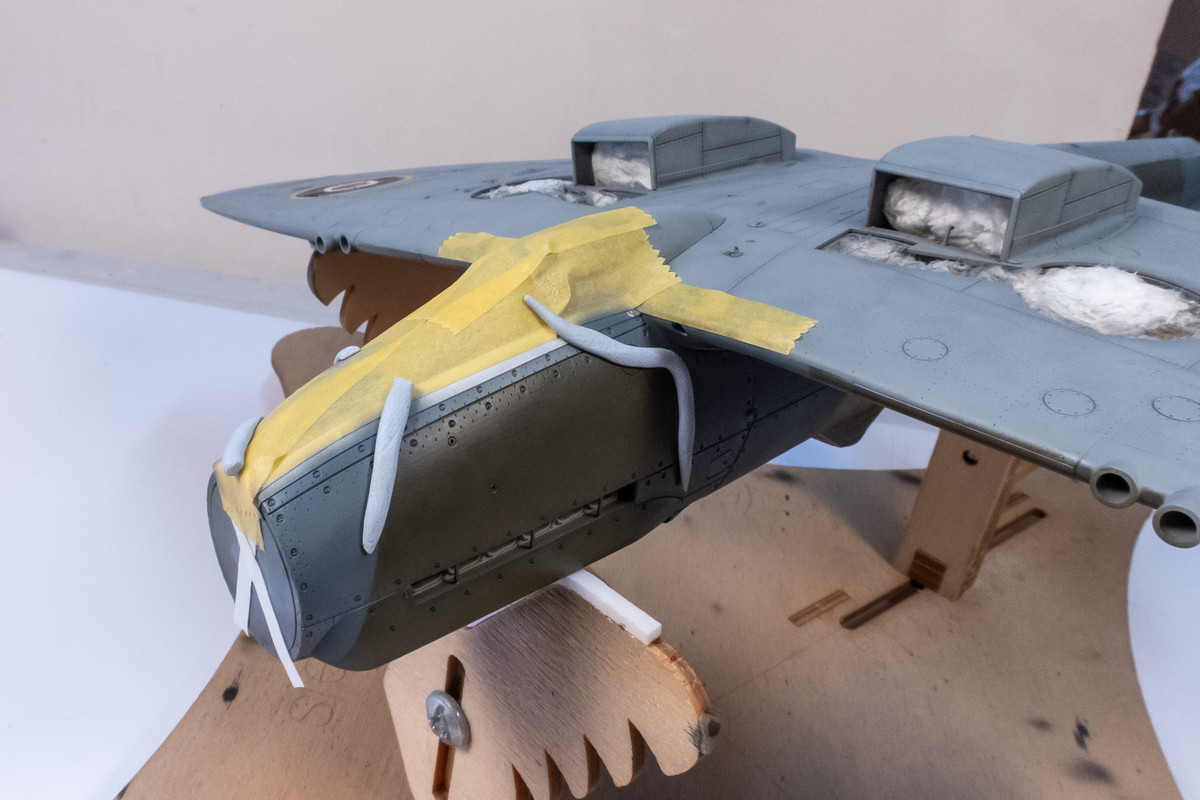
The Ocean Gray was sprayed first and then masked off with putty.
Image

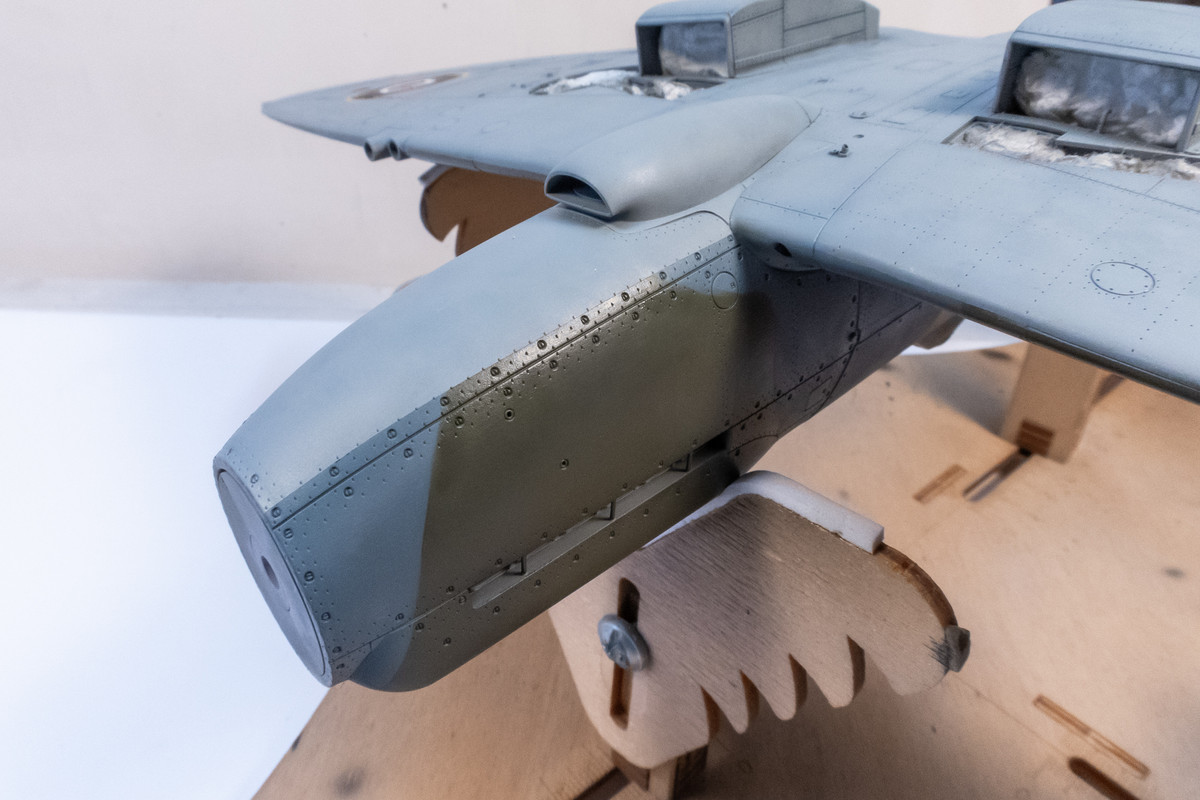
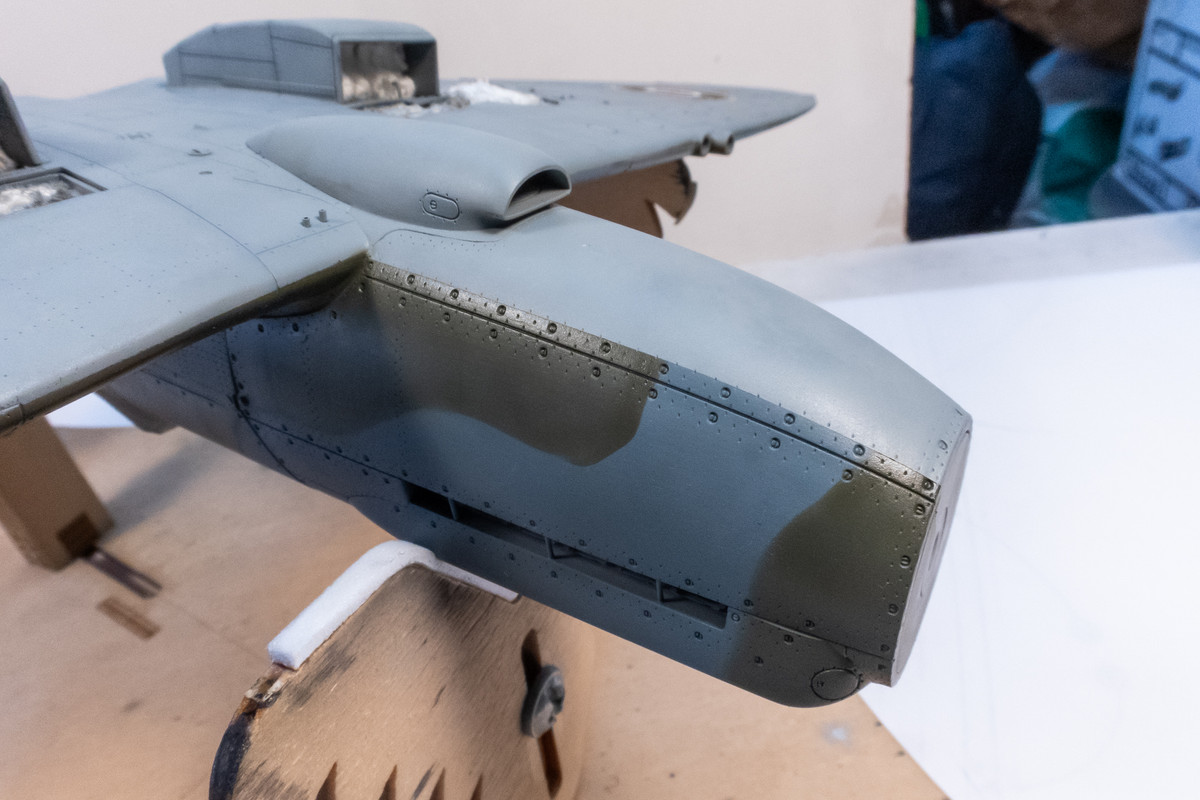
The Dark Green is sprayed and the fix is complete.
Image
Image

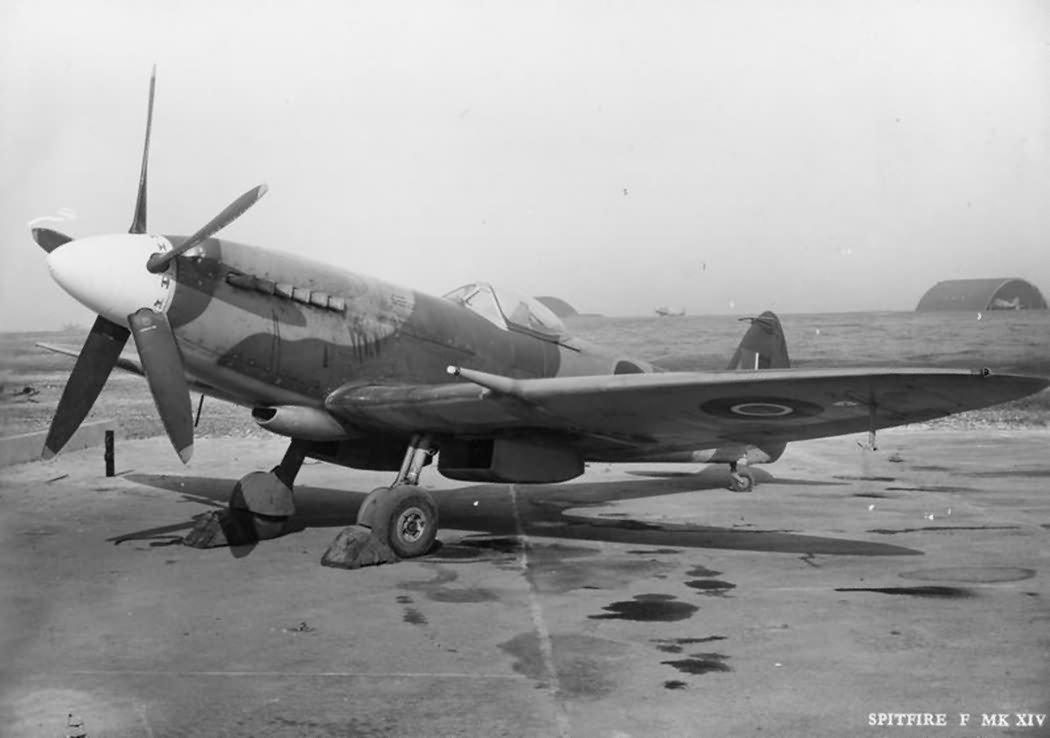
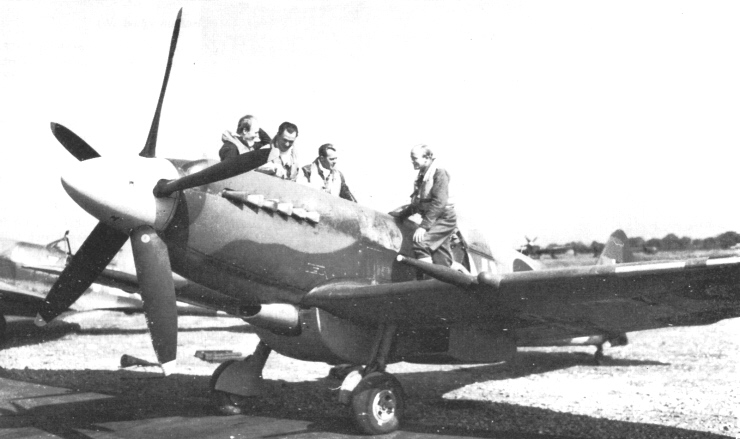
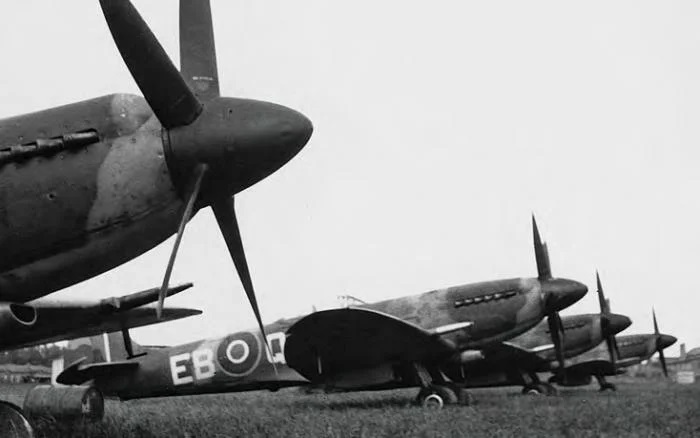
Just a few photos of wartime XIVe's to show what I was trying to reflect. Never trust profile paintings and kit instructions without referring to photos first.
Image
Image
Image
John aka JKim
-----------<><
Image
User avatar
tempestjohnny
Elite Member
Posts: 3804
Joined: Sat Oct 15, 2016 4:51 am
Location: Naples. FL

Re: Tamiya 1/32 Spitfire XIVe Conversion

Post by tempestjohnny »

Nice, easy, quick fix John. And it came out perfect
User avatar
BlackSheep214
Elite Member
Posts: 13417
Joined: Sun Apr 06, 2014 8:47 pm

Re: Tamiya 1/32 Spitfire XIVe Conversion

Post by BlackSheep214 »

Mighty large propellers for a small Spitfire after seeing the wartime photos
“Who controls the skies, controls the fate of this Earth”

Author unknown- 352nd Fighter Group, Blue-Nosed Bastards of Bodney

“Send one plane it’s a sortie; send two planes it’s a flight; send four planes it’s a test of airpower. - Richard Kohn
User avatar
Medicman71
Elite Member
Posts: 11299
Joined: Mon Apr 07, 2014 9:32 am
Location: Houston, Tx

Re: Tamiya 1/32 Spitfire XIVe Conversion

Post by Medicman71 »

Very nice!!!
Mike

Sponsored by Boeing, Lockheed Martin, Northrop Grumman, Saab, BAE, and Dassault
User avatar
jkim
Elite Member
Posts: 4073
Joined: Mon Apr 10, 2017 4:03 pm

Re: Tamiya 1/32 Spitfire XIVe Conversion

Post by jkim »

Thanks guys!

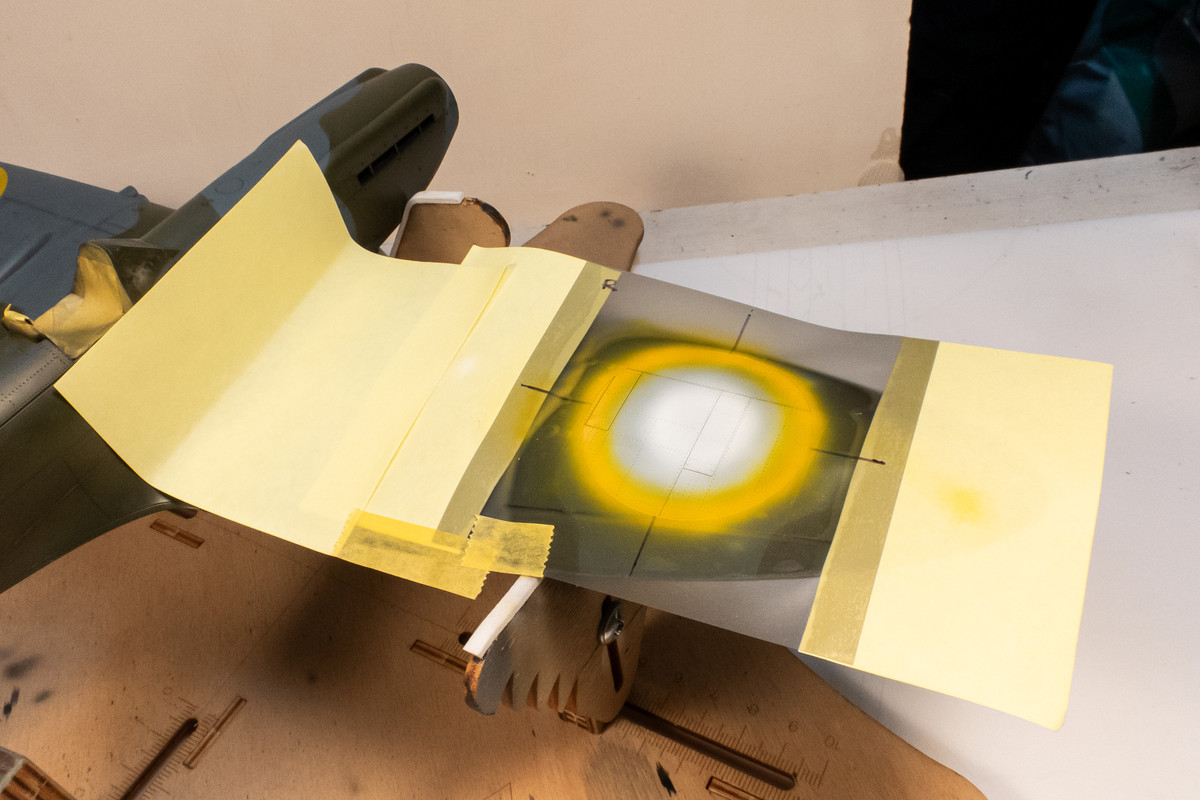
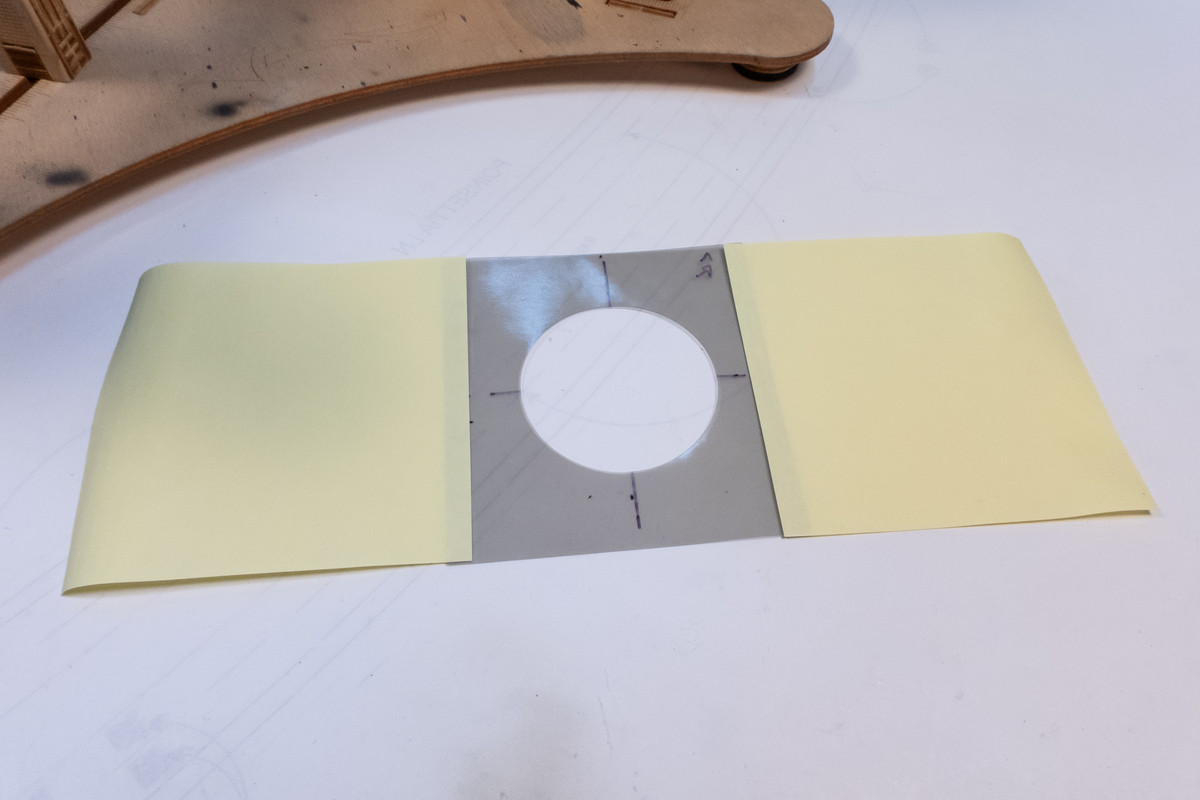
The upper wing roundels were painted next. One helpful hint for anyone using vinyl masks is to attach the mask to Post-Its or small pieces of paper before applying. This makes placement so much easier as it helps prevent the mask from being floppy and attaching itself where you don't want it.
Image

After the outline masks are placed onto the wings, the yellow and white areas are sprayed on.
Image

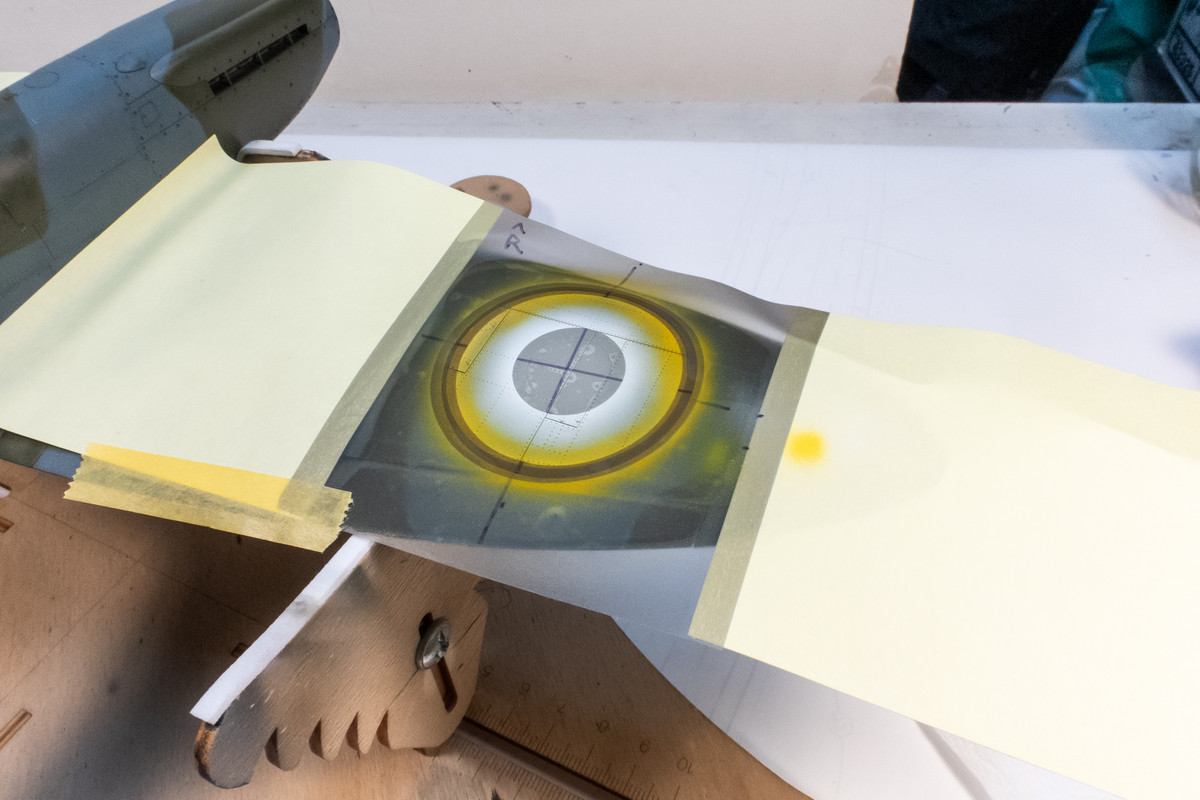
The entire interior portion of the mask is then placed within the outline. This ensures proper position of the interior parts. The appropriate element(s) can then be removed. In this case it is the blue portion. In the past, I've used MicroMask to seal the outermost mask joint but this time, I cut an overlapping mask to use instead.
Image

The blue is then sprayed.
Image

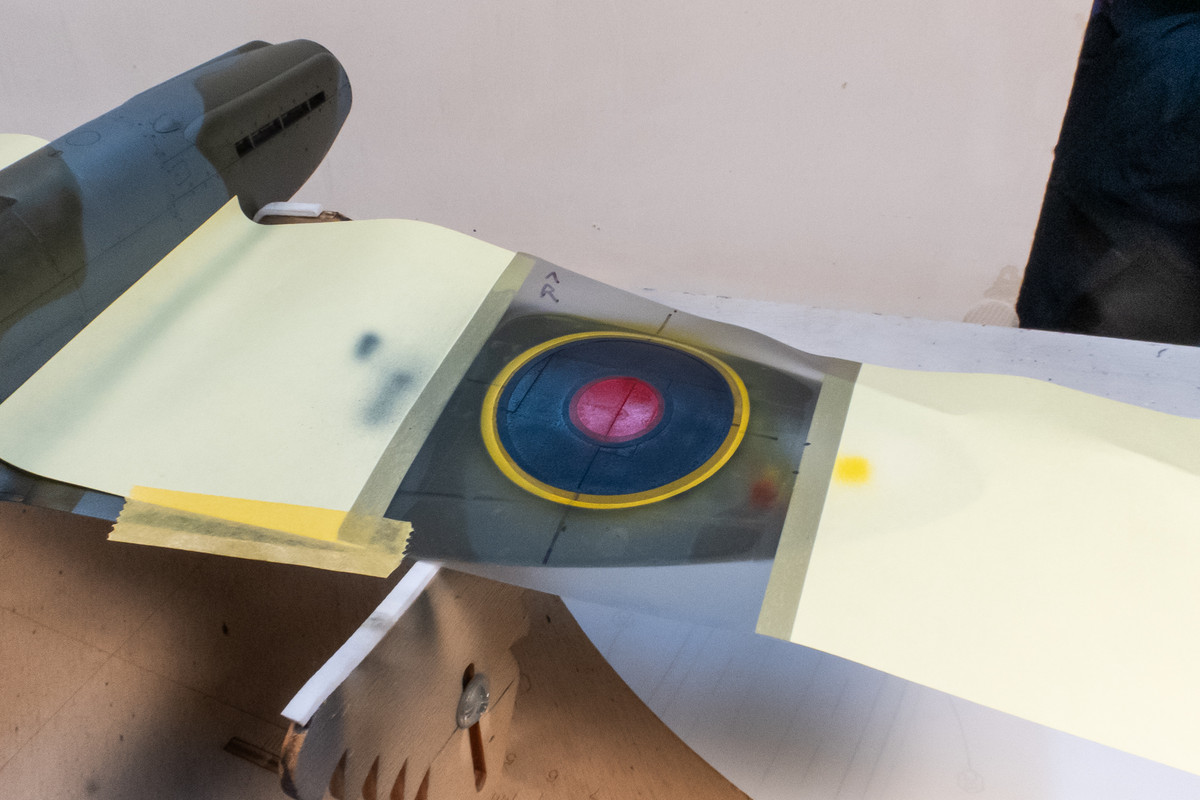
The center red circle is the last element to be painted. I also used a custom-cut overlapping mask to cover the joints outside of the red/blue border. I found this easier than trying to re-place the blue mask exactly.
Image

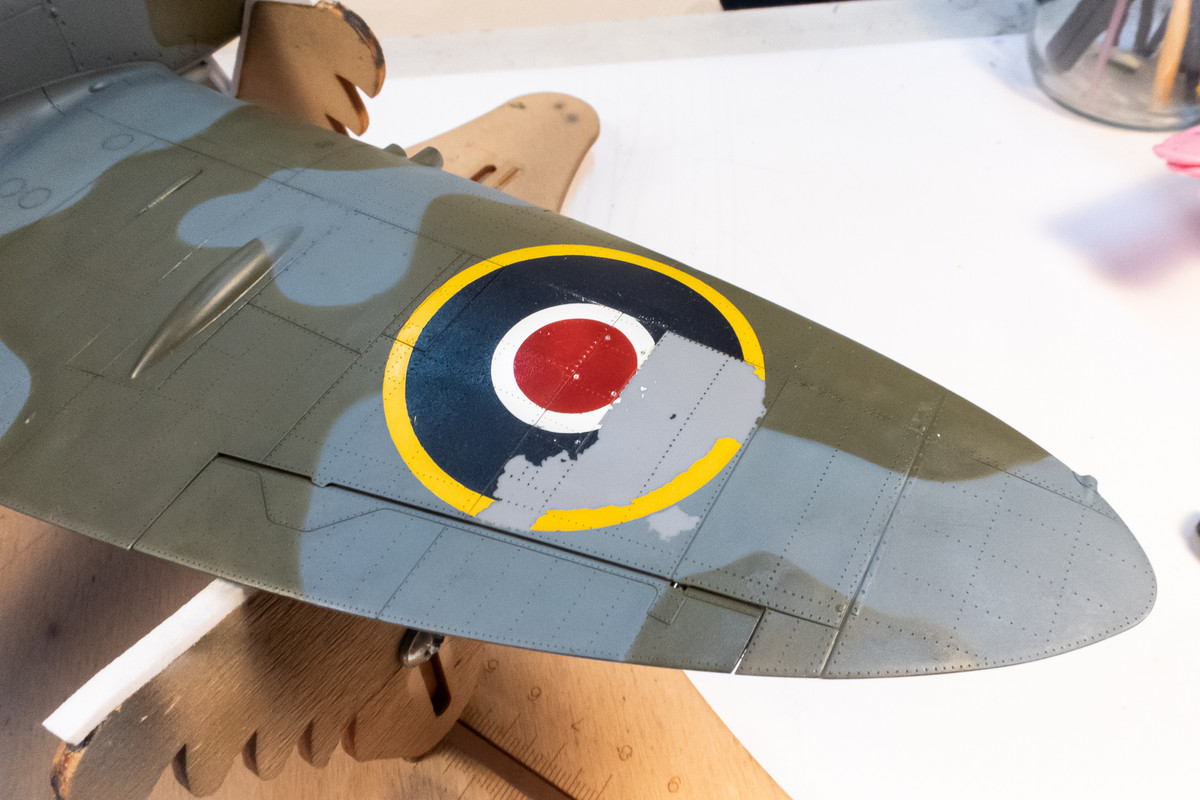
This is where things got a little ugly. Port wing... roundel came out ok but some paint lift on the aileron.
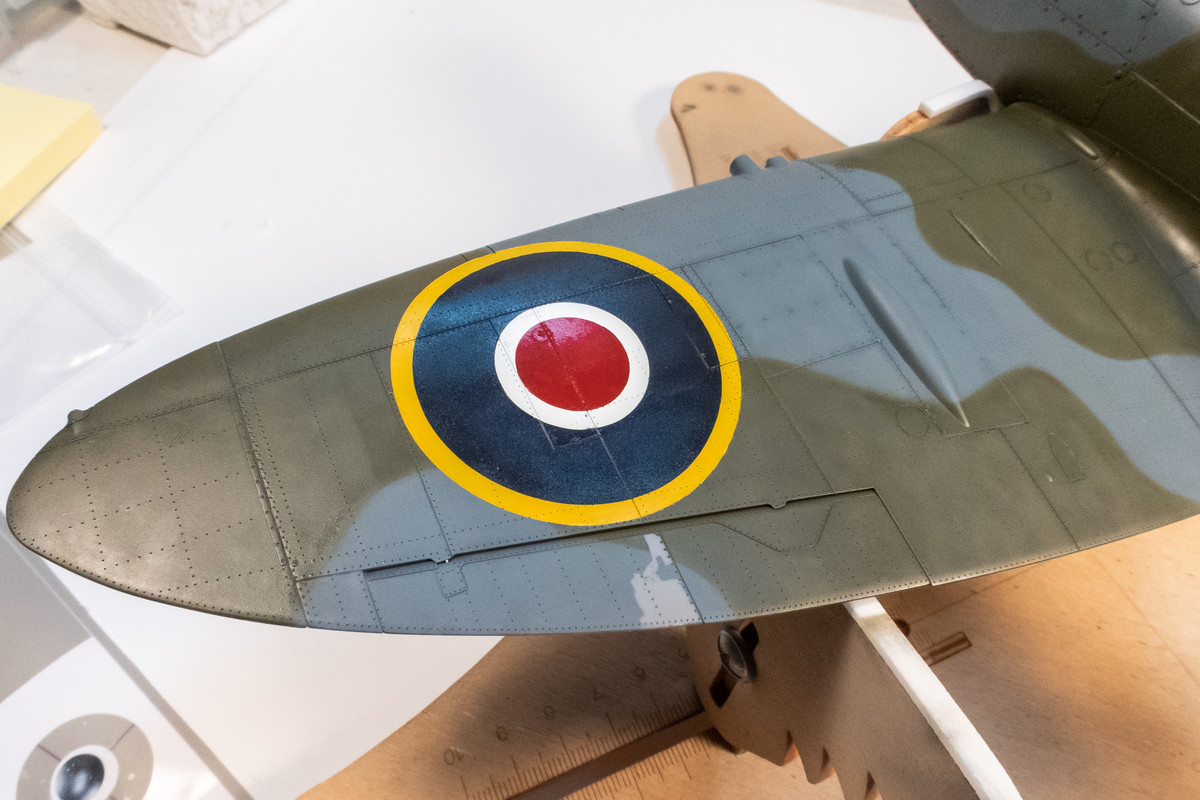
Image

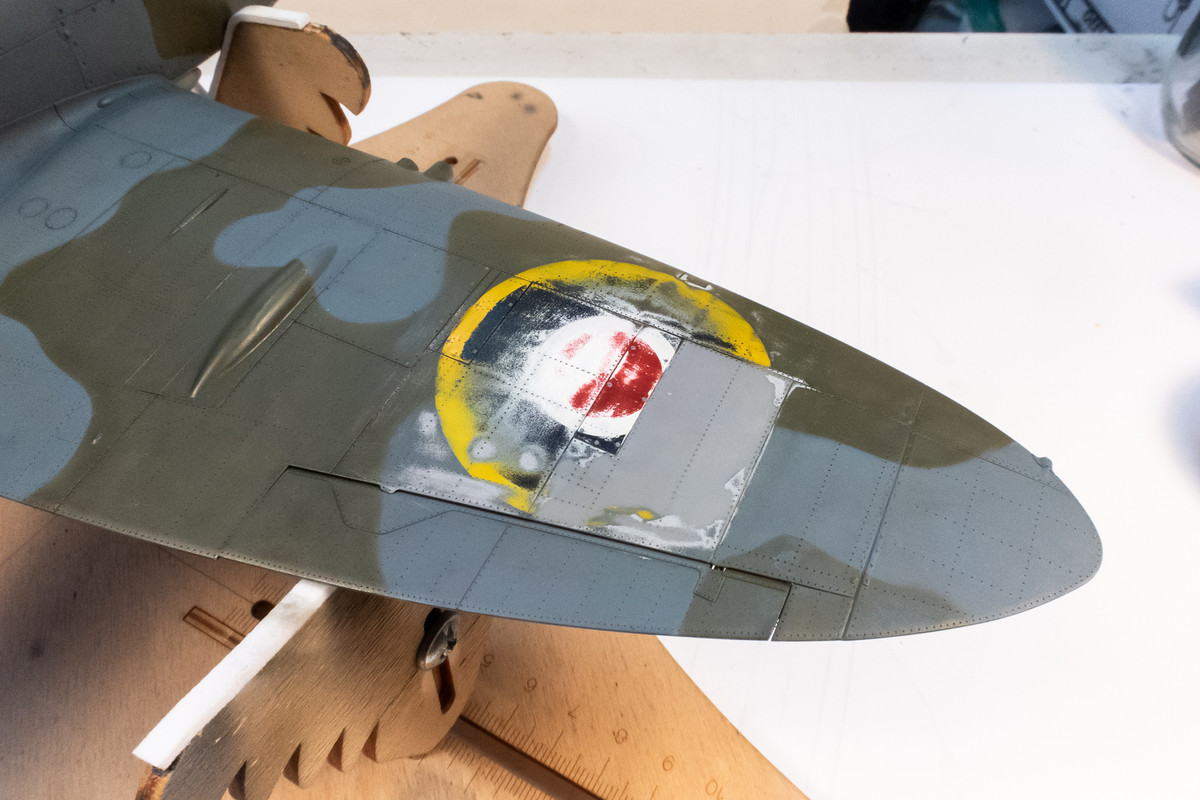
Starboard wing... roundel not so nice. I was really pissed off when this happened last night and knew that I had to step away before I did anything rash.
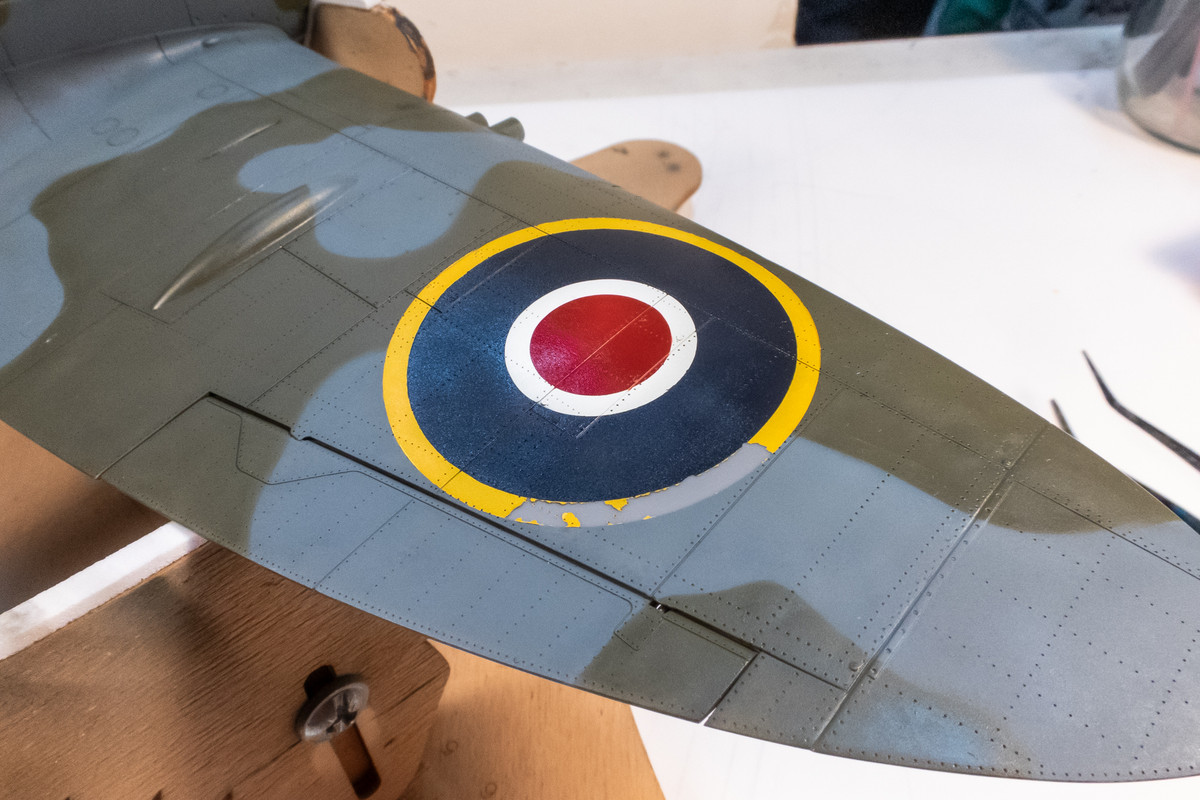
Image

So before I went to sleep, I started on the repair to the port wing, which will be really simple since it is constrained to the aileron only. I masked off the aileron with a Post-It and sprayed the Ocean Gray on. I'll let that completely dry before I use the putty worm to restore the Dark Green.
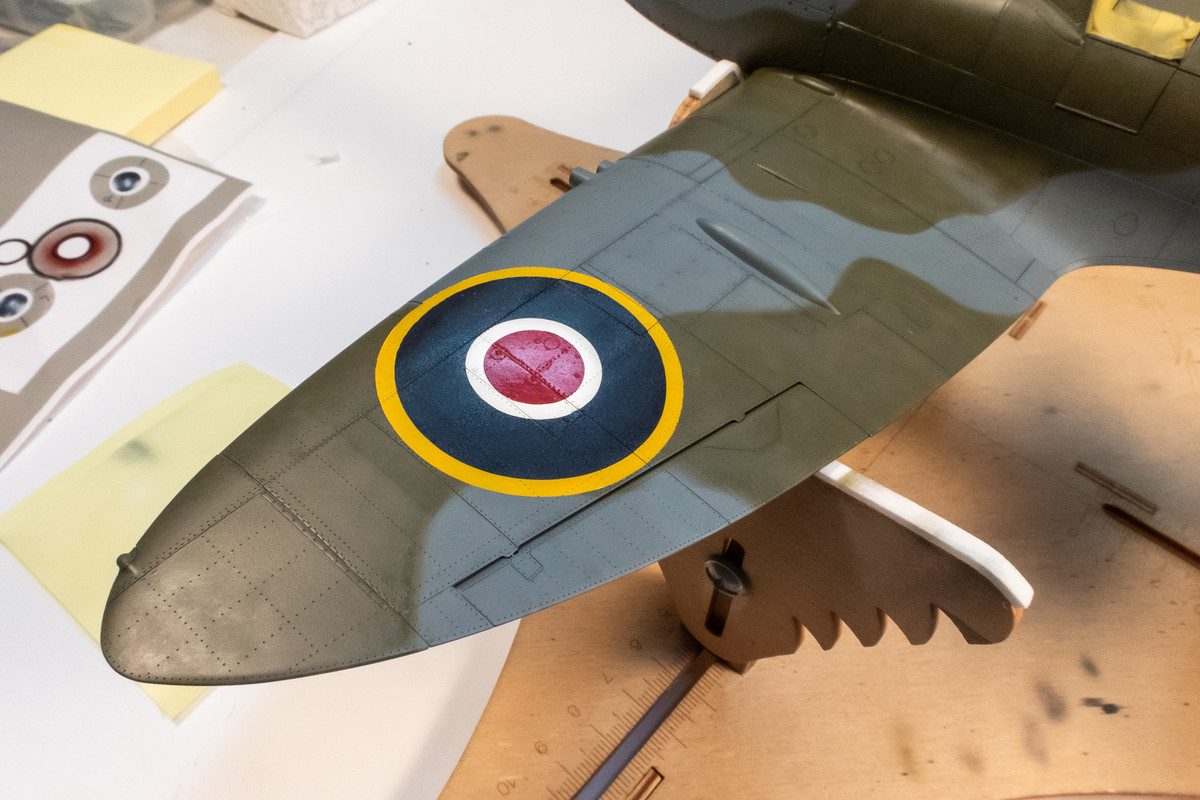
Image

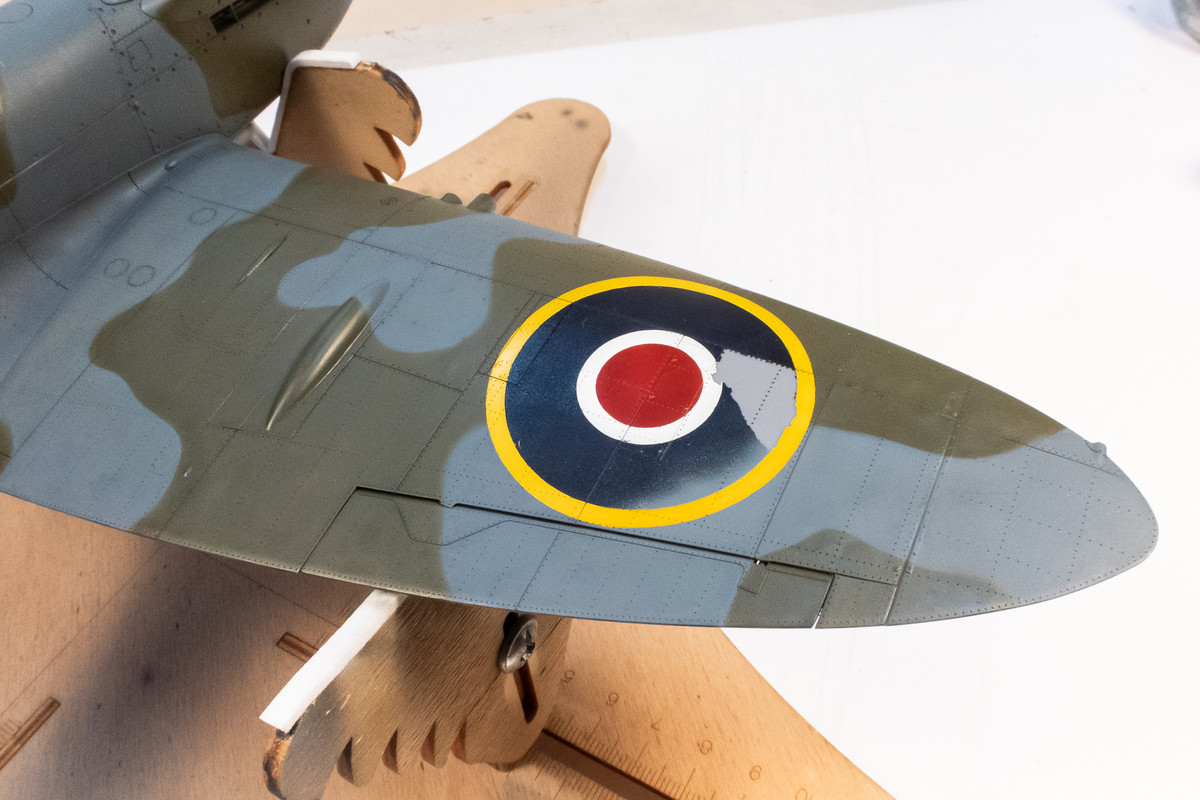
Having slept on the paint lift issue, I've realized that the starboard wing situation isn't too bad. Interestingly, only the yellow came up and only a small portion of the yellow at that. All the way down to the plastic so the bond between the primer and plastic was not good here.
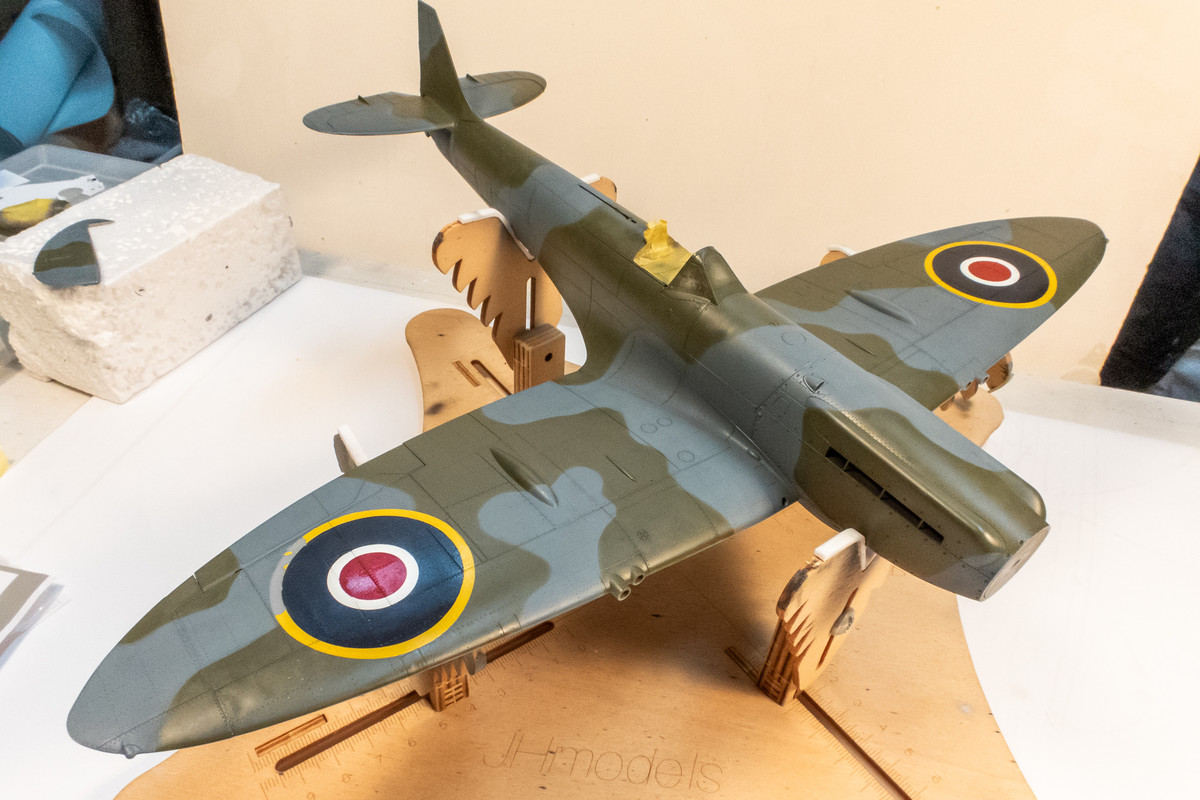
Image

So I've initiated the first steps of this repair. I used Micro Mesh (#4000 and #6000) to try and smooth down the edges of the paint lift as much as possible. I've never been able to feather down paint to plastic perfectly so there will probably be tiny artifacts to this repair but I don't want to create a bigger issue and remove the roundel altogether. If this repair causes more paint lift, which is always a possibility, I may have to consider removal of the entire roundel.
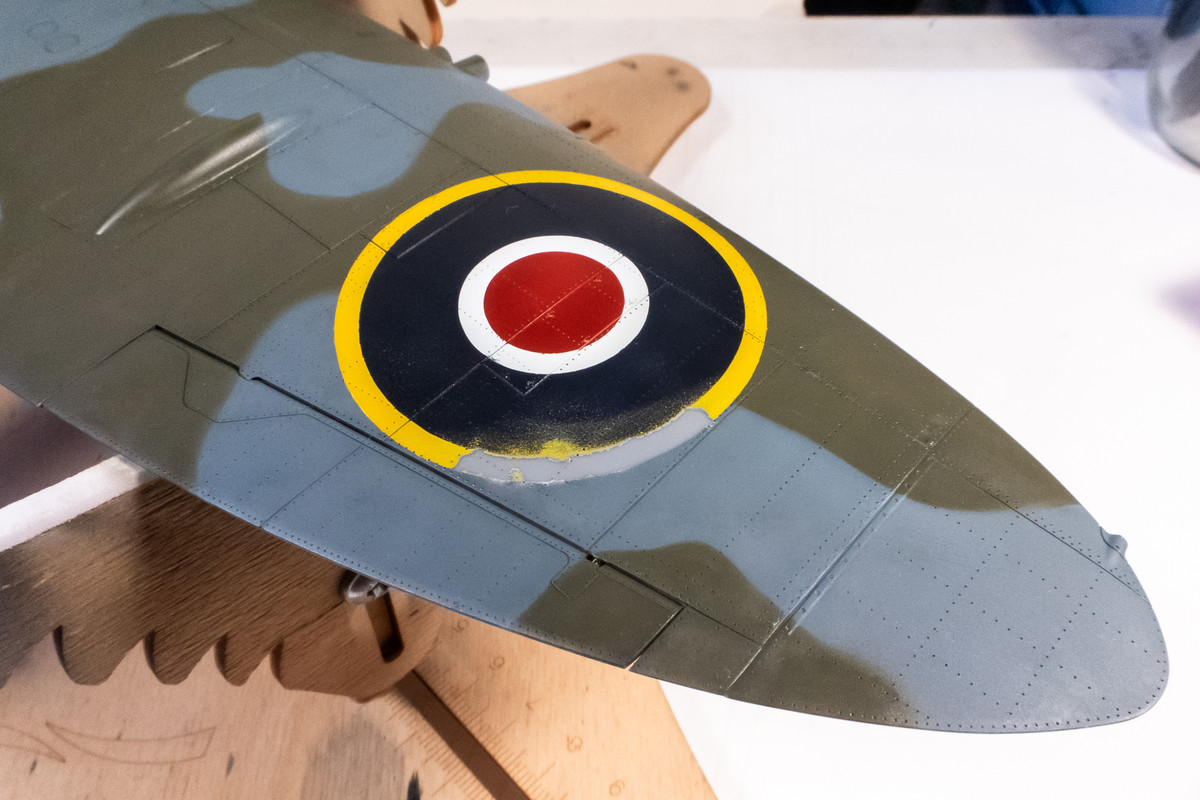
Image

Like the port aileron, the repair area is given a coat of Ocean Gray. This will be allowed to cure fully before any repair masks are put on top of it.
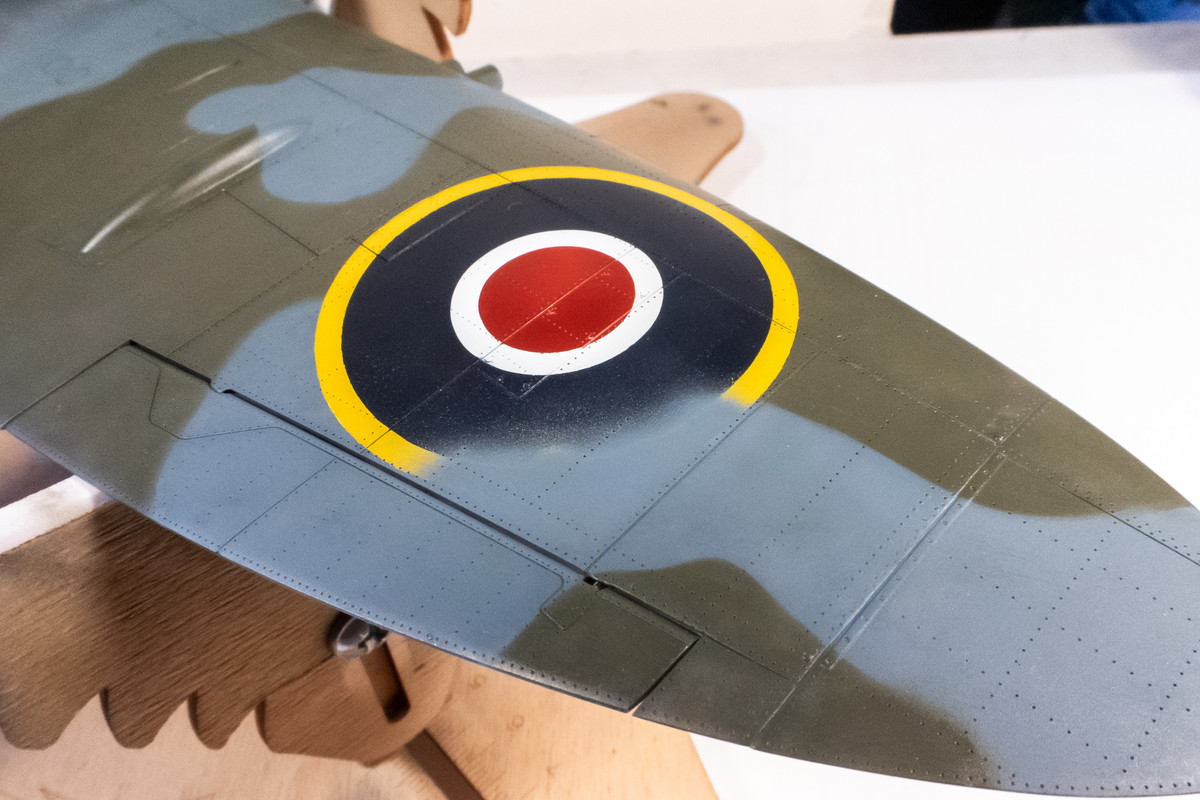
Image
John aka JKim
-----------<><
Image
User avatar
jkim
Elite Member
Posts: 4073
Joined: Mon Apr 10, 2017 4:03 pm

Re: Tamiya 1/32 Spitfire XIVe Conversion

Post by jkim »

Oh boy...

I was going to document the repair process on the starboard roundel but let me just cut to the chase...
Image

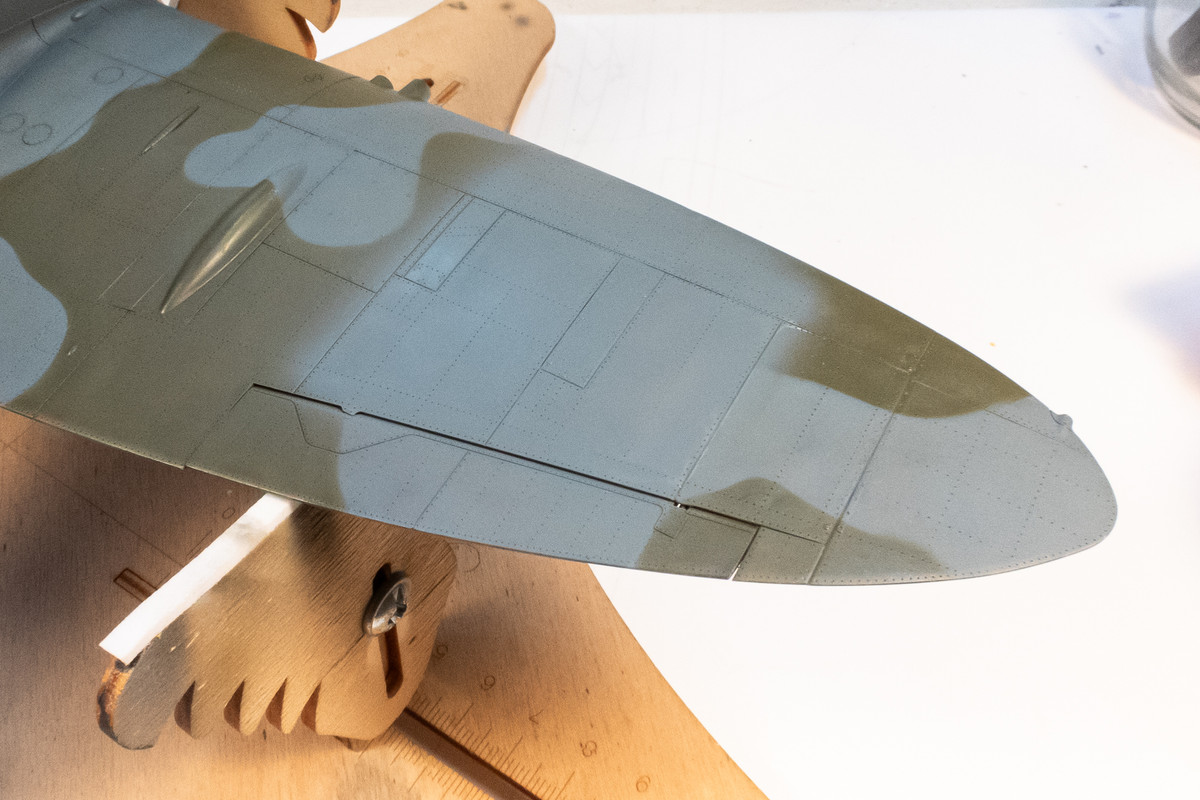
Another nasty paint lift. Not good. I don't think repair is a viable route now and I've shifted gears toward removal and replacement. To that end, I aggressively used masking tape in this area to purposefully try to lift as much paint as possible.
Image

And instead of Micromesh, I used proper sandpaper (400# and 600#) to remove as much of the roundel as possible without degrading the surface details. This was followed by the Micromesh to remove any discernable paint edges. Yes, there is much of the roundel left over but my paint layers are very thin and I should be able to cover the roundel colors completely with the Ocean Gray.
Image

Which is what I did next. I'll let that dry and it looks like I'll have to restore at least a few rivets as they have become clogged with paint residue.
Image

I will restore the Dark Green and I should back to Step 1 on this wing. Prior starting the painting, I used one of the spare wing tops as a paint mule to test alternative chipping methods (sponge, dry-brushing, colored pencil). Tamiya Ocean Gray and Mr Hobby Aqueous Dark Green were sprayed onto the plastic without any surface treatment or primer (and minus the black pre-shading layer). I did the tape thing all over this wing, even more aggressively than I did on the model, and not a single piece of paint lifted.
Image

So I'm wondering about the fuselage now. Do I proceed with the masking of the markings or do I apply the tape test? It would be much easier to deal with any paint lift issues now while the marking layer is not yet on the model.
John aka JKim
-----------<><
Image
User avatar
jeaton01
Elite Member
Posts: 2374
Joined: Thu Apr 23, 2020 9:20 am
Location: Northern California
Contact:

Re: Tamiya 1/32 Spitfire XIVe Conversion

Post by jeaton01 »

Ohhhh Magannya!
My modelling website, with build logs.

http://goldeneramodel.com/mymodels/mymodels.html
User avatar
tempestjohnny
Elite Member
Posts: 3804
Joined: Sat Oct 15, 2016 4:51 am
Location: Naples. FL

Re: Tamiya 1/32 Spitfire XIVe Conversion

Post by tempestjohnny »

Oh to be a fly on the wall when this was happening
User avatar
BlackSheep214
Elite Member
Posts: 13417
Joined: Sun Apr 06, 2014 8:47 pm

Re: Tamiya 1/32 Spitfire XIVe Conversion

Post by BlackSheep214 »

What I like to do especially after using Mission Model paints (or any acrylic paint if I know it will pull up on tape) is spray a
somewhat a light coat of enamel clearcoat. Worked for me.
“Who controls the skies, controls the fate of this Earth”

Author unknown- 352nd Fighter Group, Blue-Nosed Bastards of Bodney

“Send one plane it’s a sortie; send two planes it’s a flight; send four planes it’s a test of airpower. - Richard Kohn
User avatar
jkim
Elite Member
Posts: 4073
Joined: Mon Apr 10, 2017 4:03 pm

Re: Tamiya 1/32 Spitfire XIVe Conversion

Post by jkim »

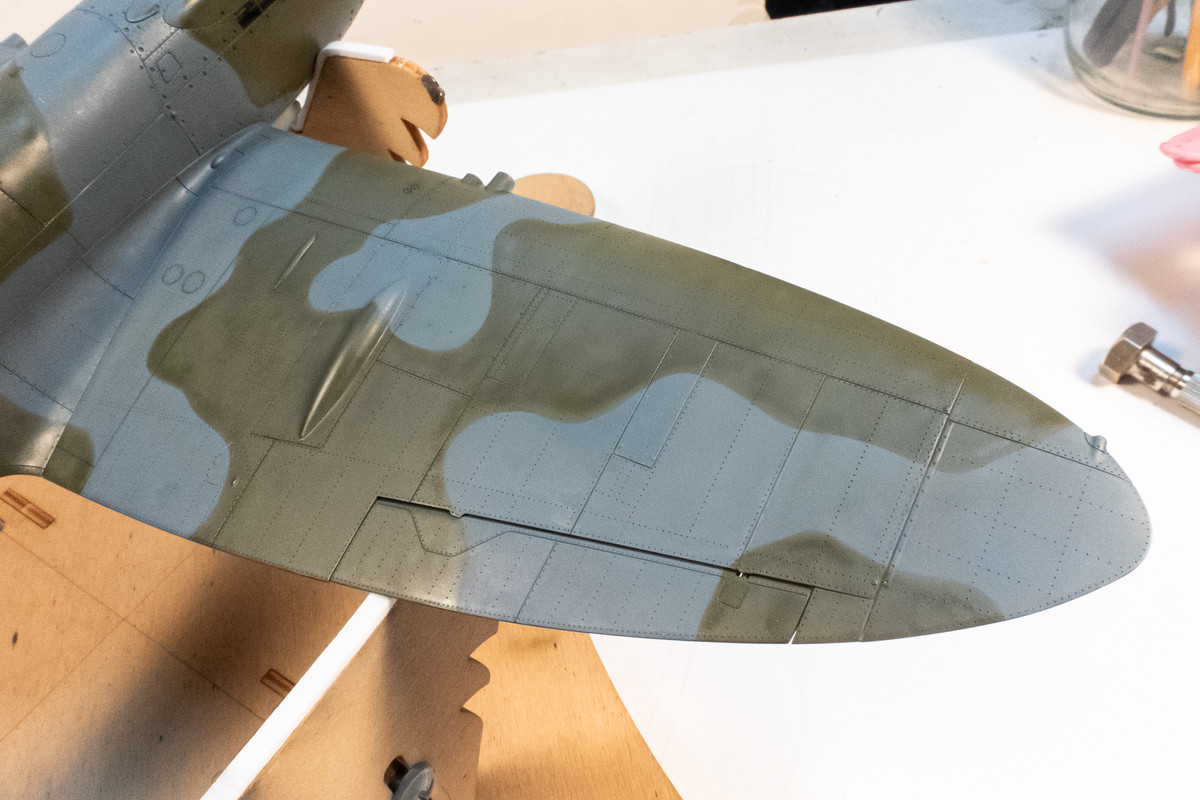
The Dark Green has been restored.
Image

Phase II of the starboard roundel has begun. Let's go!
Image
John aka JKim
-----------<><
Image
Post Reply

Return to “Aircraft Work in Progress”