Monogram 1970 Dodge Challenger T/A-"Under Glass" 03-15

Here is the place to show off the progress of your automobile builds
Post Reply
User avatar
mustang1989
Moderator
Posts: 5035
Joined: Tue Mar 18, 2014 8:35 pm

Re: 32 year old Monogram 1970 Dodge Challenger T/A

Post by mustang1989 »

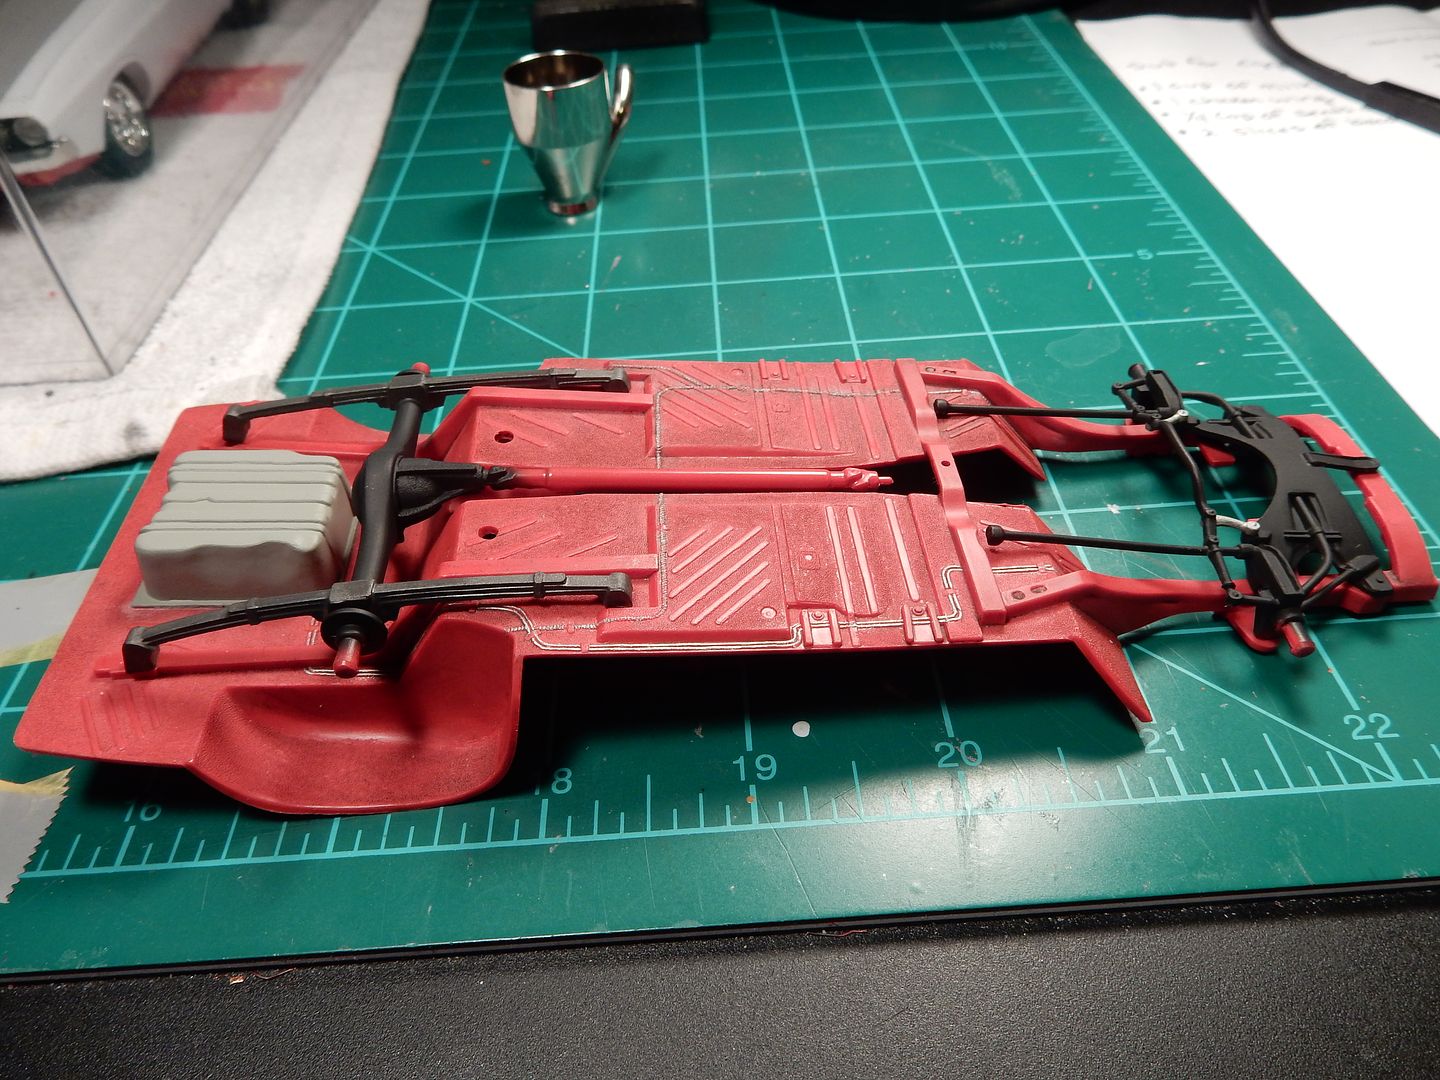
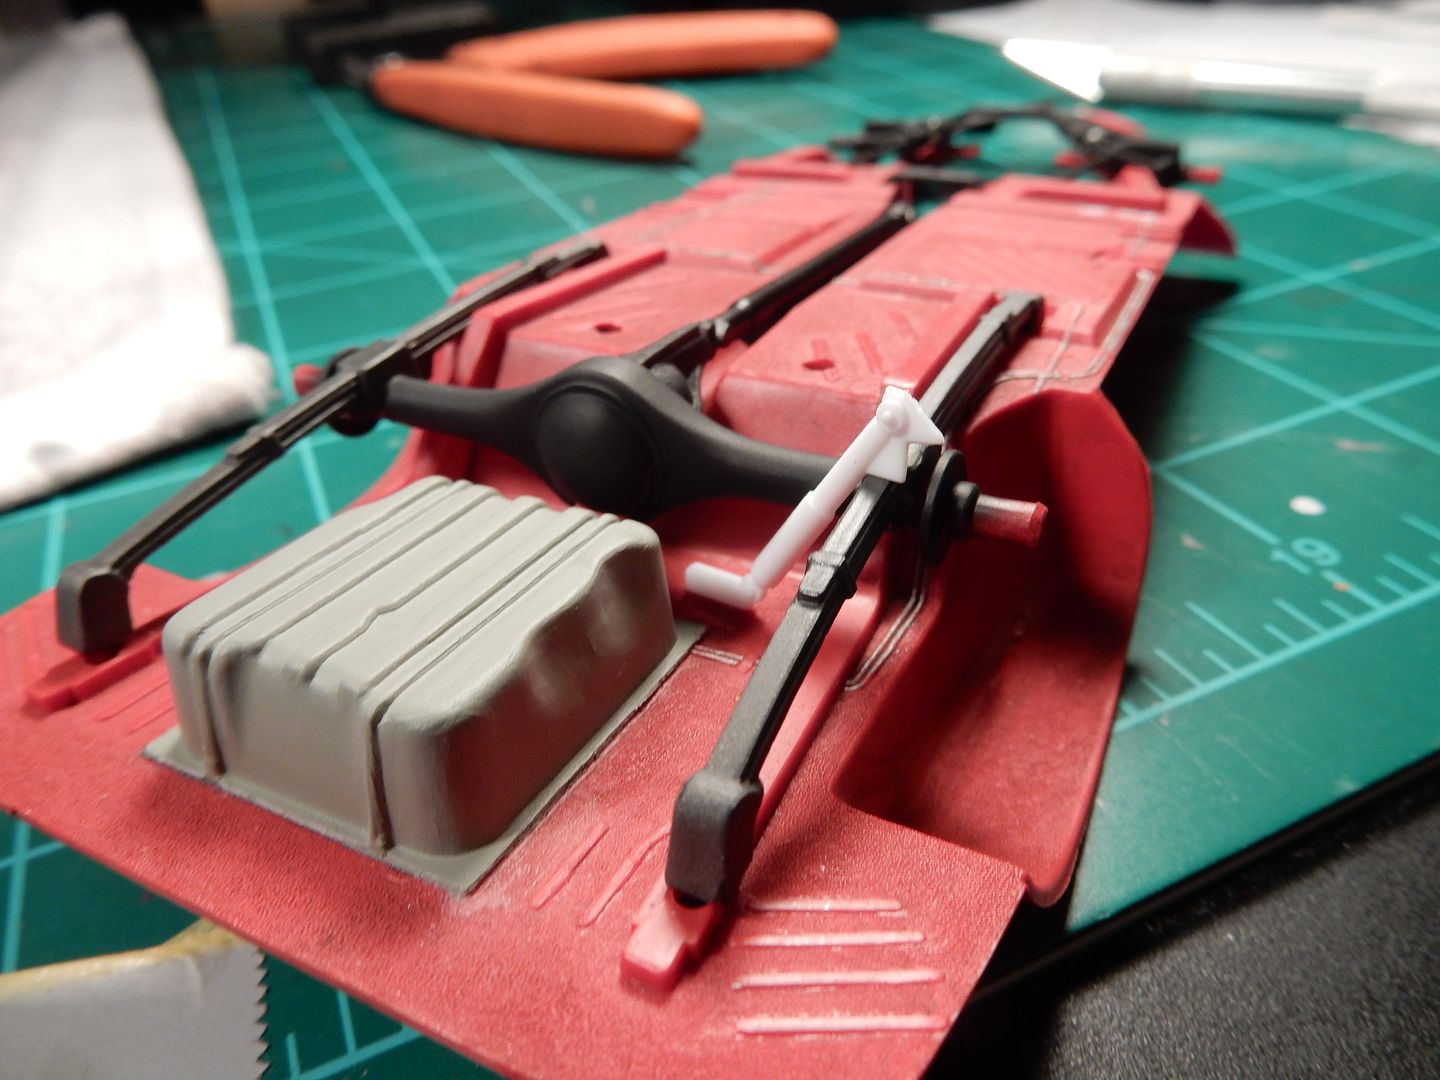
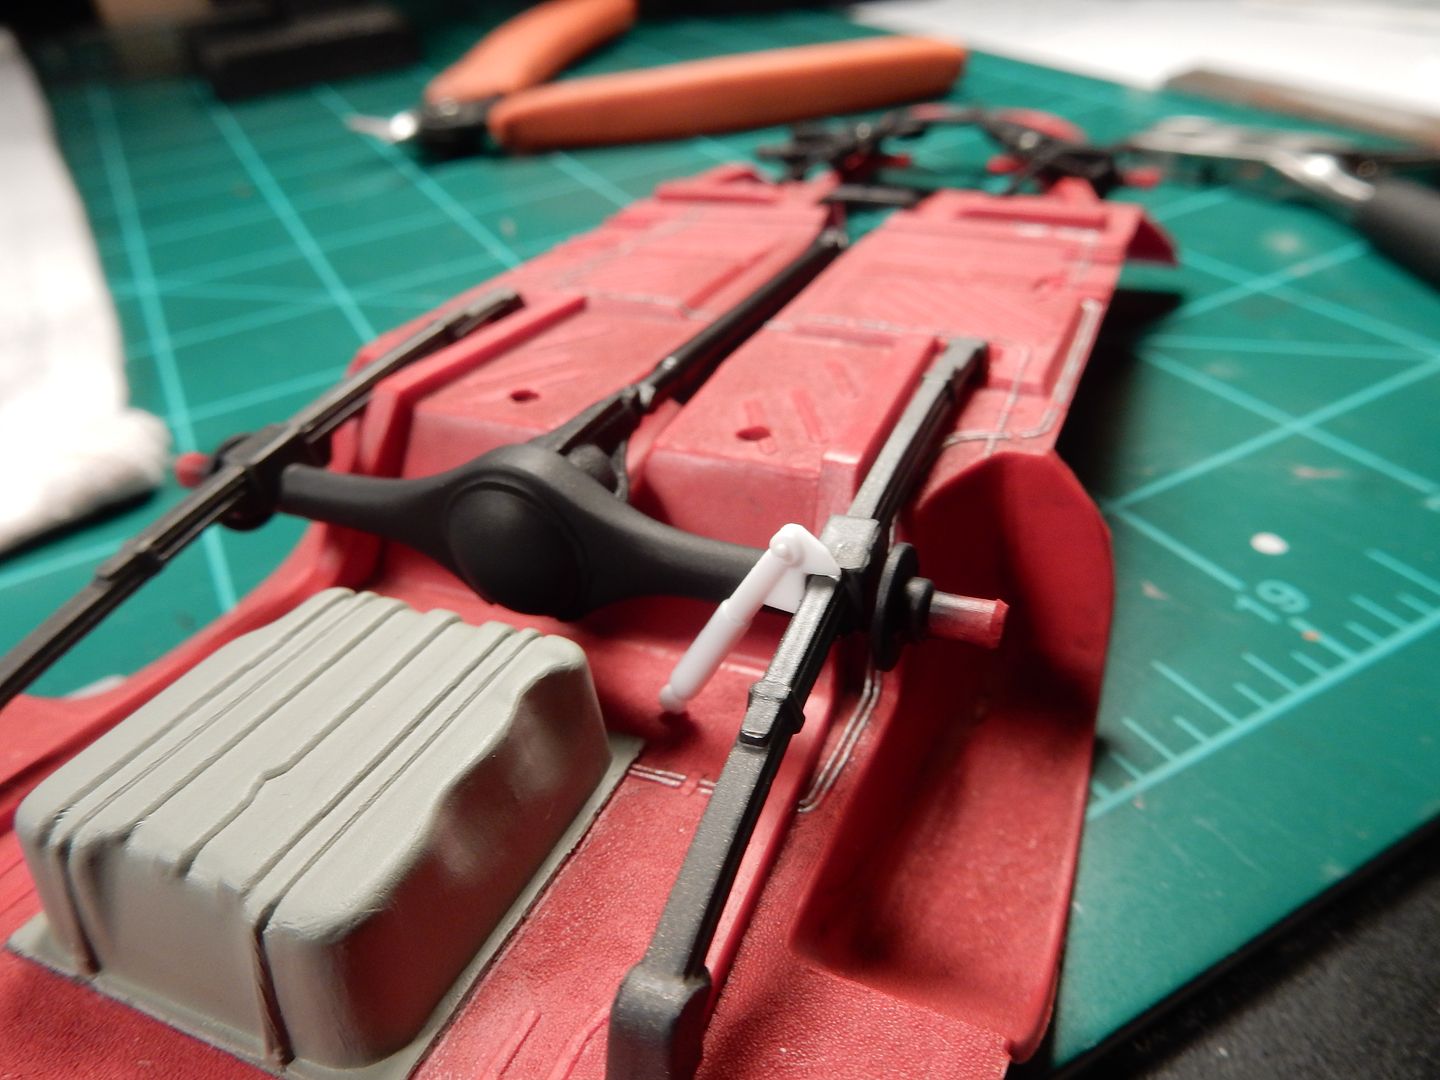
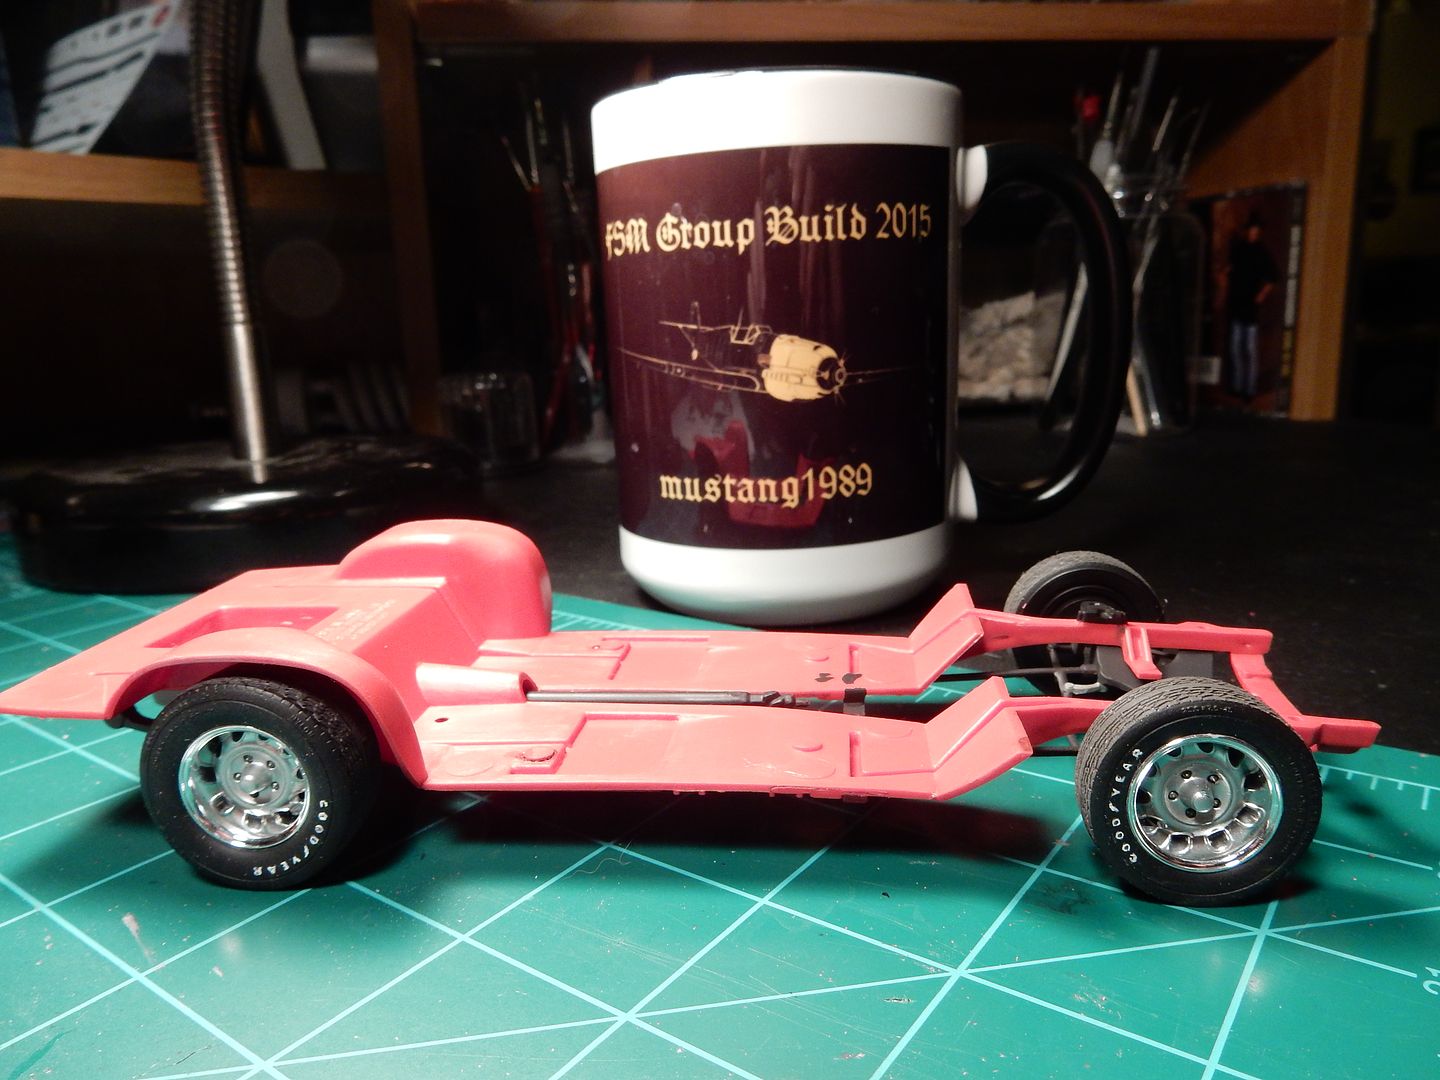
Ok here I've got the differential / rear suspension and front suspension painted and test fitted. Wouldn't you know that this stupid kit came without rear shocks????

Image

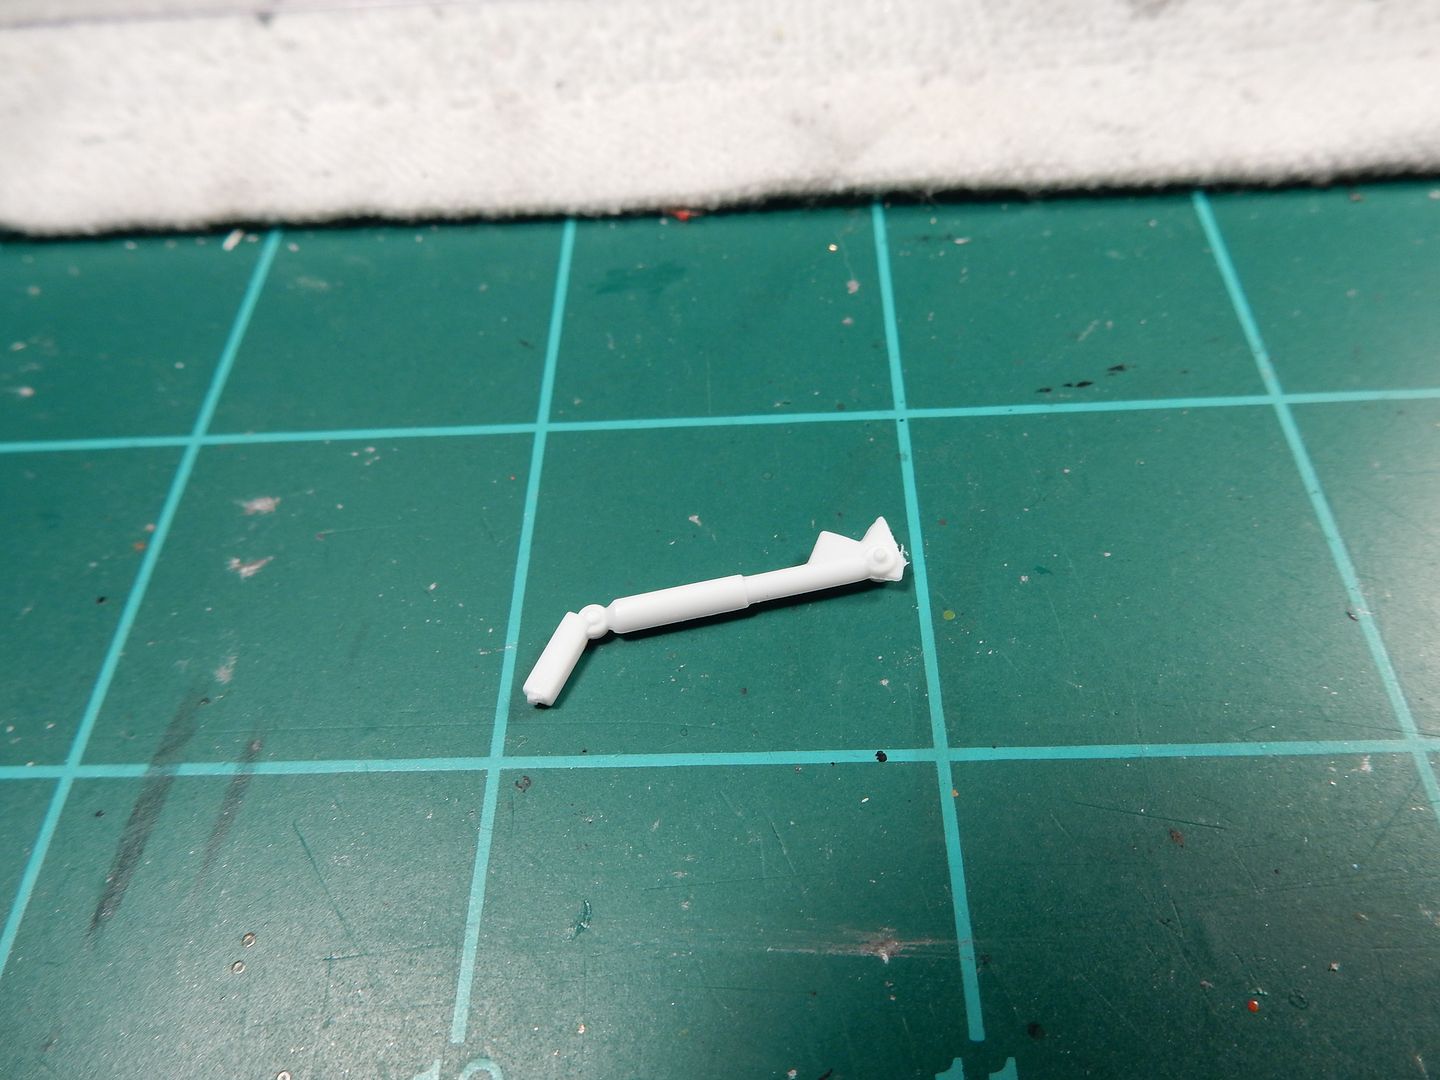
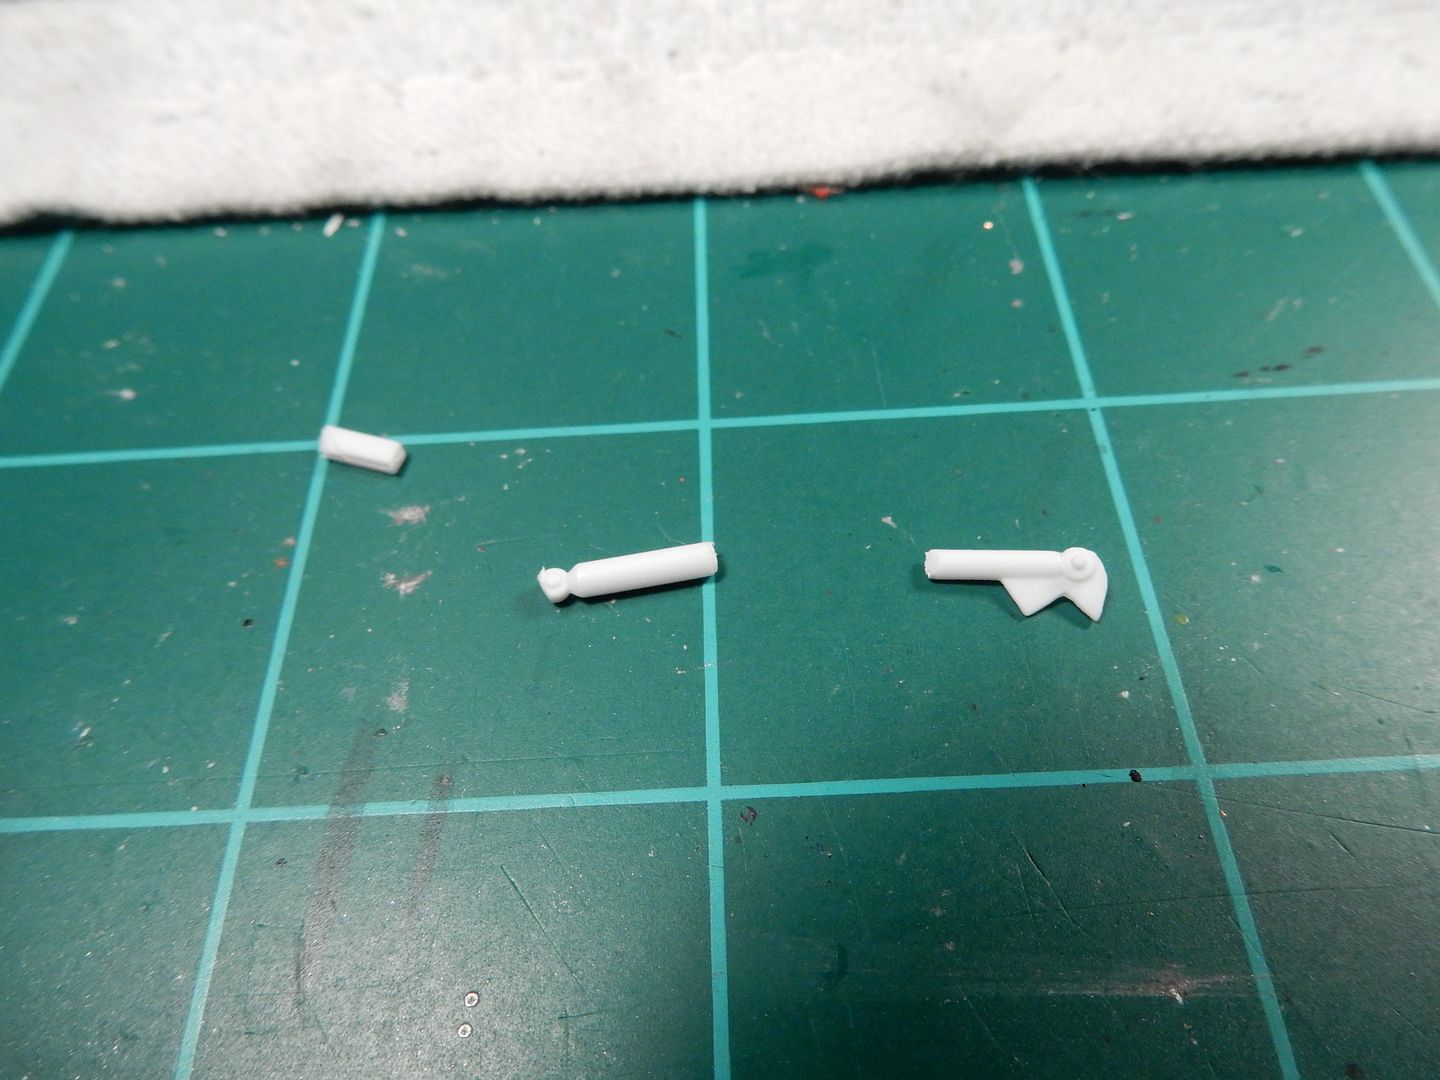
So I turned to my spare kit (part # 85-4213) for the parts. The shocks were way too long:

Image

Image

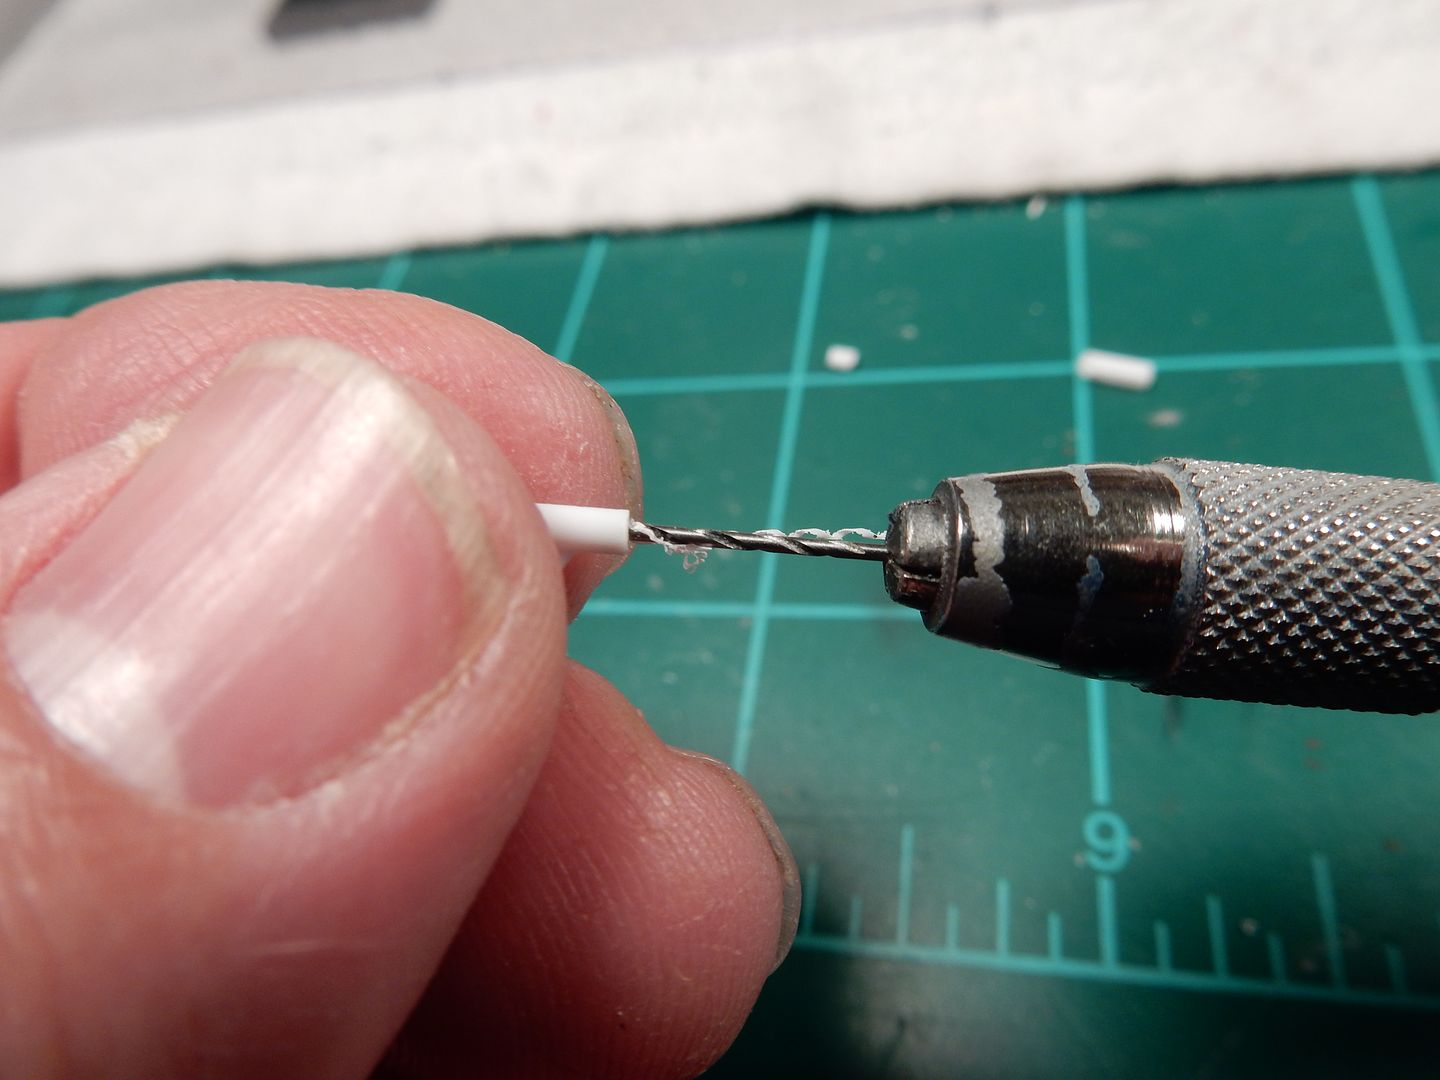
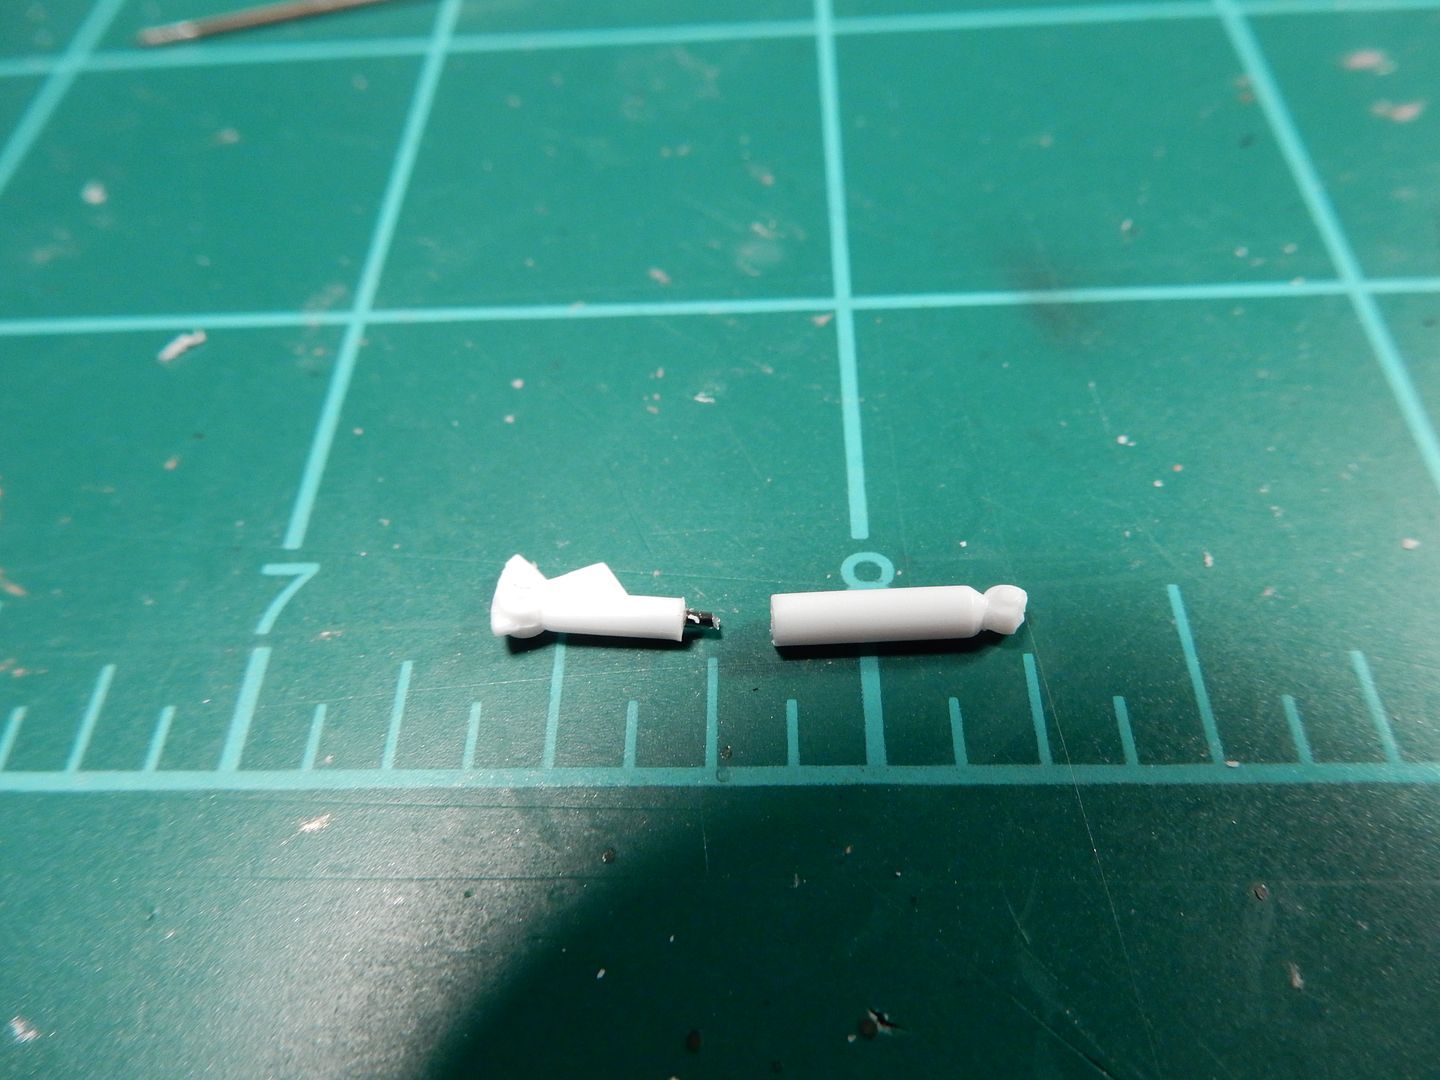
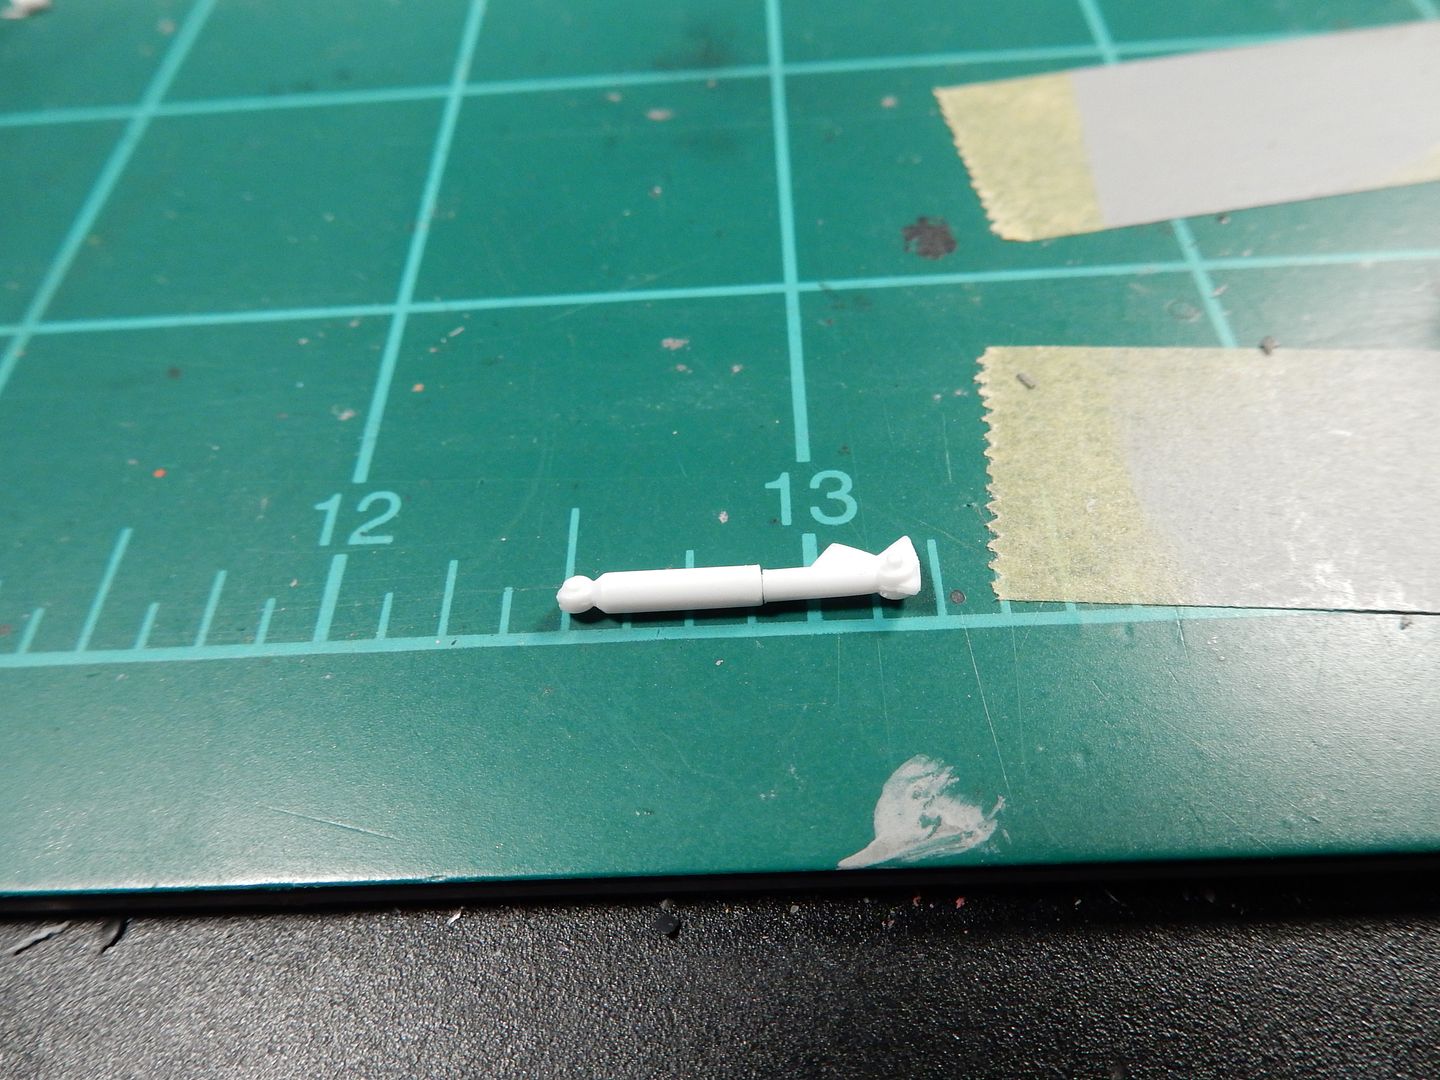
So I cut them to proper fit length, drilled them out and pinned 'em:

Image

Image

Image

Image

and here's the fit results I was after:(I painted them black after this photo-sorry for no pics-will post them later)

Image

and every thing after it was dry with the wheel/ tire assys mounted up.

Image

and now we are on a rolling chassis!! :winkgrin:
User avatar
Stuart
Elite Member
Posts: 11899
Joined: Sun Apr 06, 2014 1:06 pm
Location: North Wales

Re: 32 year old Monogram 1970 Dodge Challenger T/A

Post by Stuart »

That's a great bit of work on those shocks - i think my hands would shake to much to drill and pin that out.

I like your Mug BTW :grin:
Stuart Templeton 'I may not be good but I'm slow...'
User avatar
mustang1989
Moderator
Posts: 5035
Joined: Tue Mar 18, 2014 8:35 pm

Re: 32 year old Monogram 1970 Dodge Challenger T/A

Post by mustang1989 »

Thanks portman! I just couldn't leave it the way it was.
User avatar
Thomas_M
Admin
Posts: 4244
Joined: Fri Dec 13, 2013 9:43 am
Location: Bad Wurzach - Germany
Contact:

Re: 32 year old Monogram 1970 Dodge Challenger T/A

Post by Thomas_M »

Thanks for this most interesting and picture-heavy WIP! :wub:
User avatar
mustang1989
Moderator
Posts: 5035
Joined: Tue Mar 18, 2014 8:35 pm

Re: 32 year old Monogram 1970 Dodge Challenger T/A

Post by mustang1989 »

Preciate it Thomas! I've actually had a great time with this build and have learned a lot this time round on the automotive side of the house. I'll keep catching my posts on this build up with you fine folks here to where I'm at now with it.
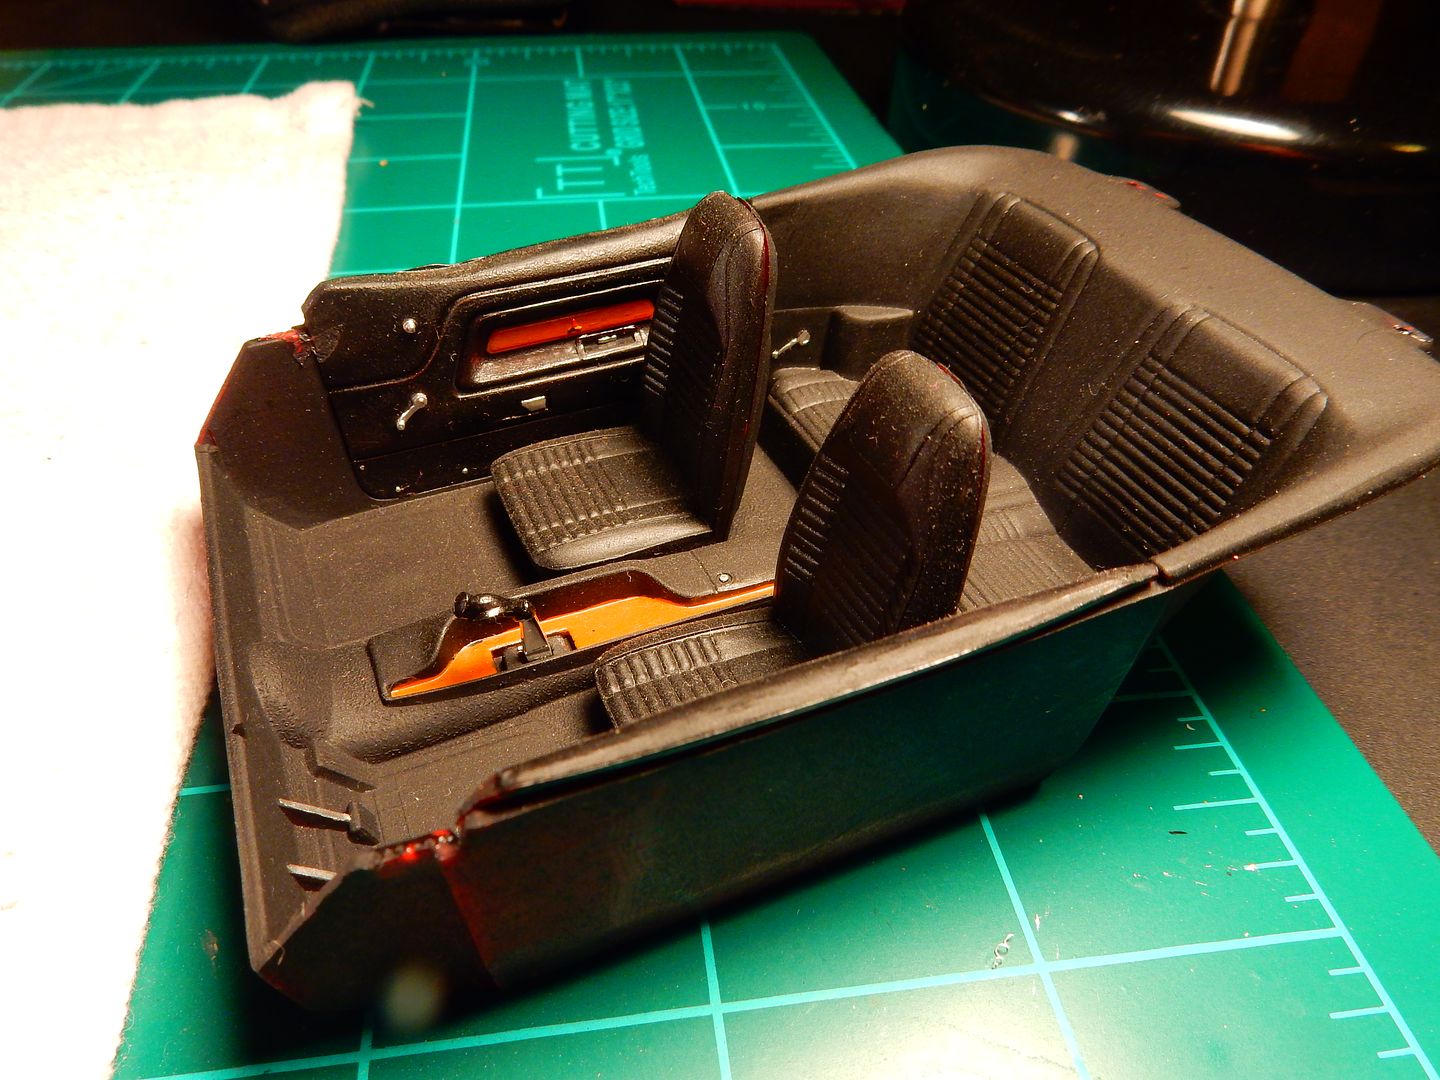
We turn our attention to the instrument panel /dash assy and interior next. The instrument panel isn't half bad for the 14 year old kid who built it the first time considering the tools and skills the guy had! :whistle:

The instrument panel originally:

Image

and the original interior....before the refreshening/ reconditioning phase here:

Image
User avatar
mustang1989
Moderator
Posts: 5035
Joined: Tue Mar 18, 2014 8:35 pm

Re: 32 year old Monogram 1970 Dodge Challenger T/A

Post by mustang1989 »

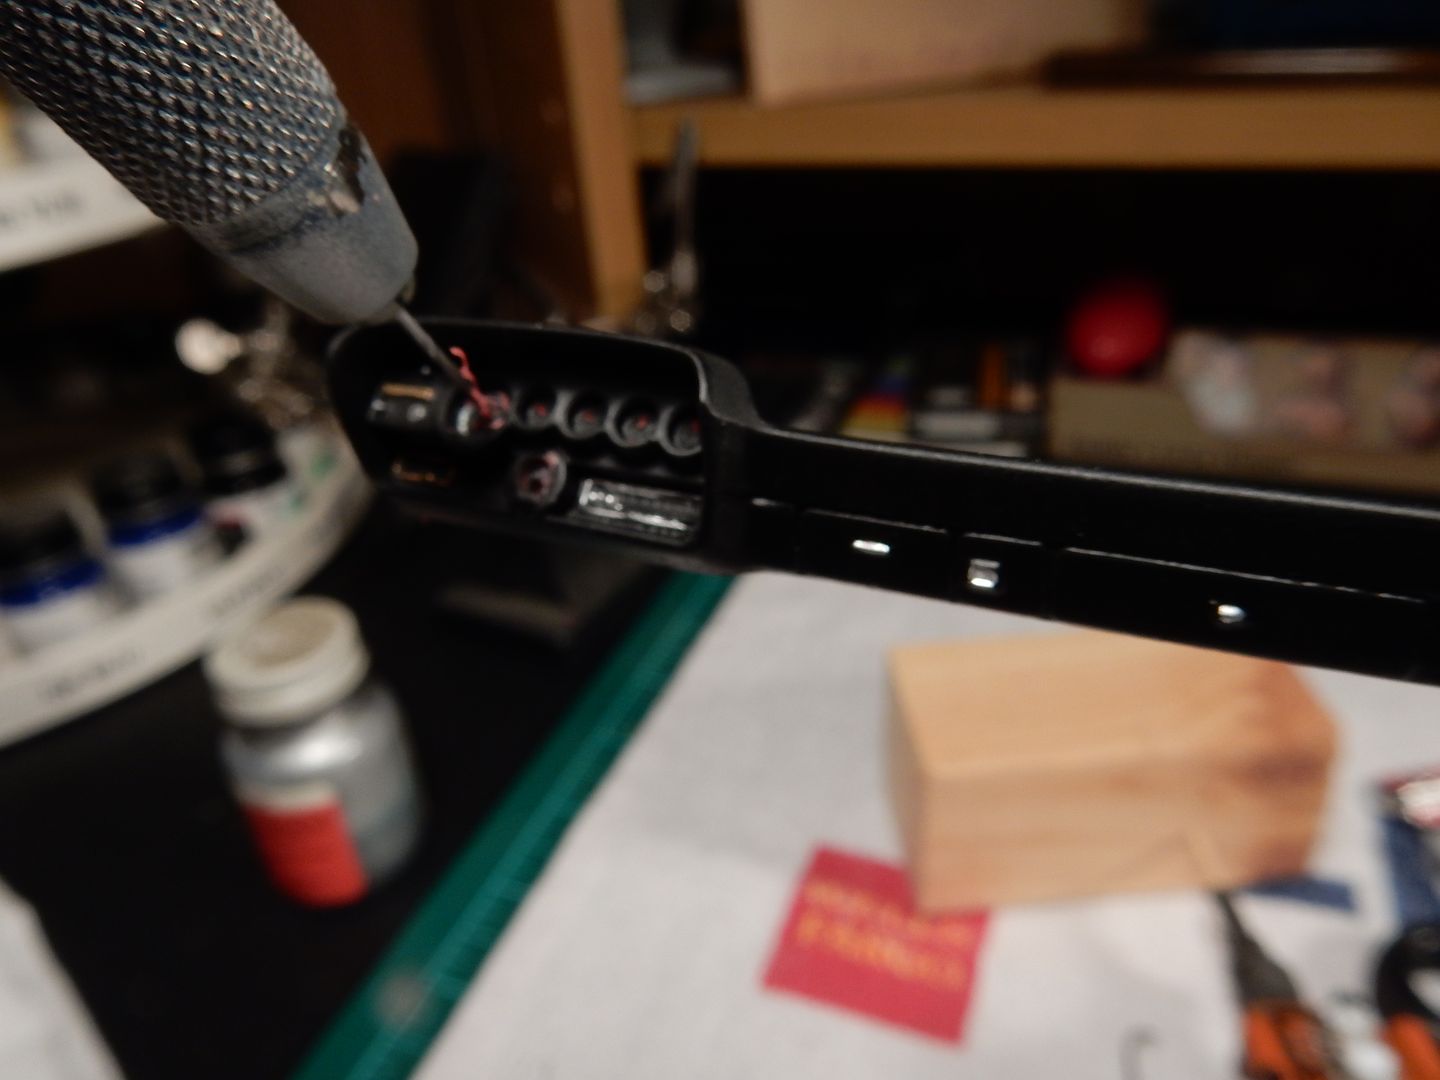
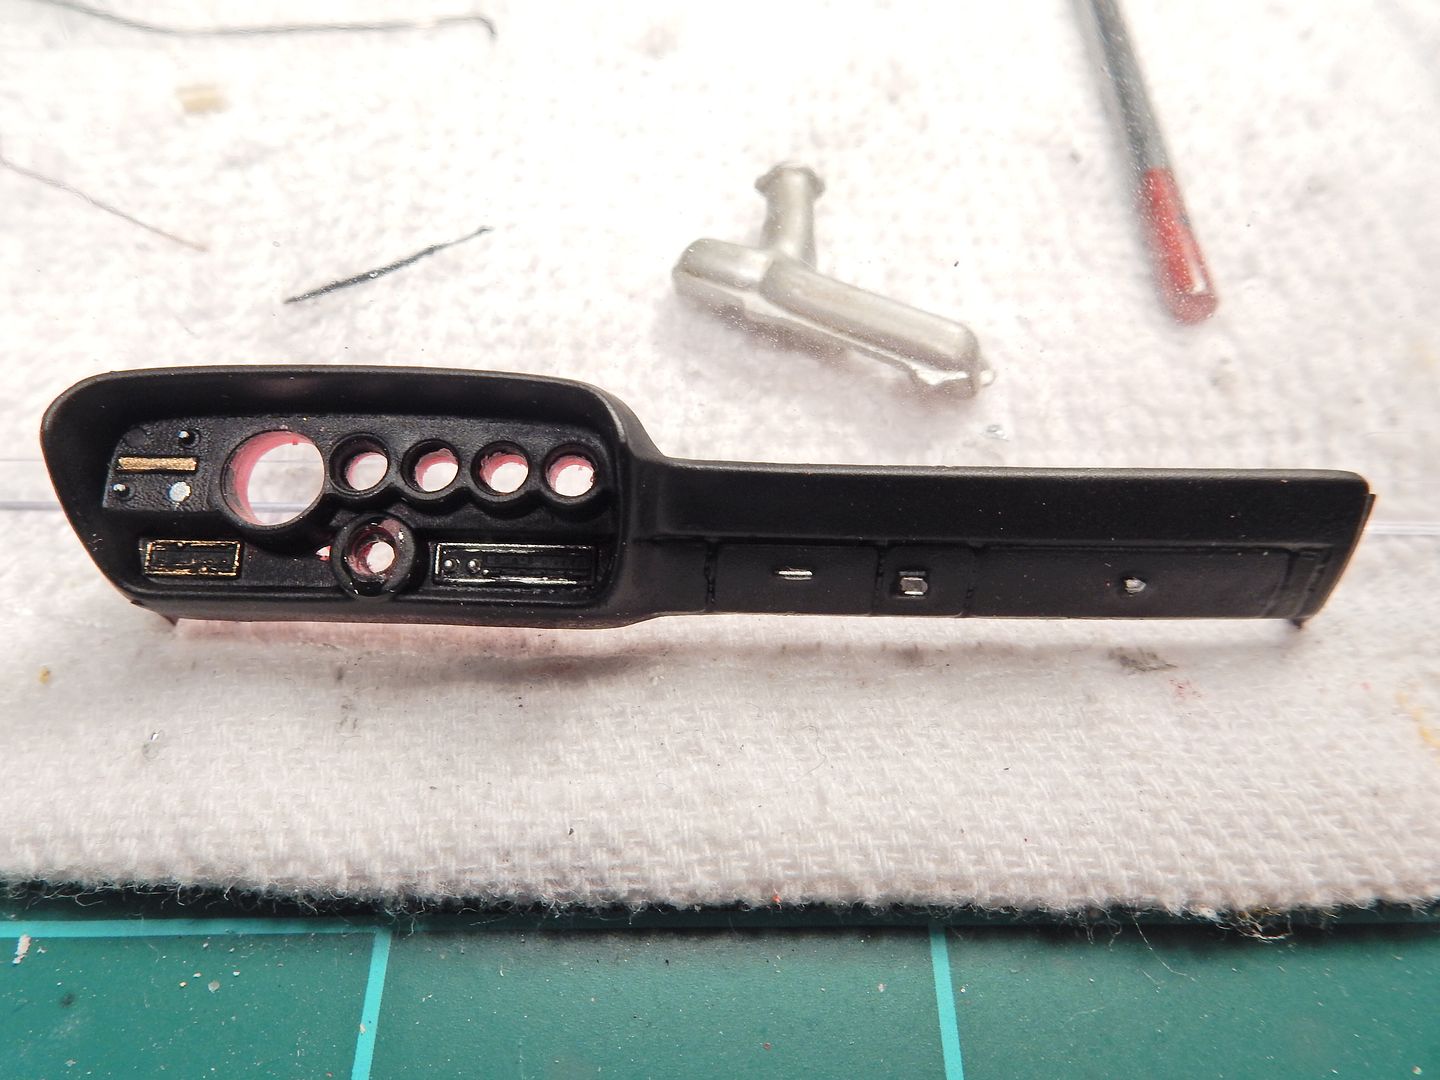
We're just gonna drill on through the existing gauges there: :shocked:

Image

and end up here:

Image

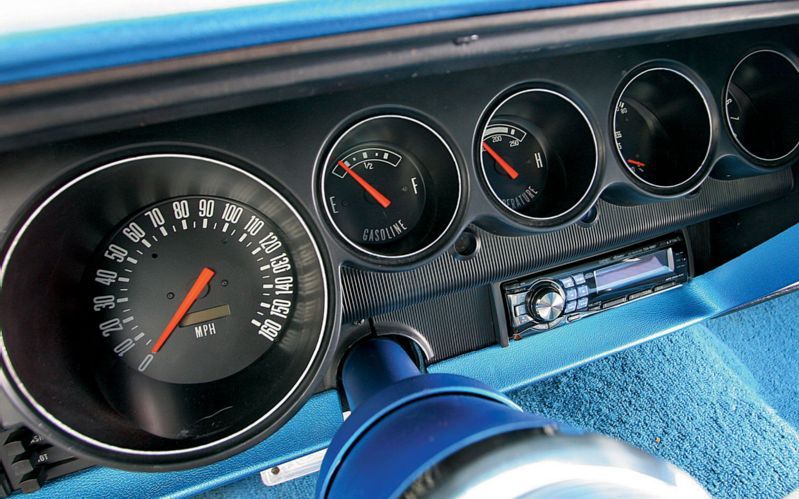
We're shootin' for this:

Image
User avatar
Thomas_M
Admin
Posts: 4244
Joined: Fri Dec 13, 2013 9:43 am
Location: Bad Wurzach - Germany
Contact:

Re: 32 year old Monogram 1970 Dodge Challenger T/A

Post by Thomas_M »

A clashing of the style to add this way too modern radio to this dashboard...
User avatar
mustang1989
Moderator
Posts: 5035
Joined: Tue Mar 18, 2014 8:35 pm

Re: 32 year old Monogram 1970 Dodge Challenger T/A

Post by mustang1989 »

Sorry bout that Thomas. I will not be upgrading to a newer radio! lol
User avatar
mustang1989
Moderator
Posts: 5035
Joined: Tue Mar 18, 2014 8:35 pm

Re: 32 year old Monogram 1970 Dodge Challenger T/A

Post by mustang1989 »

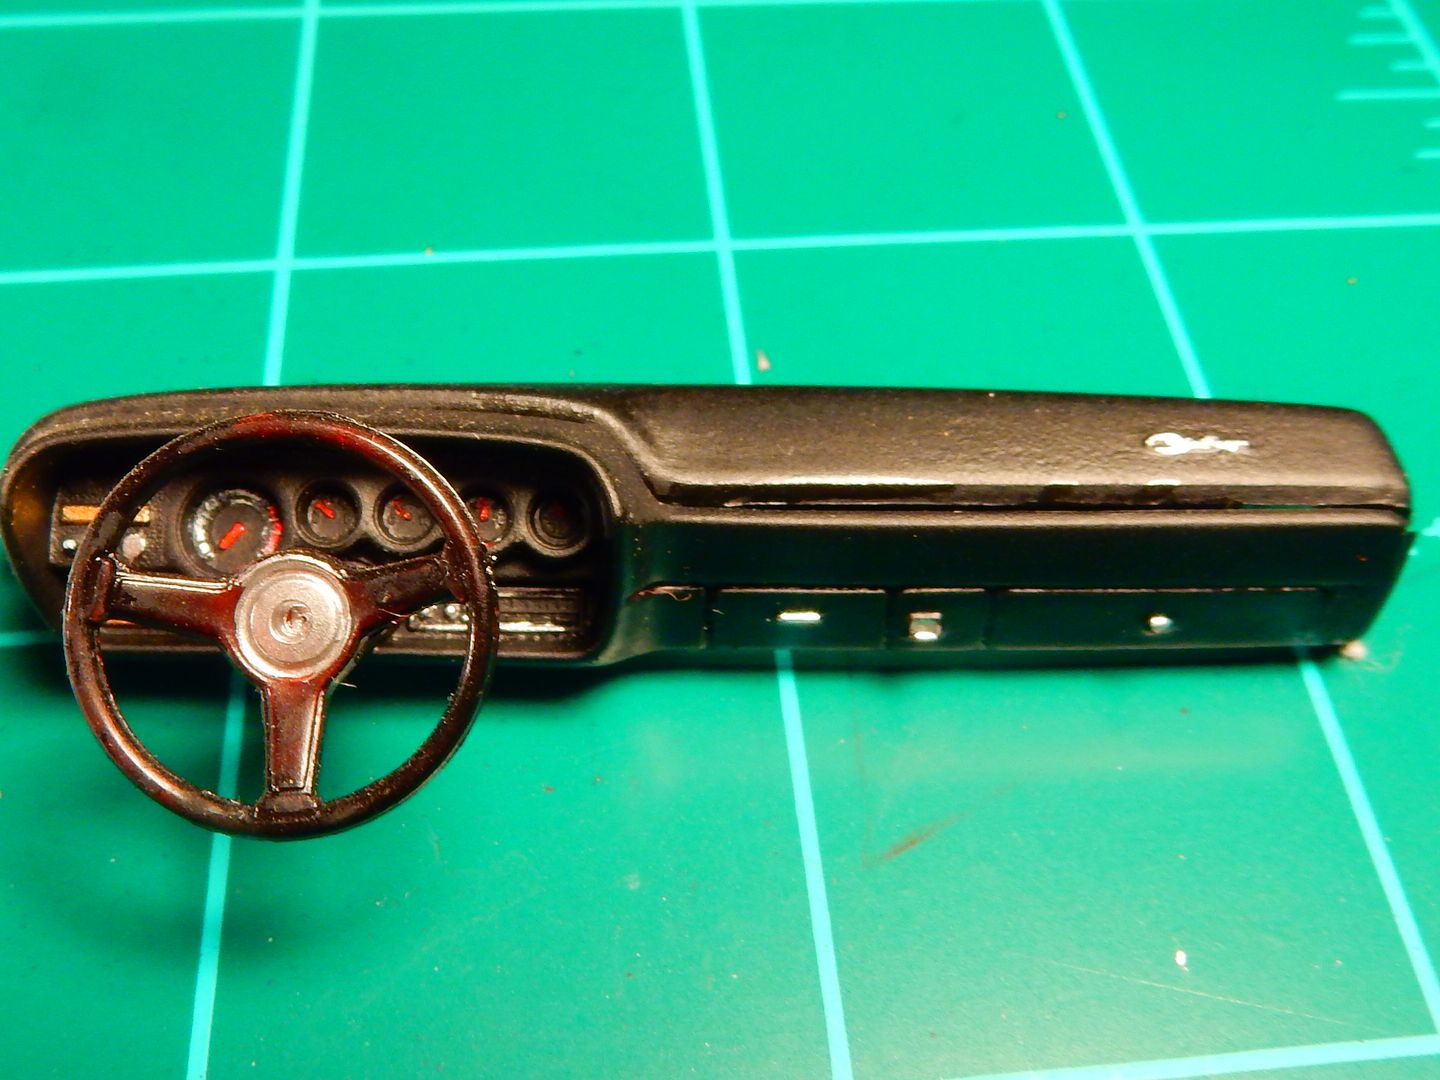
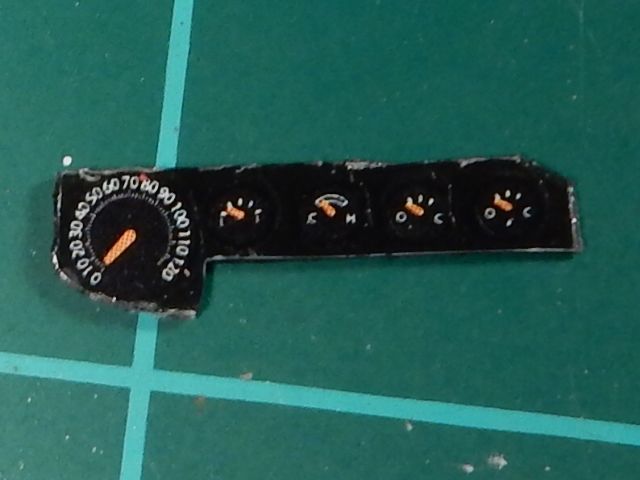
As far as the gauges go I robbed a set of decals out of Revell's new and improved (actually this thing sucks!) # 85-4213 Challenger kit to use in the classic gauge cluster.
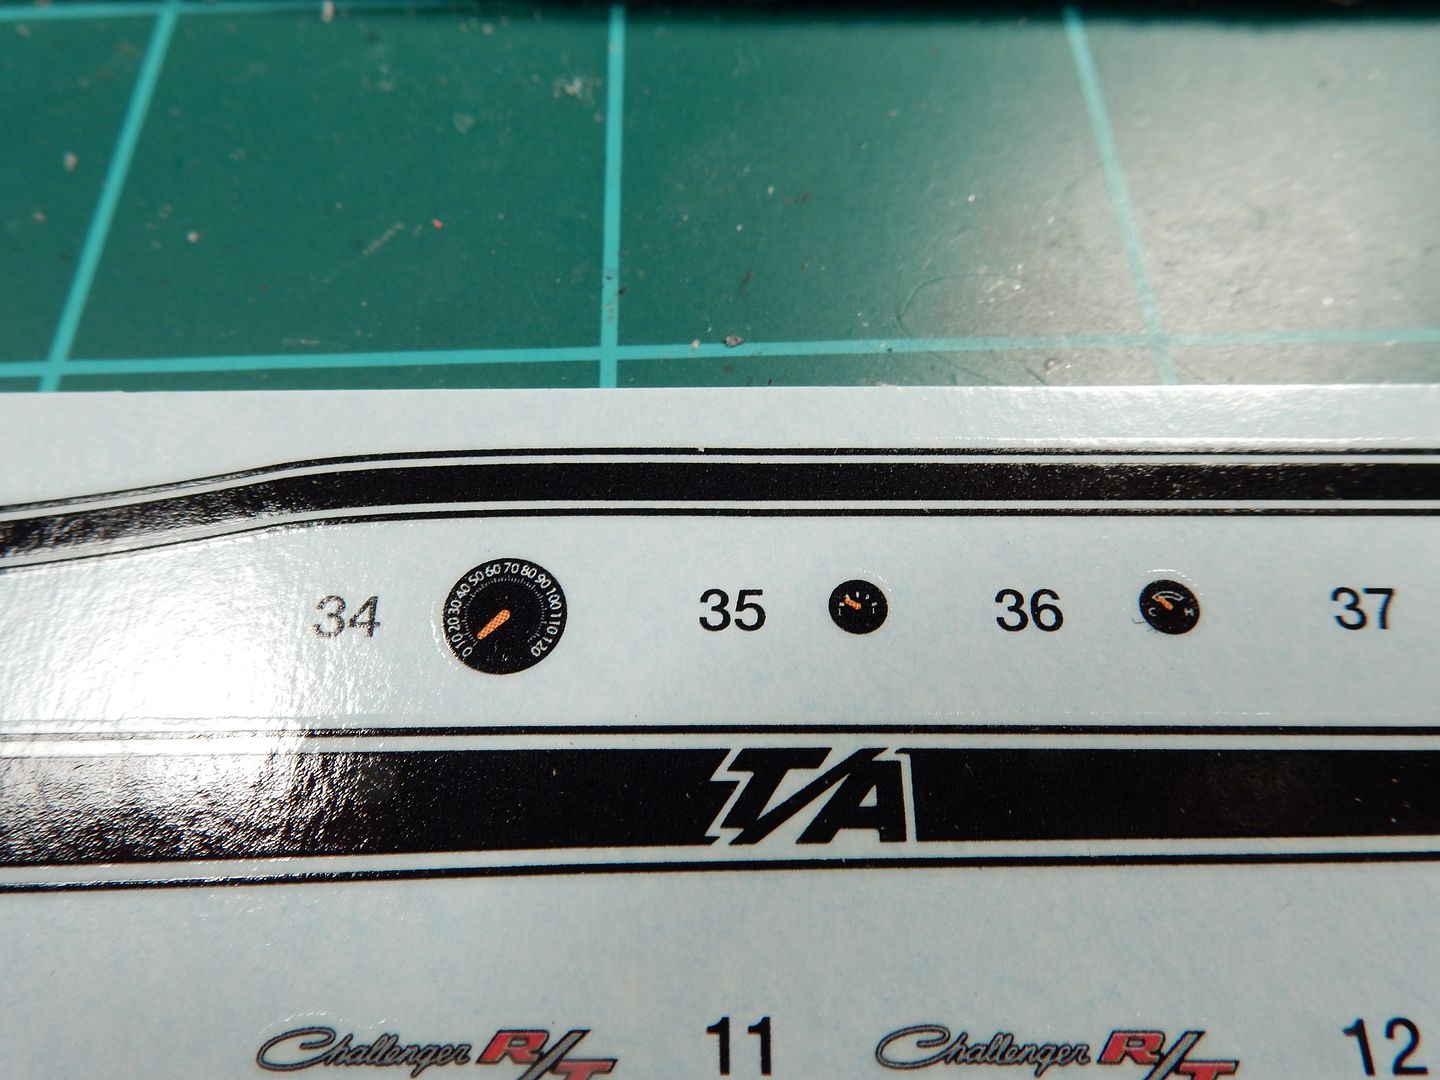
Image

So I've gotta have something to adhere the decals to you know. So I cut the back out of a plastic container that I had laying around.
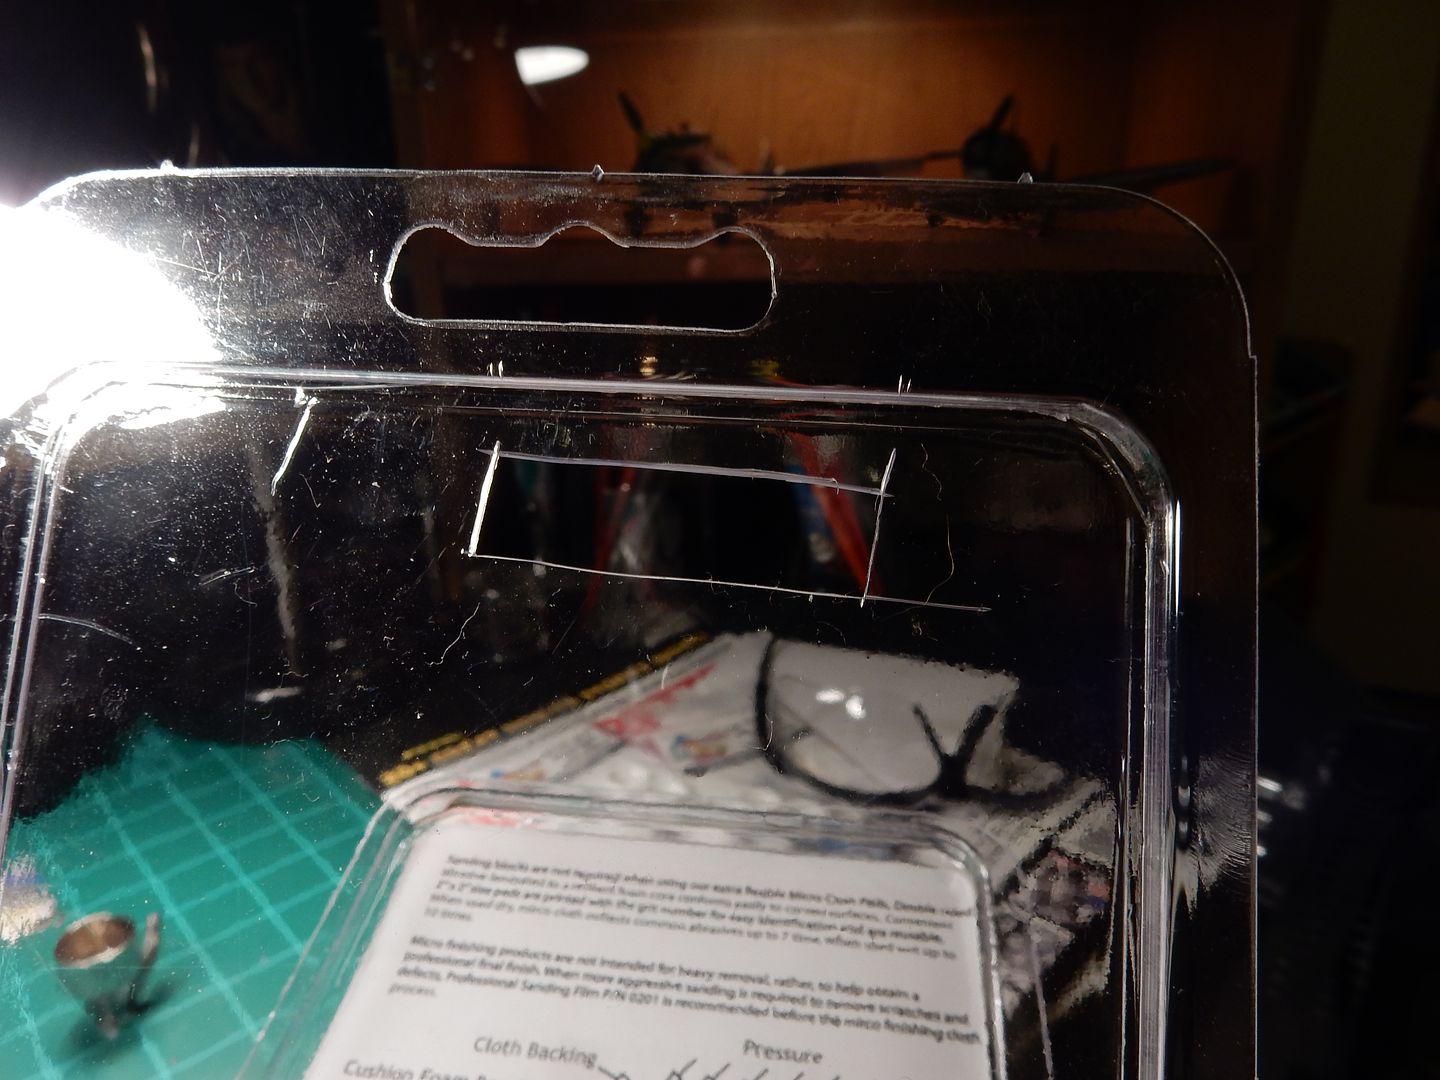
Image

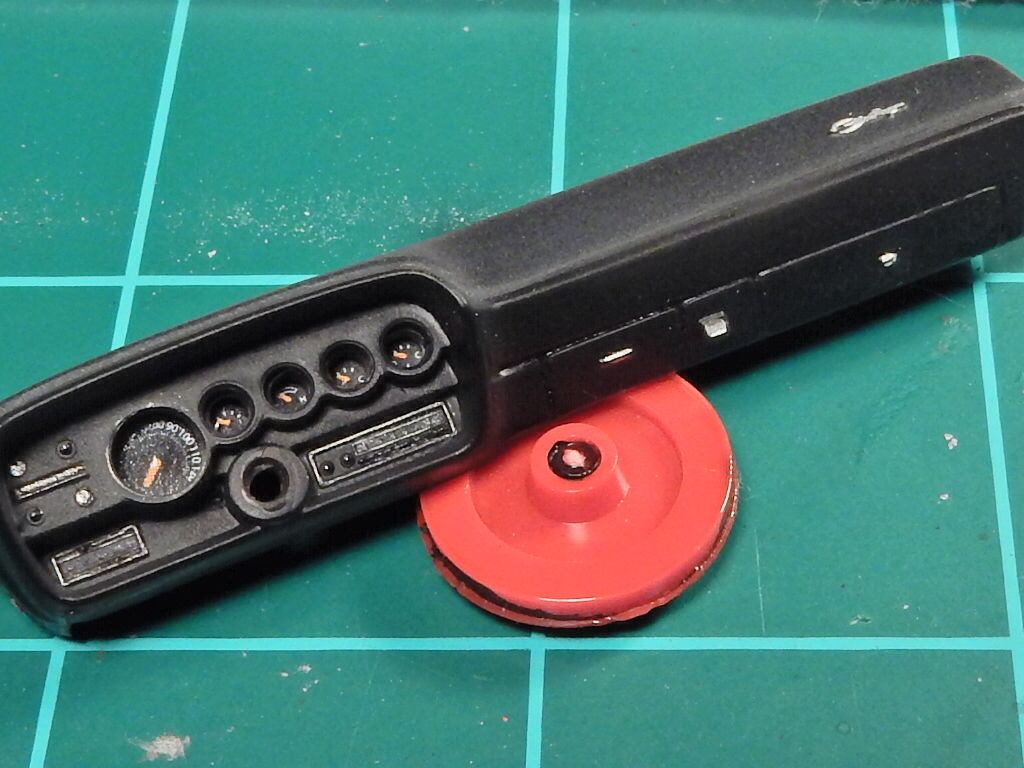
Then I painted the back side black and placed the decals onto the plastic surface in the exact location as the gauge holes in the instrument panel.
Image

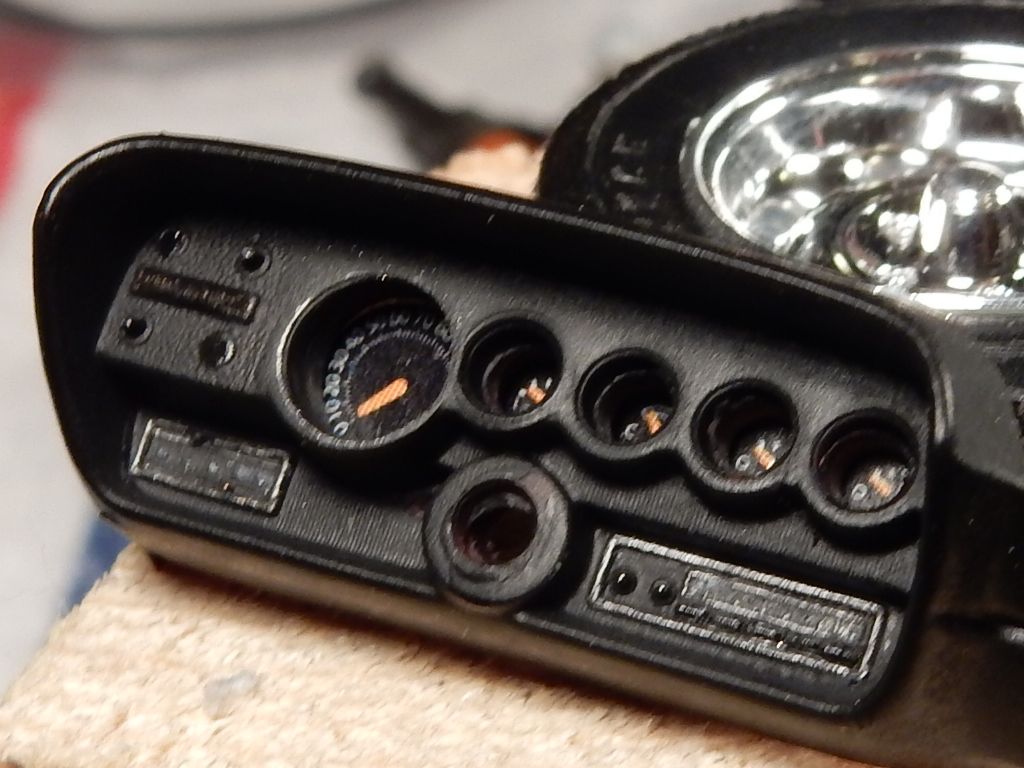
and then epoxied the whole gauge pack on to the back of the instrument panel and brought out the raised detail with a silver lead pencil (a little blurry but you get the picture)
Image

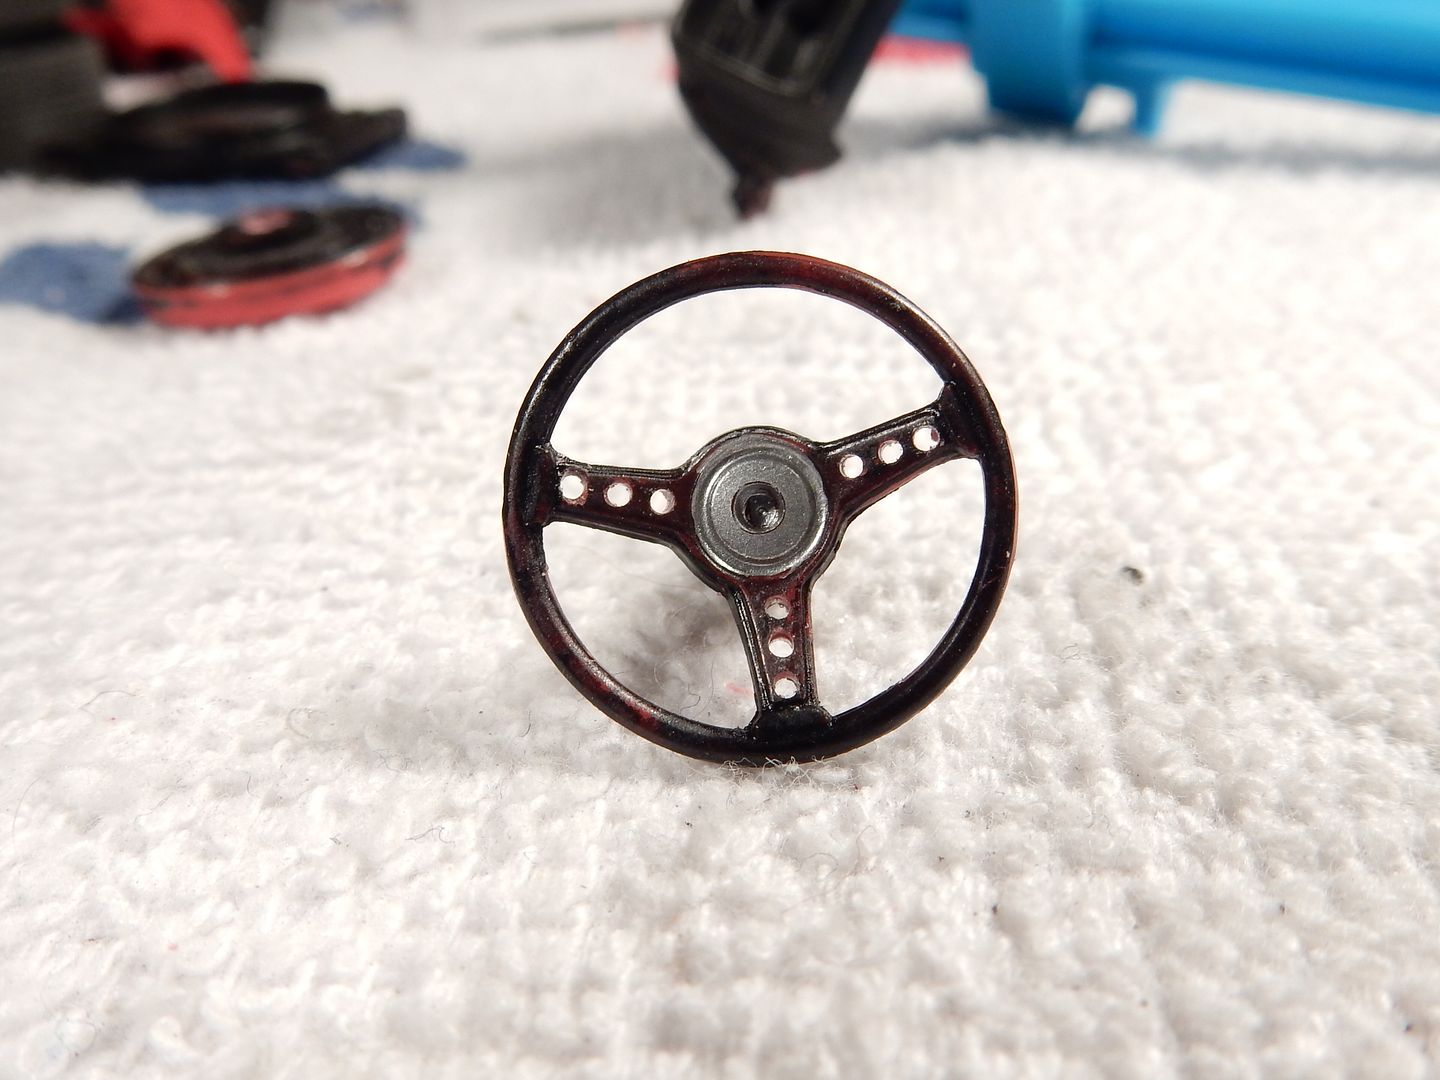
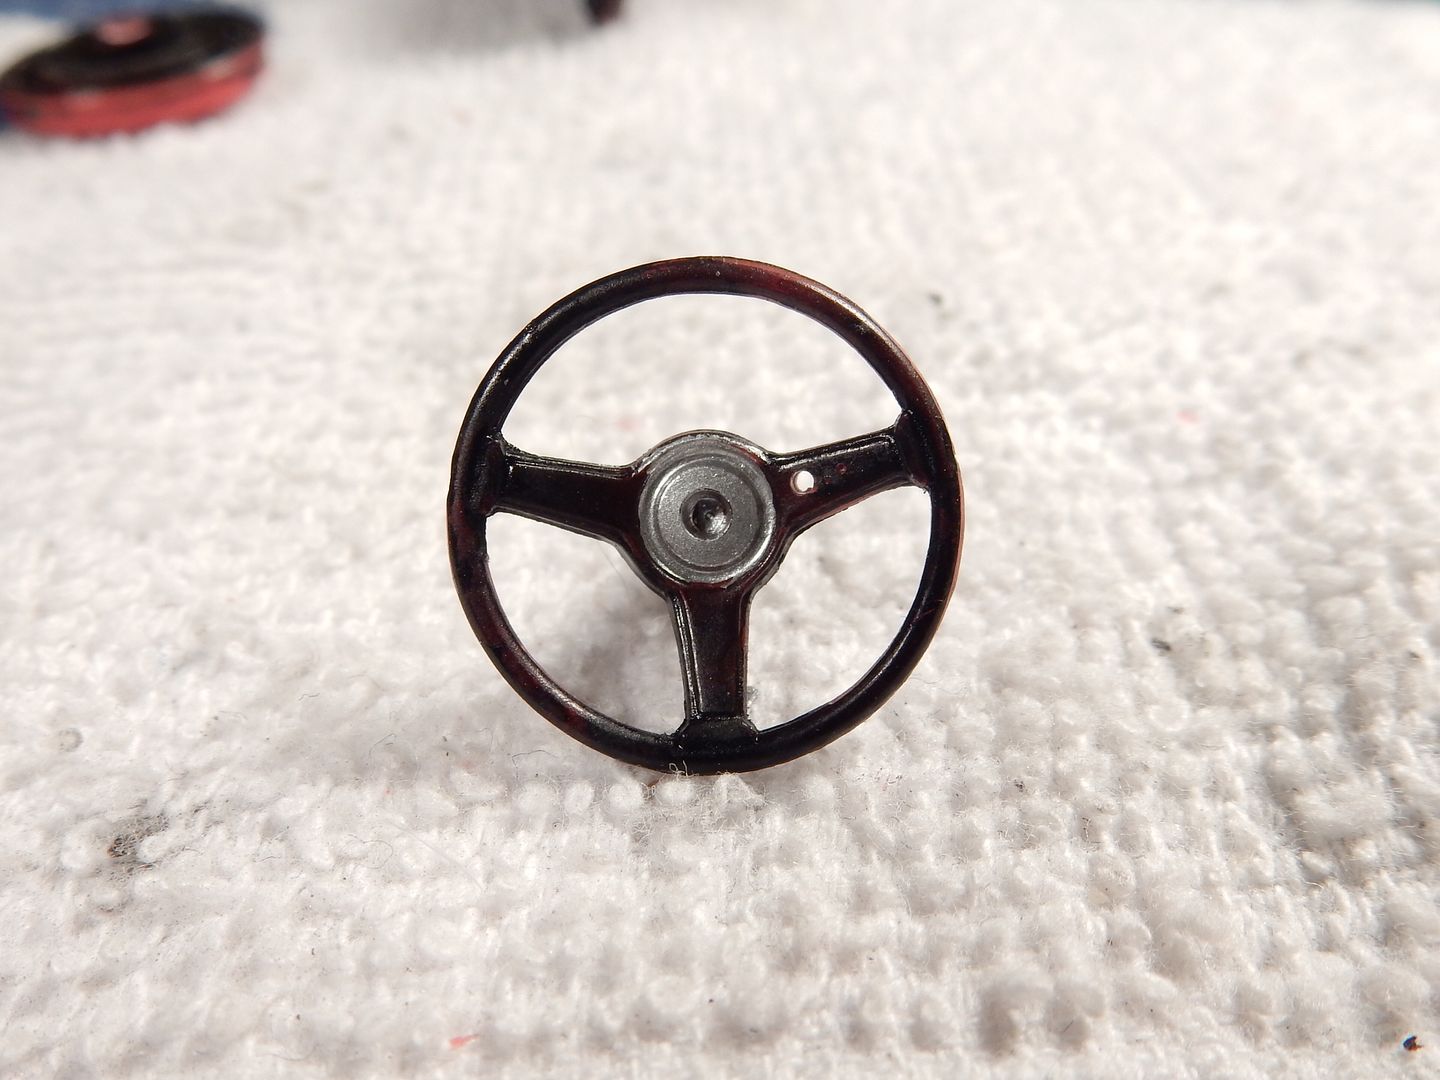
then took the original steering wheel and started drilling the spokes out with three holes per spoke the way it's supposed to be:
Image

Image

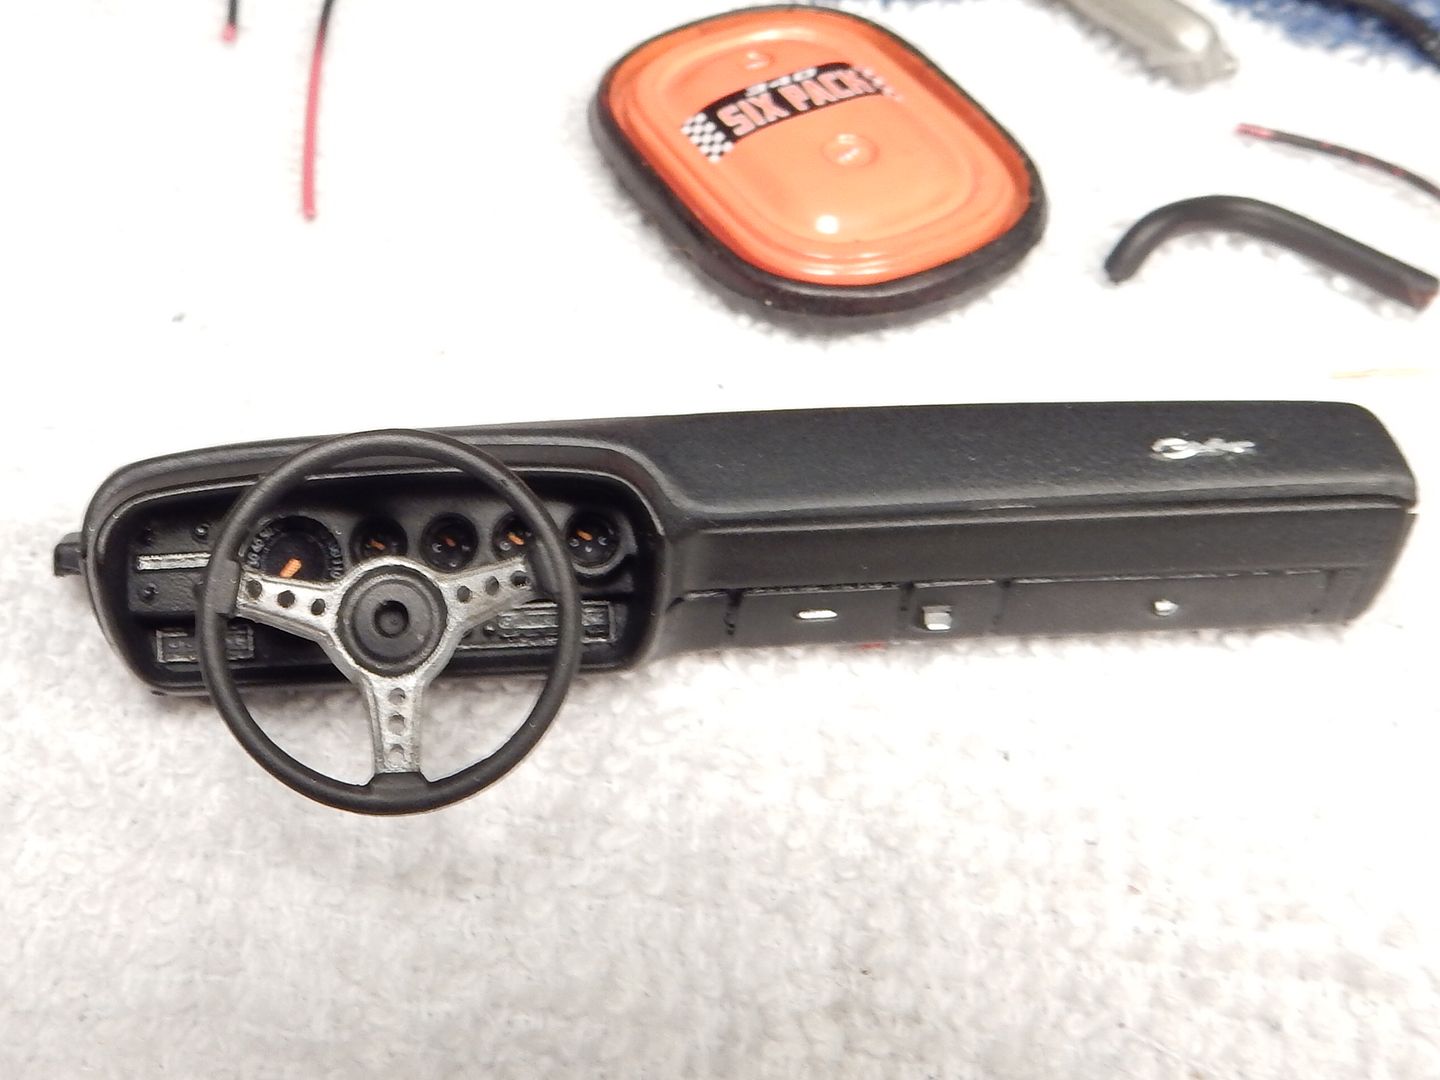
First a pic without the wheel:

Image

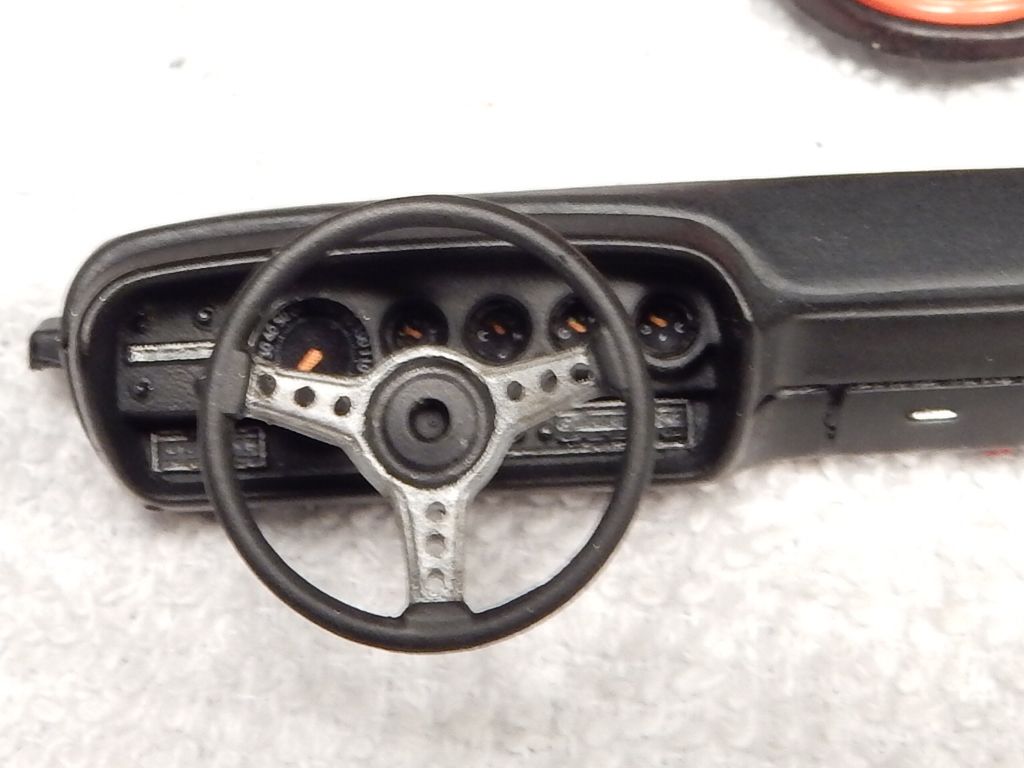
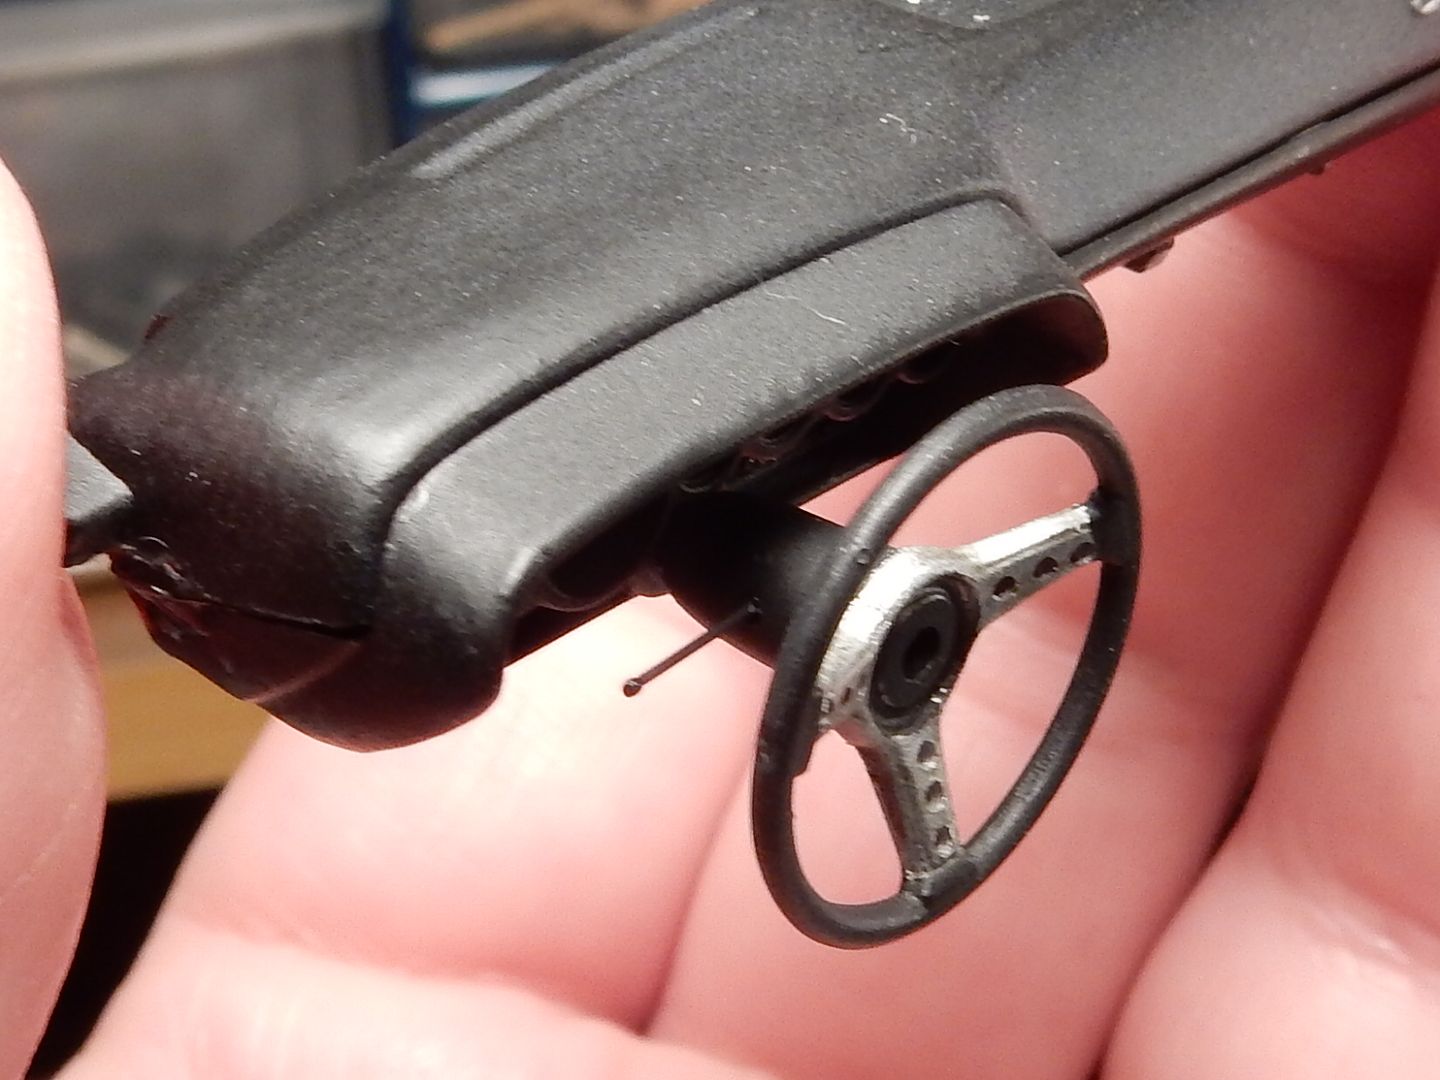
and then a couple with the column (with turn signal lever) and the wheel installed:
Image

Image

Image

More on the way later and thanks for looking!
Post Reply

Return to “Work In Progress: Automobiles”