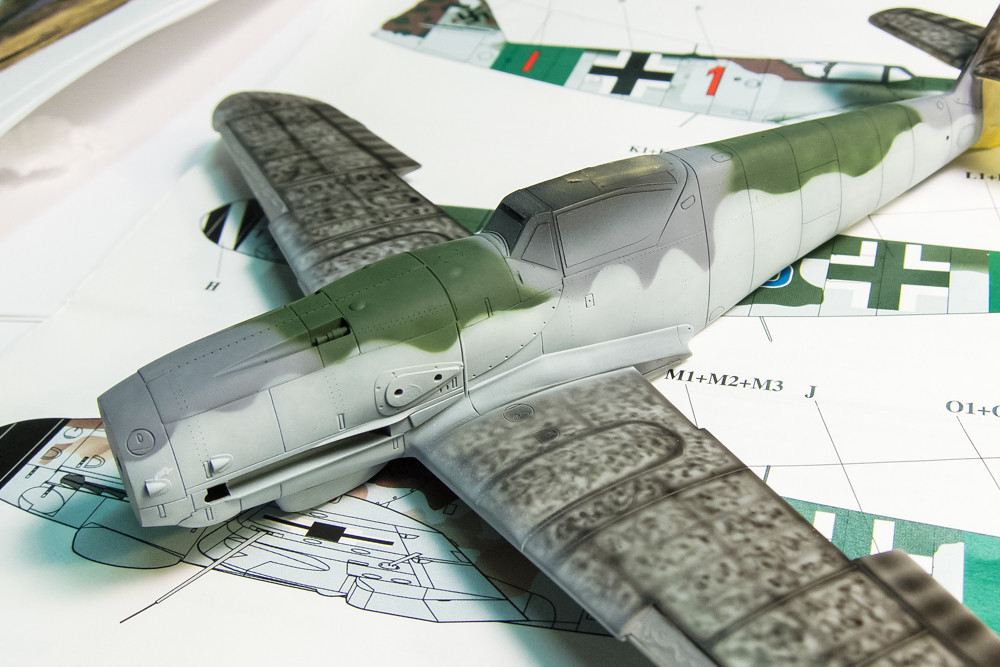
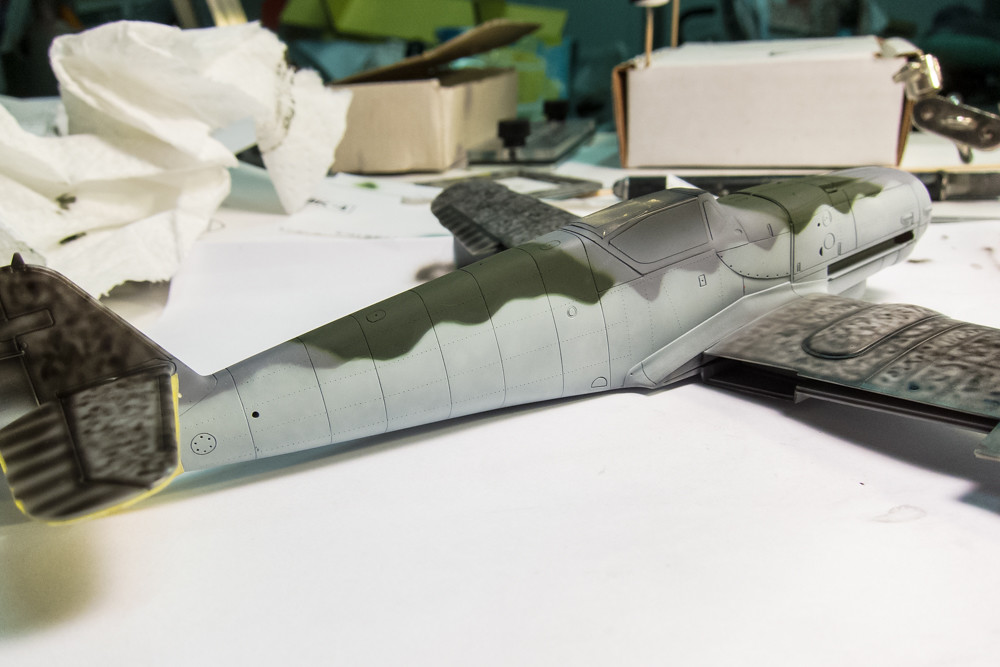
Here are some in-progress shots of the build. The cockpit was pretty standard and I didn't do anything fancy there since the canopy was going to be shut anyway. The big thing on this kit was that I decided to apply rivets to the exterior. I use a rotary ponce wheel-type tool from RB Productions called the Rivet-R Mini.

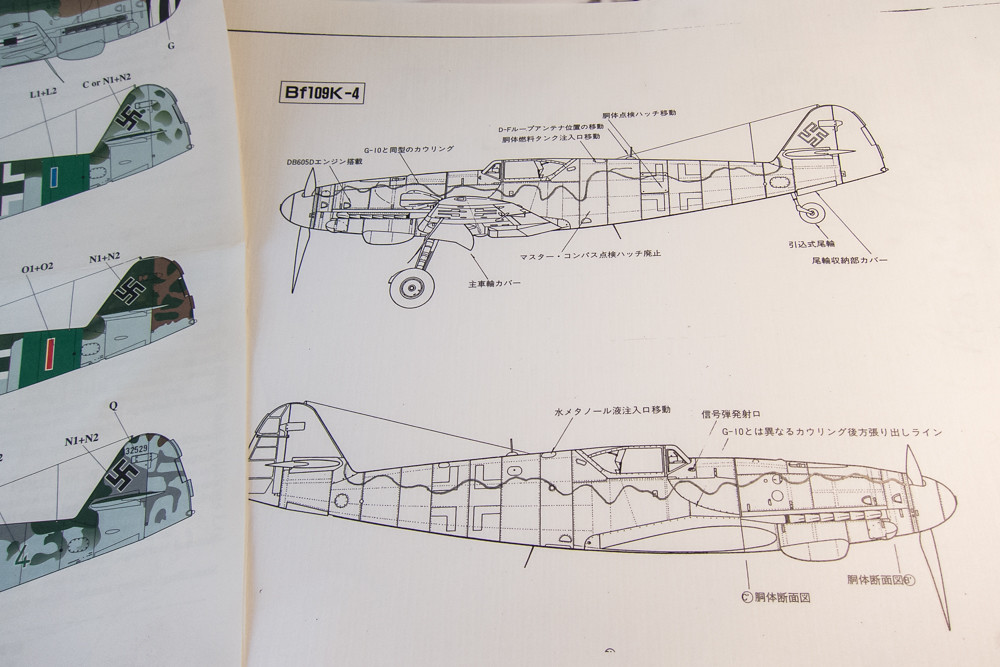
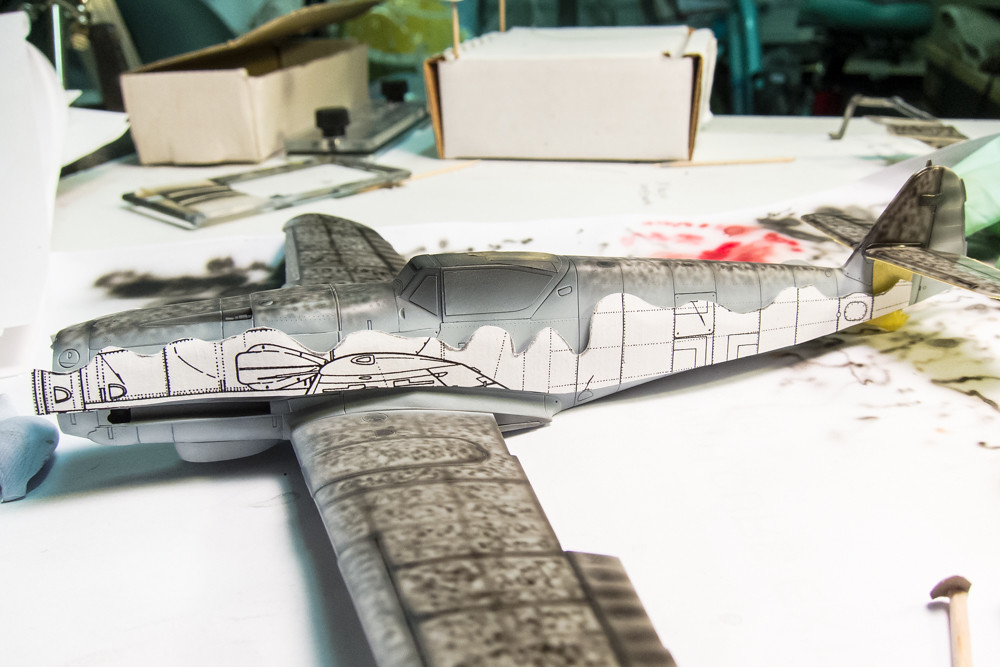
Using a set of detailed plan and profile drawings, the rivet lines are sketch onto the surface using a soft leaded pencil.

Once the lines are drawn on the plastic, I simply run the Rivet-R along the lines. No straight edge is used since it is fairly easy to keep the Rivet-R running straight. Oh yeah... see that panel line with the obvious sanding marks along it? That's a newly scribed panel line that was missing from the Hasegawa wing. Hasegawa's modular approach allows for the same molds to be used for different versions but some modeler modifications may be required. Along with this panel line, the circular wheel well needed to be cut out to make it square. Both of these modifications are described in the instructions.

After the rivets are applied, I wipe off the lead markings using a cloth dipped in iso alcohol and then sand the entire surface with very fine sandpaper to remove the raised plastic around the rivet holes.

Underneath, I made some additions to the fuselage bottom according to an online source.


After a failed attempt at using brass sheet, I made some wheel well inserts using plastic sheet.

I chose to close the wheel well doors by chopping off the open doors on the kit fuselage and placing a piece of sprue into the opening.


Some of the sloppy access hatches were filled and re-scribed.


The exhaust pipes were hollowed out and the deflector plates were replaced with brass sheet.




 Every one of your WIPs is a great class in dressing up a kit using fairly simple tools and/or techniques... great stuff!