After sealing the decals with a coat of Future, I continued with the next steps.
I used Tamiya X-19 Smoke for shading purposes, accentuating the overhead lighting effect where needed e.g. on the darker upper side, picking up panel line shading and making some doors and hatches stand out by darkening them.


A light colored wash was applied to the (very few) panel lines, brown on top and gray on the underside. The movable parts, such as elevators and canopy, as well as the joints between the fuselage sections designed to separate before landing, received a black wash to show dark shadow rather than accumulated dirt. Oil paints thinned with lighter fluid were used. In areas where the wash wouldn’t grip, e.g. around raised detail, I used a propelling pencil sharpened on a piece of sandpaper to produce the effect. It is easy to follow the raised edge with the pencil and any mistakes are easily removed with an eraser.

An oil filter was applied to the engine inspections hatches, tank caps and a few other areas that are naturally dirtier, as a means to add some variation. The oil was thinned with lighter fluid to the same consistency as a wash, applied with a brush and once dry a clean brush was used to blur it and lighten the effect. Filters were further used to accentuate the light and shadow effect in some areas, using white and dark gray.

The tank caps and engine inspection hatches got some chipping, partly to add realism and partly to hide some misalignment between the decals and the edges of the hatches.

The canopy edges were chipped a little as well. I applied Vallejos with a brush and used a toothpick to erase or tweak the chippings when too big.

The kit’s pitots made of flat pieces of PE were replaced with lengths of hypodermic needle and a grab rail was made with a piece of copper wire and installed near the windshield as can been seen on reference photos.

The canopy frames were outlined with black ink to give them a cleaner, sharper look.

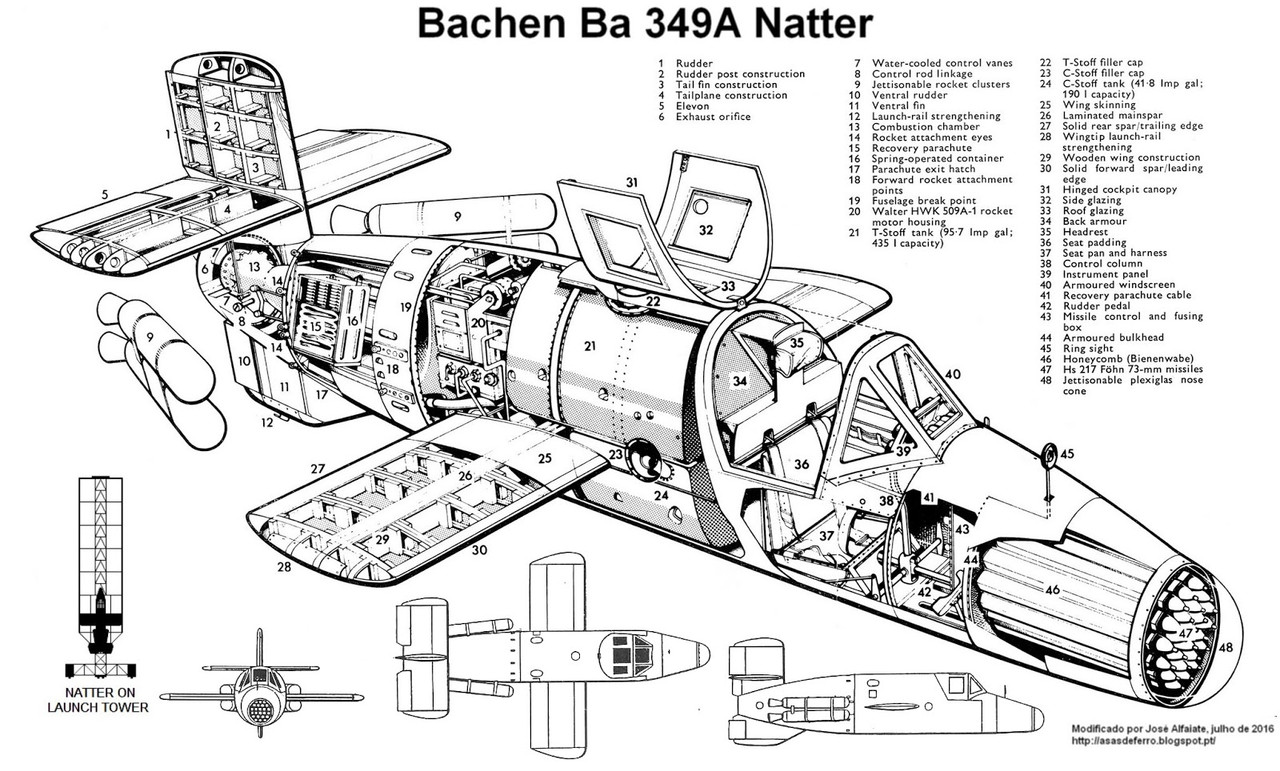
The Natter's business end was given a lot of attention as it will be a focus point in view of the fact that it will be sitting on its tail. The gray honeycomb wase “metalized” by lightly going over the ridges with a soft lead pencil. This allowed for more control than rubbing with a brush or cotton bud dipped in lead pencil powder, the usual method.

Chipping and weathering overall were kept to a minimum as the Ba 349, while not exactly disposable, wasn’t meant to last very long and I don’t think a very weathered operational Natter would have been a common sight had it entered into service.
Next: the Schmidding rocket boosters.
M