Page 4 of 6

Re: Infinity 1/32 Aichi D3A1 - The Constanza Rule

Posted: Mon Jul 03, 2023 11:10 pm
by jkim
I had a set of Airscale 1/32 Instrument Panel Bezels so I thought I'd use them to dress up some, not all, of the instruments.
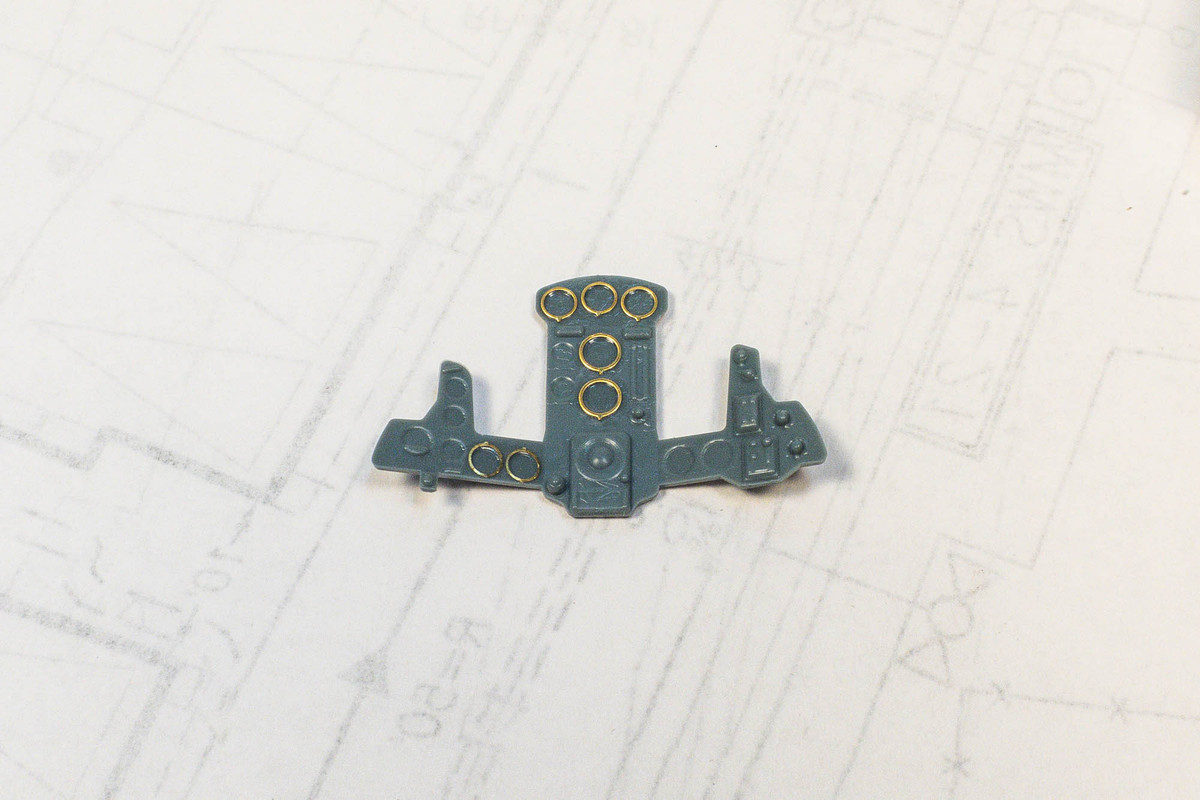
Image

The instrument panel was painted in the cockpit color, which I've chosen to be Dark Green RAF (Mr Hobby Aqueous H-73). The instruments were punched individually from the decal sheet. I'll do a bit of detail painting on the IP before I call it done.
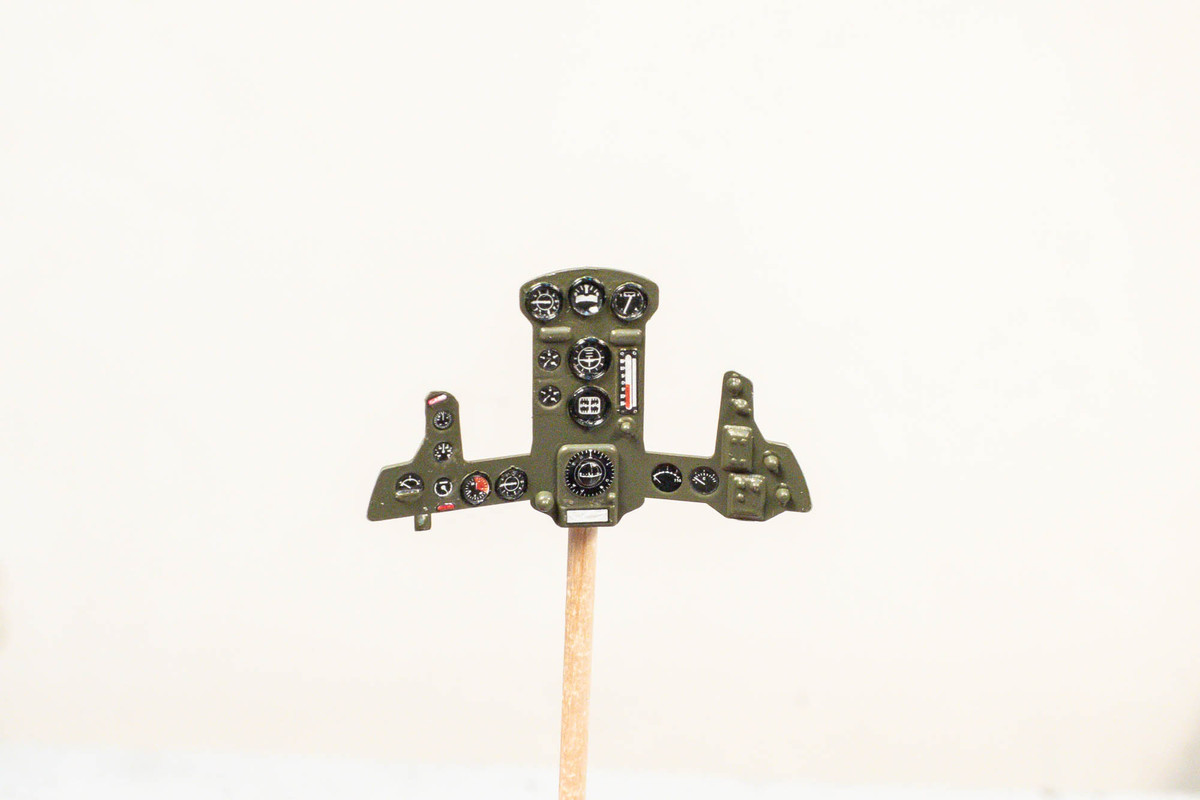
Image

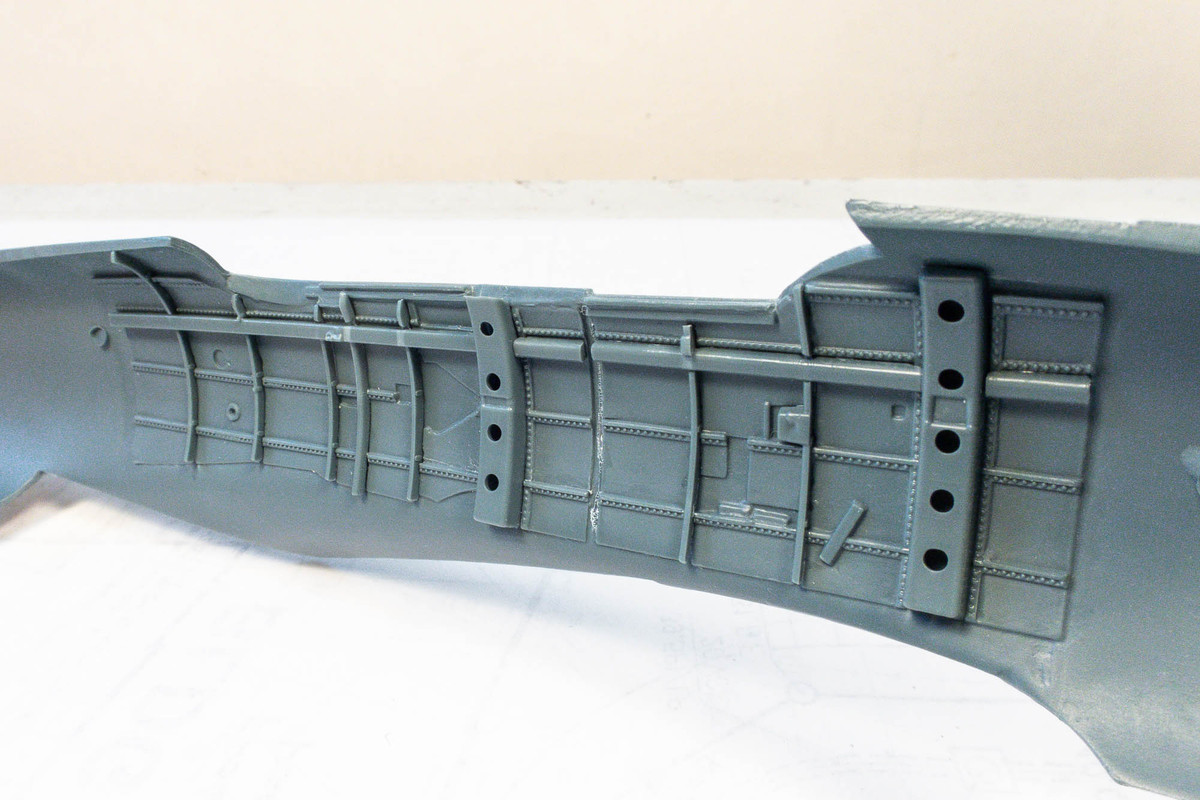
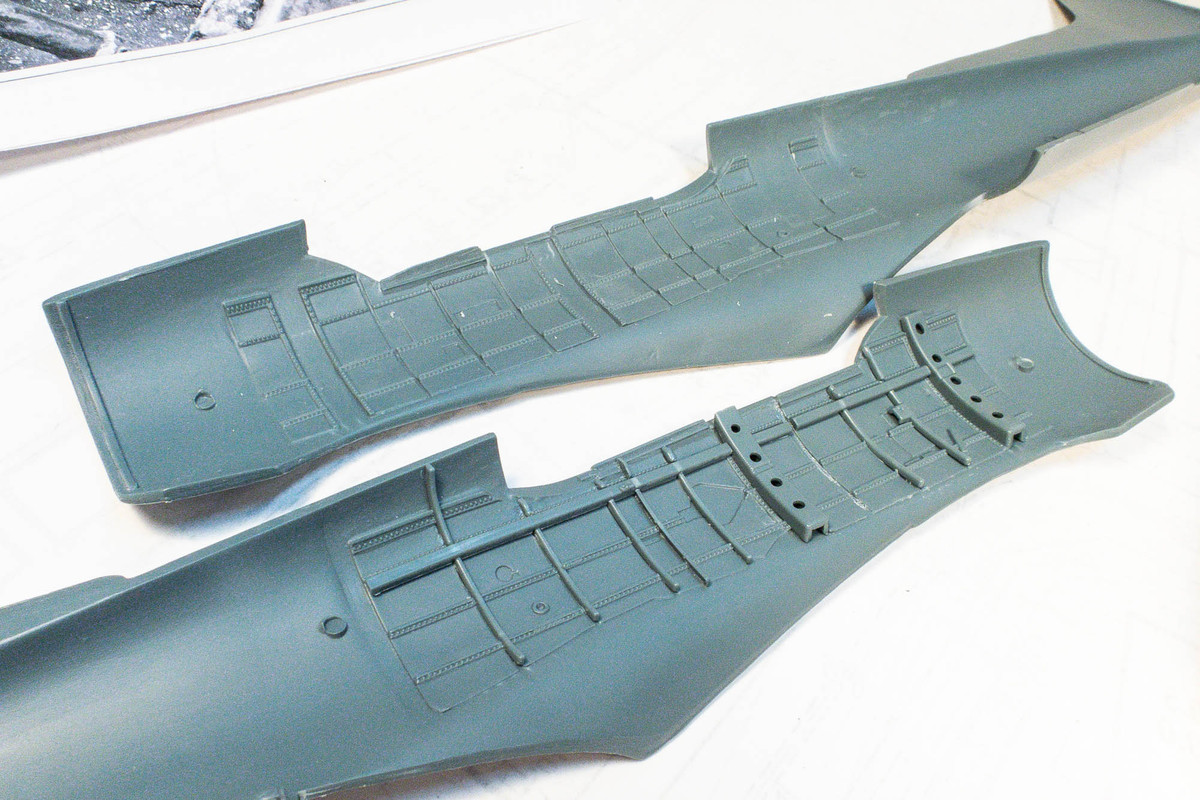
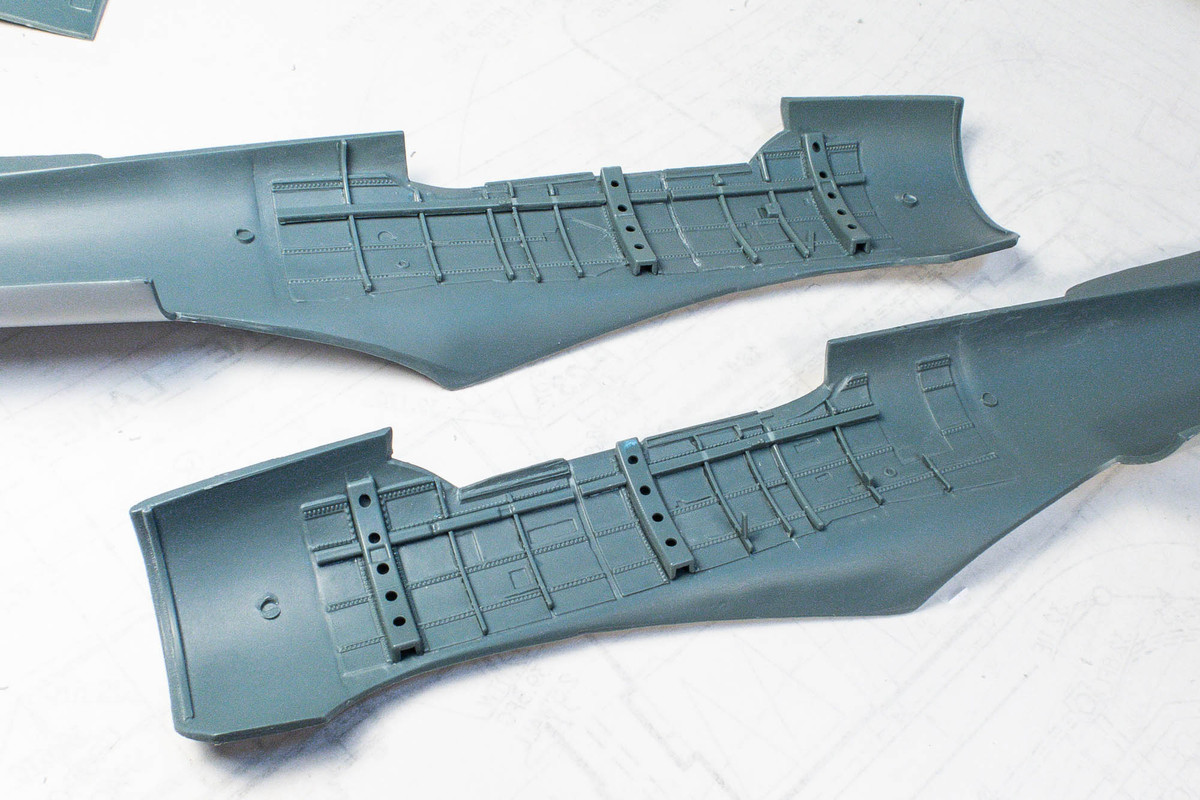
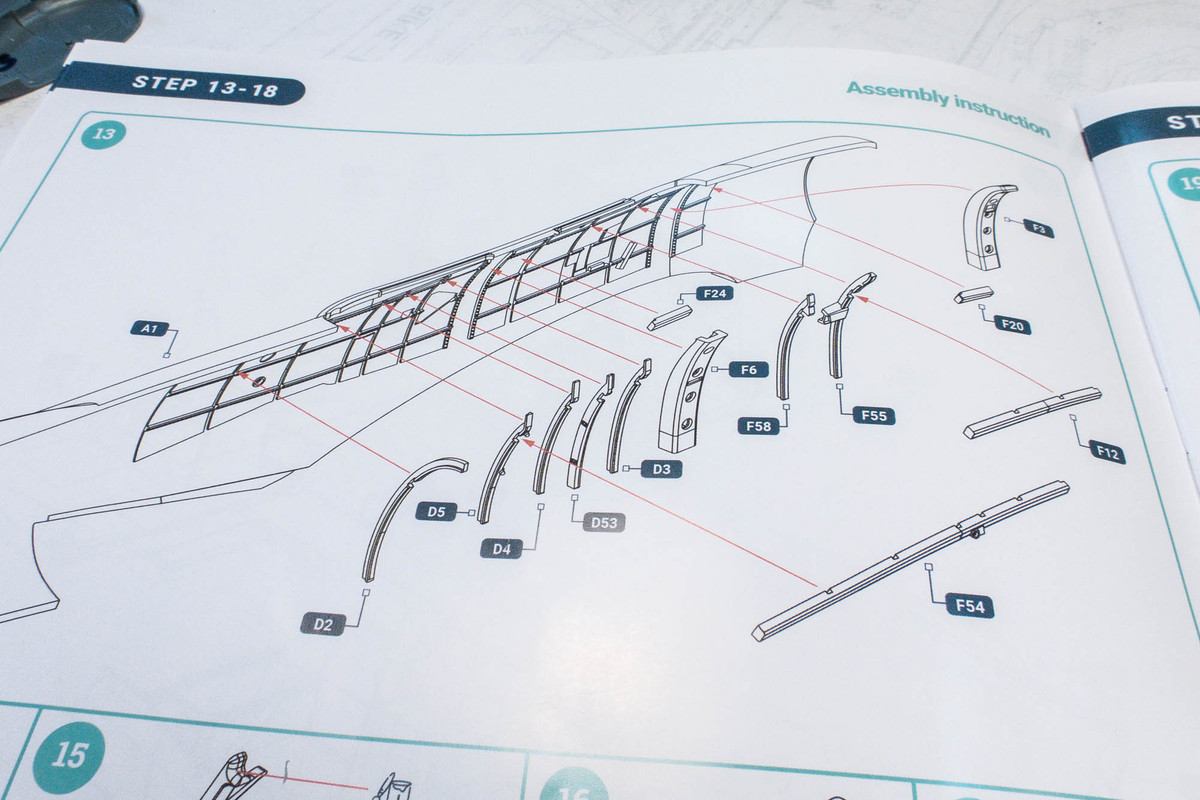
Interestingly, fuselage interiors are dressed up with spars and trusses. You don't see this approach on many kits and yes, it is a bit tedious but you DO get a nice 3-D effect. The instructions aren't clear but I found the best fit when the little tabs on the vertical spar pieces hang right above the corresponding horizontal spar on the fuselage.
Image
Image
Image
Image
Image

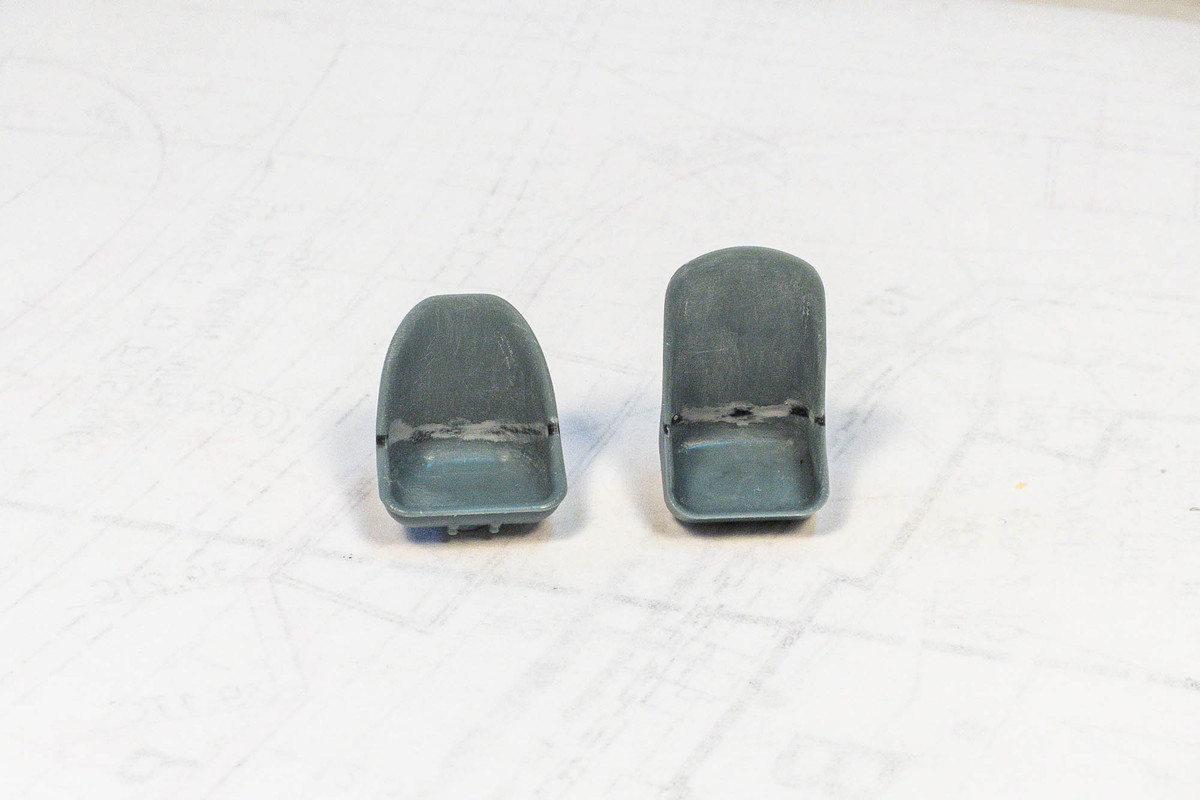
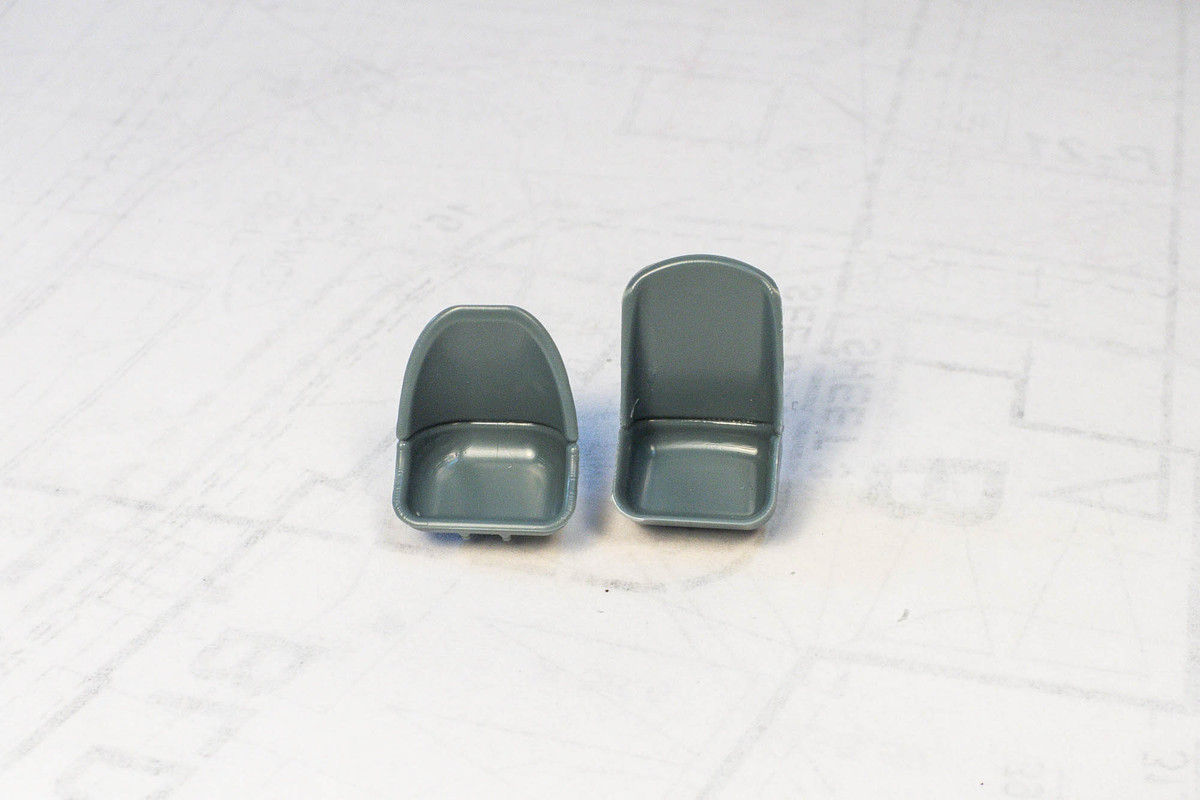
Why oh why did Infinity mold the seats in two pieces? Totally unnecessary, IMO.
Image
Image

Re: Infinity 1/32 Aichi D3A1 - The Constanza Rule

Posted: Tue Jul 04, 2023 2:12 pm
by jkim
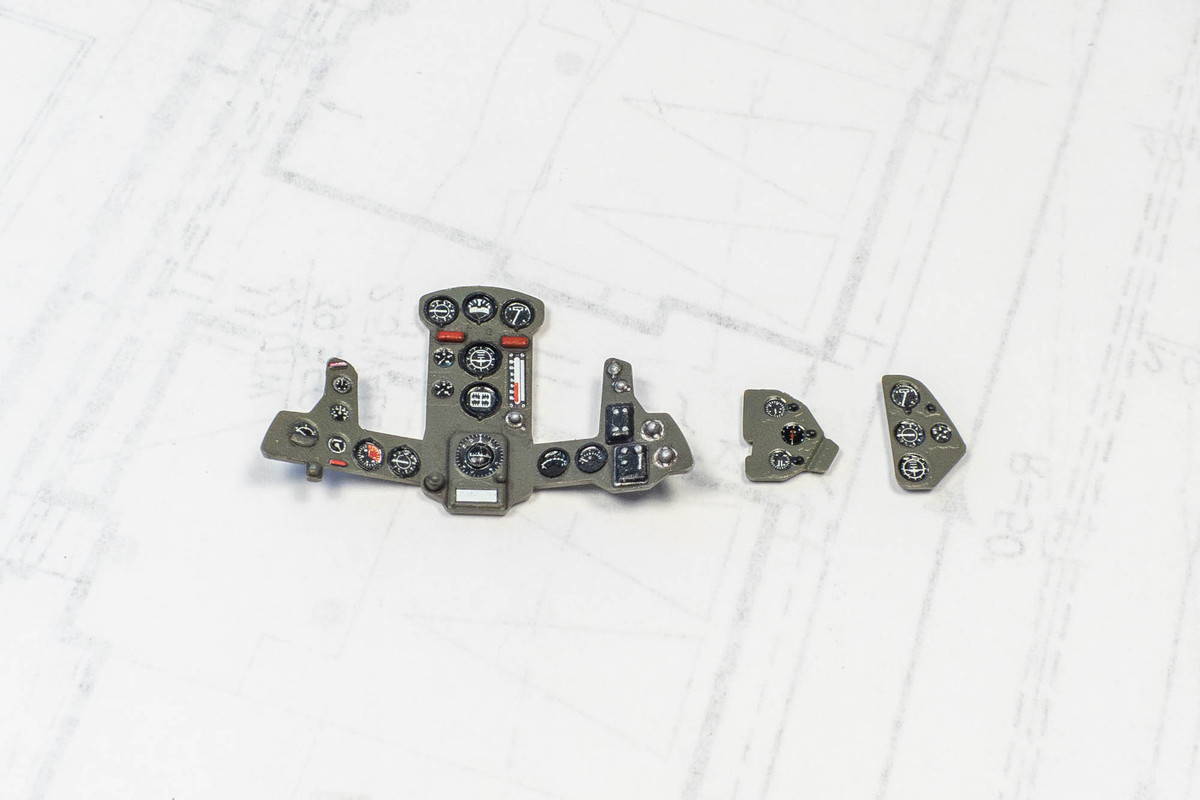
Some detail painting was added to the instrument panel parts. The panels were then shot with a 50/50 mix of flat and clear to give a satin finish. A drop of Future was placed into each instrument face.
Image

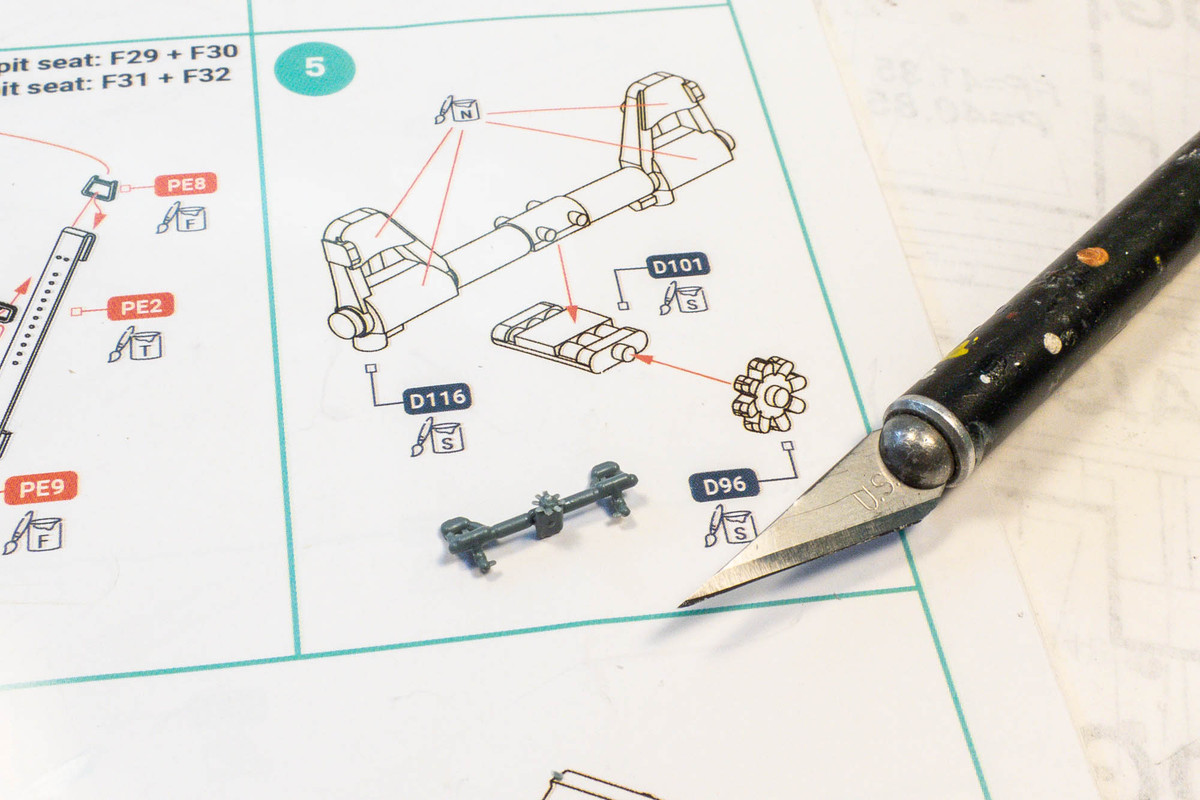
Some of the multi-part assemblies are really small.
Image

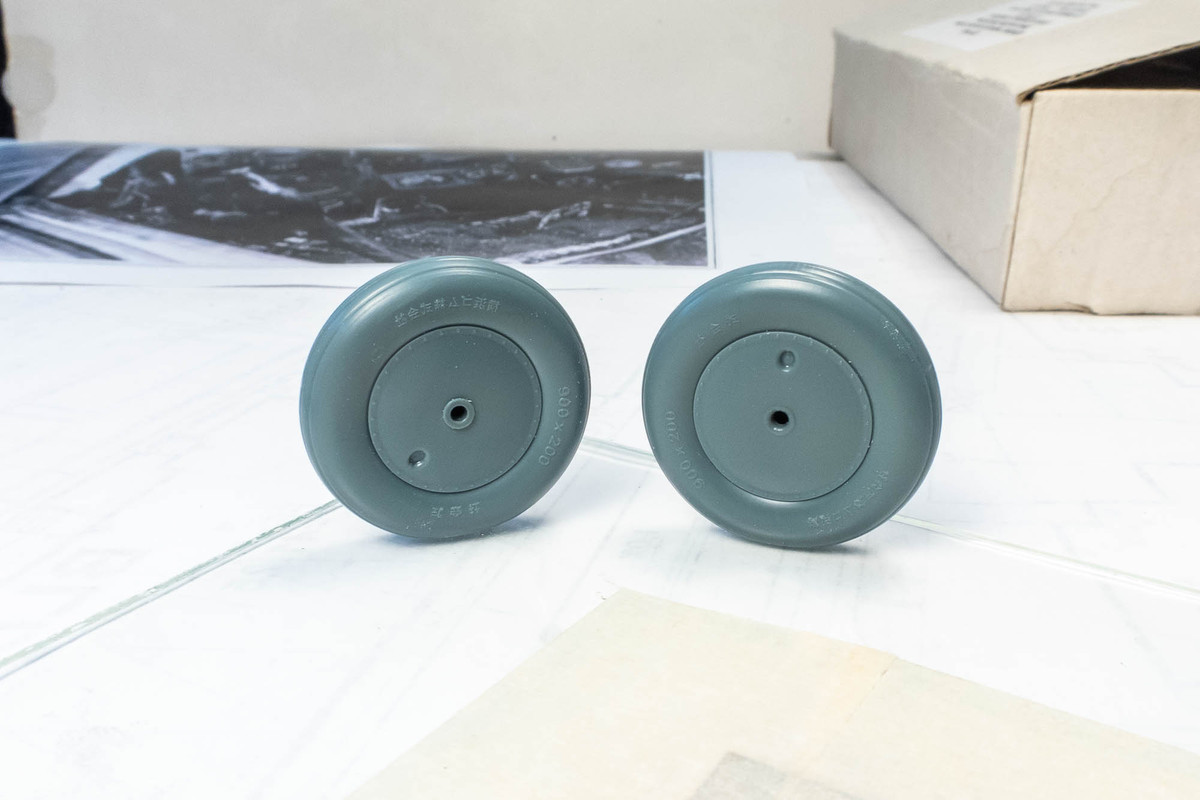
A flat spot was added to the tires.
Image

Re: Infinity 1/32 Aichi D3A1 - The Constanza Rule

Posted: Tue Jul 04, 2023 8:17 pm
by Stikpusher
:popcorn:

Just enjoying your show here John. Very, very nice!

Re: Infinity 1/32 Aichi D3A1 - The Constanza Rule

Posted: Tue Jul 04, 2023 9:06 pm
by BlackSheep214
I’ve had a couple WW2 era aircraft kits with two separate seat parts. Never understood why they do,that.

Re: Infinity 1/32 Aichi D3A1 - The Constanza Rule

Posted: Wed Jul 05, 2023 3:23 am
by tempestjohnny
Stikpusher wrote: Tue Jul 04, 2023 8:17 pm :popcorn:

Just enjoying your show here John. Very, very nice!
:P1:

Re: Infinity 1/32 Aichi D3A1 - The Constanza Rule

Posted: Wed Jul 05, 2023 7:14 am
by Stuart
That IP came out really well John - very nice work with the simple bits you had, some spares and a decal (and some skilled painting) :shoutout: :shoutout: :shoutout:

Re: Infinity 1/32 Aichi D3A1 - The Constanza Rule

Posted: Wed Jul 05, 2023 10:49 pm
by jkim
Thanks guys!

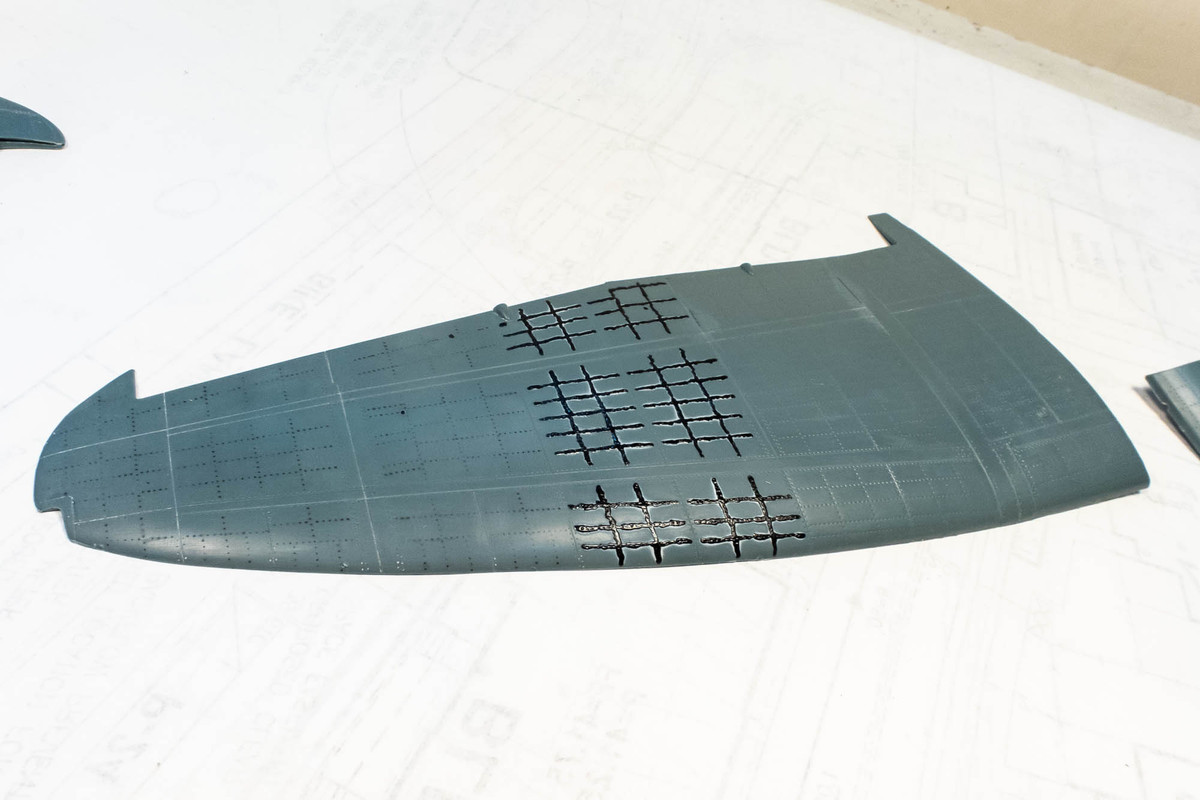
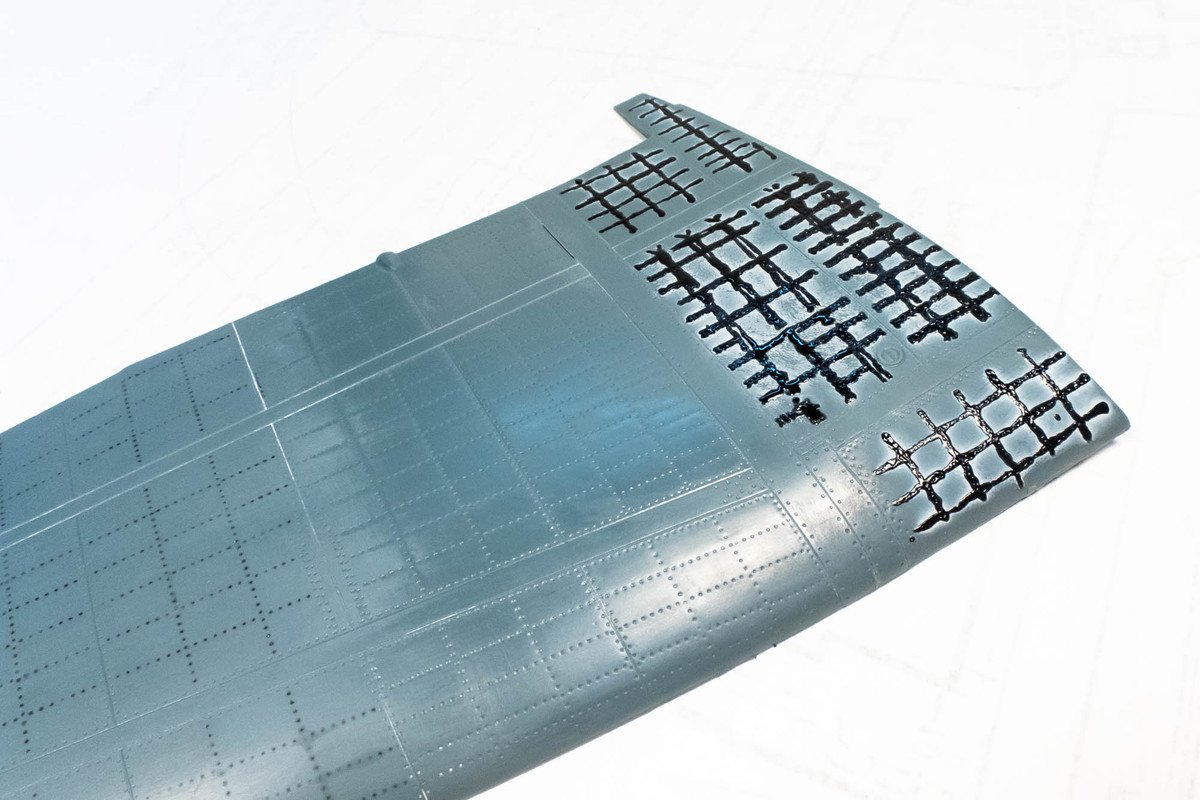
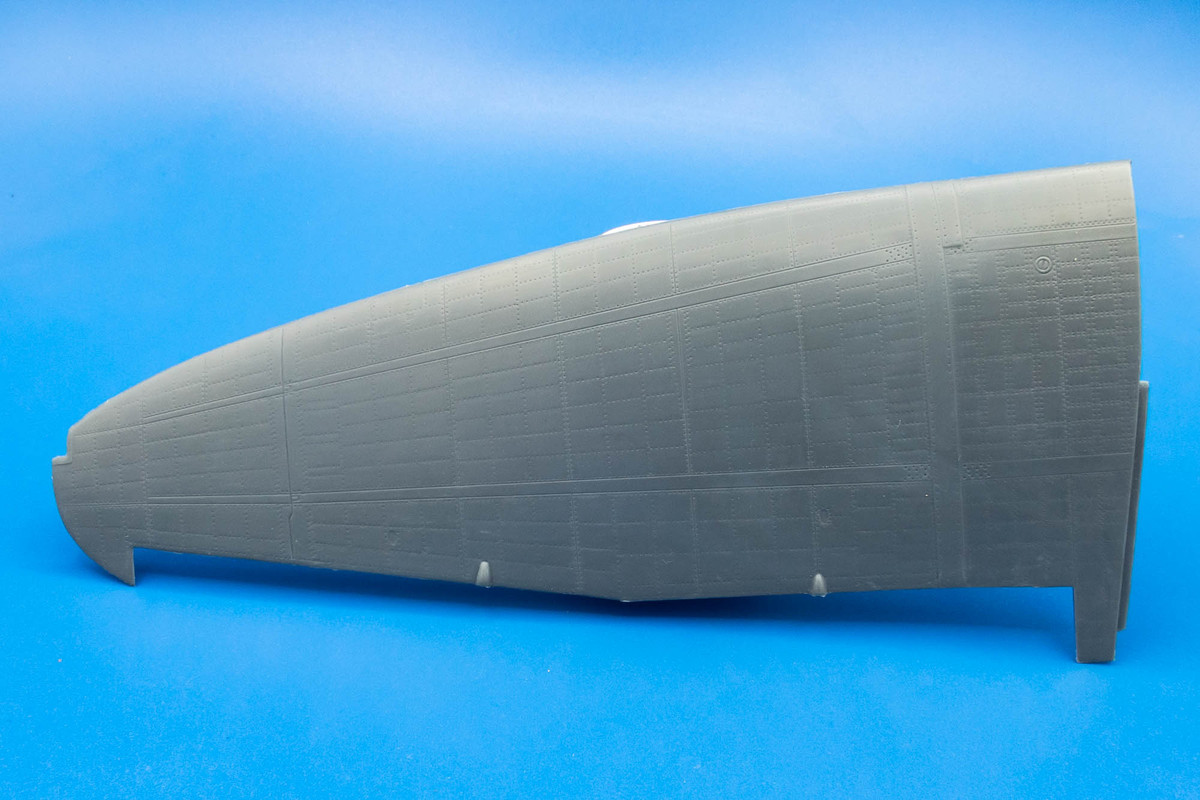
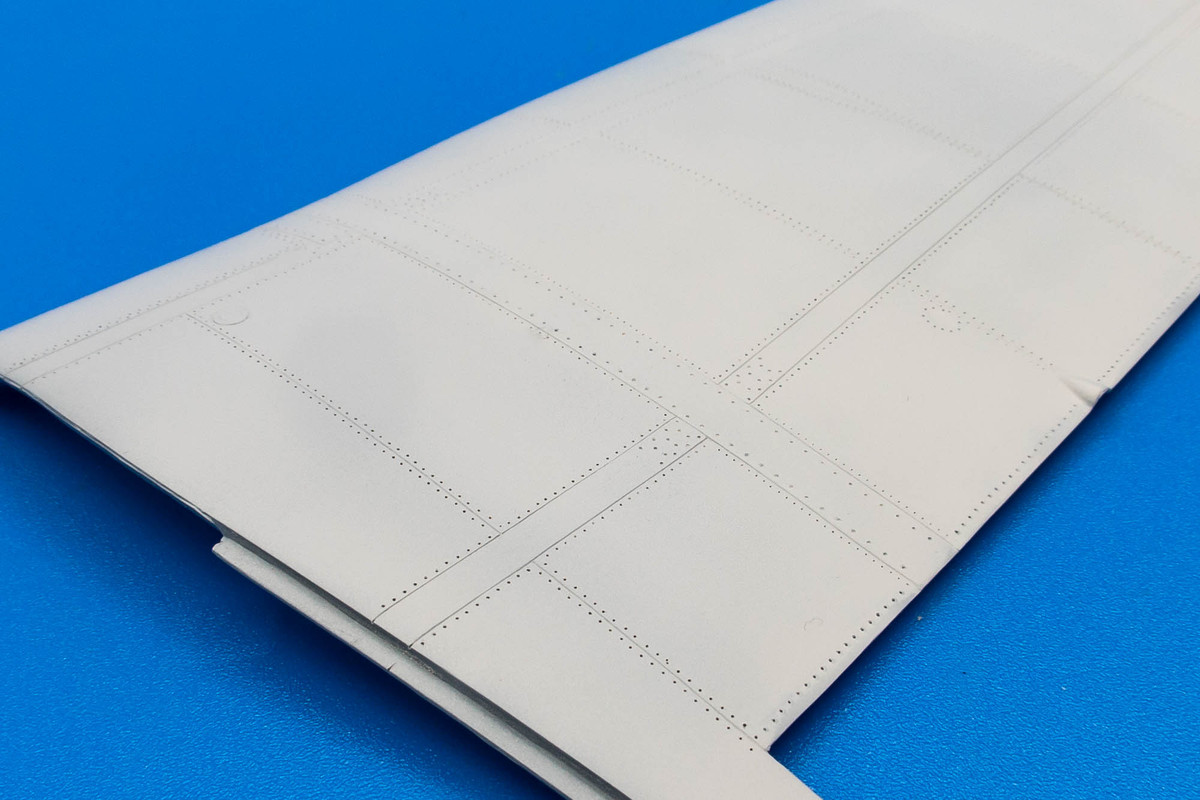
I've spent the last two days filling the rivets on the starboard wing. It's not as hard as the fuselage because it is such a flat surface but still takes some time since I'm also trying to preserve SOME of the rivet lines.
Image
Image

After the rivets are filled, I freshen up the panel lines and also try to identify any saved rivet lines that need to be deepened. The sanding process inevitably clogs up the recessed details so it's considerable work to bring the panel lines and rivets back to snuff.
Image

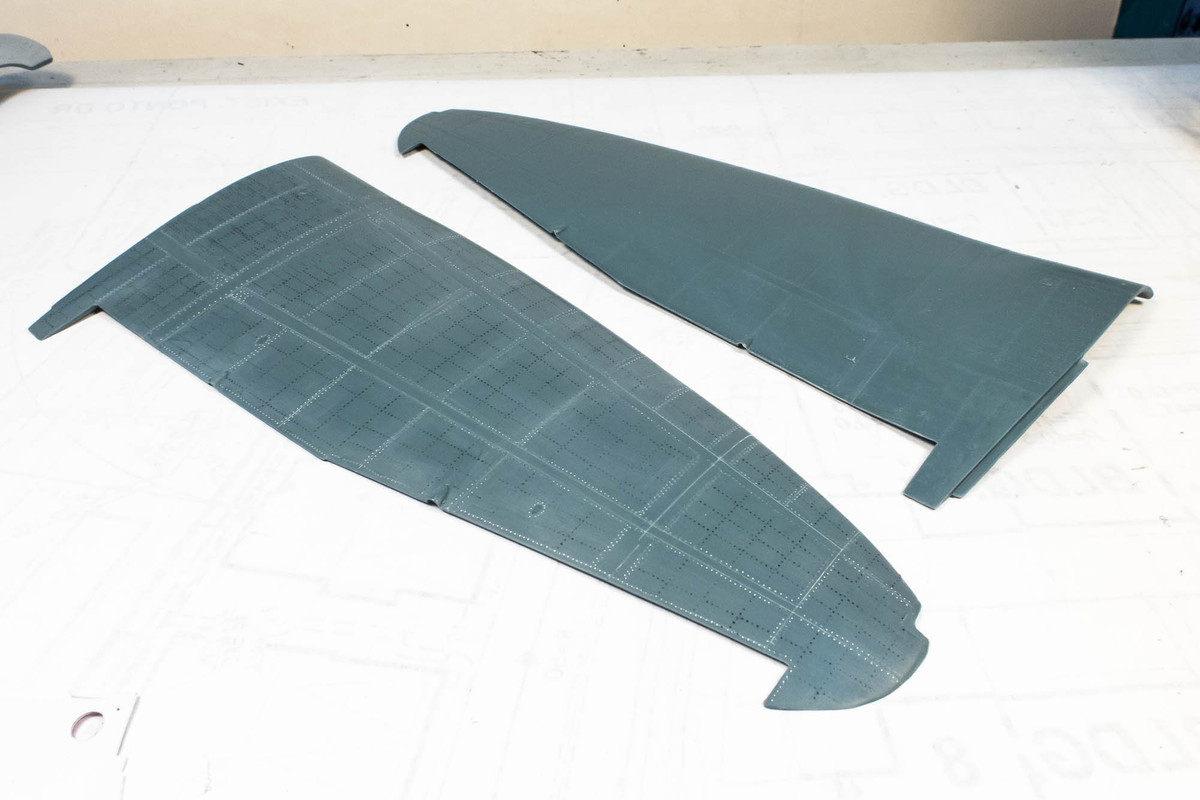
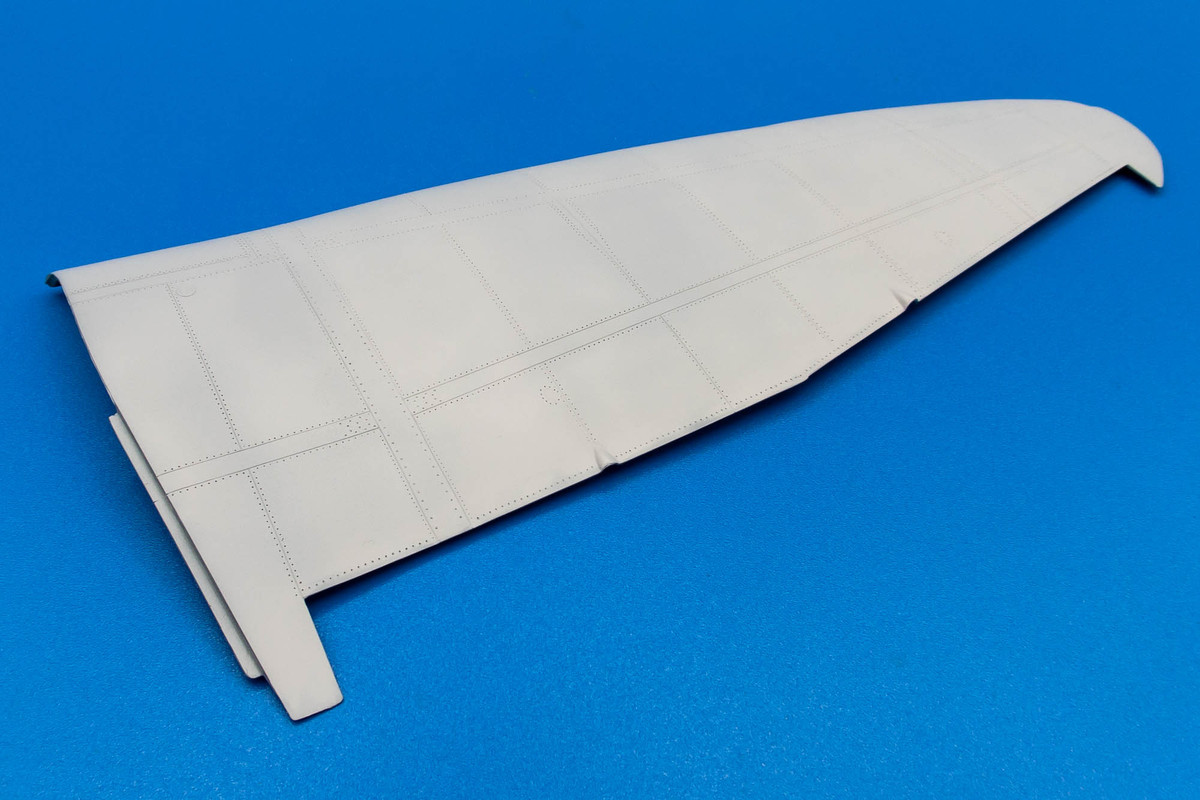
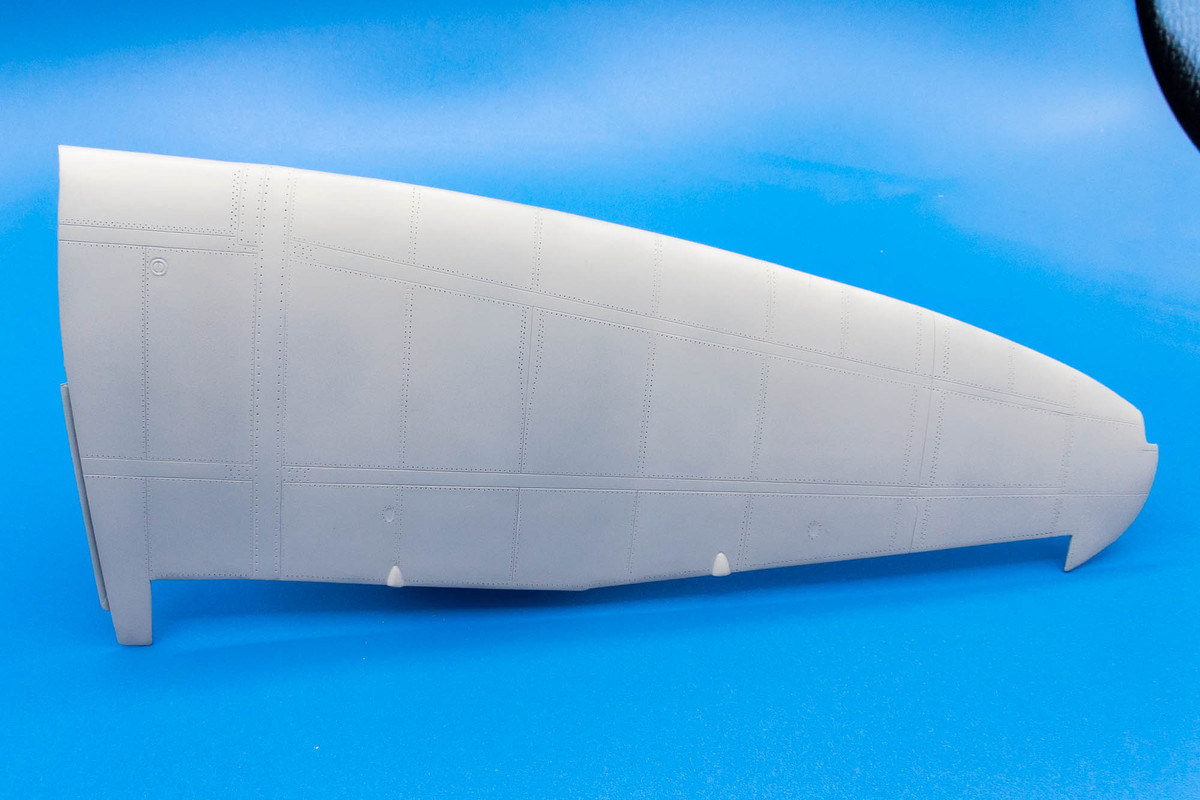
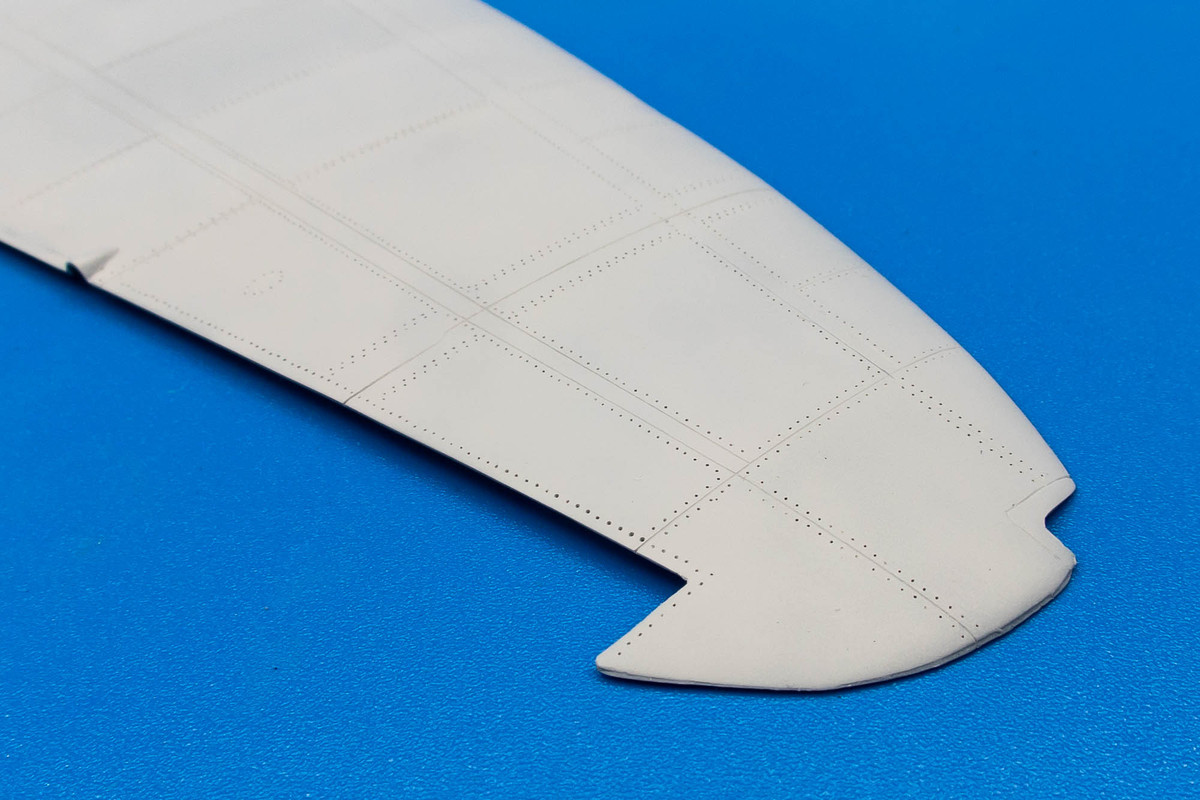
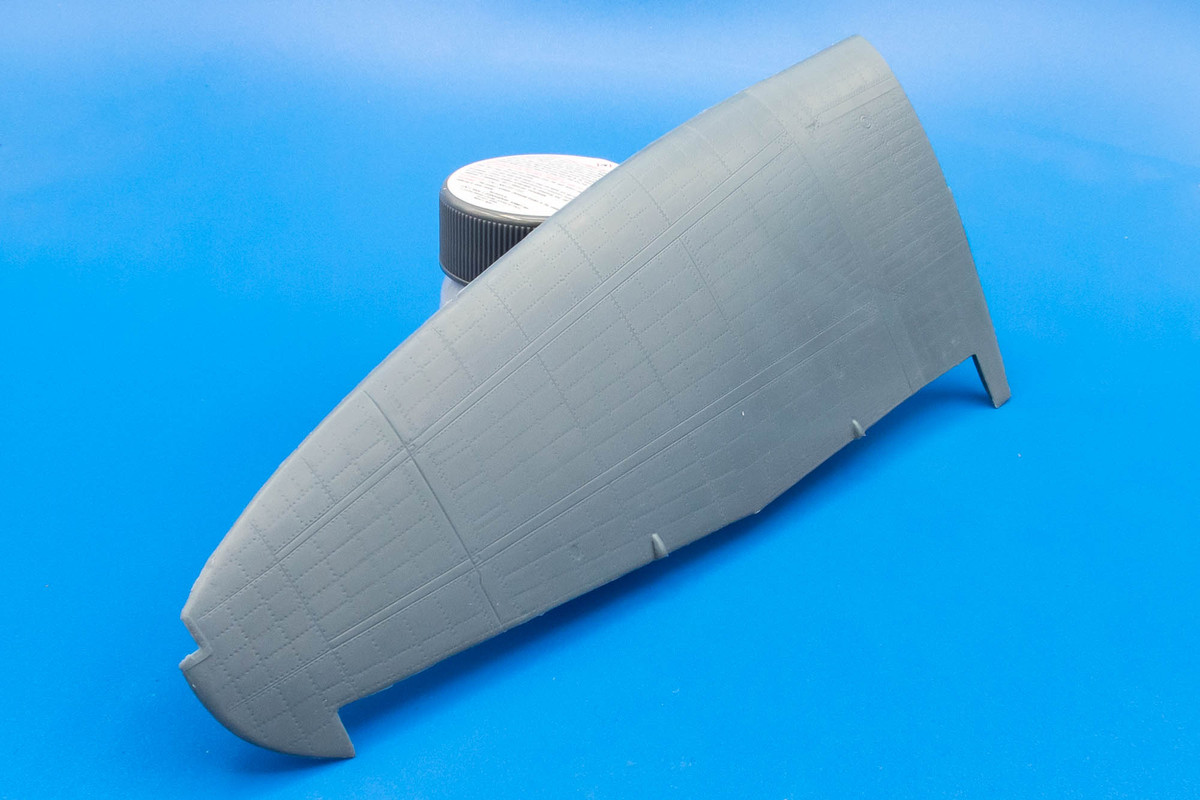
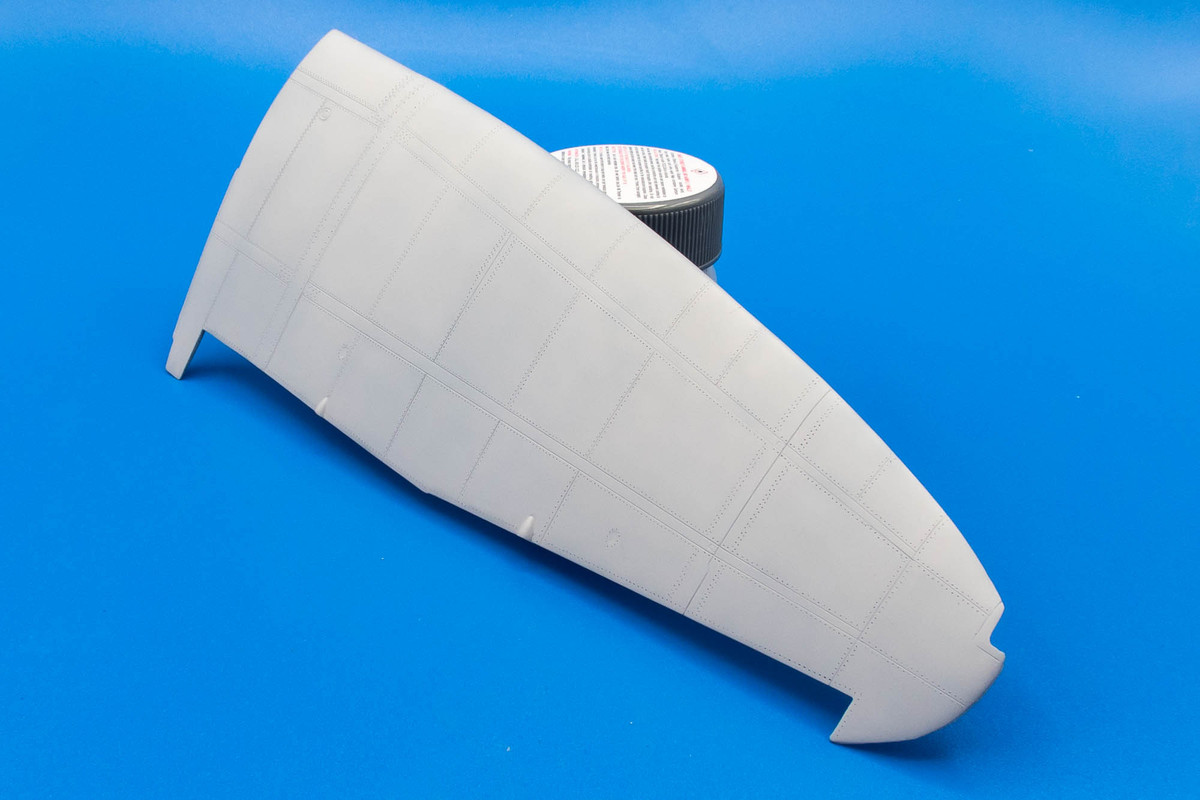
After that is done, I give the wing a coat of Mr Primer Surfacer. This reveals some flaws that need to be corrected. These areas are re-sprayed with the primer. This is what the wing now looks like after the rivet removal process.
Image

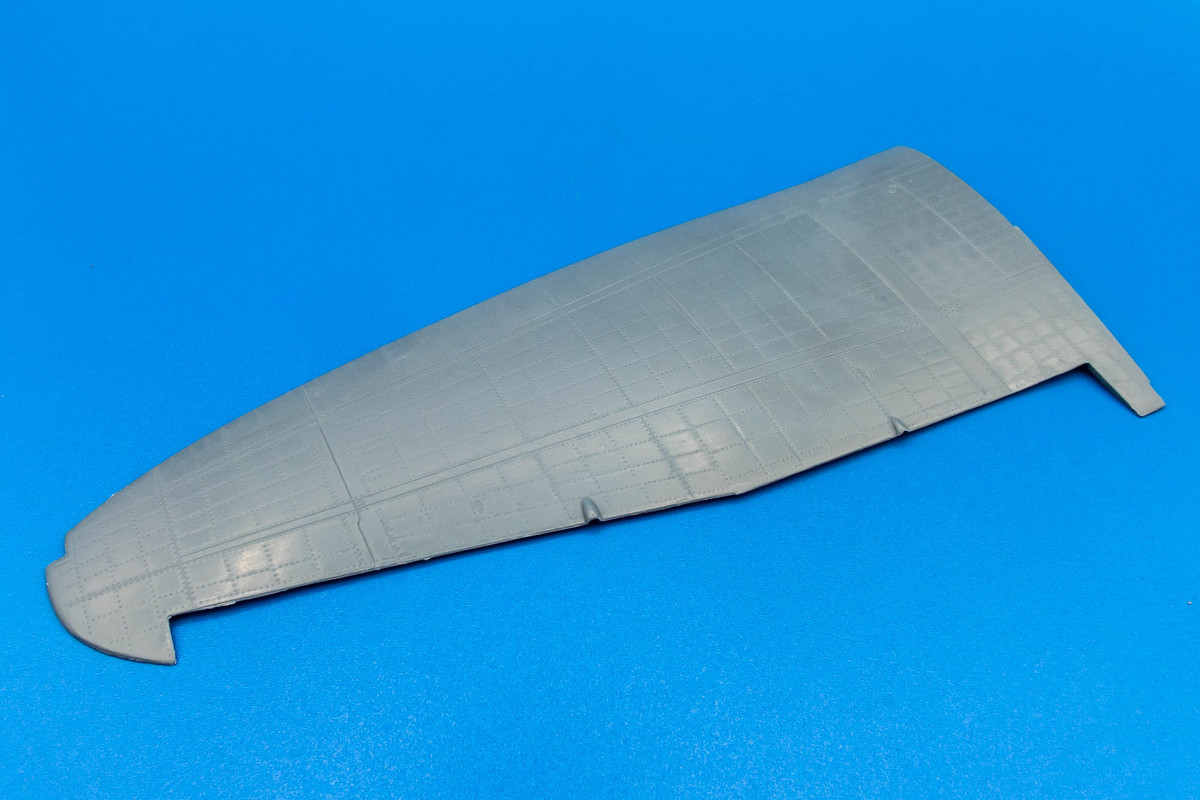
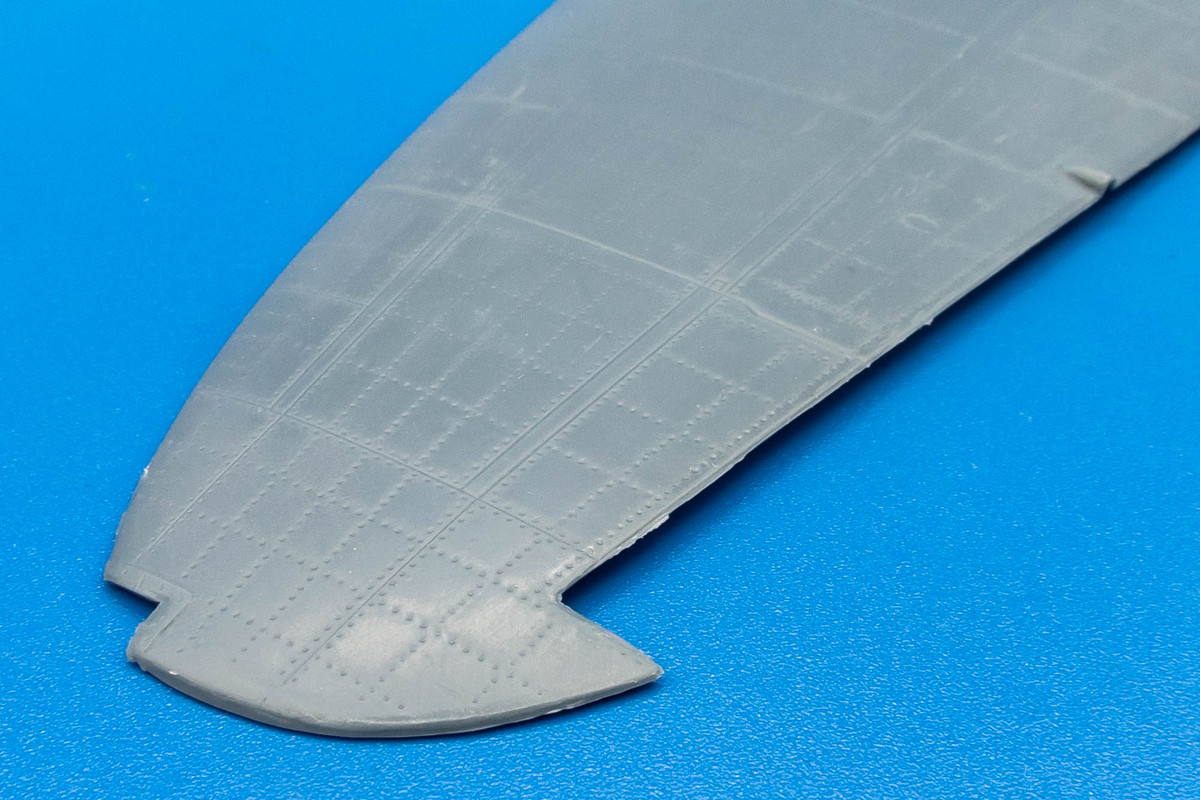
Compared to how the wing was molded.
Image

Some comparison shots to show the difference.
Image
Image

Image
Image

Image
Image

Image
Image

Whew... lots of hours on one wing half. Three more to go!

Re: Infinity 1/32 Aichi D3A1 - The Constanza Rule

Posted: Thu Jul 06, 2023 9:46 am
by Stikpusher
Kudo's to you John for such painstaking work. Your removal of the excess riveting sure is paying off. Although I will admit that I like the original look as well. I think that appearance would look great on an older, well used aircraft.

Re: Infinity 1/32 Aichi D3A1 - The Constanza Rule

Posted: Fri Jul 07, 2023 4:50 pm
by jkim
Thanks Carlos! The original rivets would probably look much better under a primer and several coats of paint but I've committed to this route so I'll have to see it through!

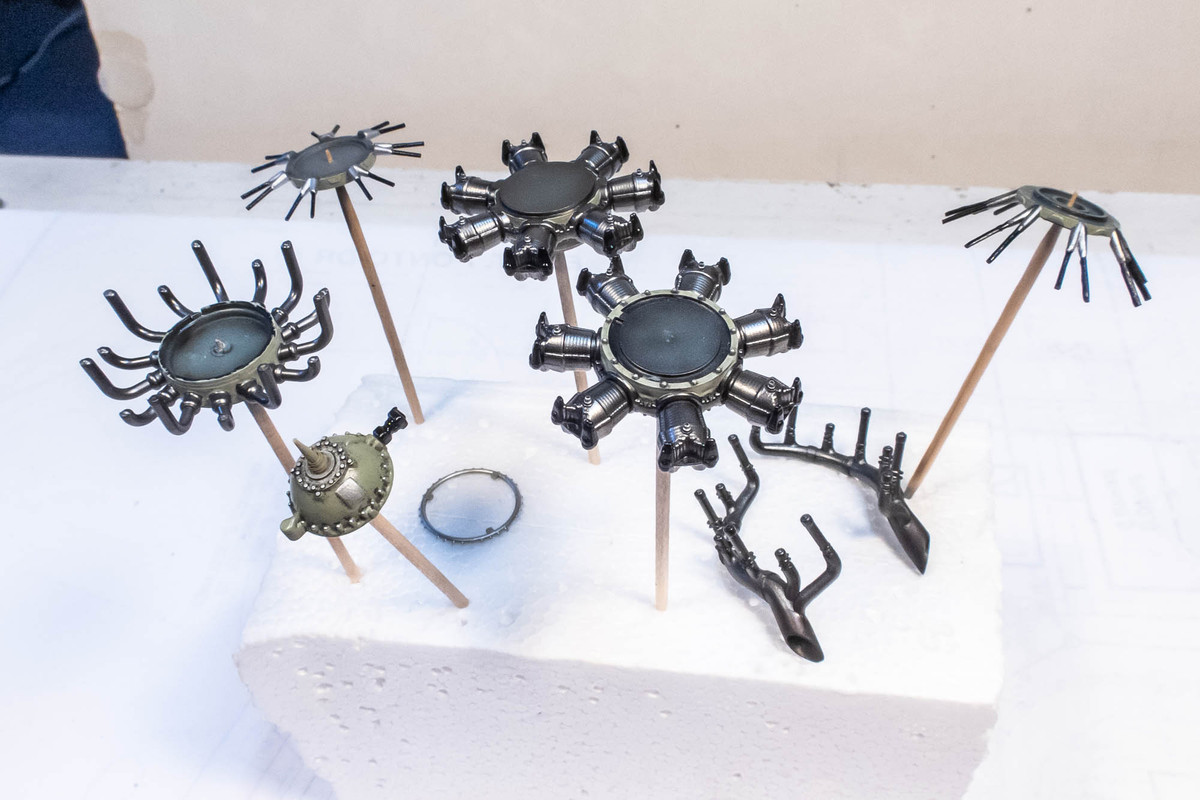
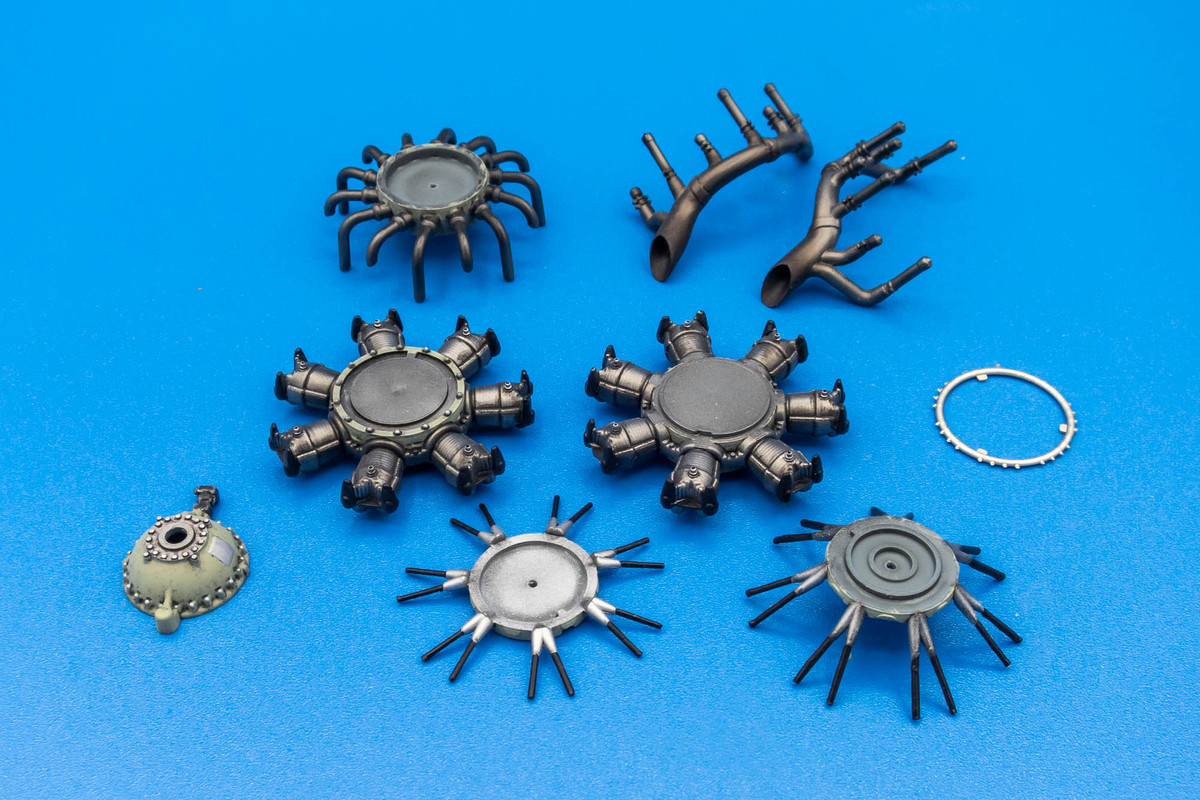
Jumping over to the engine, I've painted the components separately.
Image

The main shades were airbrushed and then details were picked out with brush painting. The parts were covered with a clear gloss, given a pastel wash and then sealed with a flat coat.
Image

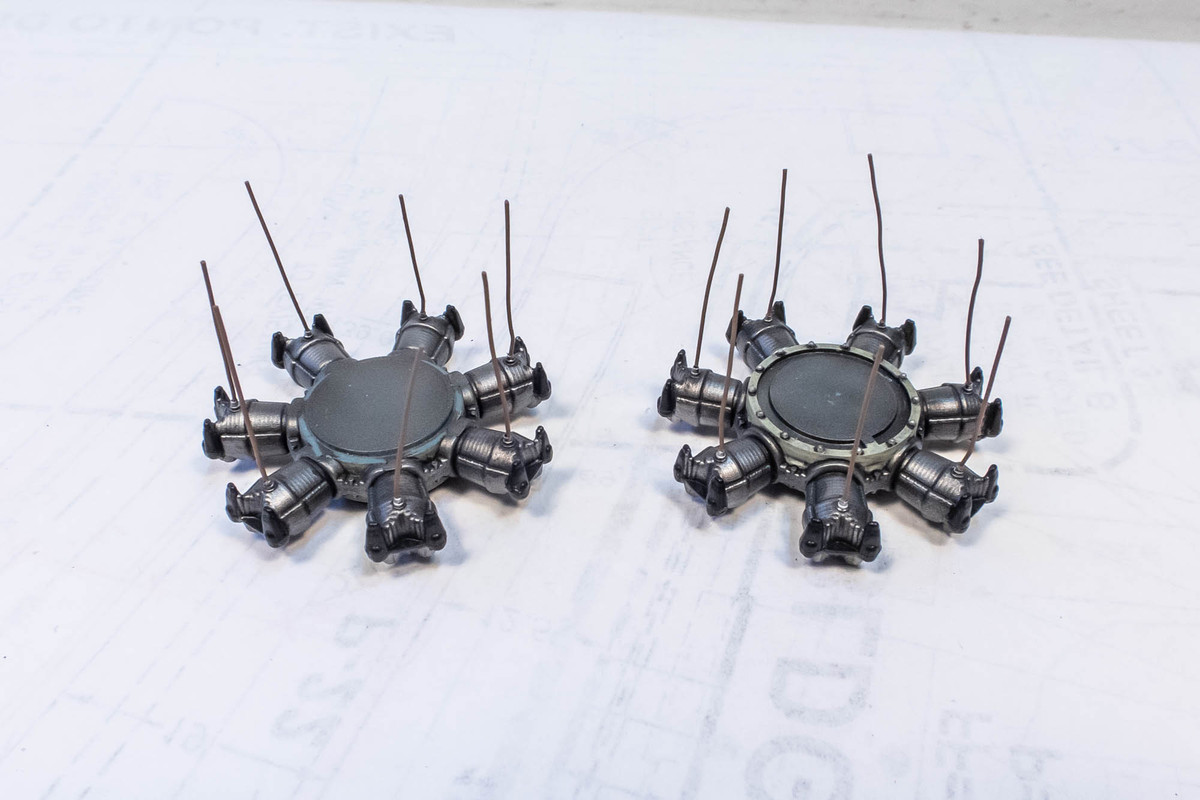
Before I assemble the engine, I use short strands of lead wire for the ignition wires. These will be painted brown and then oriented to the back of the cylinders. Since the view is blocked, I won't go through the trouble of connecting the terminal ends to the ignition ring in the rear of the engine.
Image

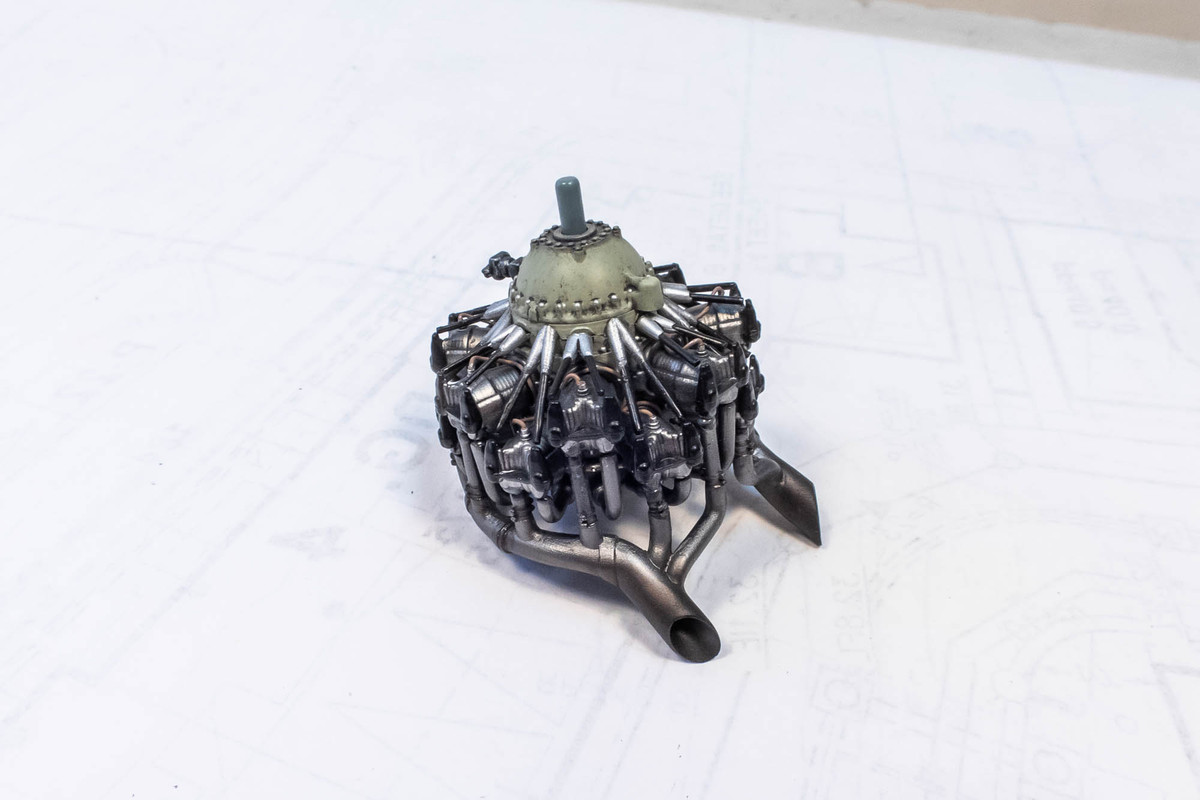
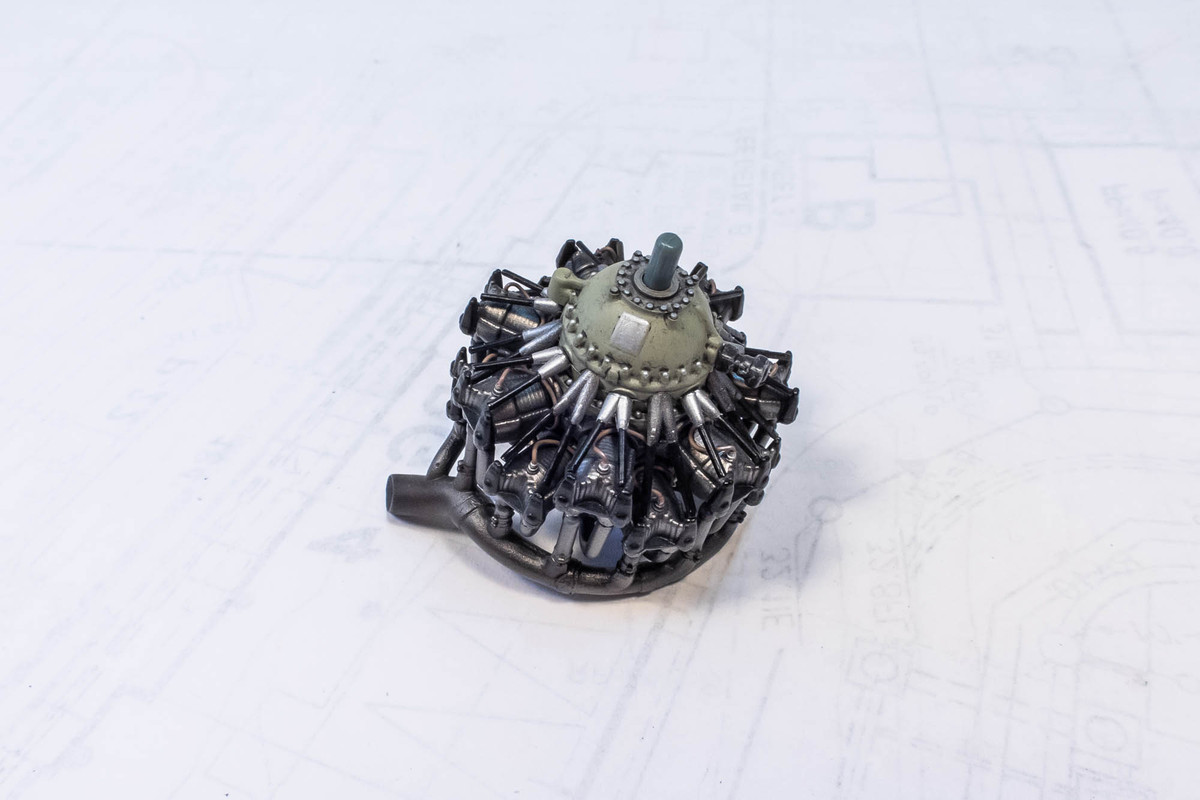
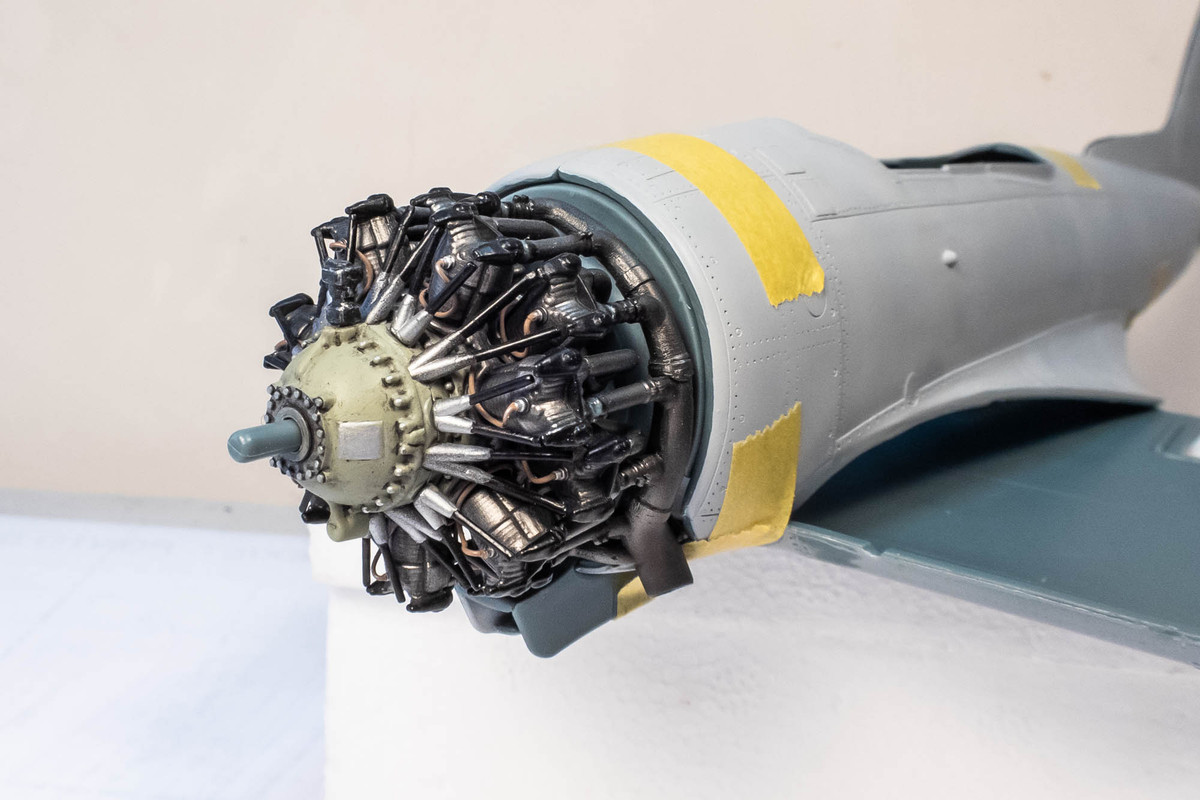
The engine components are glued together. It took a bit of futzing to get the exhaust tubing to attach to the back of the cylinders but the glue joints were soft enough to gently adjust the stems to fit.
Image
Image

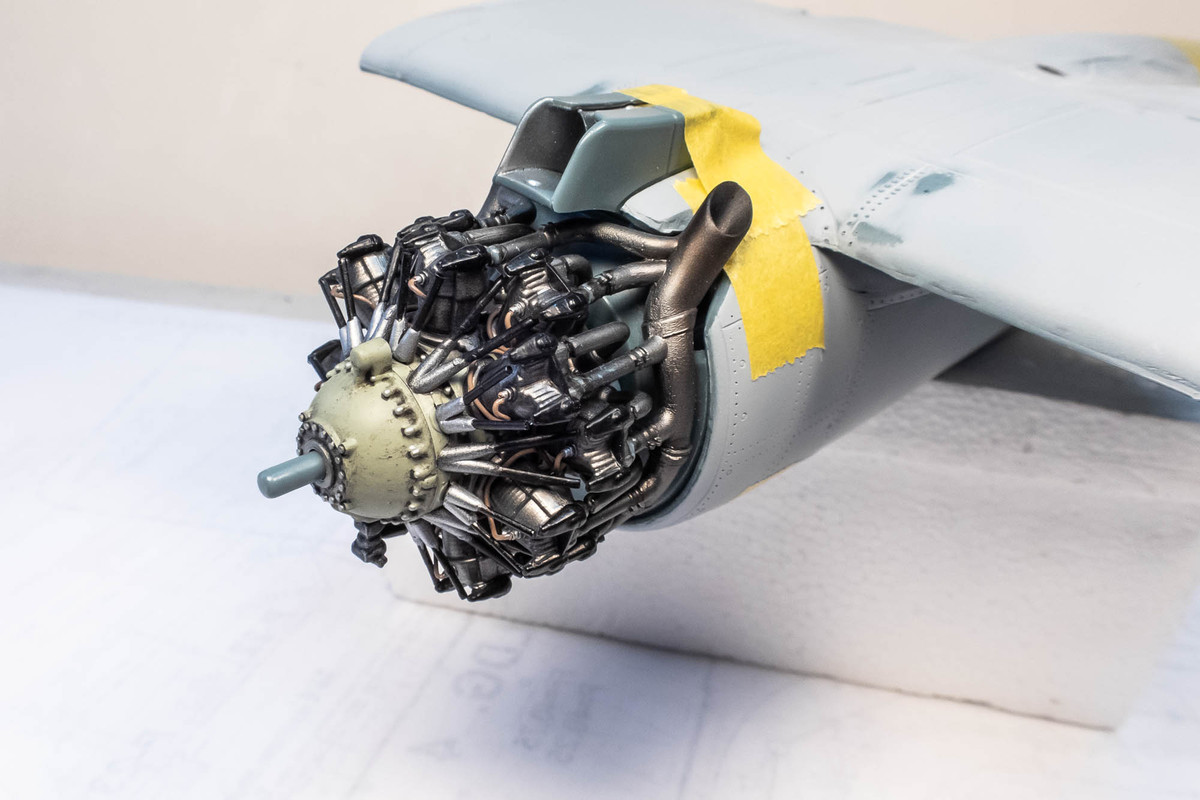
I want to check the position of the engine to the fuselage. It looks ok so far but care will be need to taken when gluing the engine in place since orientation is not rock solid. I plan on gluing the engine after the painting stage.
Image
Image

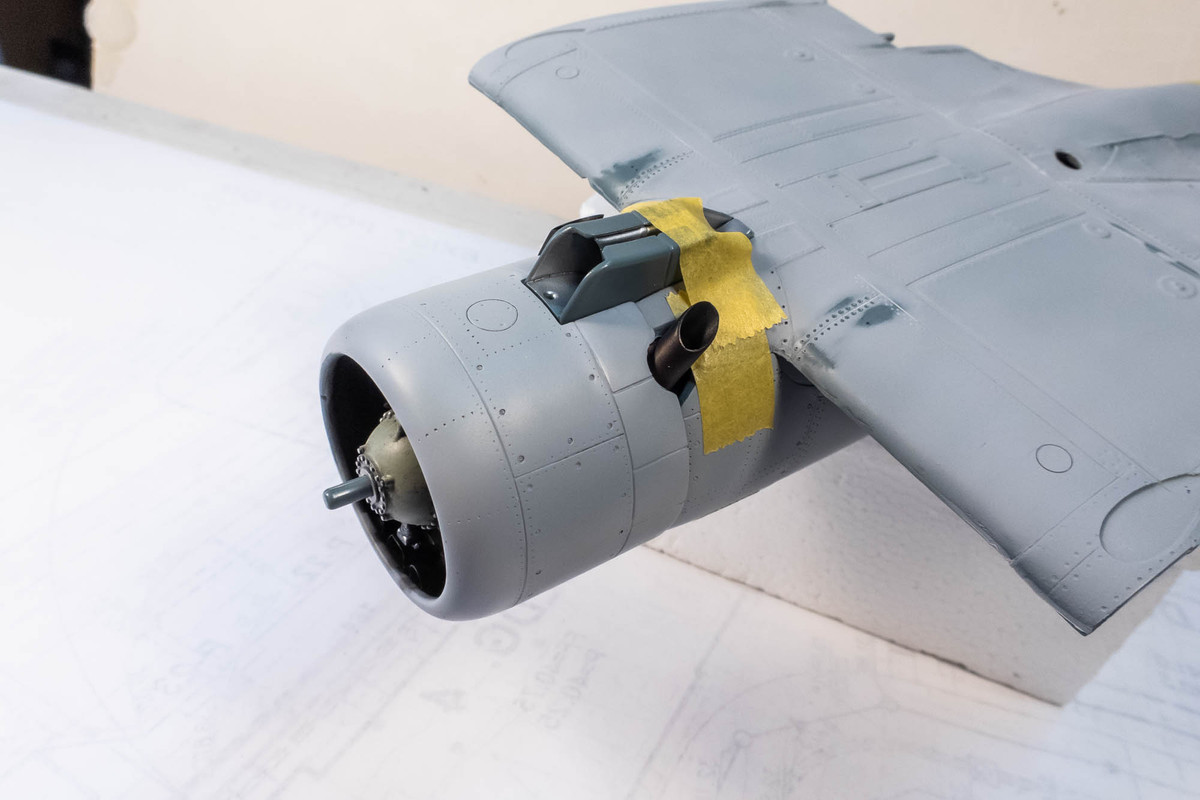
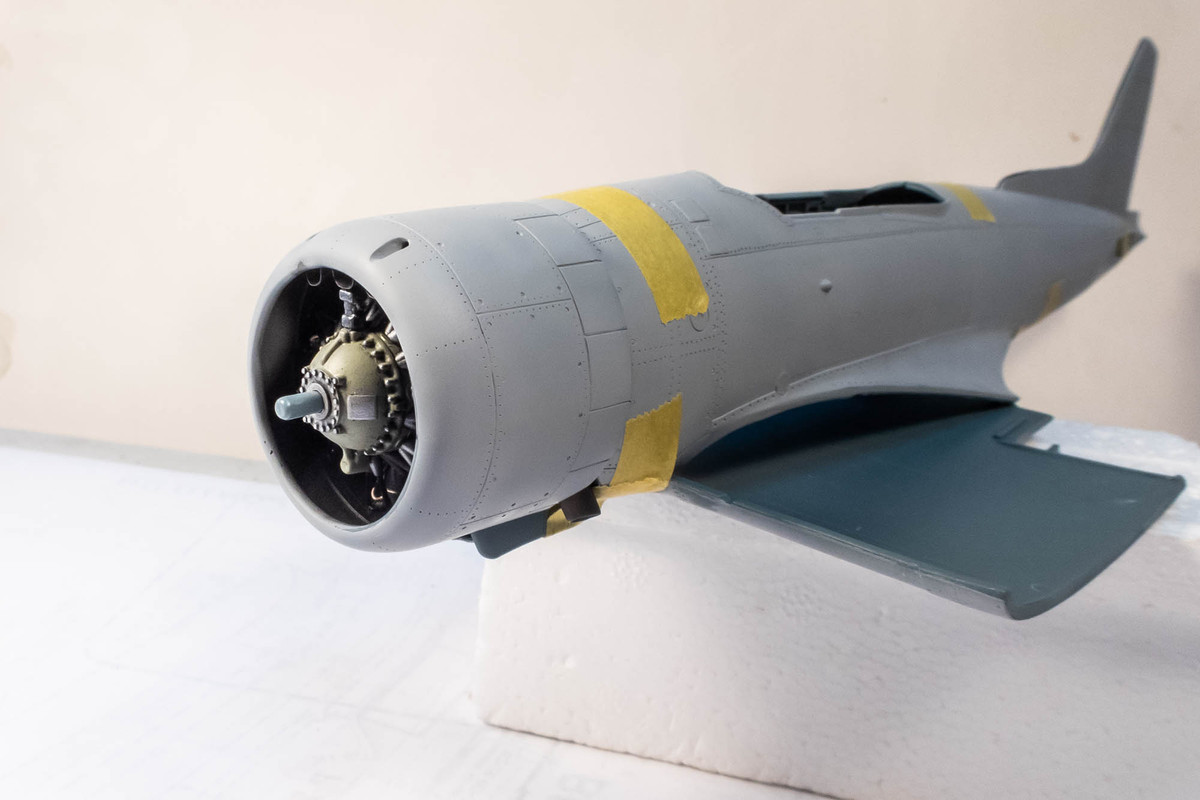
The engine cowling attaches to the bottom of the fuselage so I checked that fit as well. Luckily, the exhaust stubs exit in the correct location.
Image
Image

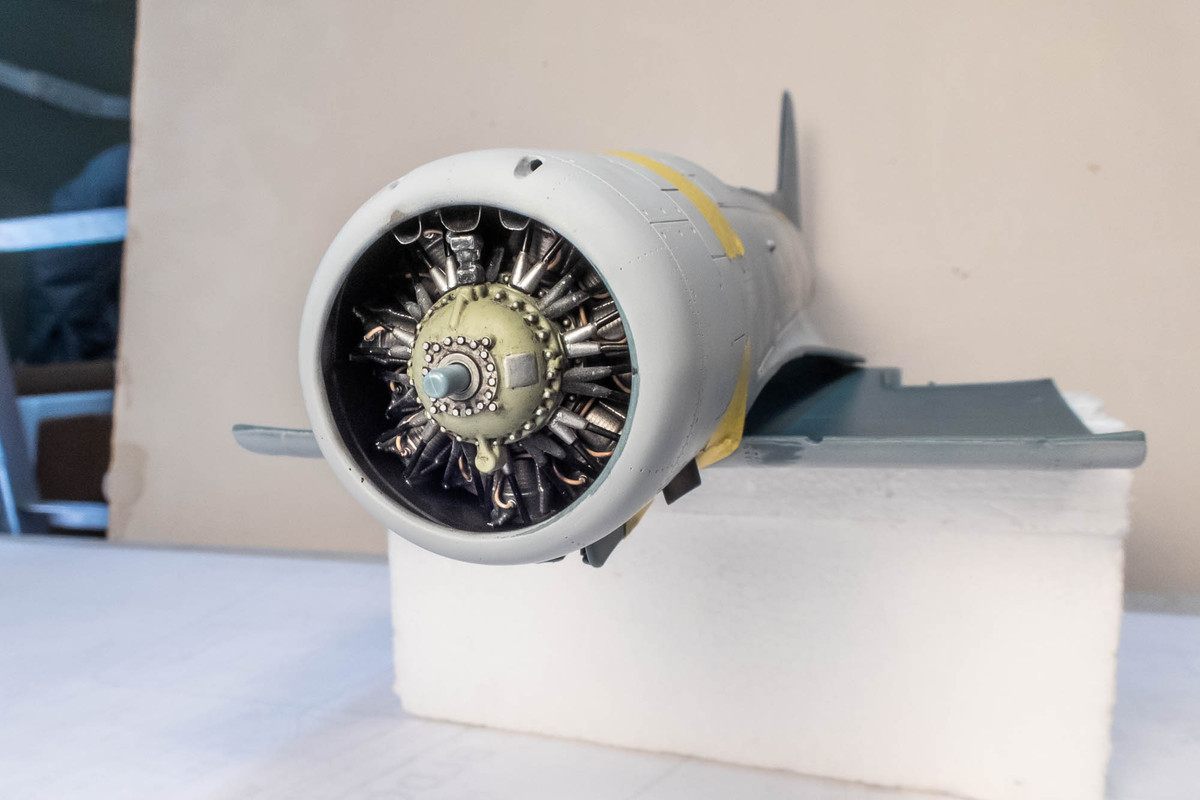
The cowling opening is very big so there is a nice view into the engine compartment from the front.
Image

Re: Infinity 1/32 Aichi D3A1 - The Constanza Rule

Posted: Fri Jul 07, 2023 5:38 pm
by tempestjohnny
Engine looks fantastic