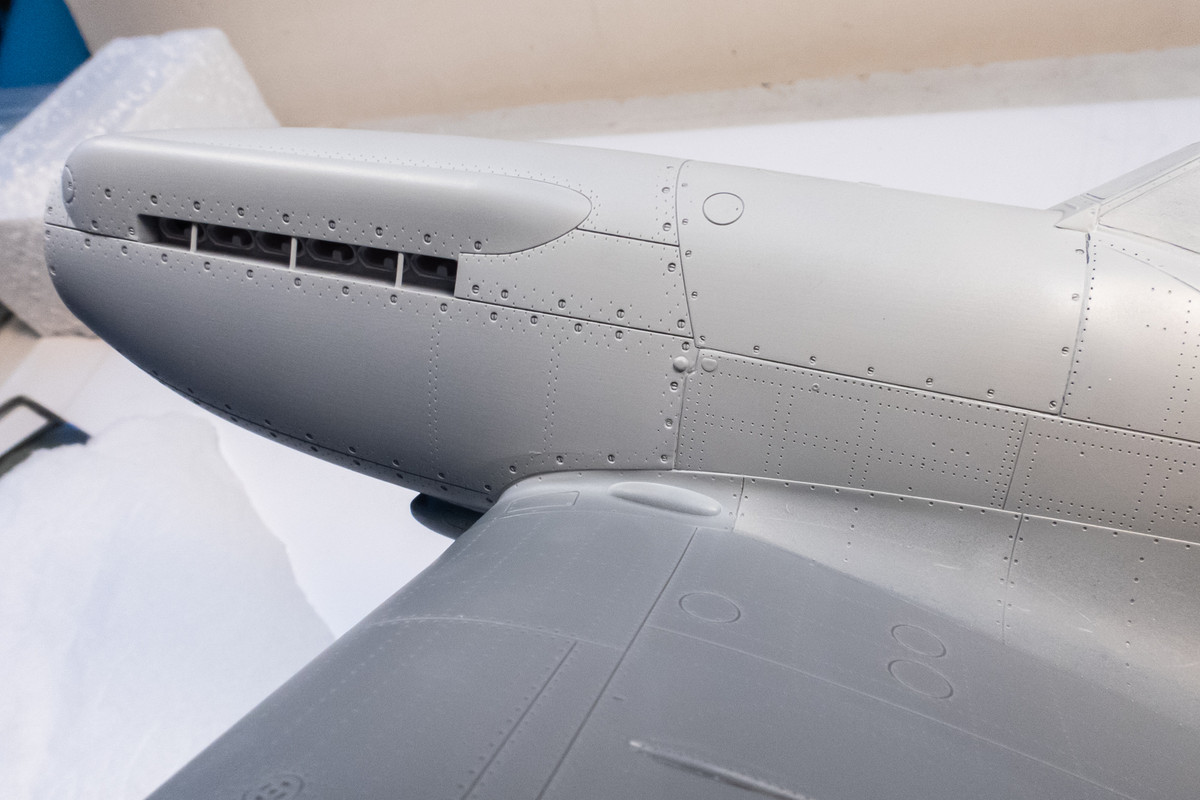
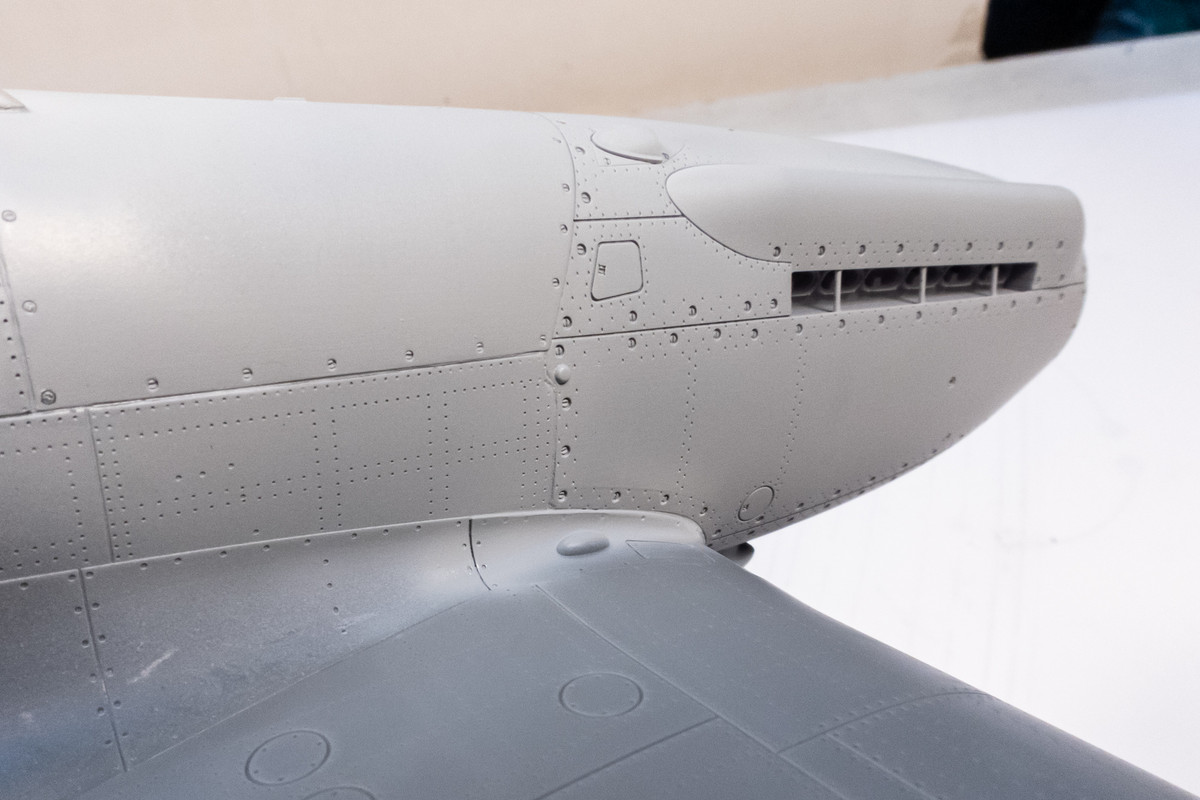
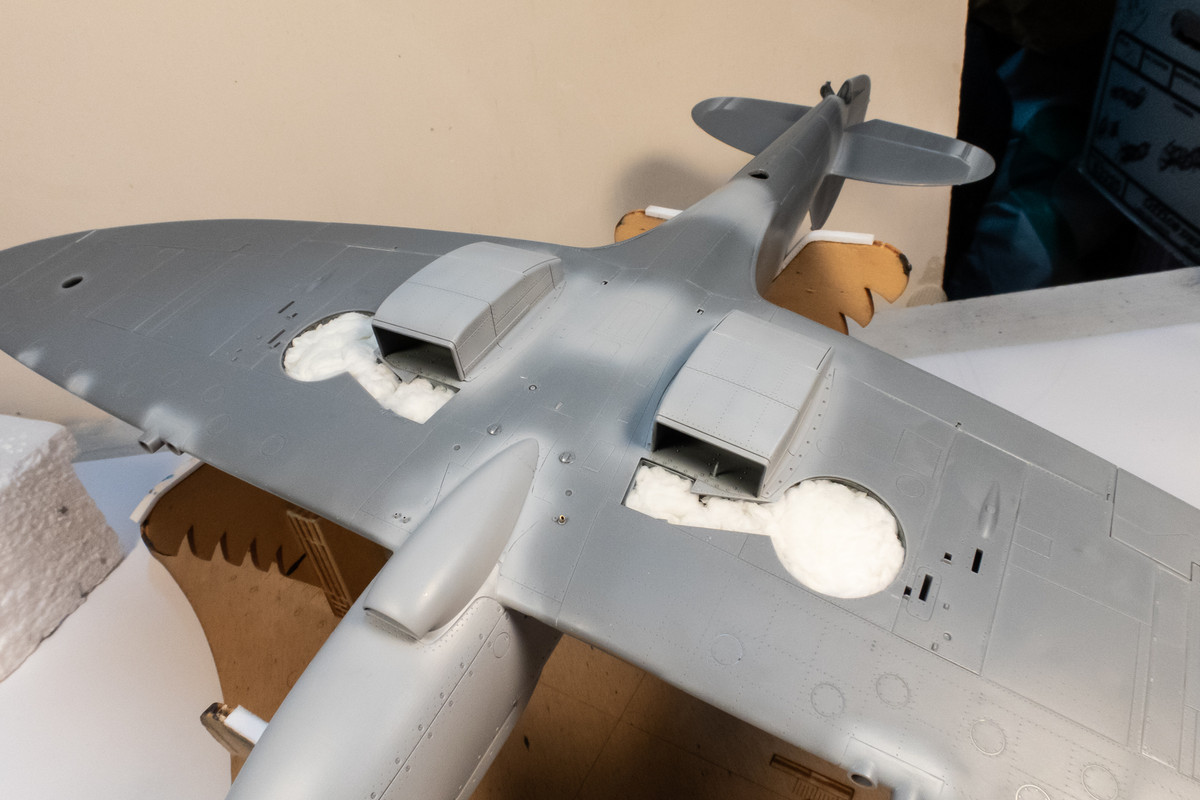
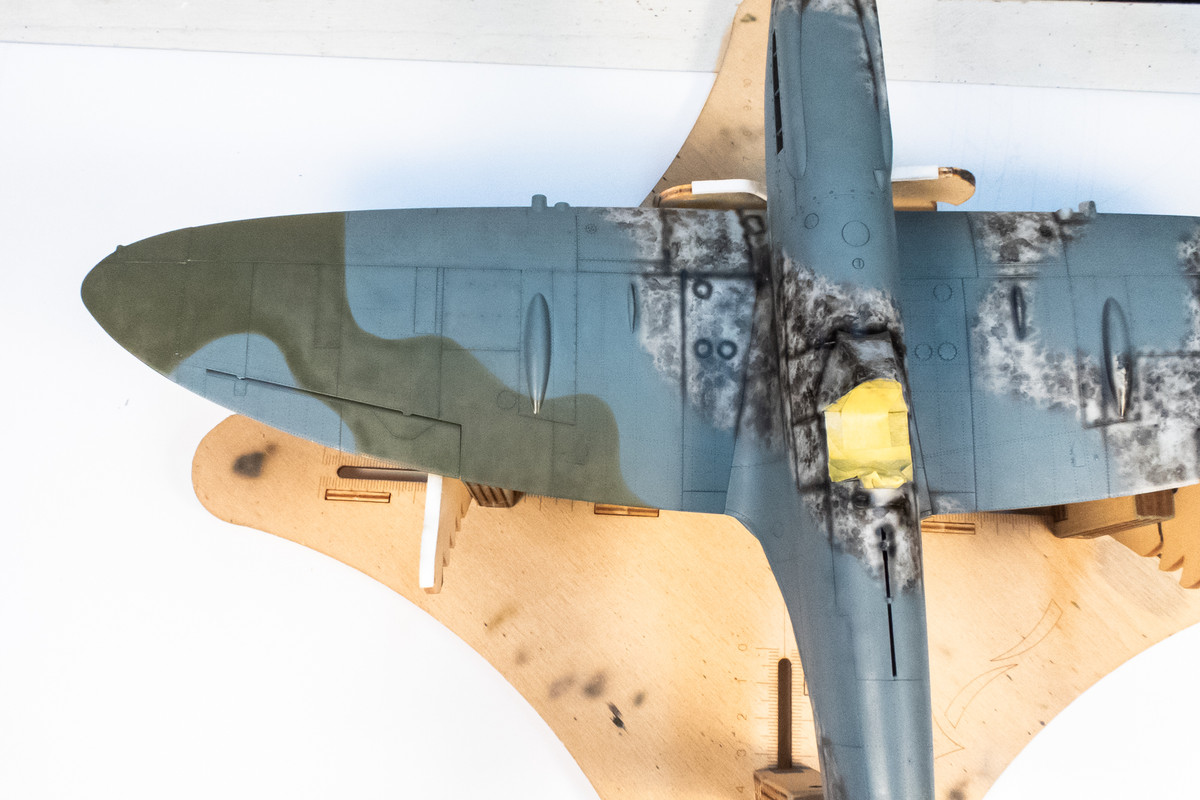
Lots of paint slinging today and also a bit of a scare.
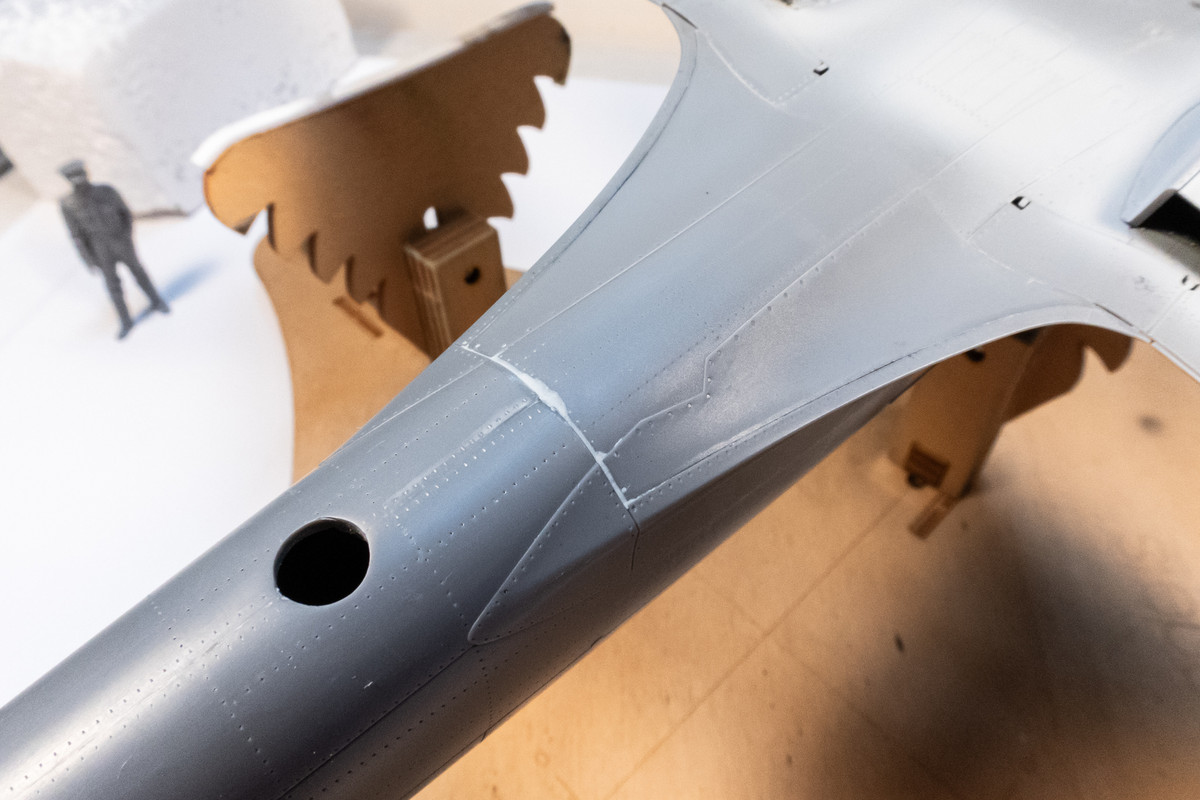
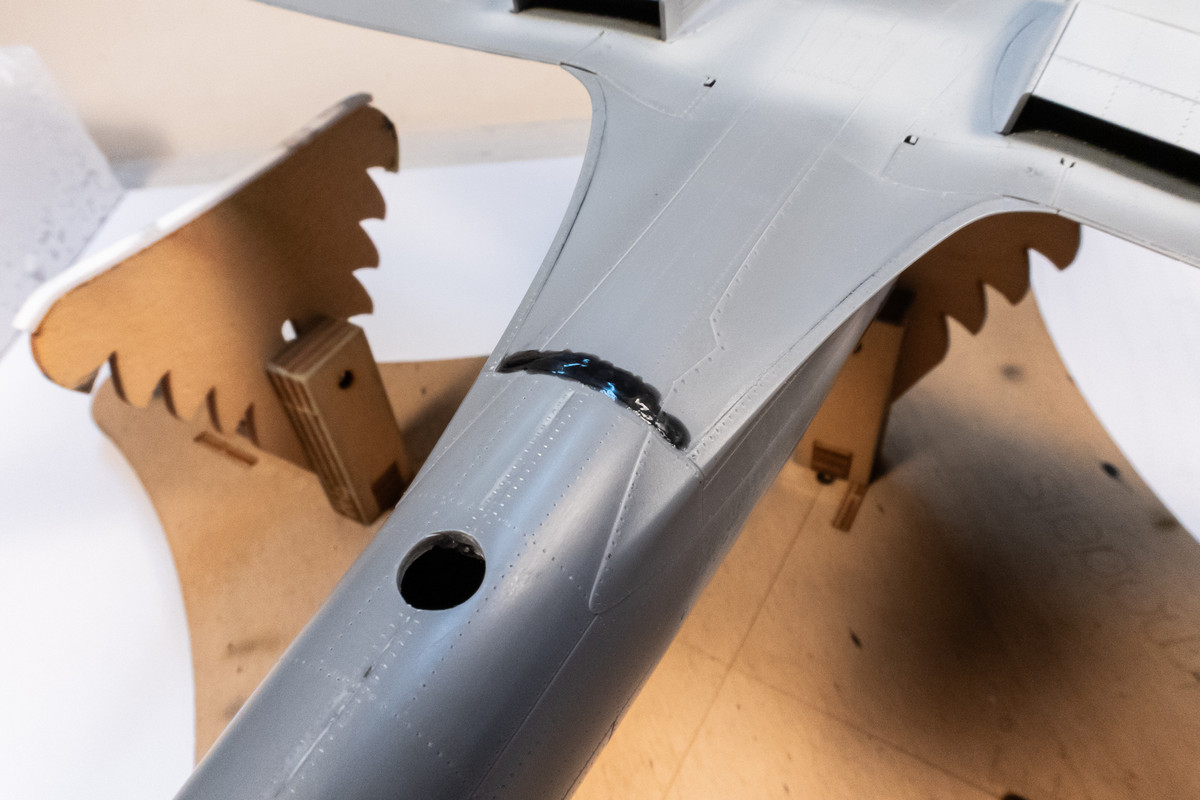
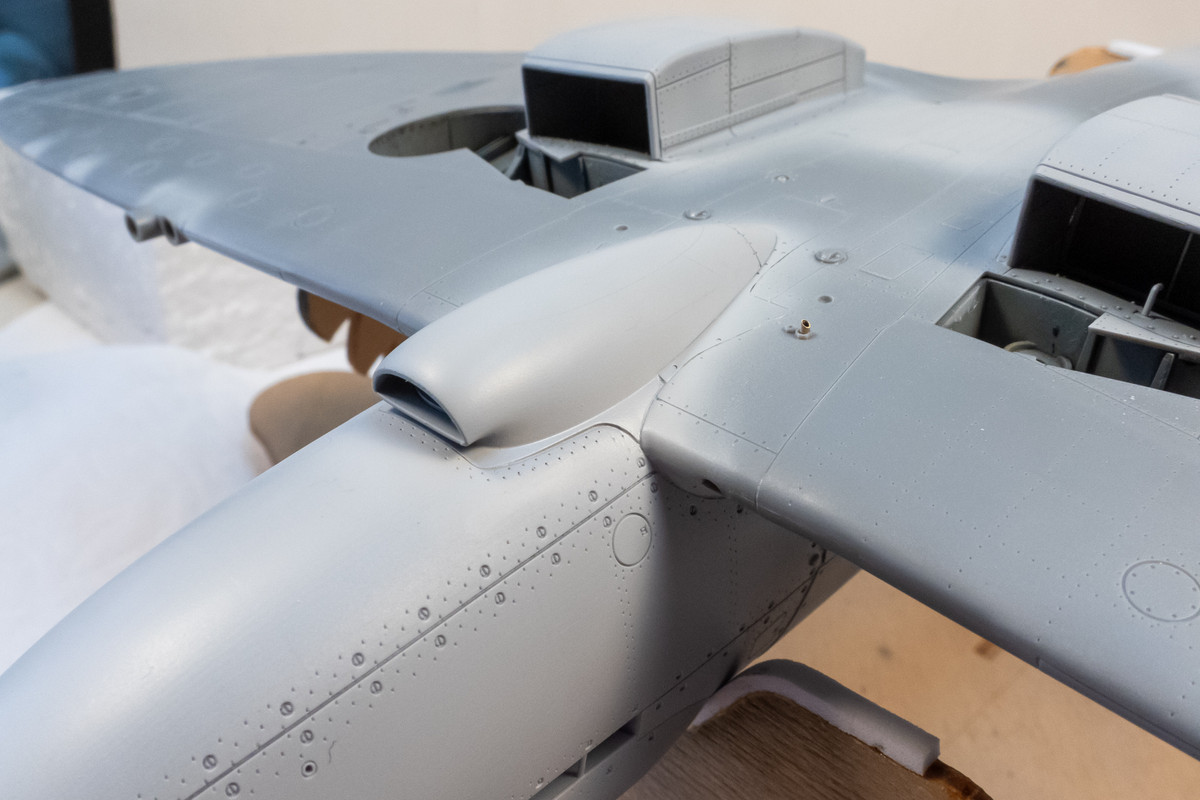
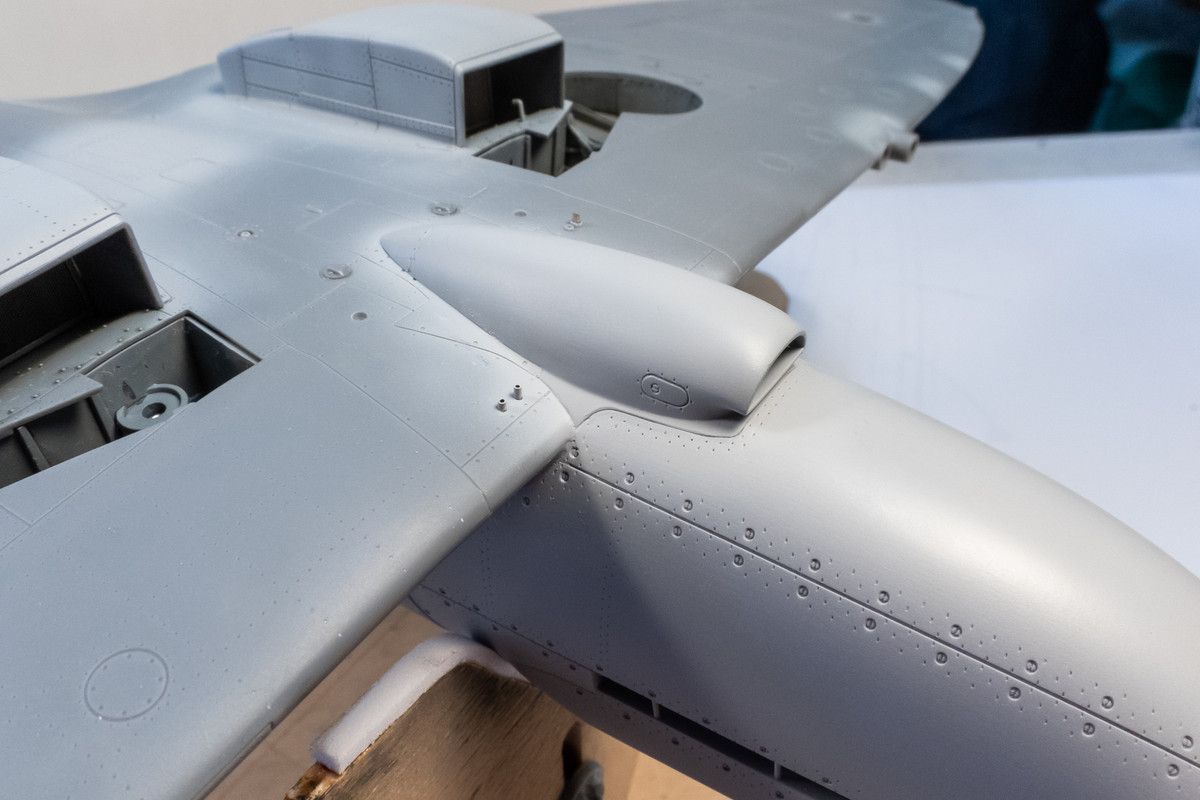
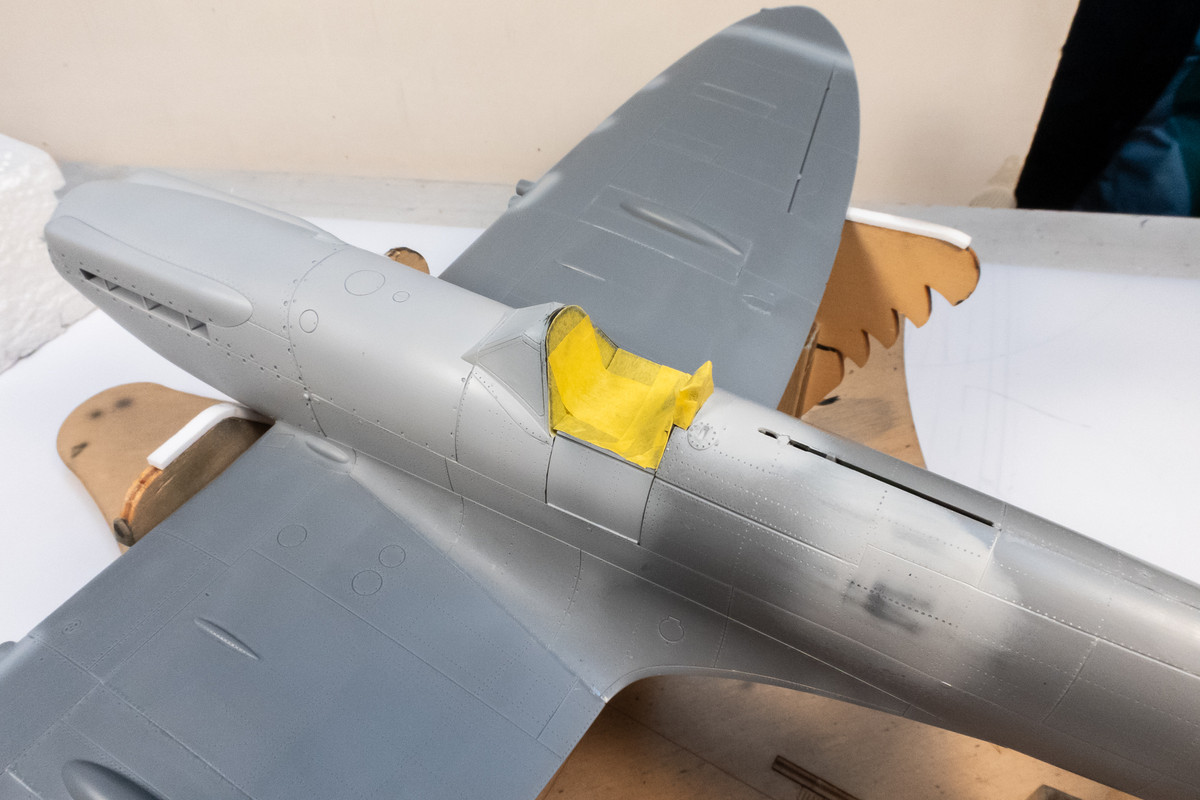
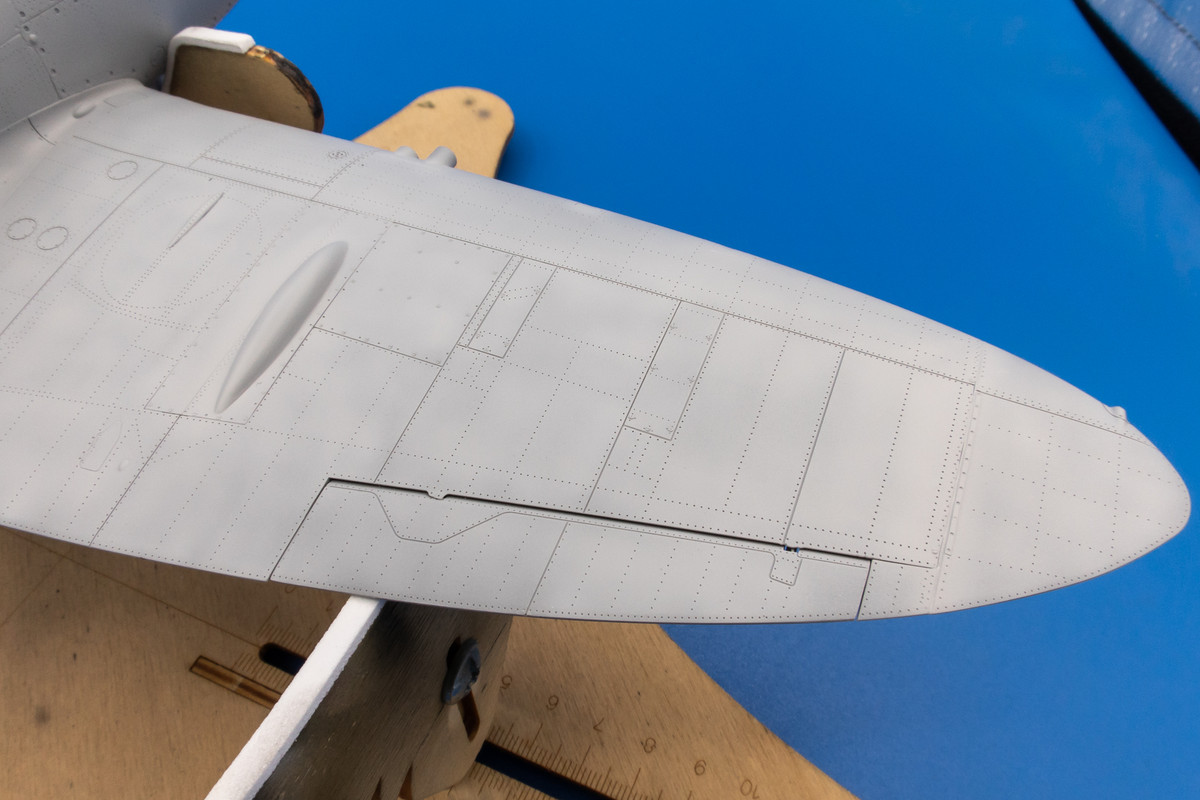
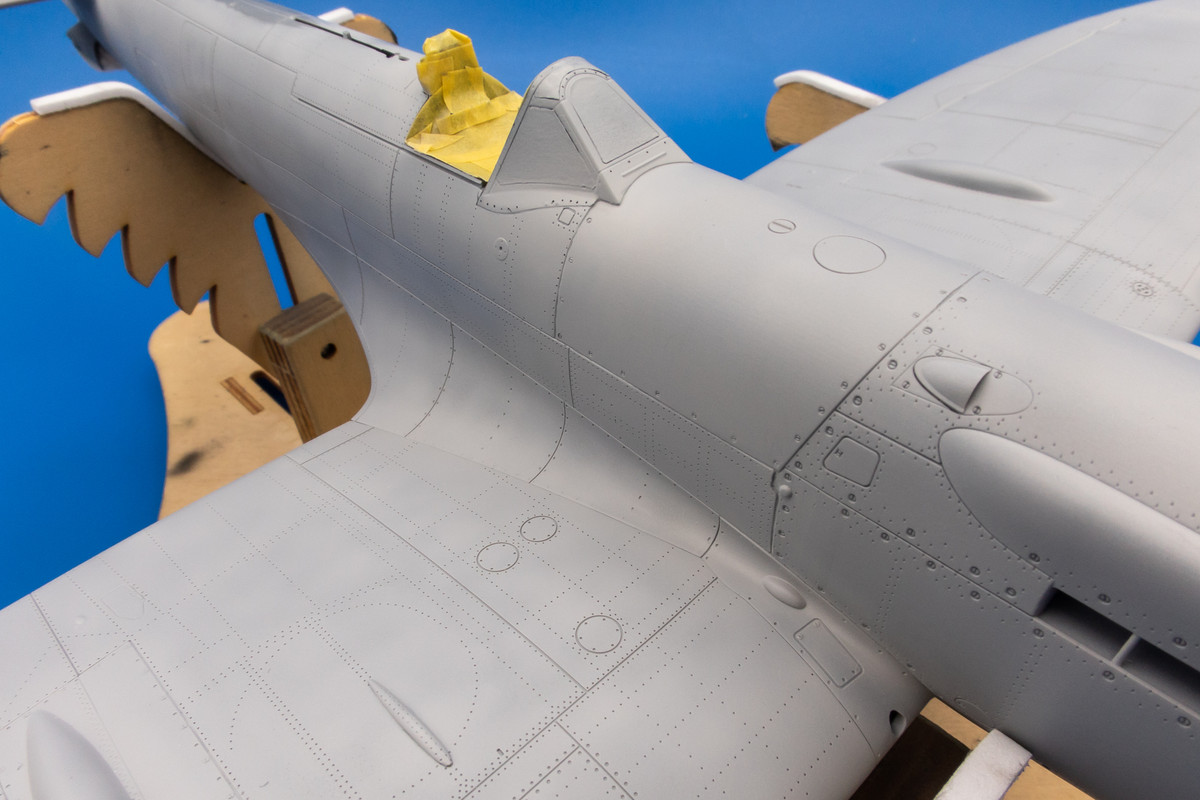
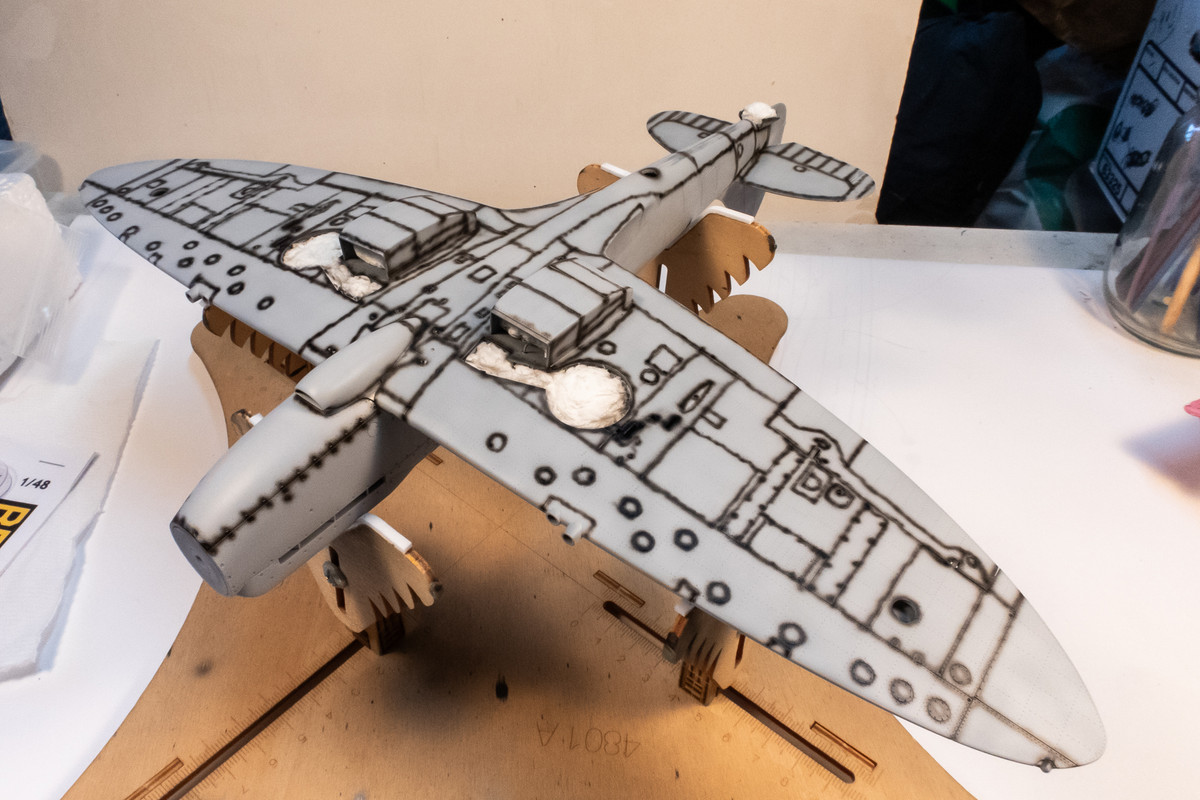
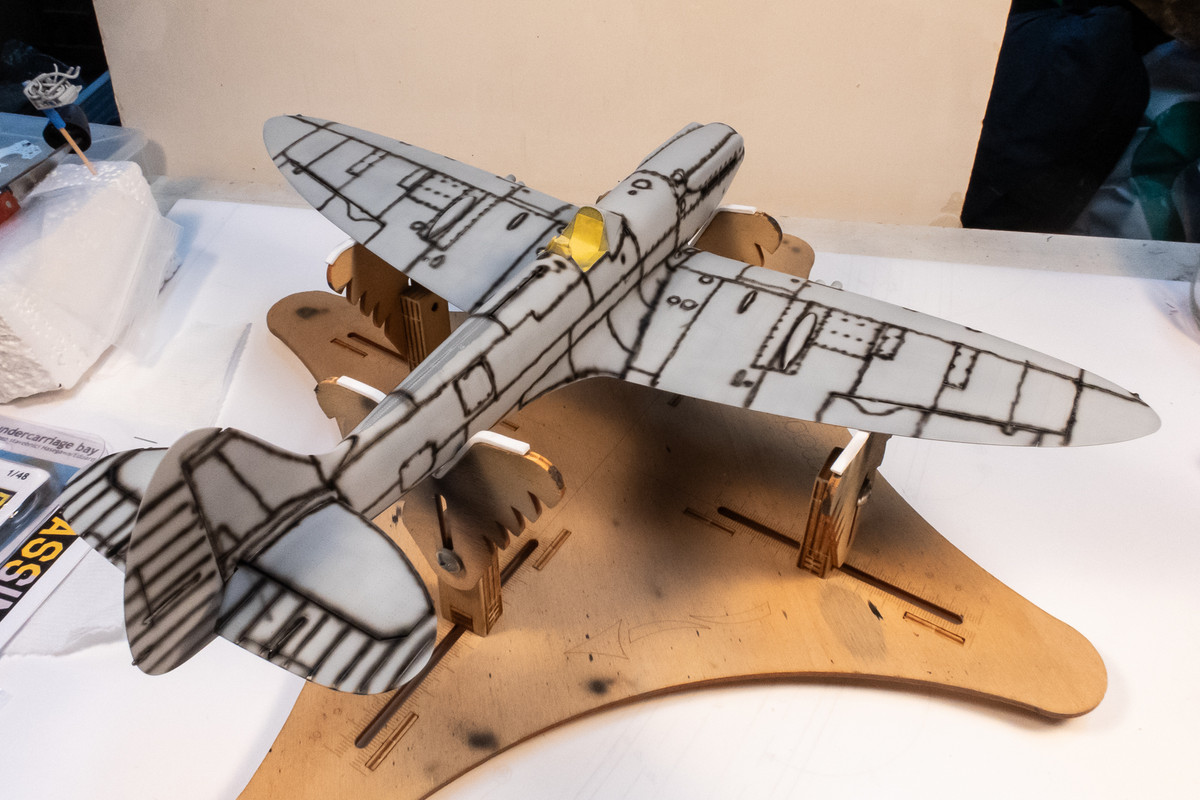
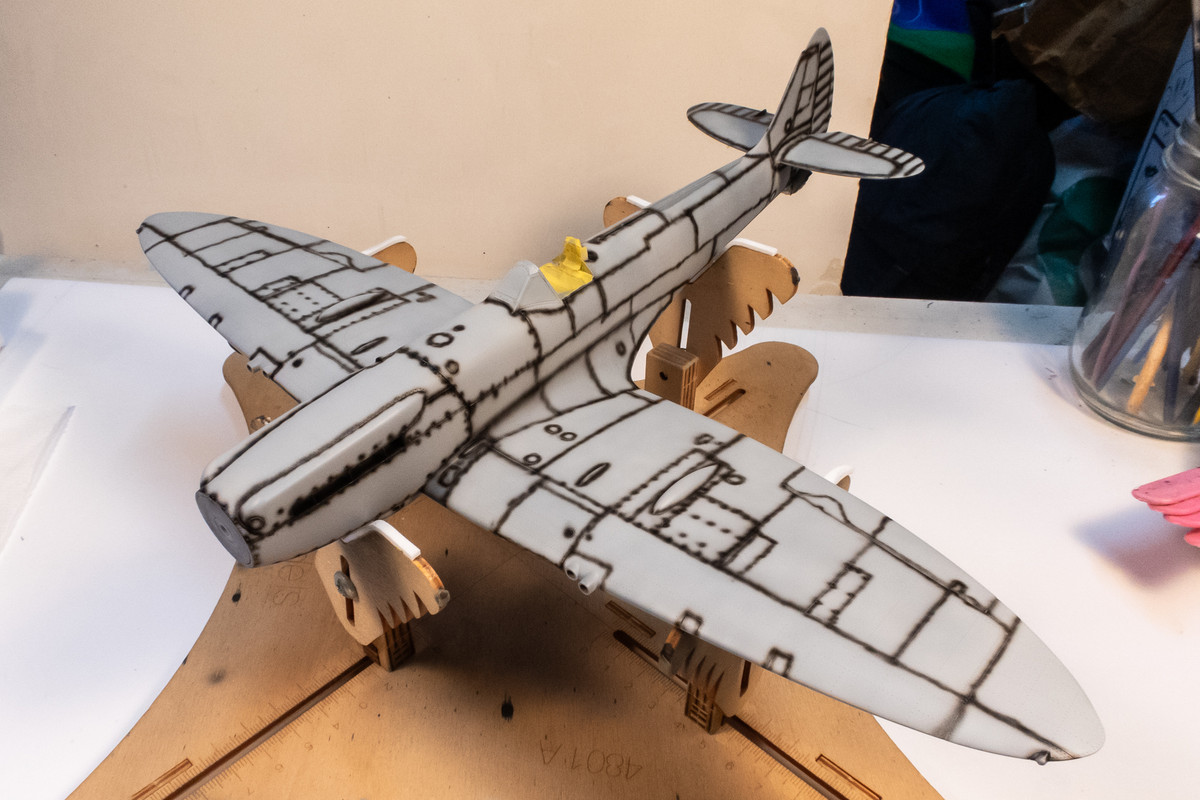
After the panel line pre-shading, I applied a random mottle pattern using a thinned piece from a scrub pad.
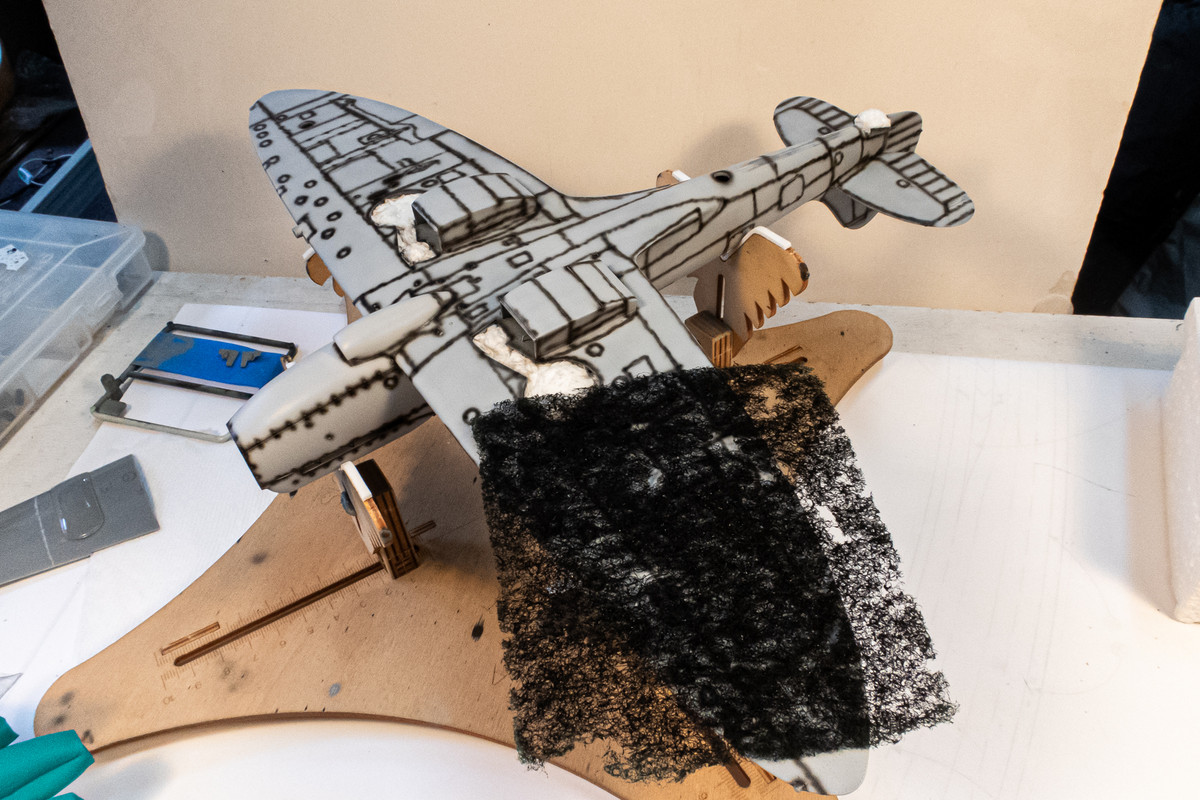

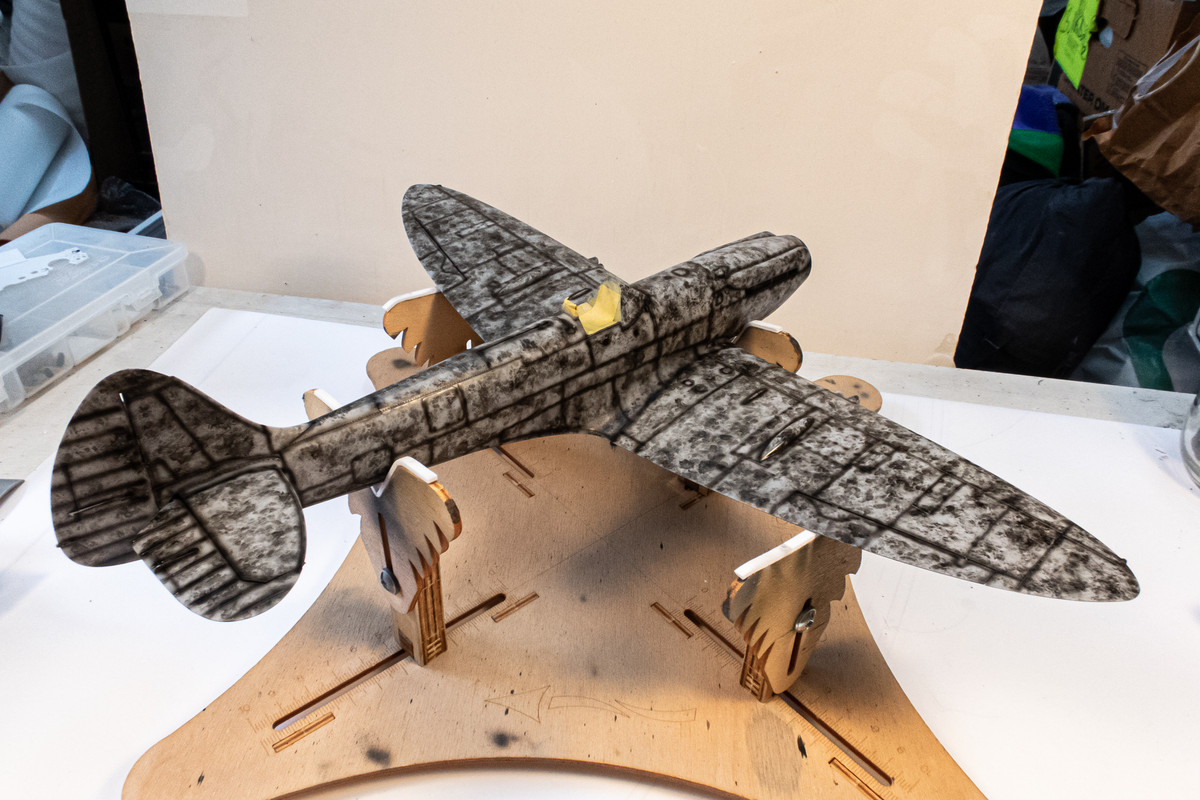
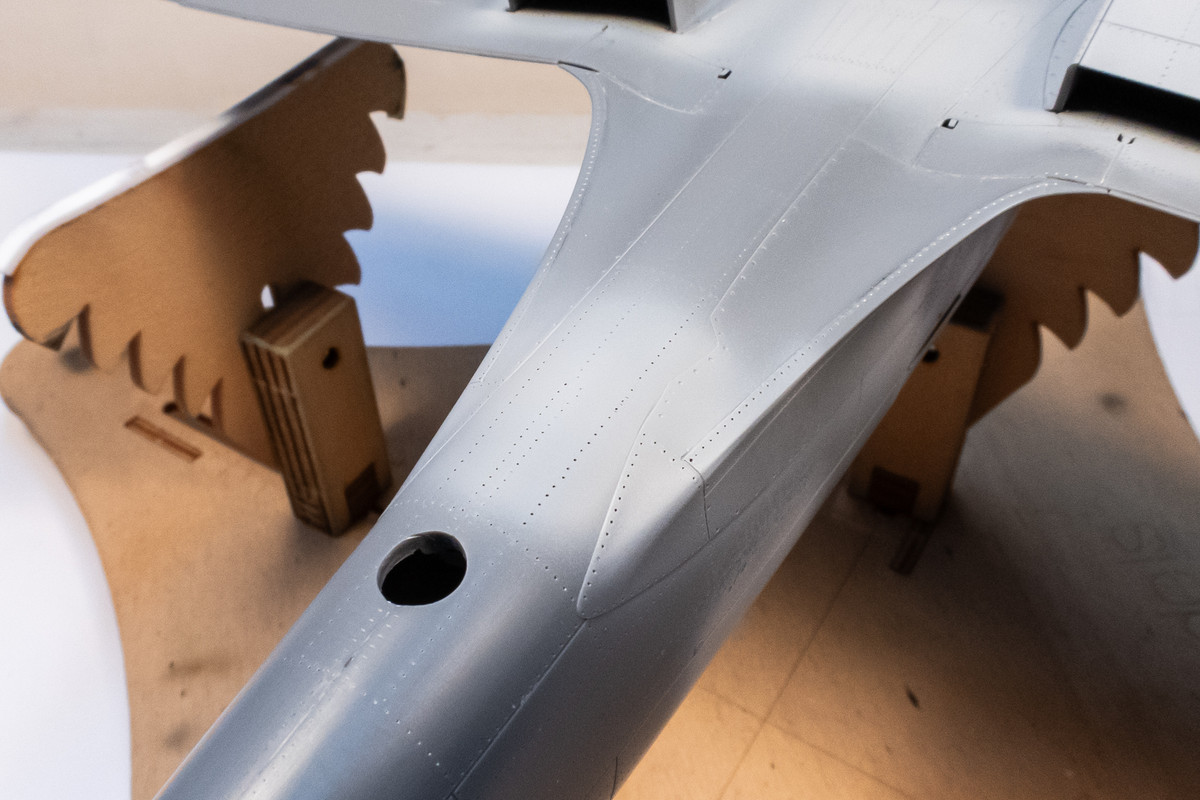
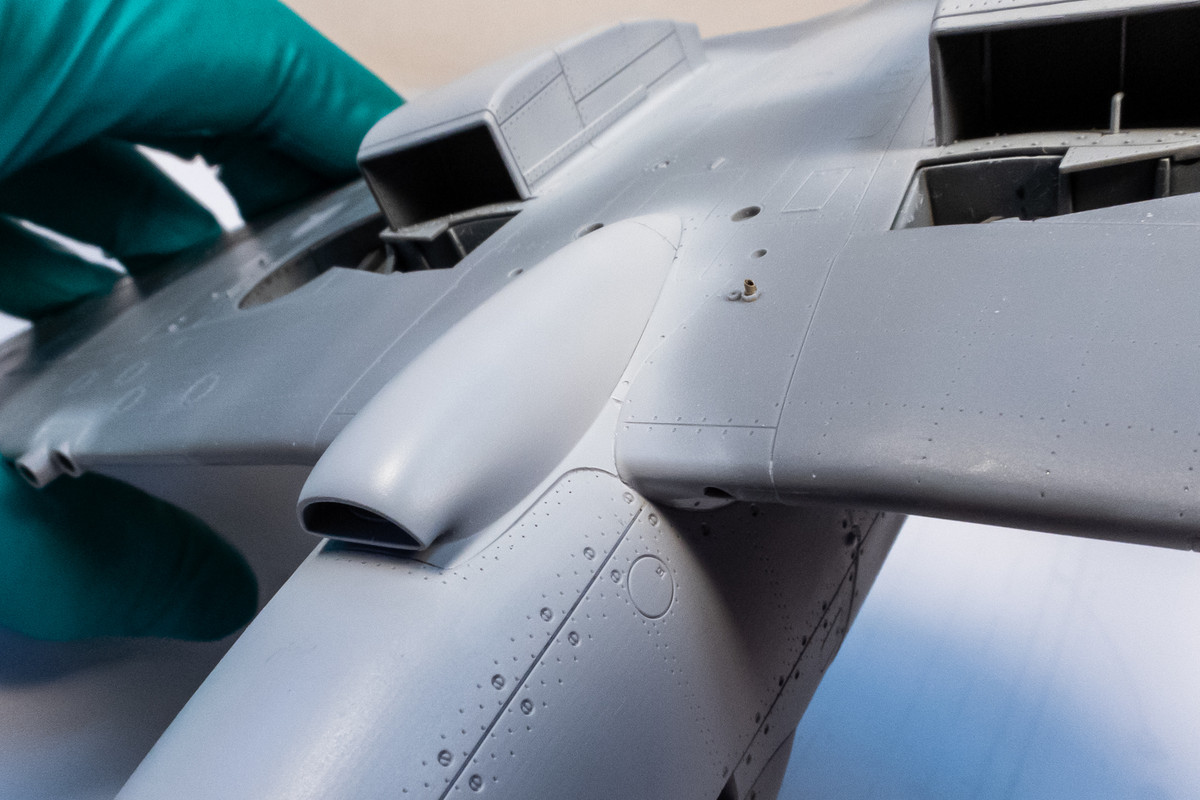
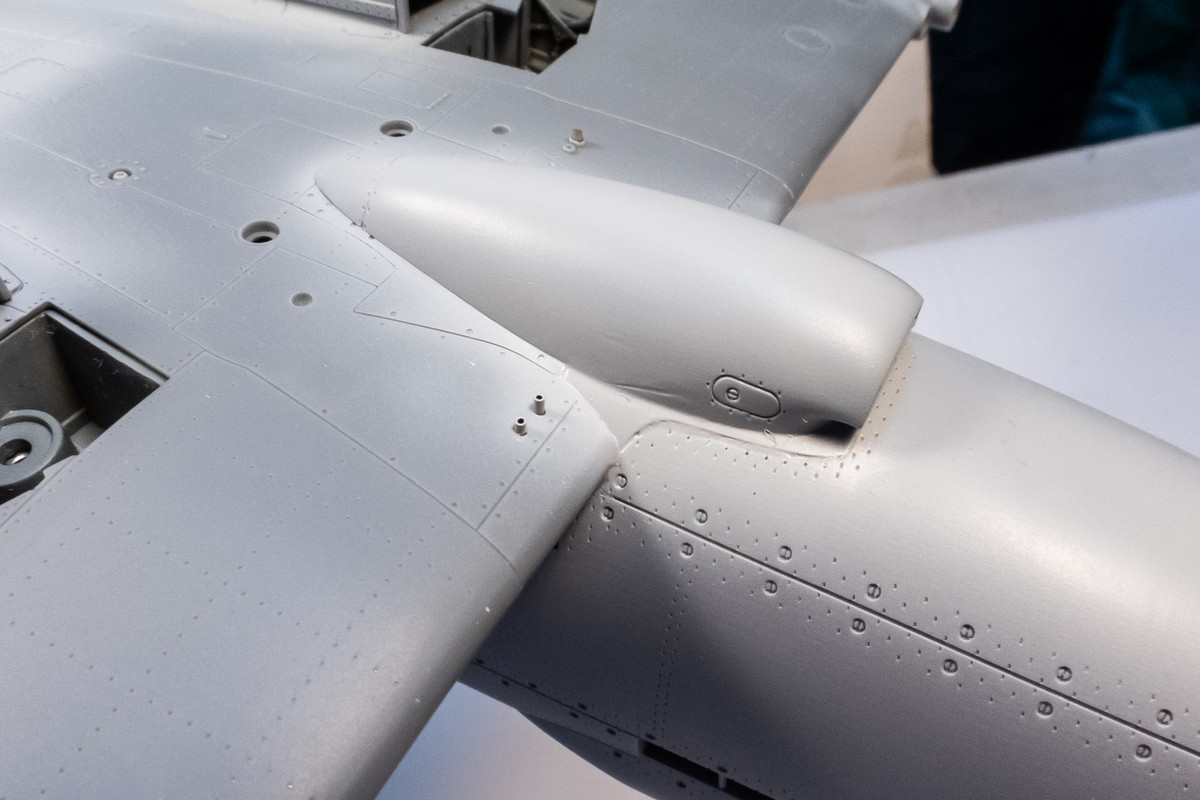
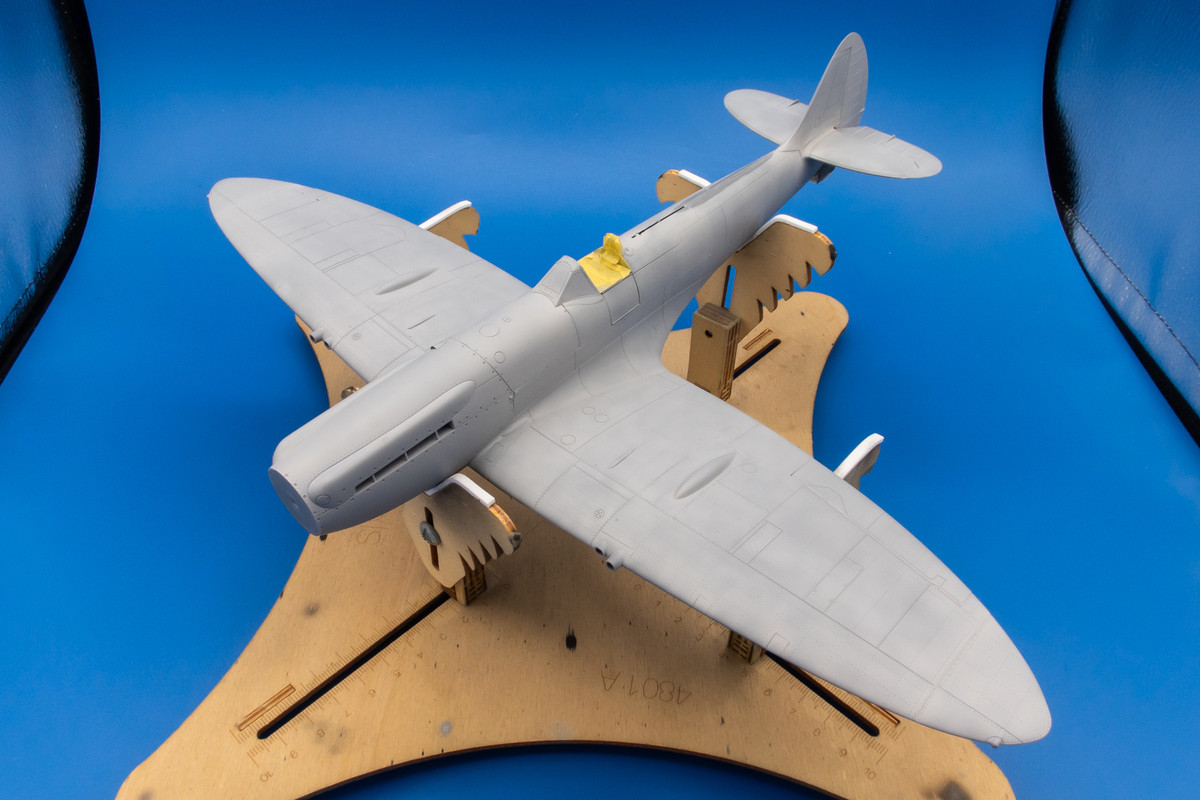
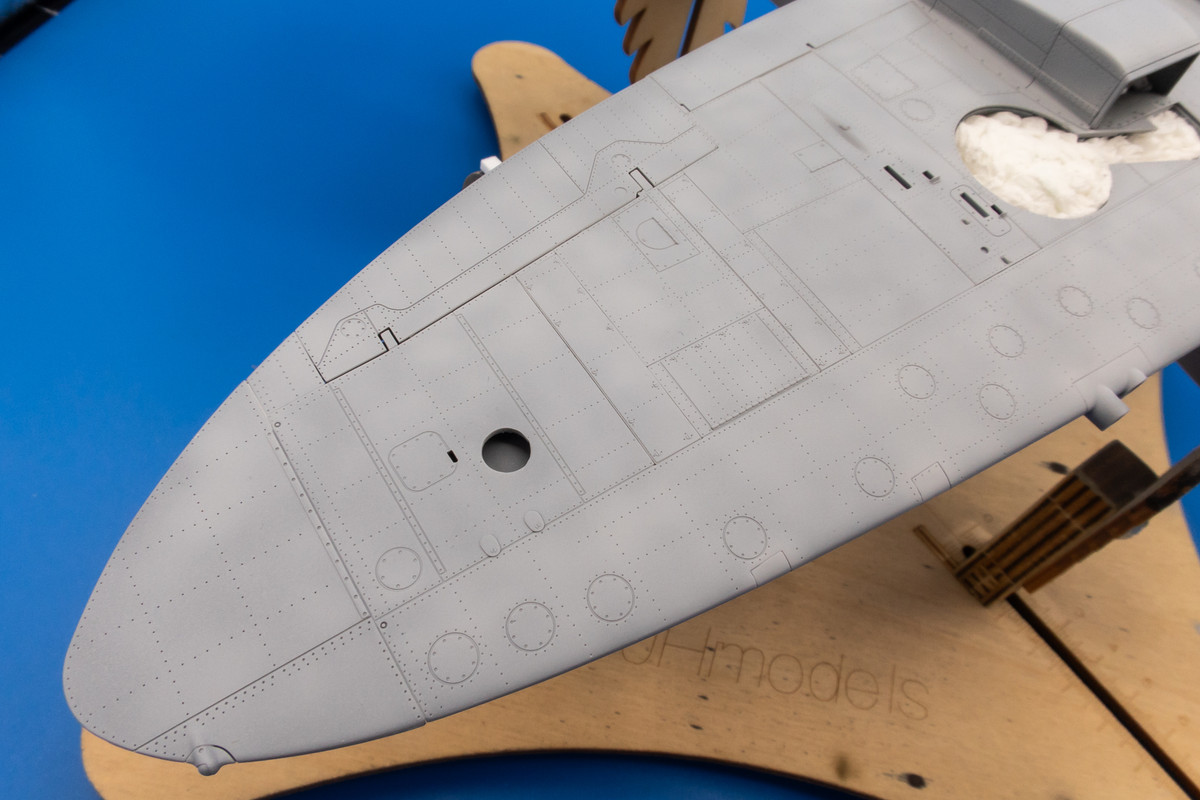
It's a lot of work for very little visible result but I consider it a key layer in my weathering sequence. The nice thing about this (and also the inverse which is often referred to as black-basing) is that you can dial the effect from extreme to not visible, depending on what you want to show. The bottom color, Tamiya Medium Sea Gray 2 (XF-83) is thinned to about 1.5:1 thinner-to-paint ratio and sprayed gradually over the mottle. My preference is for the pre-shade effects to be just barely visible. The Spitfire has a lot of panels and this makes it easy to work on small sections at a time.
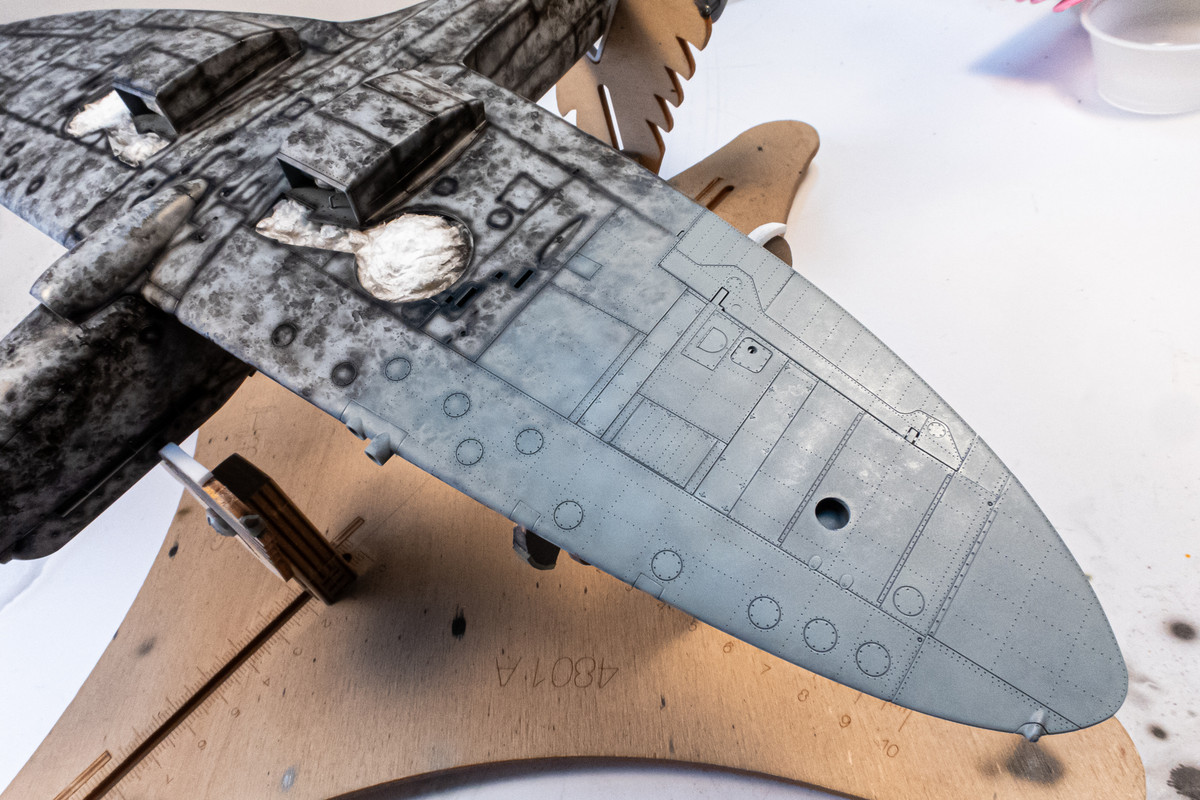

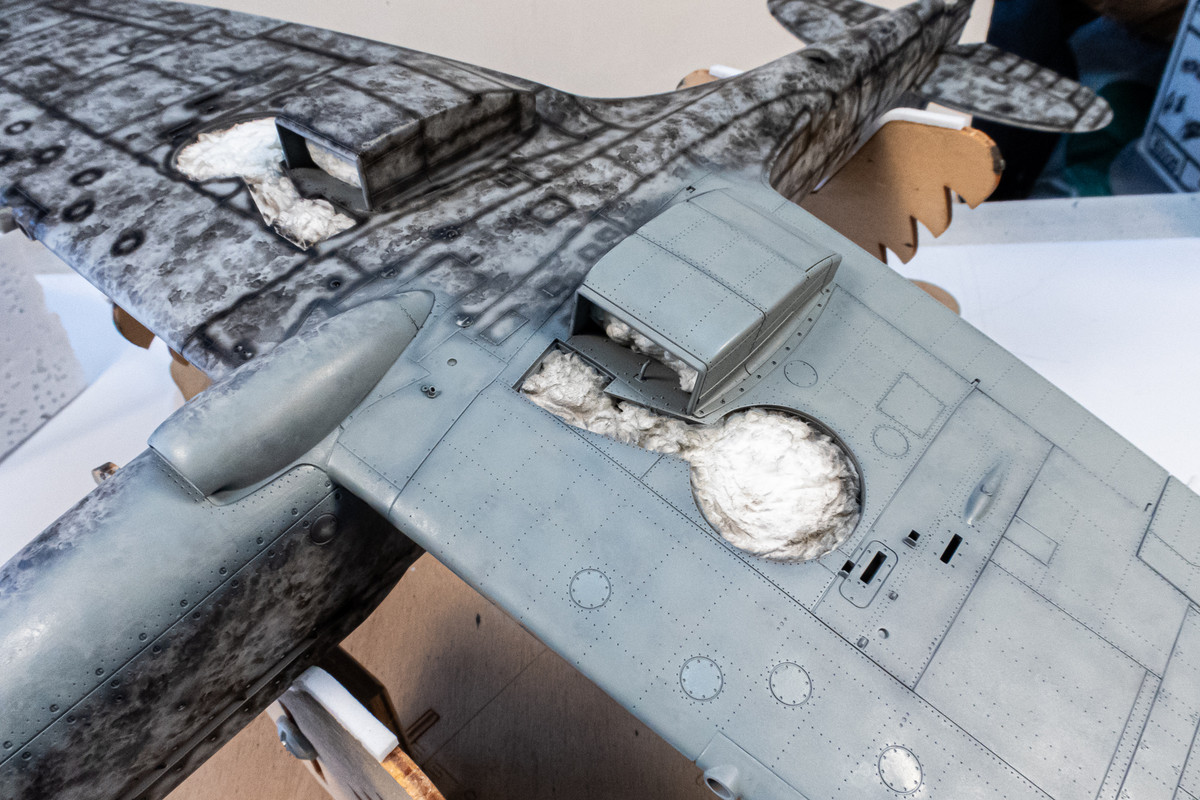
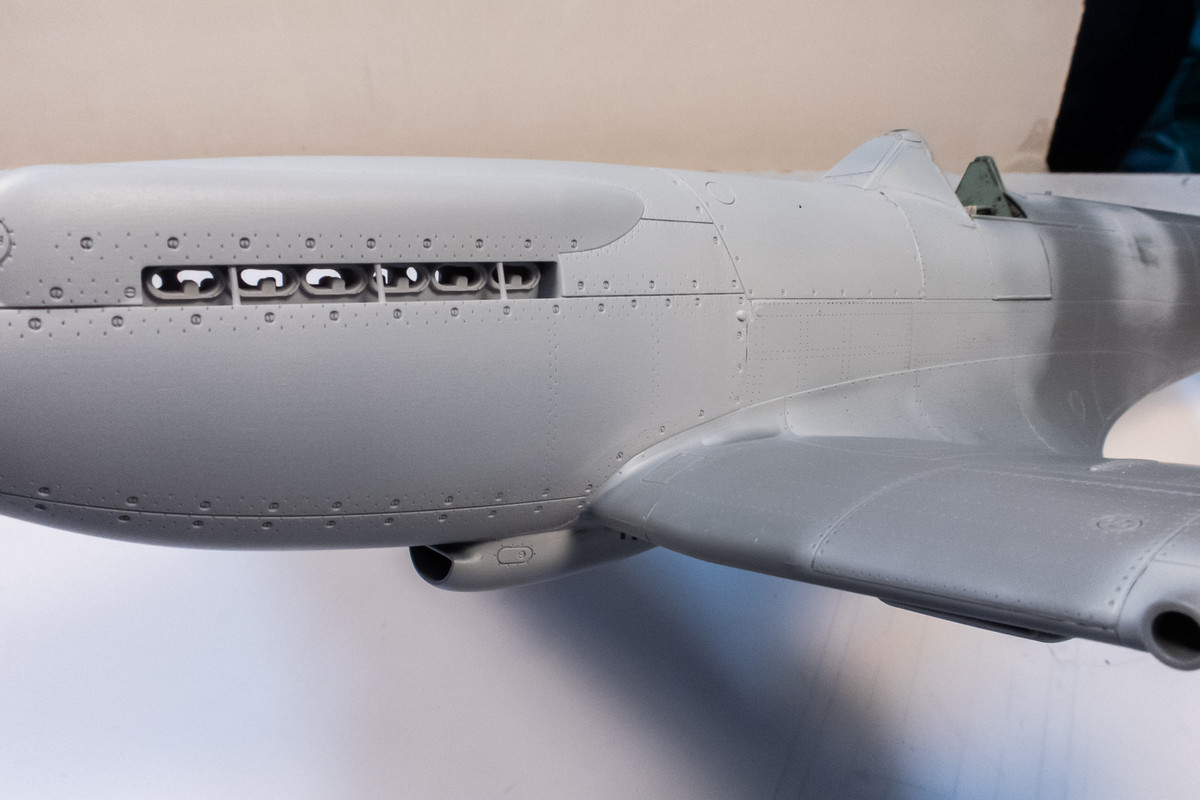
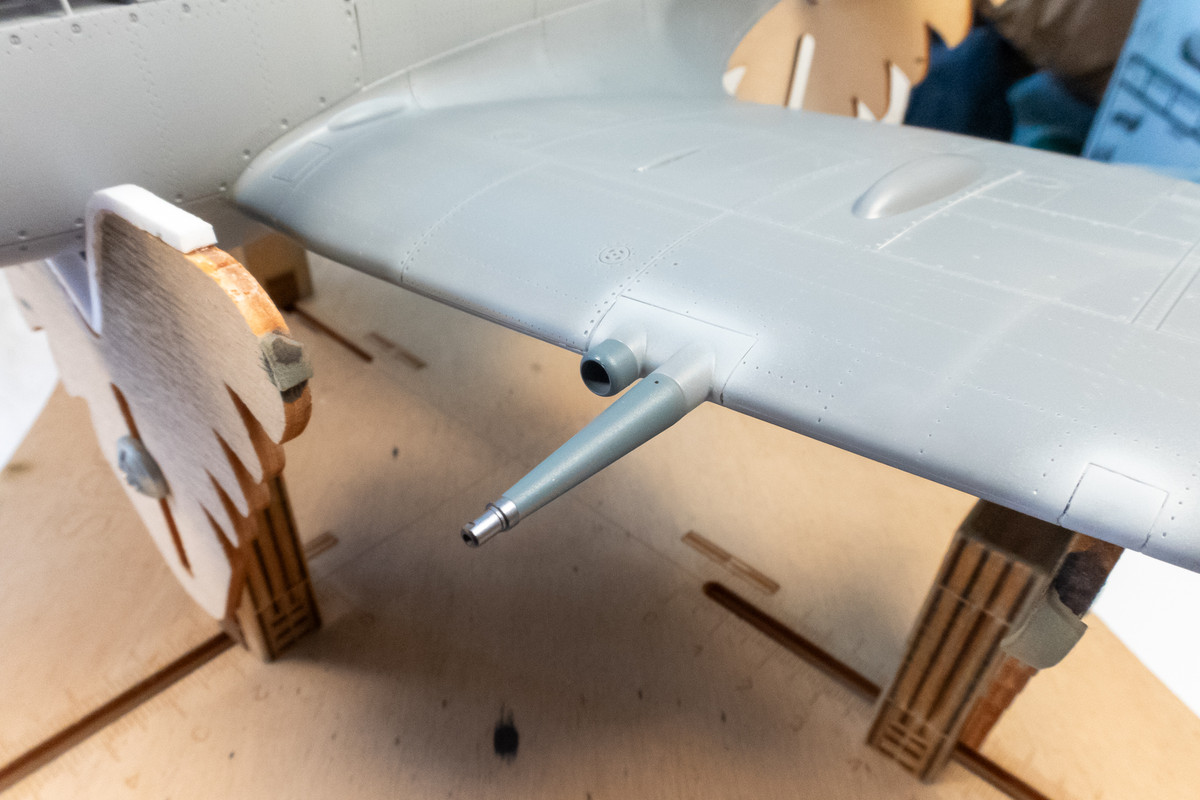
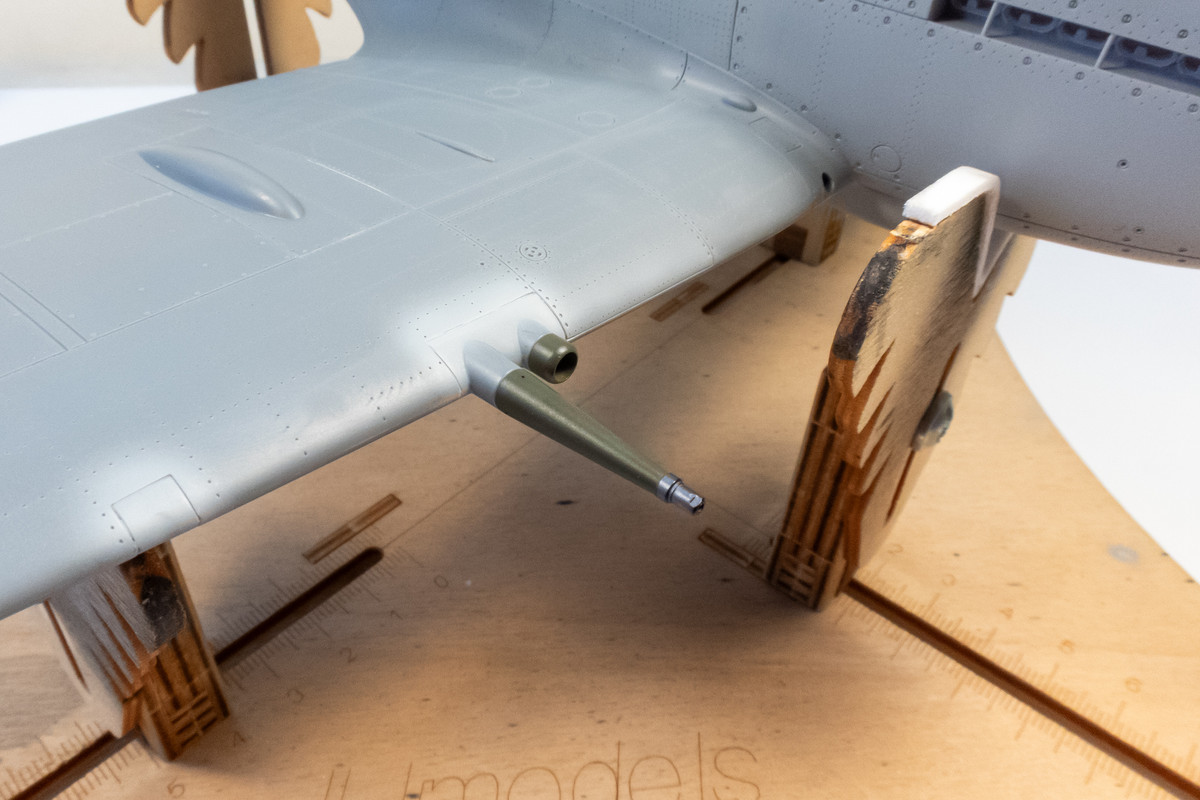
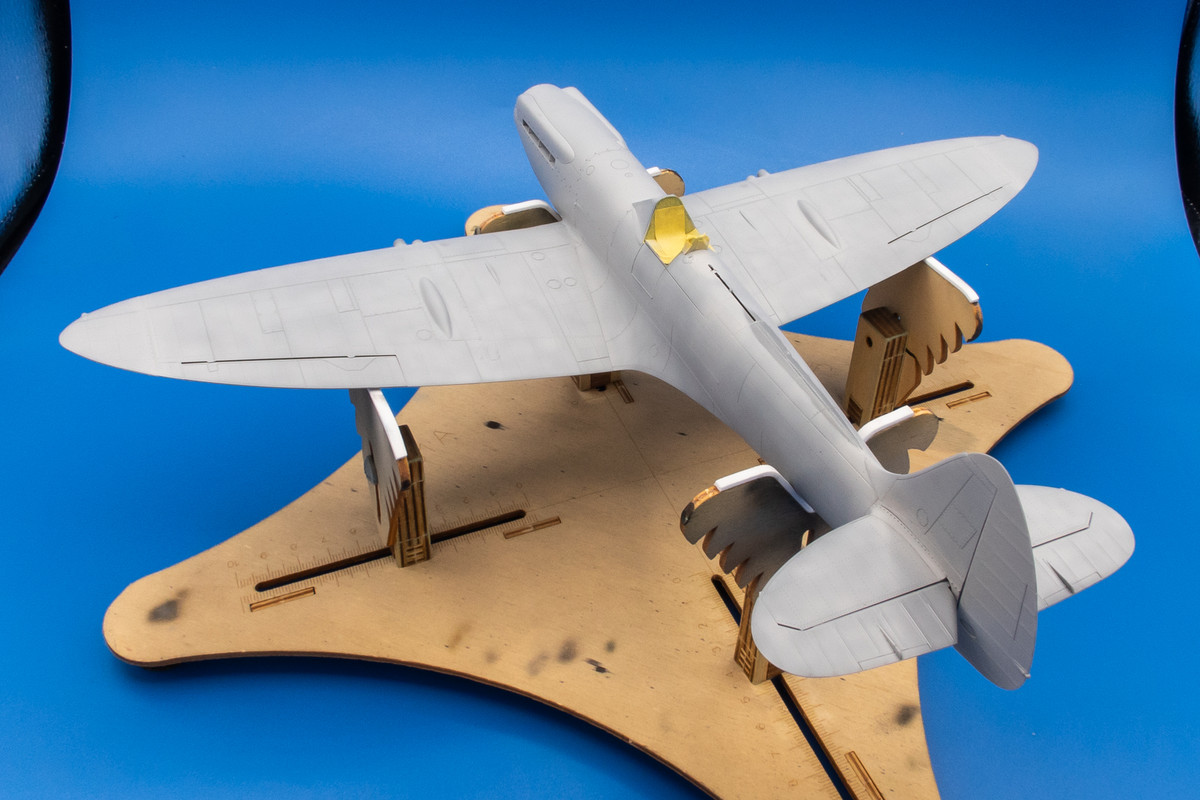
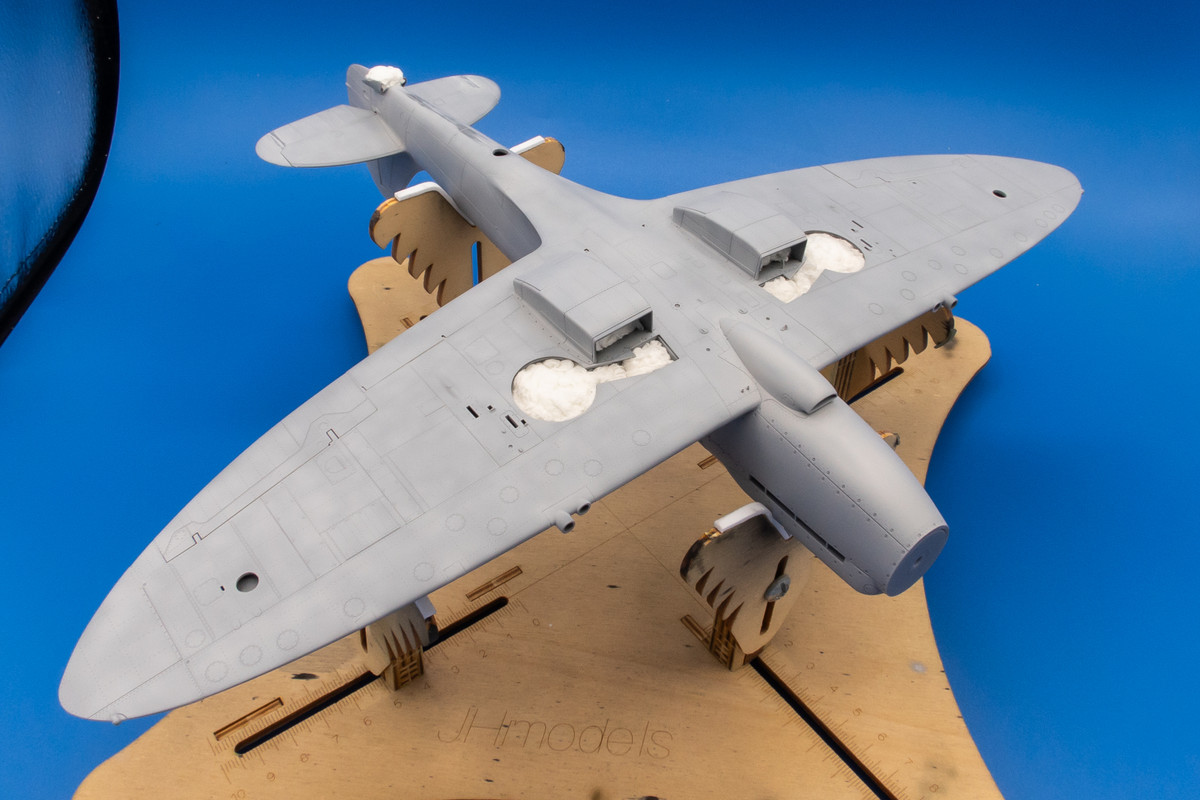
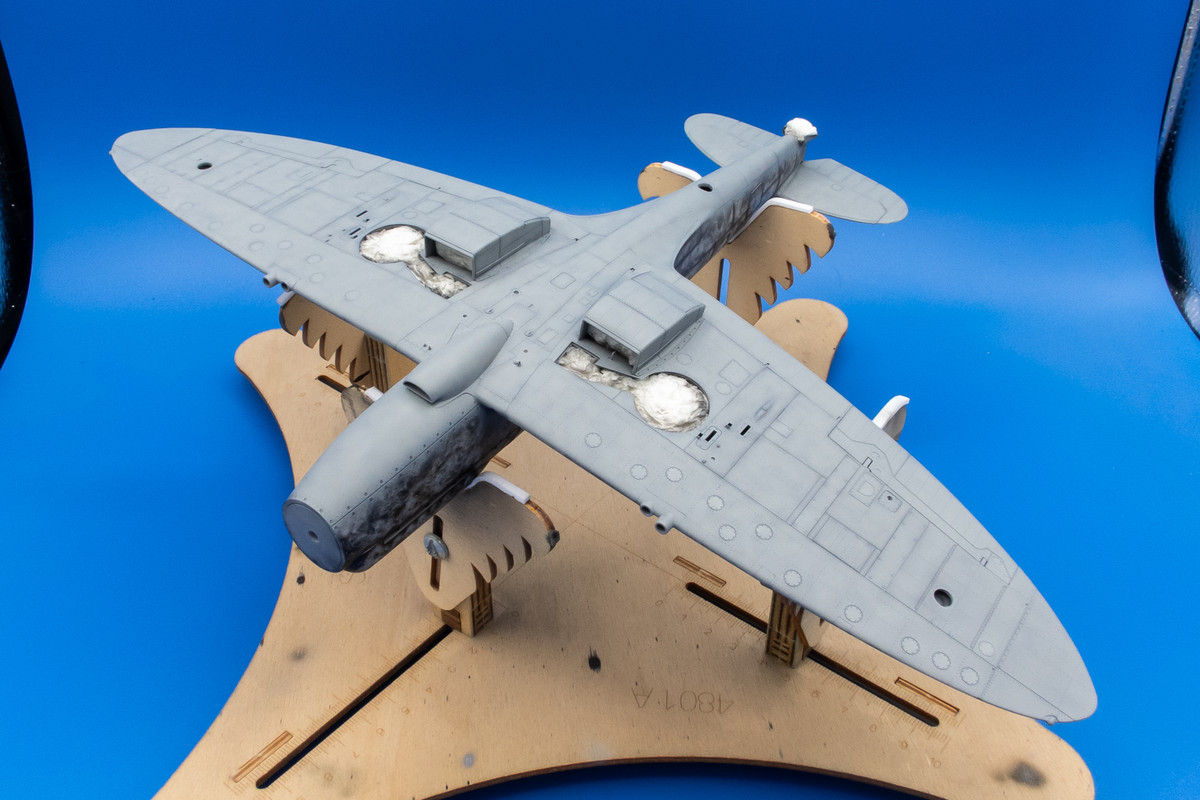
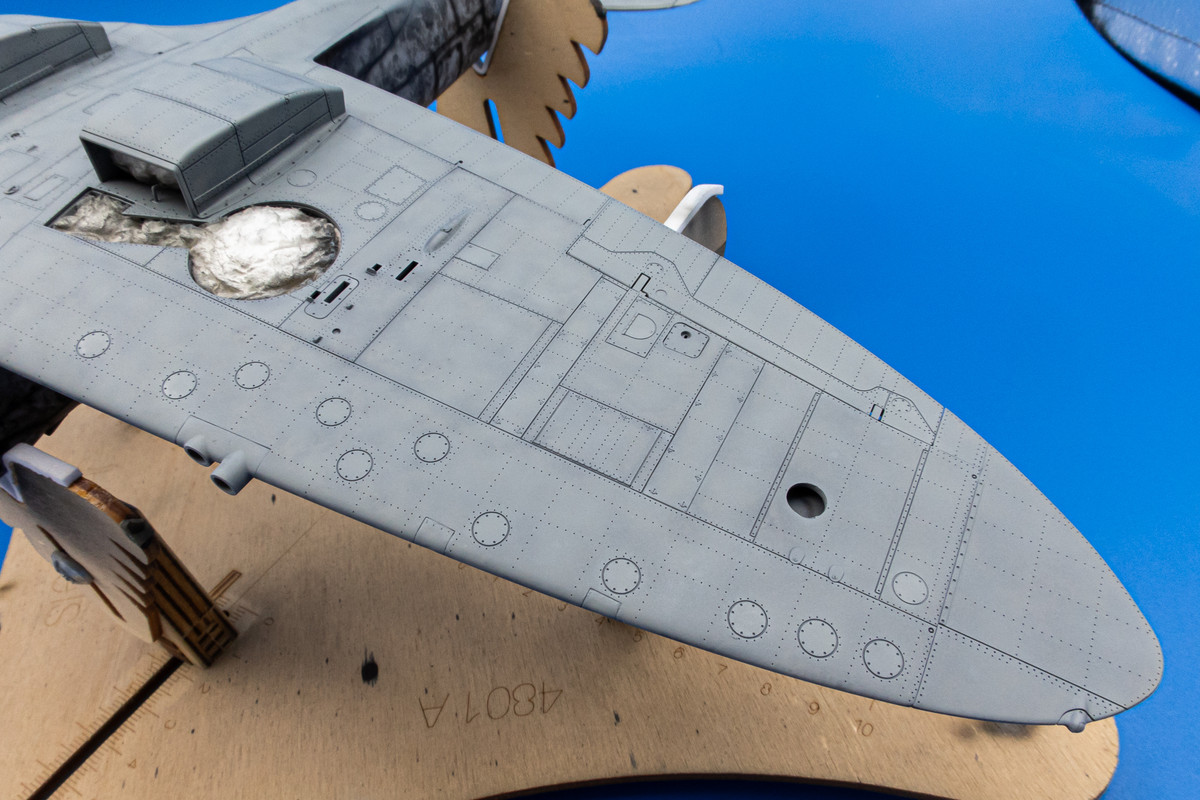
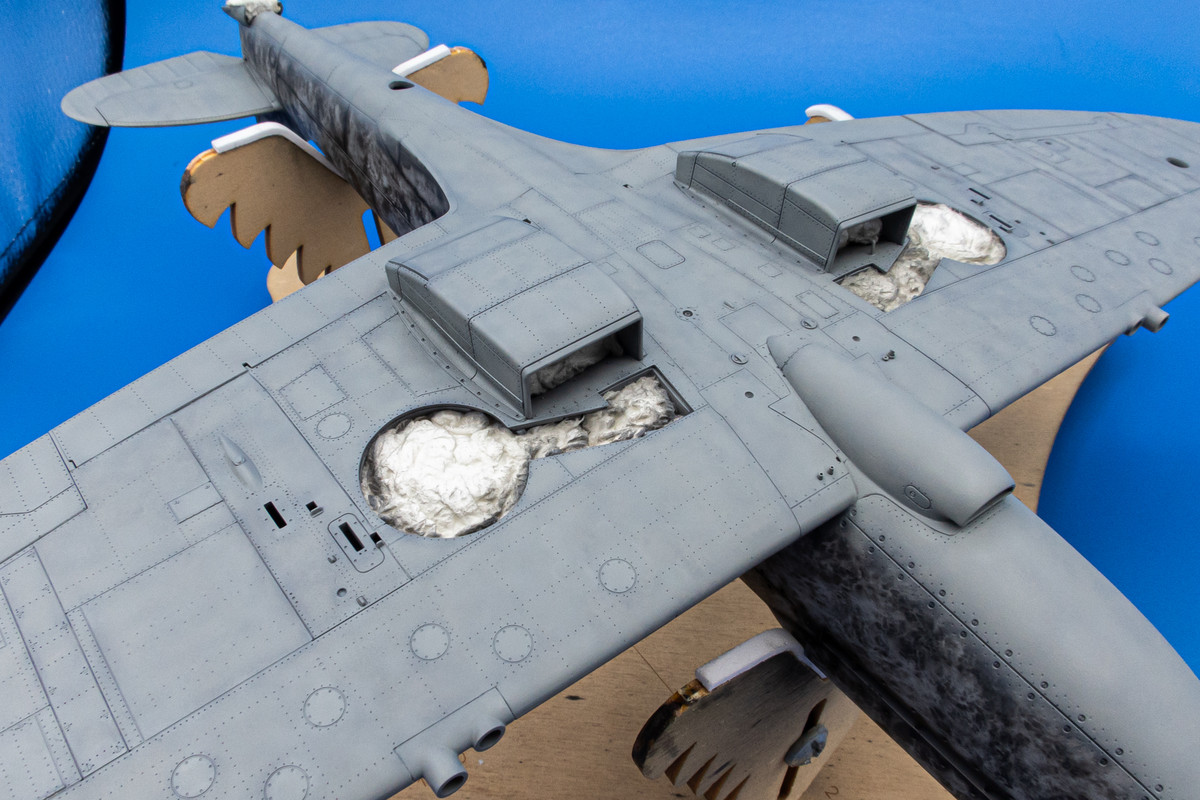
Here is the completed bottom color in the lightbox.

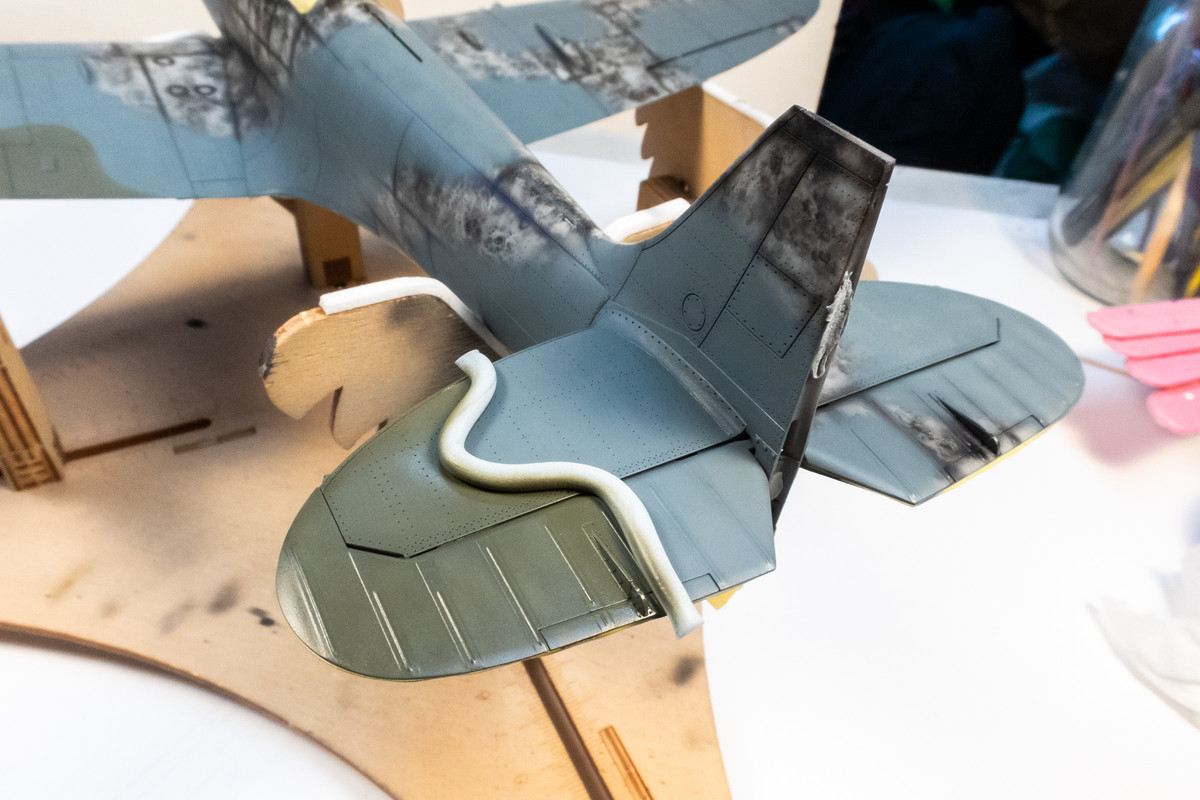
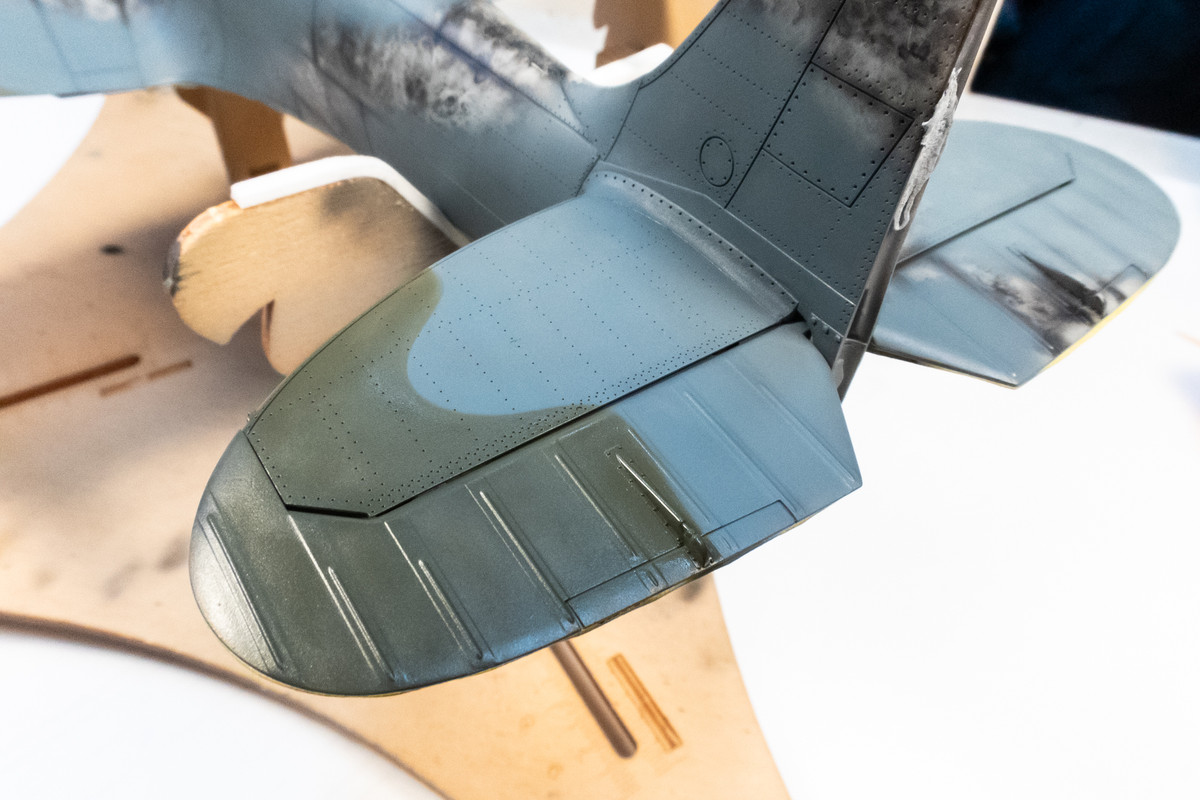
After letting that cure for half a day, I started masking off the bottom of the horizontal stabilizers. To my shock and disappointment, big chunks of paint lifted off when I was adjusting the masking. Past the primer and all the way to the plastic. I was able to remove by tape almost all of the paint on the non-fabric portion of the port stab. The fabric portion, for whatever reason held its paint better. I cleaned off the rest of the paint with iso alcohol and repainted the stab.
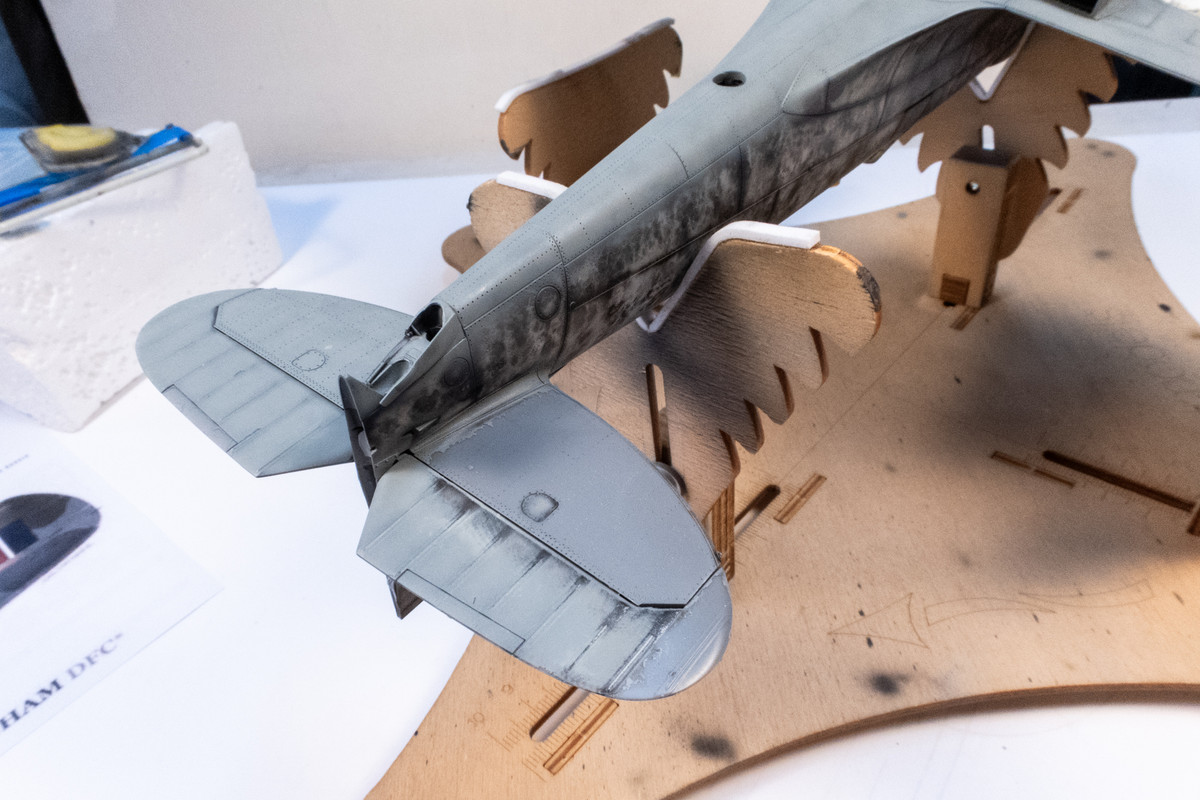
Now I'm nervous about the rest of the paint that I just applied. Was there something about the bottom of that stabilizer that caused the primer and paint layers to be unstable? I cleaned the entire model with clean cloth lightly dusted with an ammonia-based cleaner (Windex) before the primer was applied. Did that have something to do with it?
I shook up the painting order and decided to mask and paint the bottom roundels to test the paint under the wings. If I got the kind of paint lift that I experienced on the stabilizer, I would be in big trouble but I wanted to know before I started any more camo painting.
The mask outline was placed into position first.
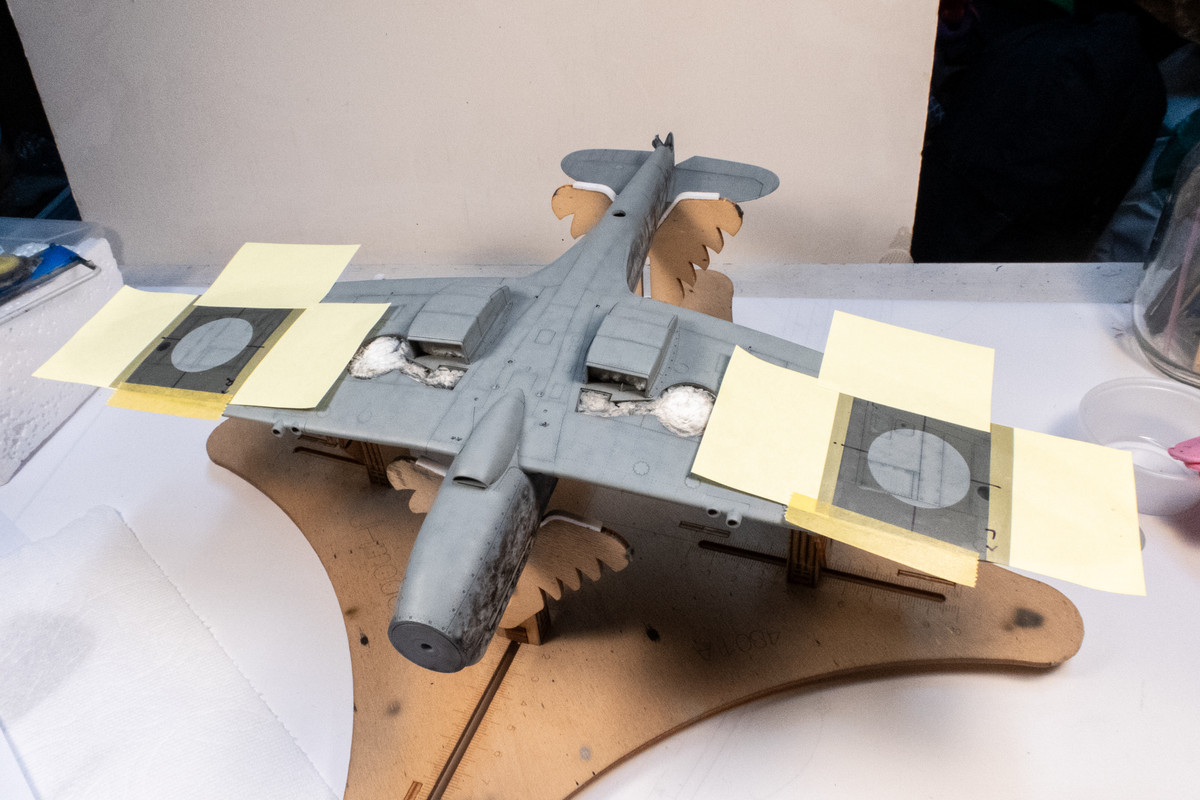
Normally, on multi-colored roundels, I work from the outside in. But considering the separation between the yellow and white, I got the bright idea of trying to reduce the number of steps and paint both of those colors before the other mask elements were applied. Brilliant right? I mixed colors to match the Tamiya decals. Yellow was a 4:1 mix of Tamiya Lemon Yellow (X-8) and Tamiya Orange (X-6)
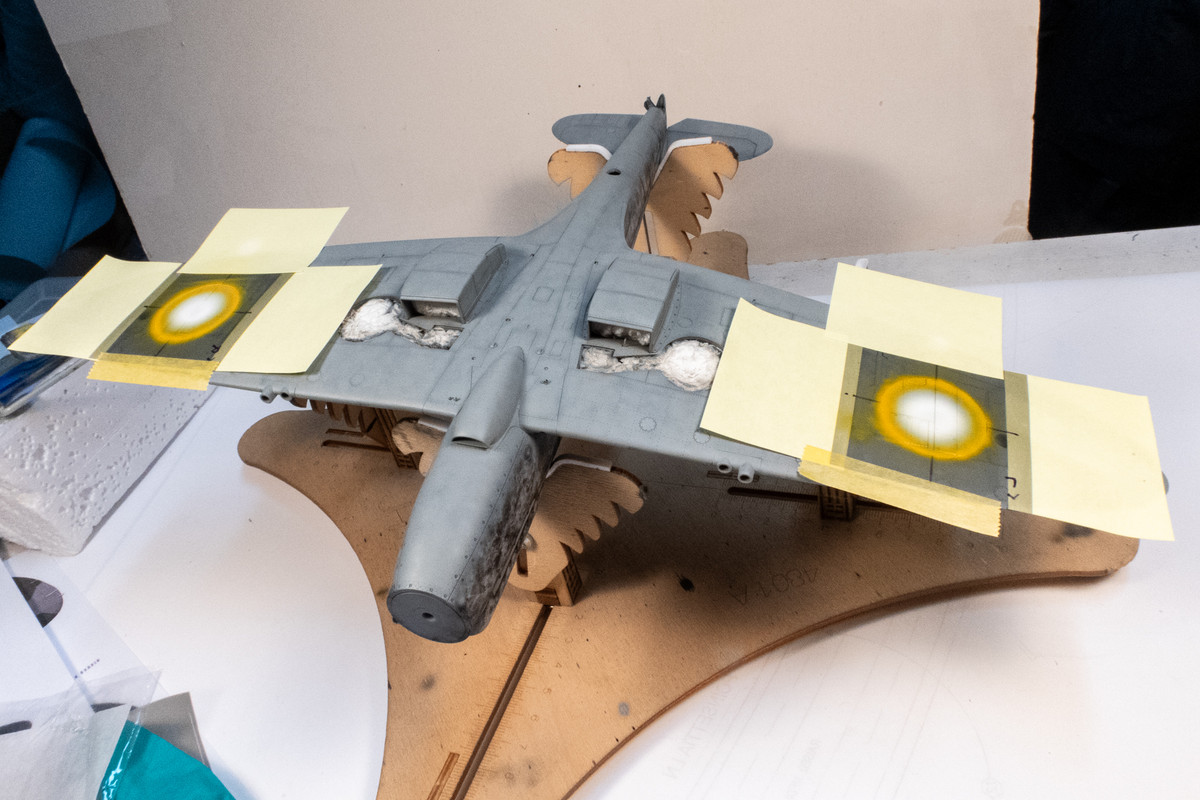
After the yellow and white were painted, the rest of the mask elements were inserted into the outline. The mask over the blue area was removed first. I found that Mr Hobby Aqueous Blue FS15044 (H-326) was a good match for the blue. Spraying the blue creates two borders at once (yellow on the outside and white on the inside)... brilliant!
The final color is the red, which was 3:1 mixture of Tamiya Red (X-7) and Tamiya Red Brown (XF-64).
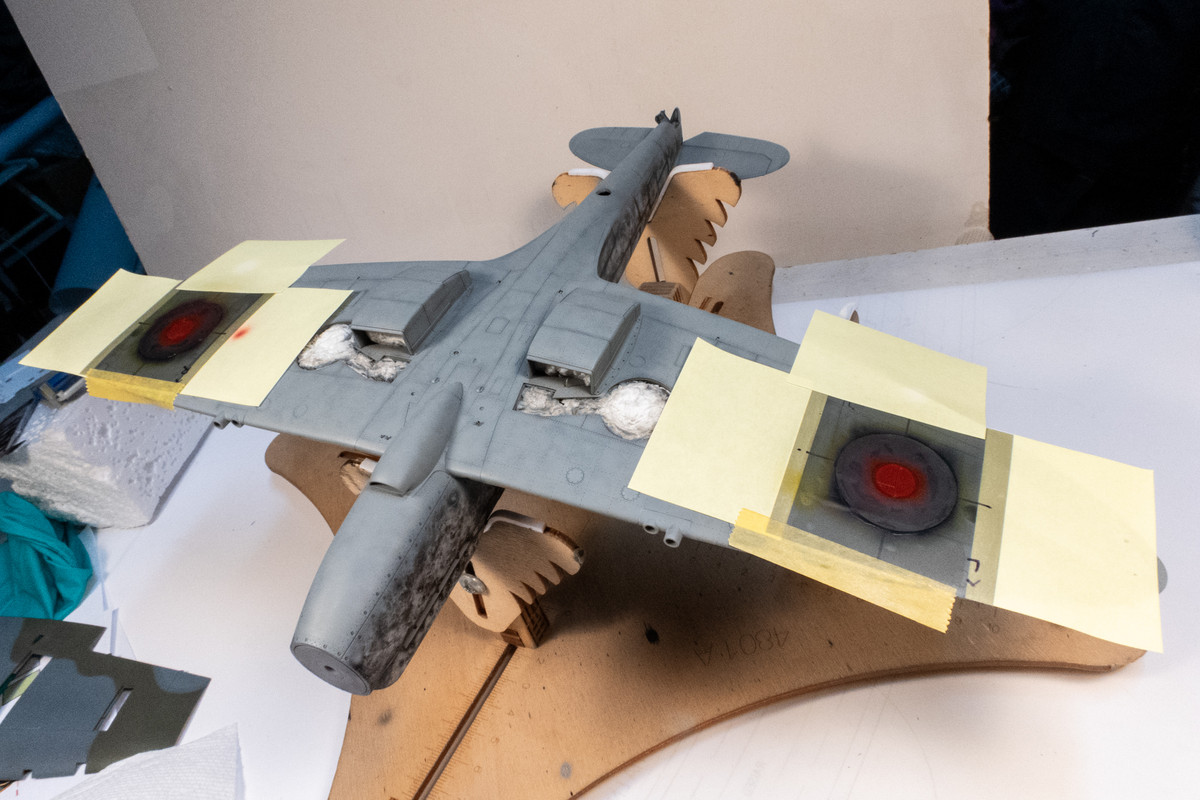
The results... wait for it...
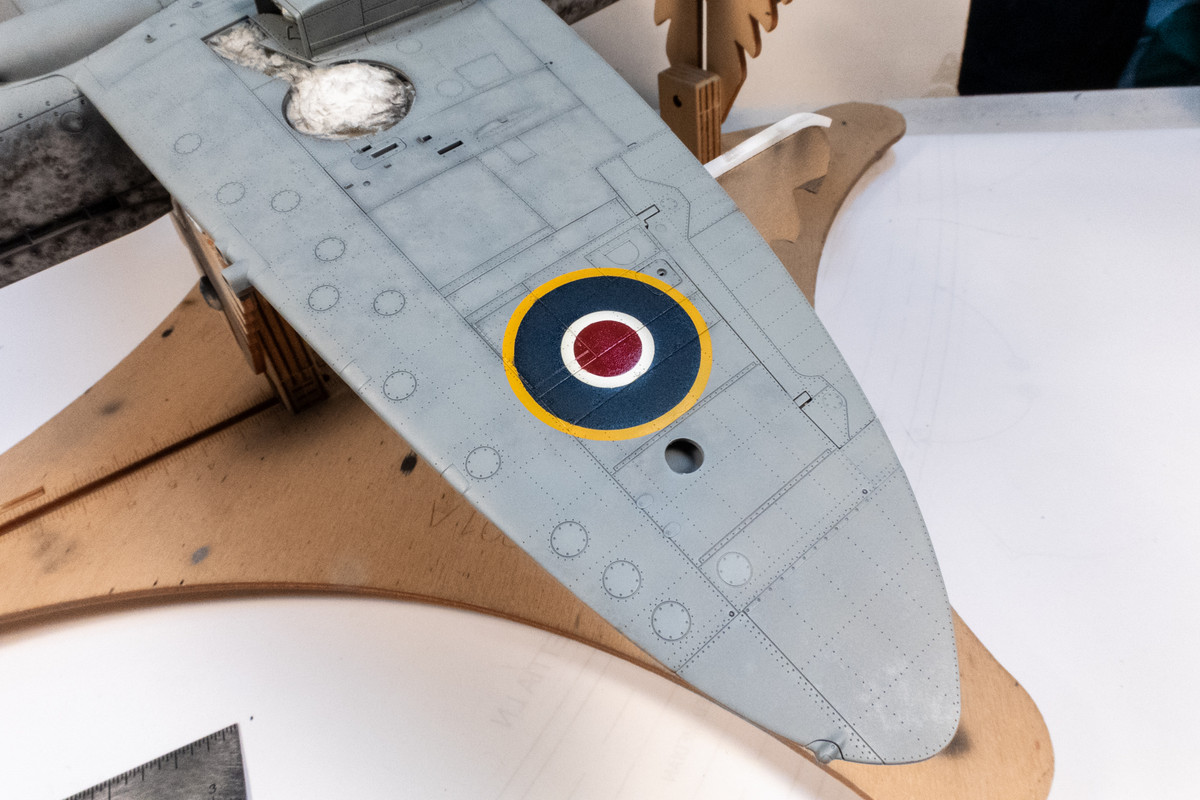
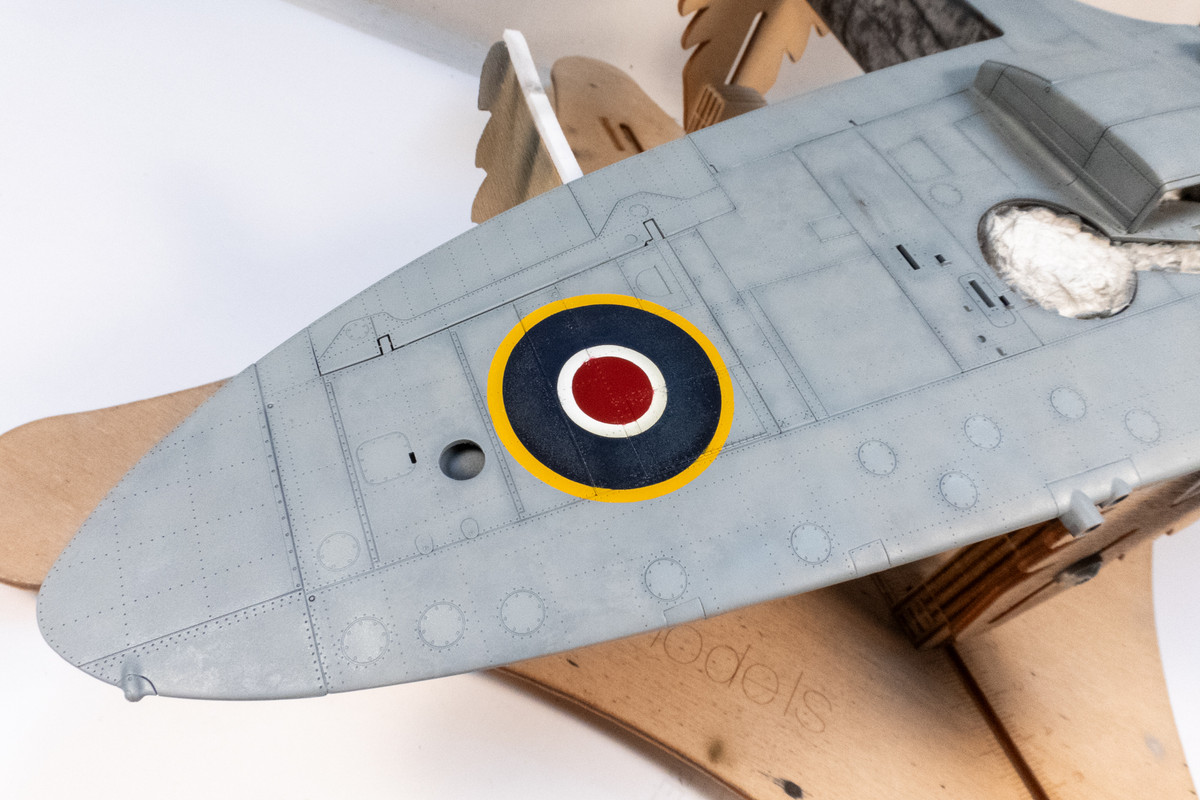
A tiny bit of paint bleed around the raised features but almost neglible. But more importantly, no paint lift! Big sigh of relief. AND my brilliant idea about the yellow and white worked out! Double hurrah.
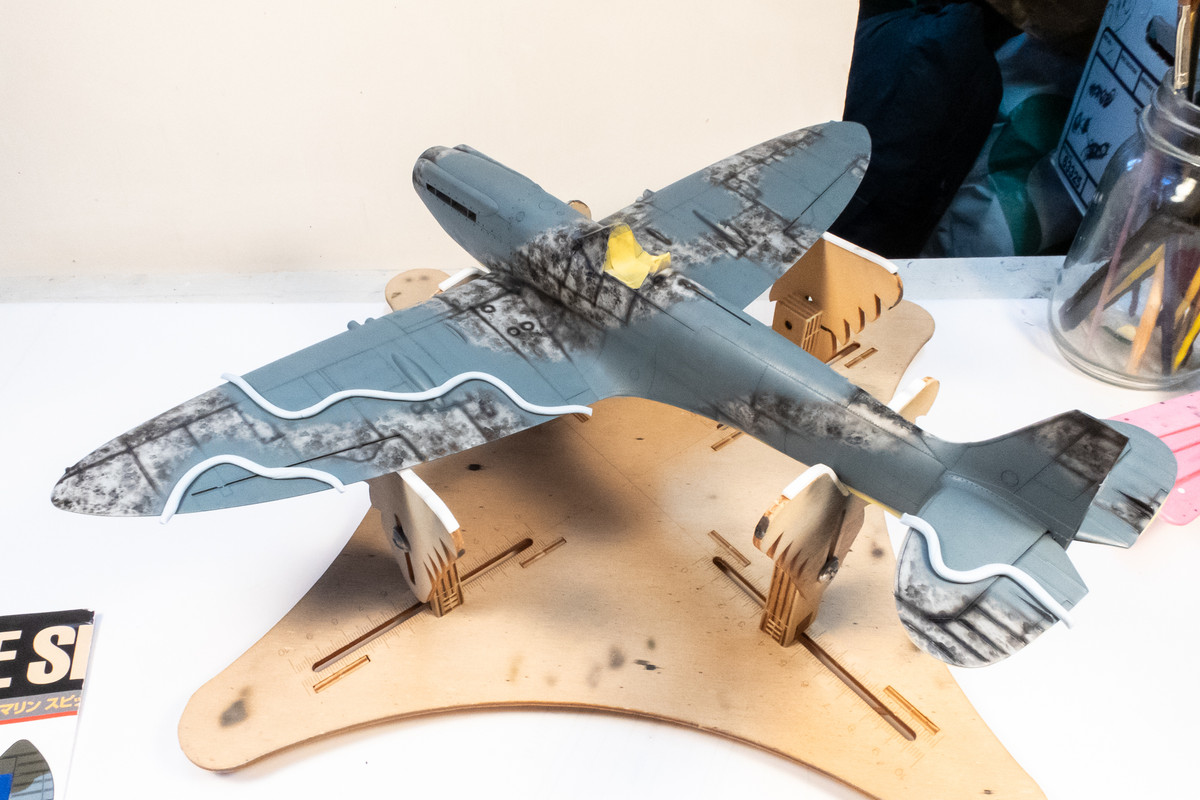
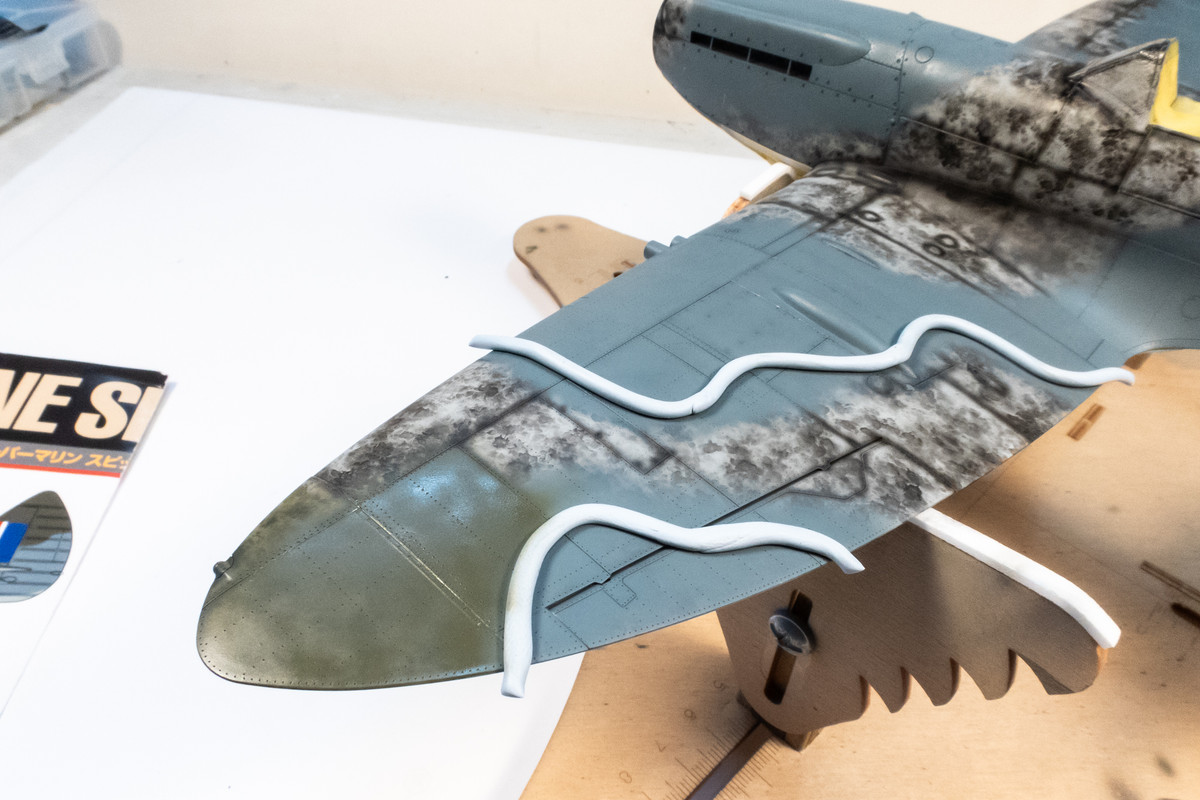
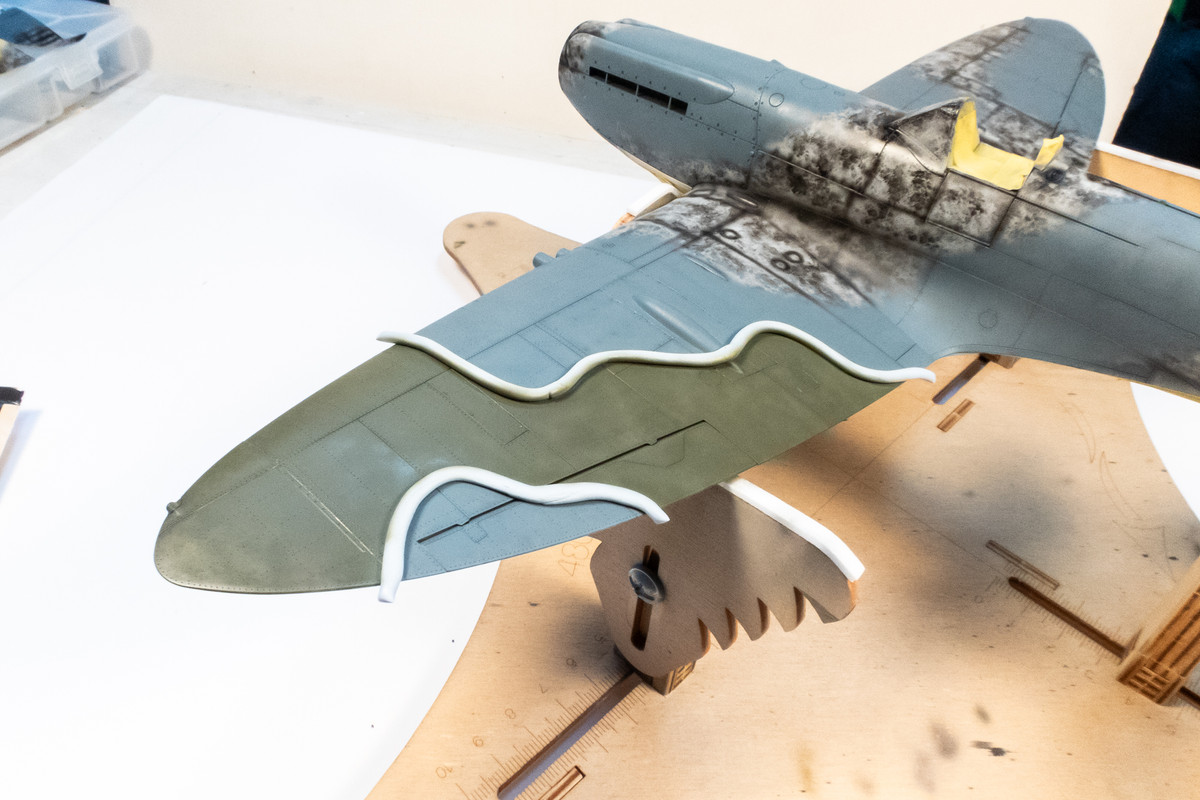
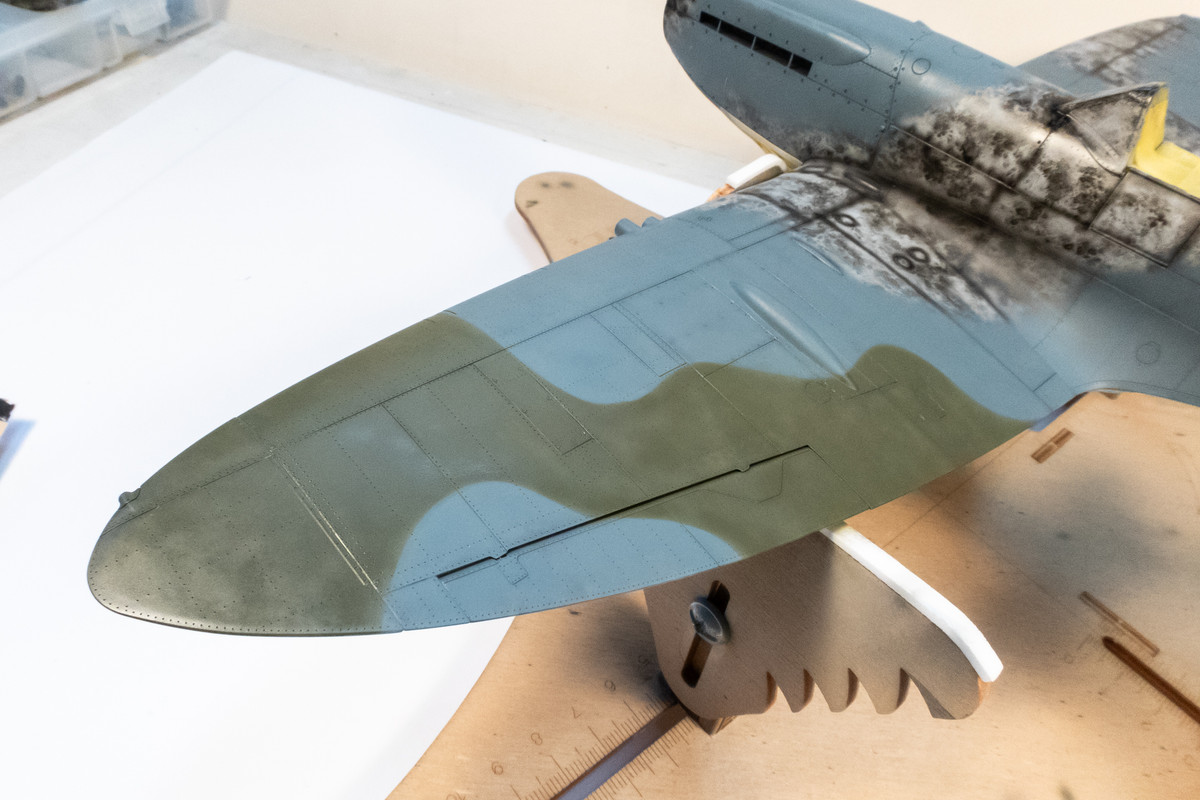
Emboldened by success, I pushed on and confidently masked off the bottom. I painted the Ocean Gray 2 (Tamiya XF-82) free hand.
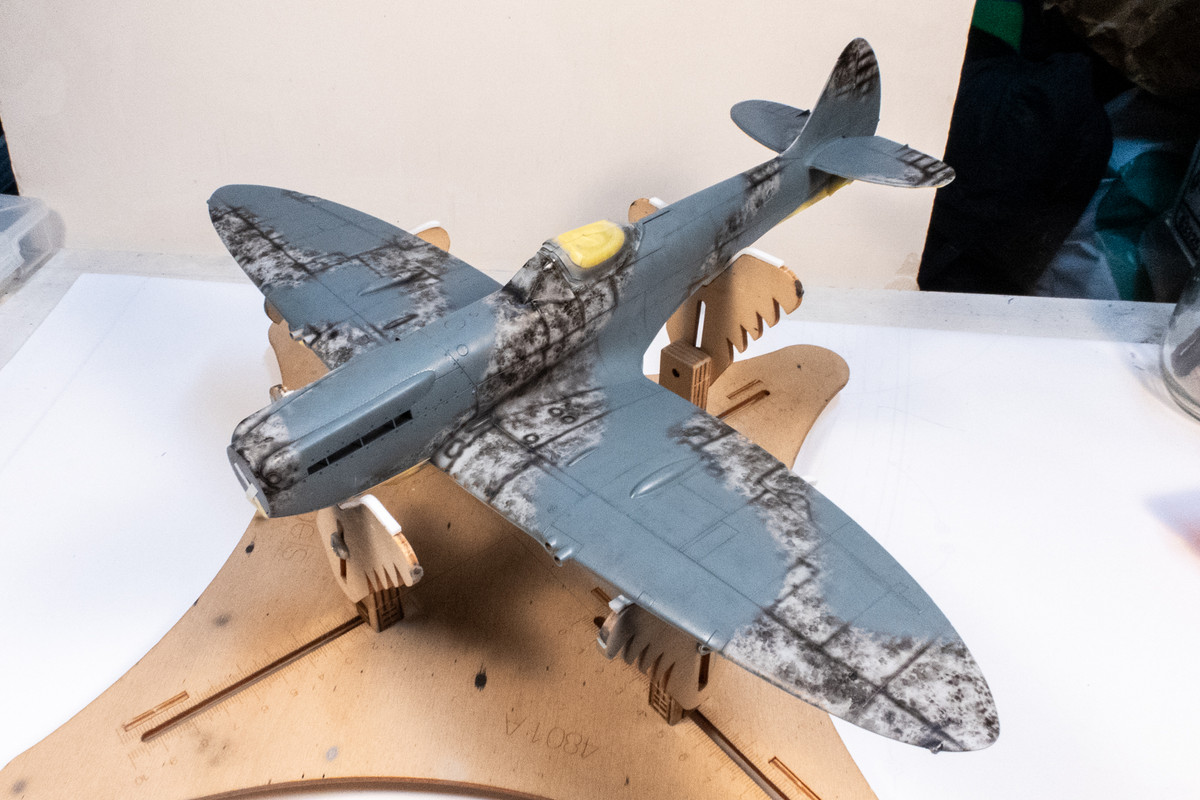
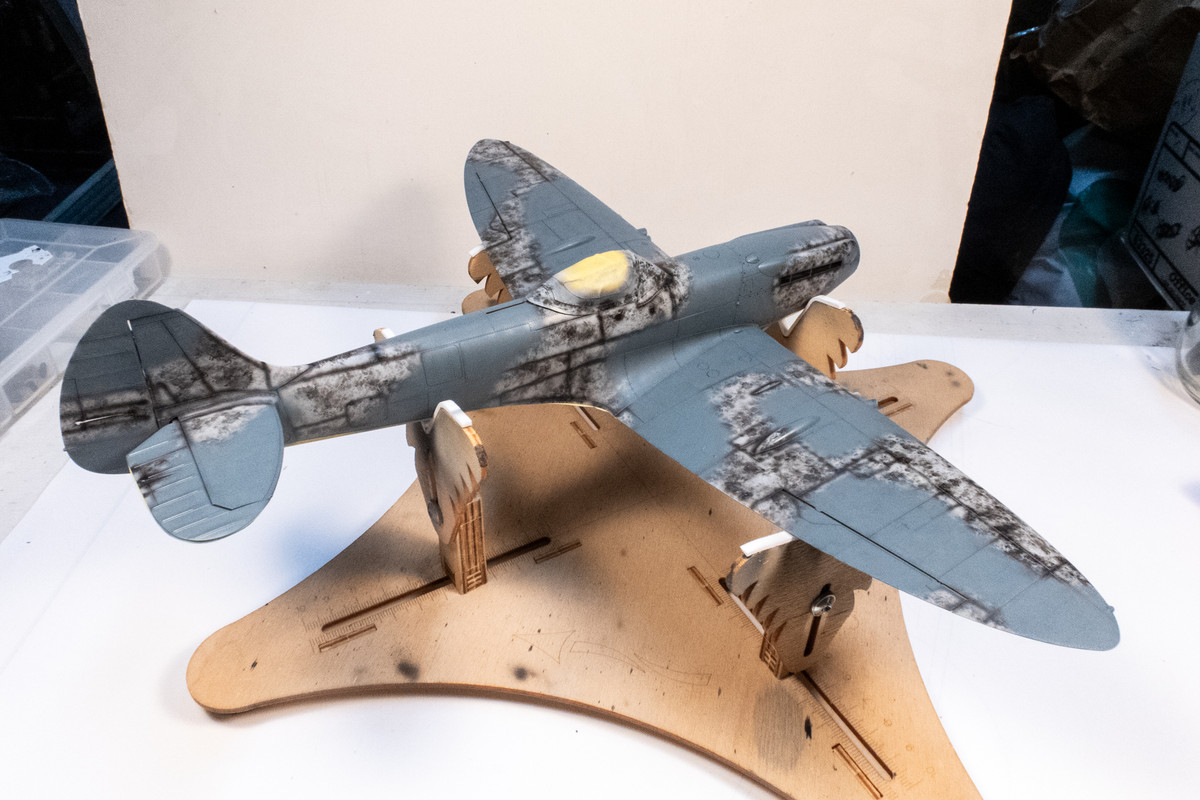
Next I'll be using Blu Tack to delineate the camo demarcation before spraying the Dark Green.